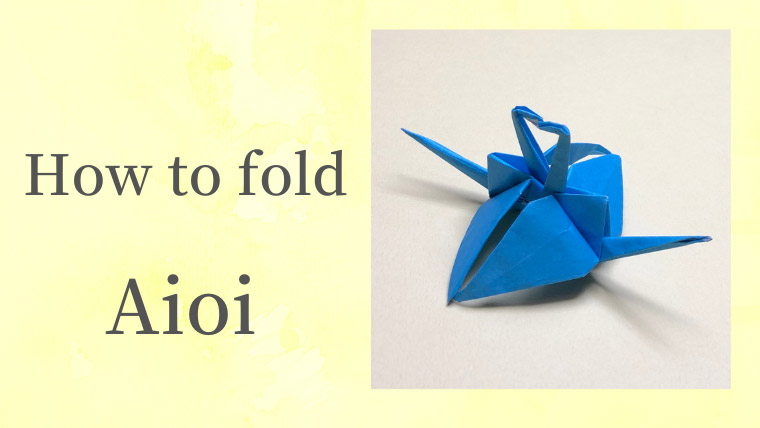
相生/Aioi
“相生/Aioi” is one model of 49 kinds of “連鶴/Renzuru”.
Renzuru means connected-cranes which are made of only one paper without glue and tape.
49 kinds of Renzuru was in the book which is “秘伝千羽鶴折形/Hiden-Senbazuru-Orikata”.
The book was published in 1797.
— Total difficulty level —
☆9:☆☆☆☆☆☆☆☆☆・
— By item —
Tear easily :☆☆☆☆☆
Complexity :☆☆☆☆・
Hard to fold:☆☆☆☆☆
Aioi is the model that two cranes are connected to each other.
Connecting parts tear very easily and it is very hard to fold this model.
Therefore, fold this model carefully!
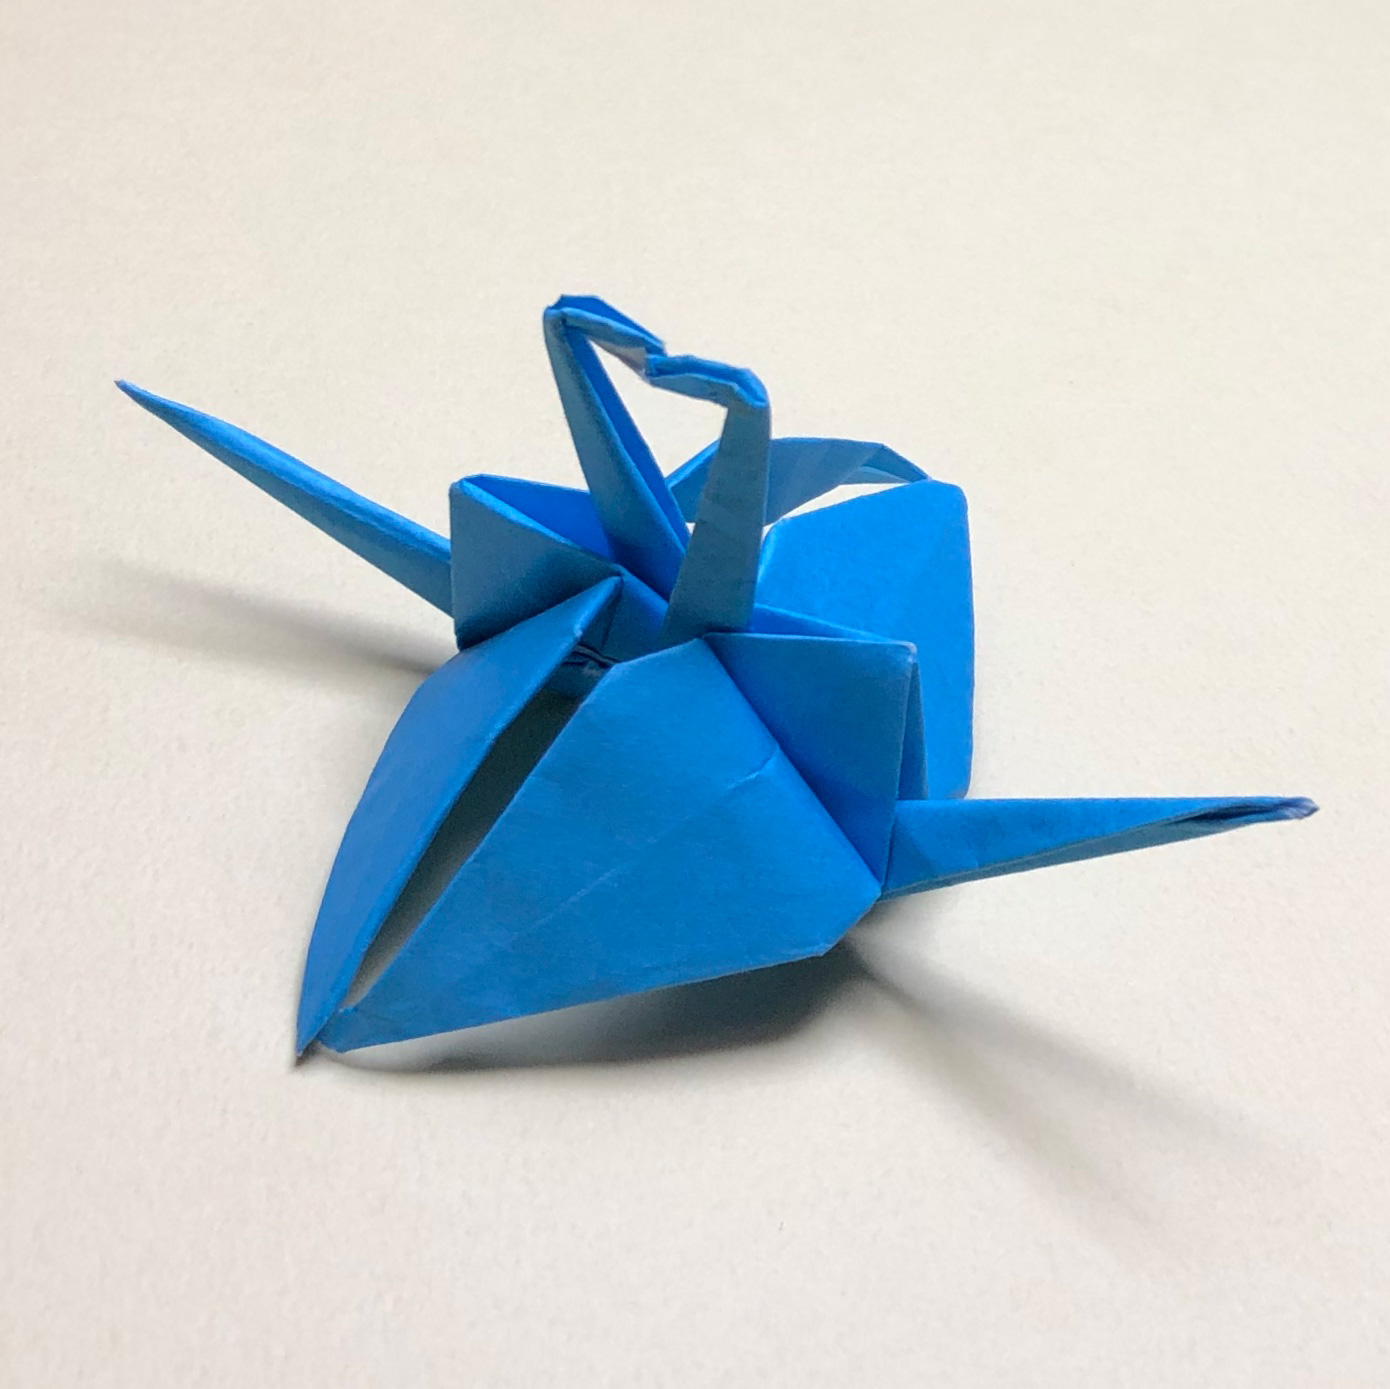
Completed Aioi
The diagram of Aioi
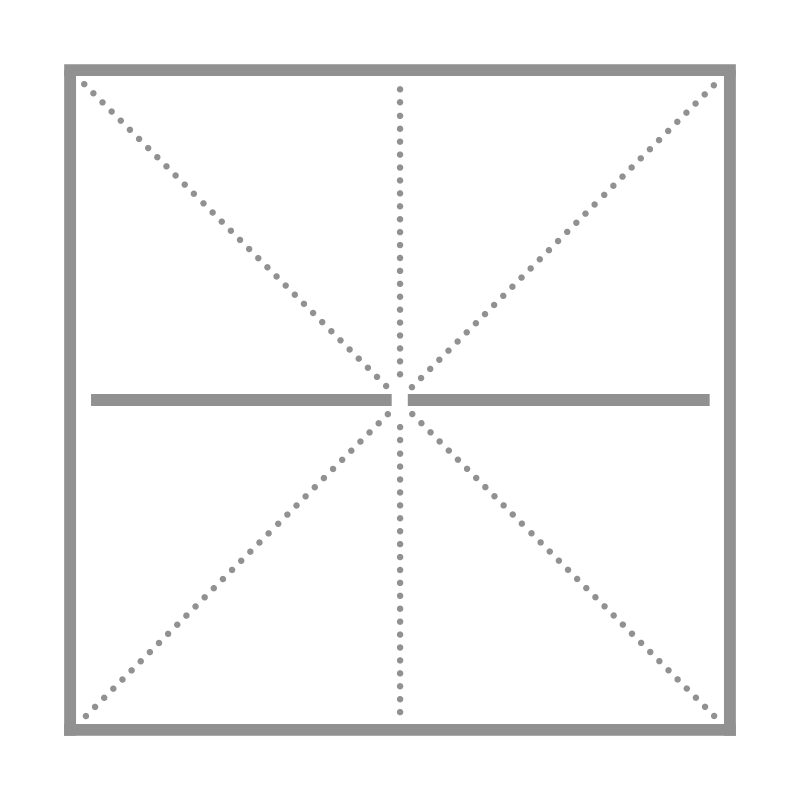
<reference>『Hiden-Senbazuru-Orikata』- was published in 1797
Preparation of an origami paper
【Size】
a 15x15cm paper or it is bigger than 15cm.
【Kinds】
・Washi paper
I made this model with a 17.5×17.5cm basic origami paper.
Since connecting parts tear very easily,
if you use a washi paper, it will get easier to make this model.
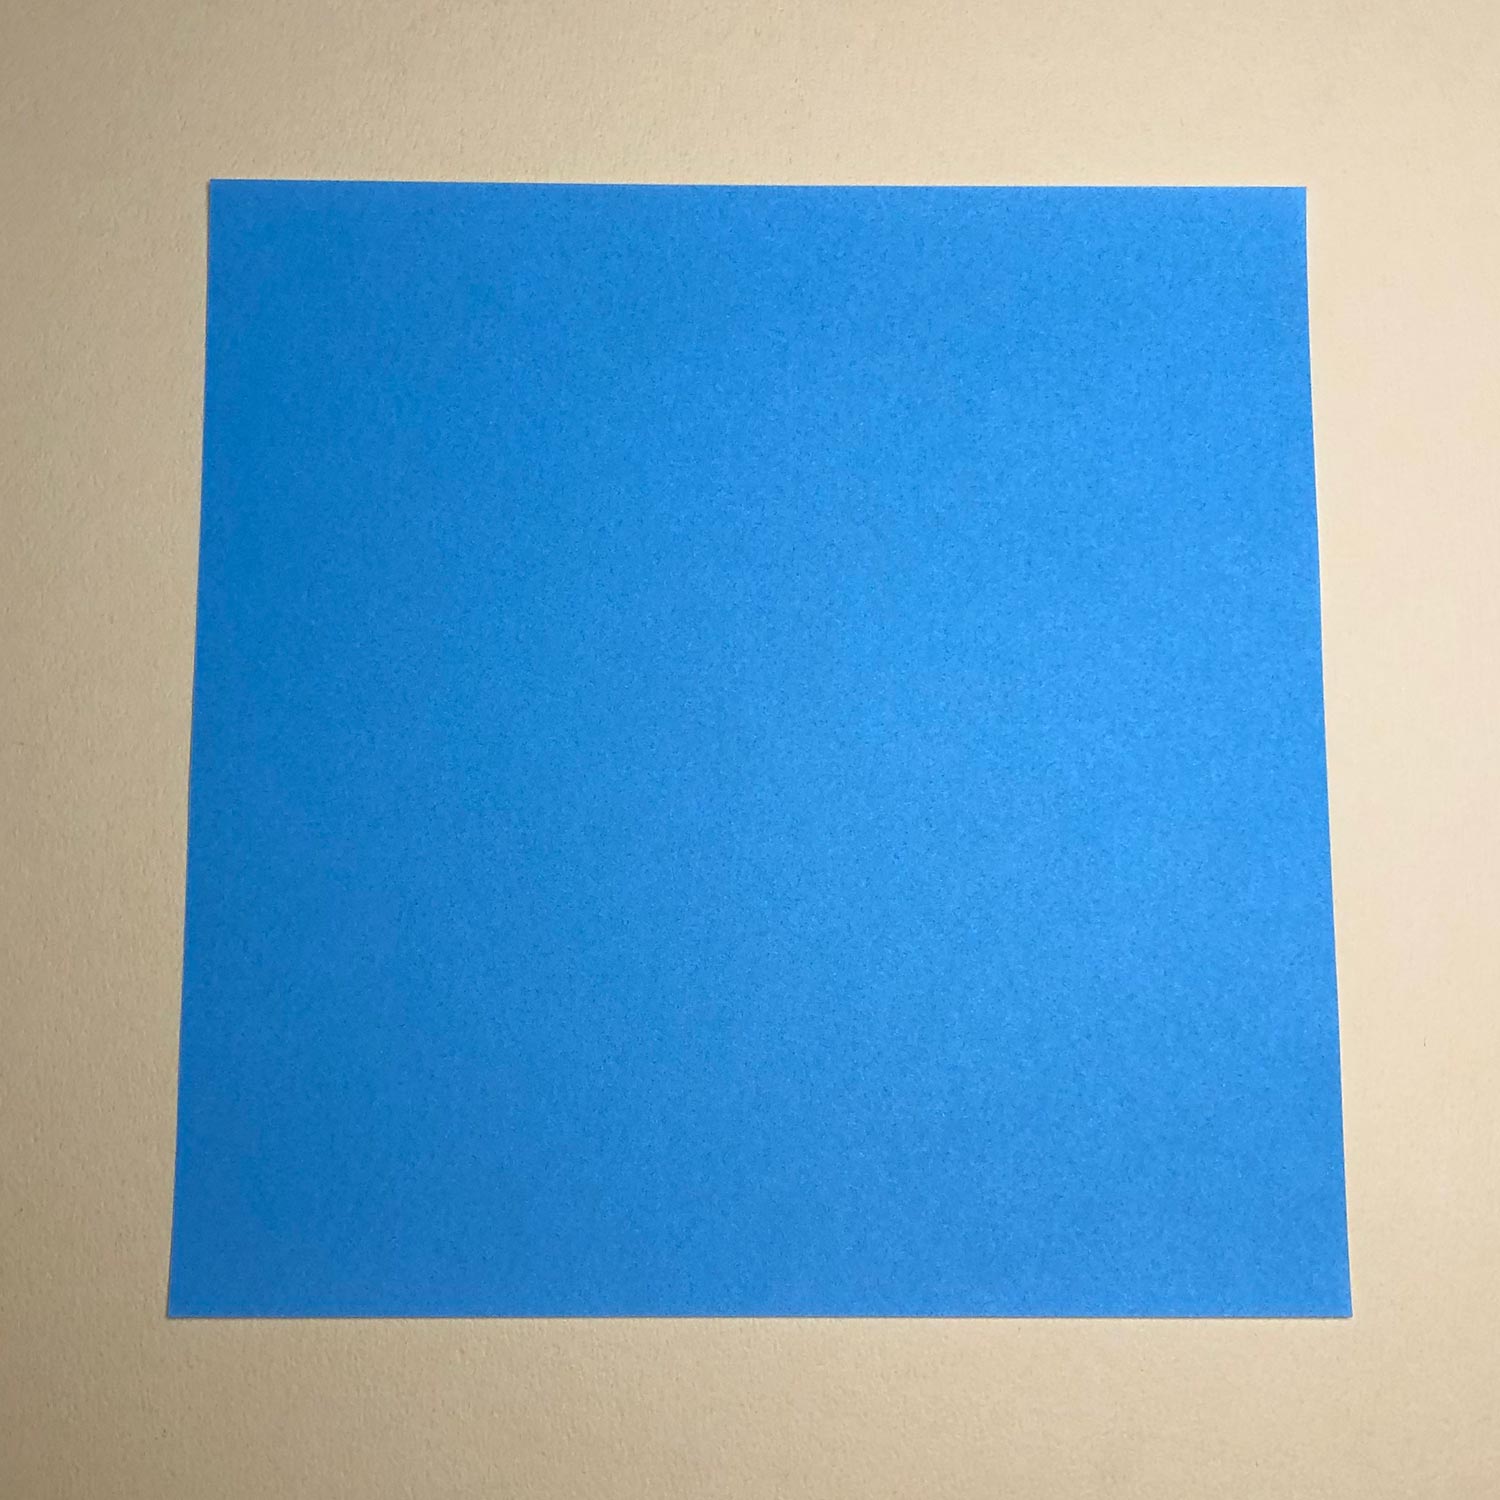
Prepare one origami paper.
Preparing an origami paper is completed!
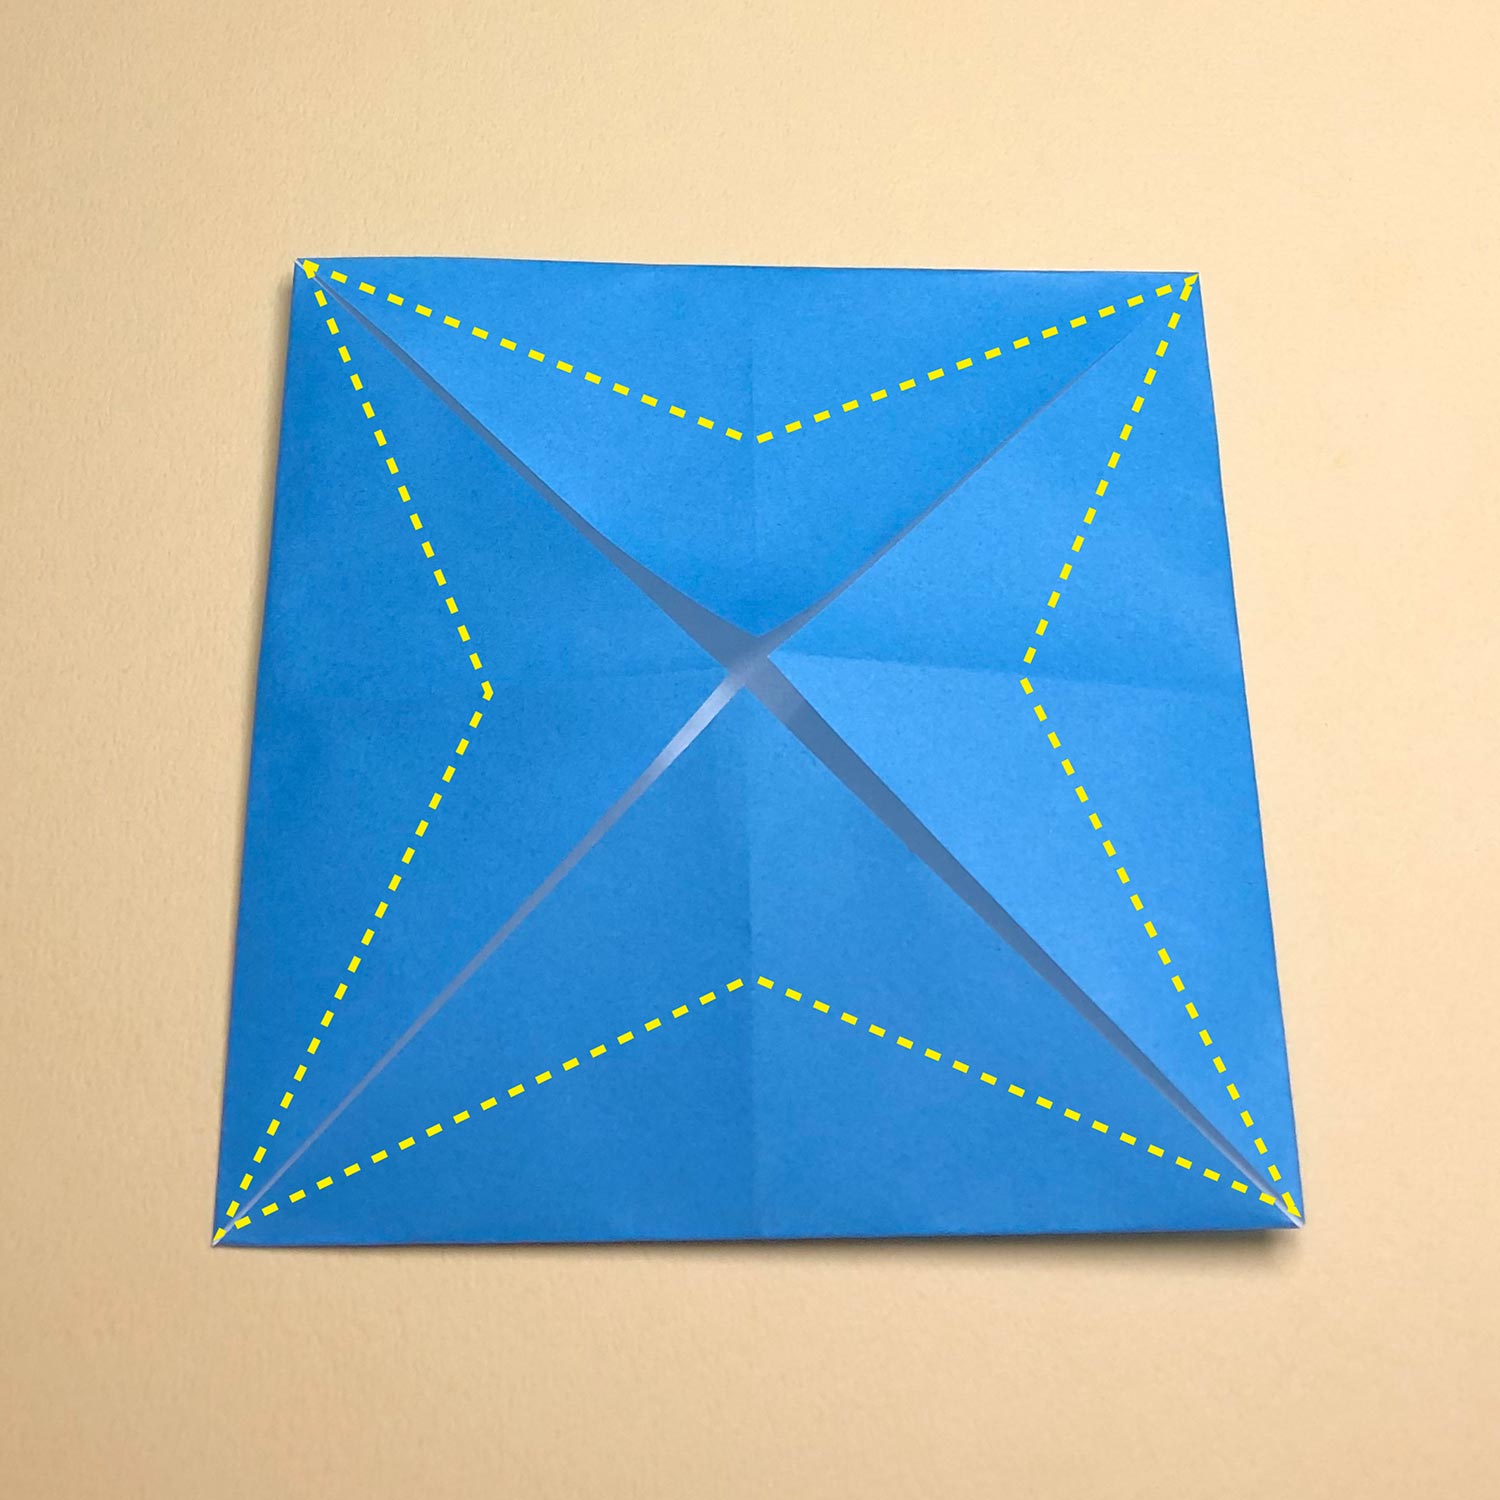
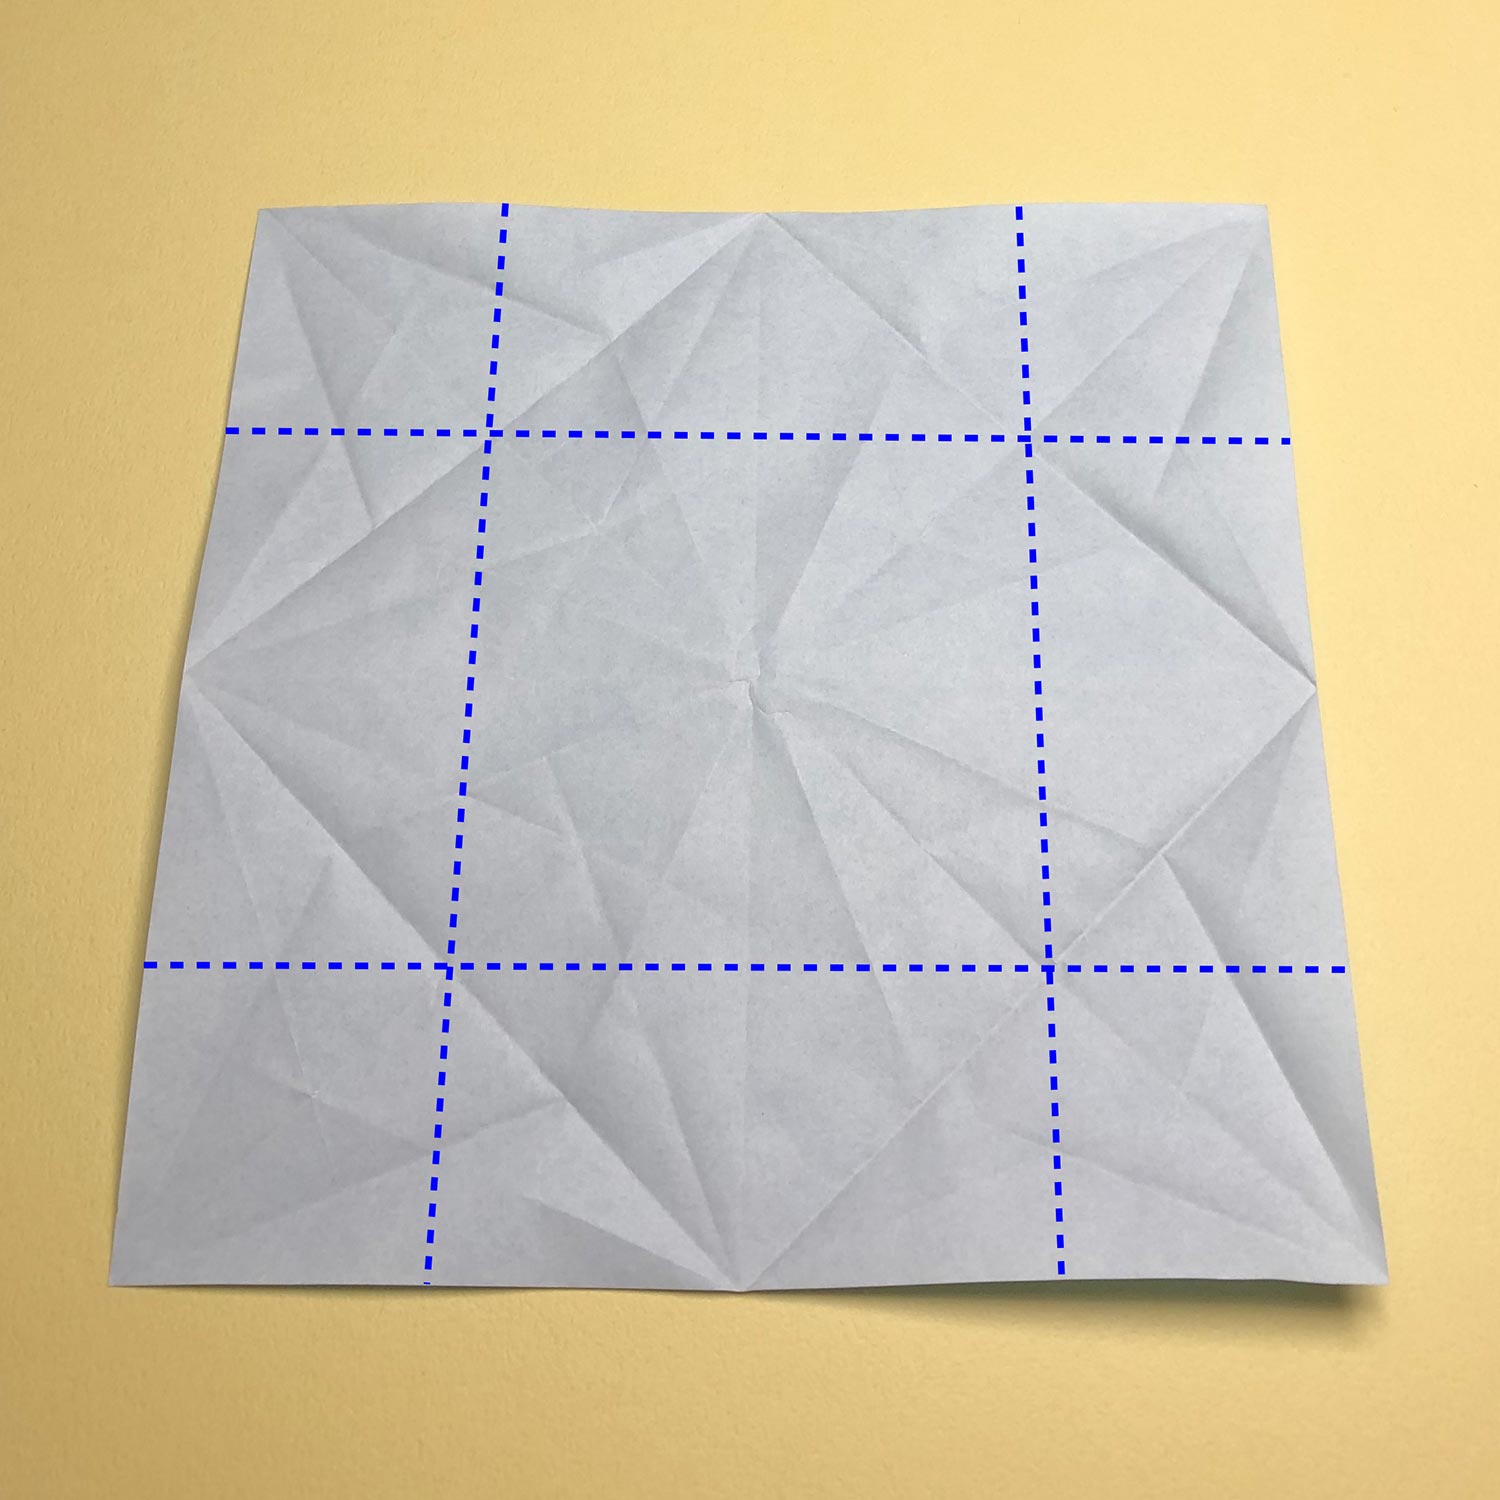
Make creases
To make creases on a paper
To make creases on a paper before cutting the paper is very important.
If you cut a paper first before making creases, it will get harder to make creases on the paper.
Also, there’s a possibility that the paper is cut halfway when making creases.
This step is making creases on a paper.
Make creases while referencing this pages.
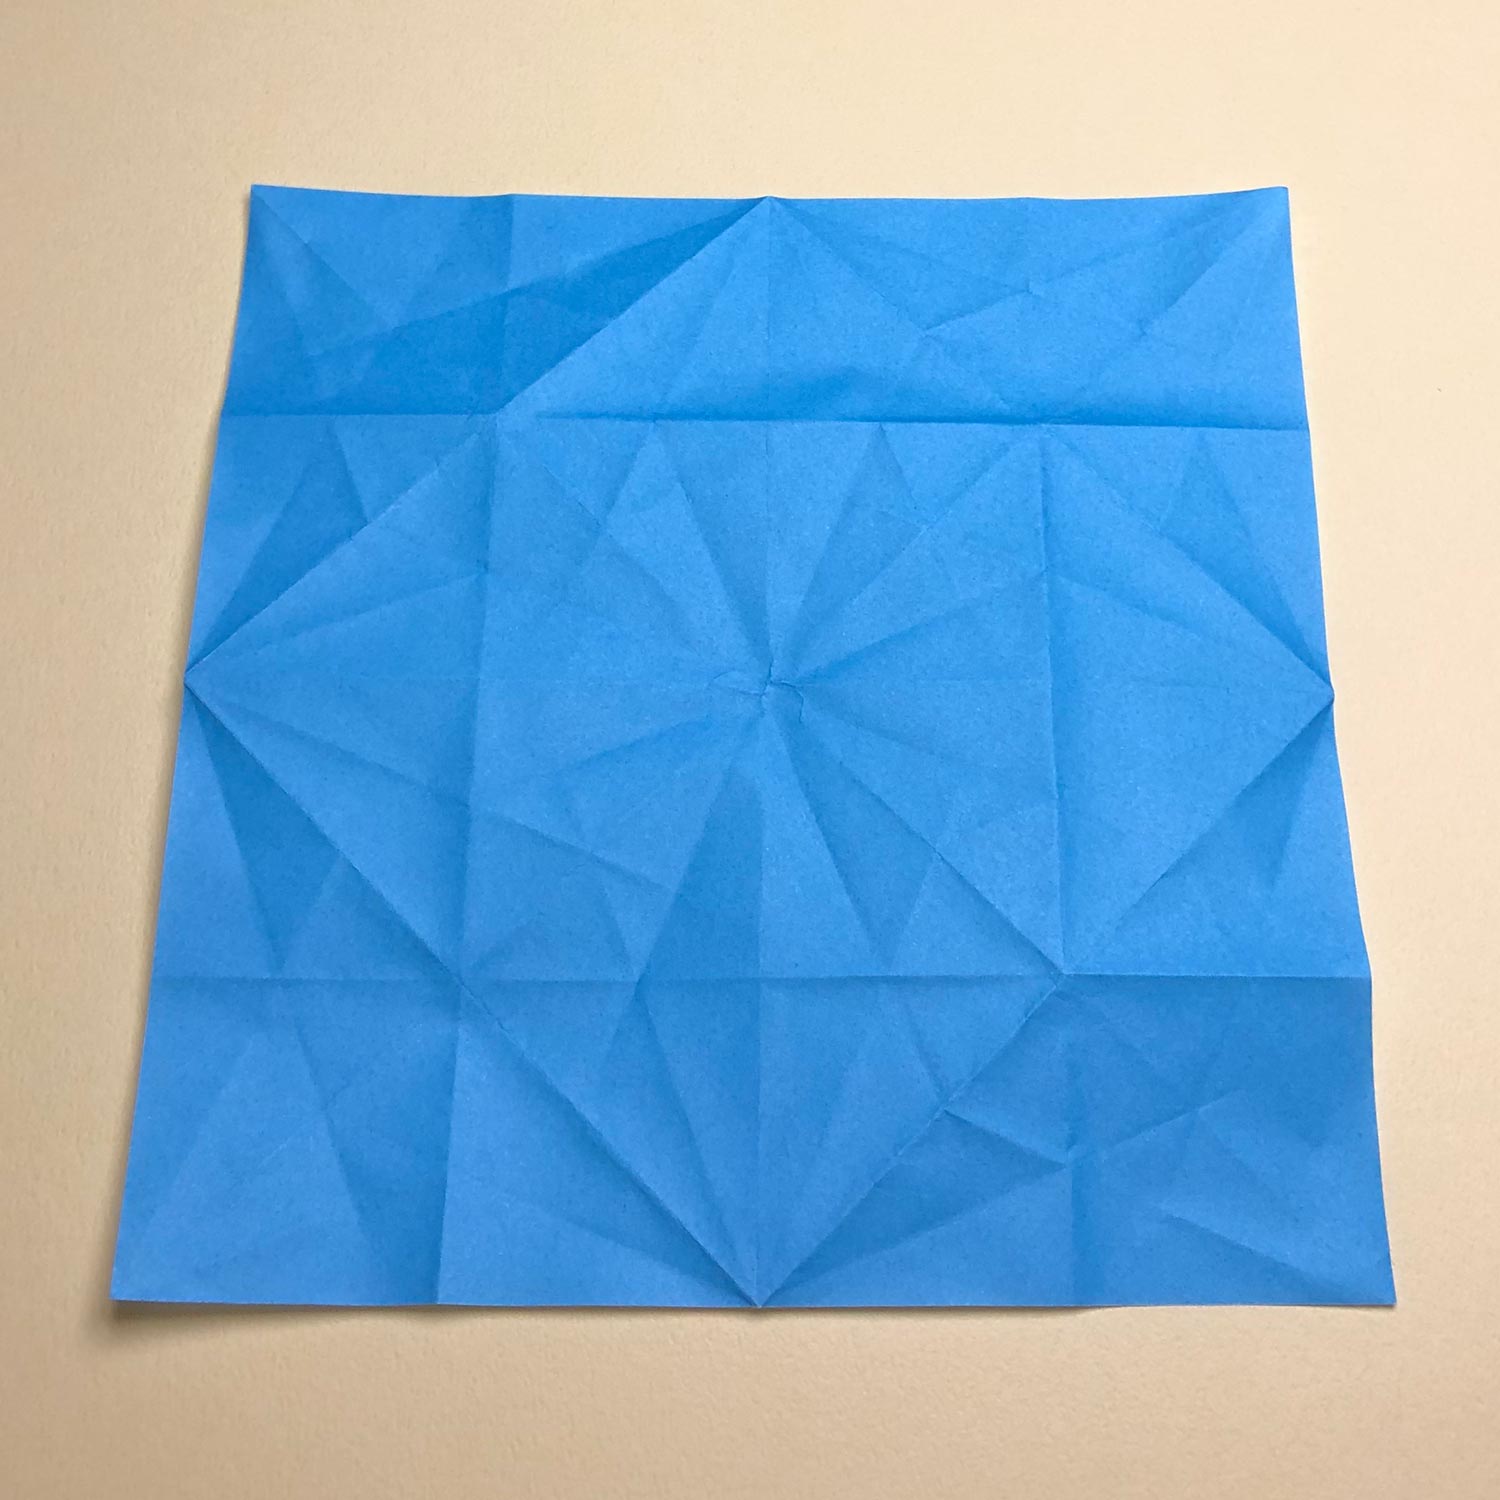
In this model, there is a connecting part in the center.
If you make creases neatly on the center, the center connecting part will tear easily.
Therefore, try not to make creases on the center as much as possible.

Fold the paper in half in each direction.
At that time, try not to make creases on the center as much as possible.
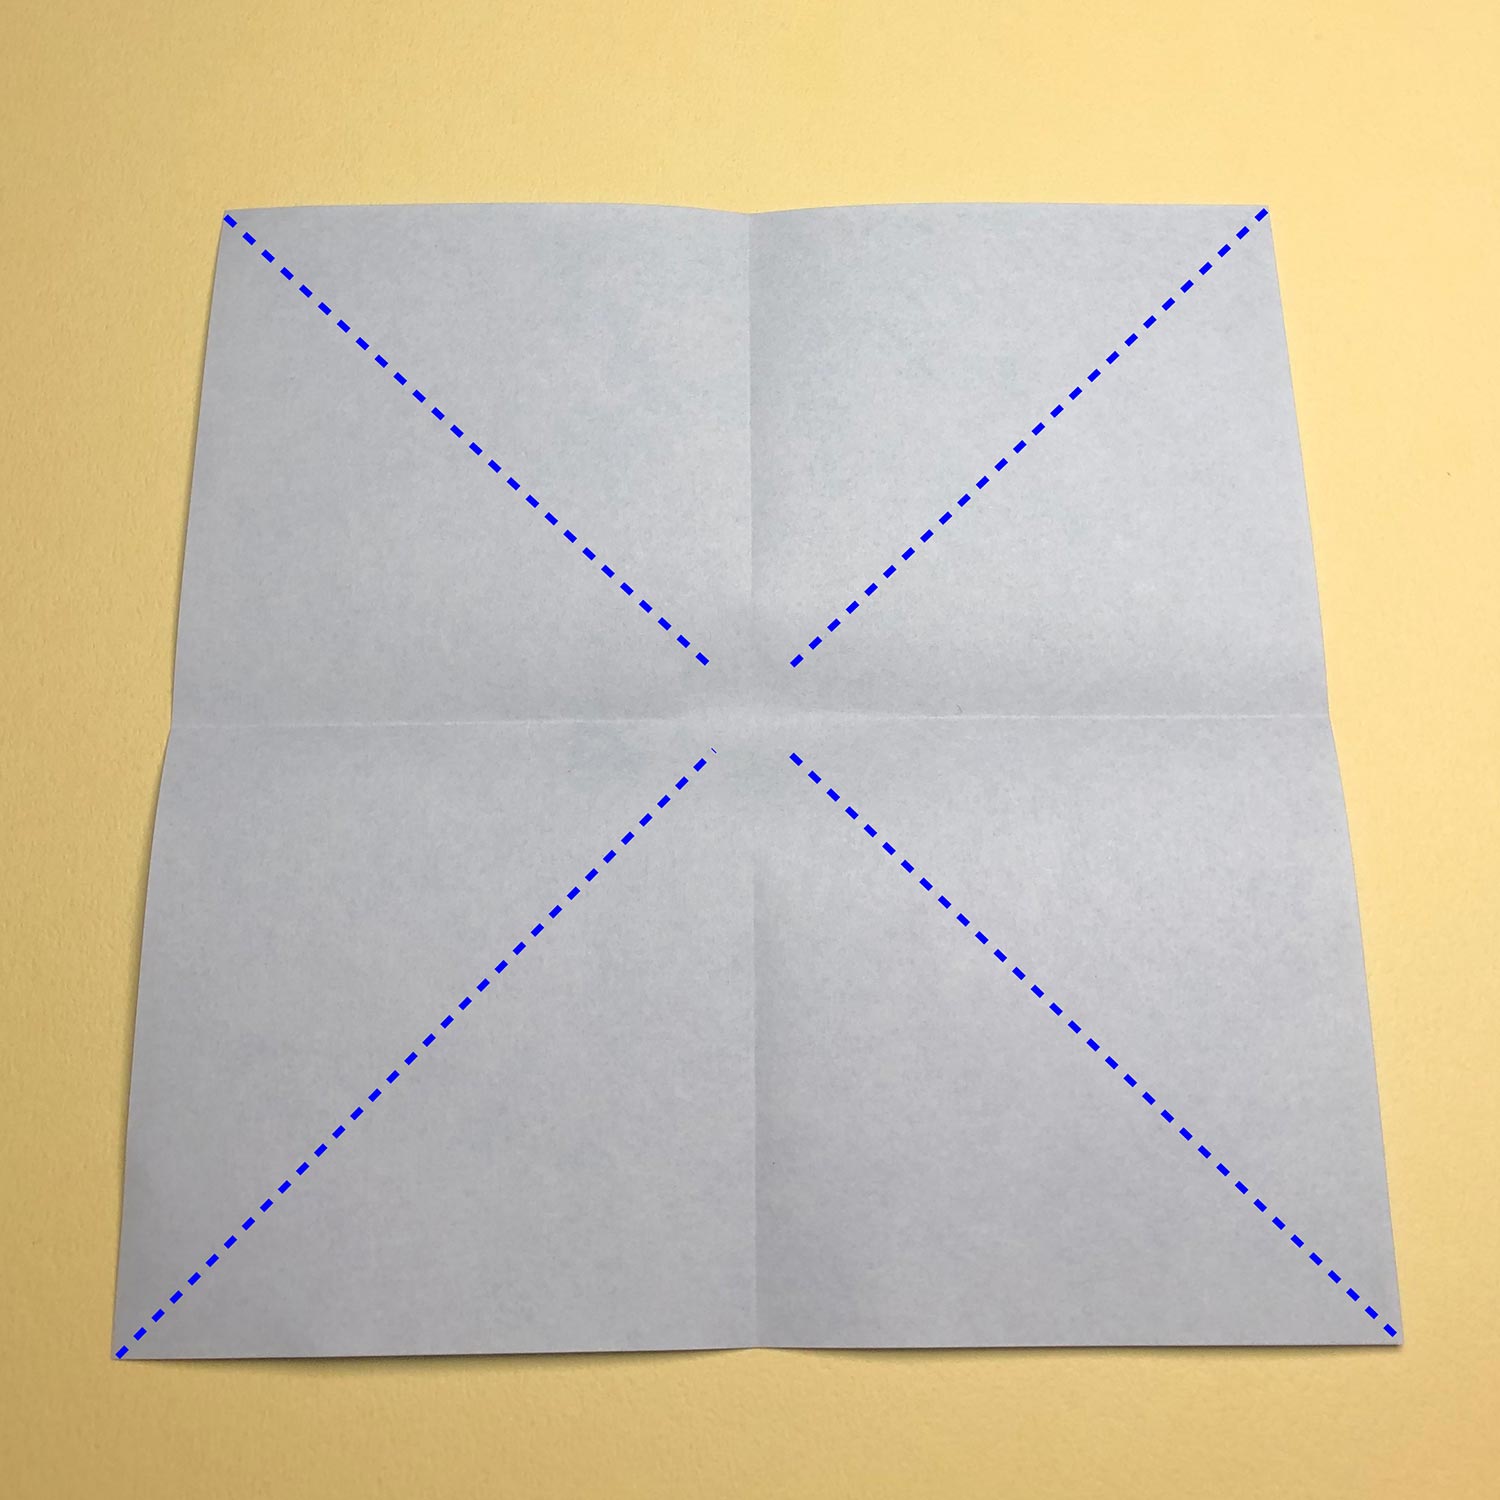
Then fold the paper in half diagonally.
At that time, try not to make creases on the center as much as possible.
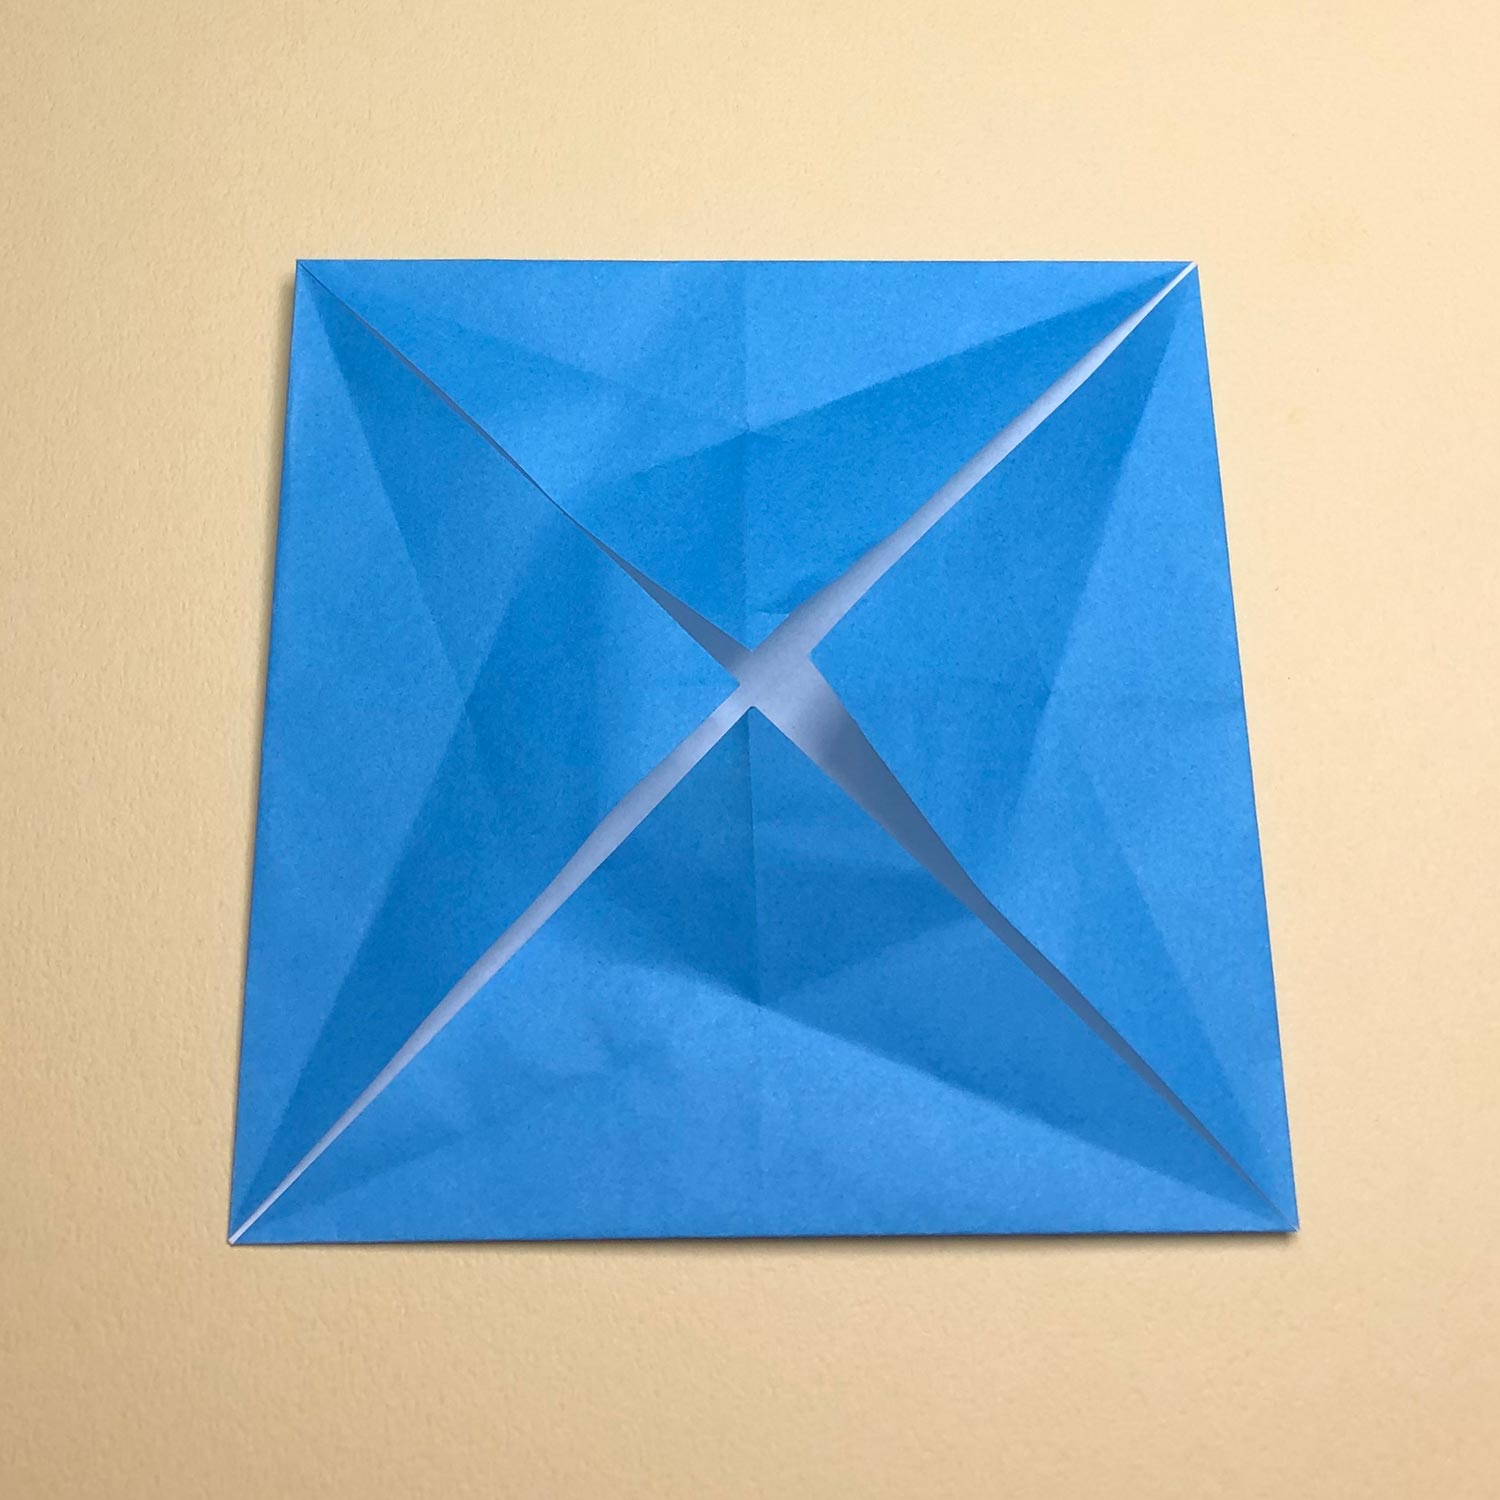
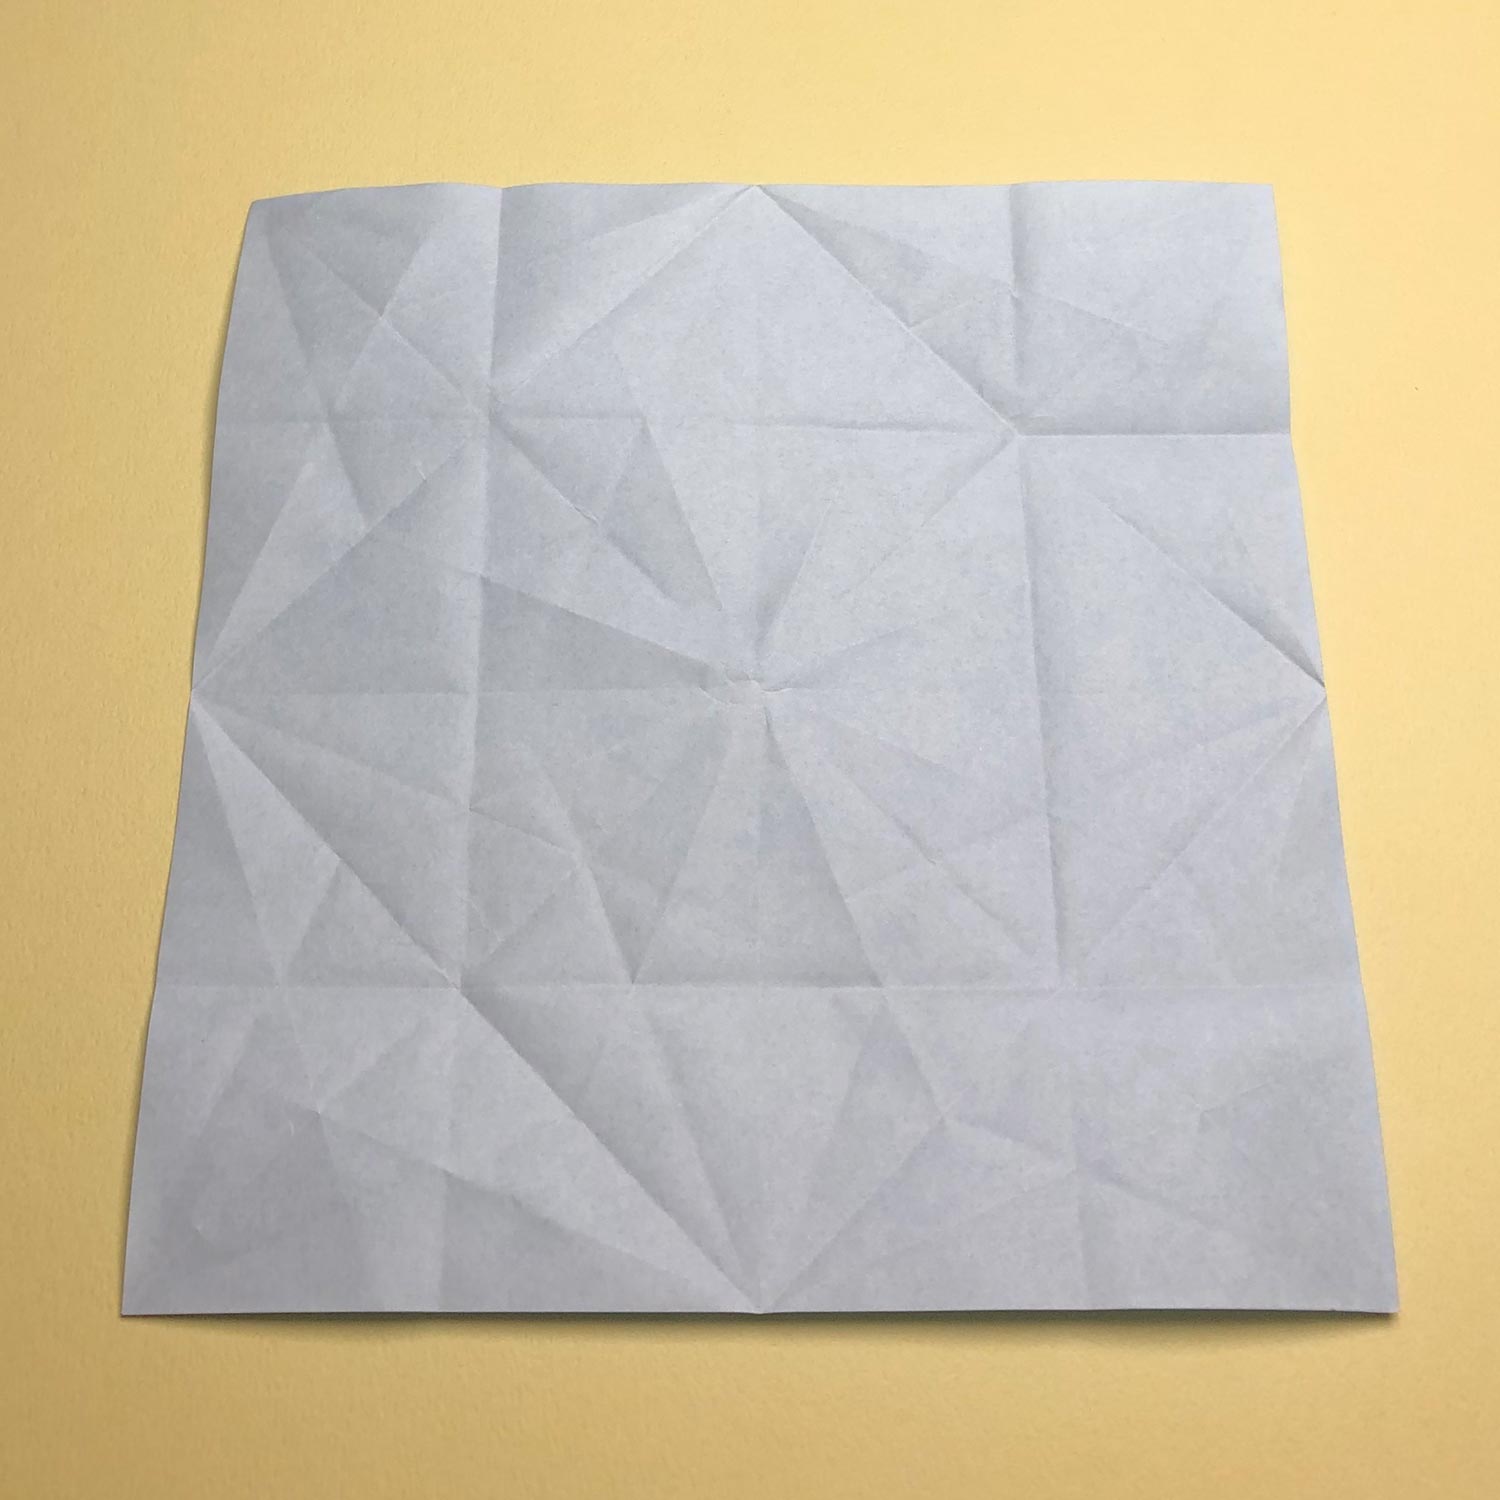
After making creases, it looks like this picture.
Try not to make creases on the center like this picture.
Then fold four corners to the center point.

Fold four corners to the center point like this picture.
Then rotate the paper 45 degrees.
Rotate the paper like this picture.
Then make creases at the dotted lines.
After making creases, it looks like this picture.
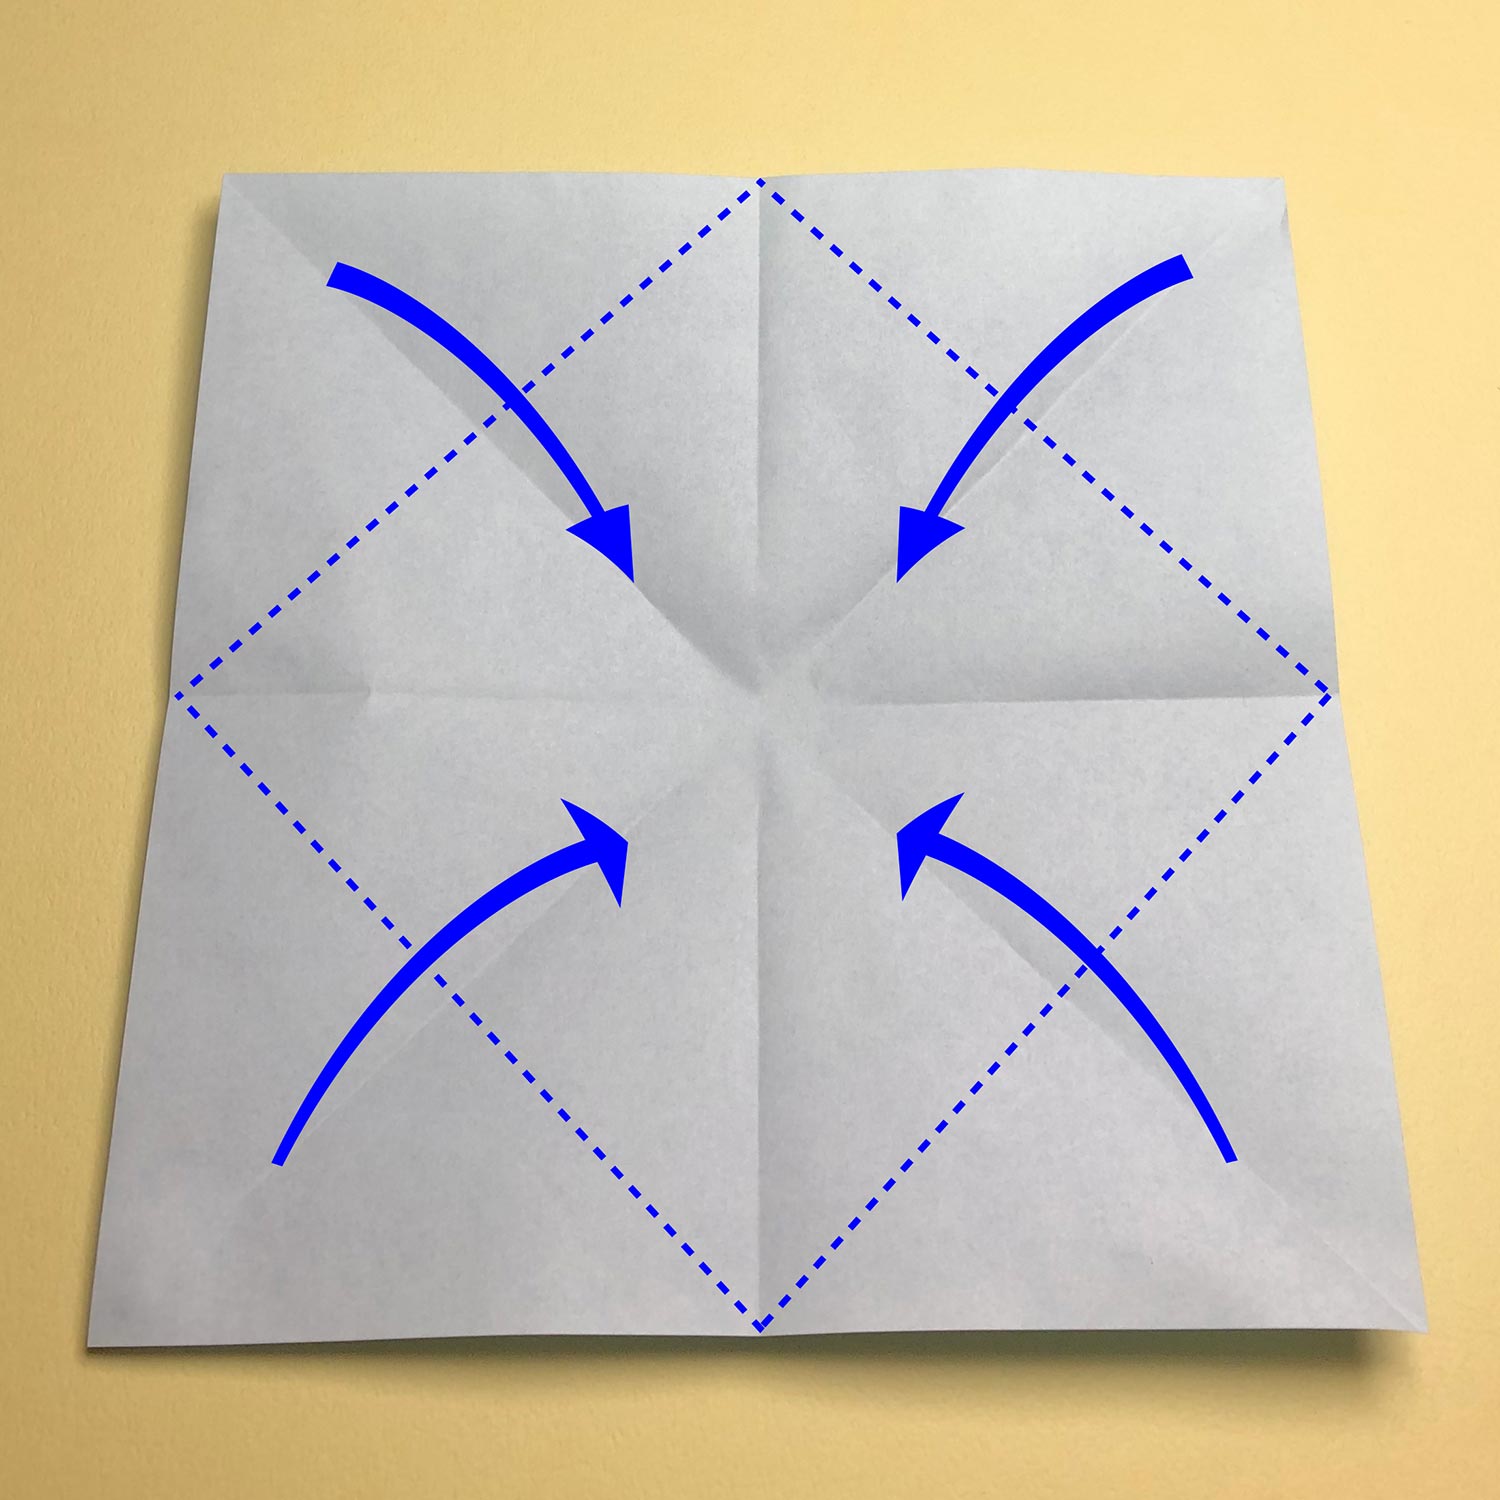
Then turn the paper over as it is.

After turning the paper over, make creases at the dotted lines.
At that time, try not to make creases on the center as much as possible.
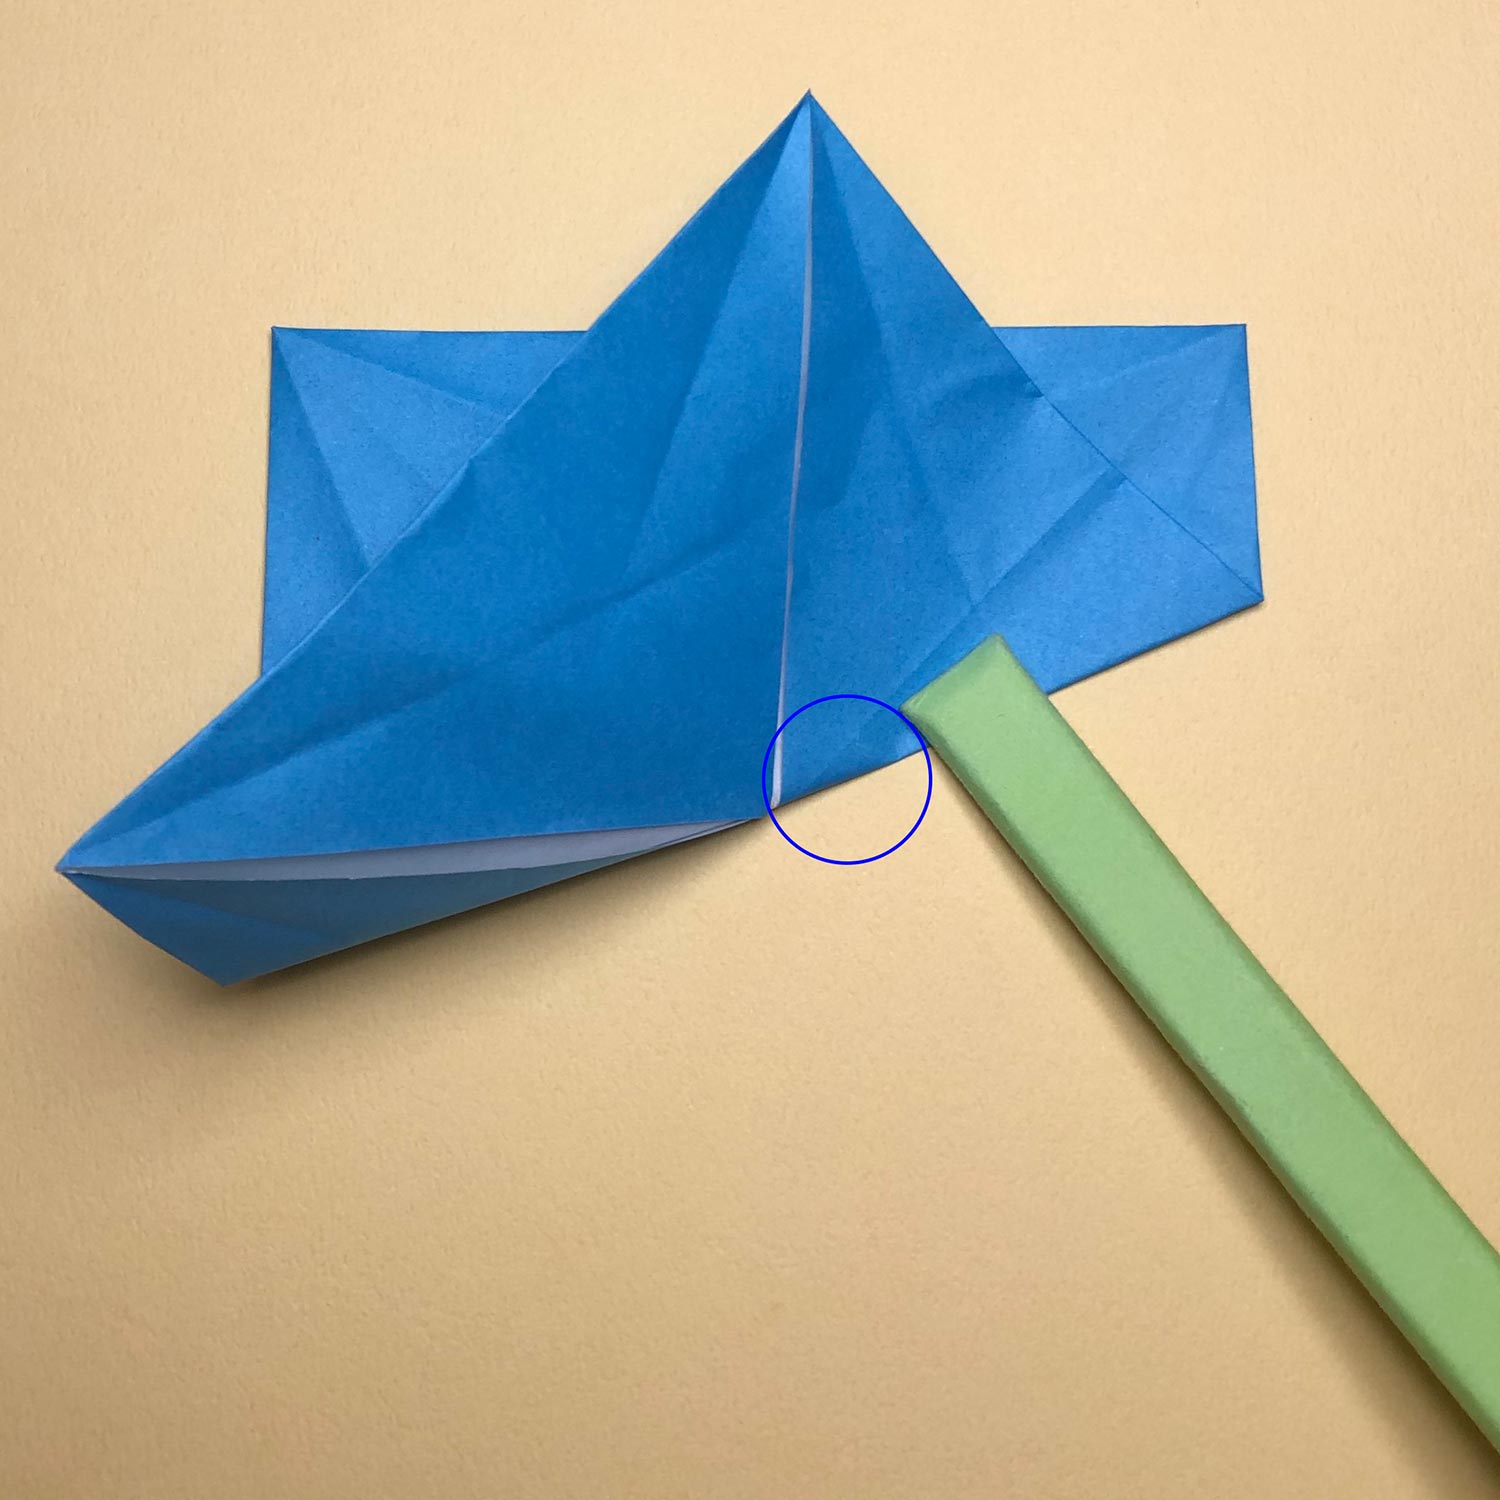
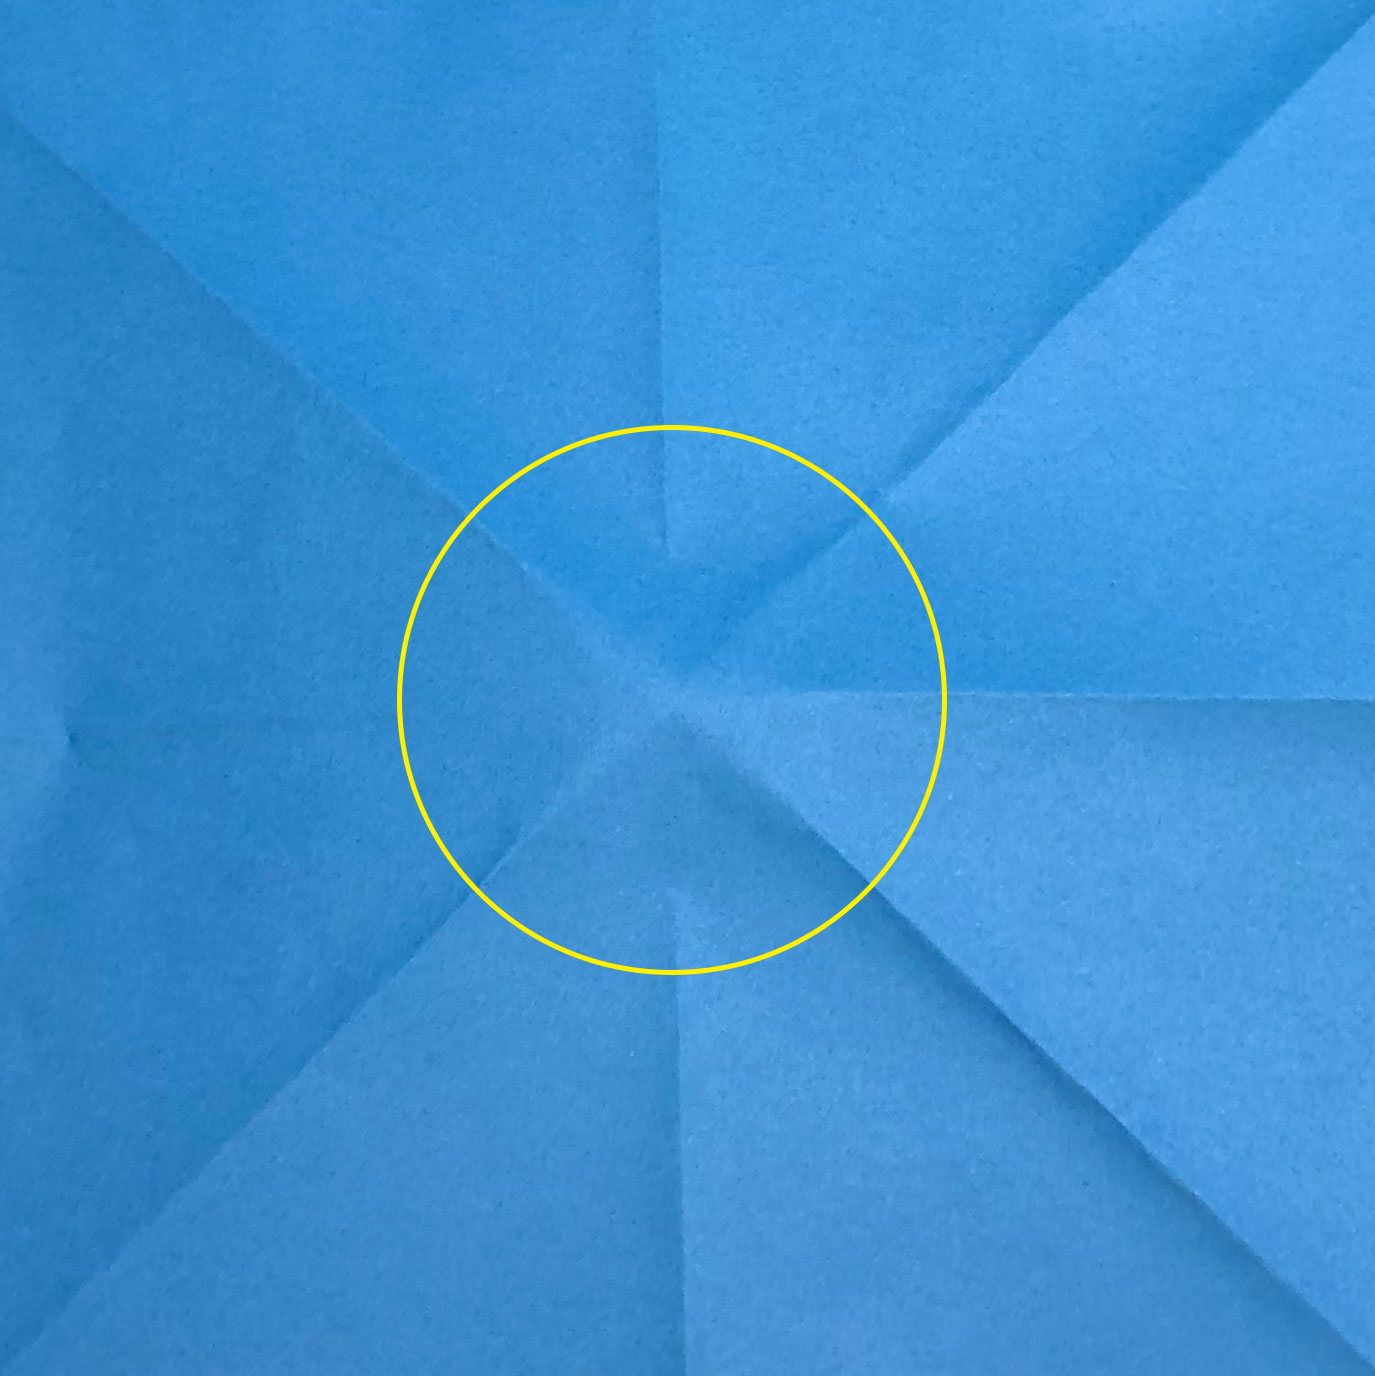
Fold the paper and try not to make a crease at the circled part like this picture.
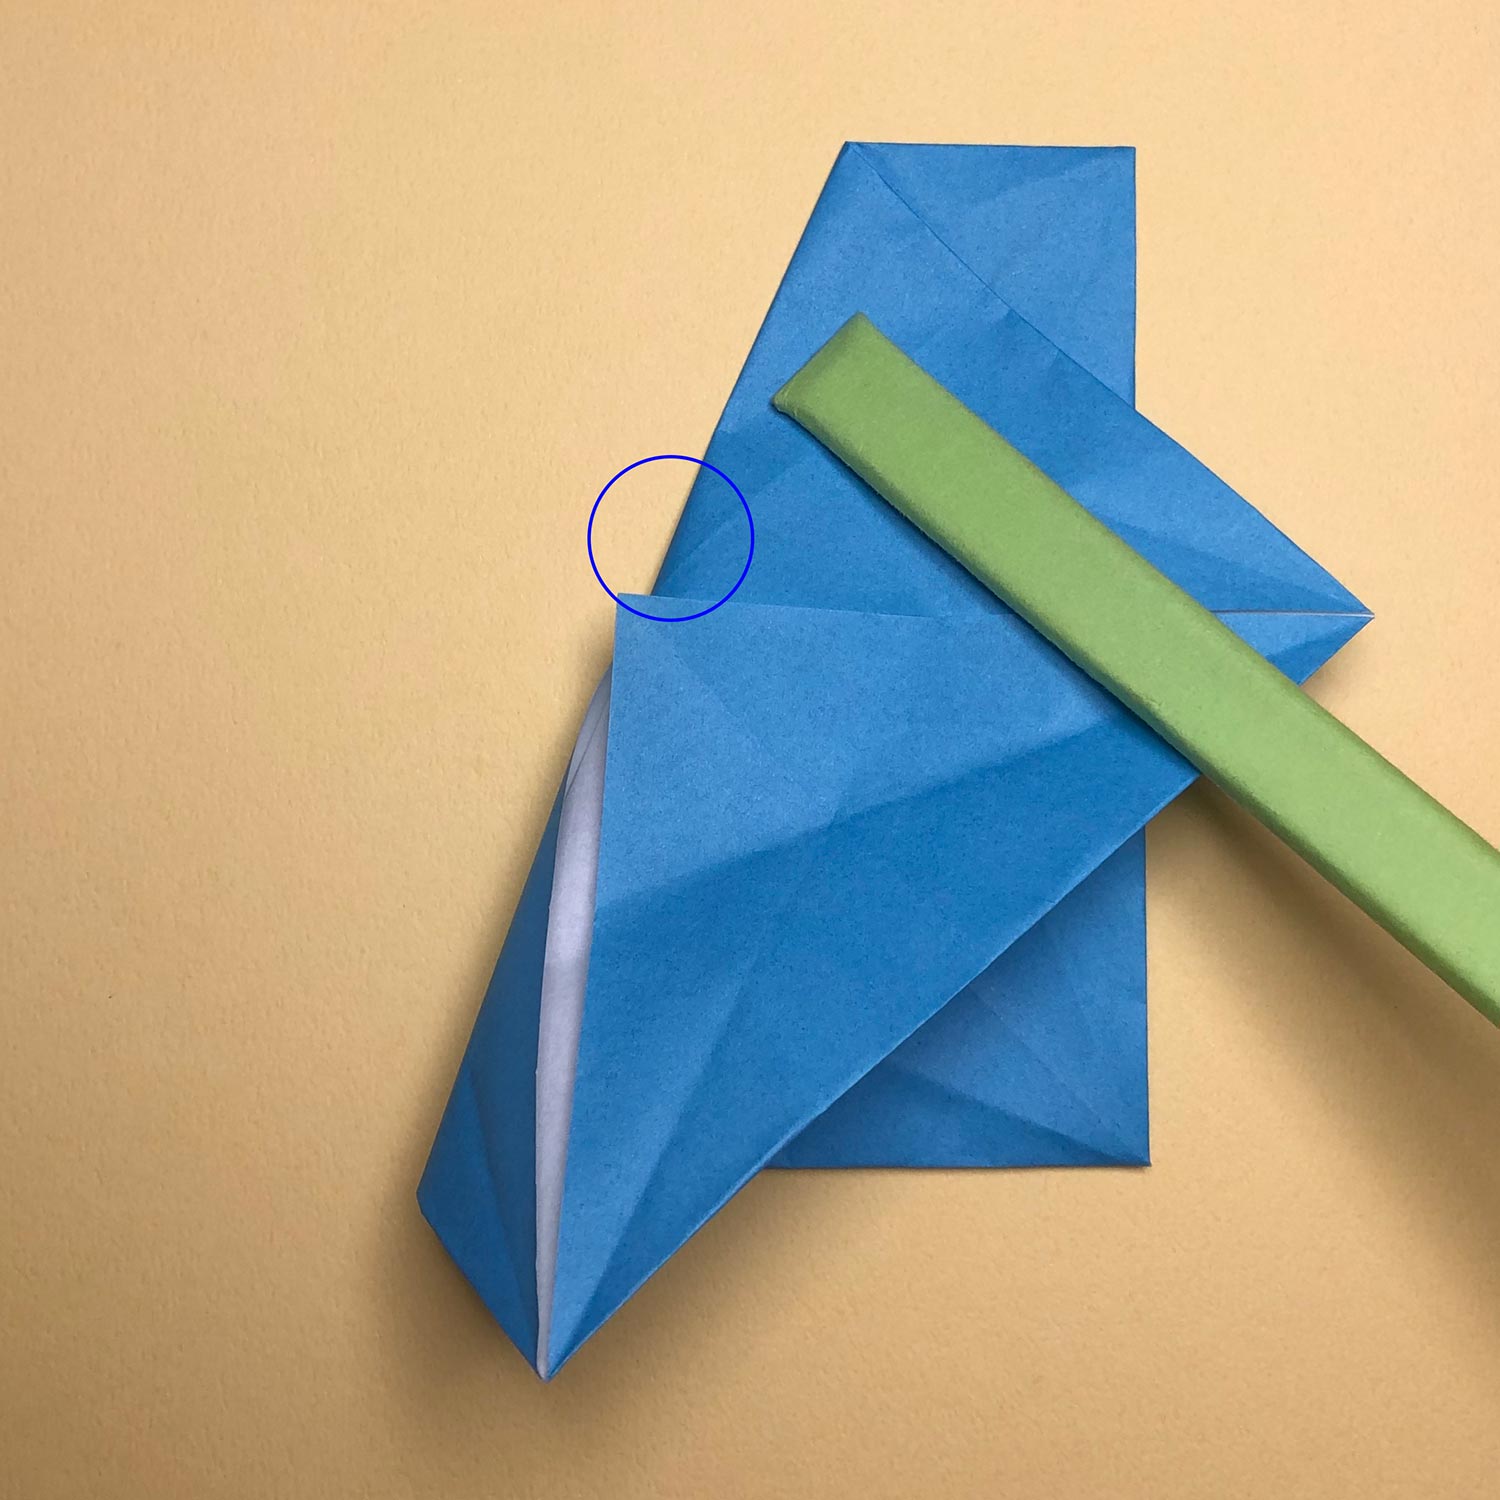
On the other side too, fold the paper and try not to make a crease at the circled part like this picture.
Then make creases on the other six parts in the same way.

After making creases, it looks like this picture.
Then spread the paper.
After spreading the paper, make creases at the dotted lines.
After making creases, it looks like this picture.
Making creases is completed!
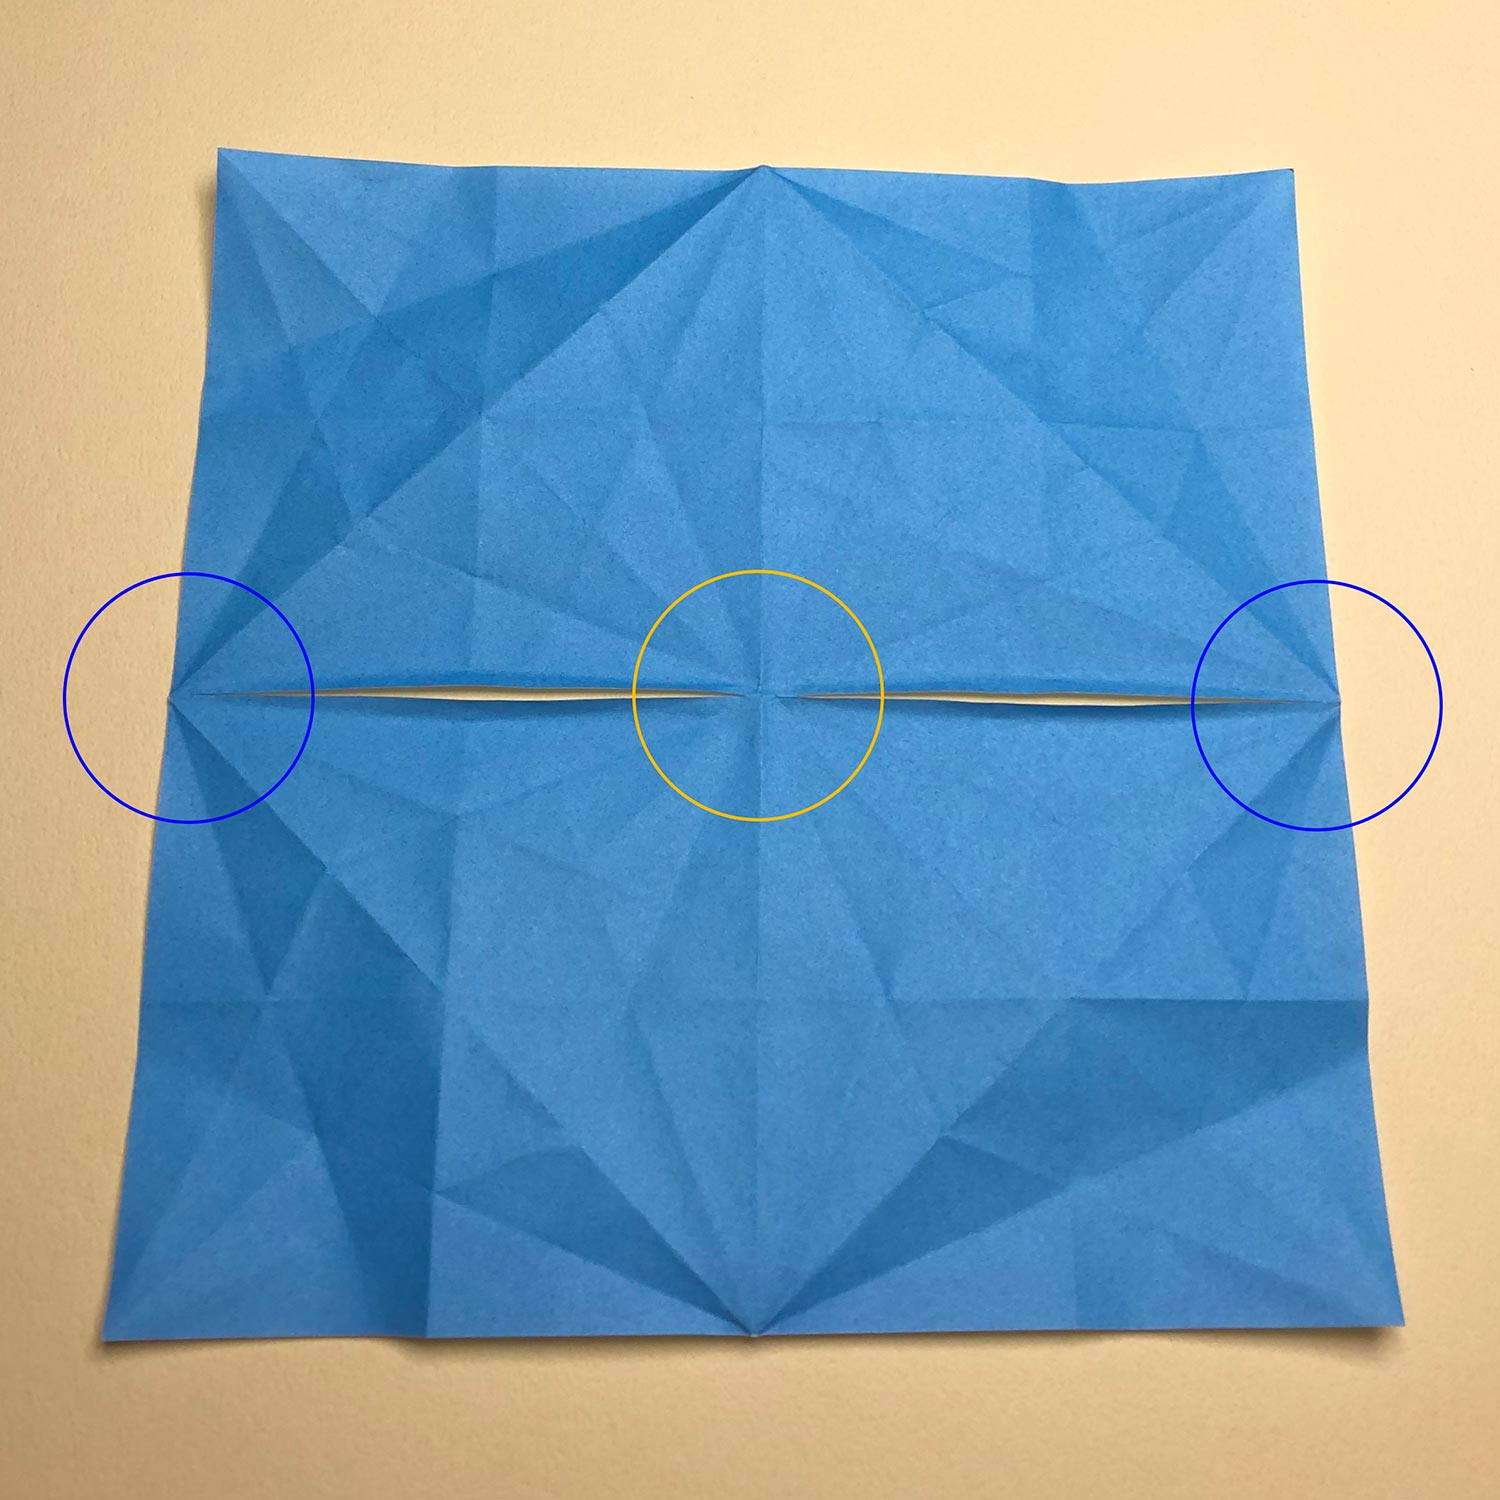
Cut the paper
Cut your paper after making creases!
<reference>『Hiden-Senbazuru-Orikata』- was published in 1797

Cut the paper while referencing the diagram.
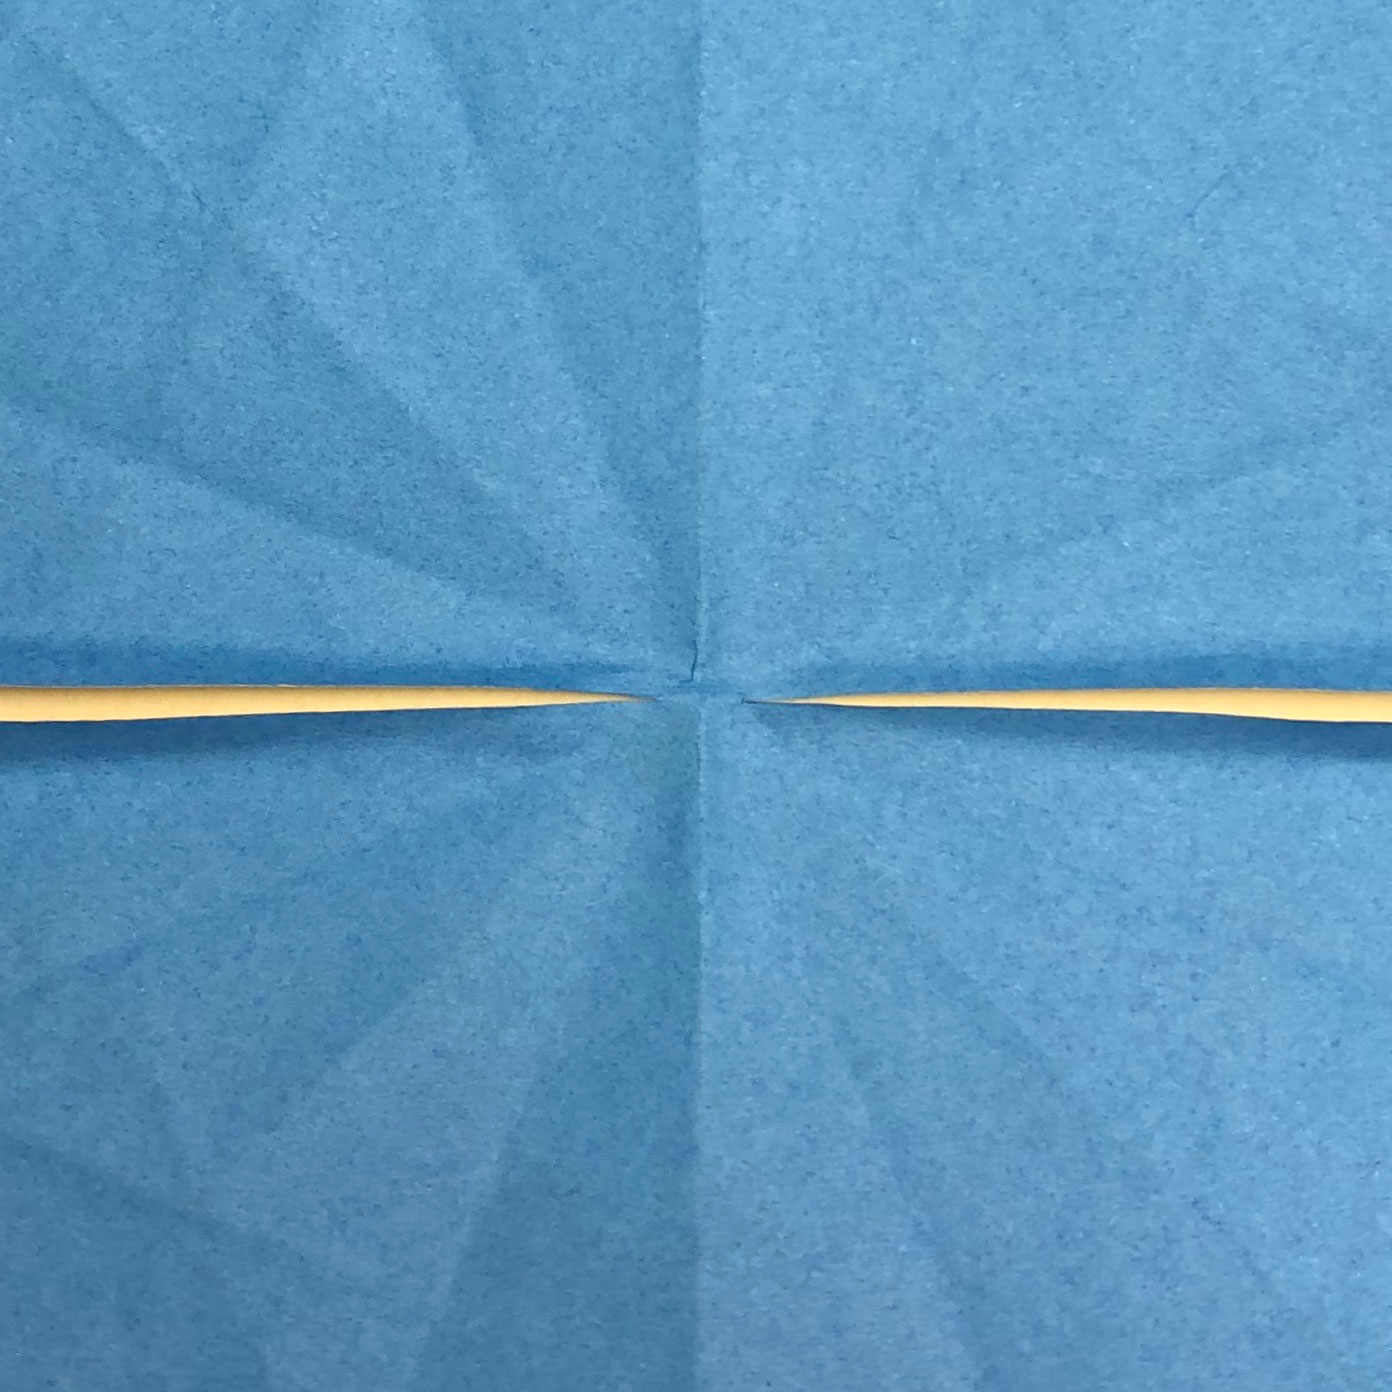
This is an enlarged picture.
I used a 17.5×17.5cm paper.
I left about 4mm for the length of the center connecting part.
(2+2mm=4mm)
If the center connecting part is long, it will tear easily.
Therefore, cut the paper so that the center connecting part is not too long and not too short.

I left about 3mm for the length of the outside connecting part.
Make sure the direction of each crane
Make sure the direction of each crane
When making Renzuru, to fold cranes while making sure the direction of each crane is very important.
On this site, I will draw lines on each square in a picture.
Make cranes so that the lines are changed to wings.
I recommend that you draw lines lightly on the back in order not to make a mistake.
Make cranes so that the circled part in yellow is changed to a beak and the circled parts in blue are changed to wings.
After making sure the direction of each crane, make the model – Aioi.
In the next pages, there is how to make the model.
If you try to make it by yourself, I recommend that you don’t look at the next page!