Make Hana-tachibana

(1)
Start with folding the bottom square.
(2)
Fold the paper like this picture.
(Fold the top square in half and fold four corners of the bottom square to the center point.)
Then turn the paper over as it is.
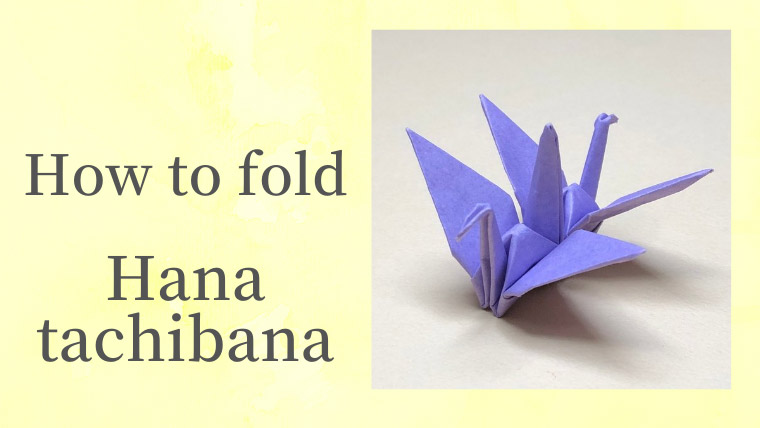
(3)
Turn the paper over like this picture.
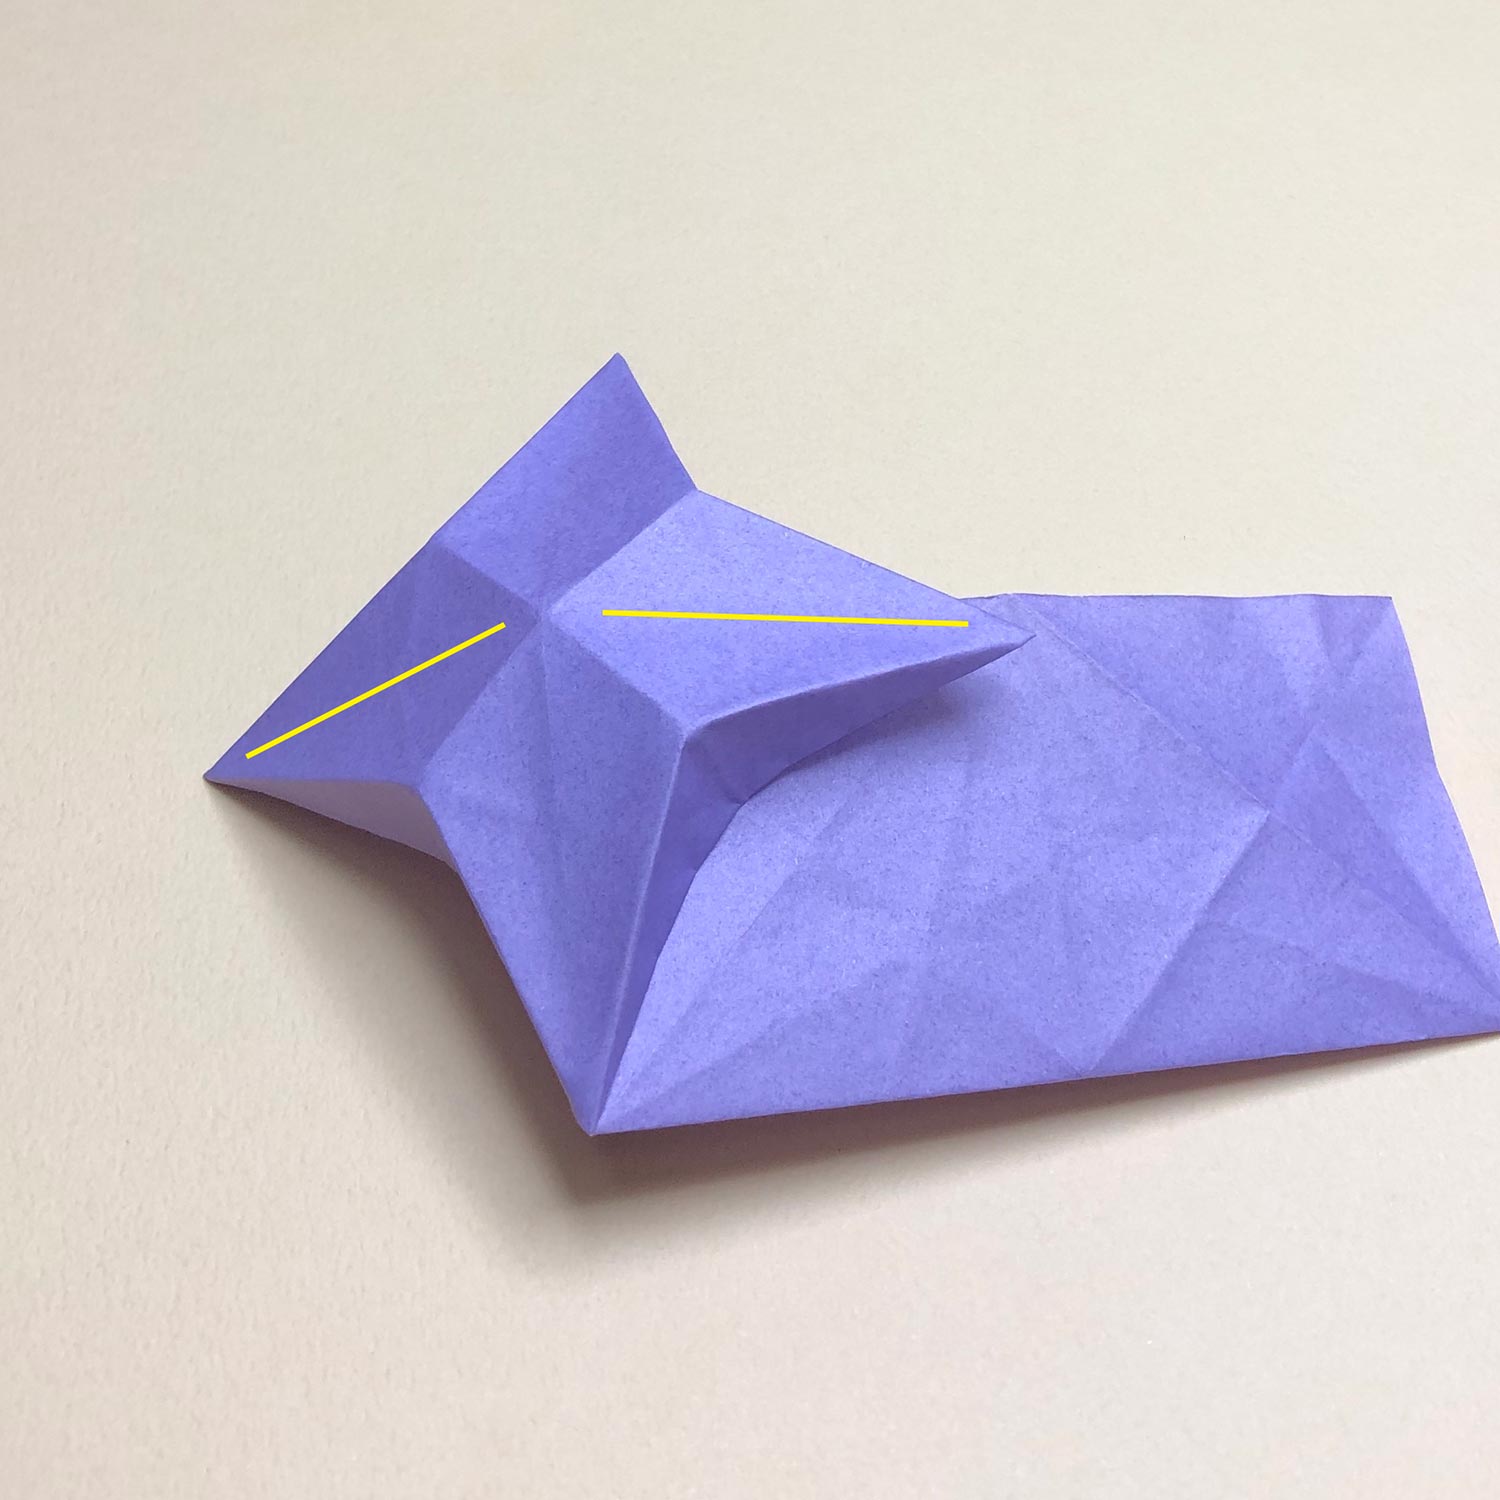
(4)
Make a star-shape like this picture.
Then make a bird-base so that the yellow lines are changed to wings.
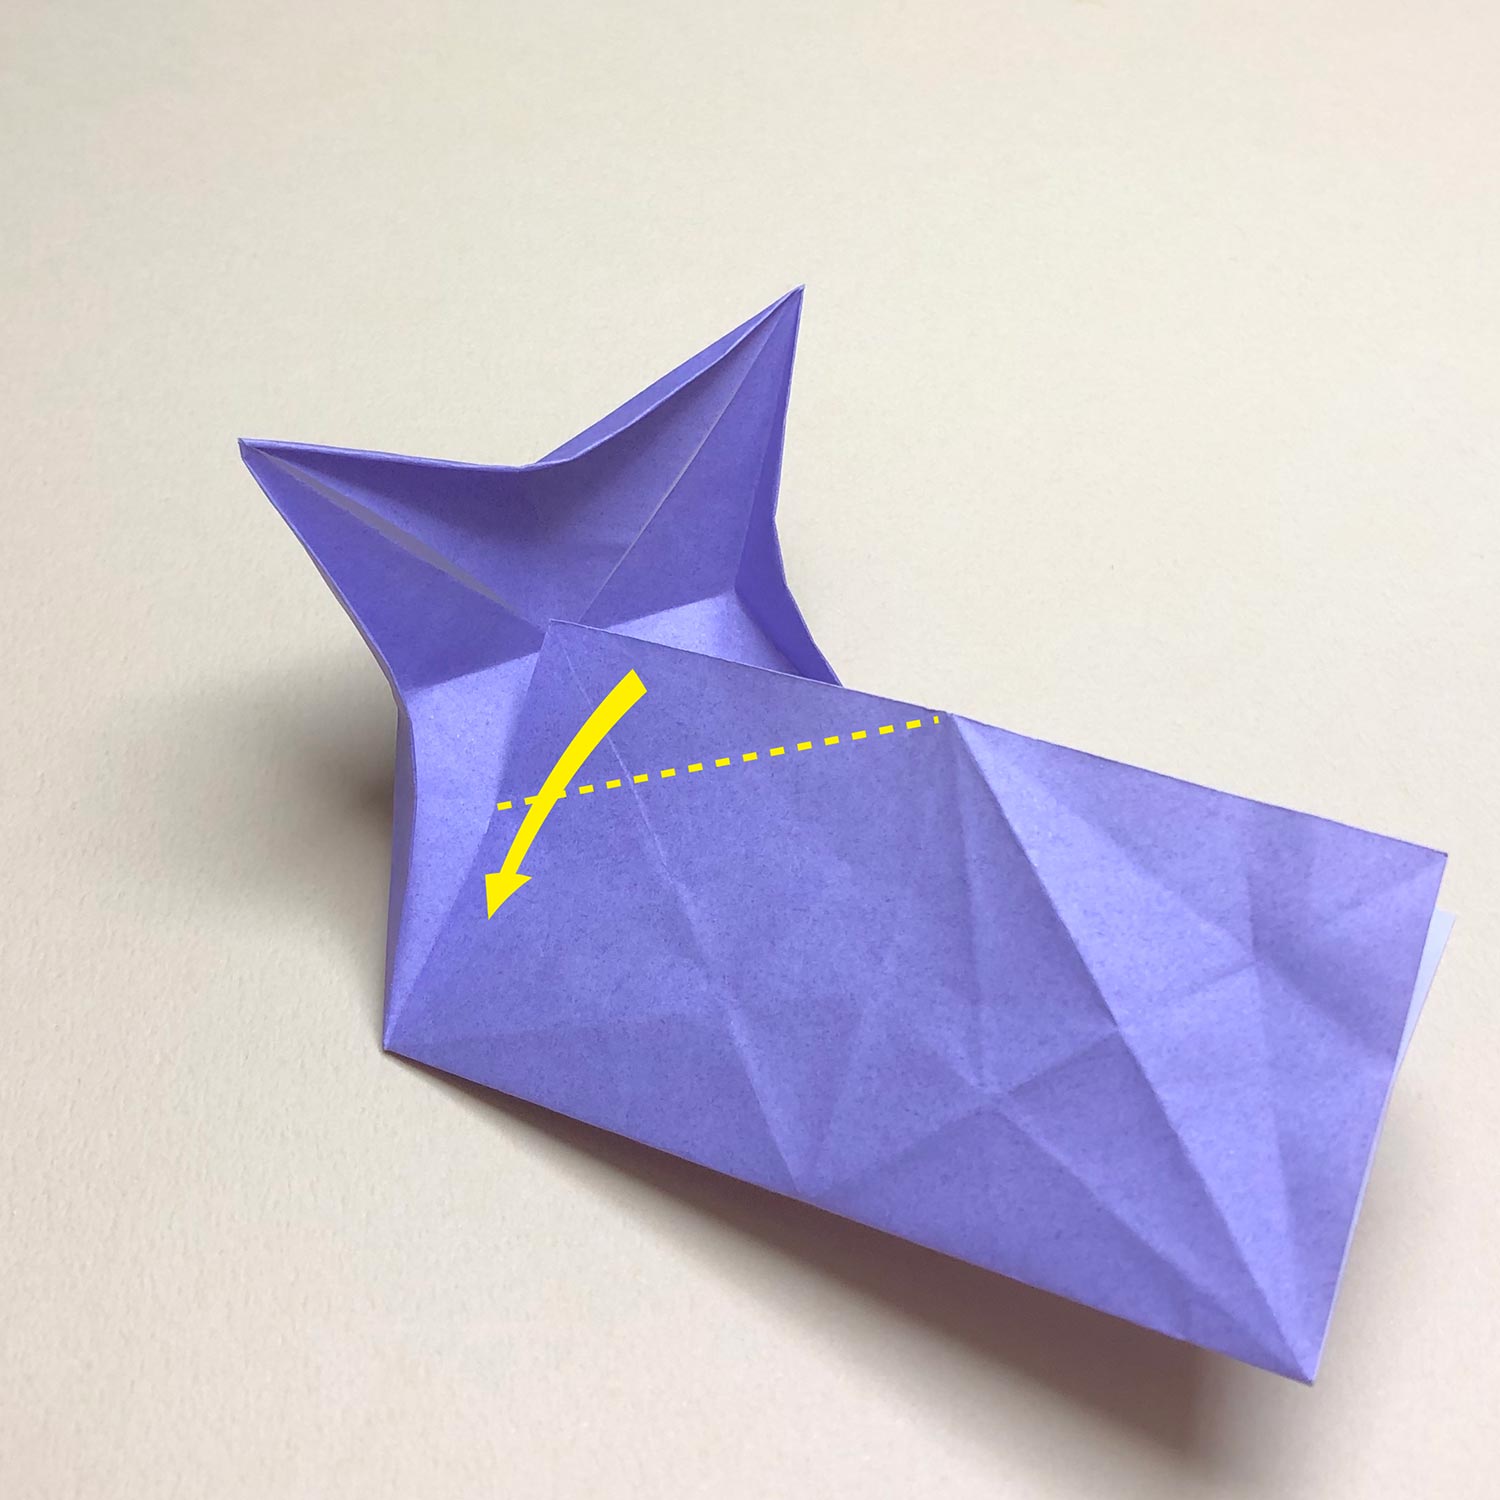
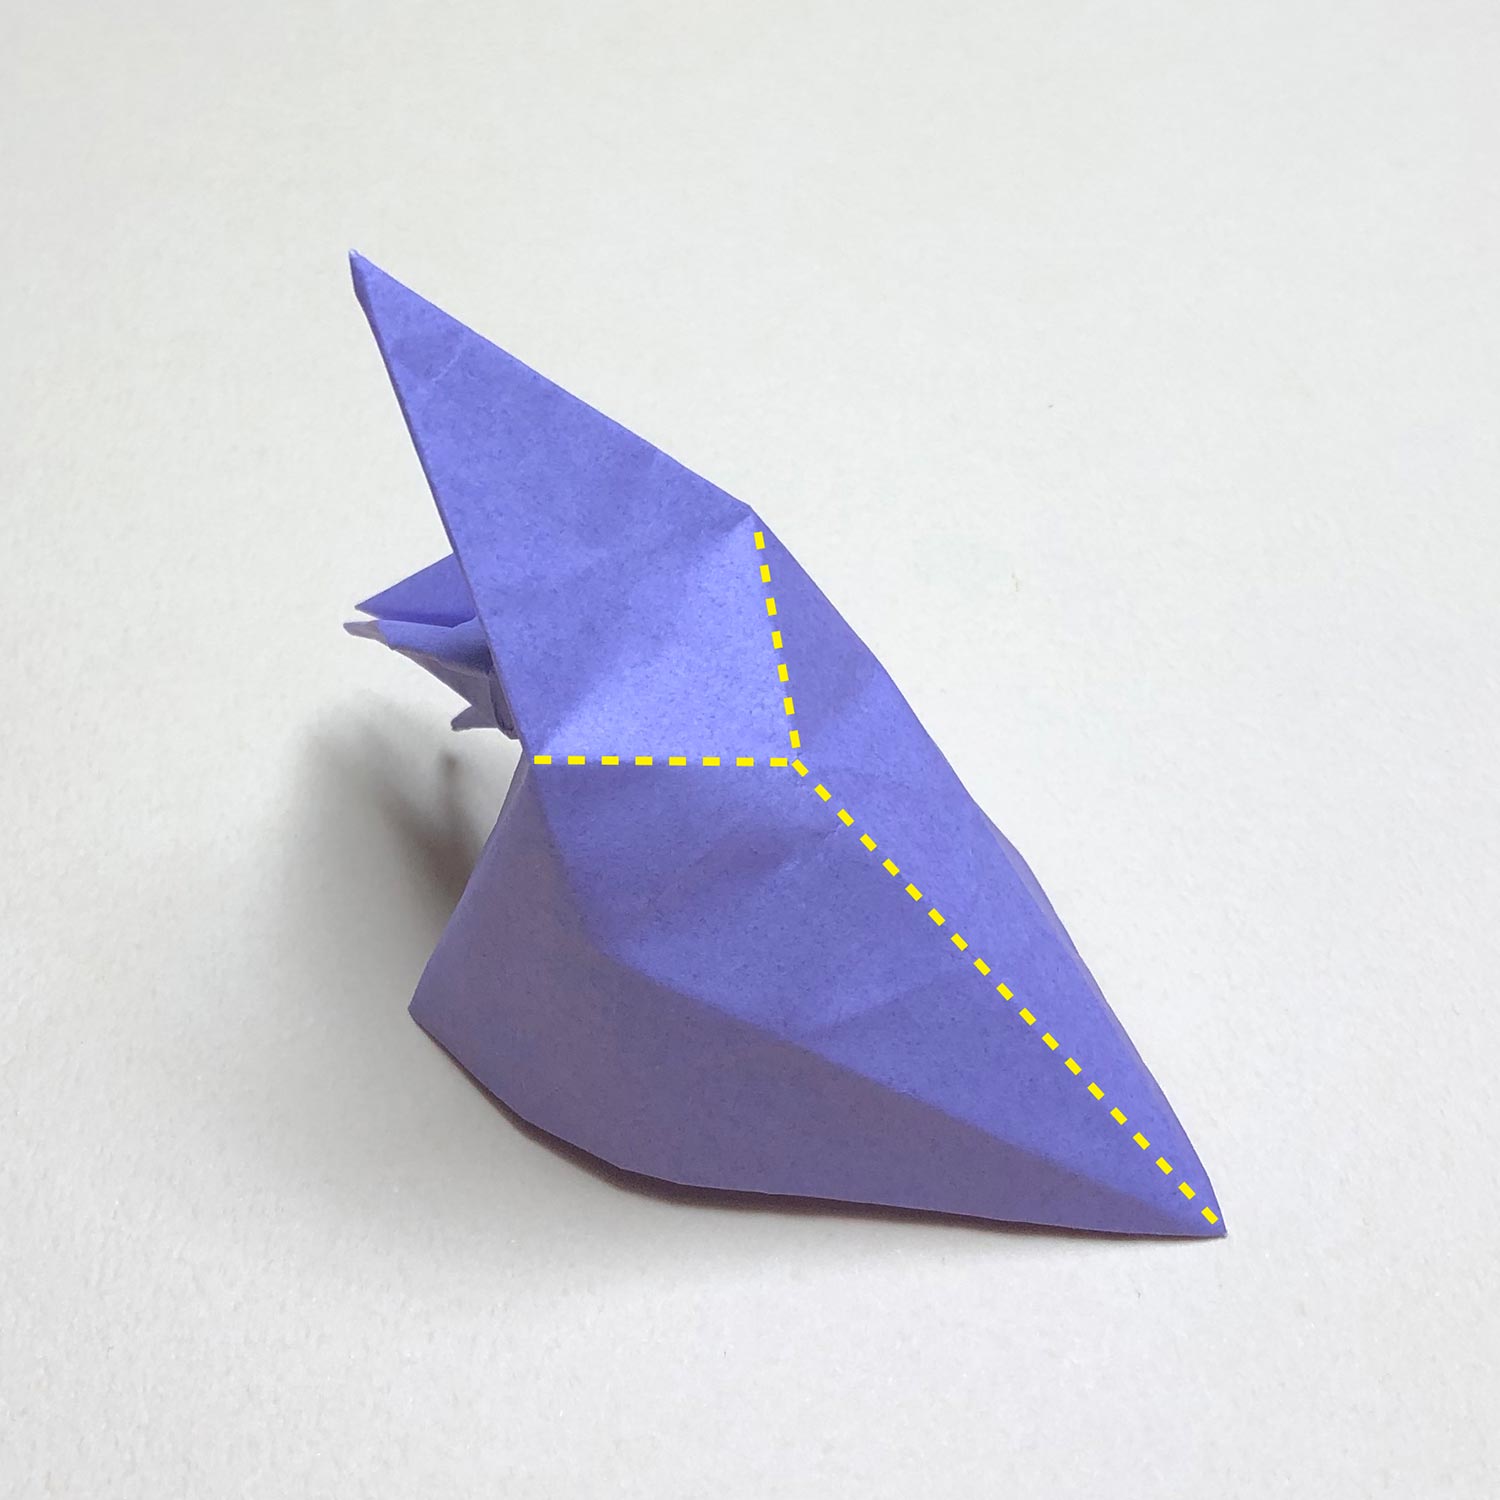
(5)
In order to make space to make a bird-base, fold the paper at the dotted line.
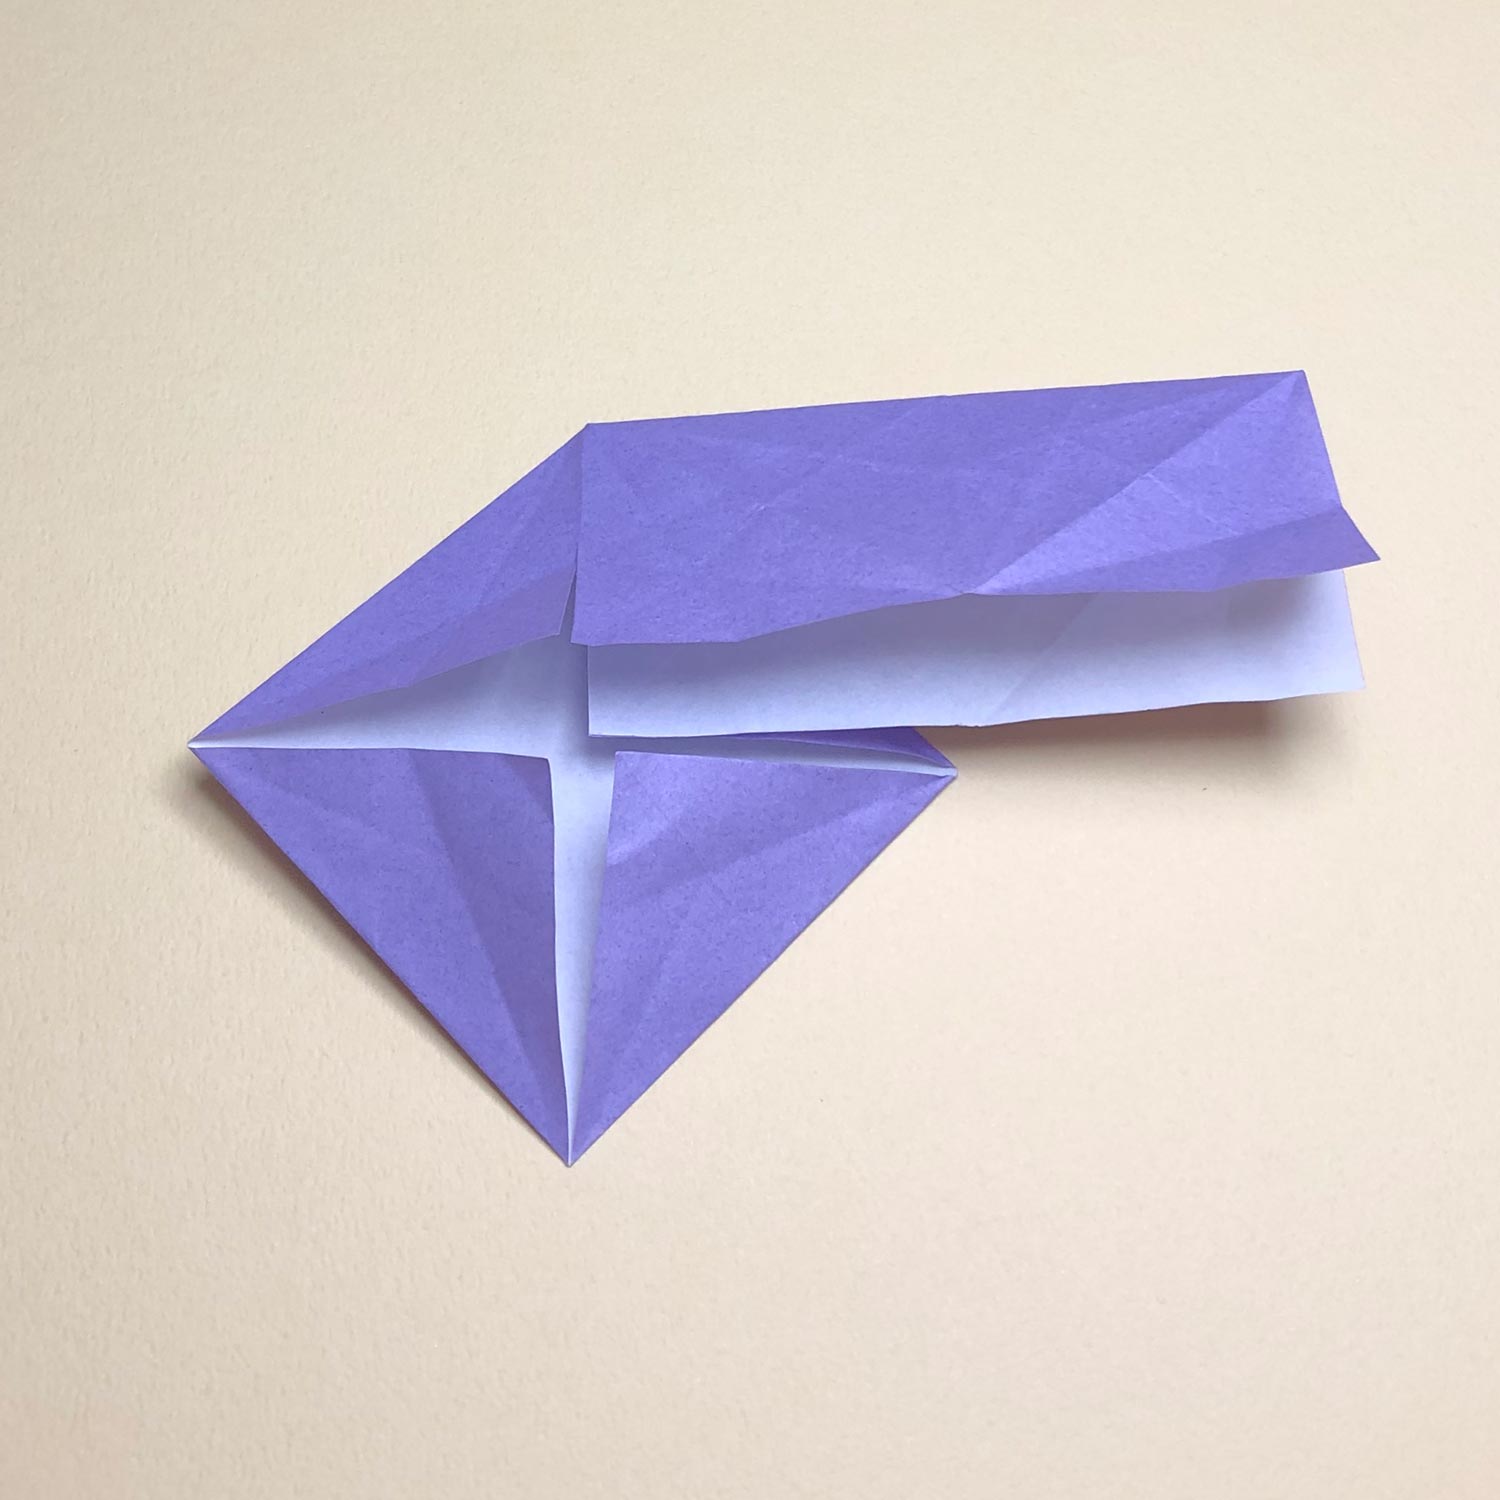
(6)
Fold the paper like this picture.
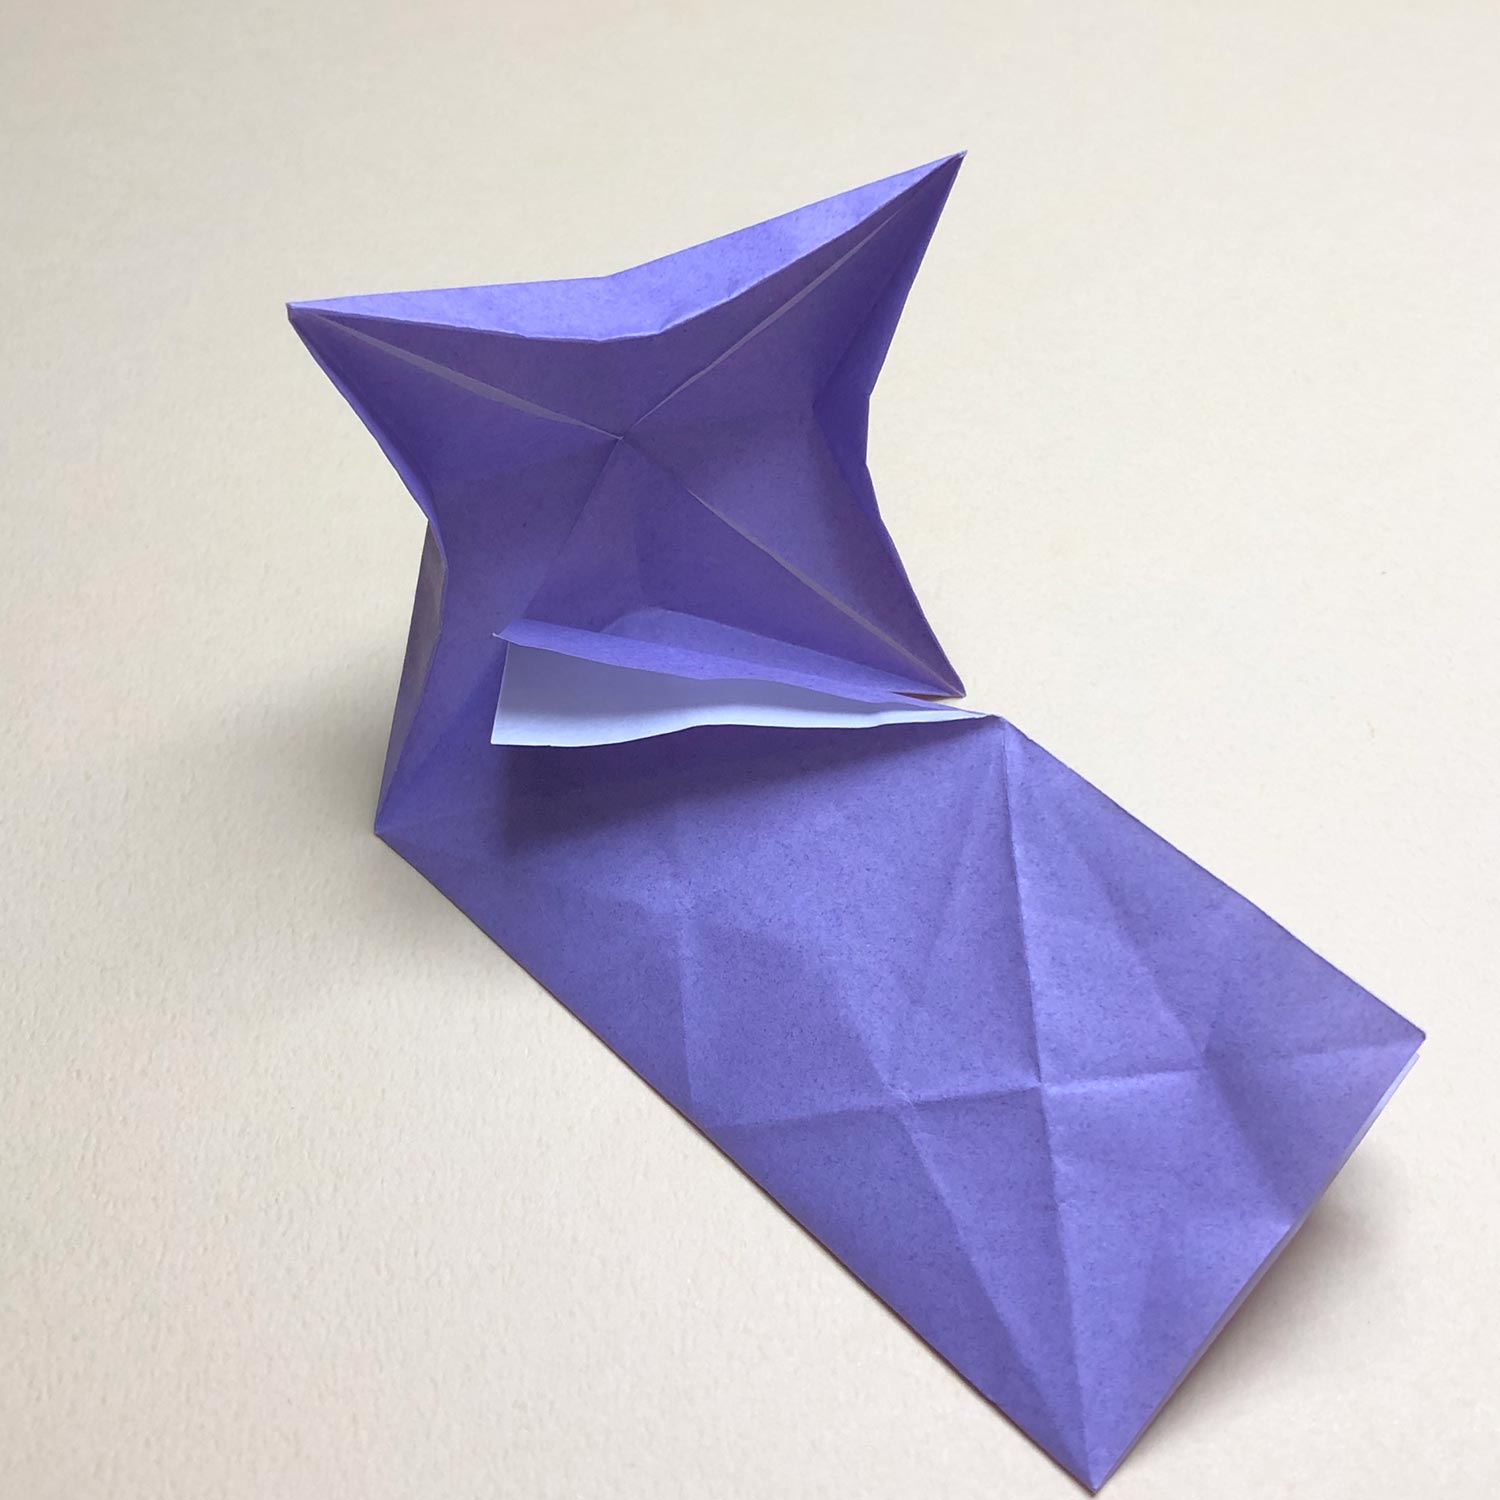
(7)
Make a bird-base while moving the top part in the direction of the arrow.
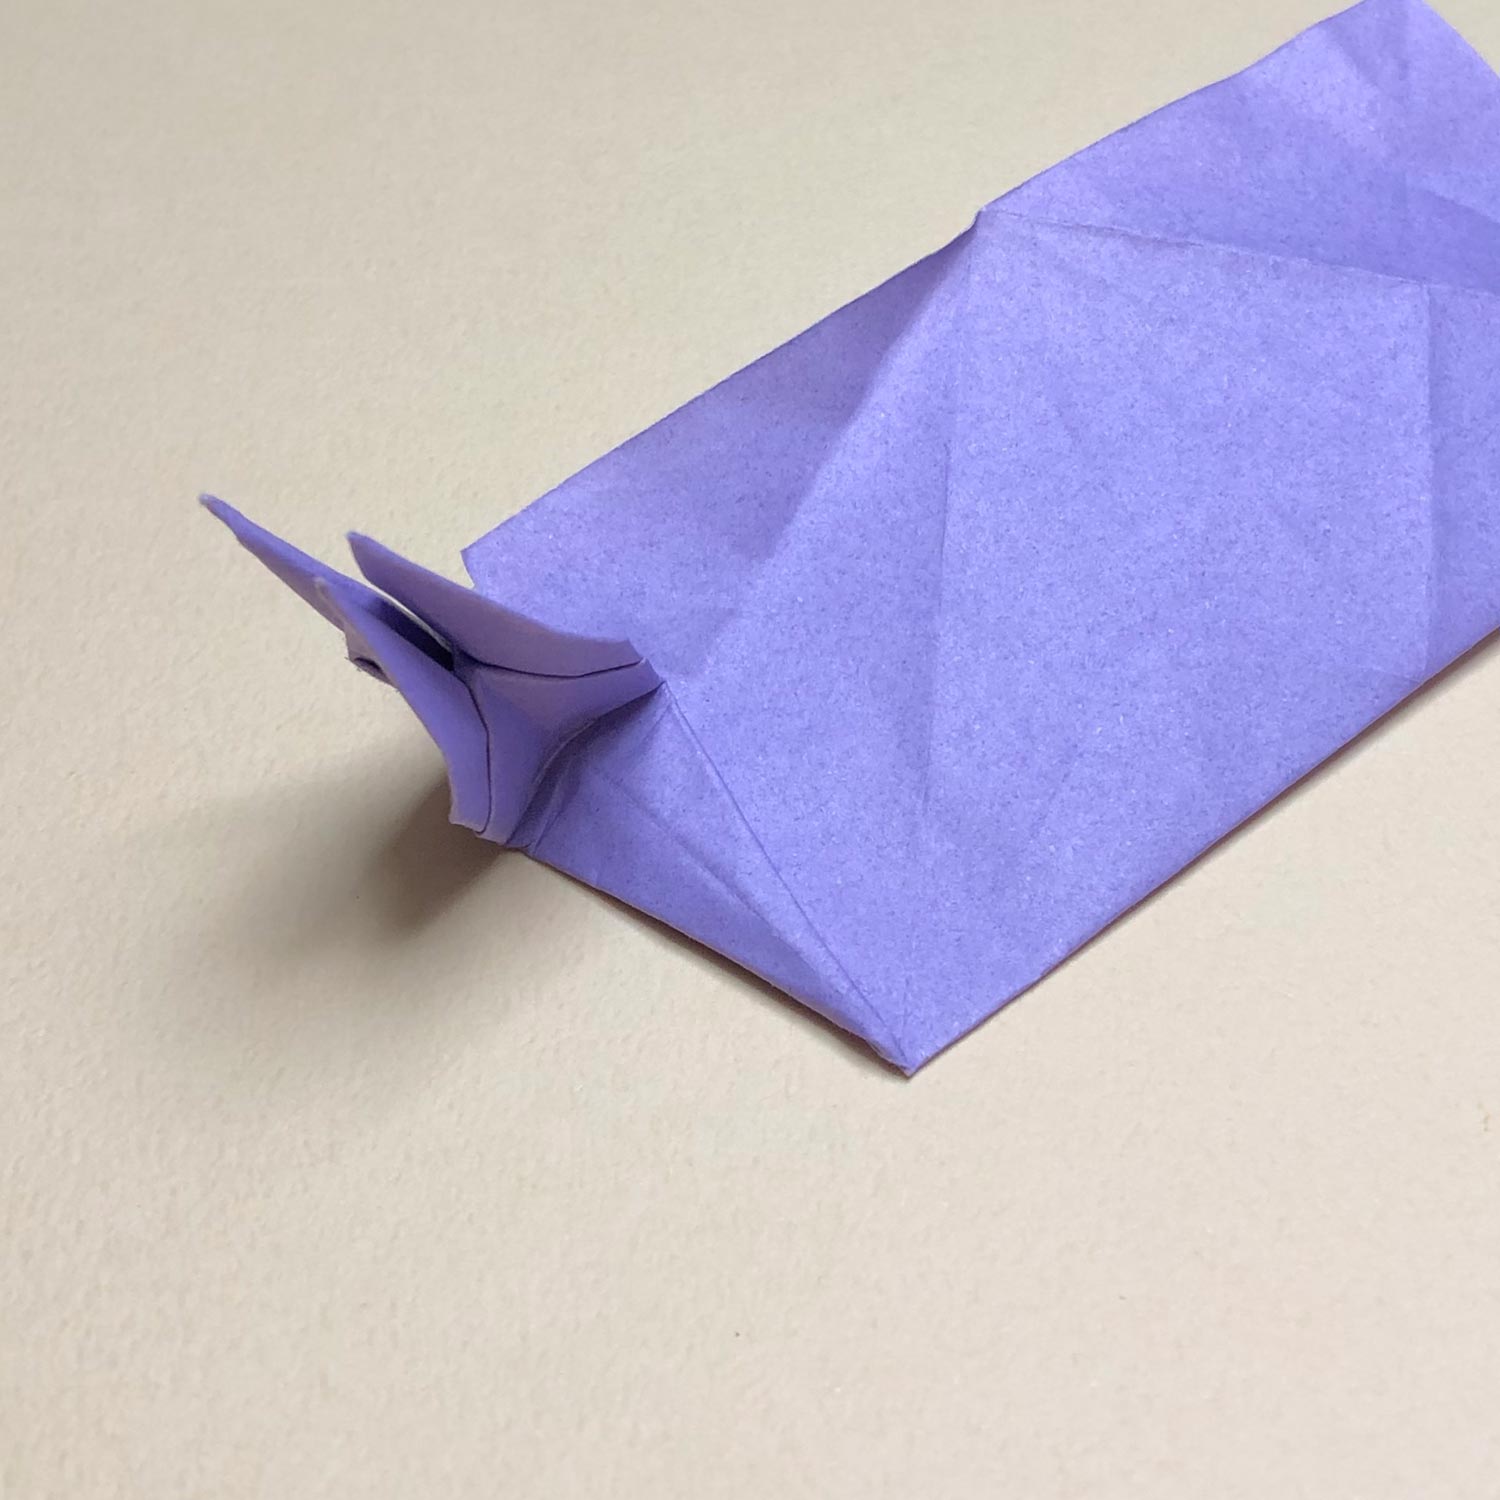
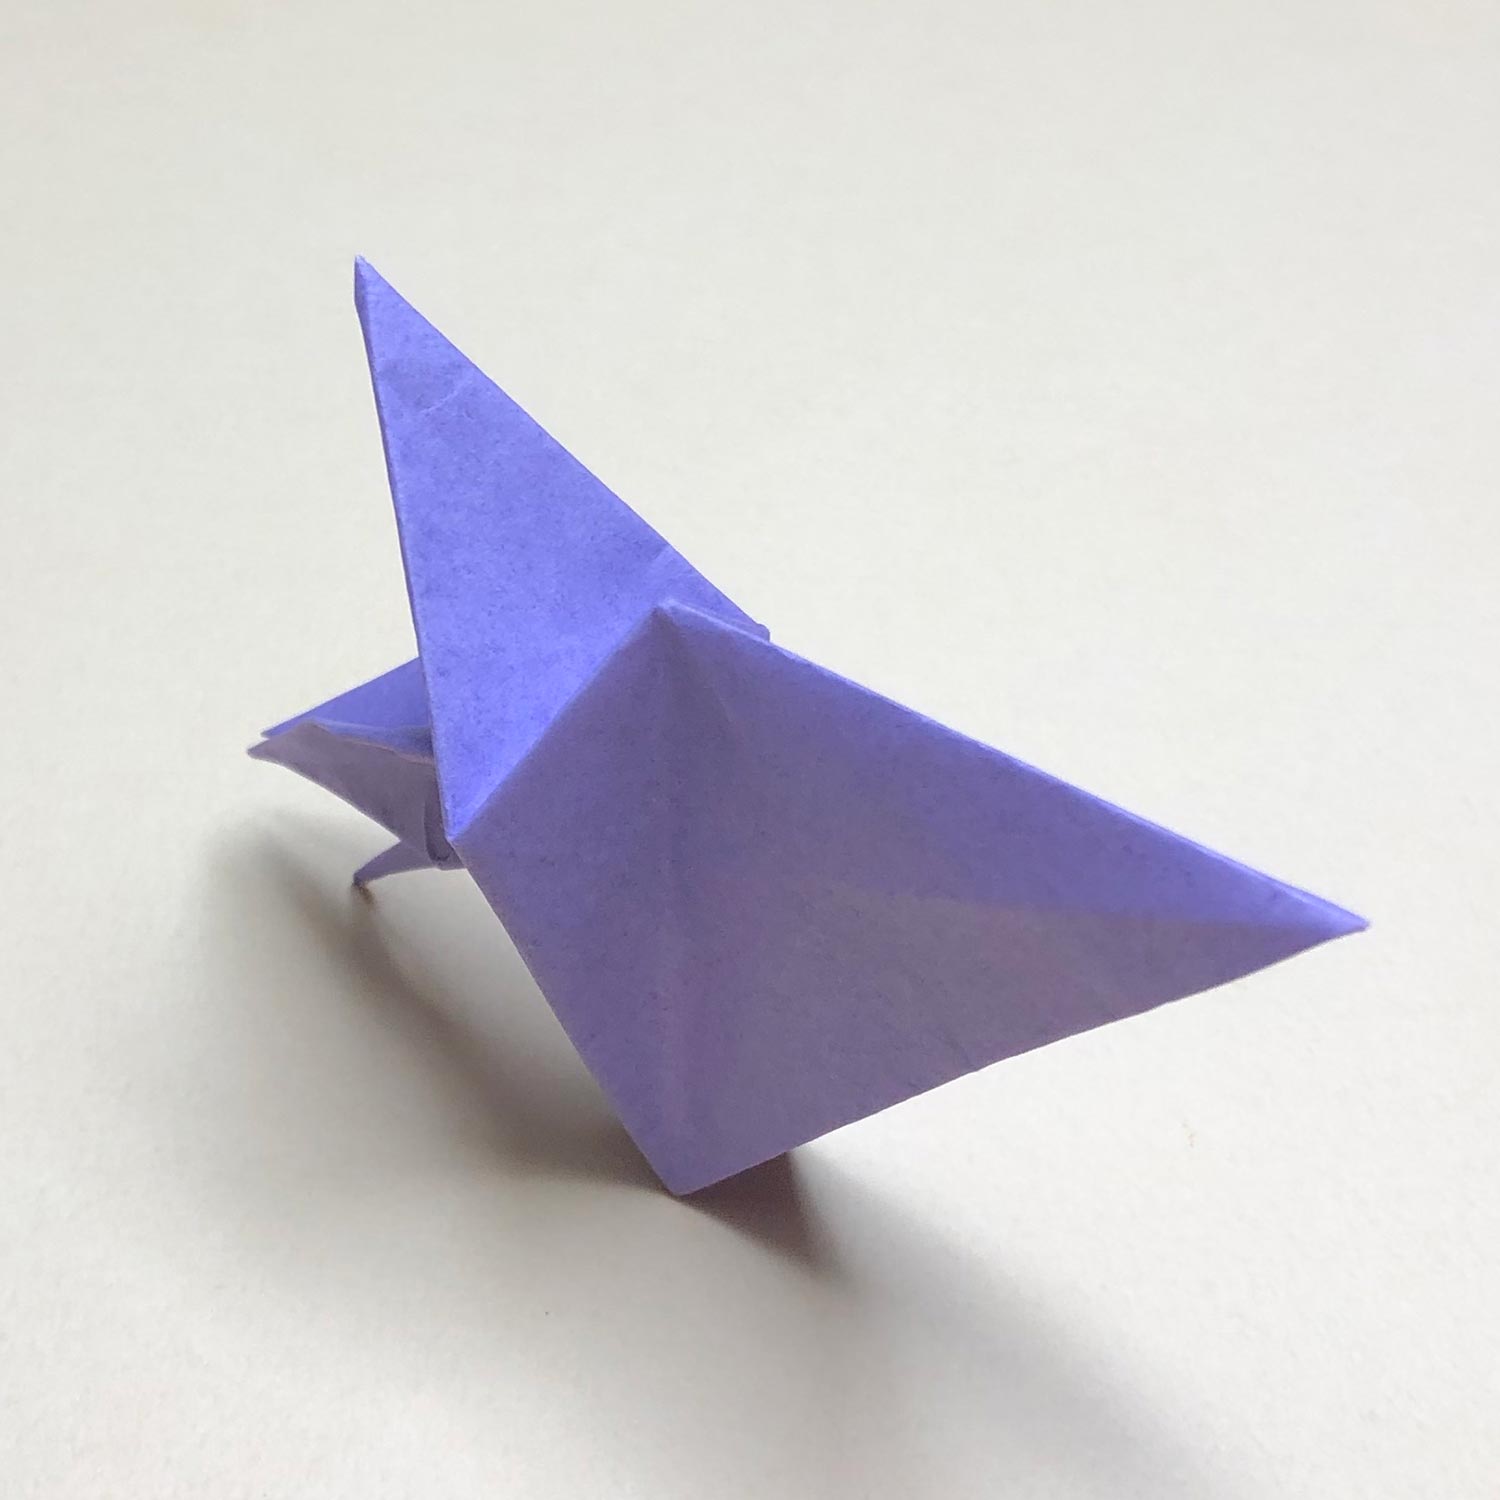
(8)
This picture is halfway through.
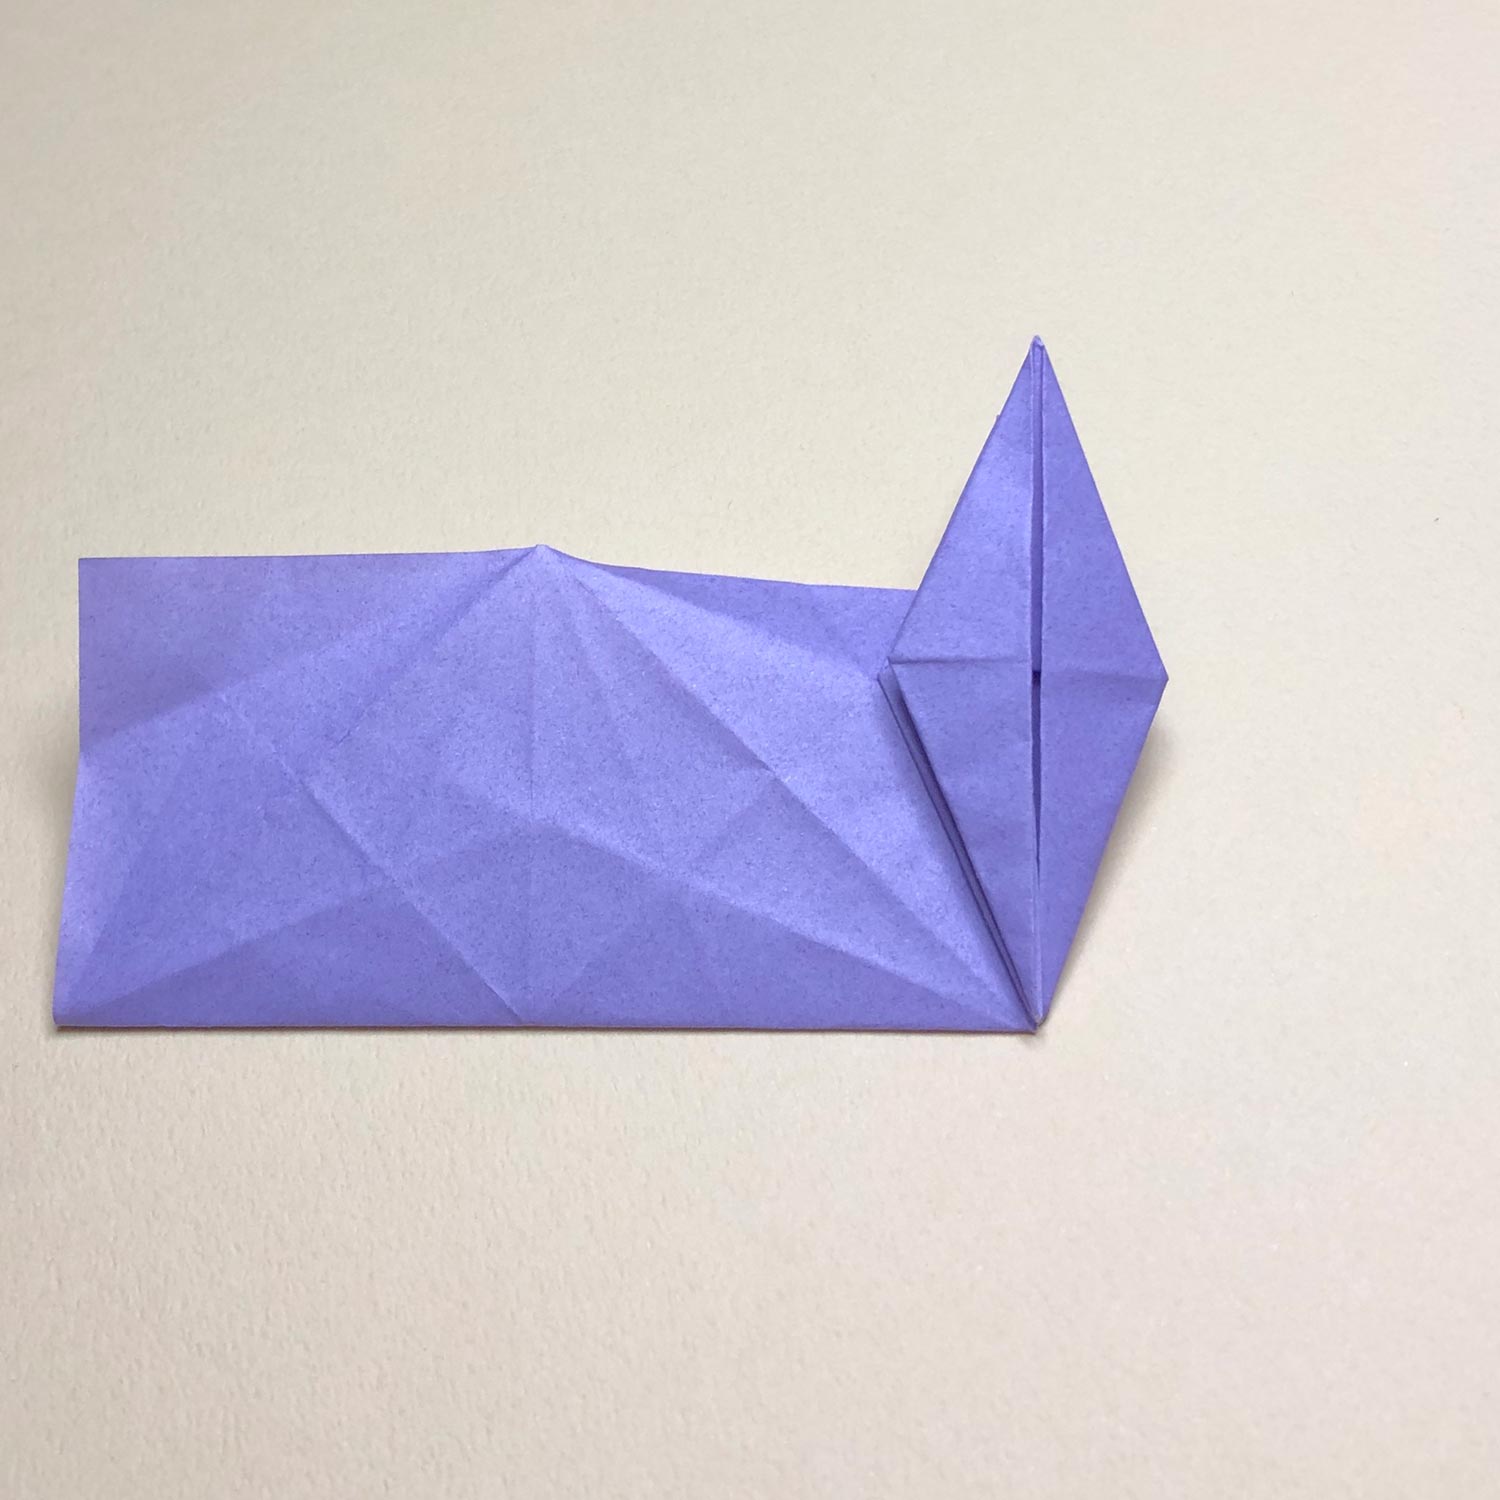
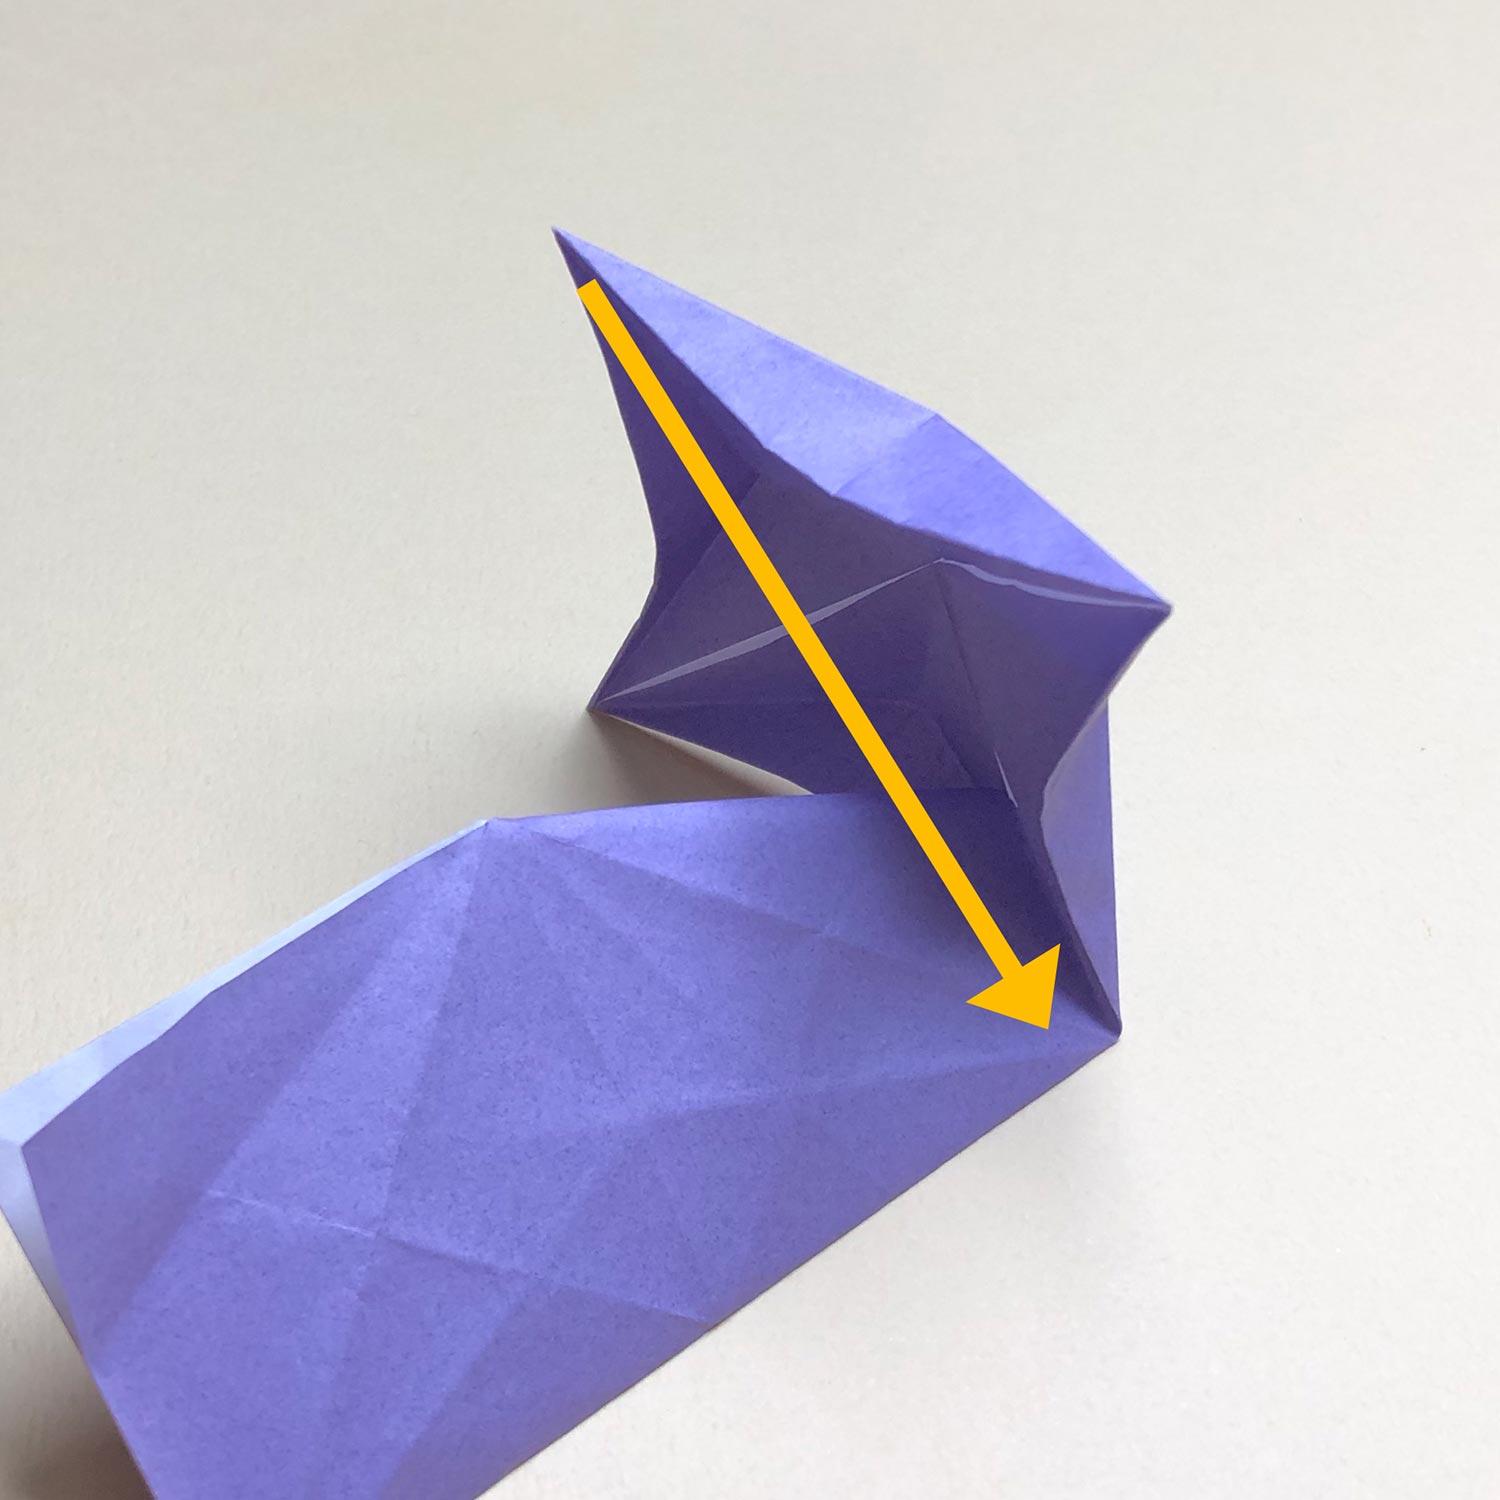
(9)
The bird-base is finished.
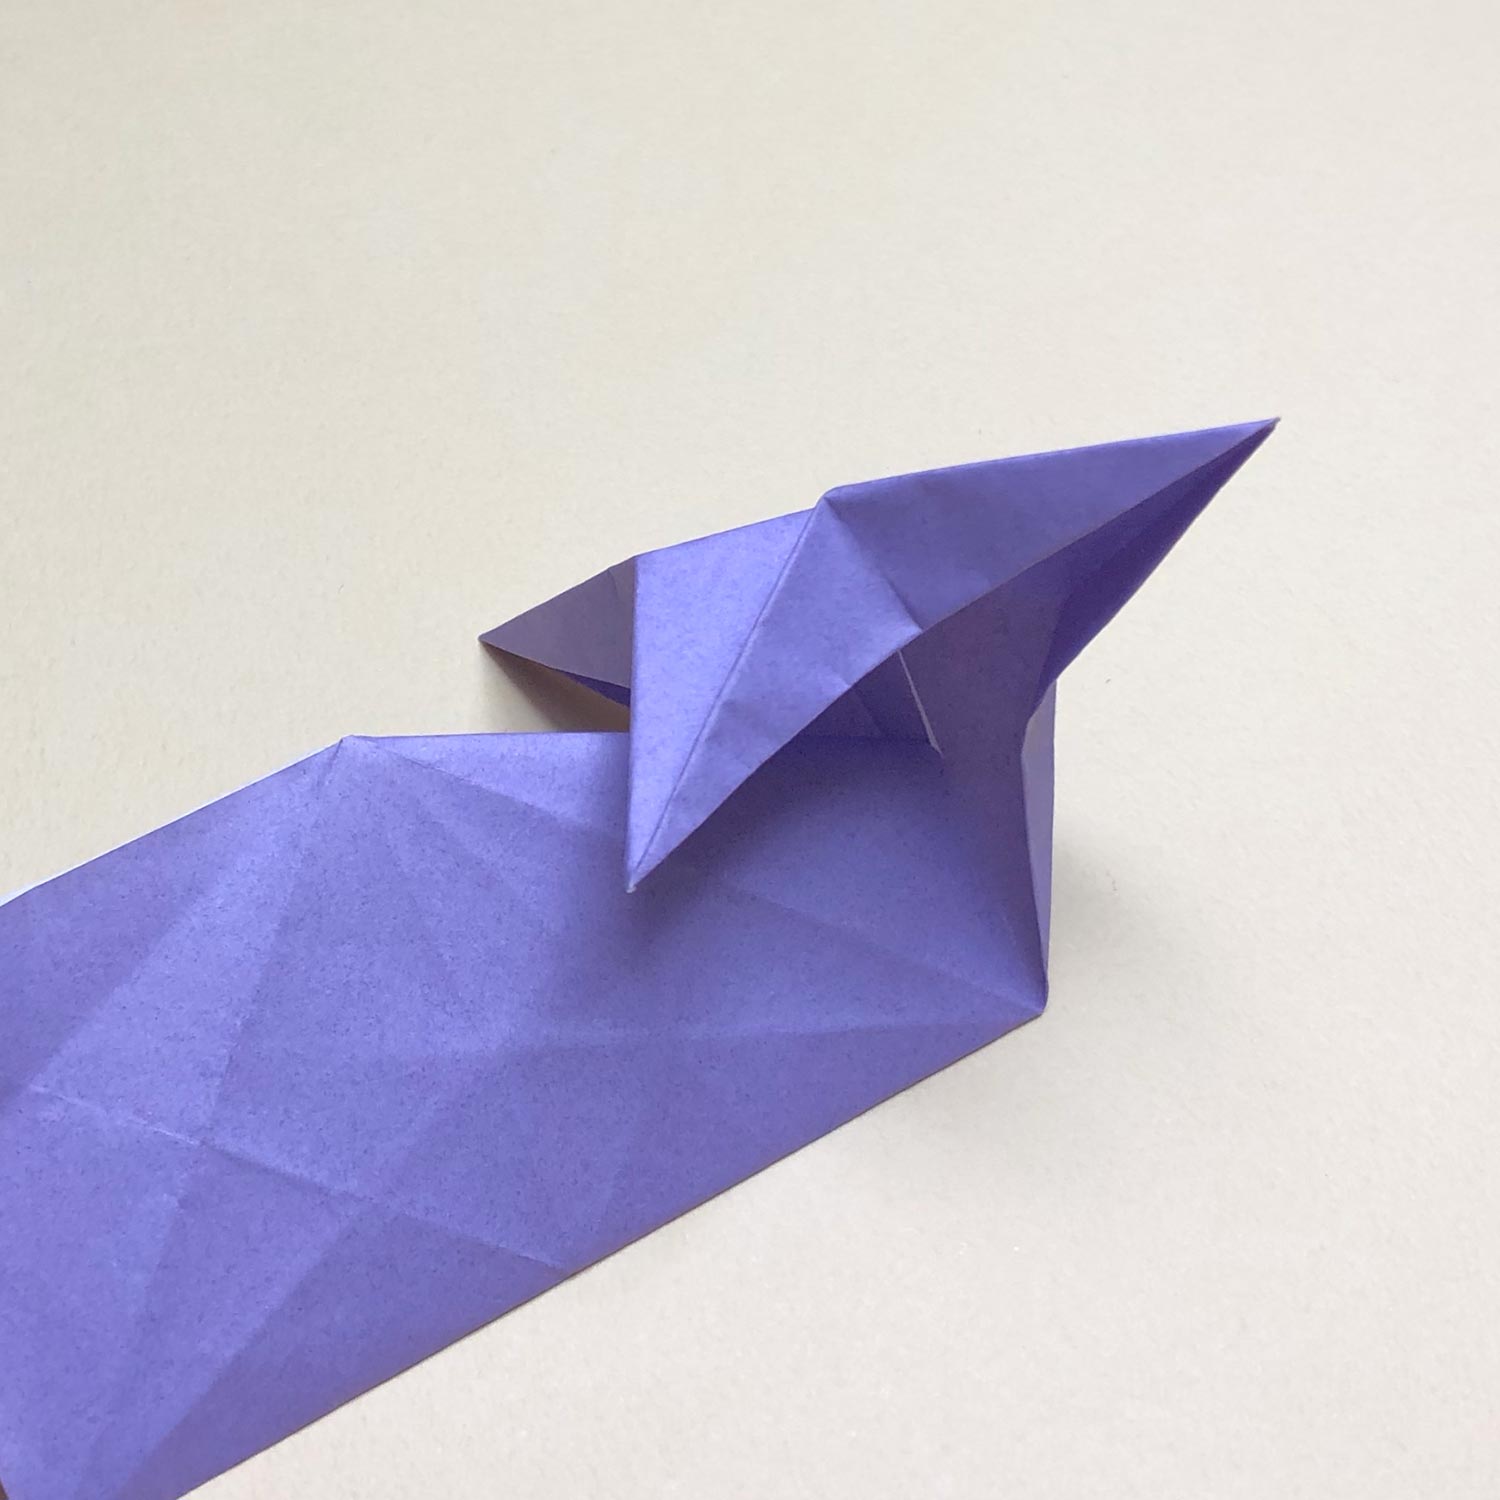
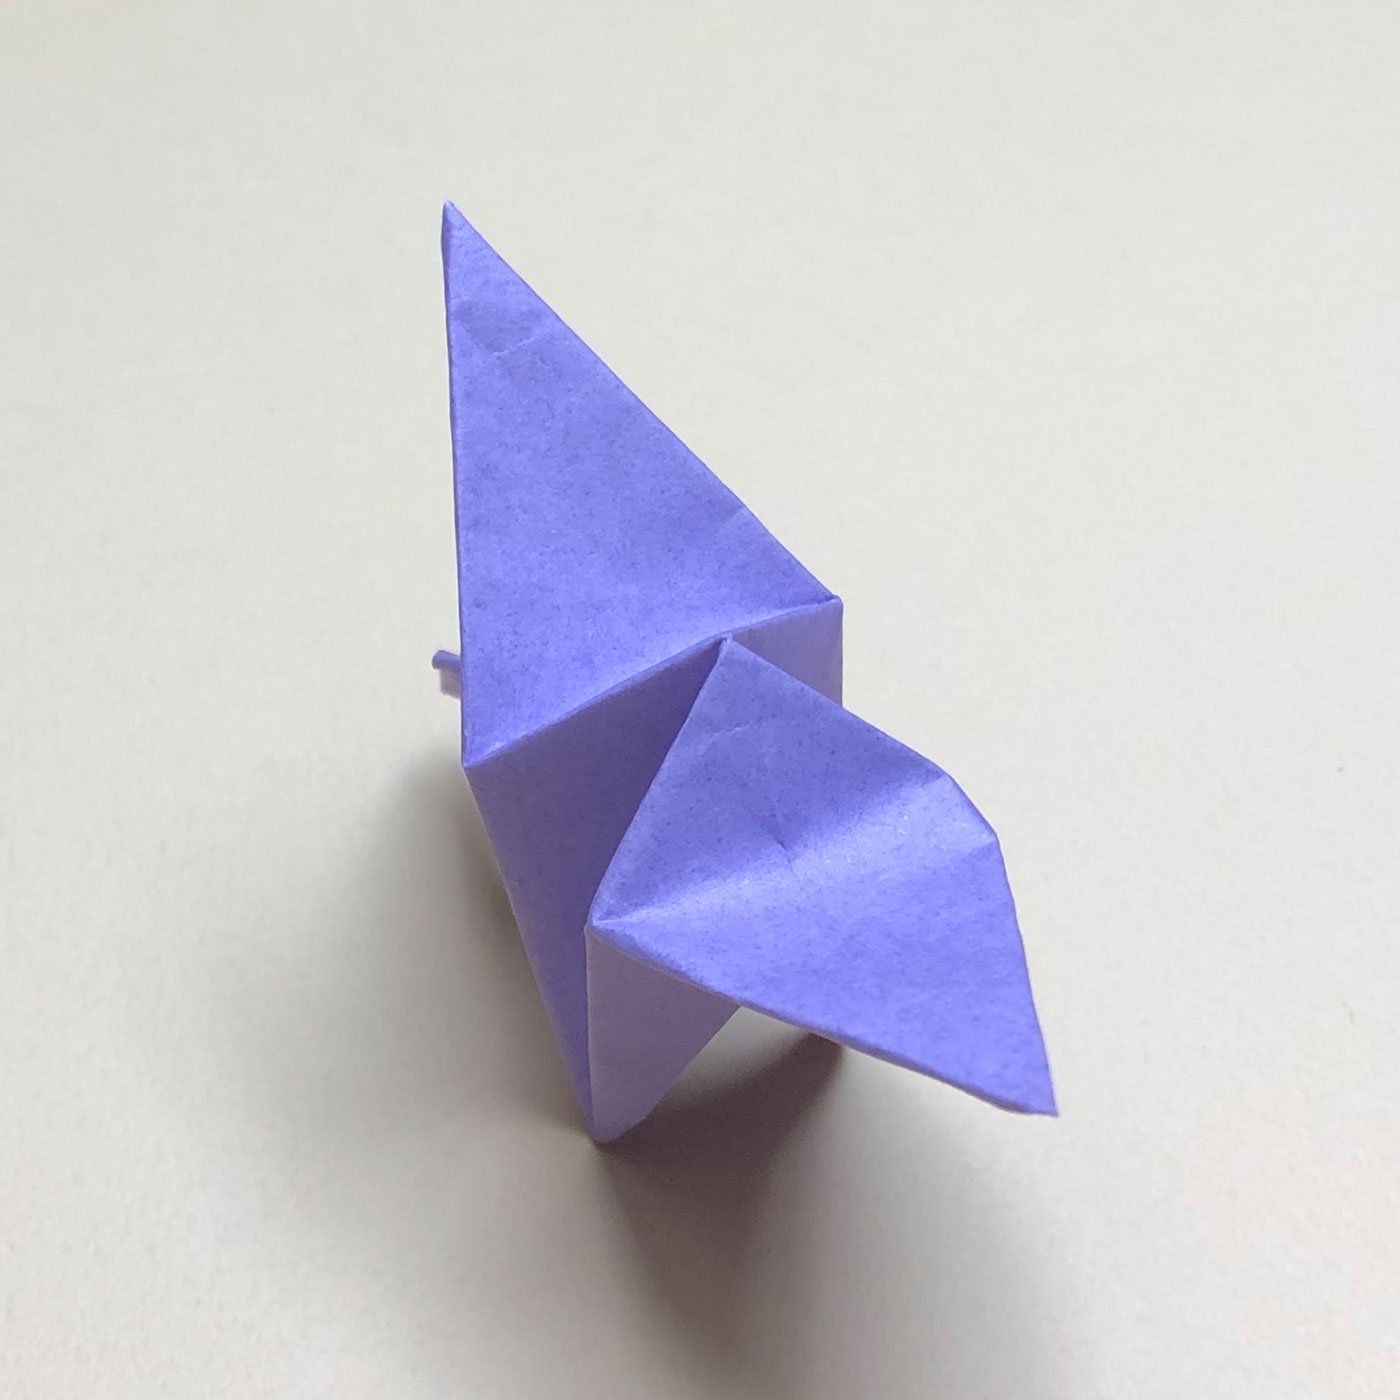
(10)
Fold each of the head/tail to the center.
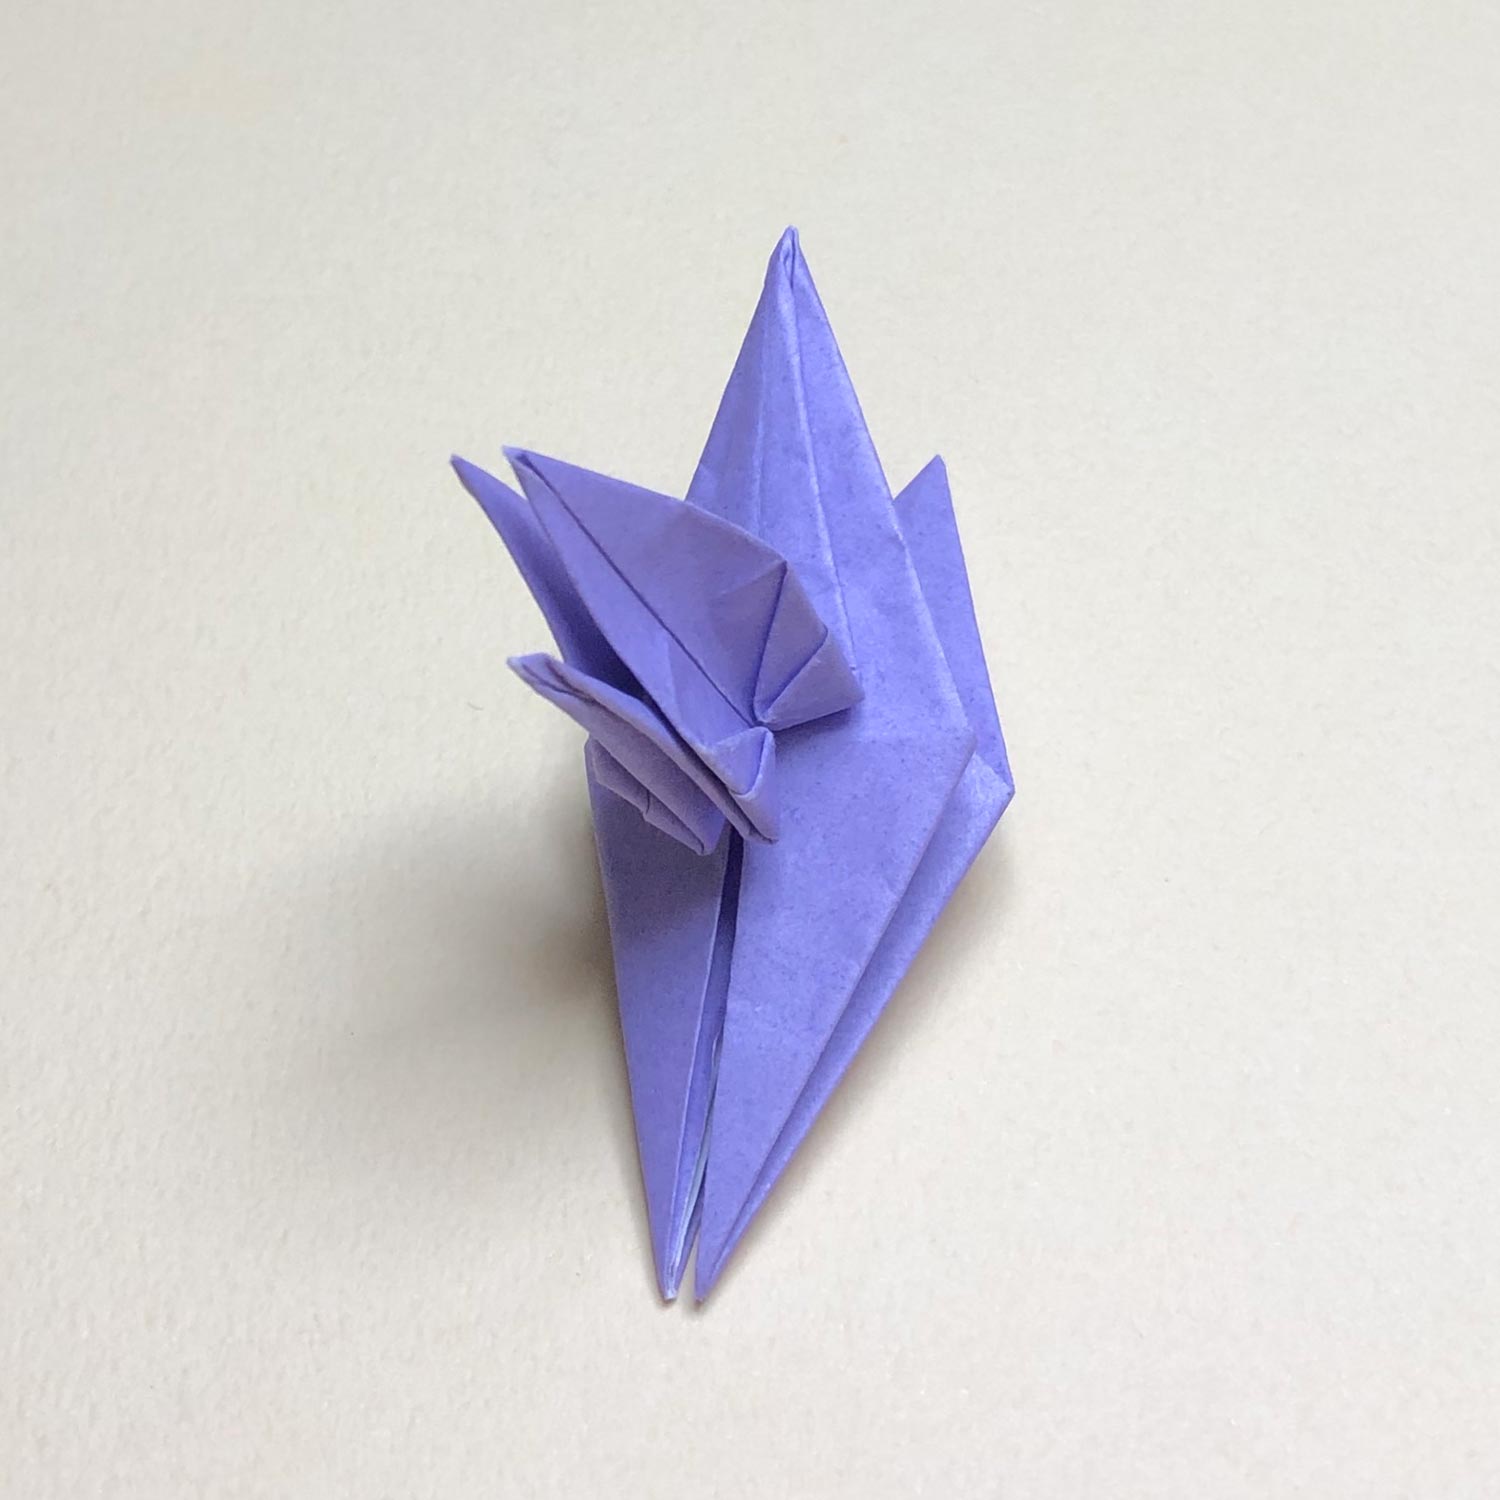
(11)
Then raise the head/tail which is not connected first.
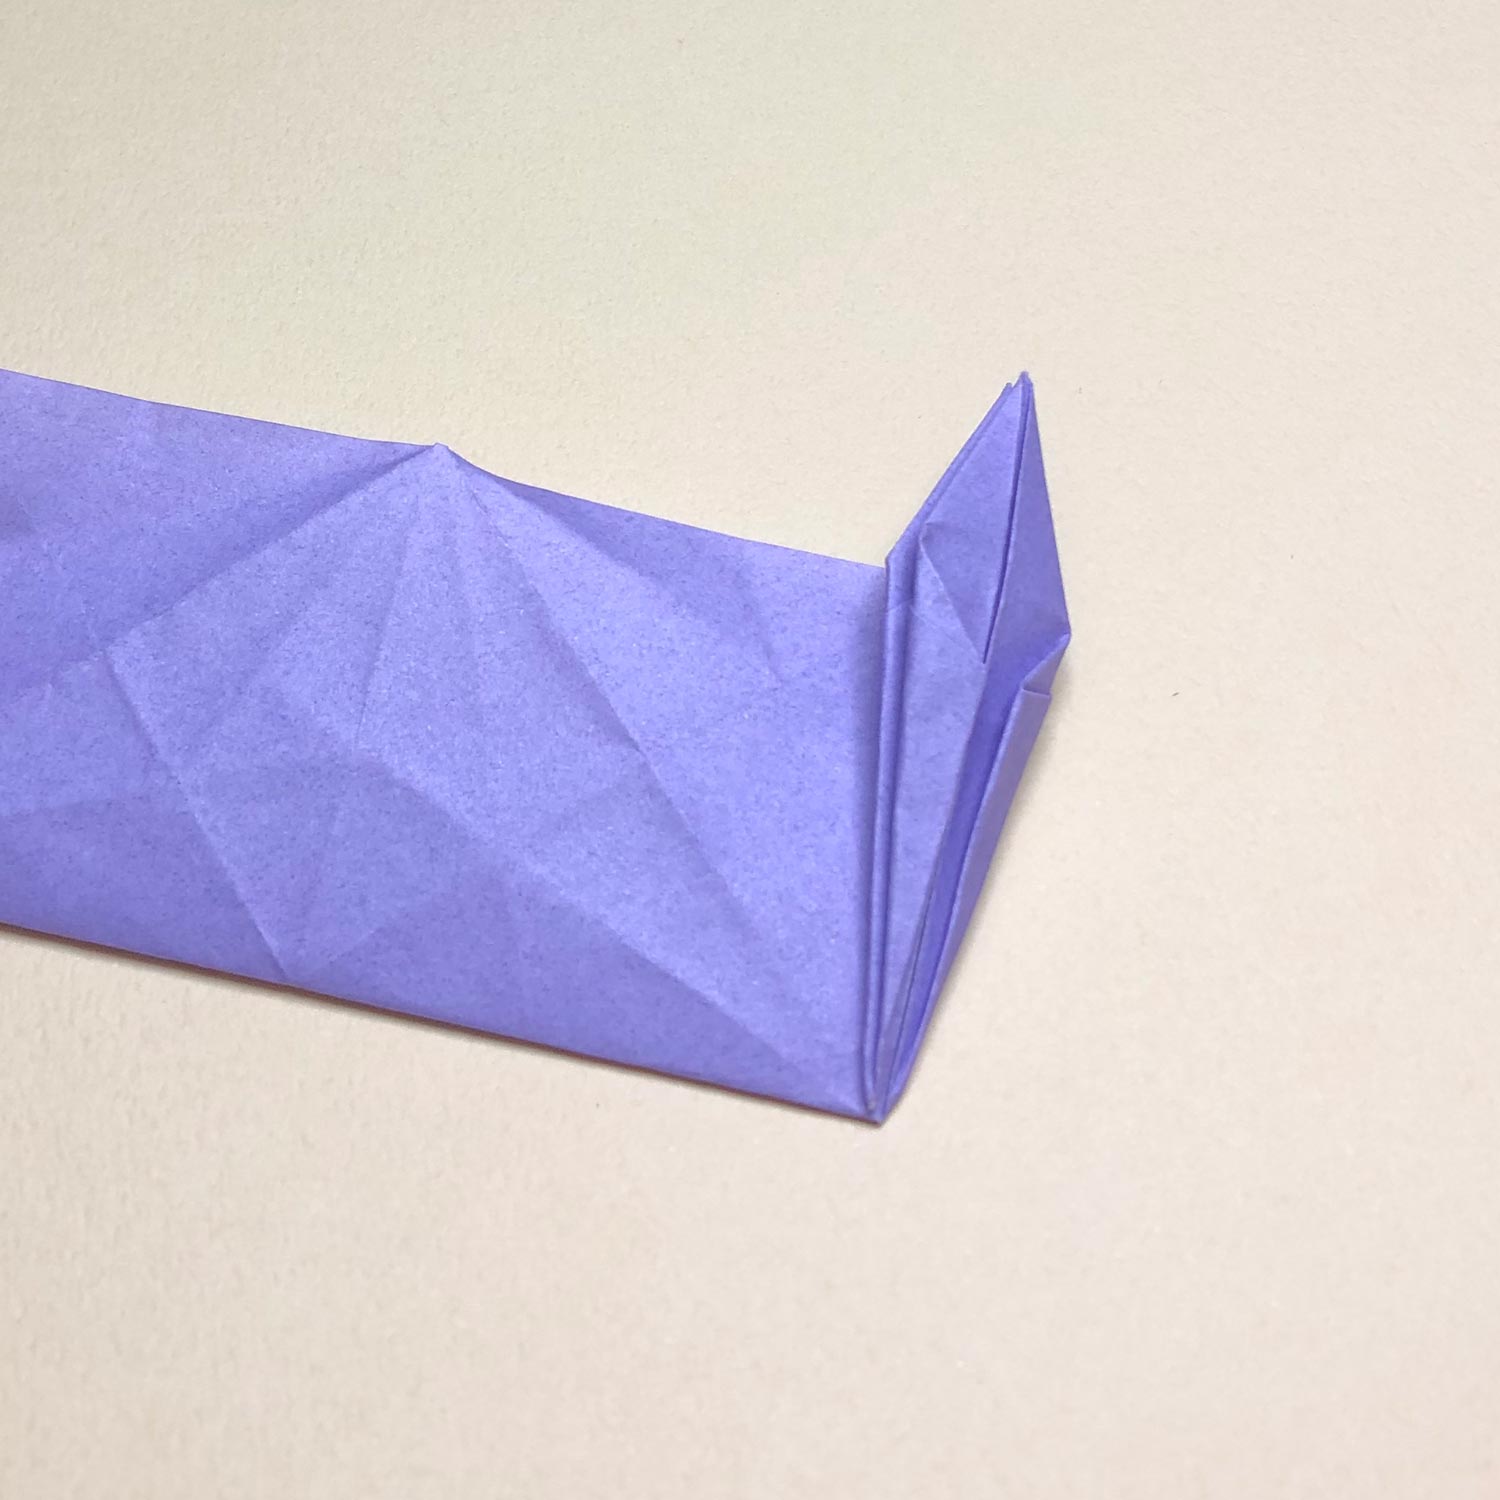
(12)
Raise the other head/tail.
Make a crease neatly while putting the paper between the head/tail like this picture.
(13)
After making a crease, flatten the head/tail which is connected to another.
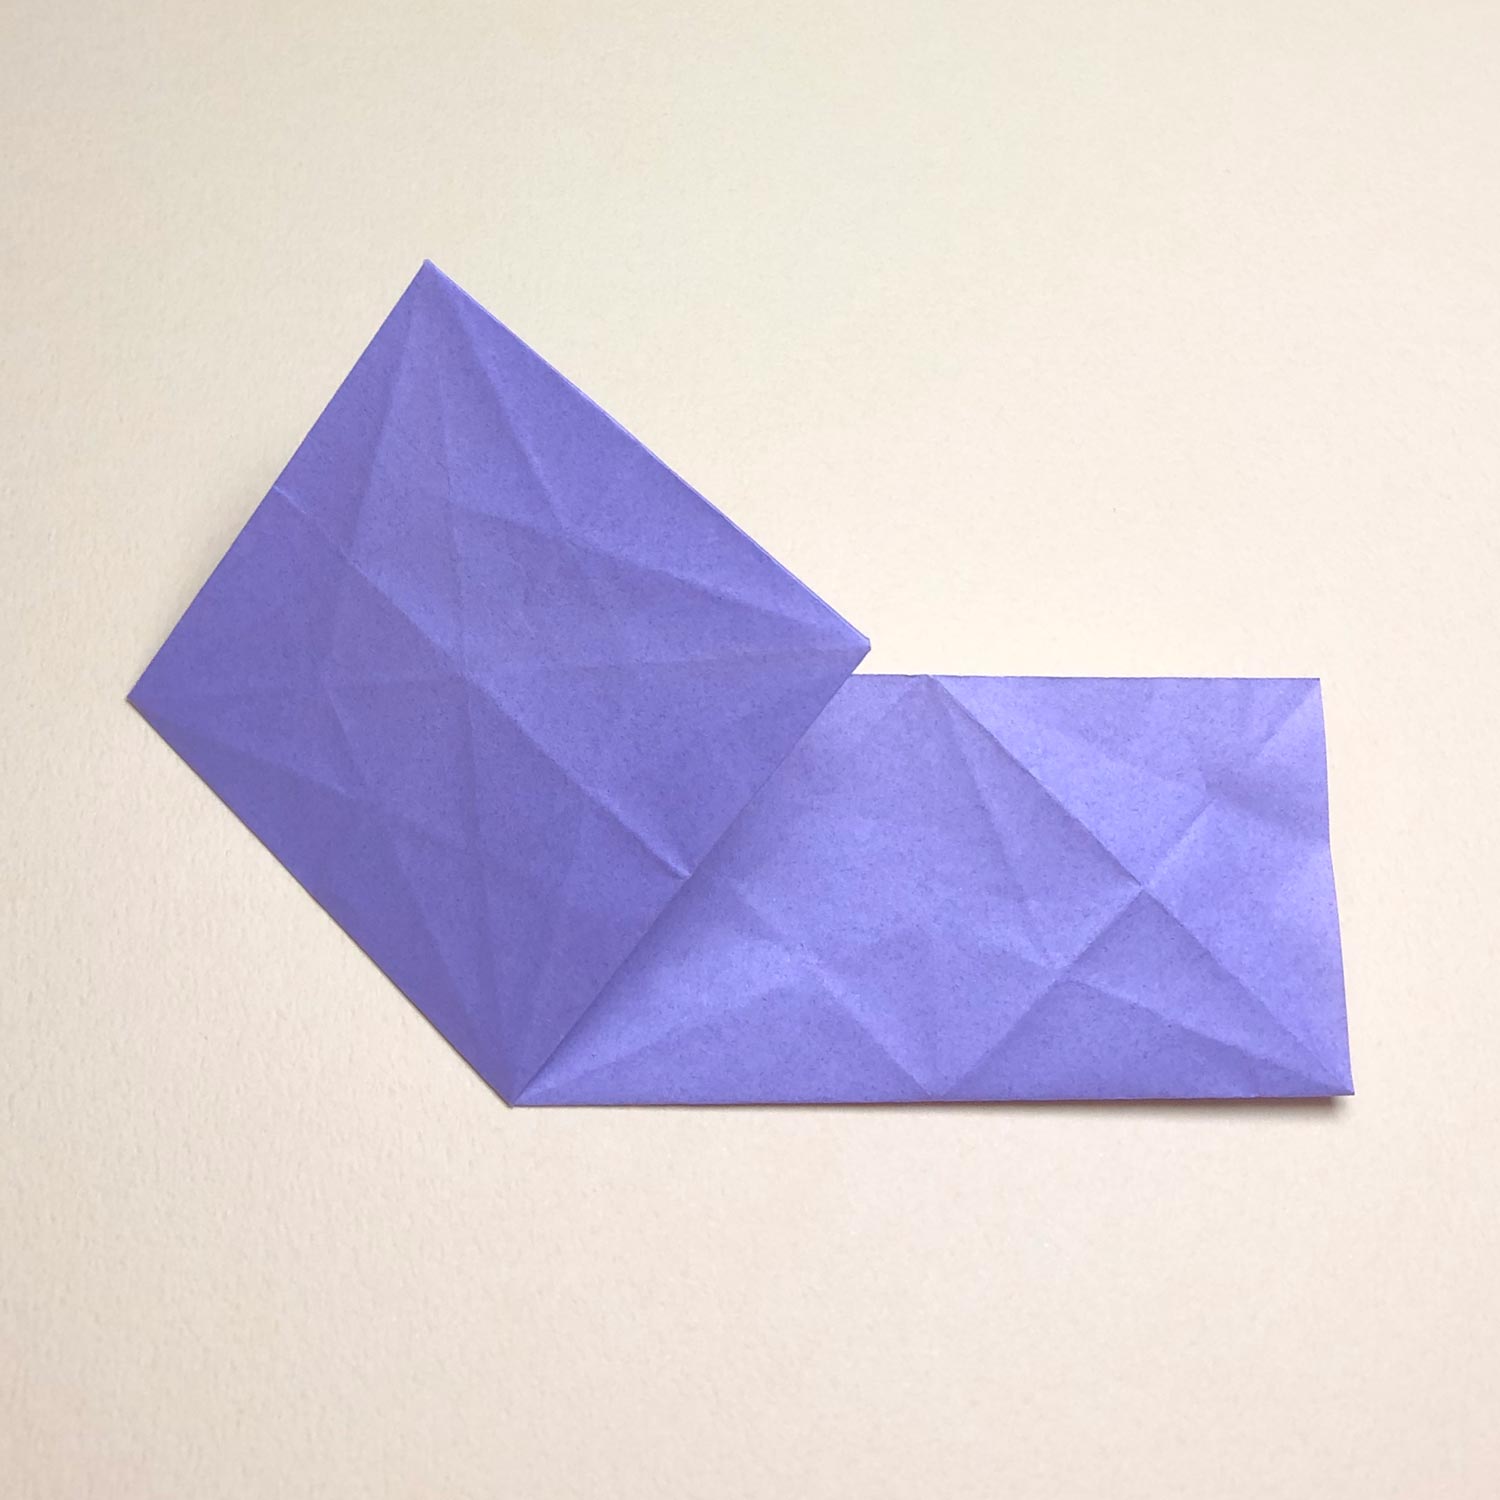
(14)
Then fold the other square.
Fold four corners to the center point like this picture.
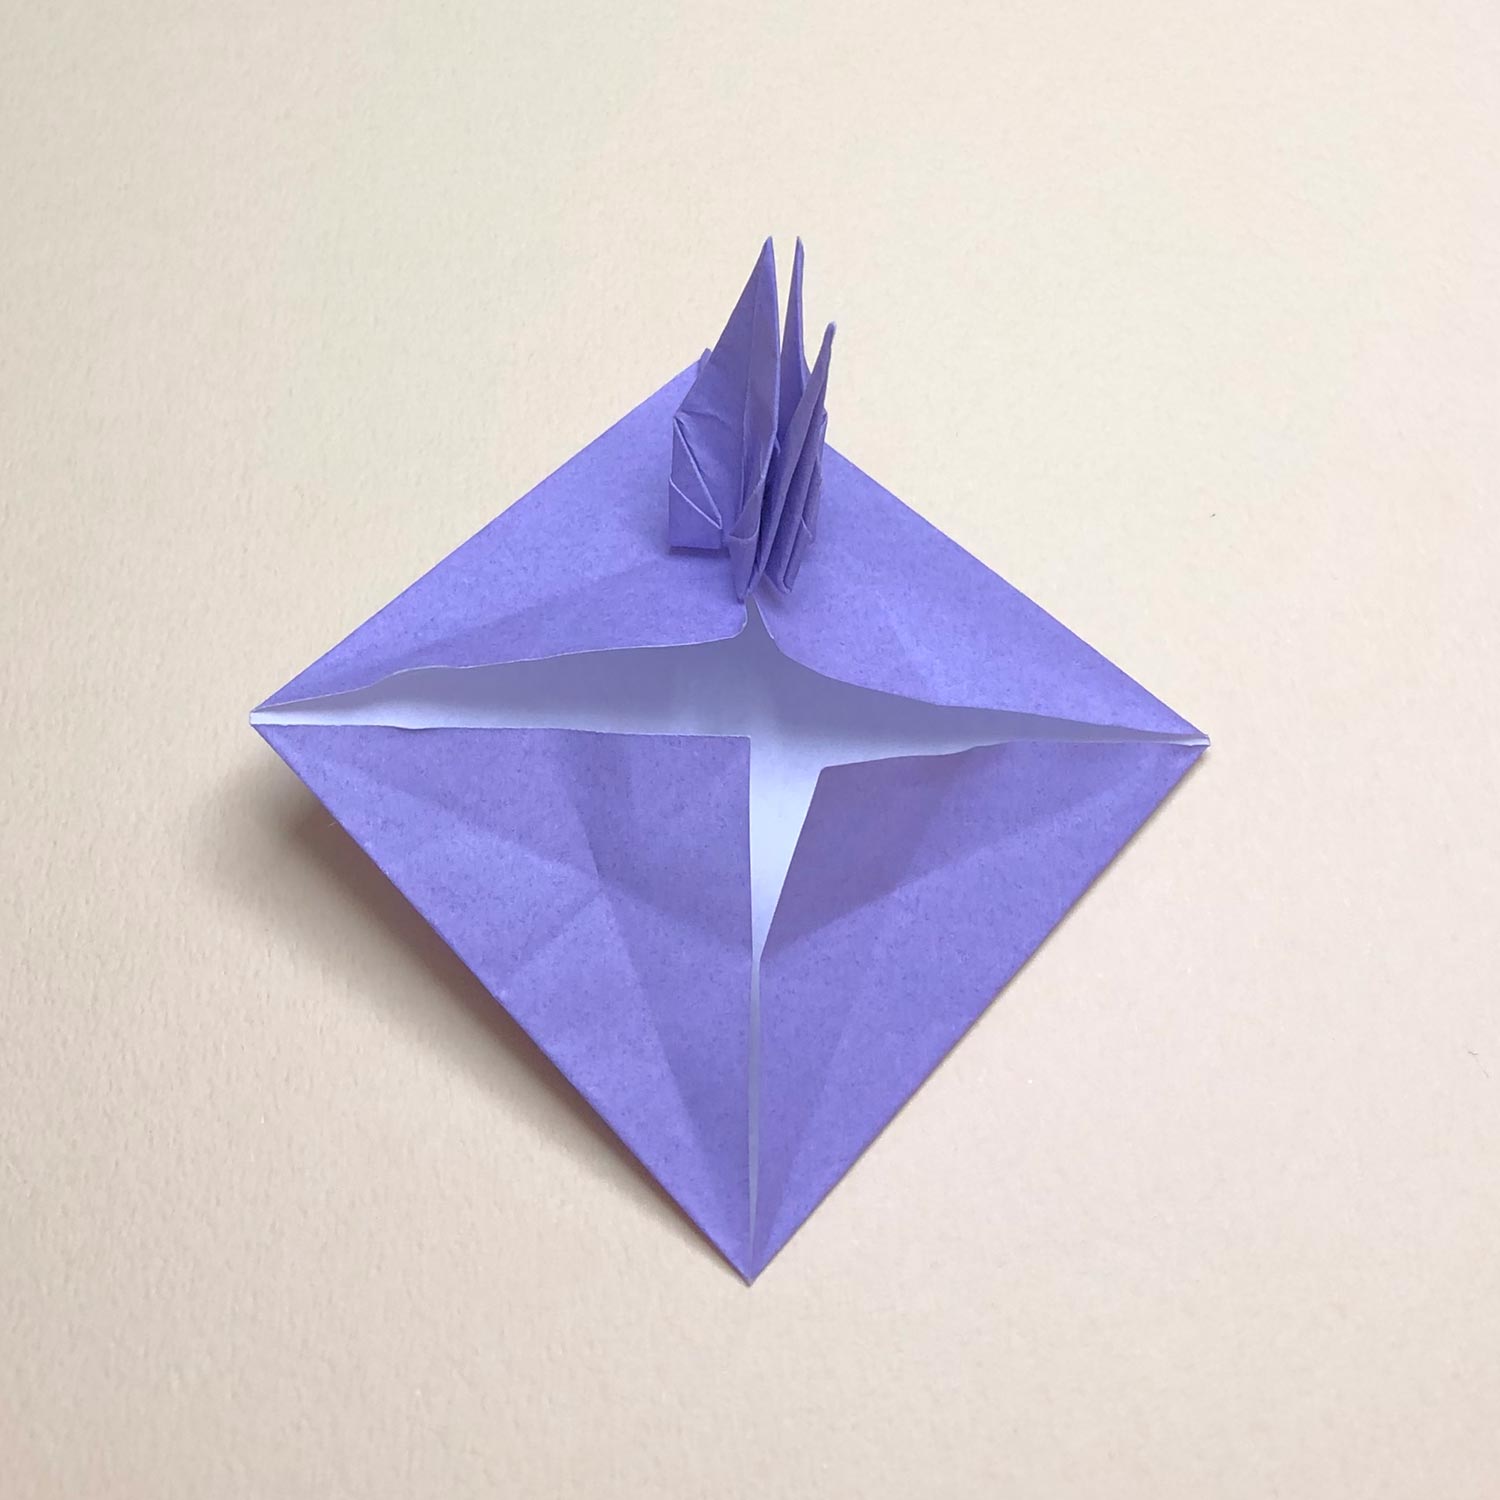
(15)
Fold the paper on the eight creases around in order to make a star-shape.
(Make valley-folds on the eight creases around.)
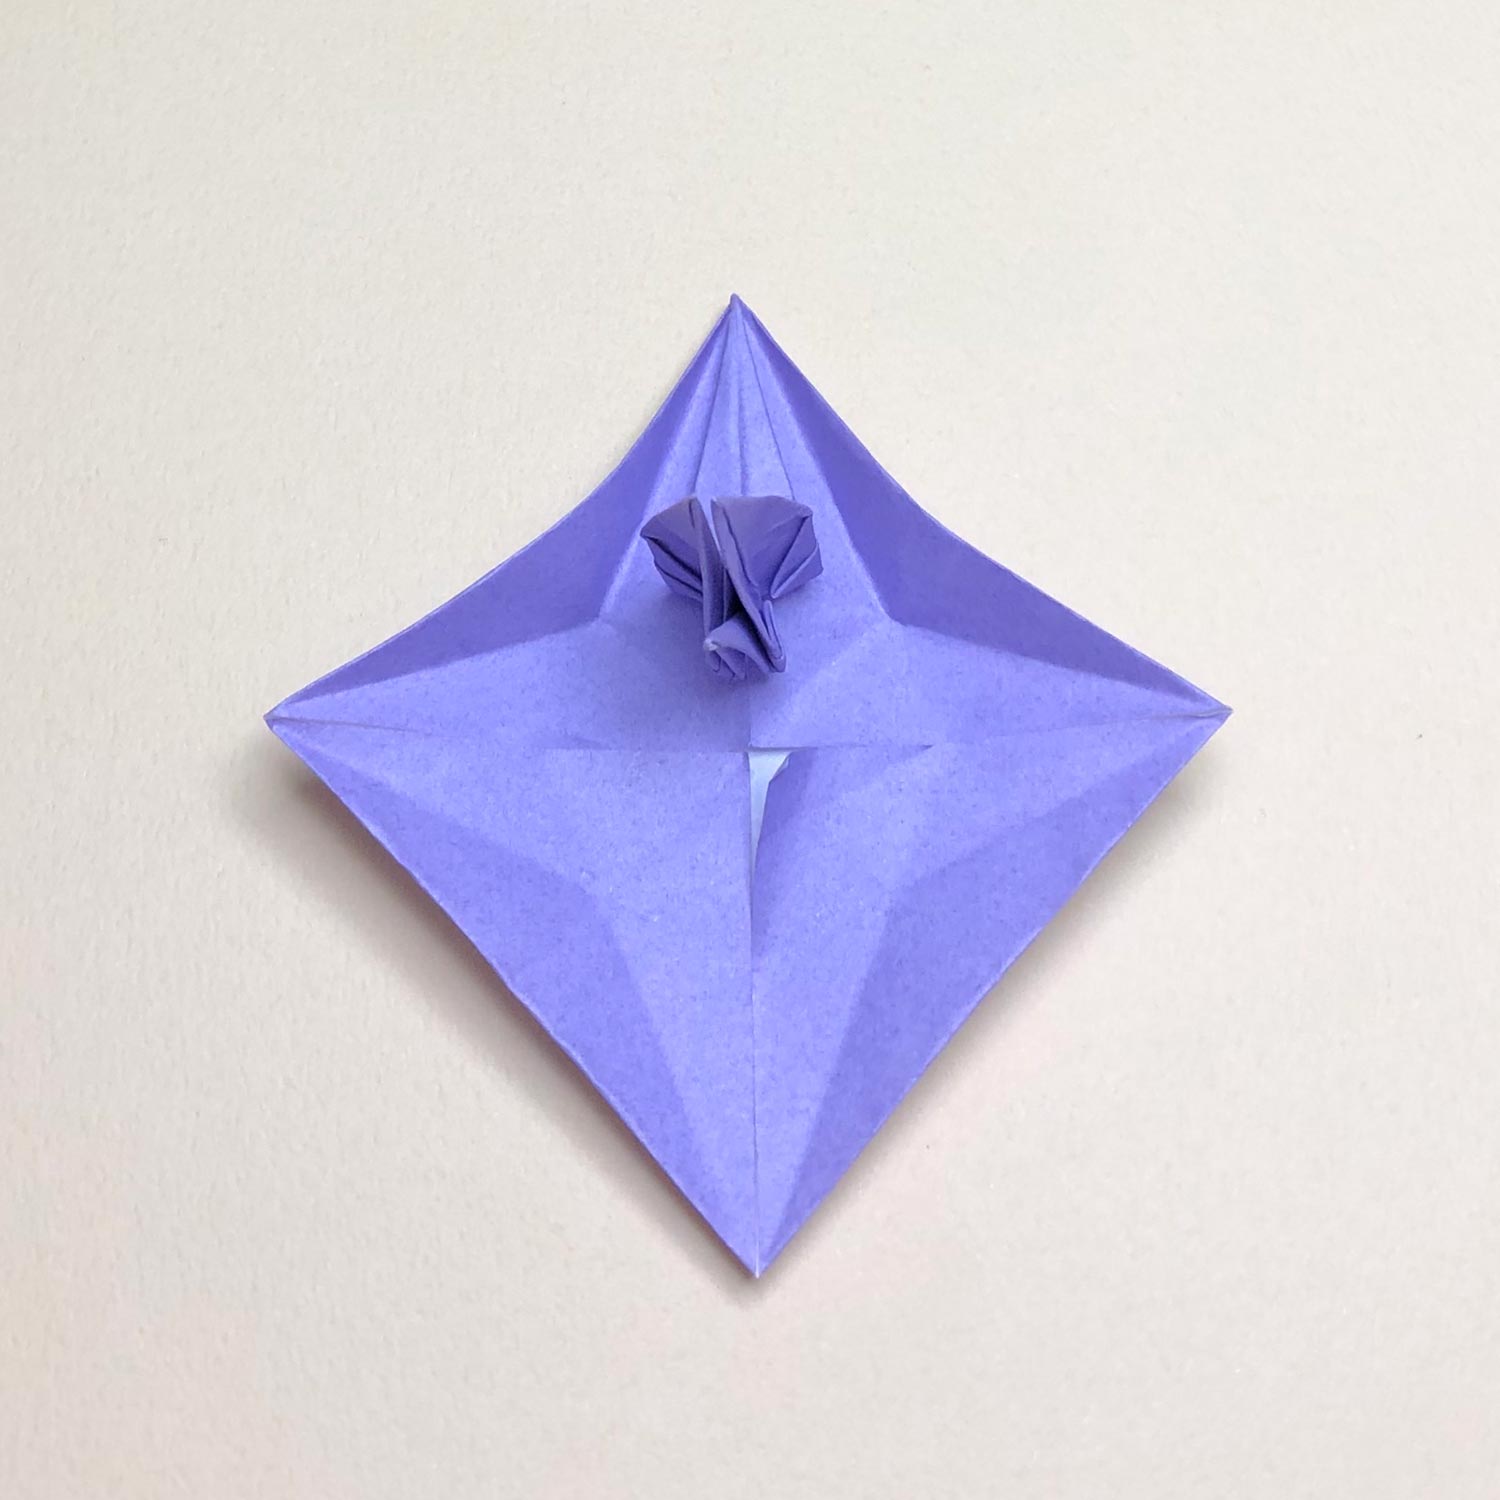
once make a bird-base so that it is connected to another with a wing
This model is a model that two cranes are connected to each other with tails.
However, if you make the second crane so that the crane is connected to another with a tail from the beginning,
it will get harder to make a bird-base.
Therefore, once make a bird-base so that it is connected to another with a wing.
After making creases neatly, remake the bird-base so that it is connected to another with a head/tail.
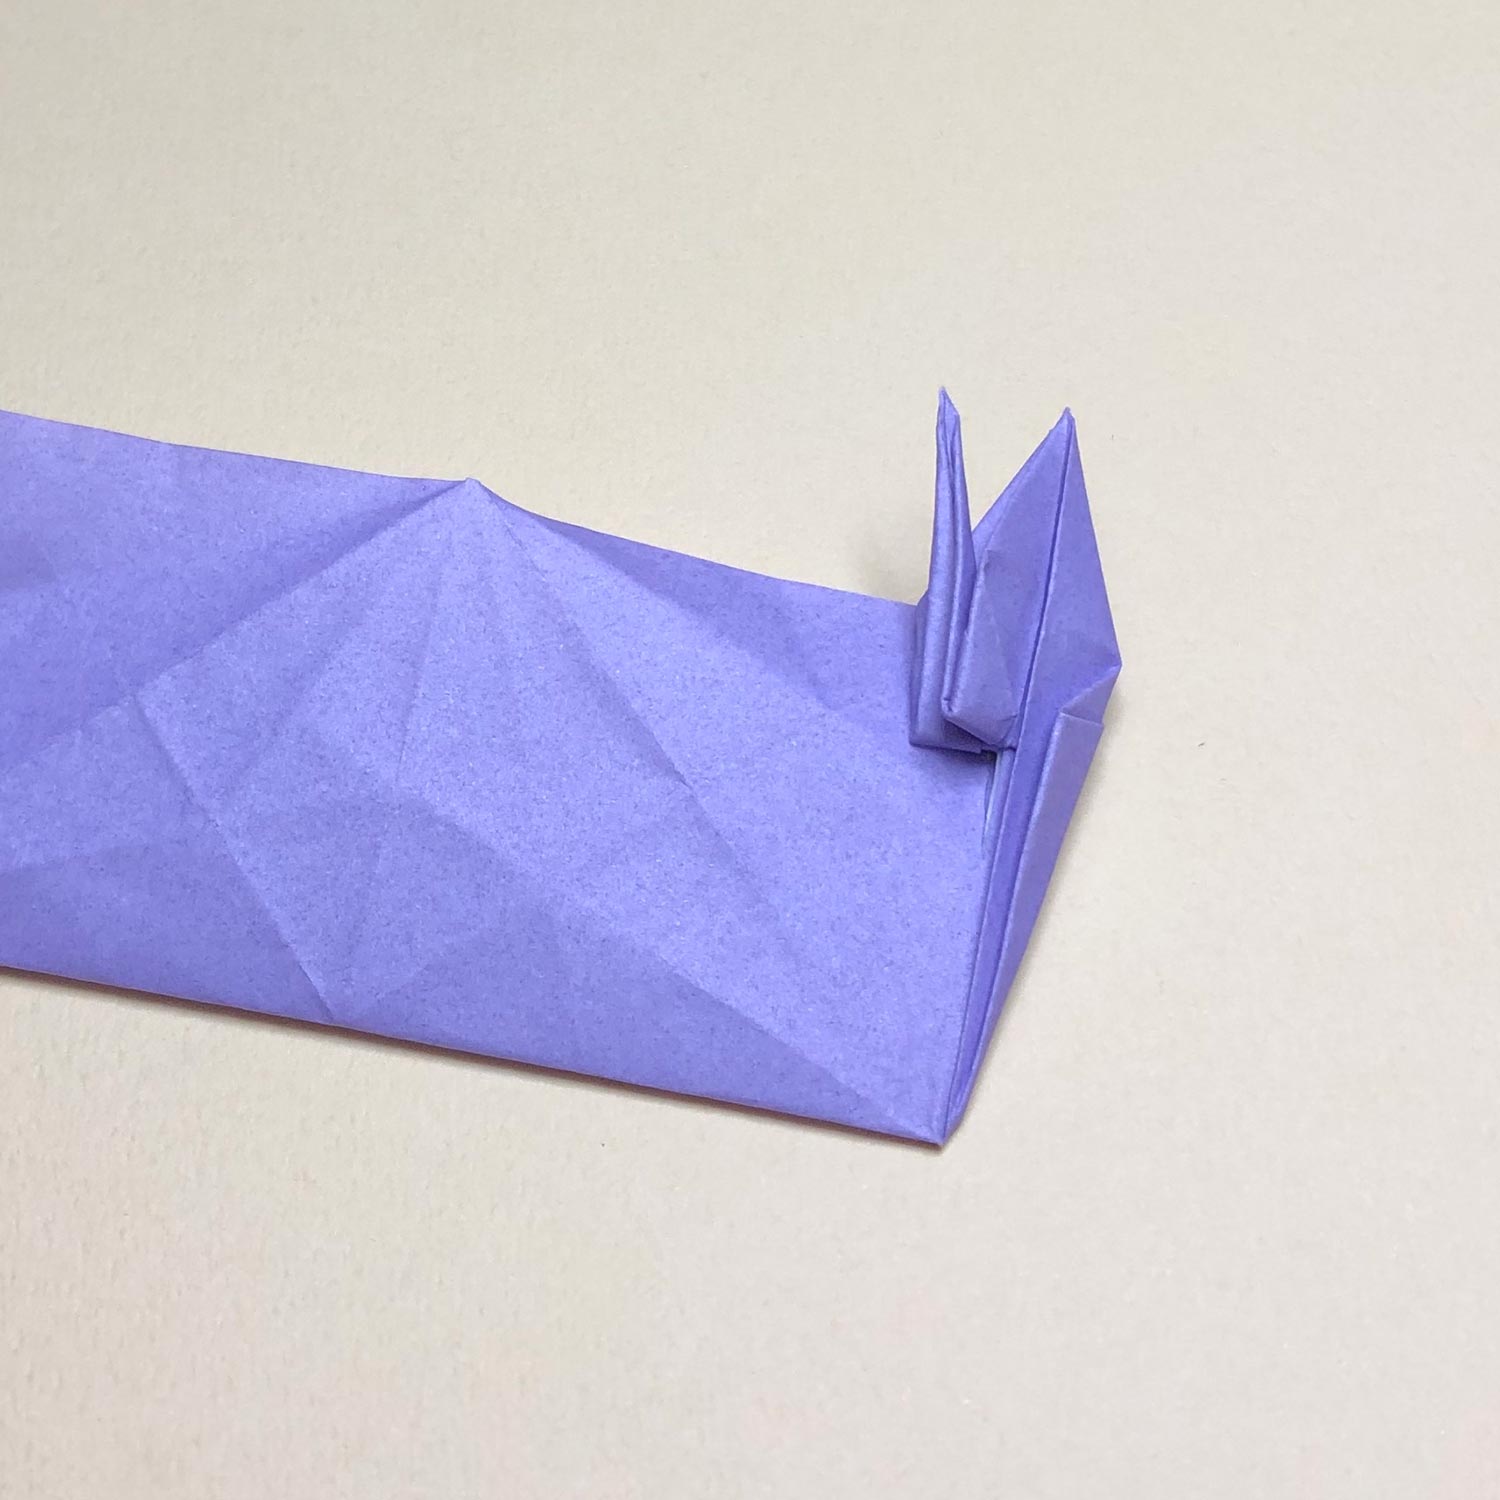
(16)
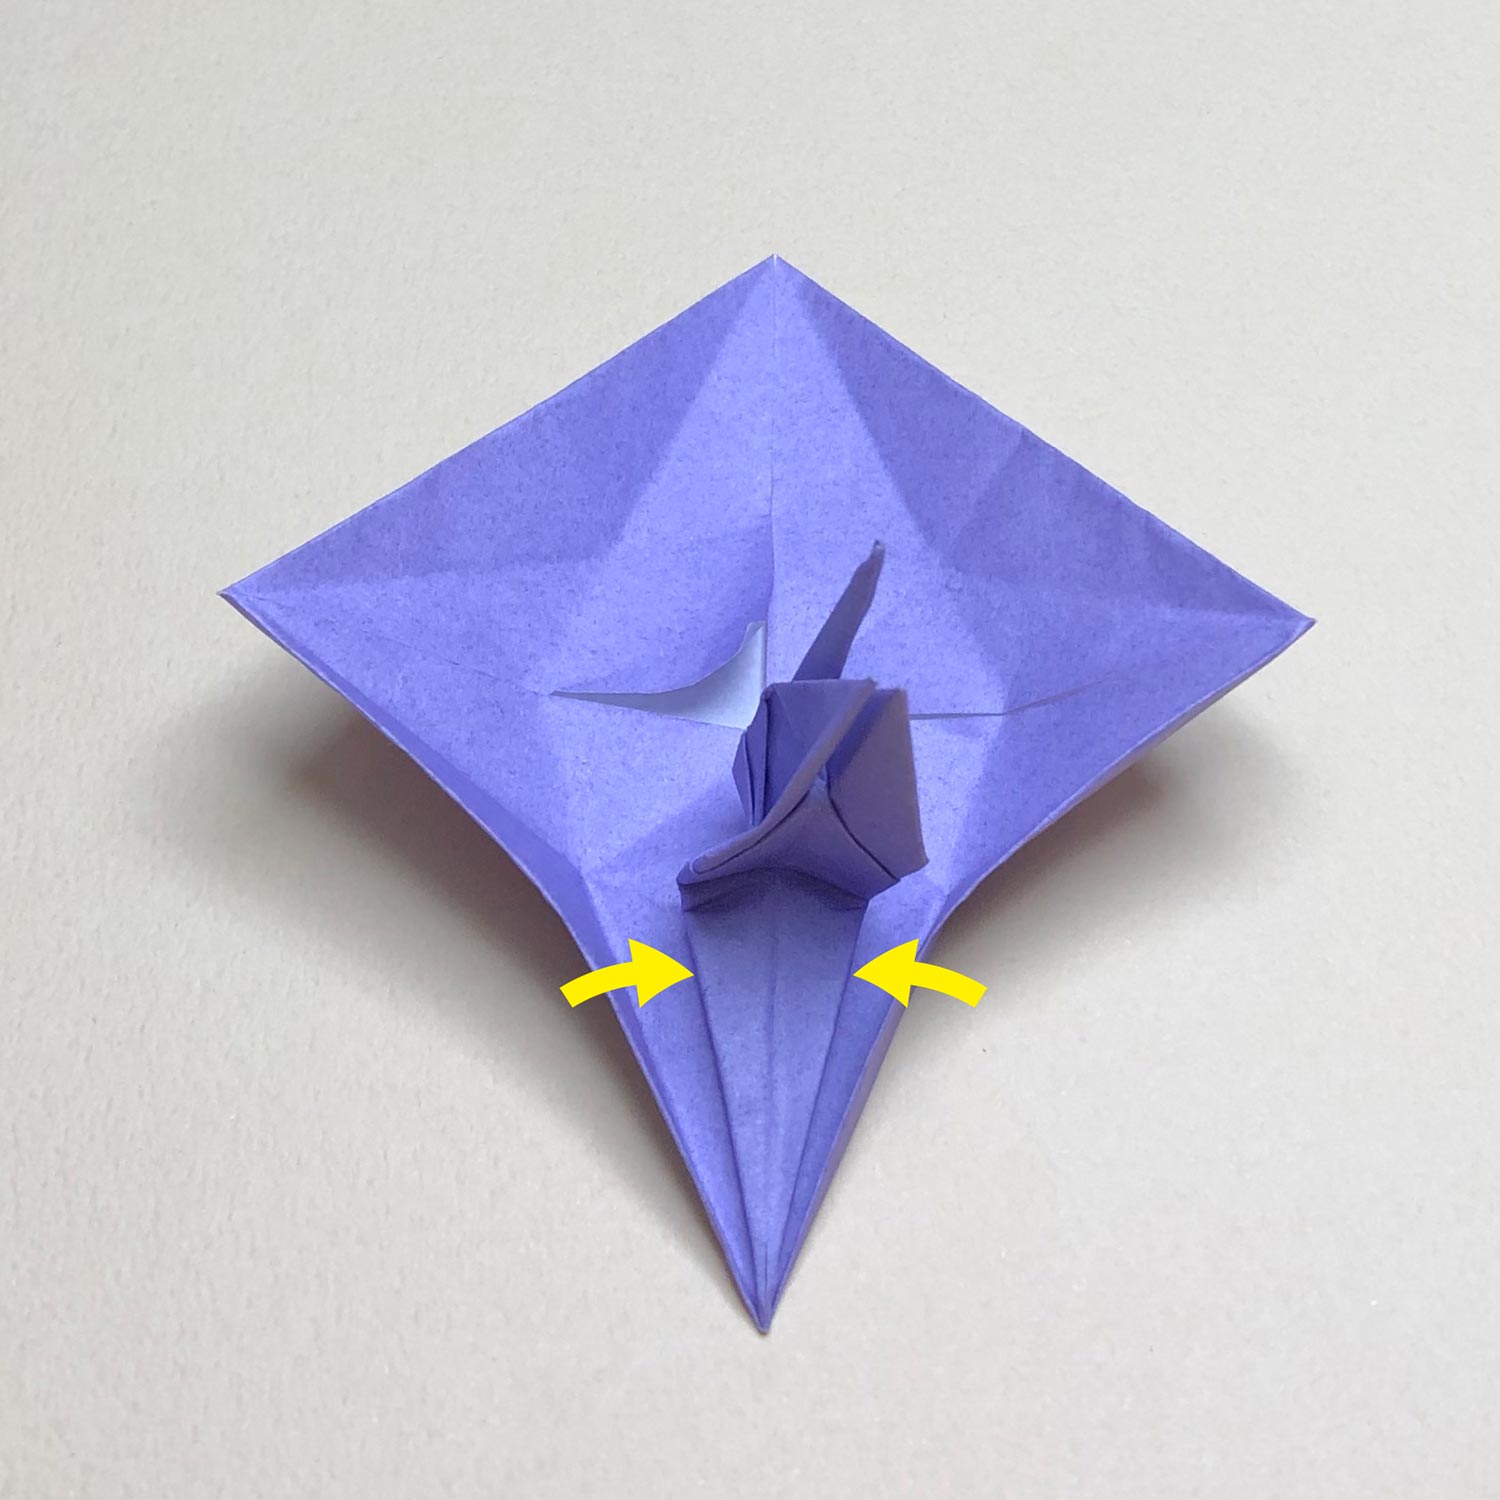
Rotate the paper like this picture.
Then fold and put the bottom left and bottom right edges under the crane.

(17)
Fold and put them under the crane like this picture.
(18)
Then make mountain-folds on the dotted lines.
(19)
Make mountain-folds like this picture.
Then make a bird-base.
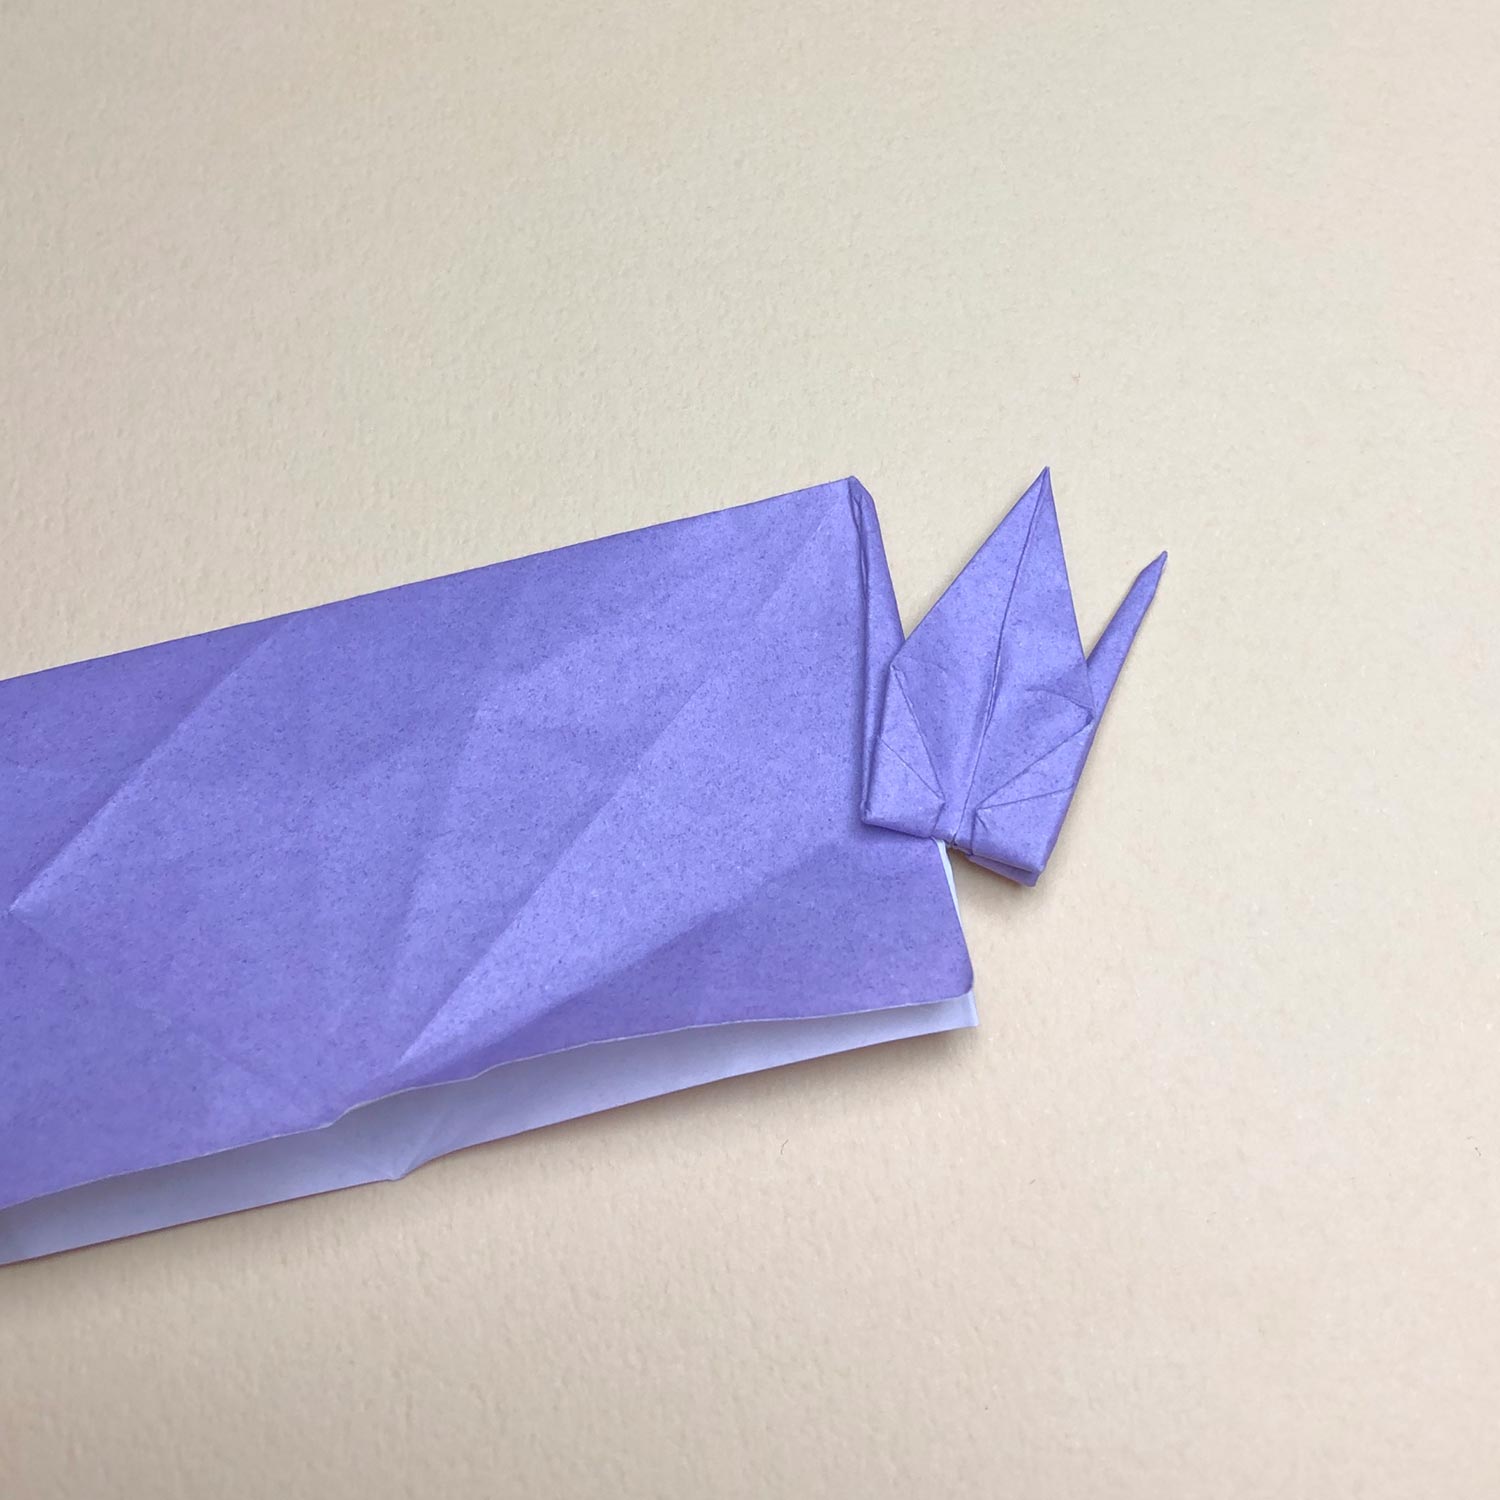
(20)
This picture is halfway through.
(21)
The bird-base is finished so that it is connected to the completed crane with a wing once.