(22)
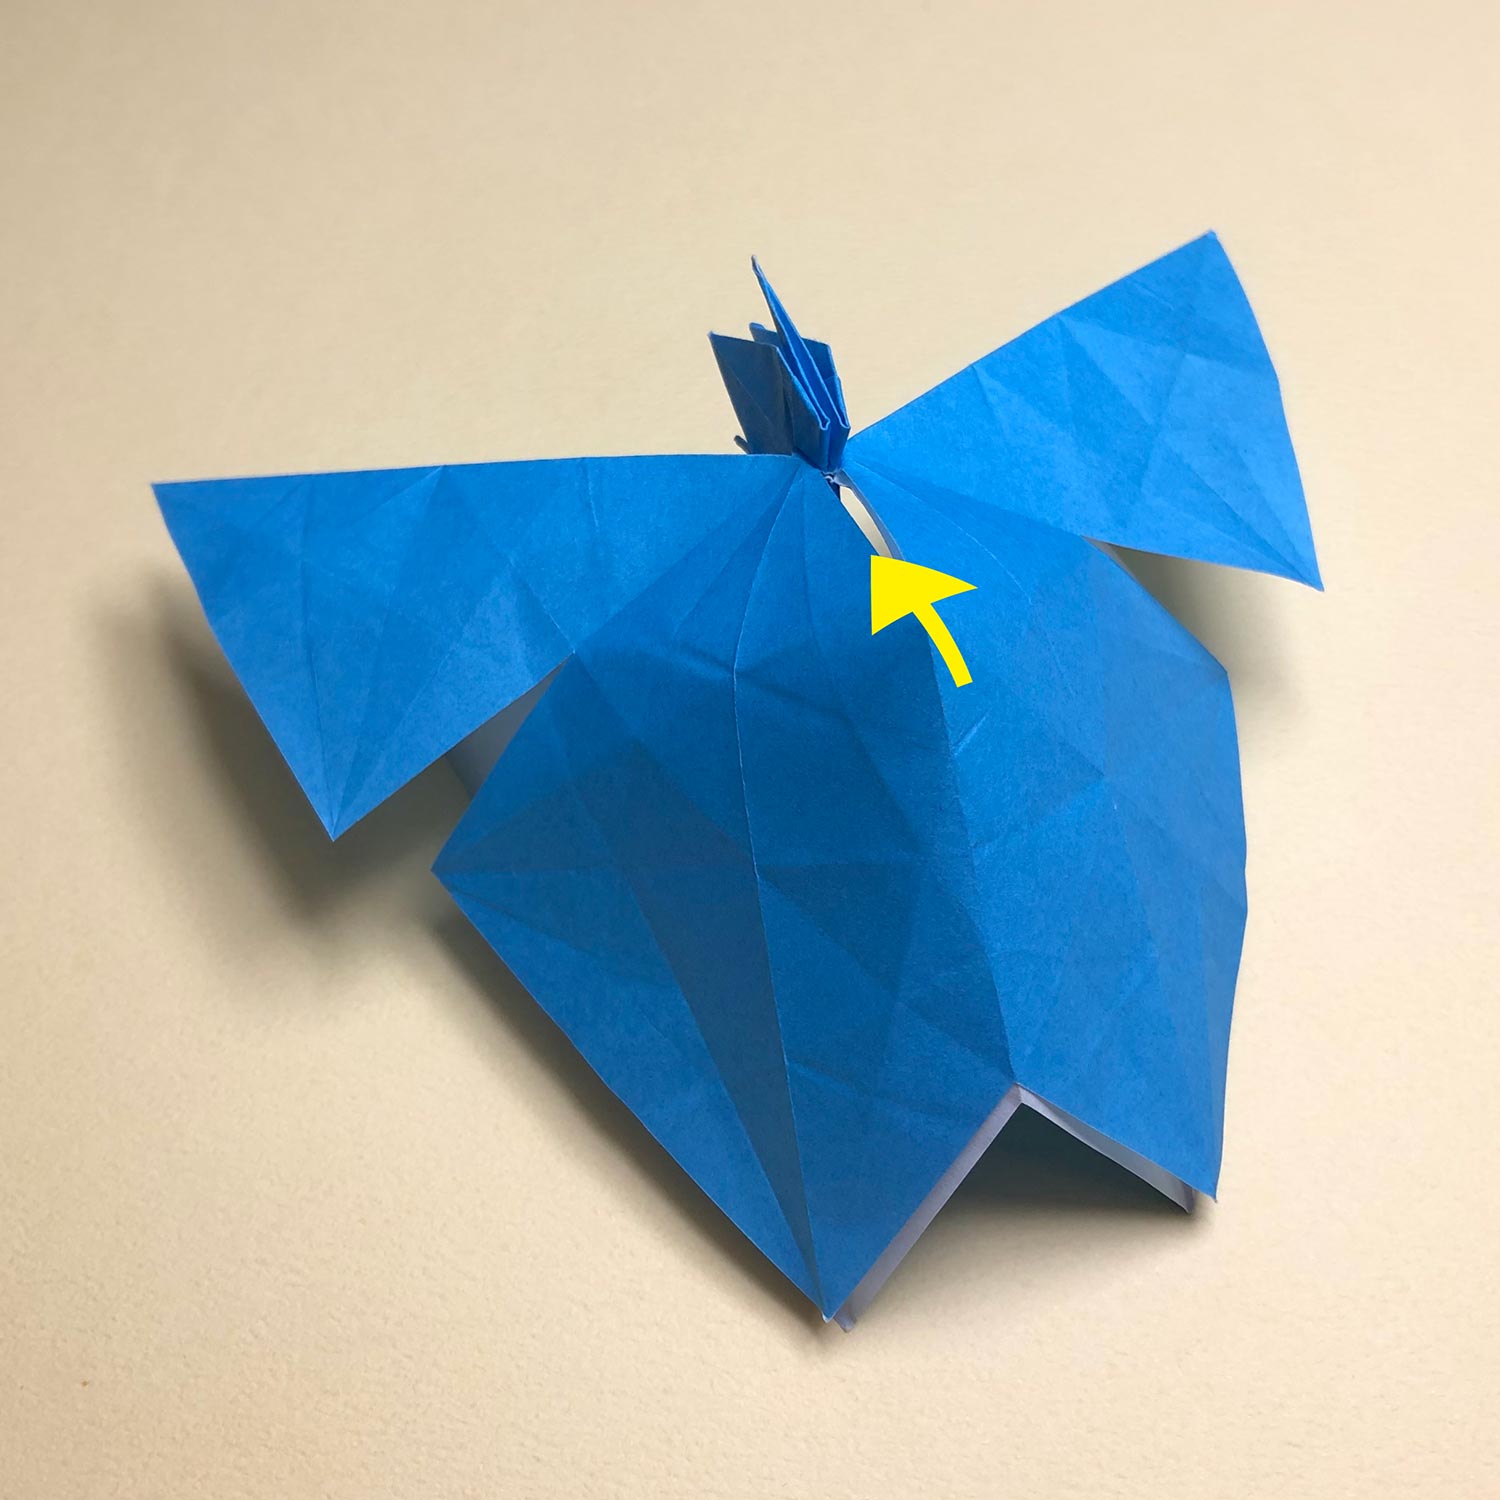
Move the paper in the direction of the arrow to make a valley-fold on the top part which a mountain-fold is on.
(23)
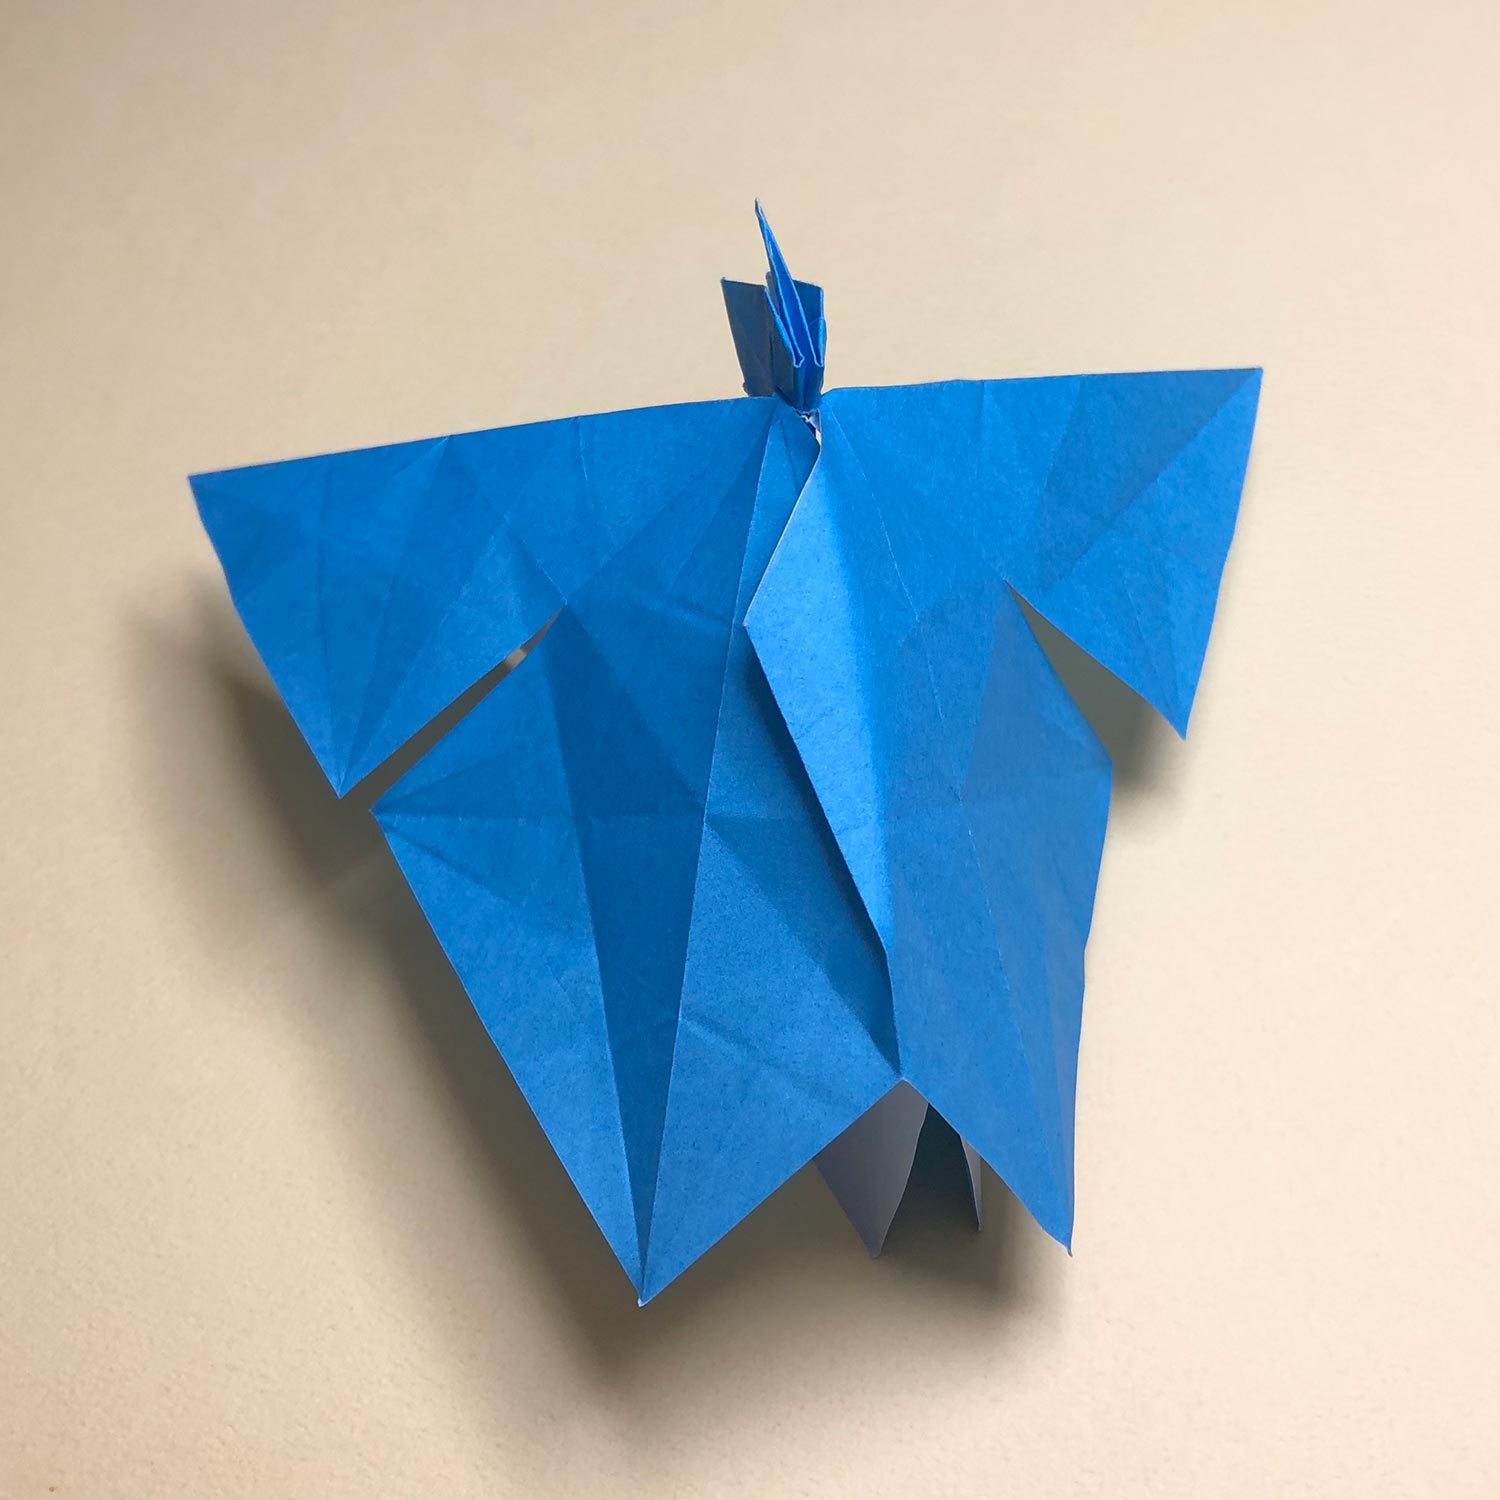
If you push the flap with making creases like this picture, it will get easier to make a valley-fold.
(24)
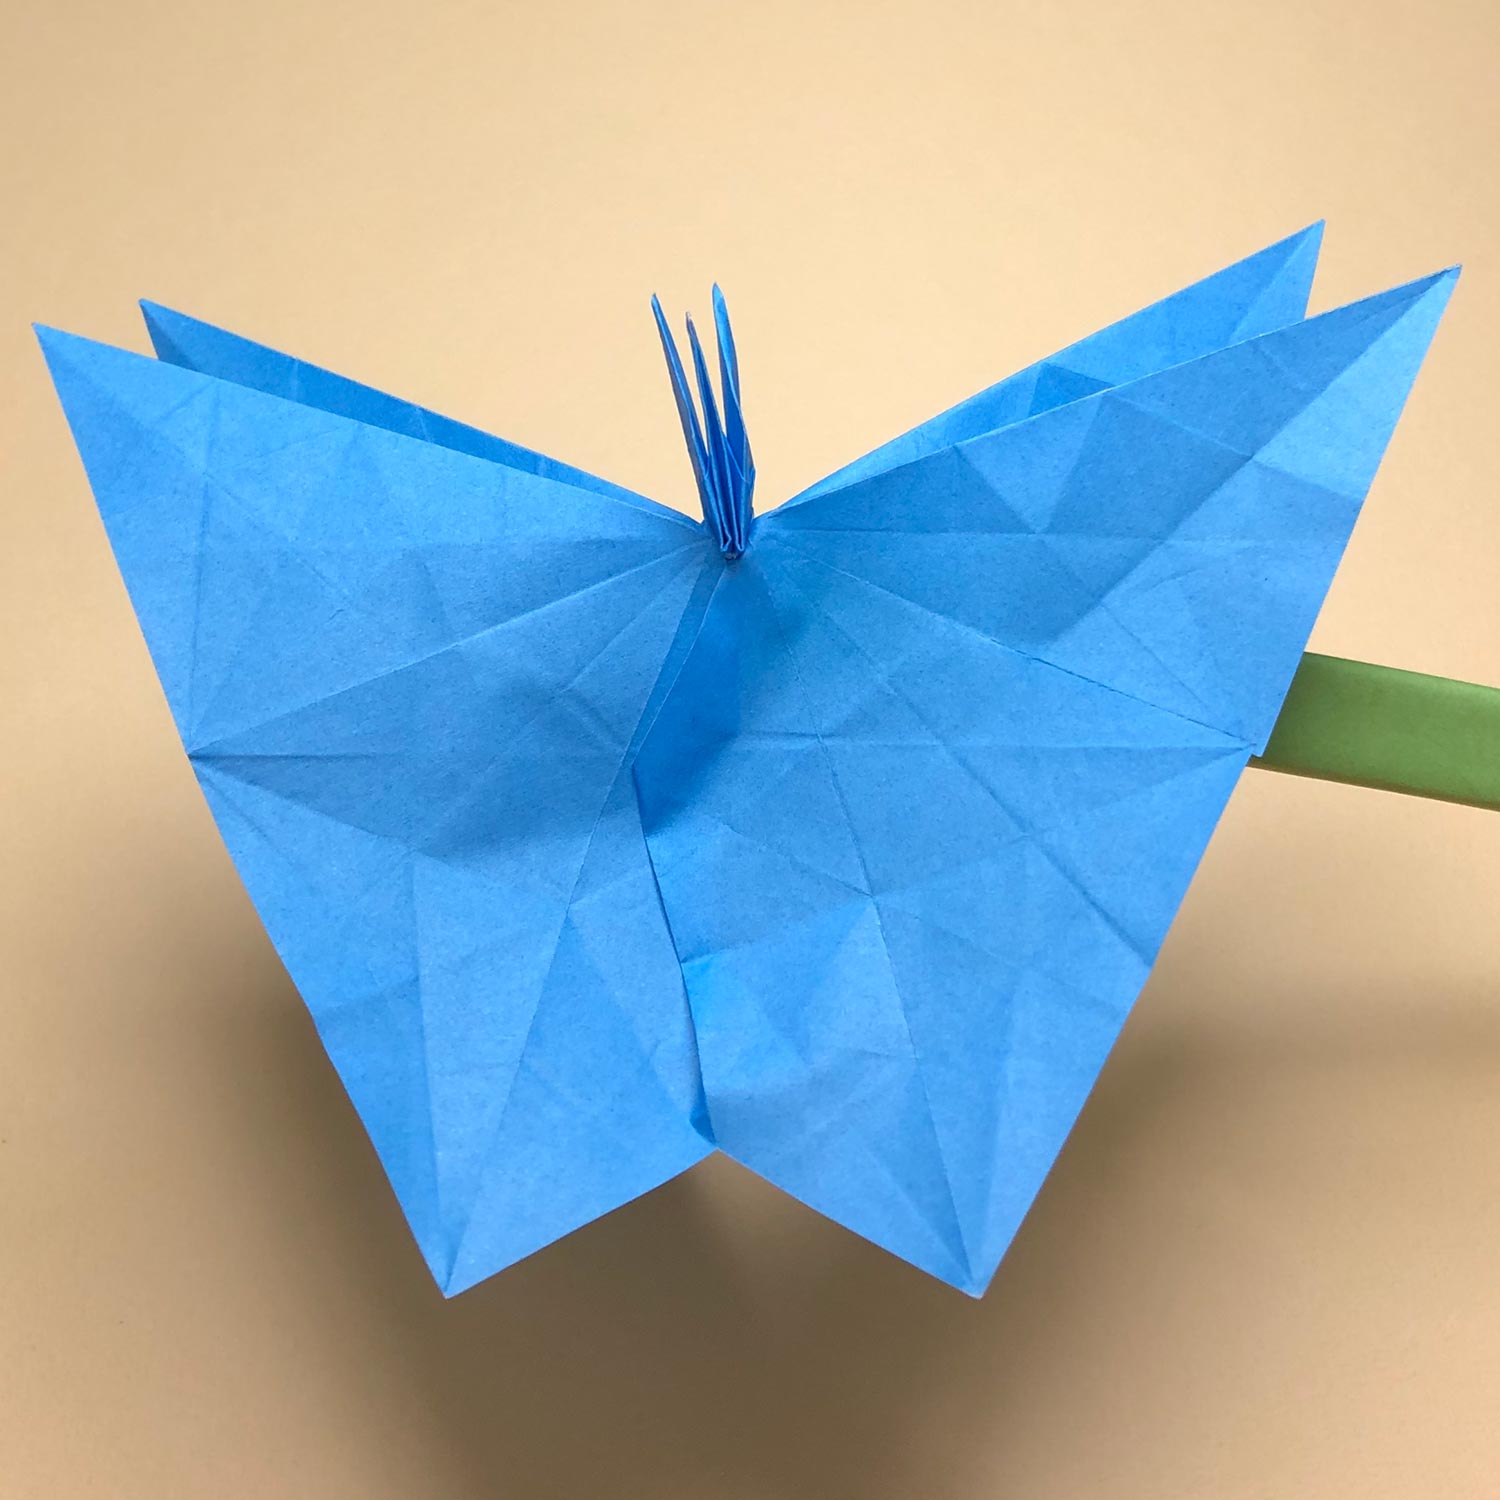
This picture is halfway through.
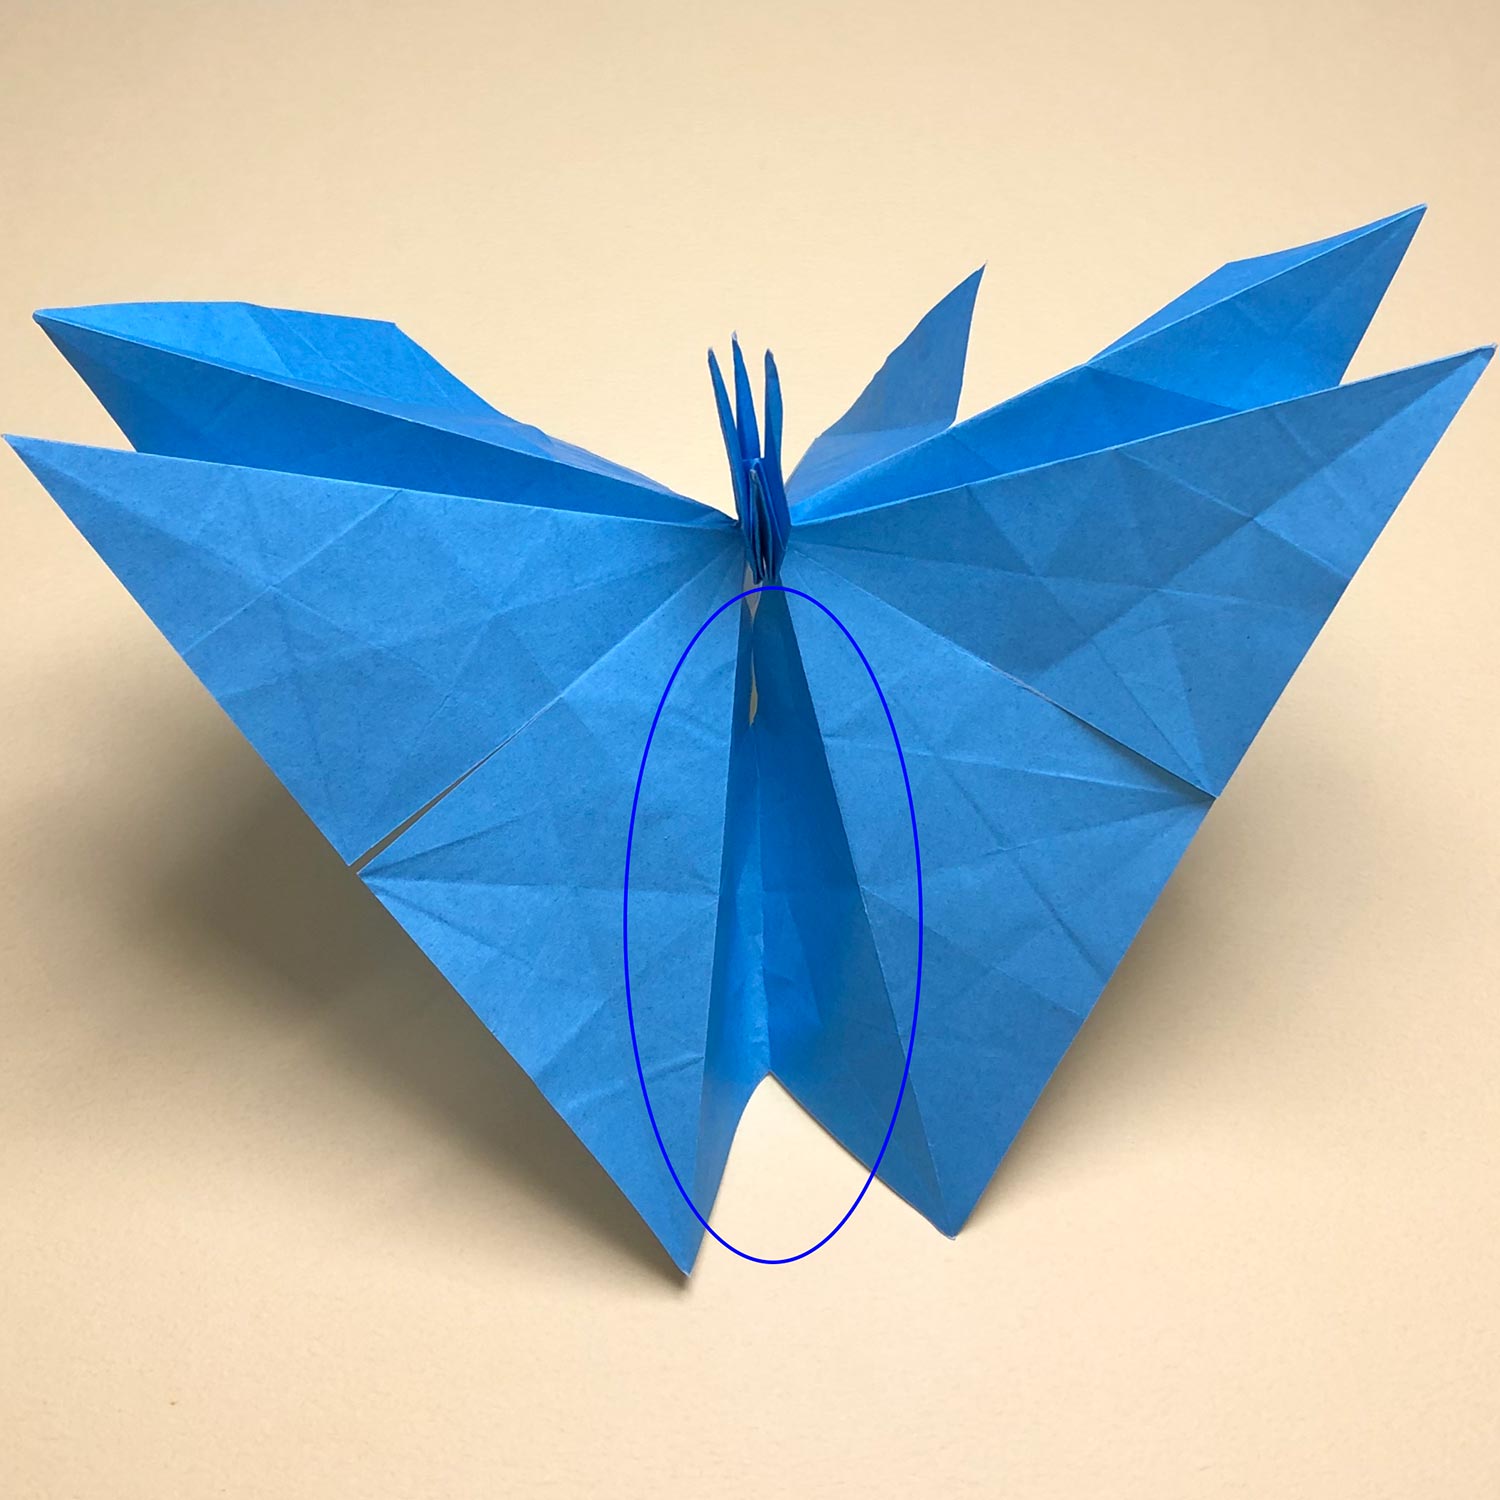
(25)
Make a valley-fold like this picture.
Then turn the paper over.

(26)
Make the bottom four cranes while folding four flaps in the direction of the arrows.
(in a clockwise direction)
However, if you make one crane while folding one flap, other flaps will be unfolded.
Therefore, fold one flap when making one crane.
Make a crane and then revert it back to a square
In this model, the more you complete cranes, the smaller it get space to make a crane.
Also, it get easier to put pressure on connecting parts.
Therefore, repeat steps which you make a crane and then revert it back to a square.
After making the 4th bottom crane, complete each crane again.
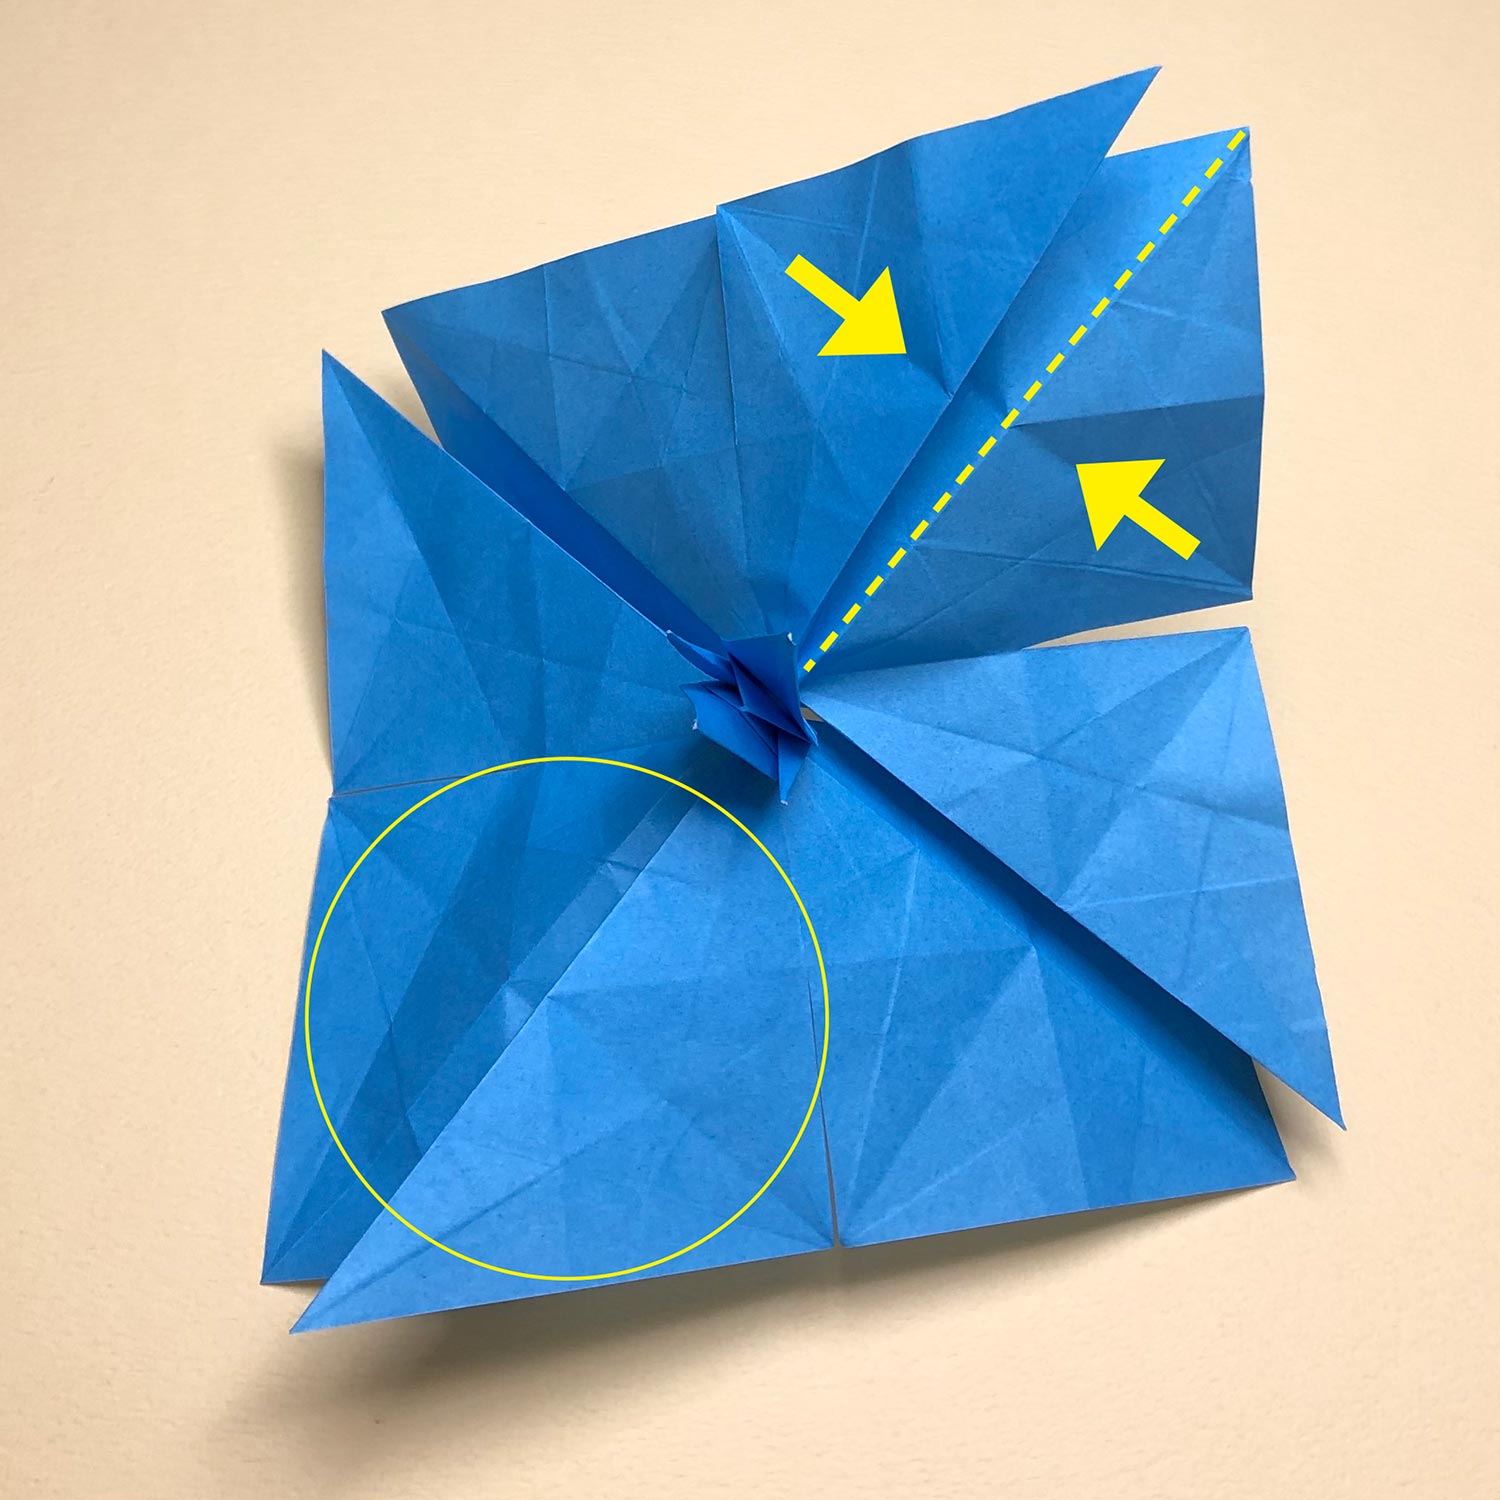
(27)
Start with folding the circled part.
In order to get easier to fold a crane, make a mountain-fold on the dotted line.

(28)
Make a mountain-fold like this picture.

(29)
Then make a star-shape while referencing the next step.
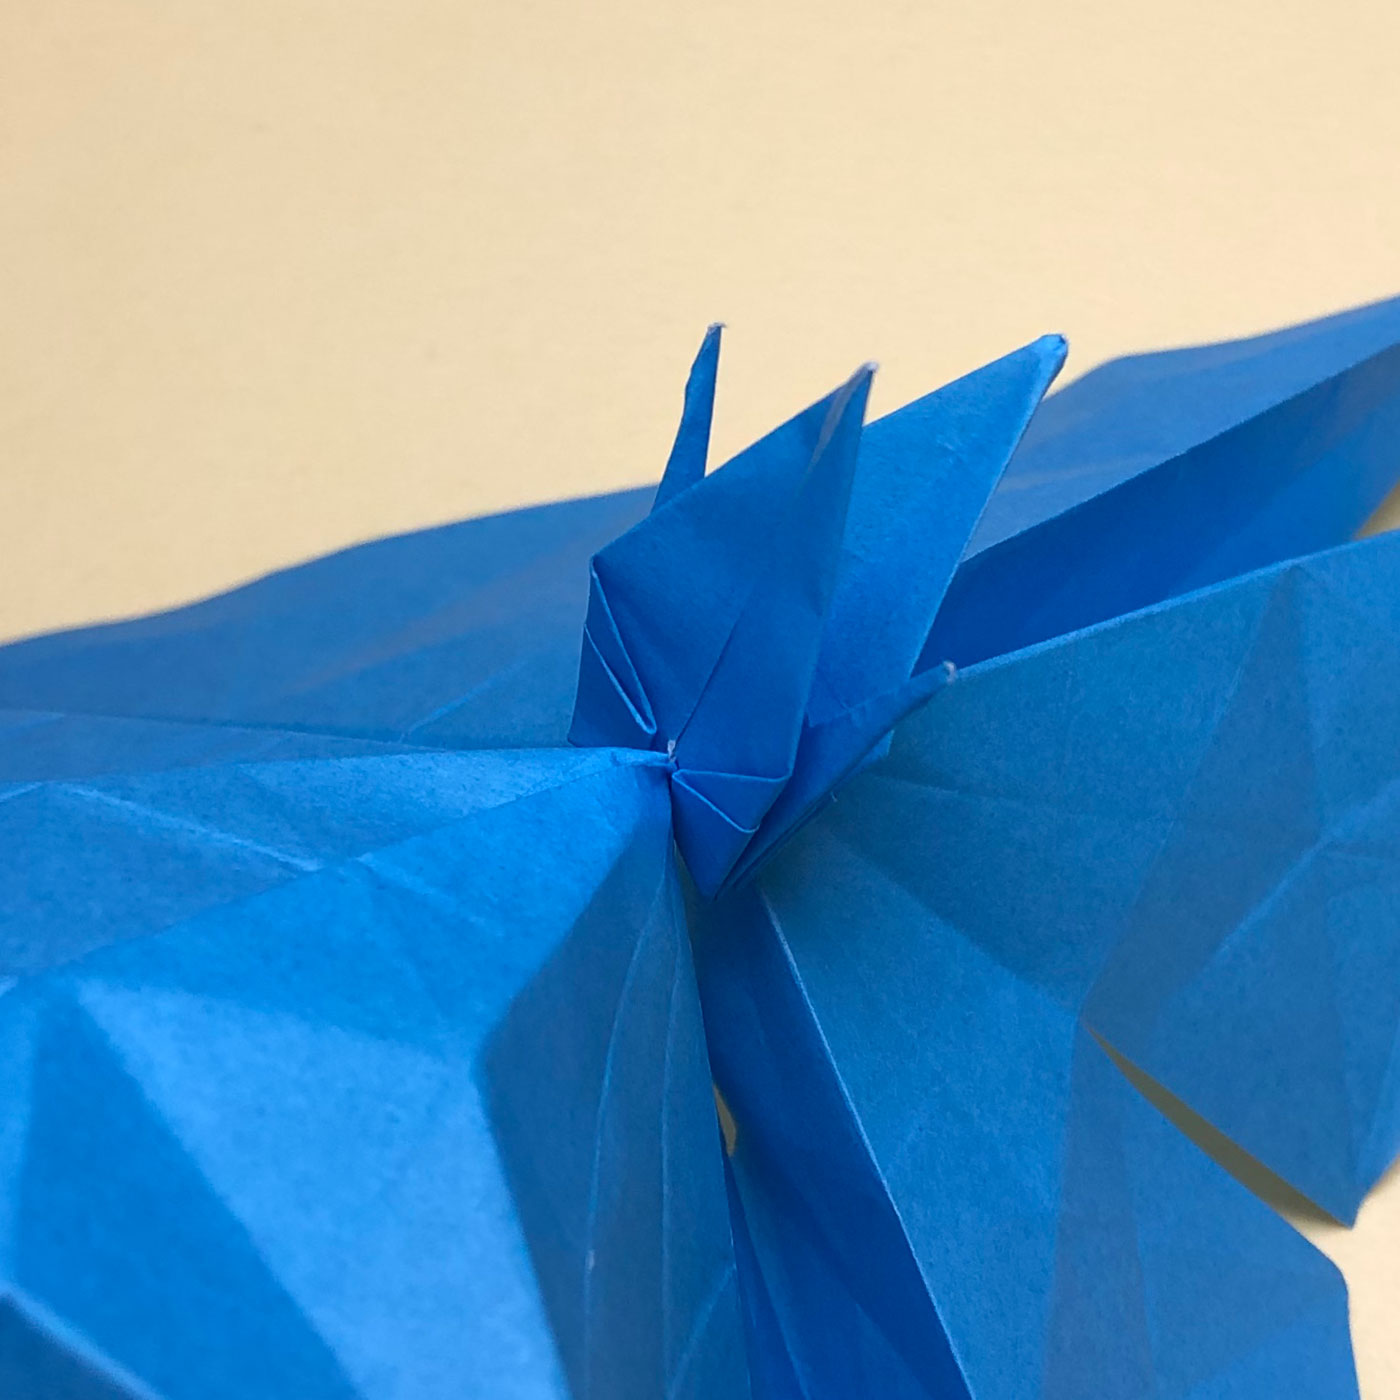
(30)
If you make creases of a star-shape near the top crane neatly, connecting parts will be put pressure.
Therefore, make creases until right-before the top crane.
(Try not to make creases near the top crane.)

(31)
After making a star-shape, move the left and right to the center in order to get easier to make a bird-base.
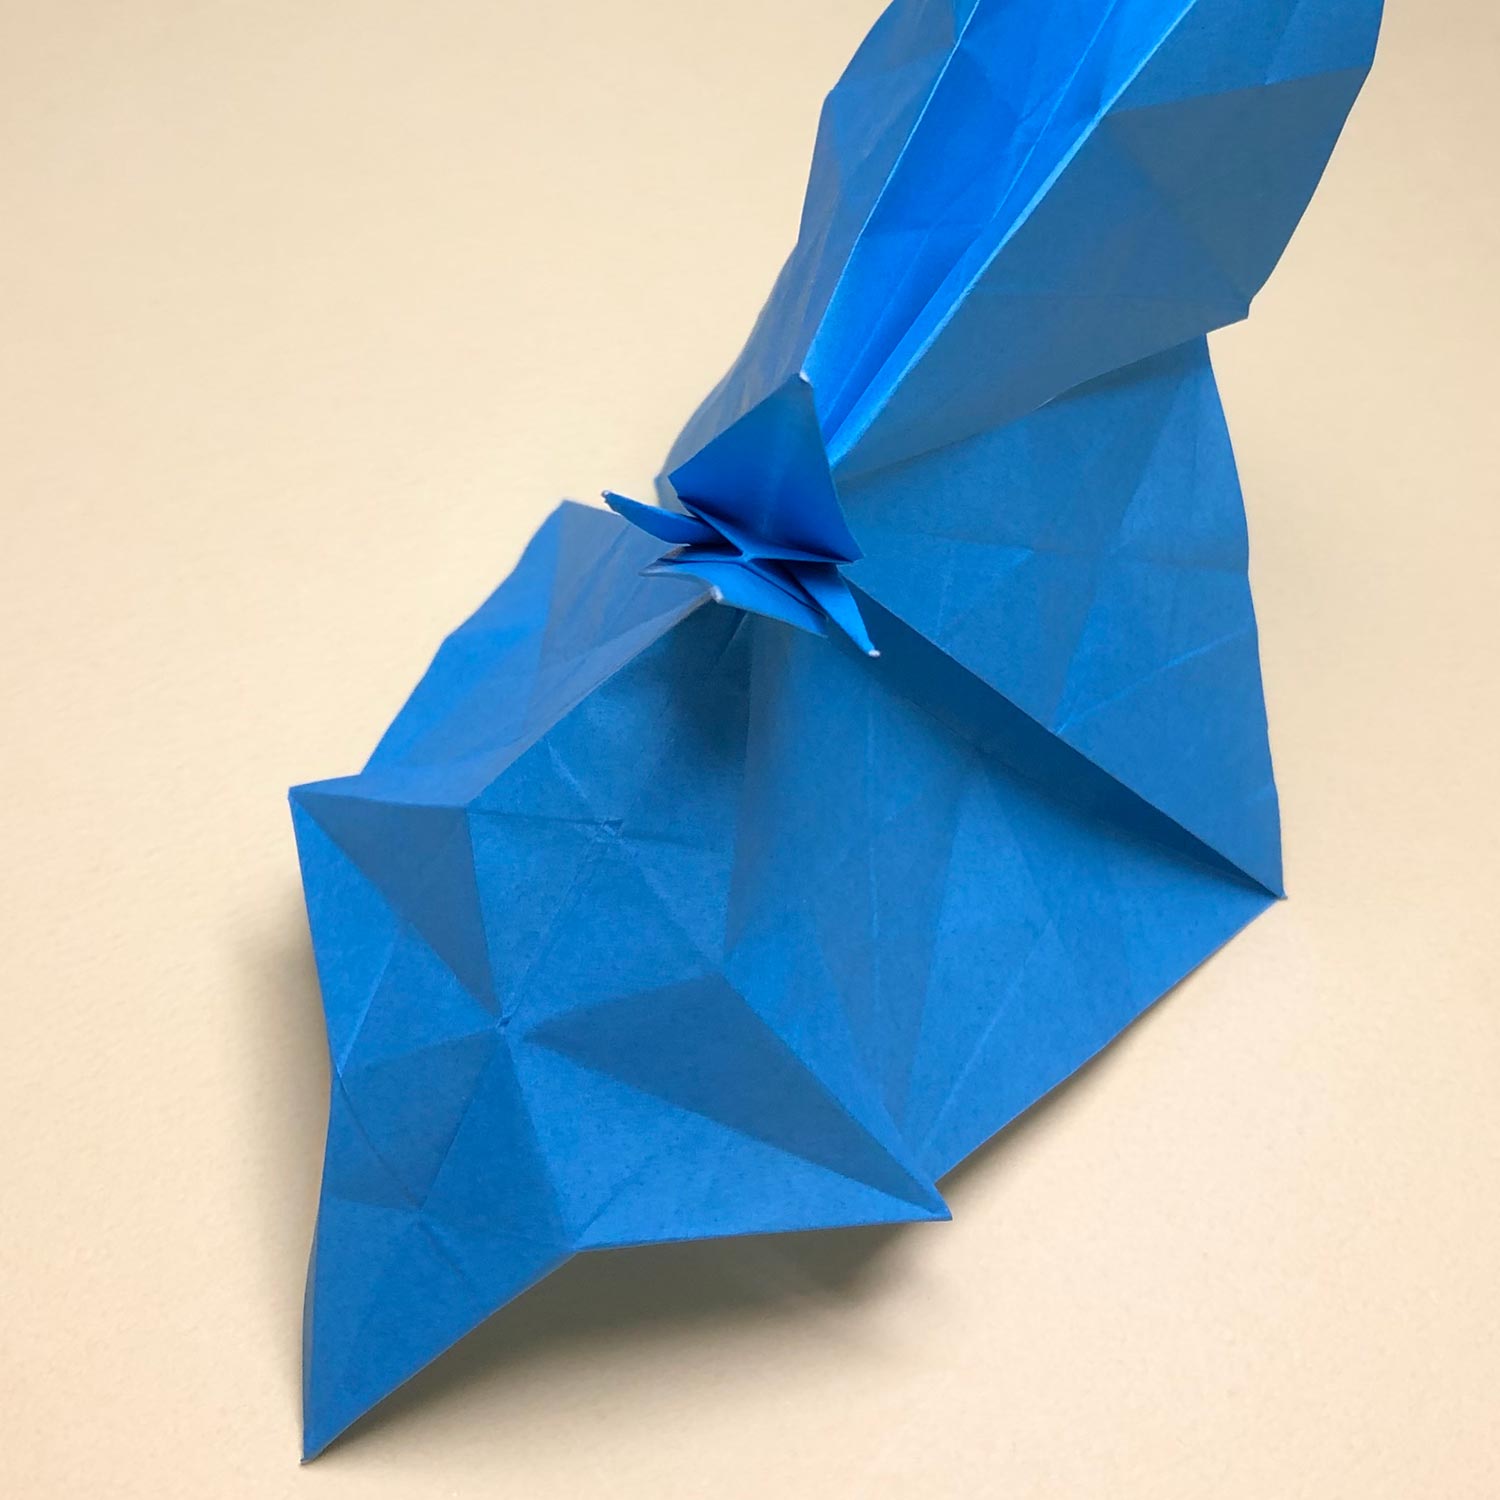
(32)
Move the left and right like this picture.

(33)
Then make a bird-base.
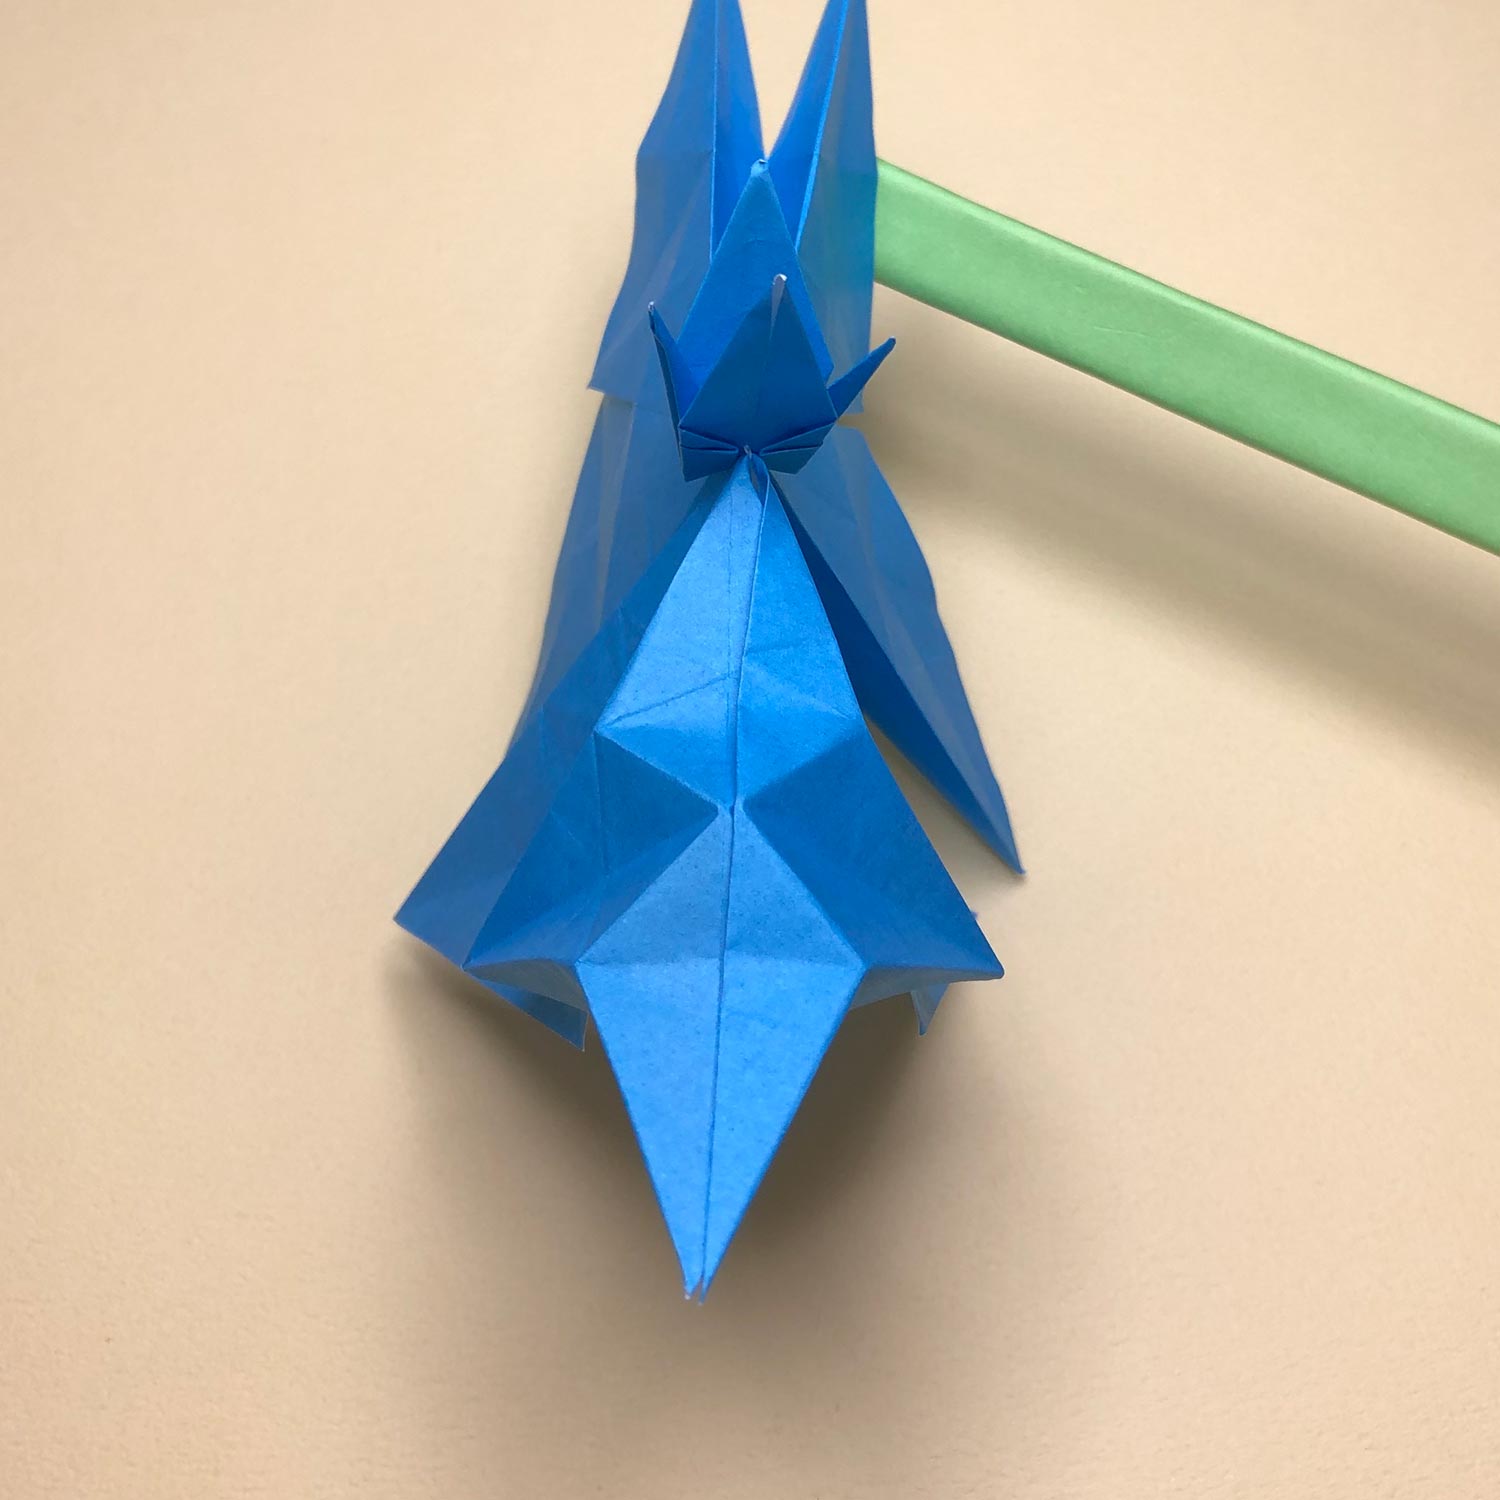
(34)
This picture is halfway through.
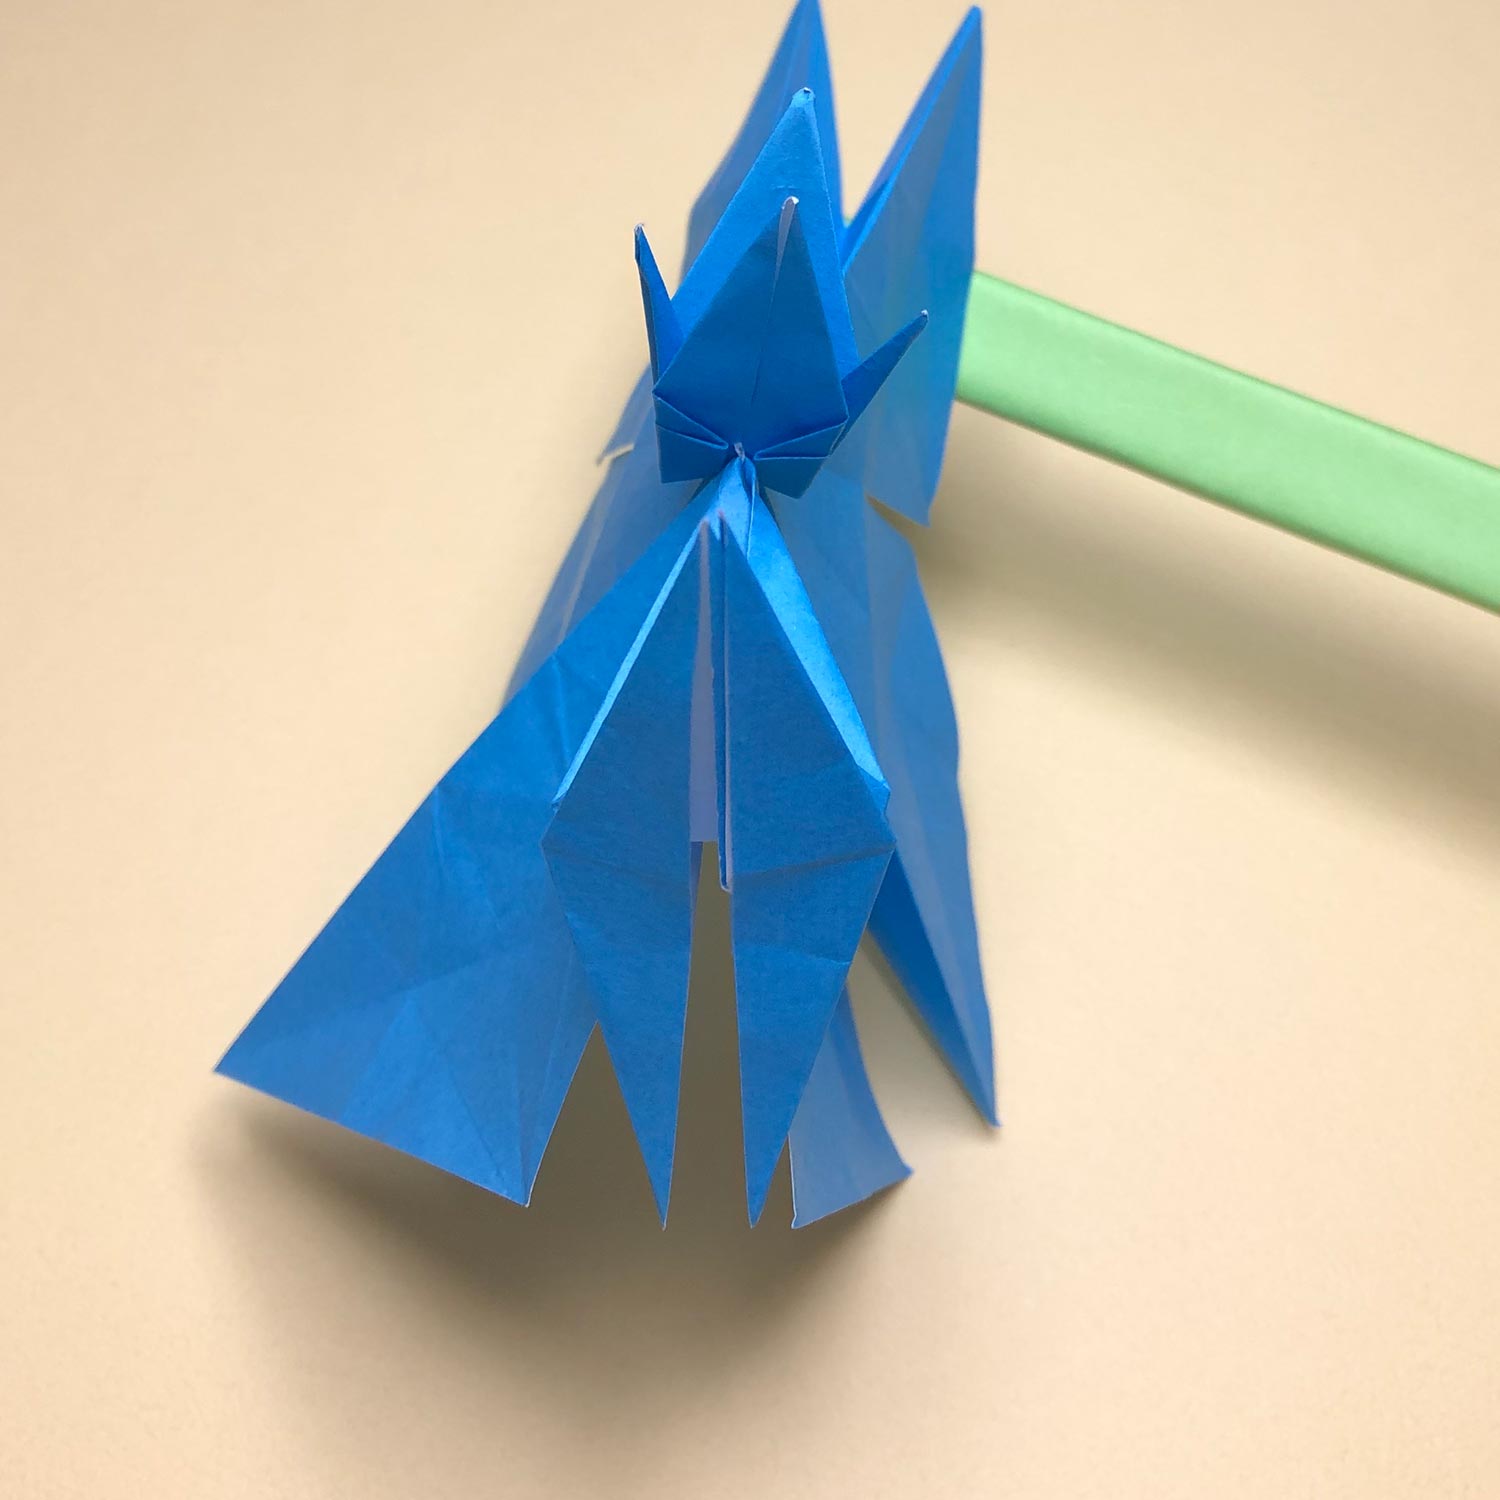
(35)
The bird-base is finished.

(36)
This picture is taken from the back side.
Make a bird-base while folding the flap in a clockwise direction like this picture.
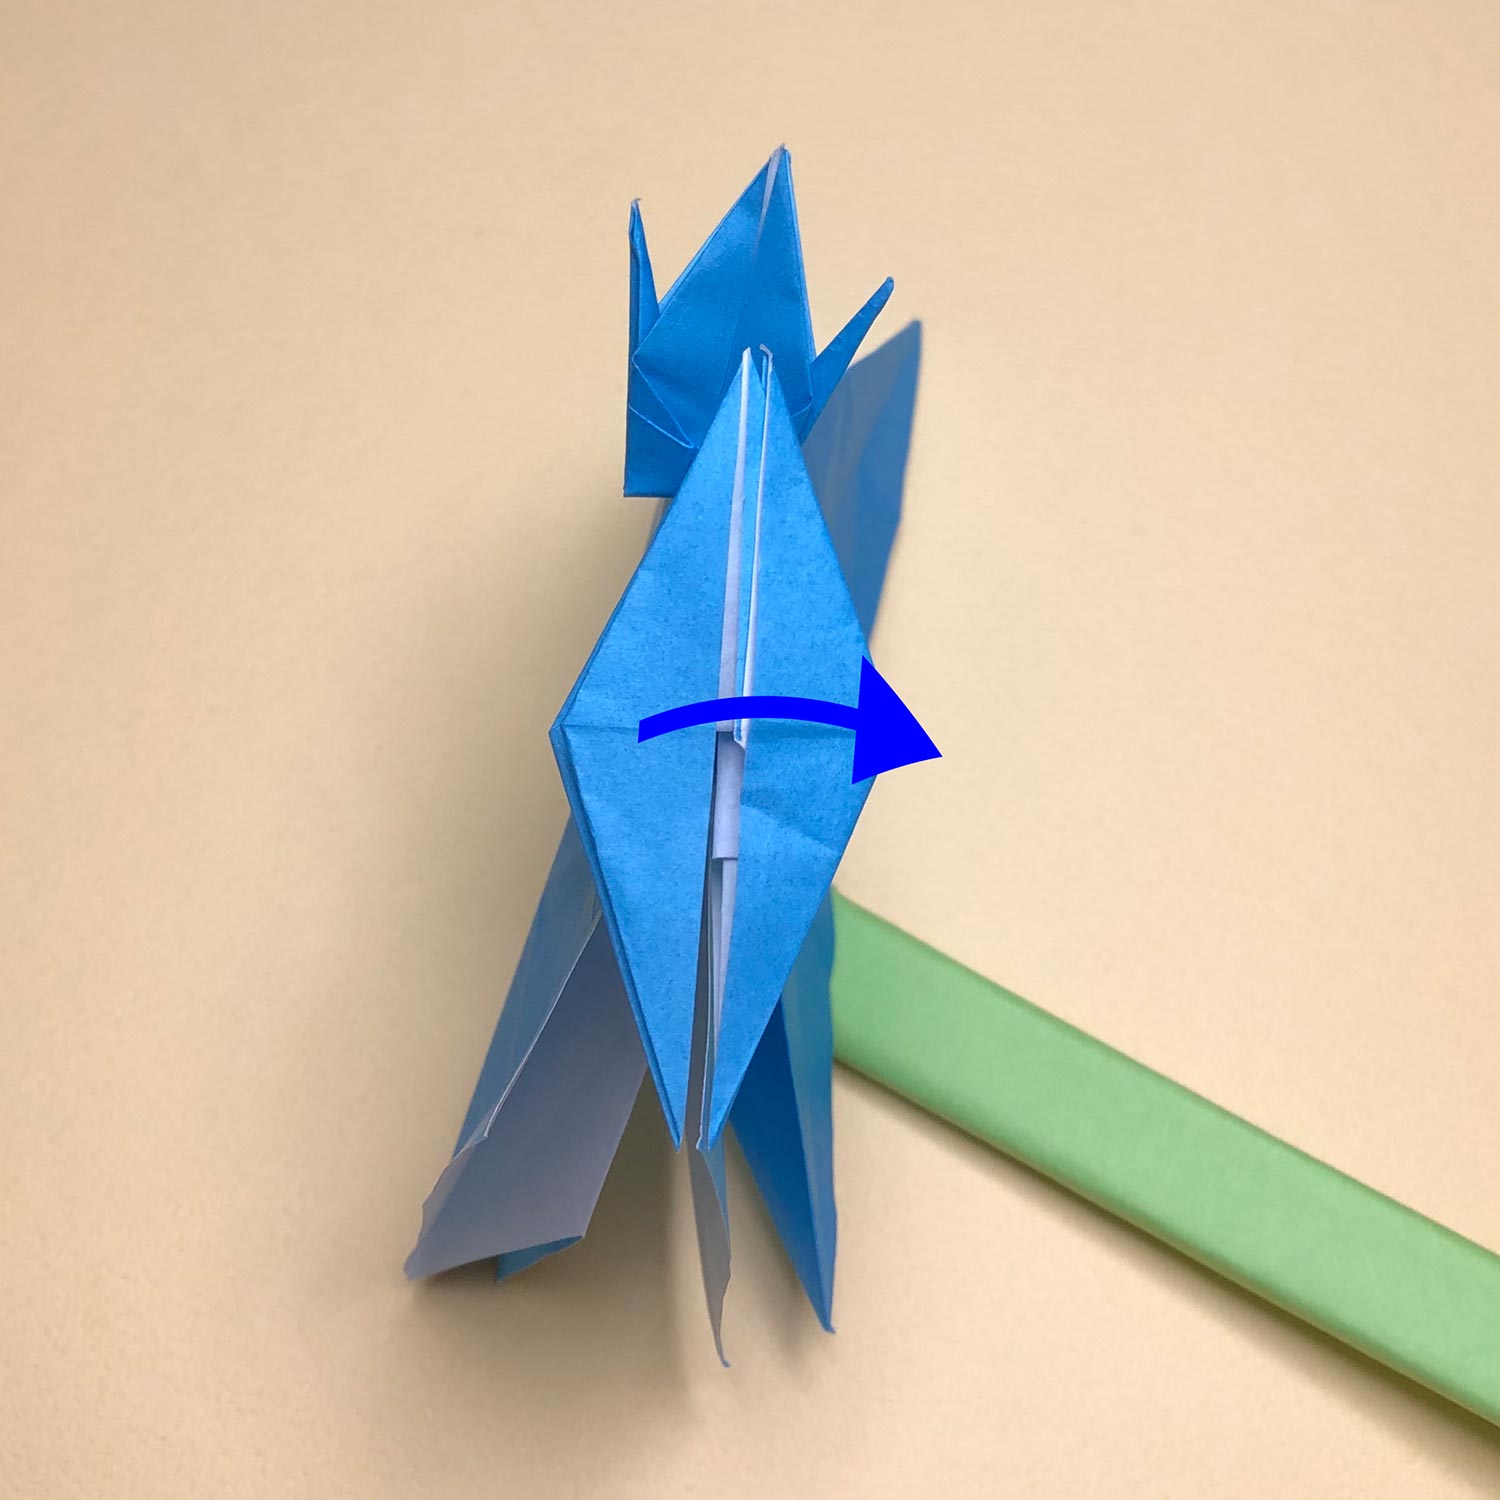
(37)
In order to get easier to fold a head/tail, lean the bird-base to the right.
Move it carefully so that connecting parts don’t get pressure.
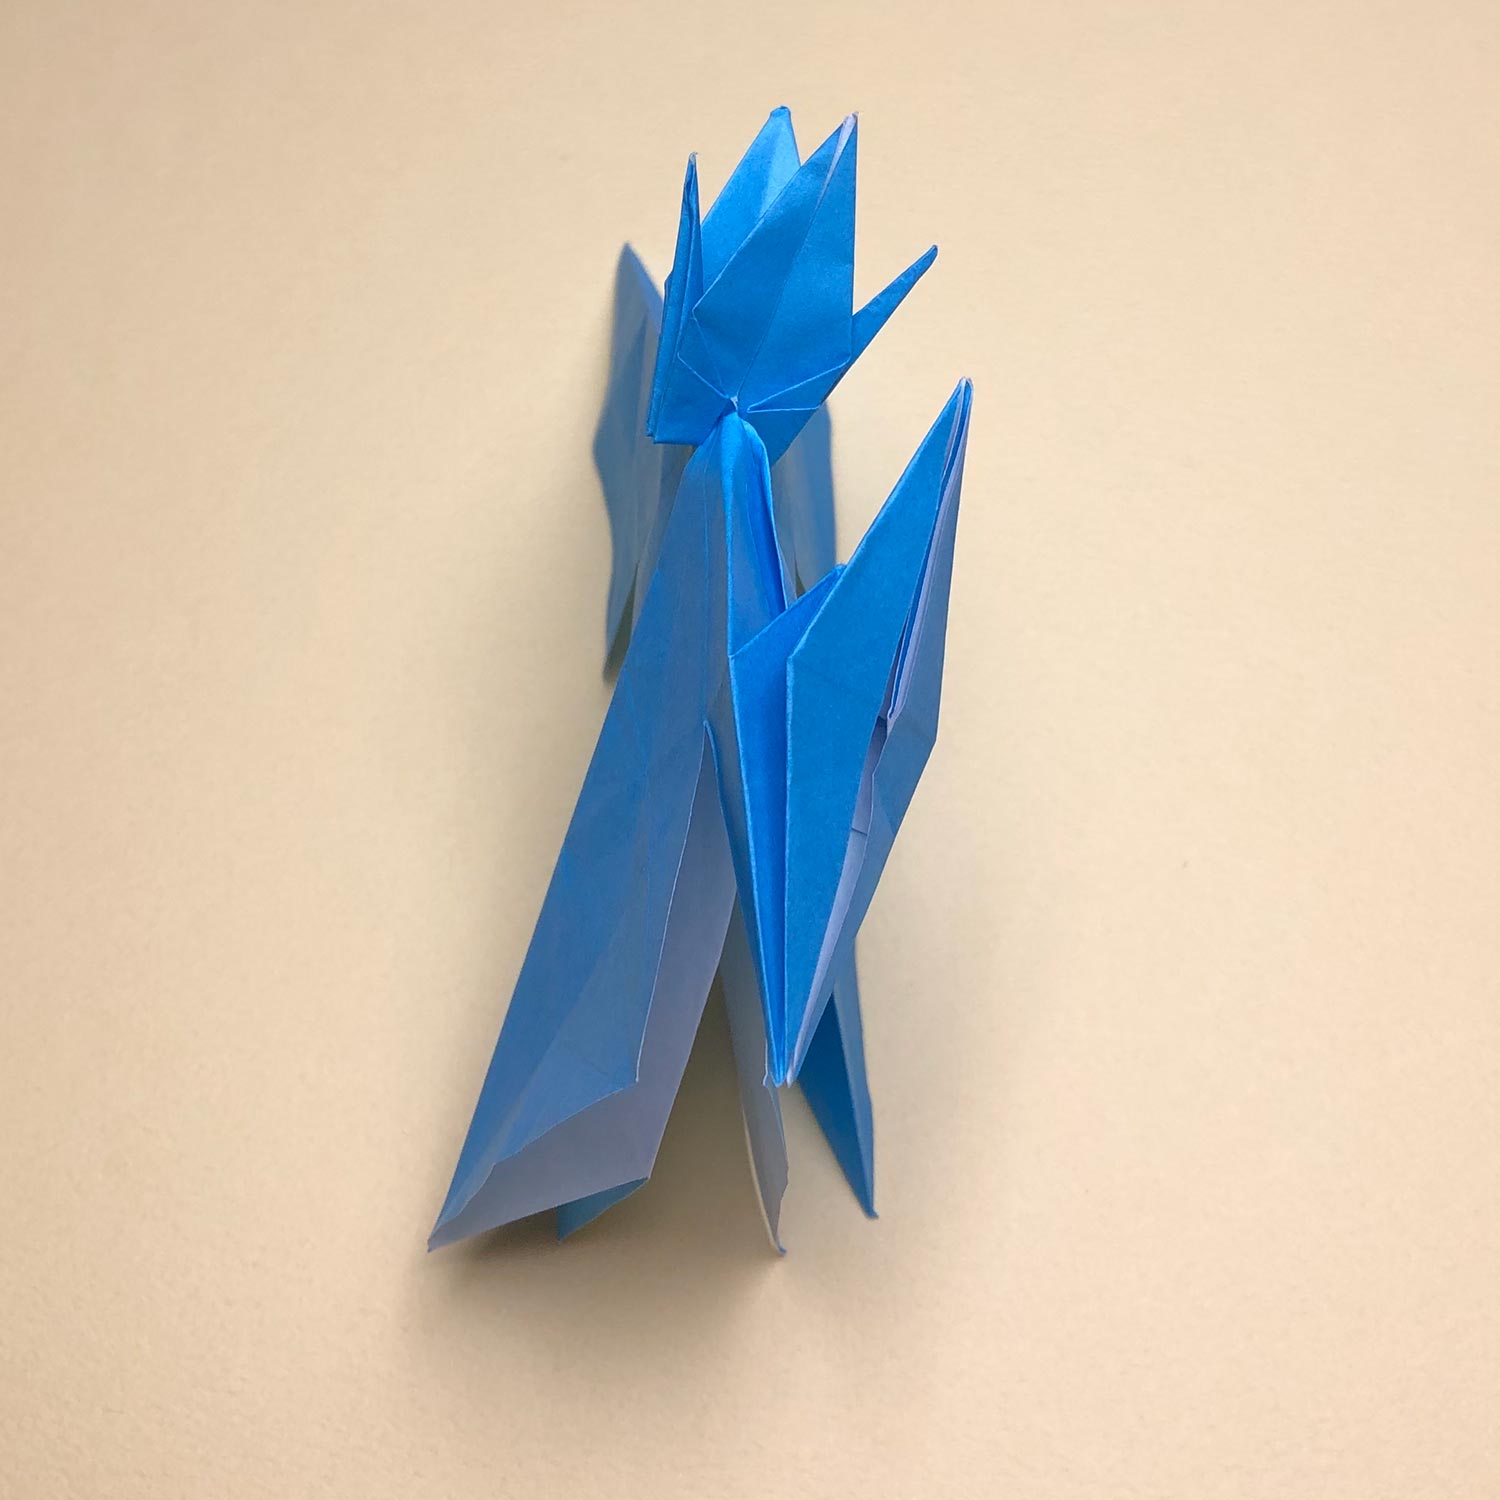
(38)
Lean the bird-base like this picture.
