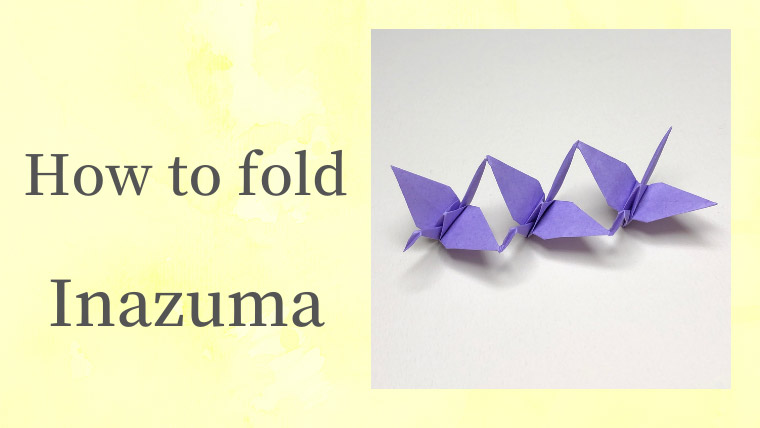
Make Inazuma
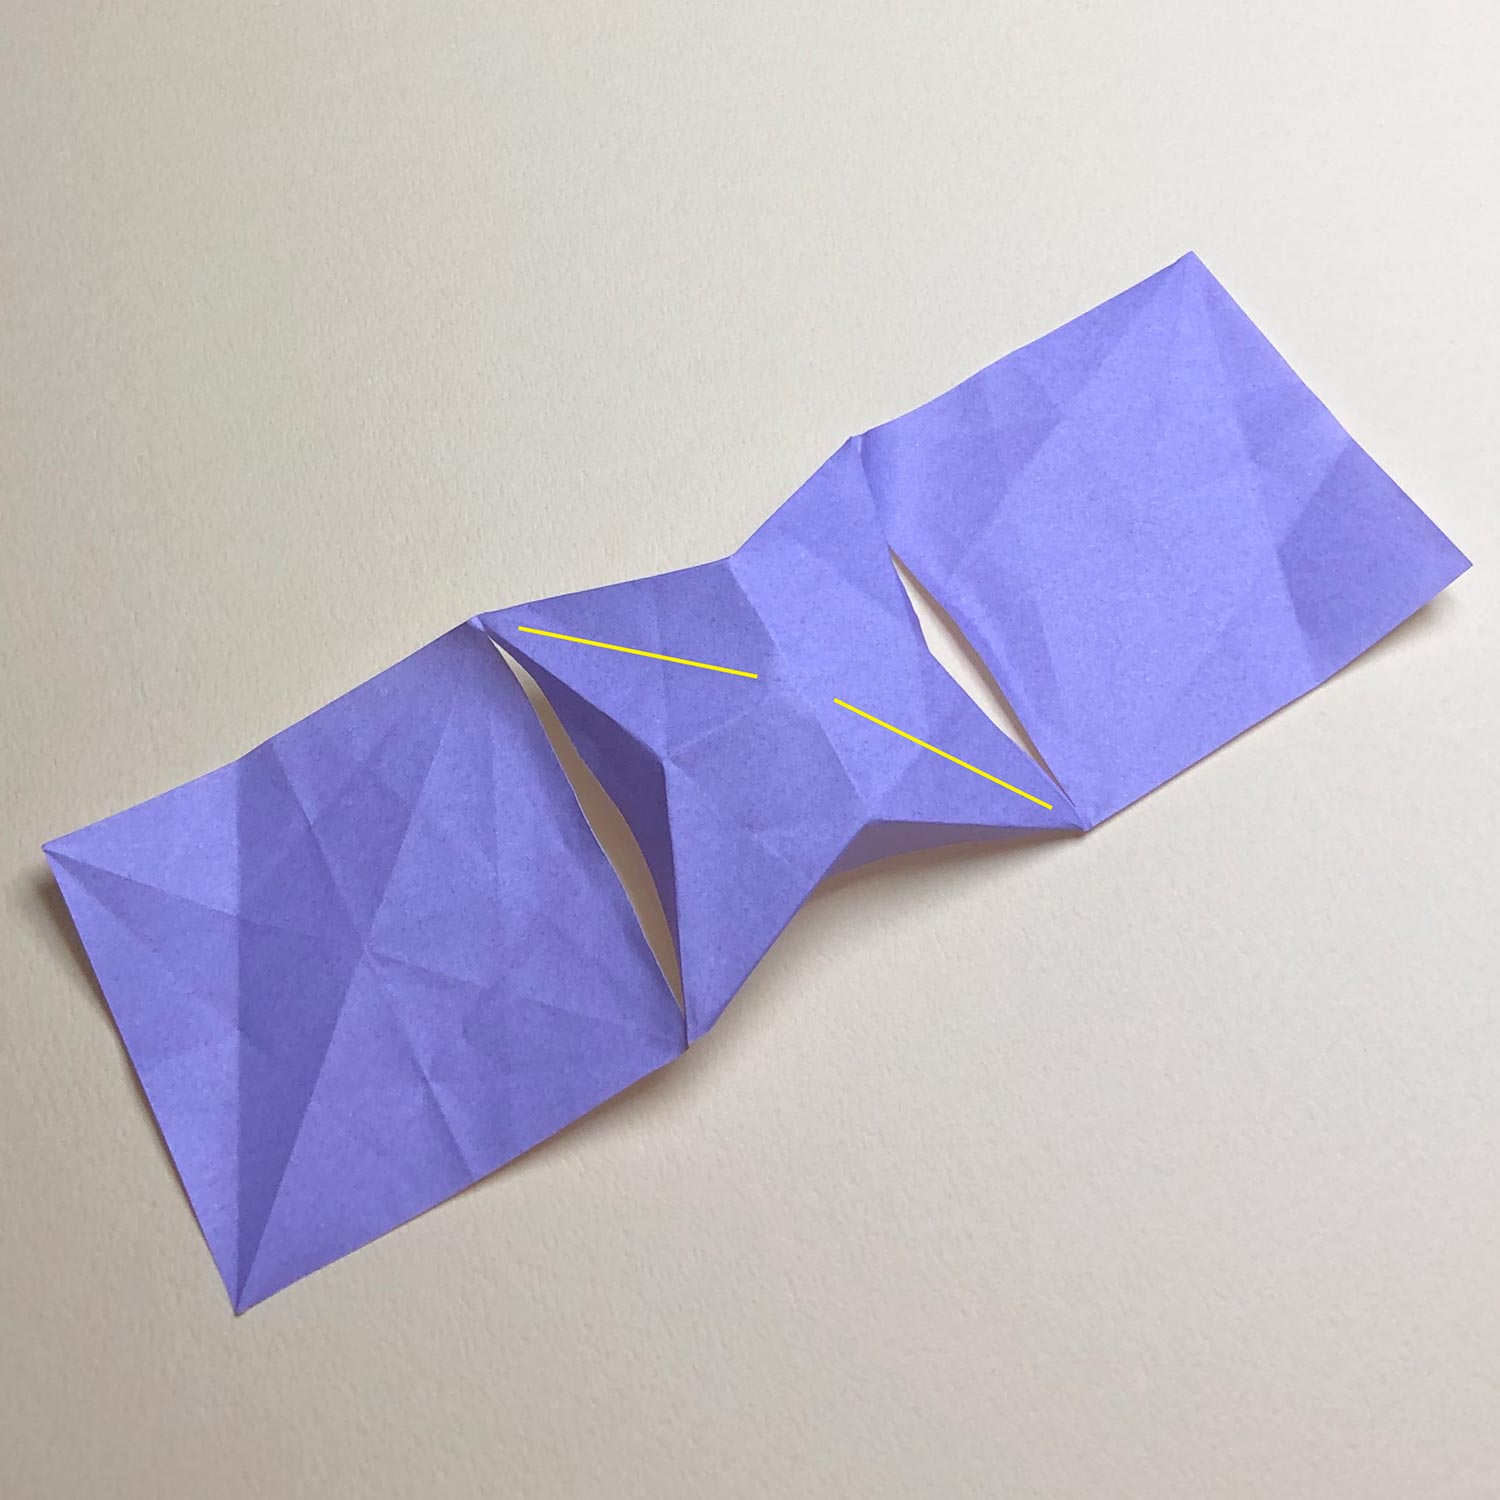
(1)
Start with folding the center square.
Make a star-shape like this picture.
Then make a bird-base so that the yellow lines are changed to wings.
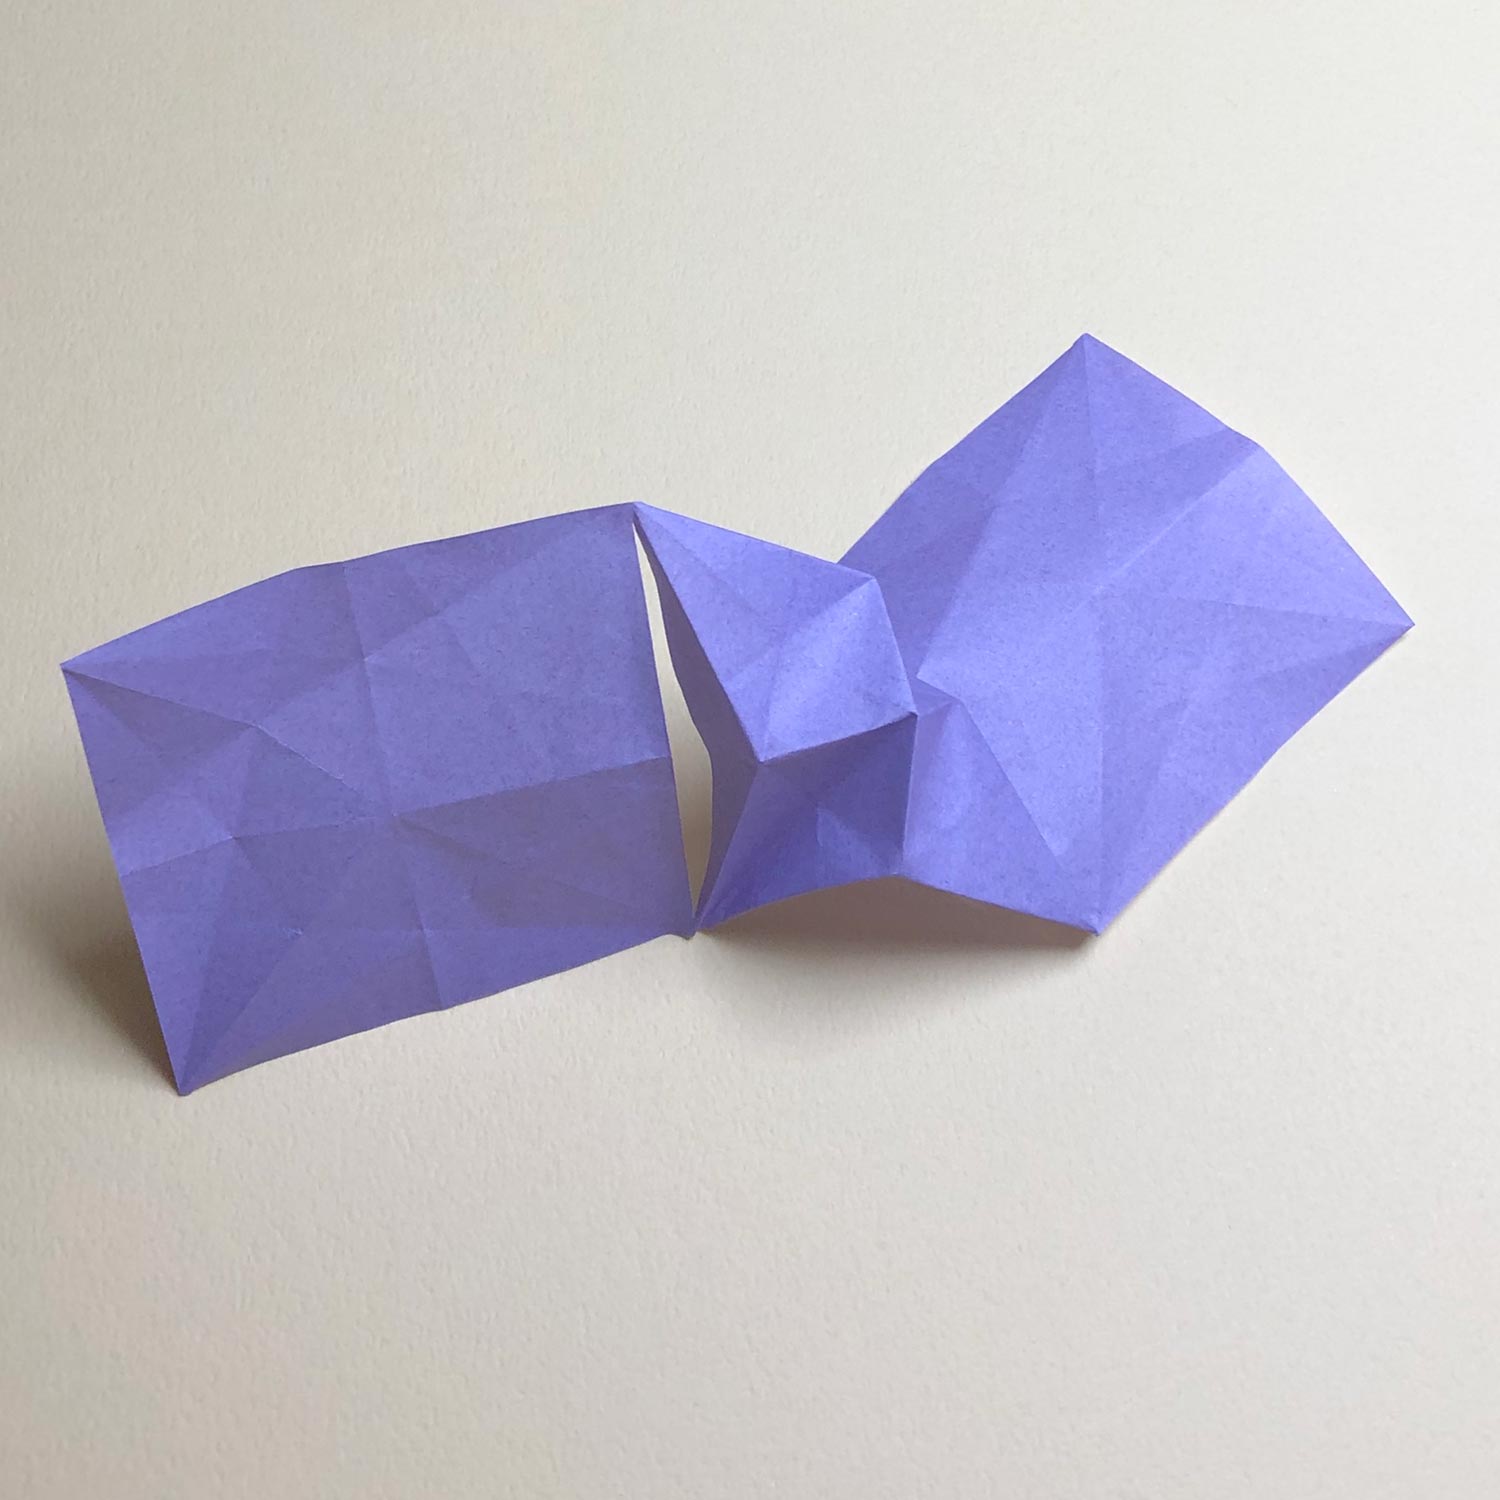
(2)
This picture is halfway through.
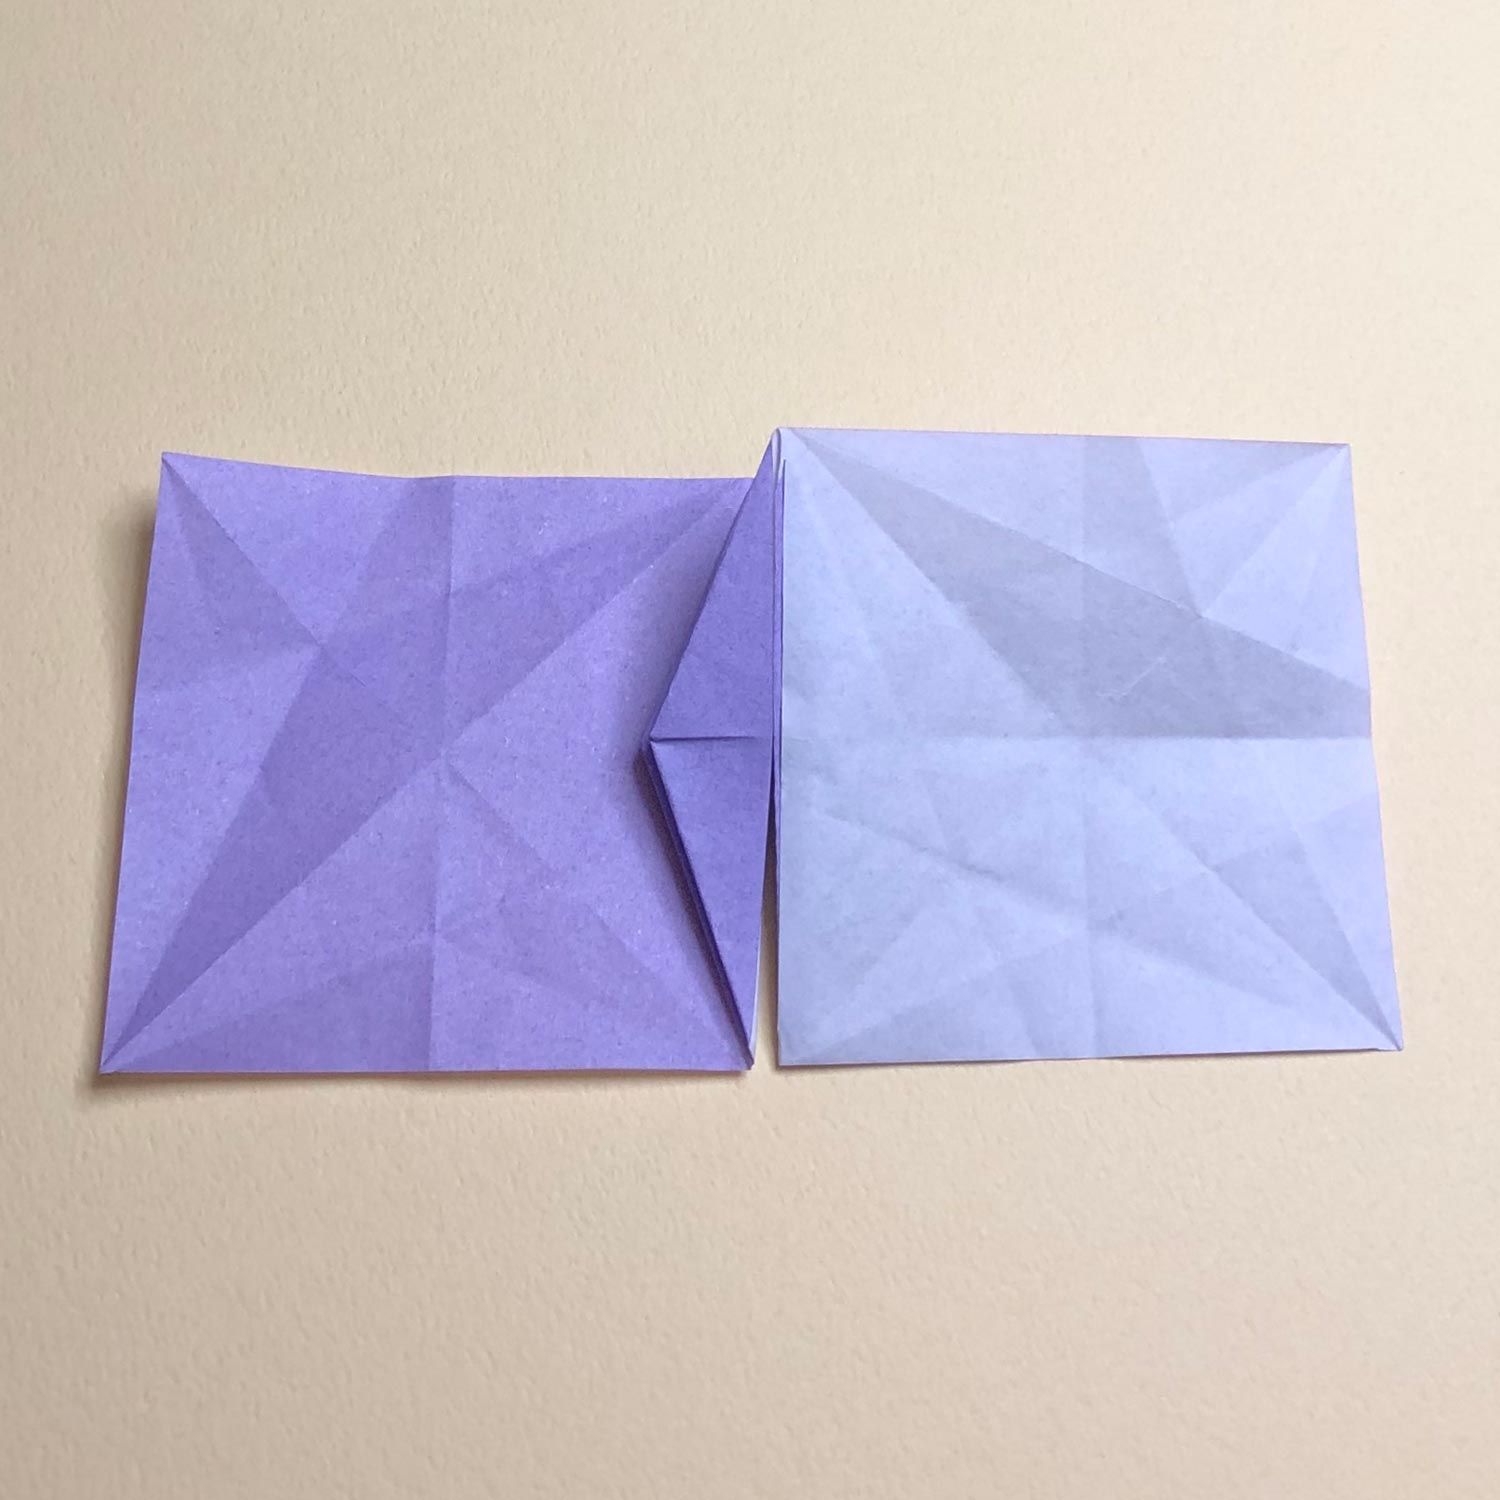
(3)
The bird-base is finished.

(4)
Fold the left head/tail to the center.
Then turn the paper over as it is.
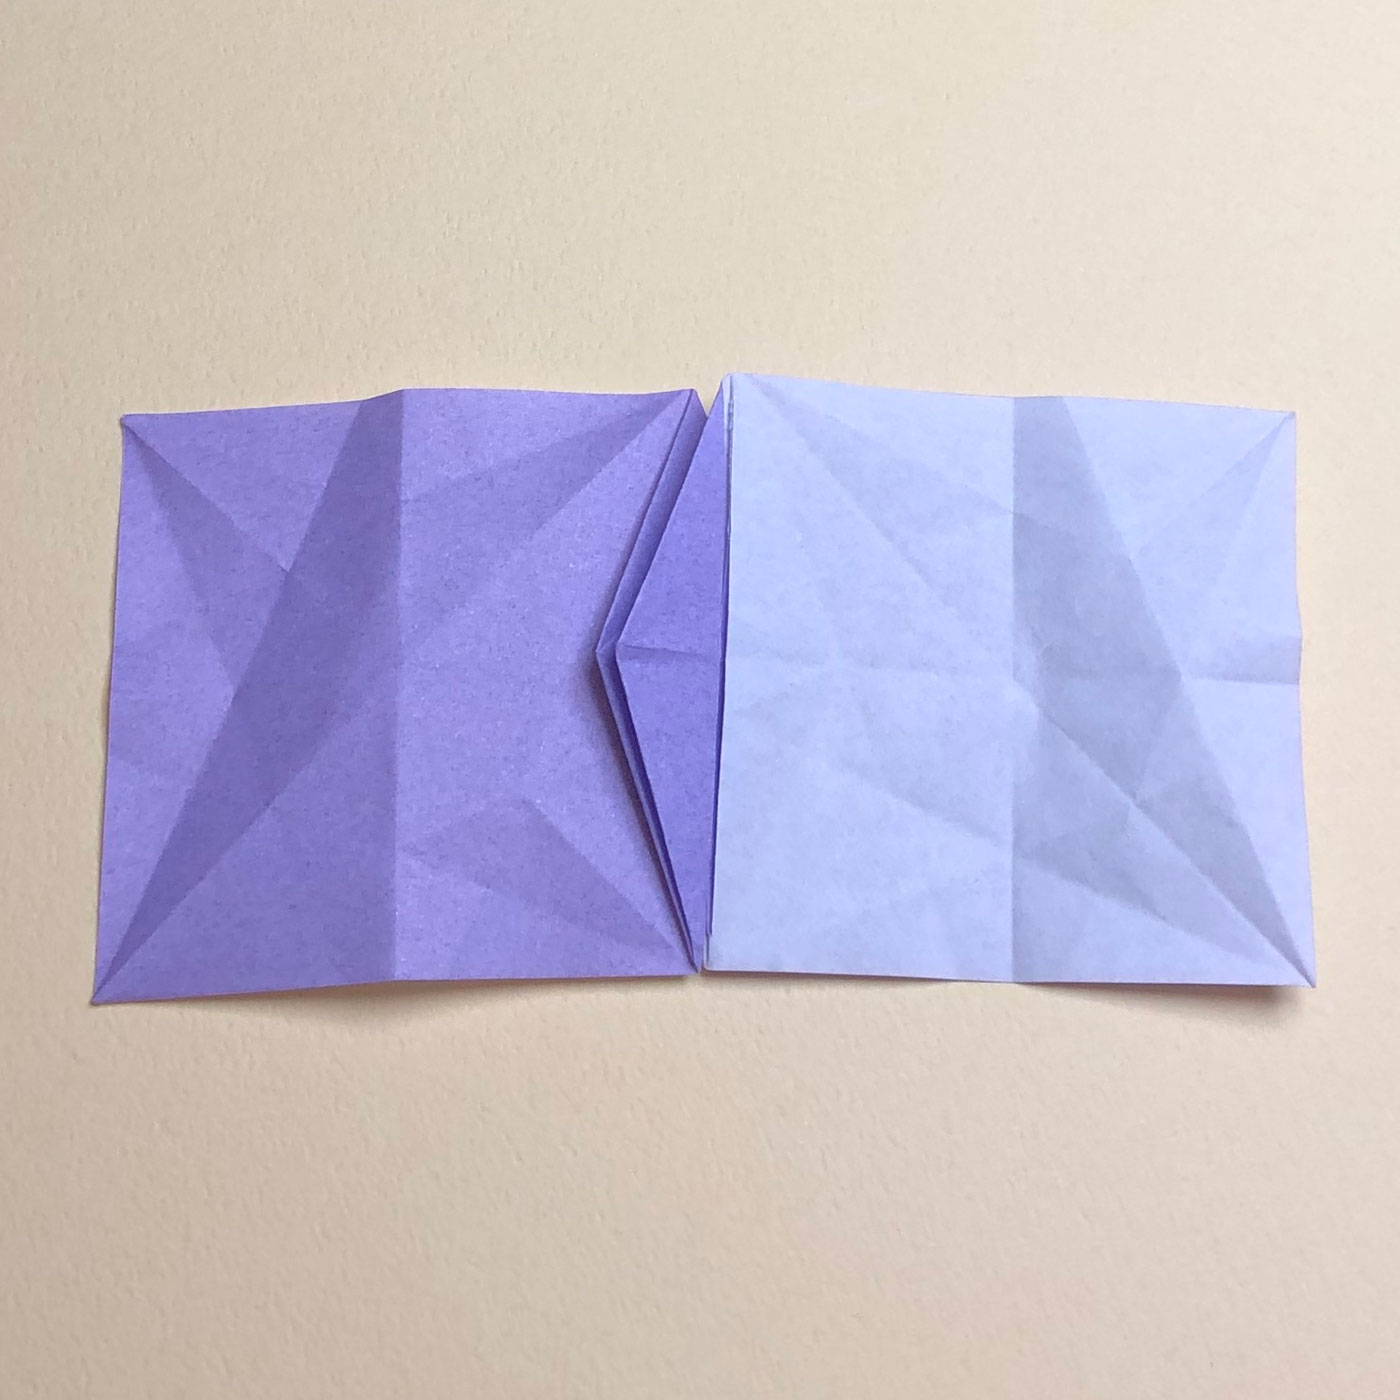
(5)
After turning the paper over, it looks like this picture.
Then fold the other head/tail to the center as well.
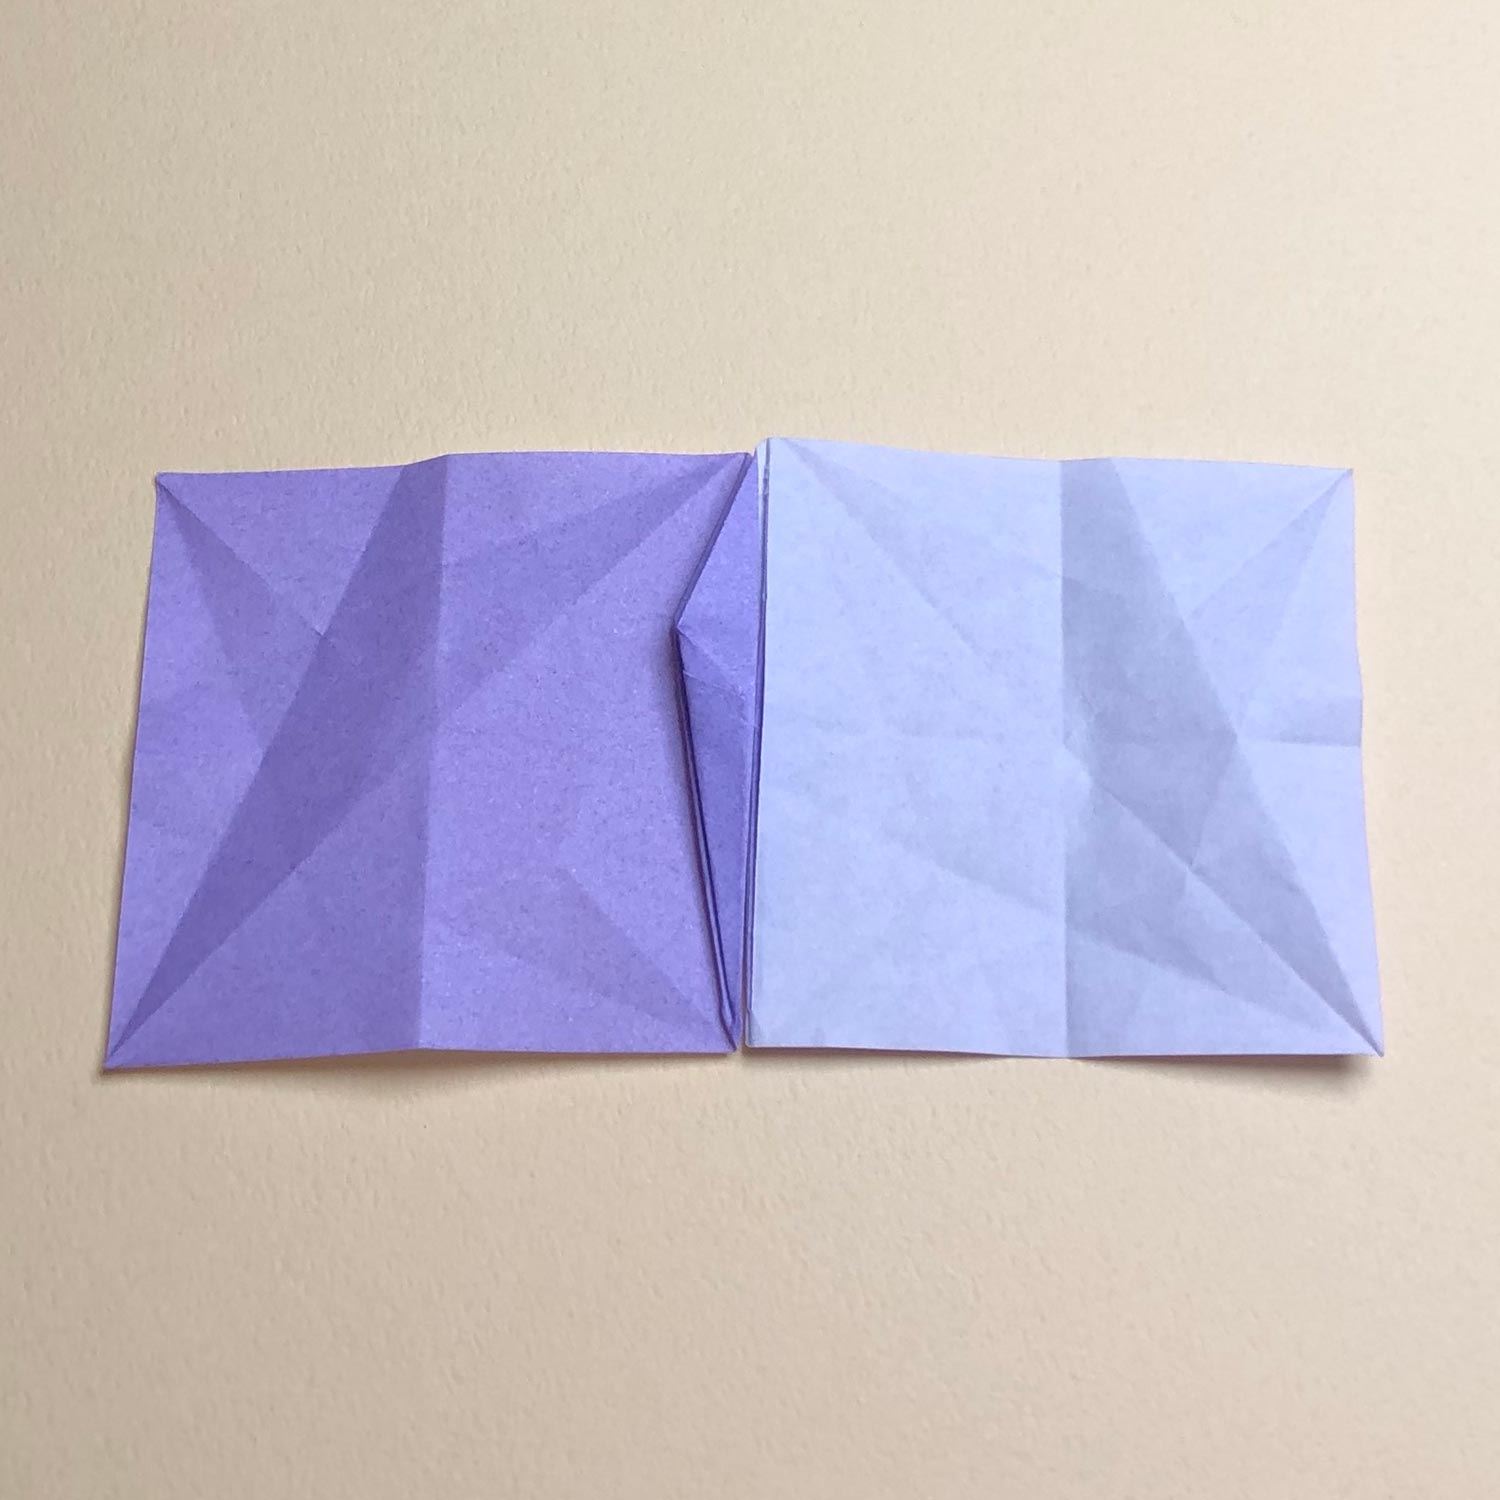
(6)
Fold the head/tail like this picture.
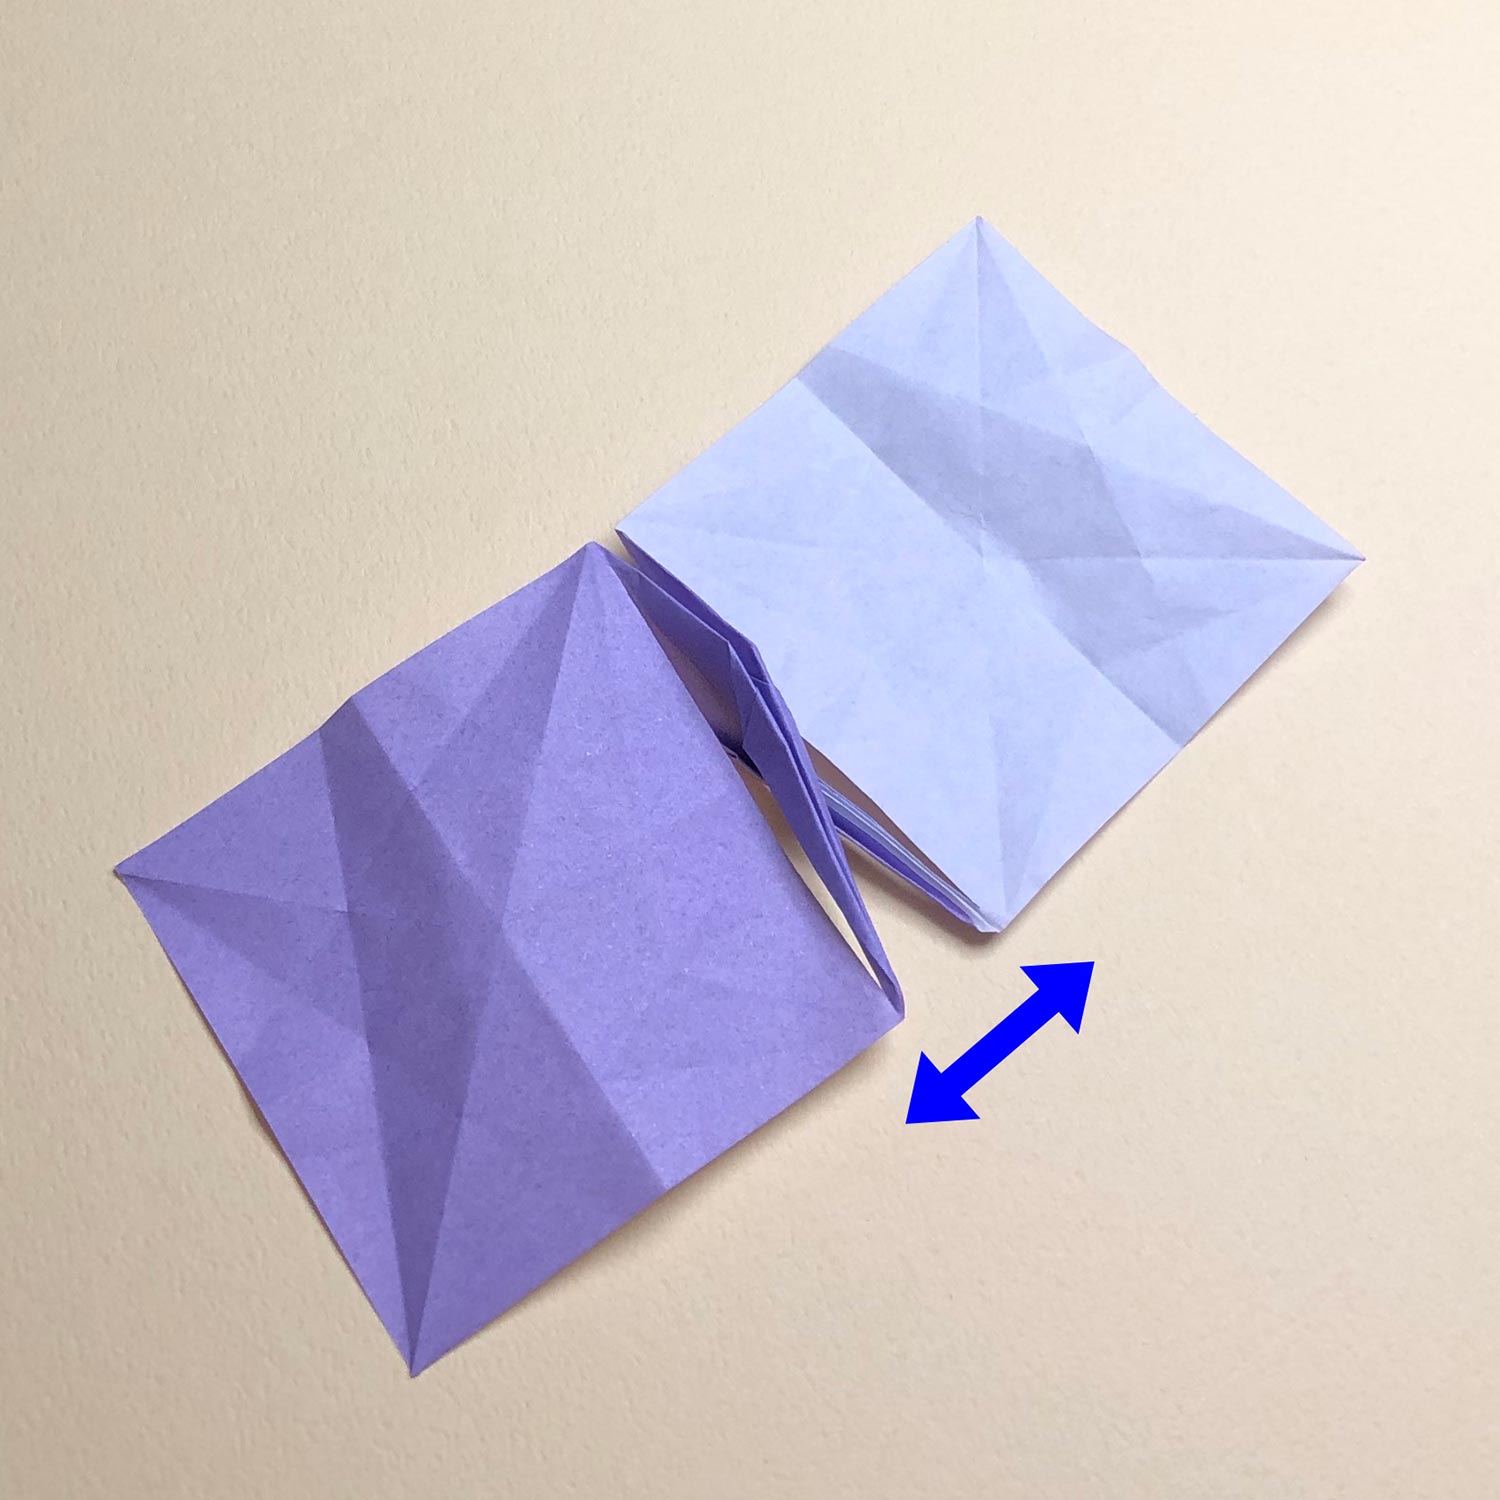
(7)
In order to get easier to raise the head/tail, part the two head/tail like this picture.
Next step is raising the head/tail.
There is an important trick.
Please read until the 10th step once.
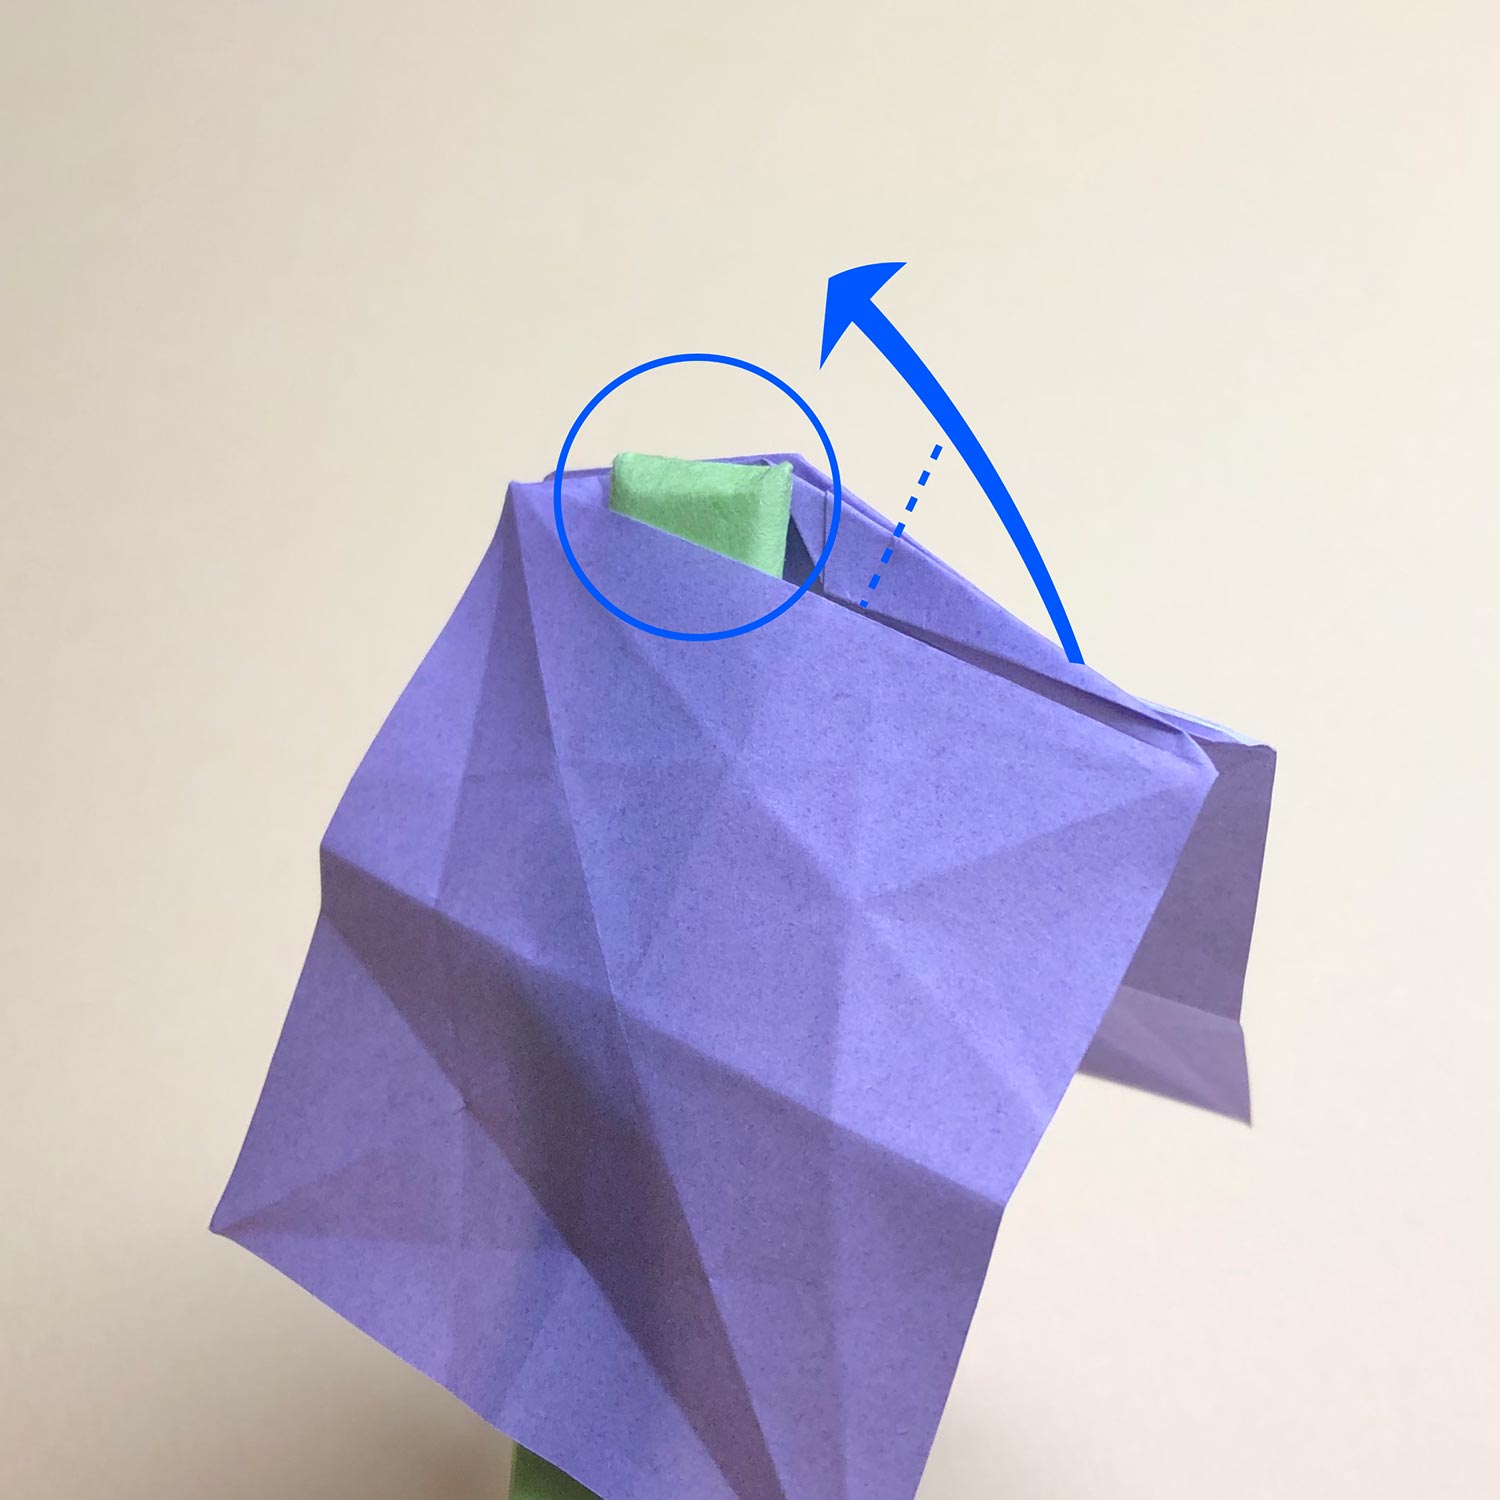
(8)
Then raise the head/tail.
If you put your thumb like the green stick and put your index finger on the opposite side and pinch both sides,
it will get easier to raise the head/tail.
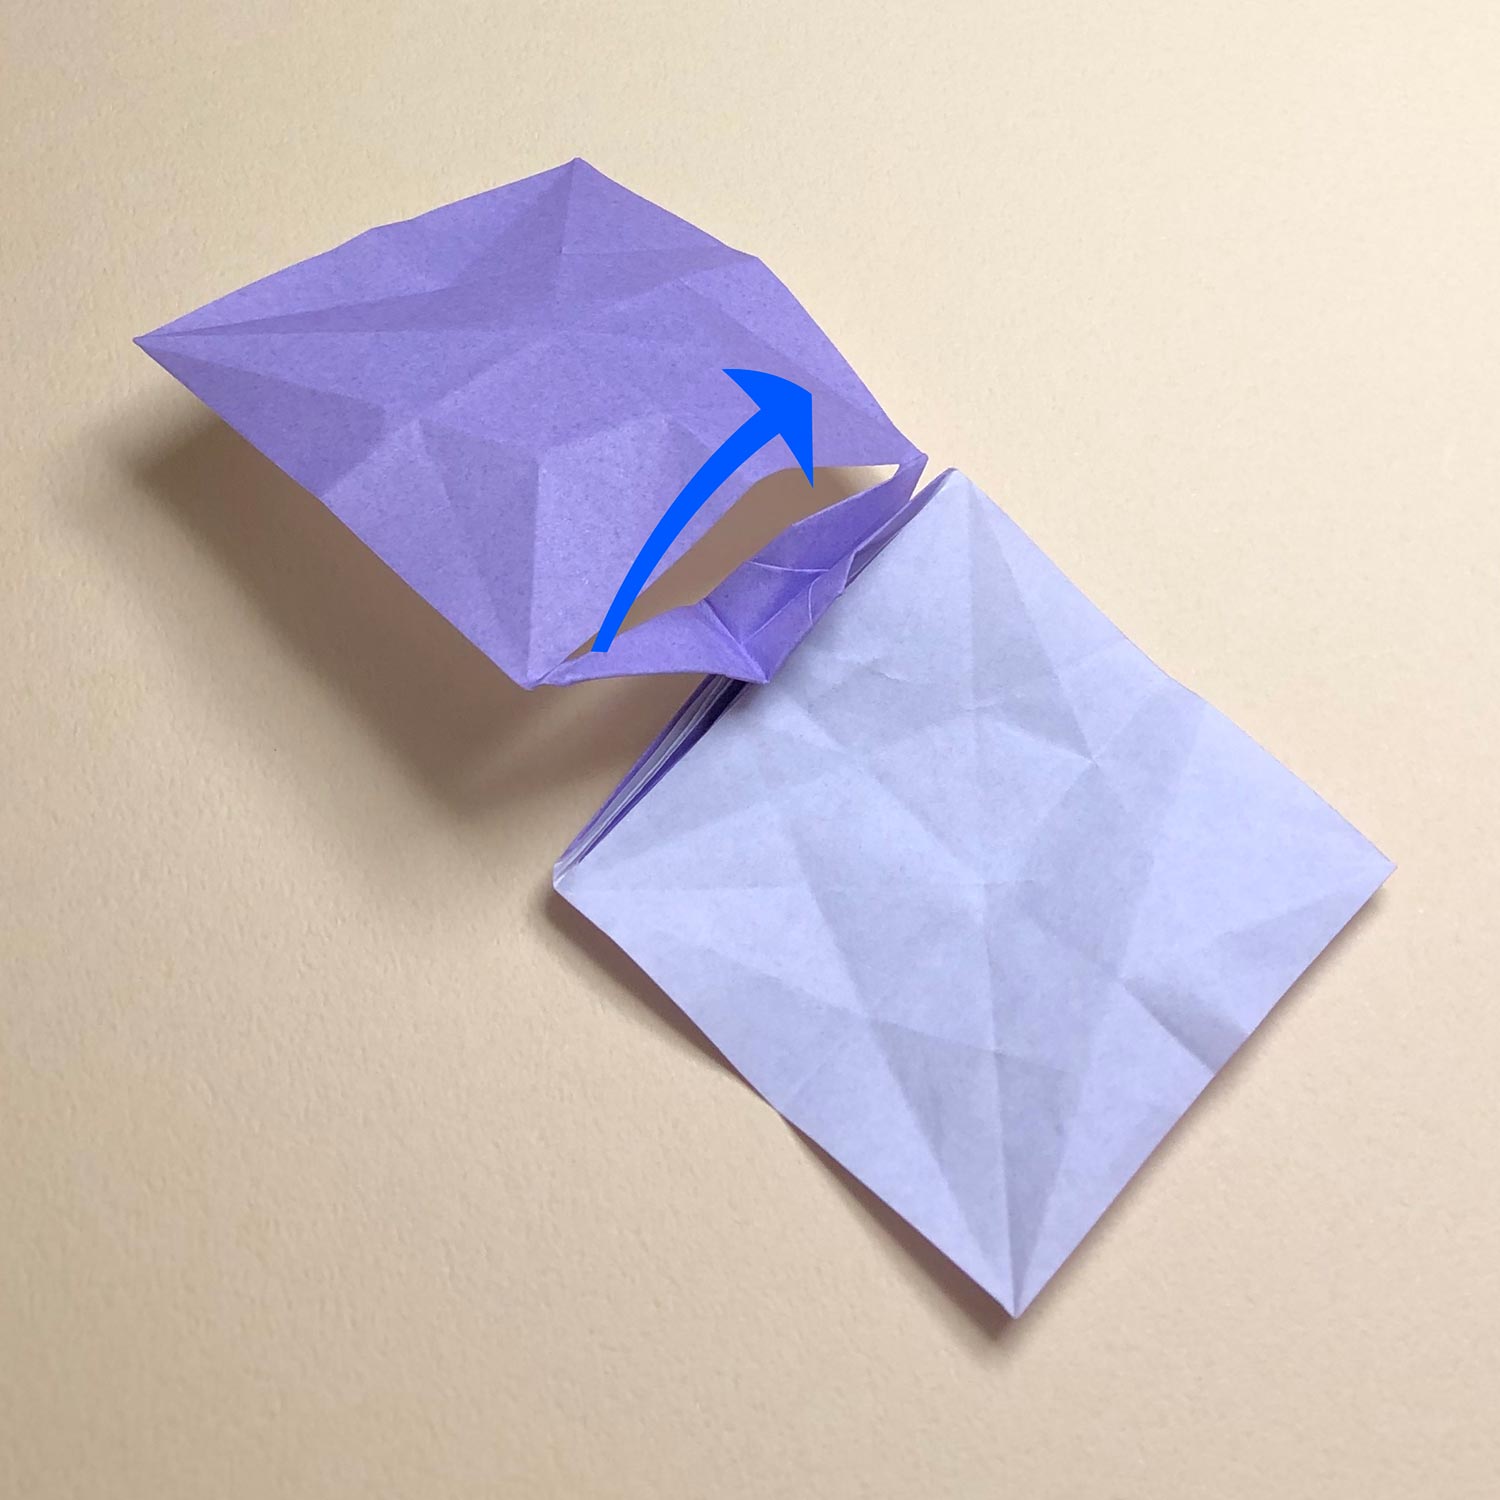
(9)
This picture is halfway through.

(10)
When raising the head/tail which is connected to another, angle the head/tail to the outside like this picture and make creases only at the part that has been circled in blue.
Also, try not to make creases at the part that has been circled in green.
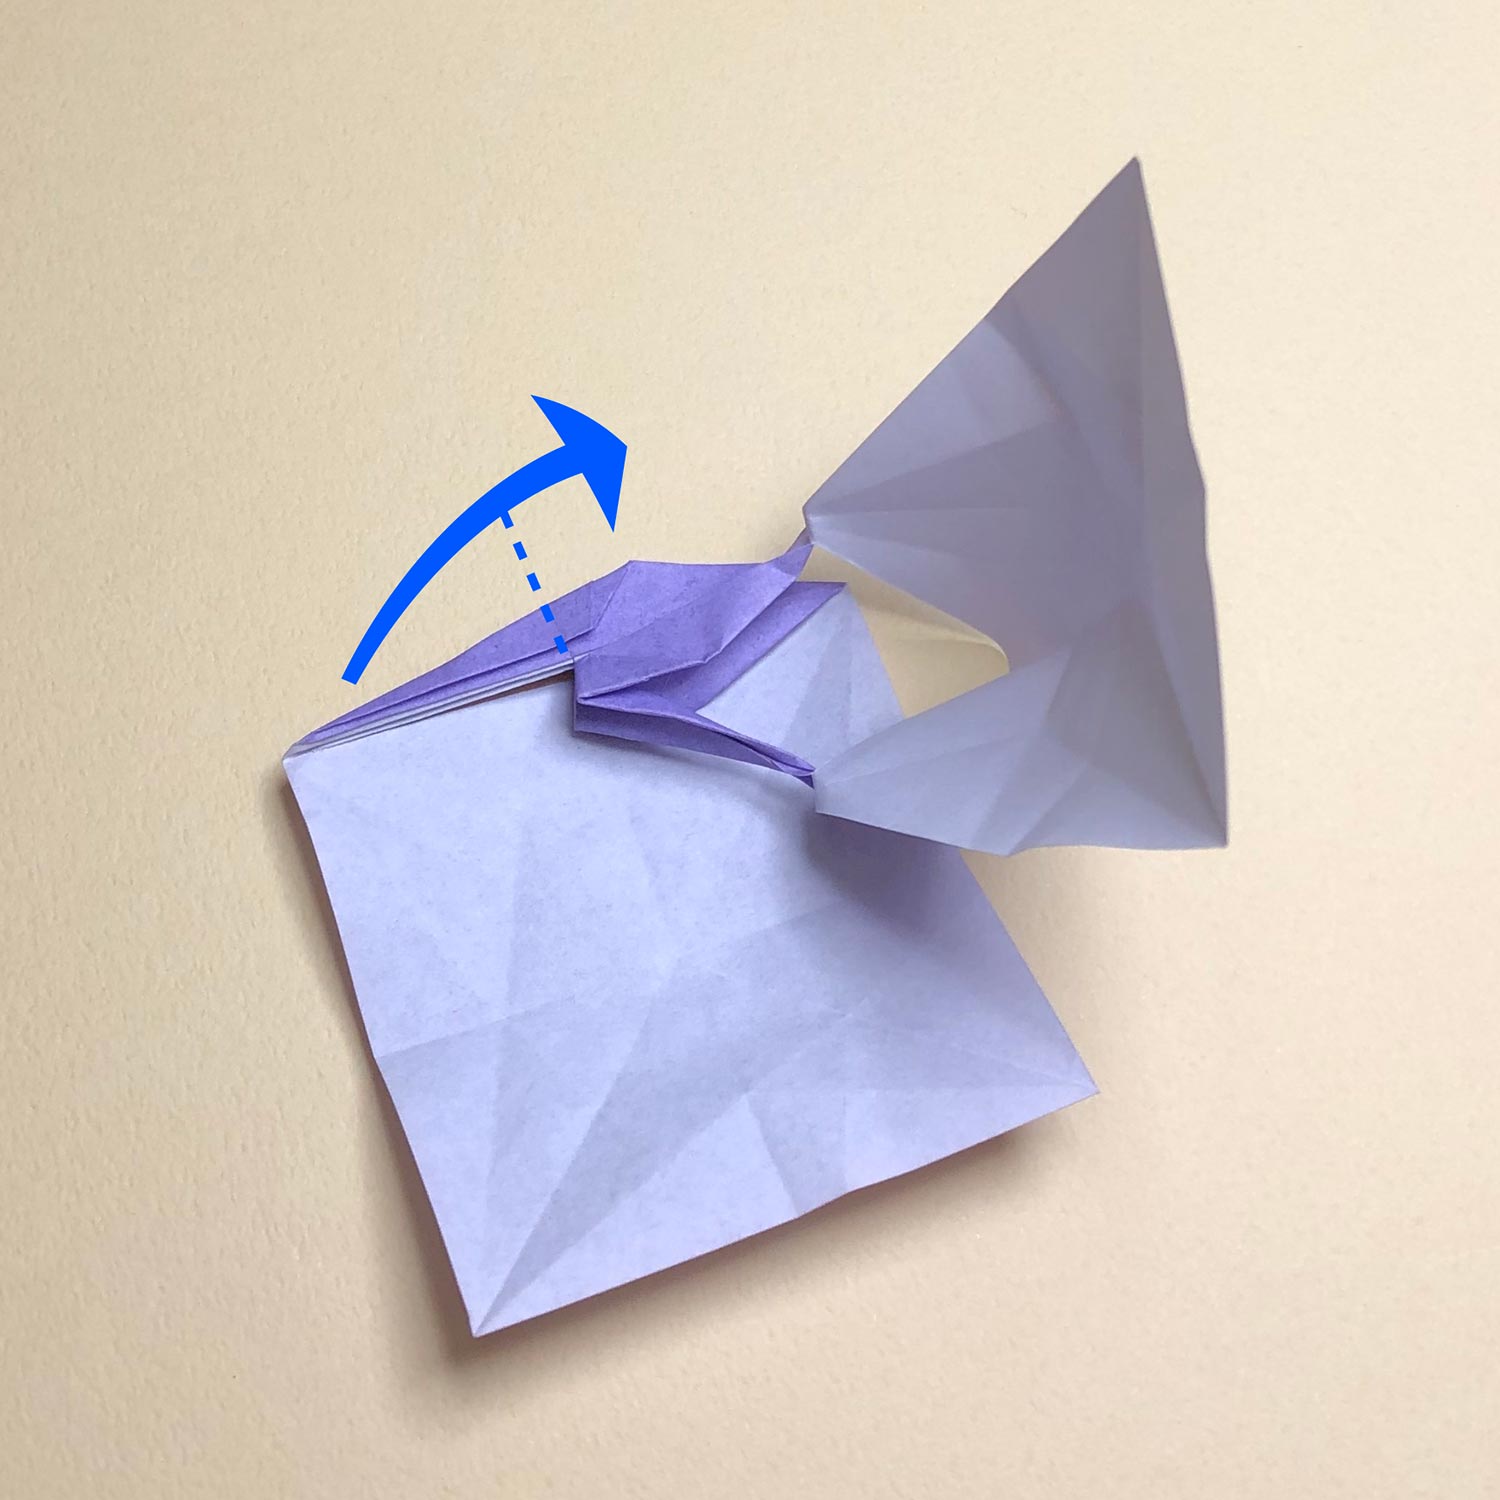
(11)
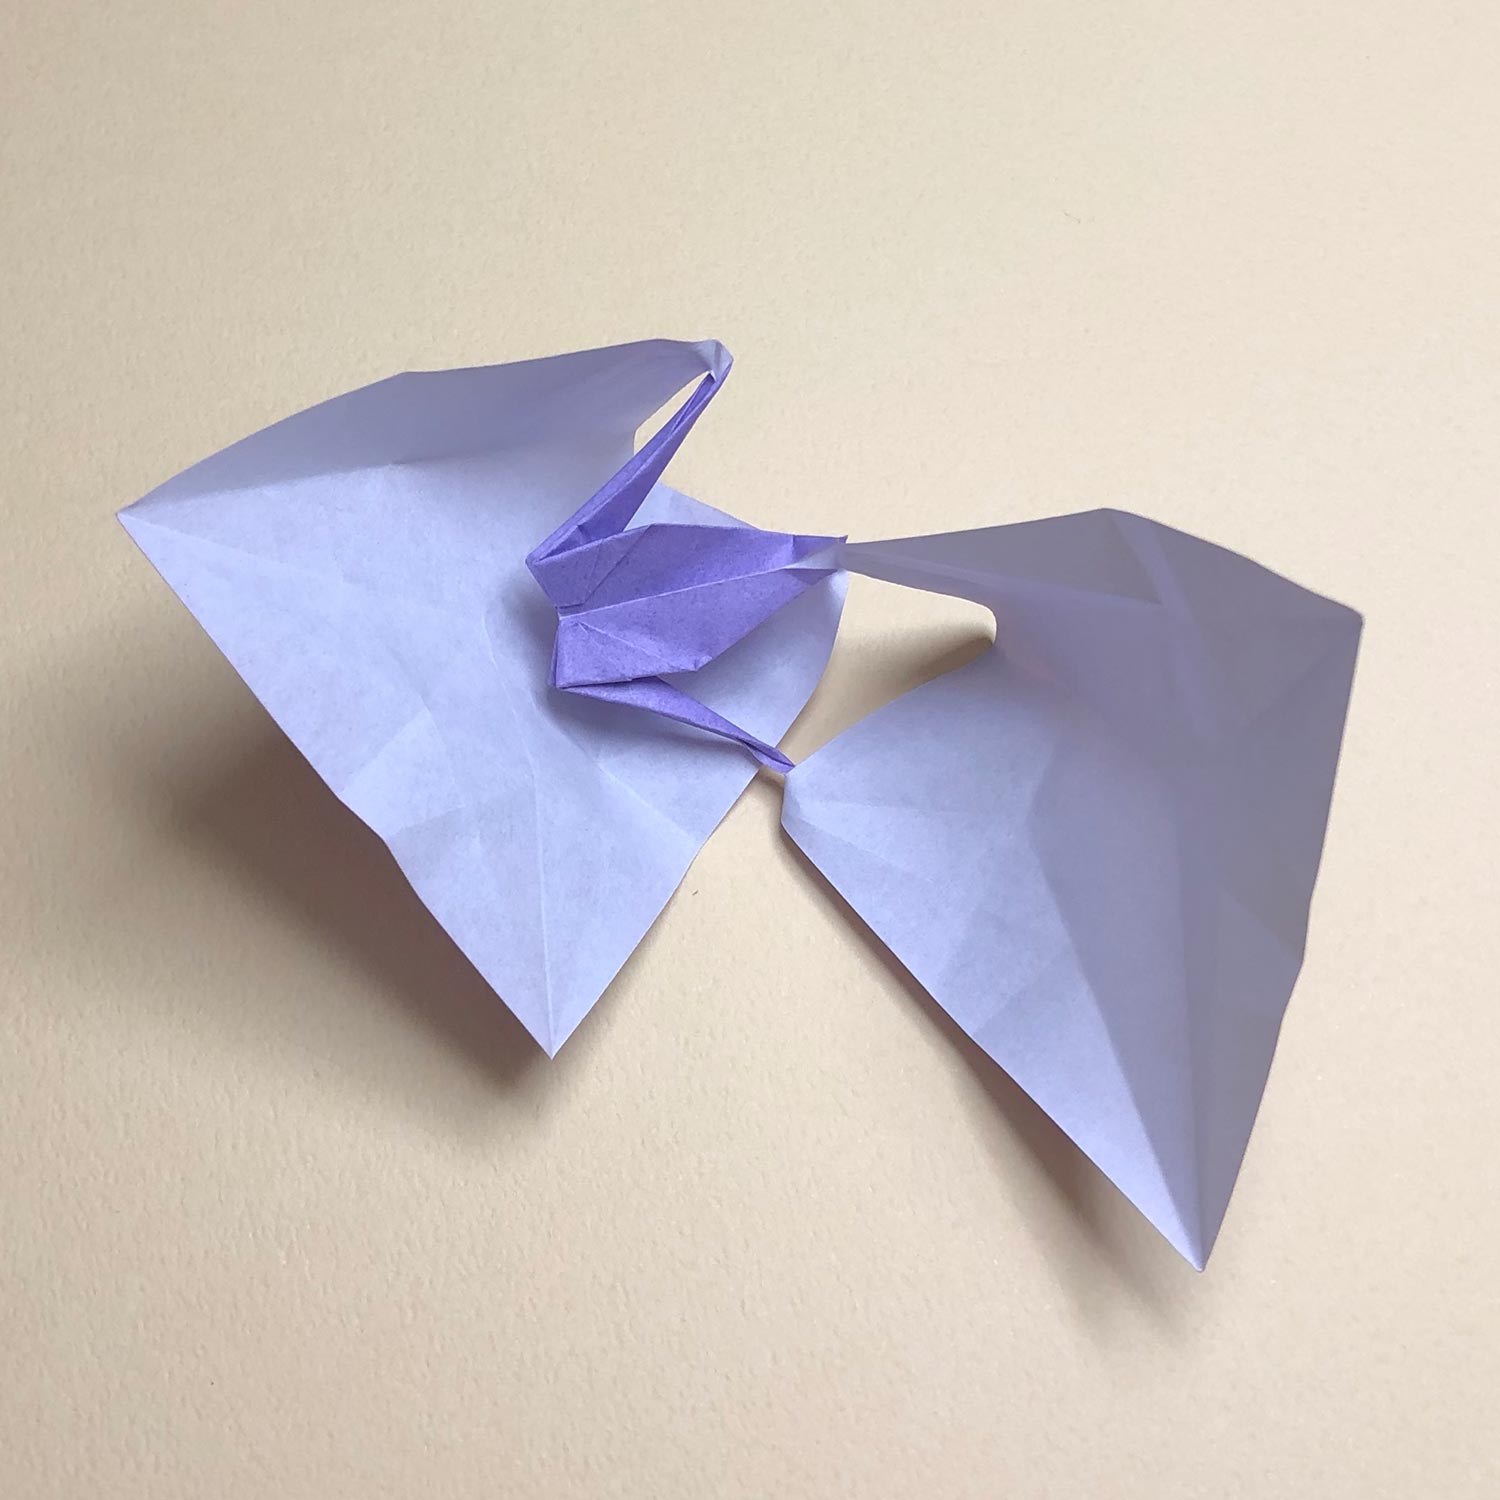
Then raise the other head/tail.
(12)
Angle the head/tail to the outside like this picture and make creases only at a root of the head/tail as well.
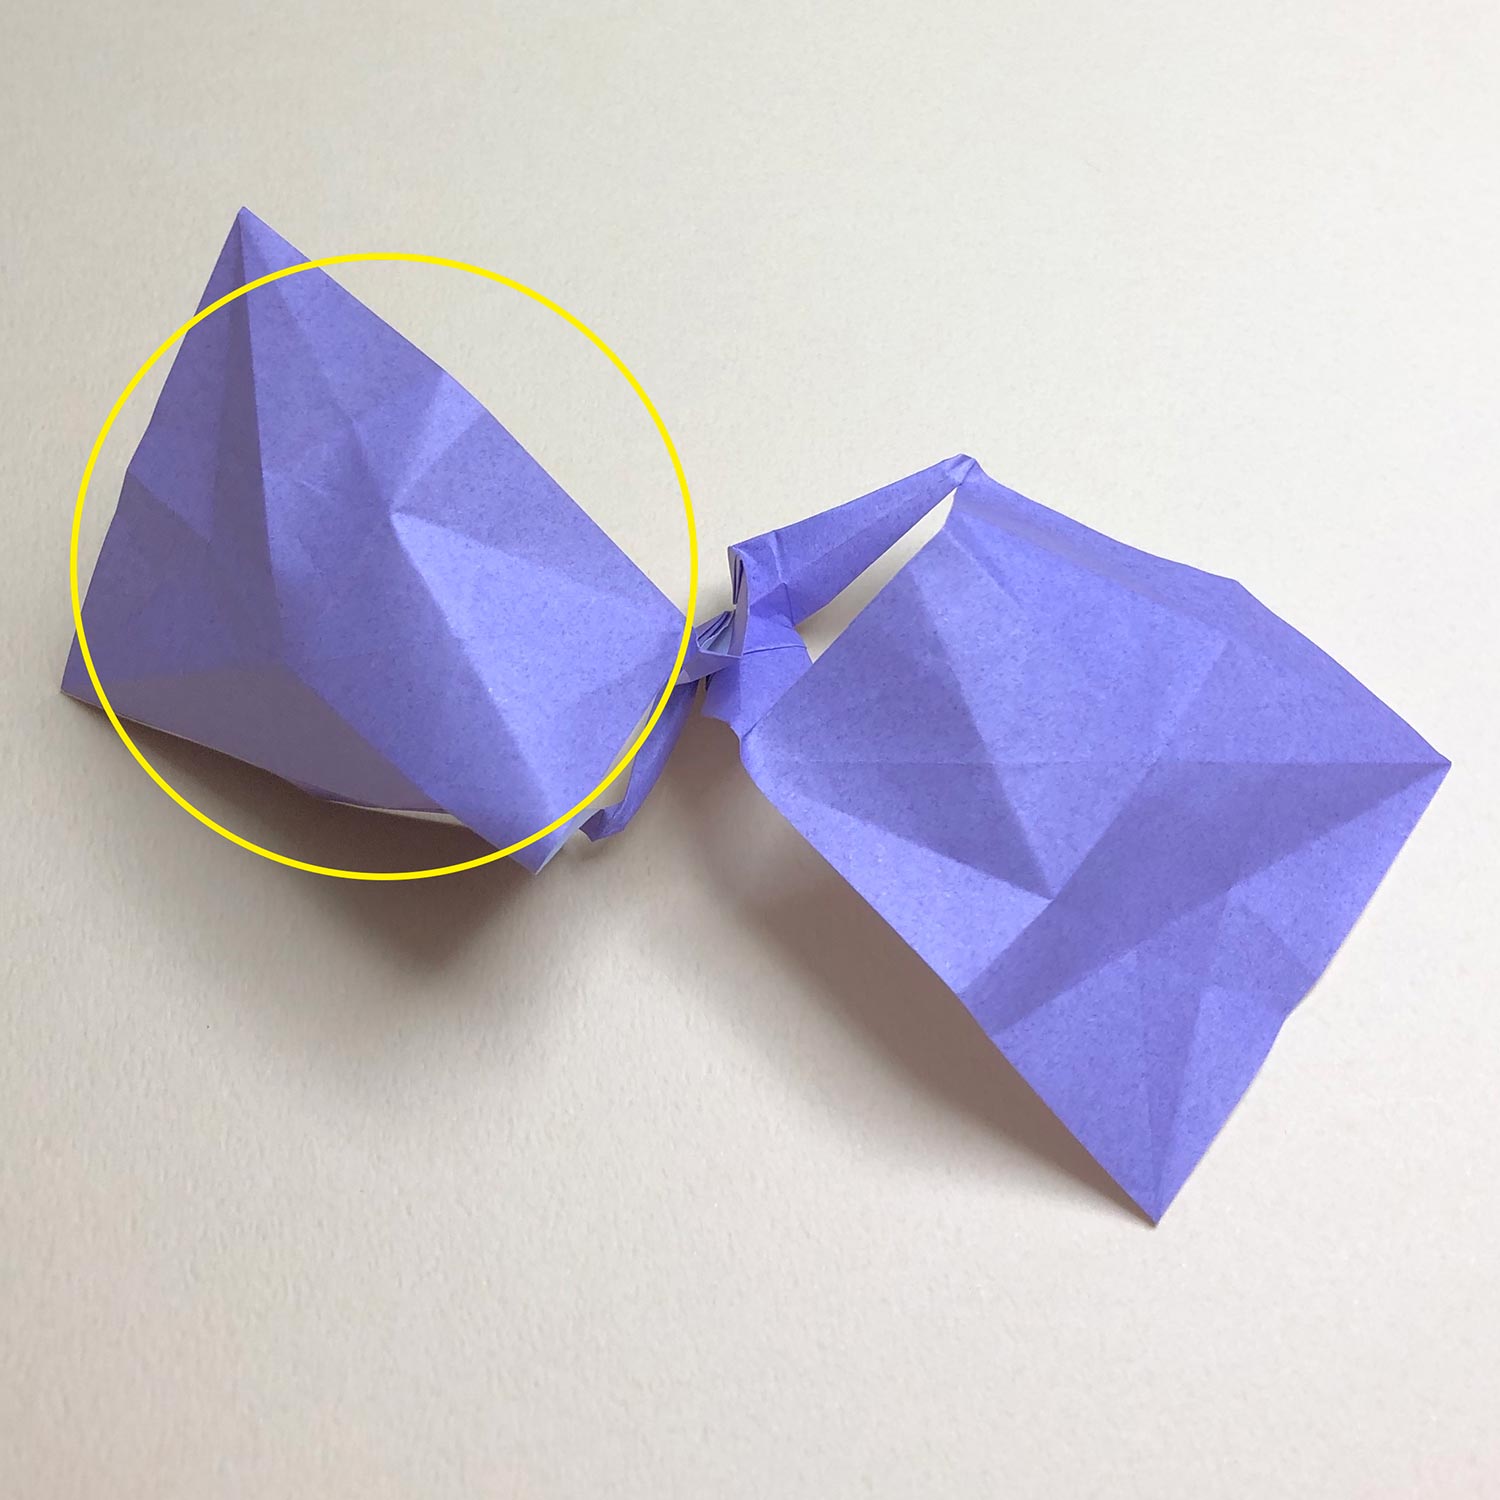
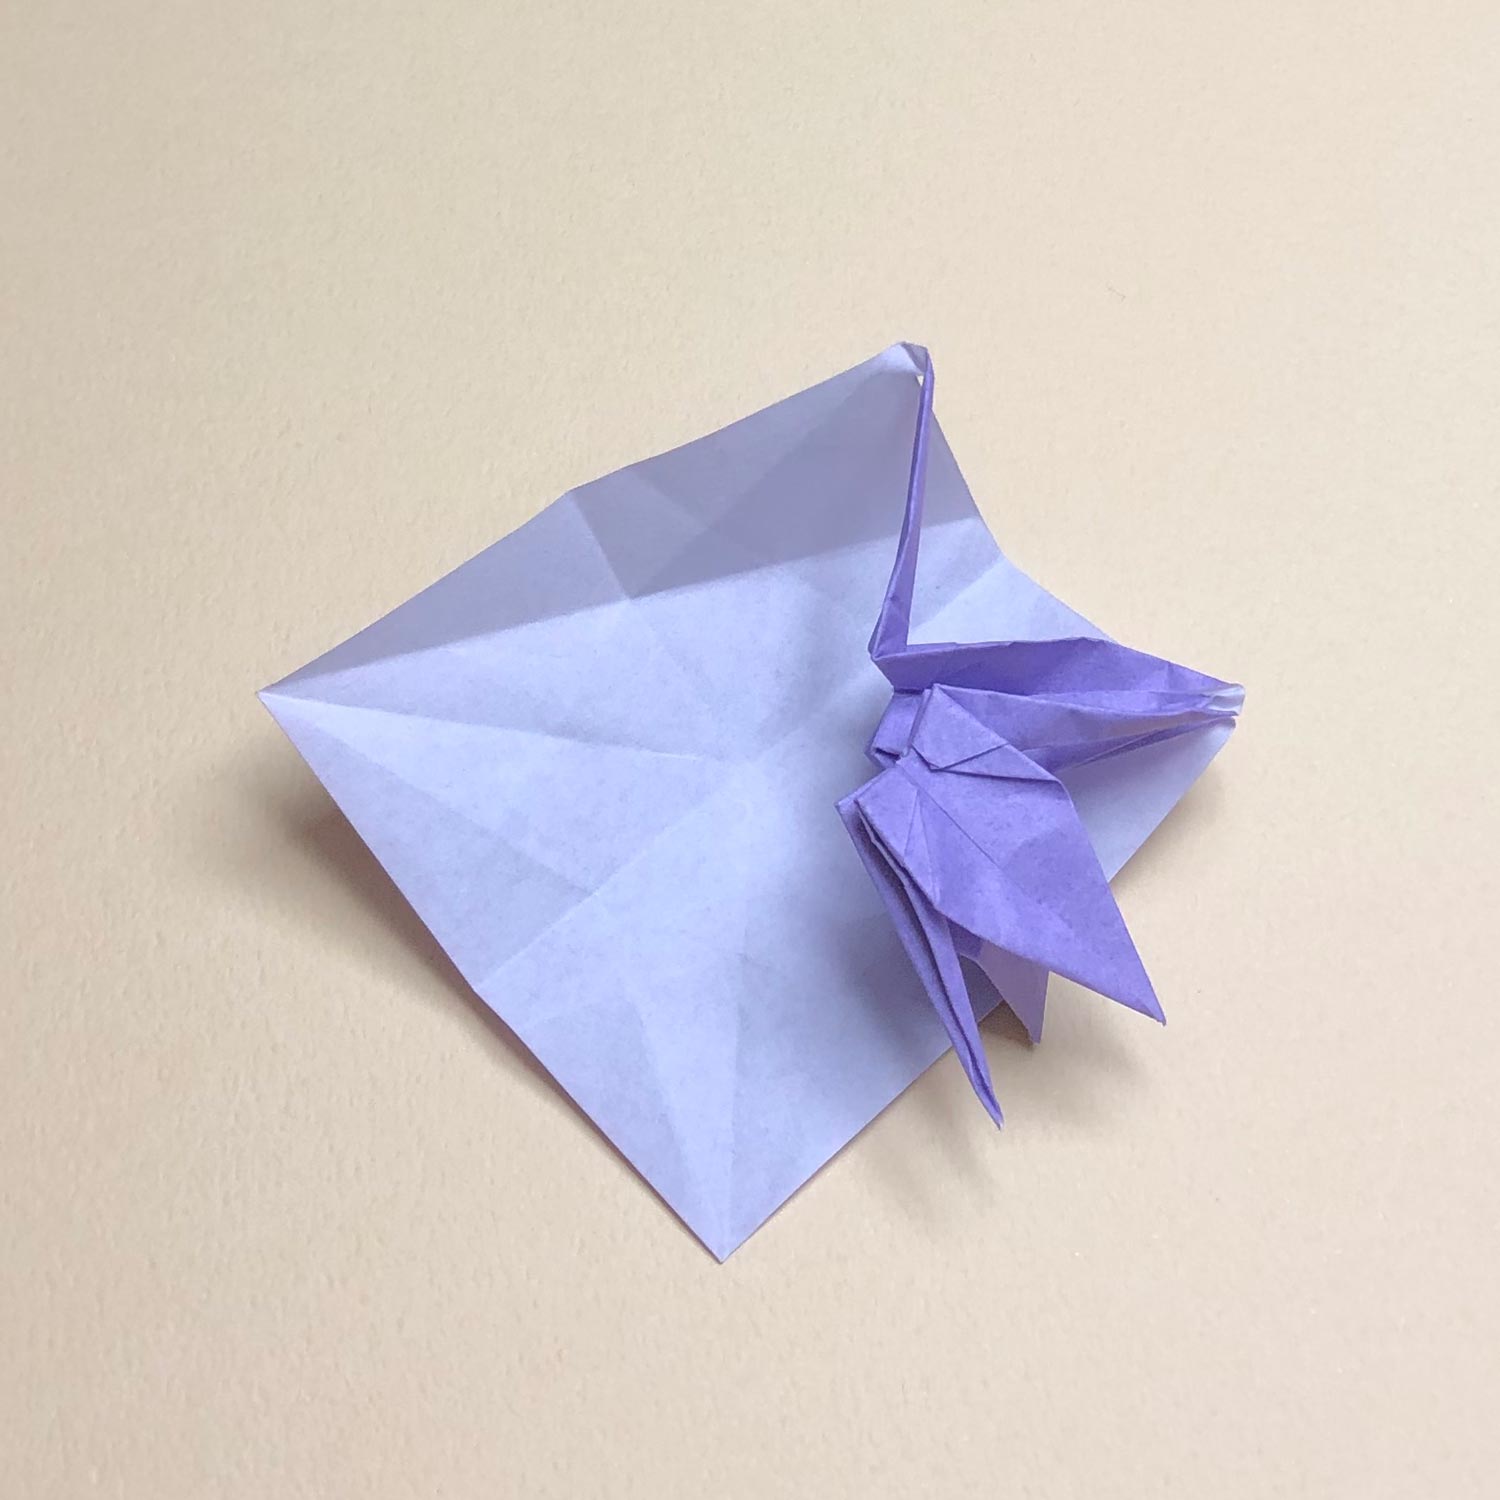
The first crane is finished.
(13)
Then fold the square that has been circled.
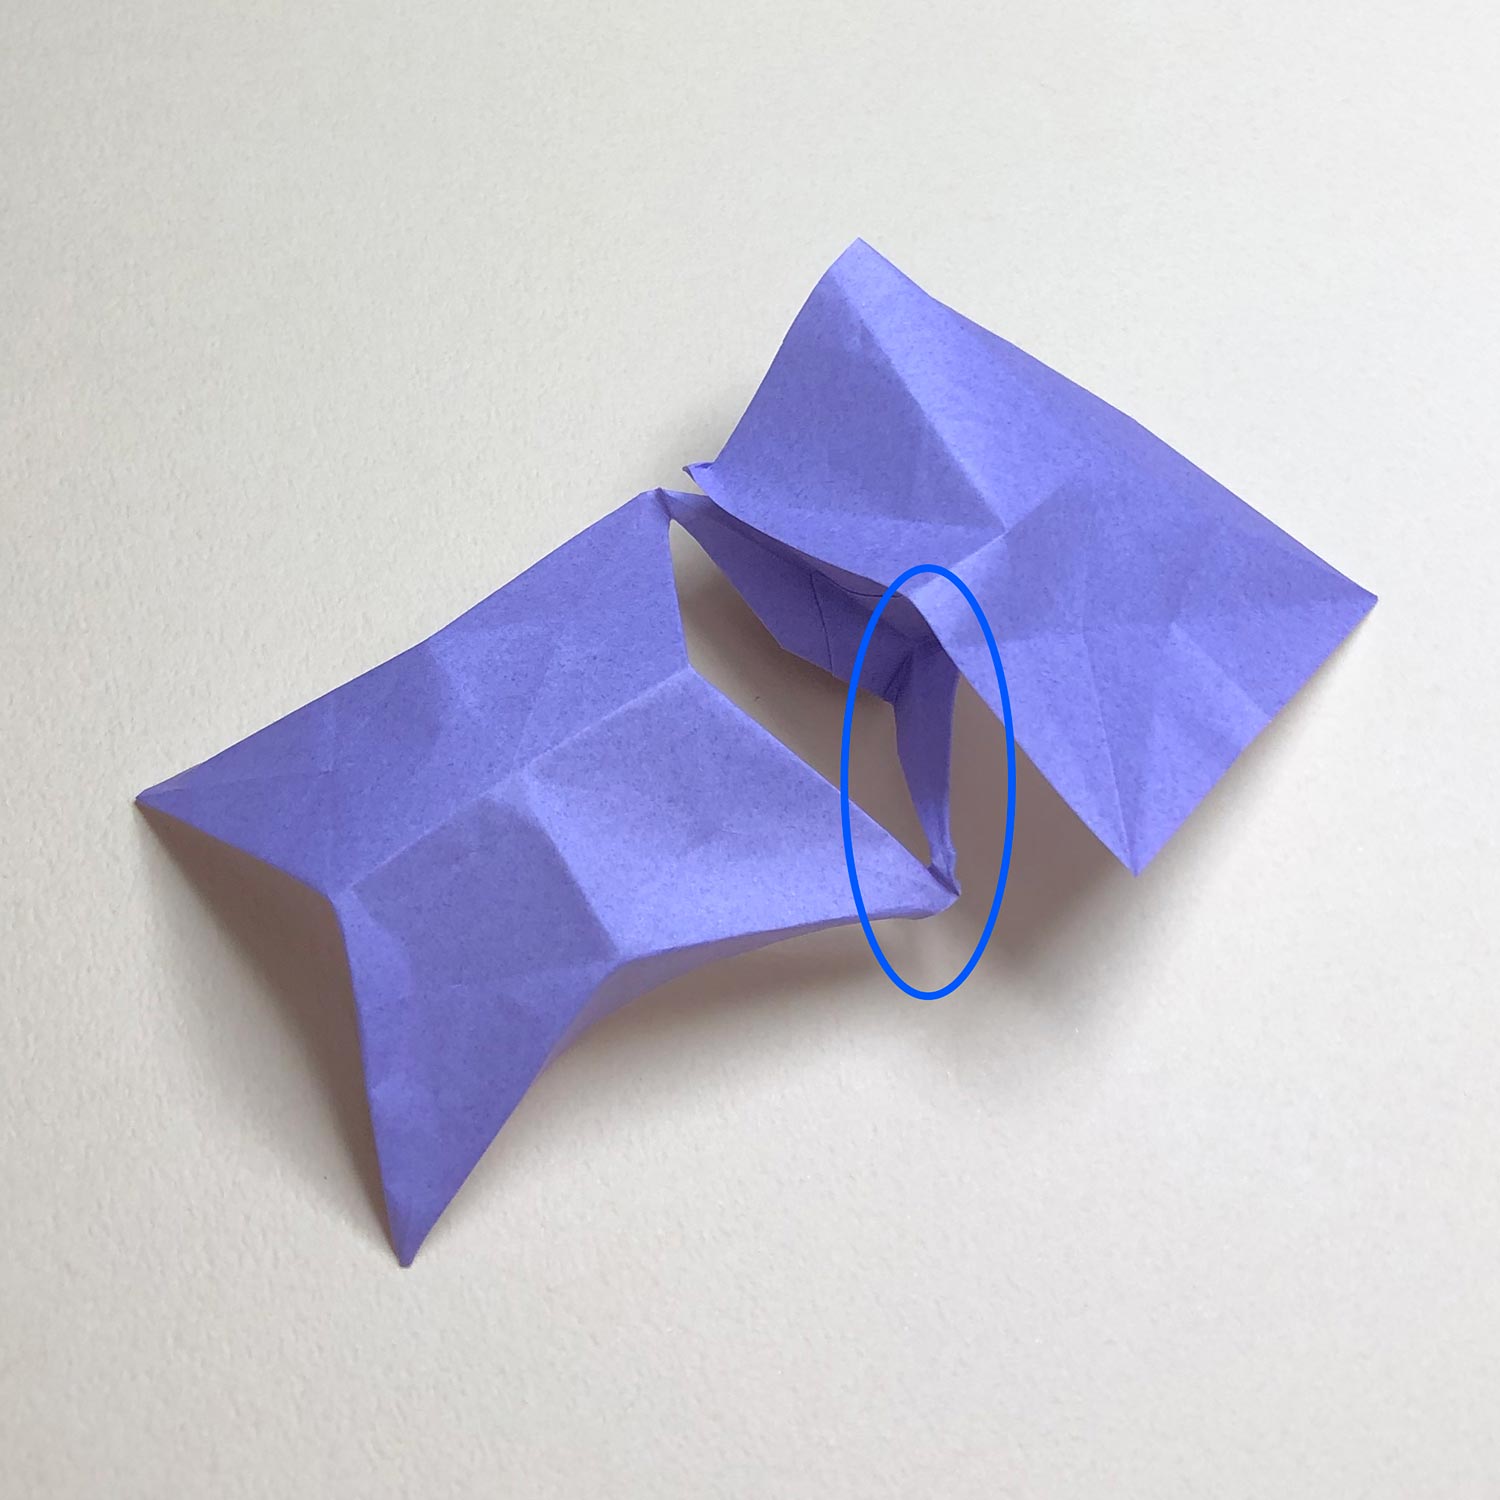
(14)
When making a star-shape, there is a need to lower the head/tail which has been circled like this picture.
Make outside cranes while lowering a head/tail
Make outside cranes while lowering a head/tail like the 14th step.
If you make creases neatly at the whole head/tail which is connected to another,
it will get easier to put pressure on connecting parts.
Therefore, when raising a head/tail which is connected to another,
angle the head/tail a little to the outside and make creases only at a root of it.
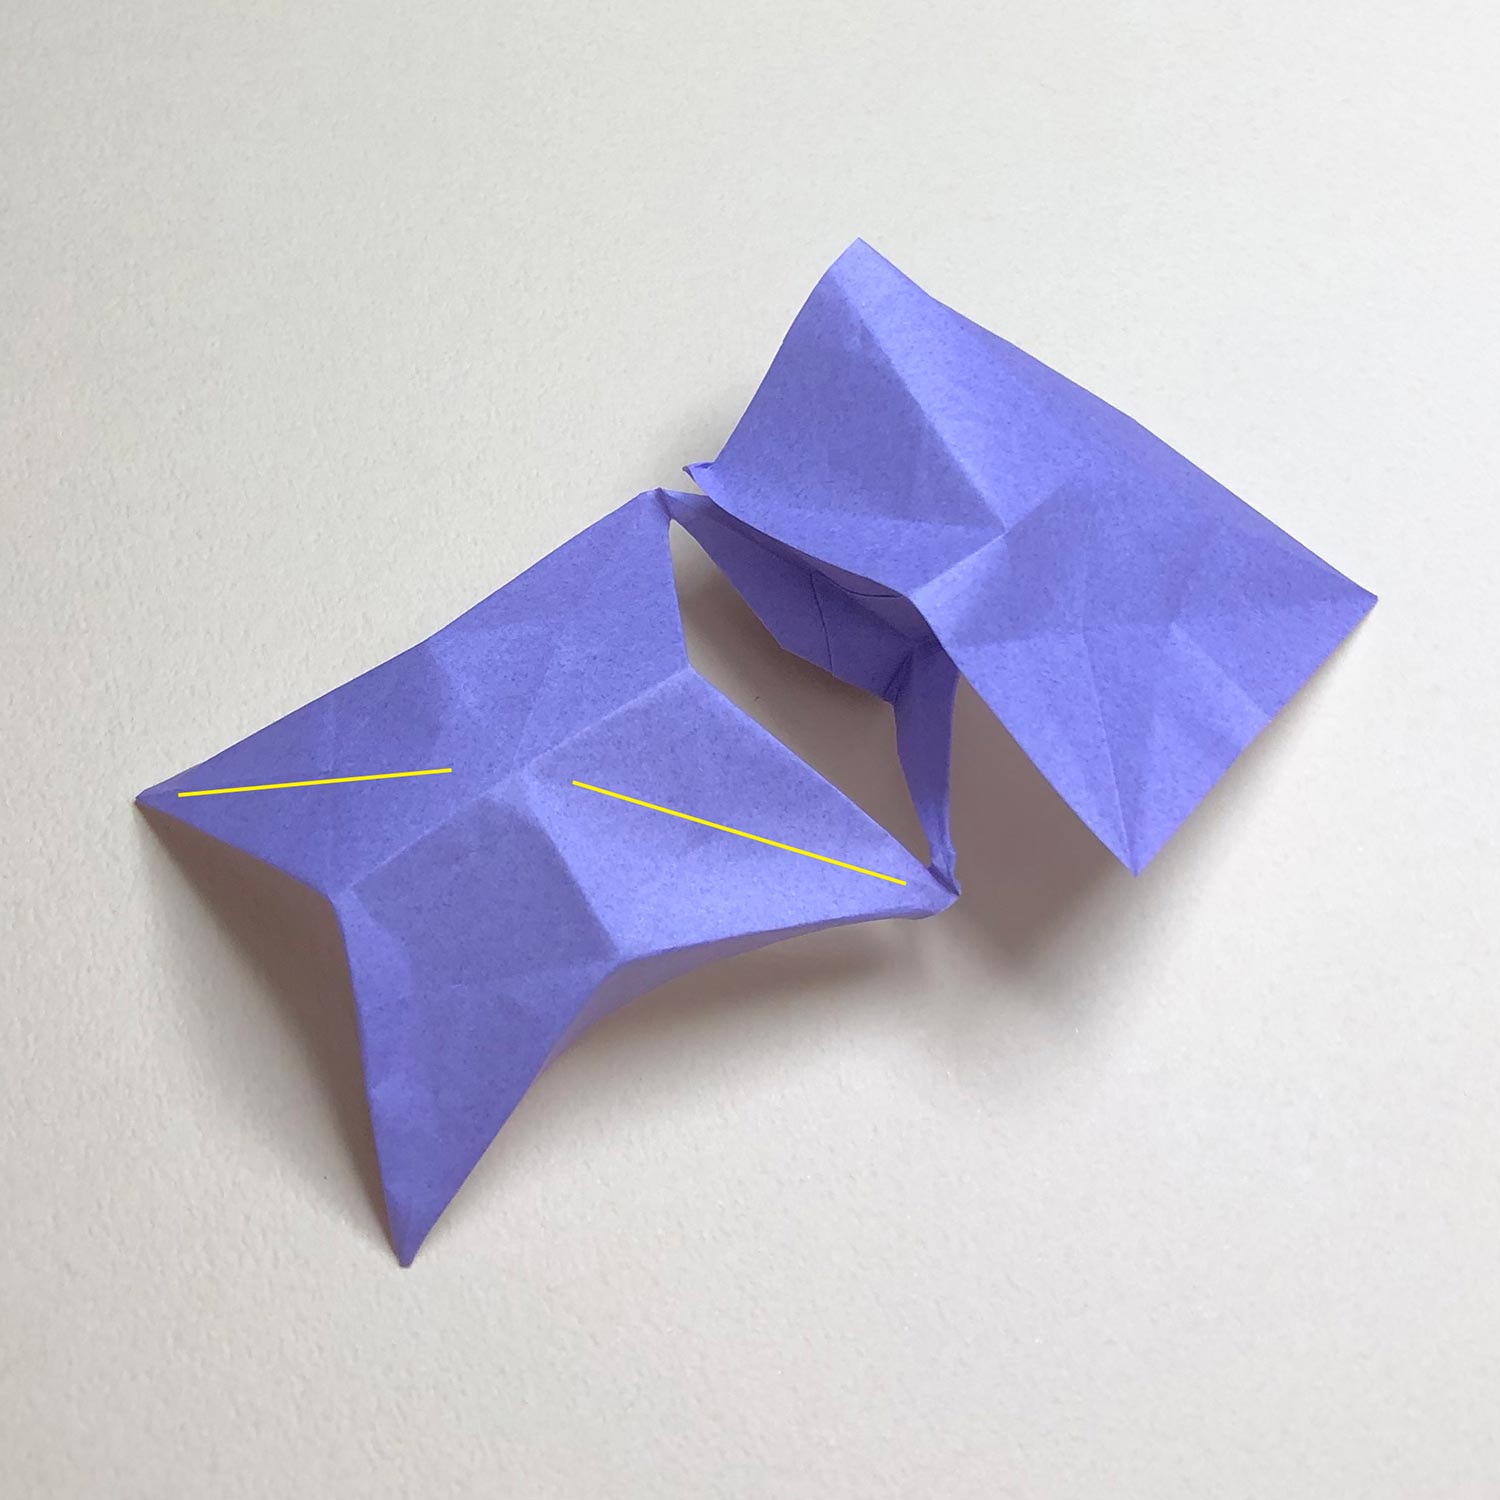
(15)
Then make a bird-base so that the yellow lines are changed to wings.
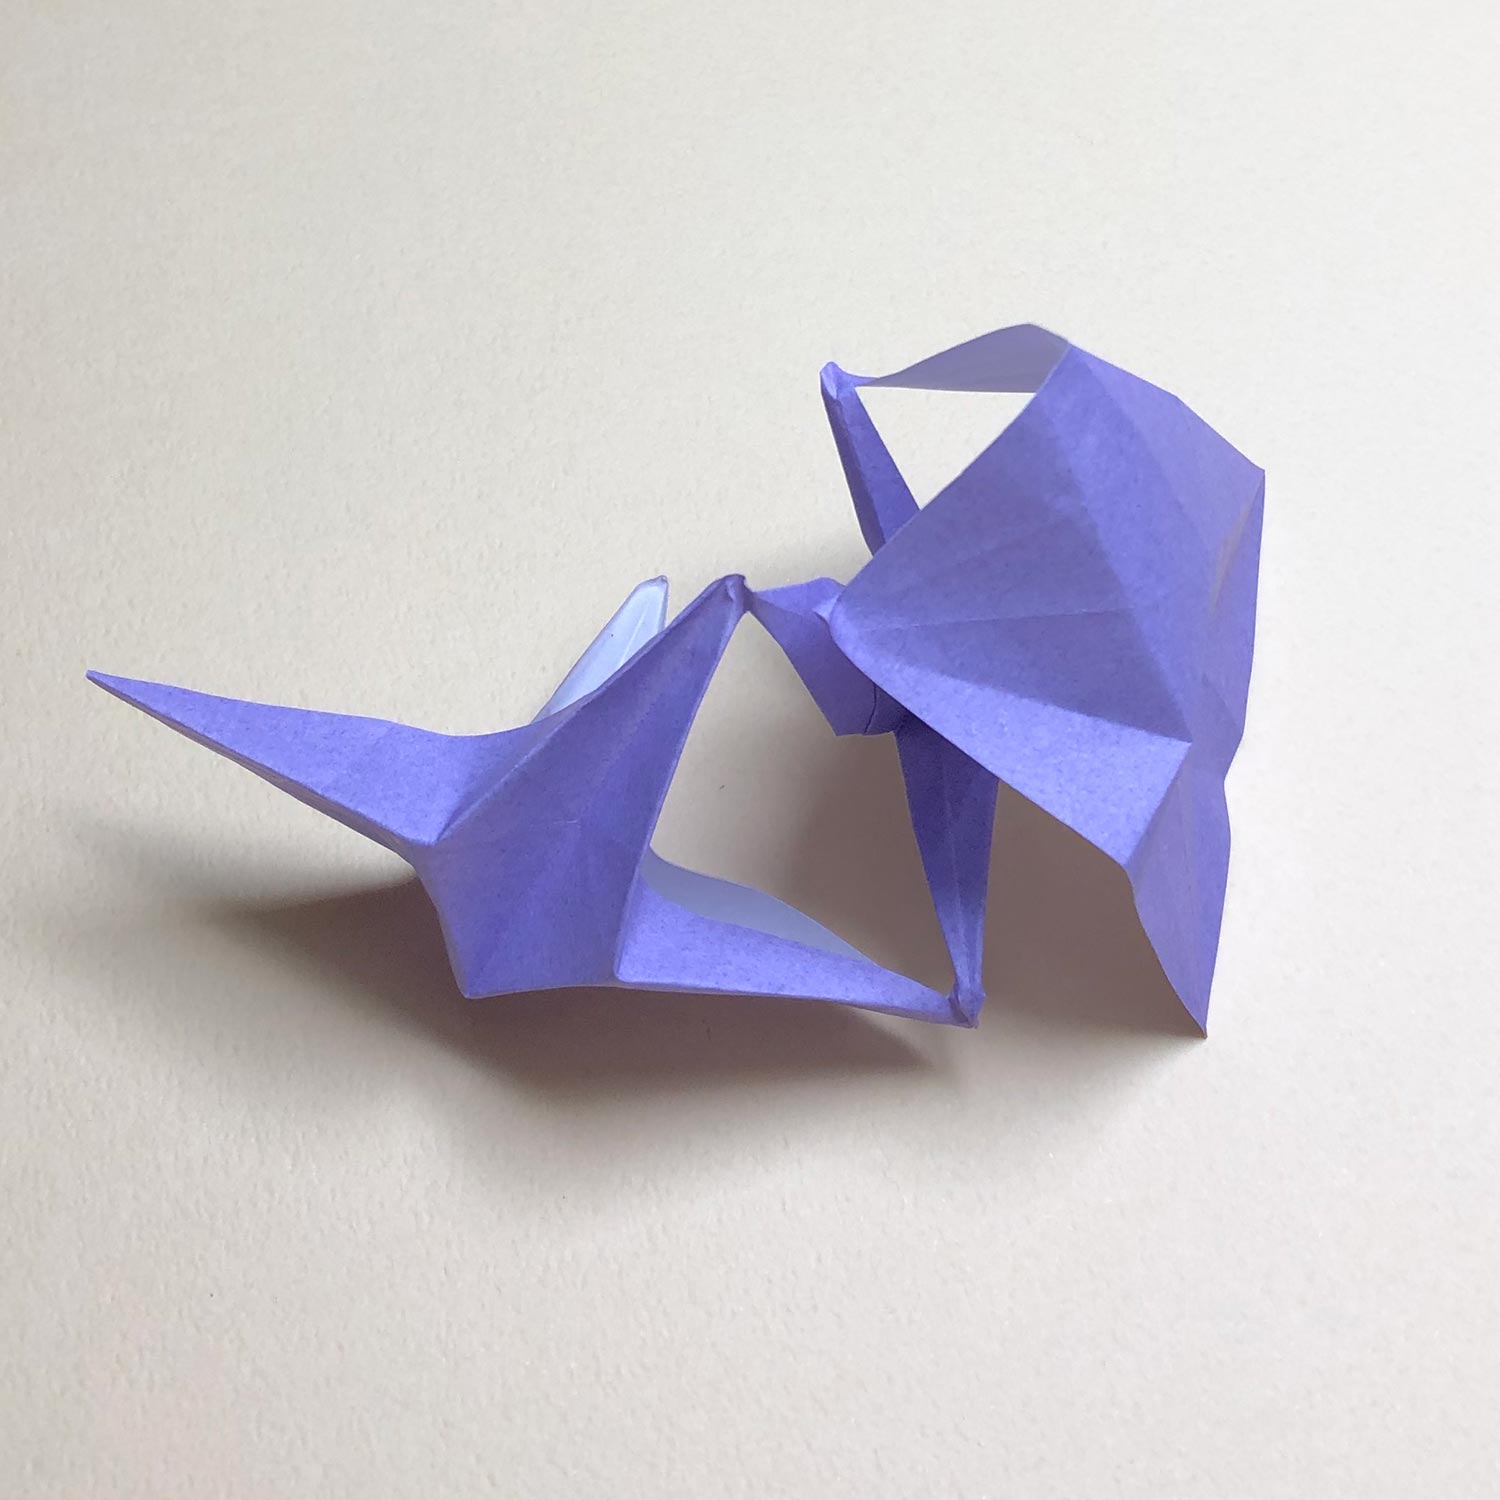
(16)
This picture is halfway through.
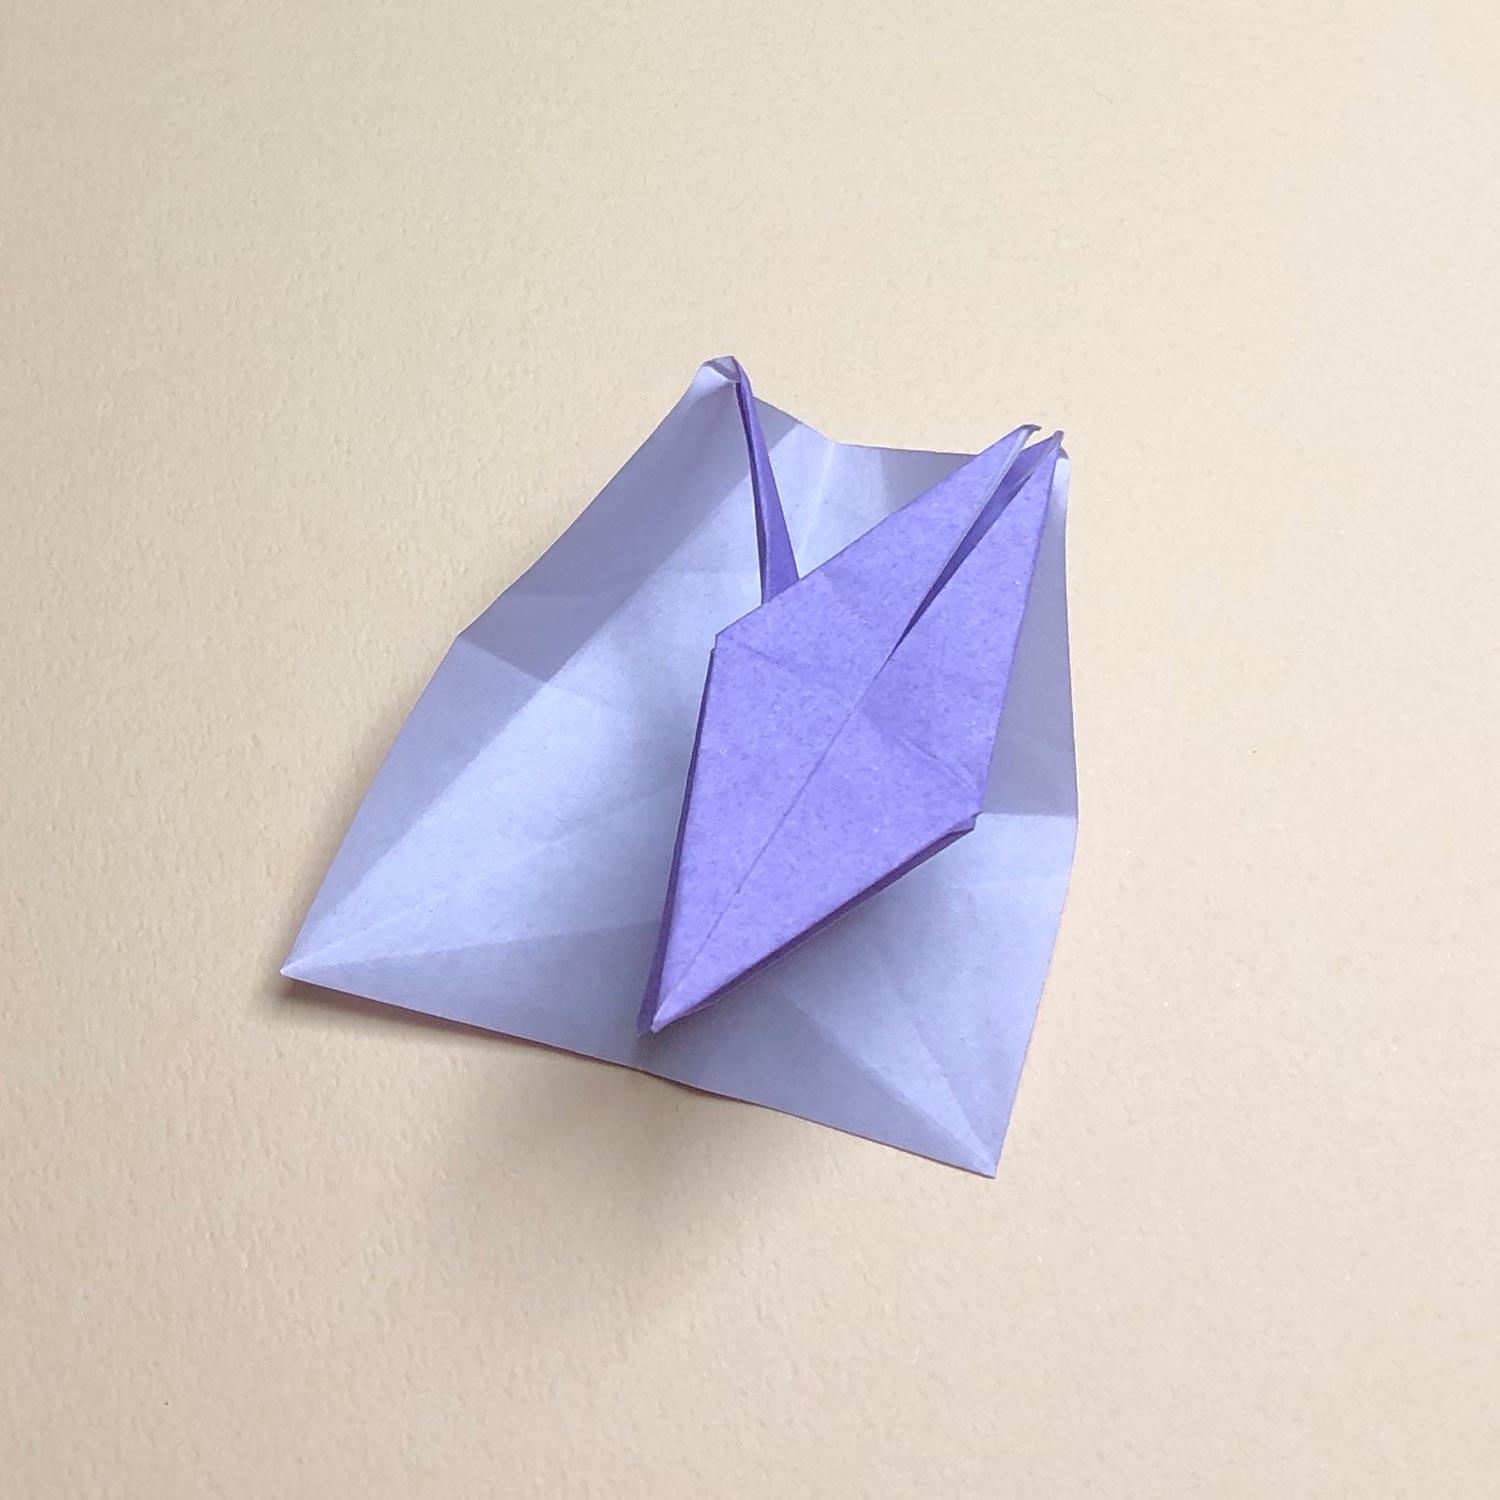
(17)
The bird-base is finished.
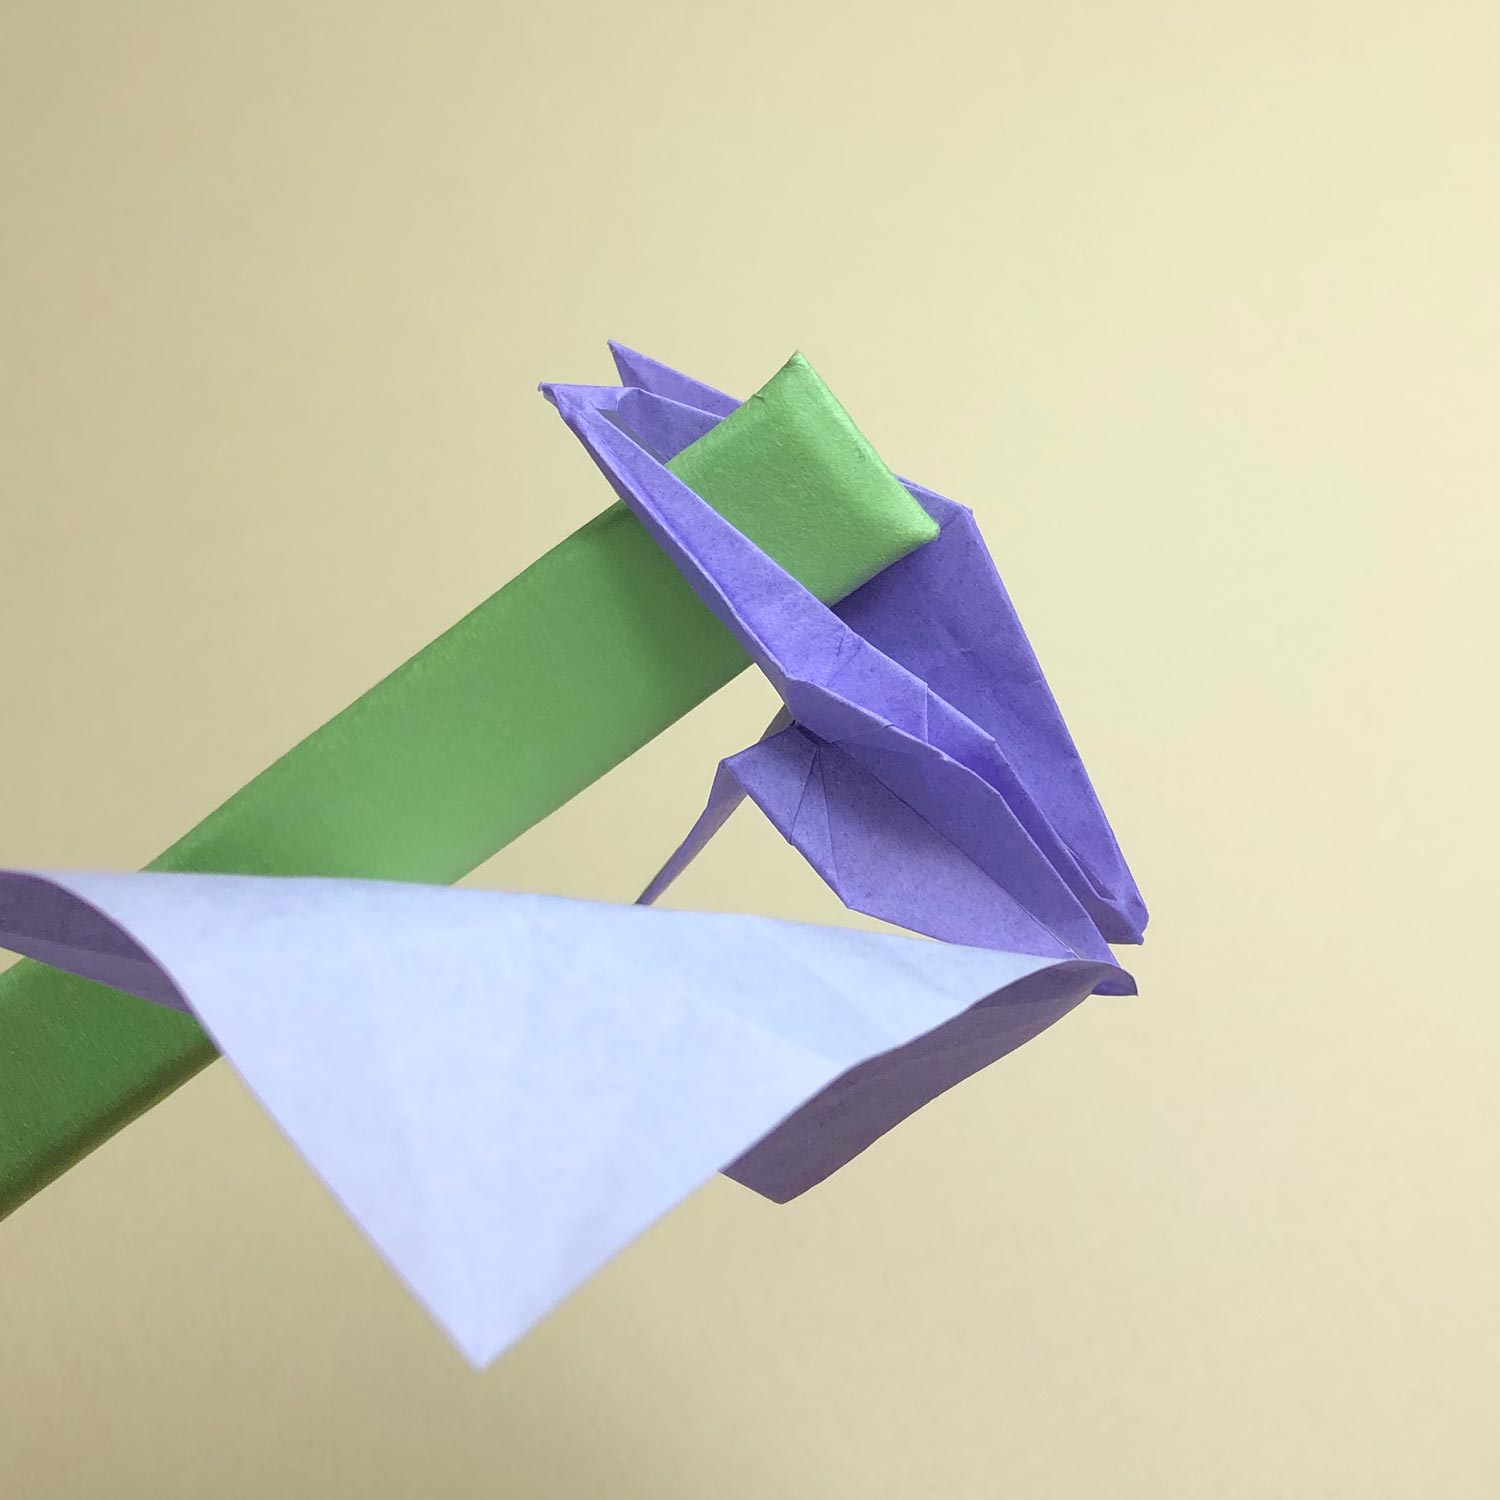
(18)
First, fold the head/tail which is connected to another.
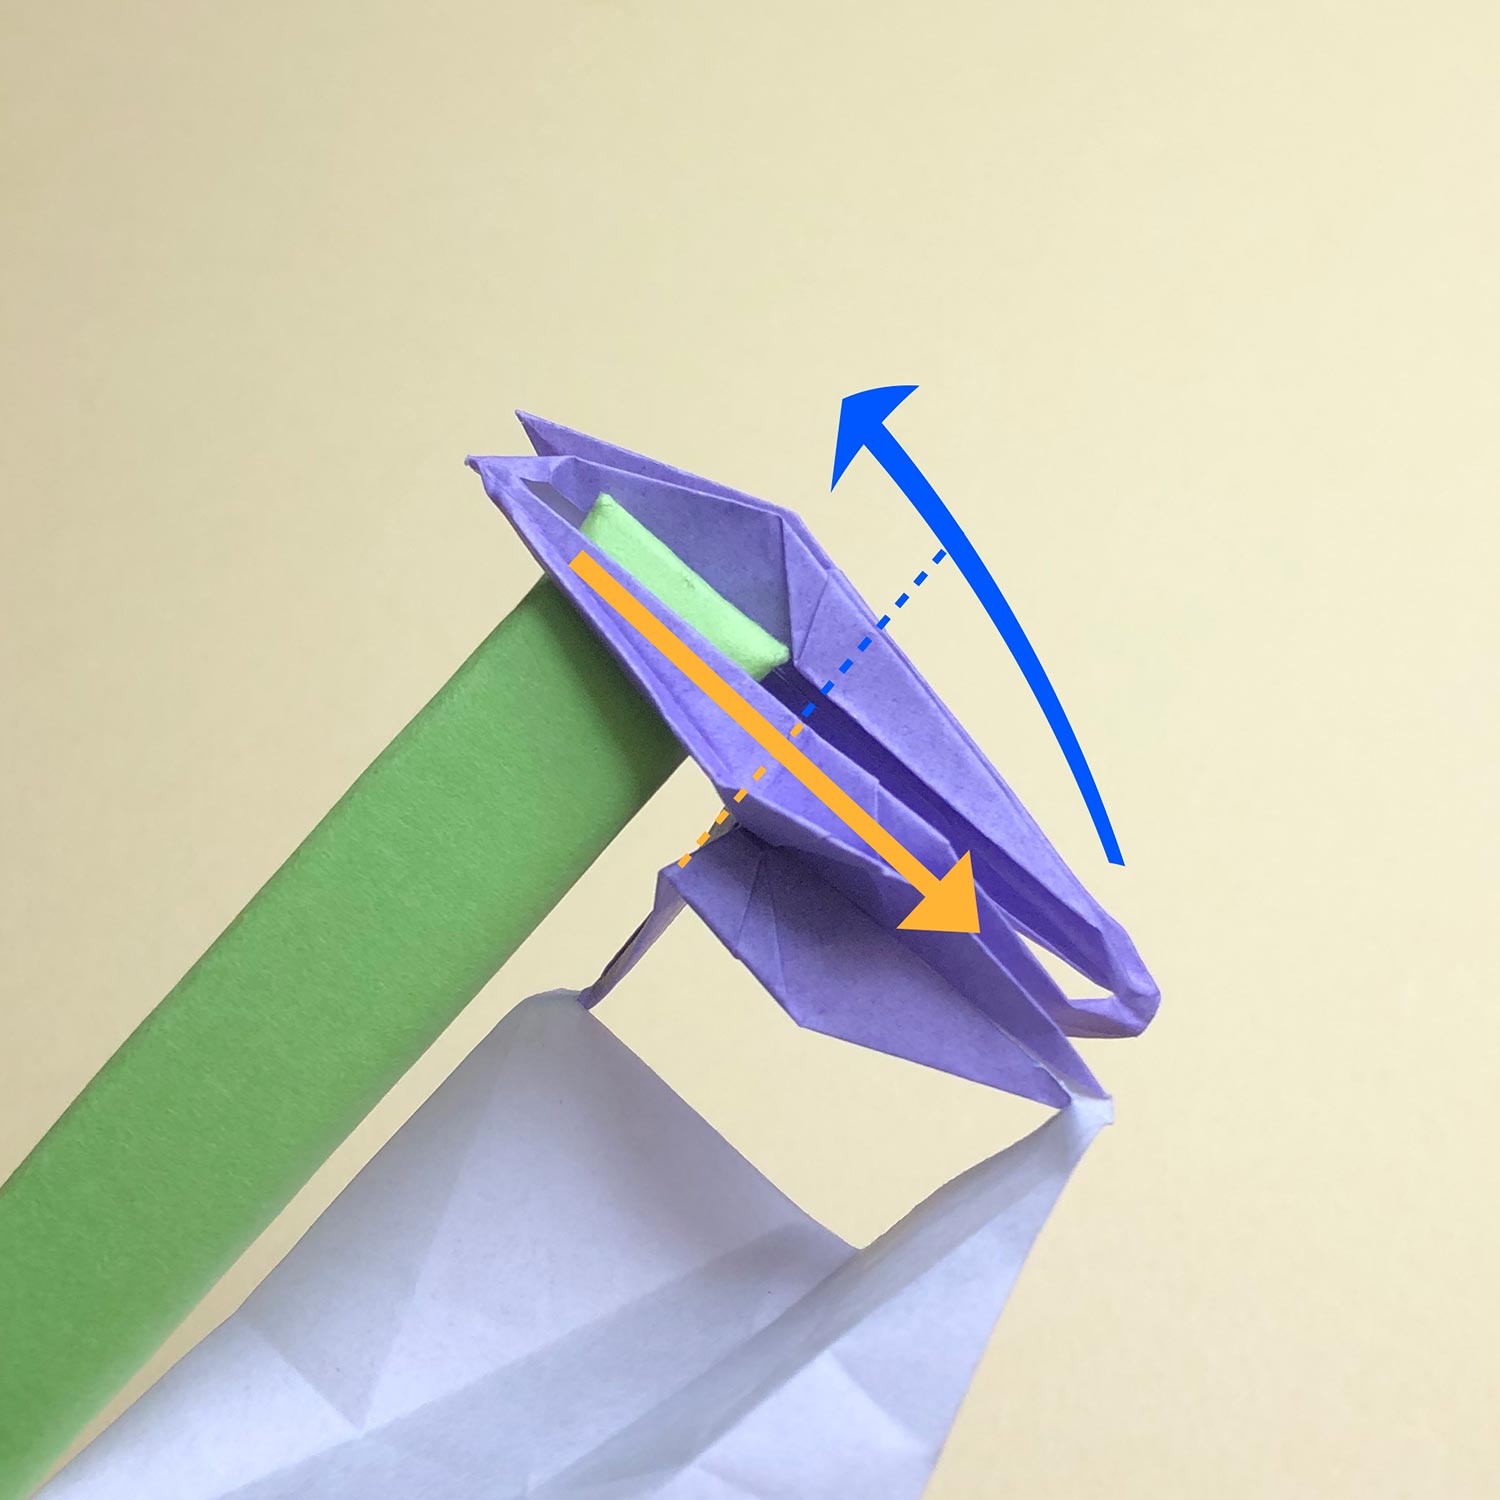
(19)
After folding the head/tail, raise it.
If you put your thumb like the green stick and put your index finger on the opposite side and pinch both sides,
it will get easier to raise the head/tail.
Then raise the head/tail of the center crane again.
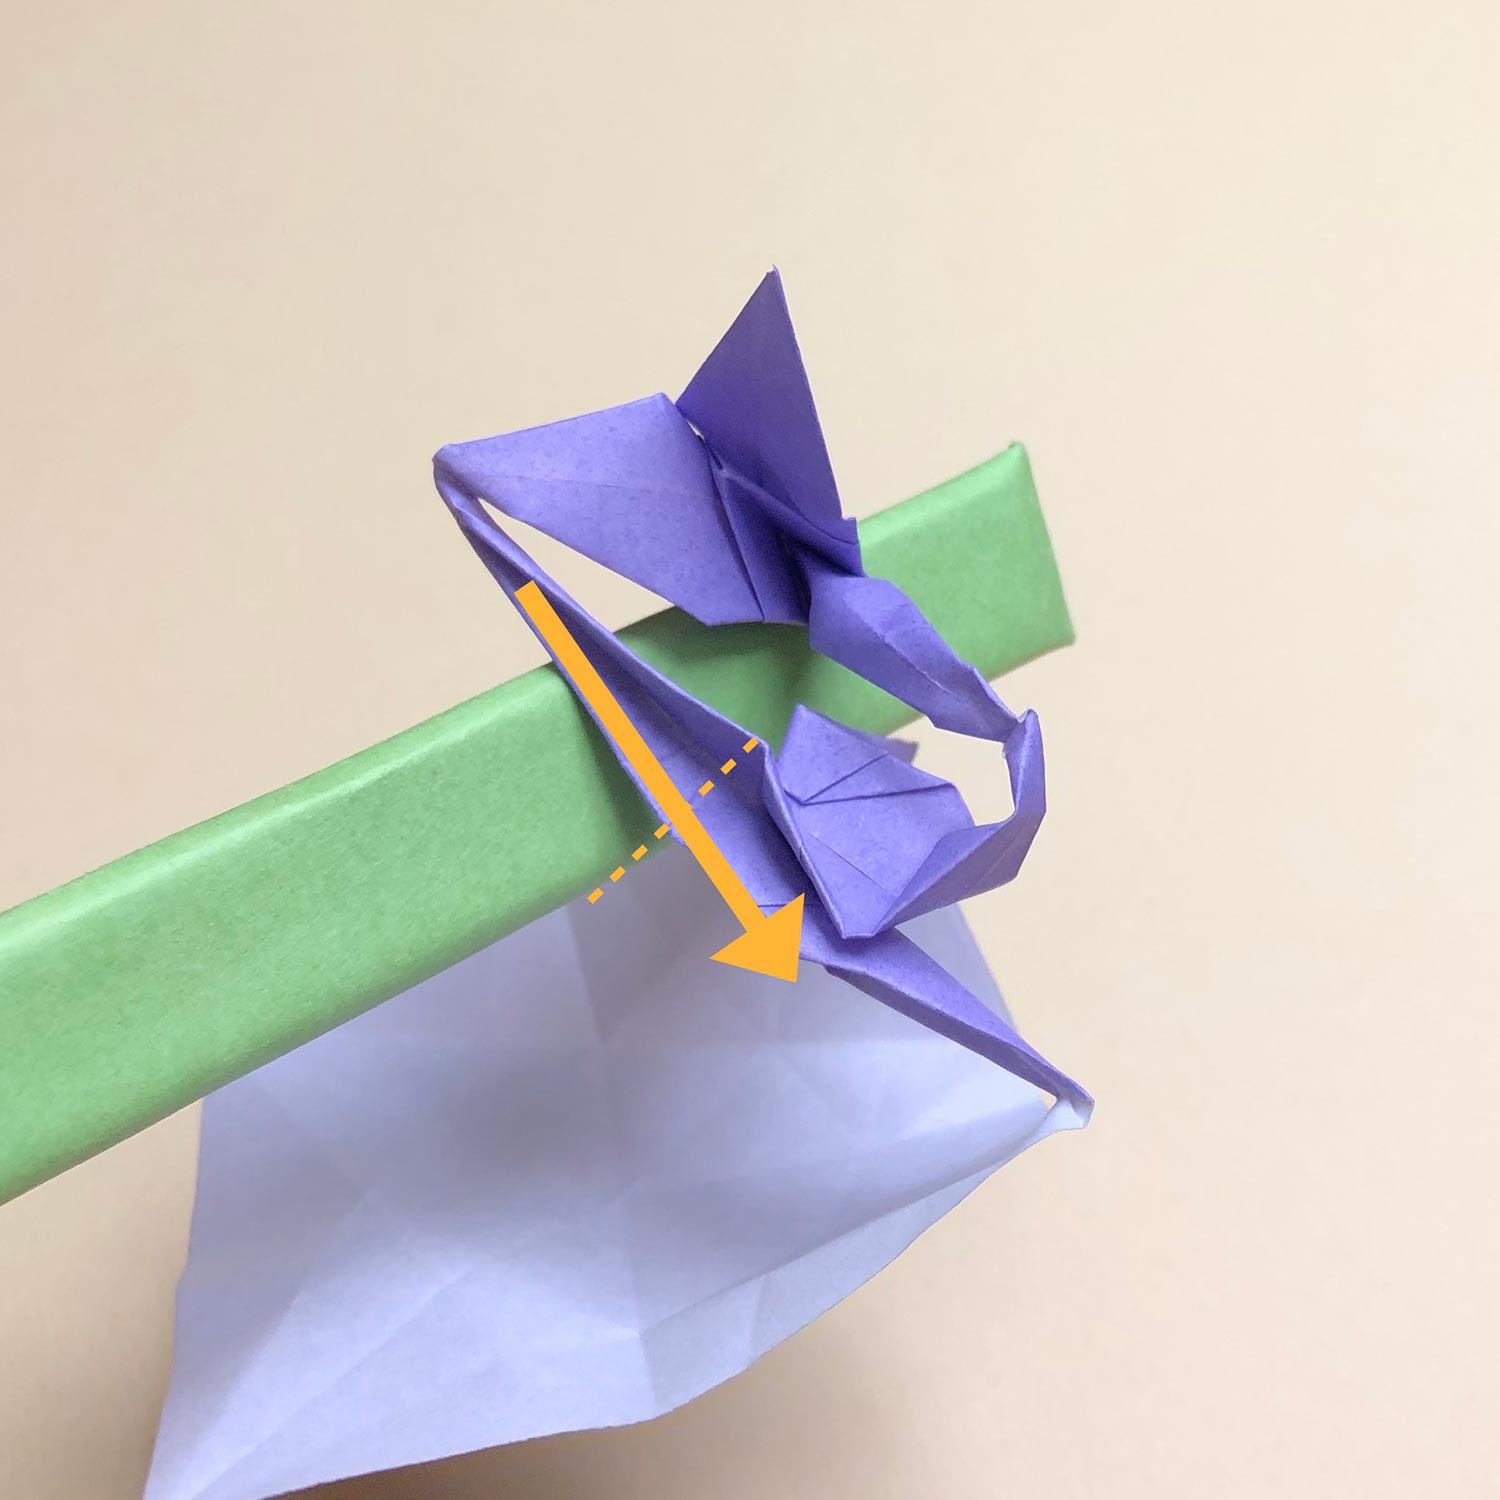
(20)
This picture is halfway through.

(21)
After raising the two head/tail, it looks like this picture.
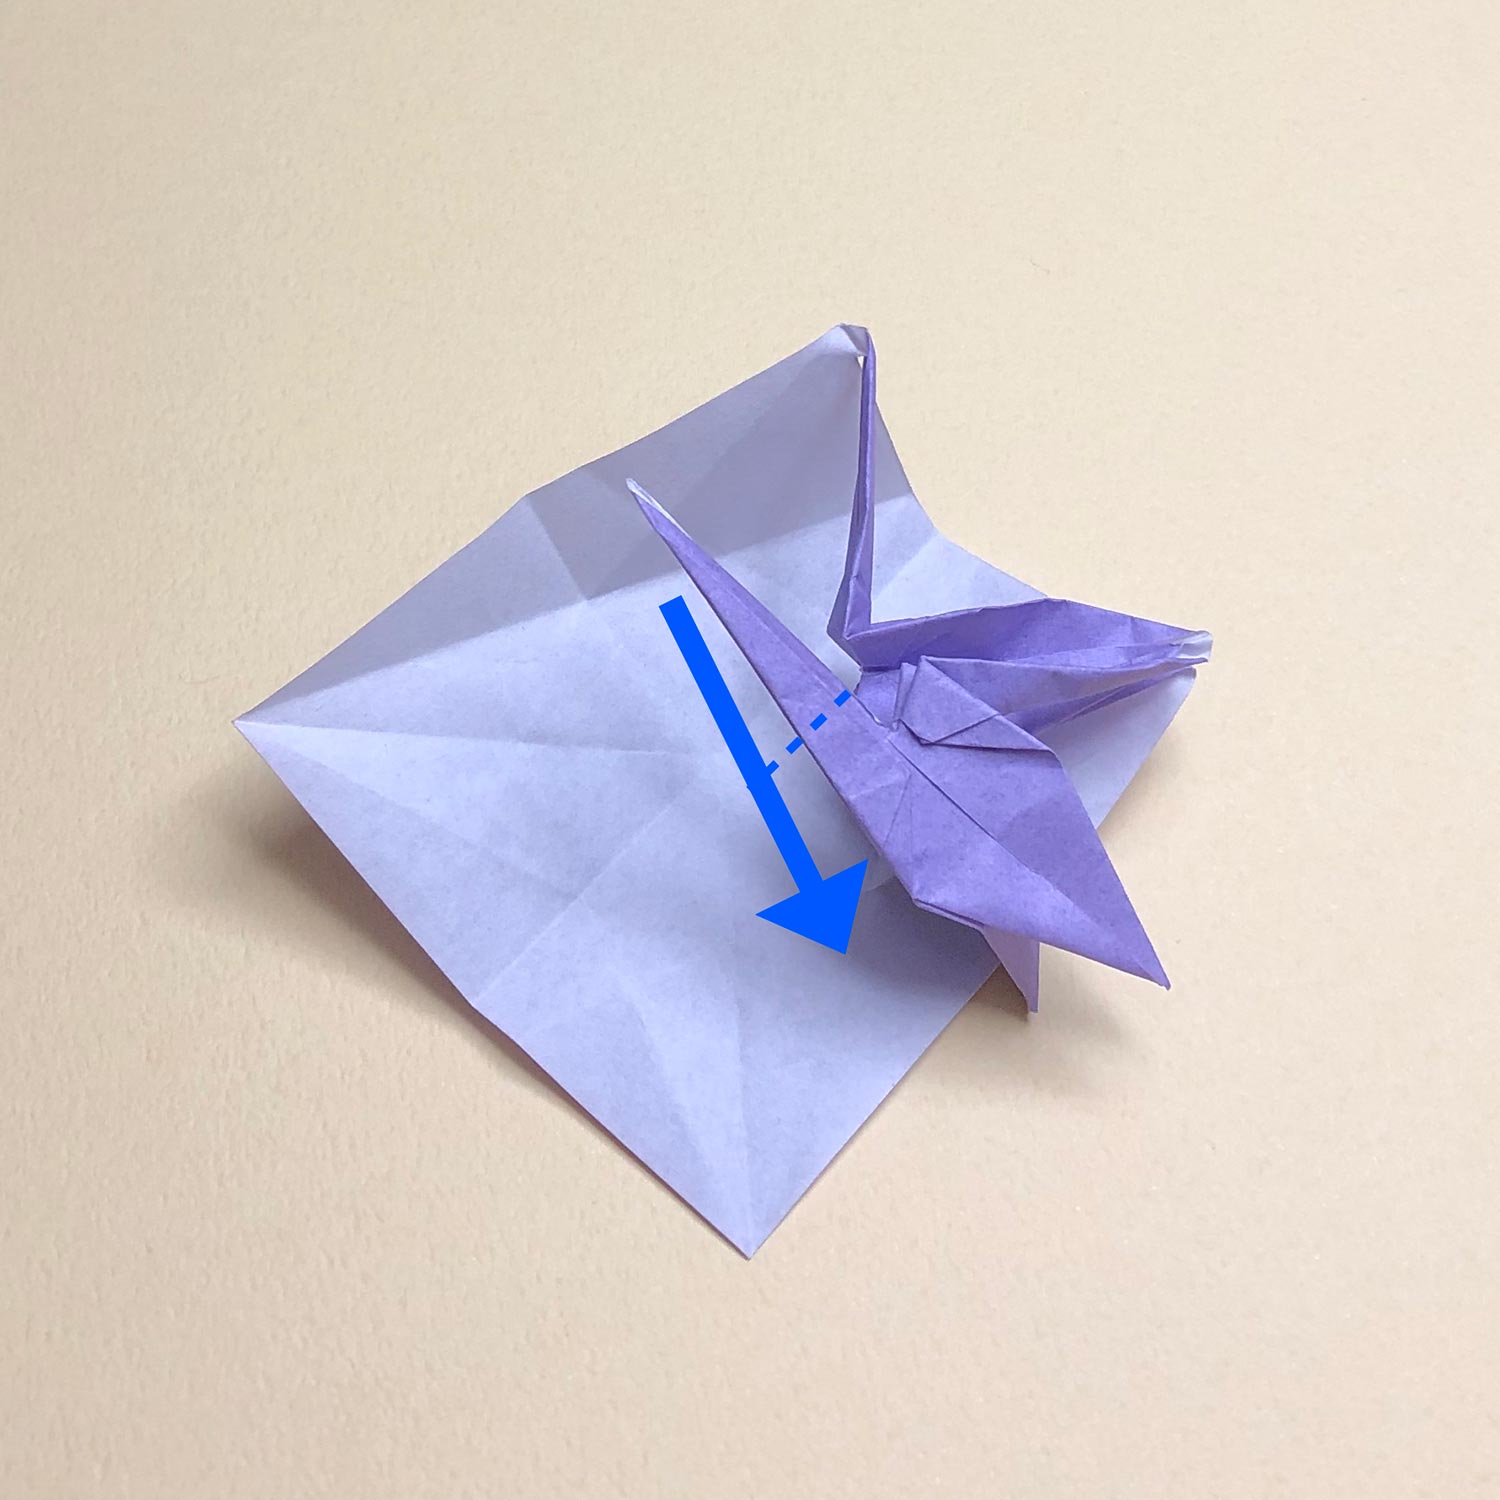
(22)
Then fold the other head/tail to the center and raise it.
(23)
Raise it like this picture.
The second crane is finished.
