Make Kakitsubata
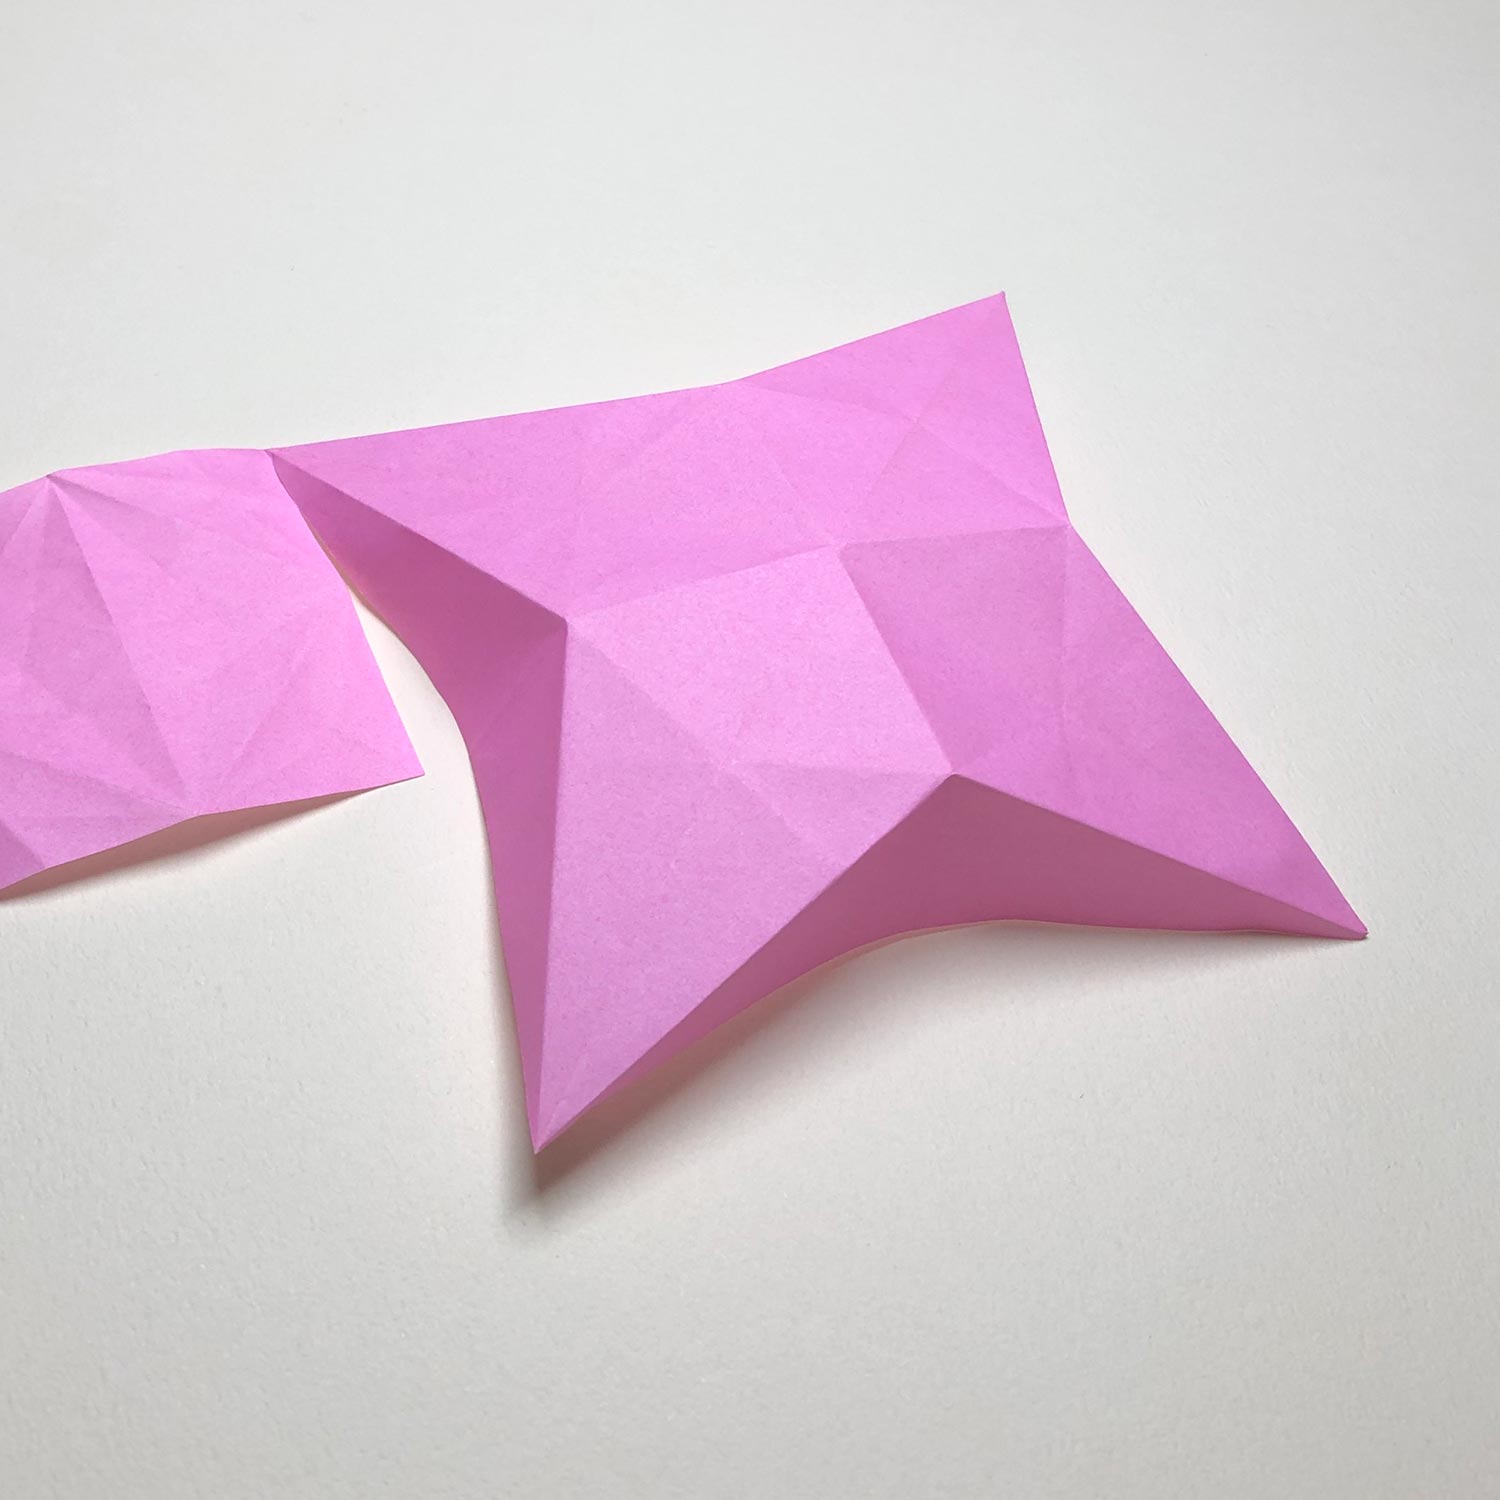
(1)
Start with folding a big square.
Make a star-shape like this picture.
Then make a bird-base so that a head/tail is connected to a small square.
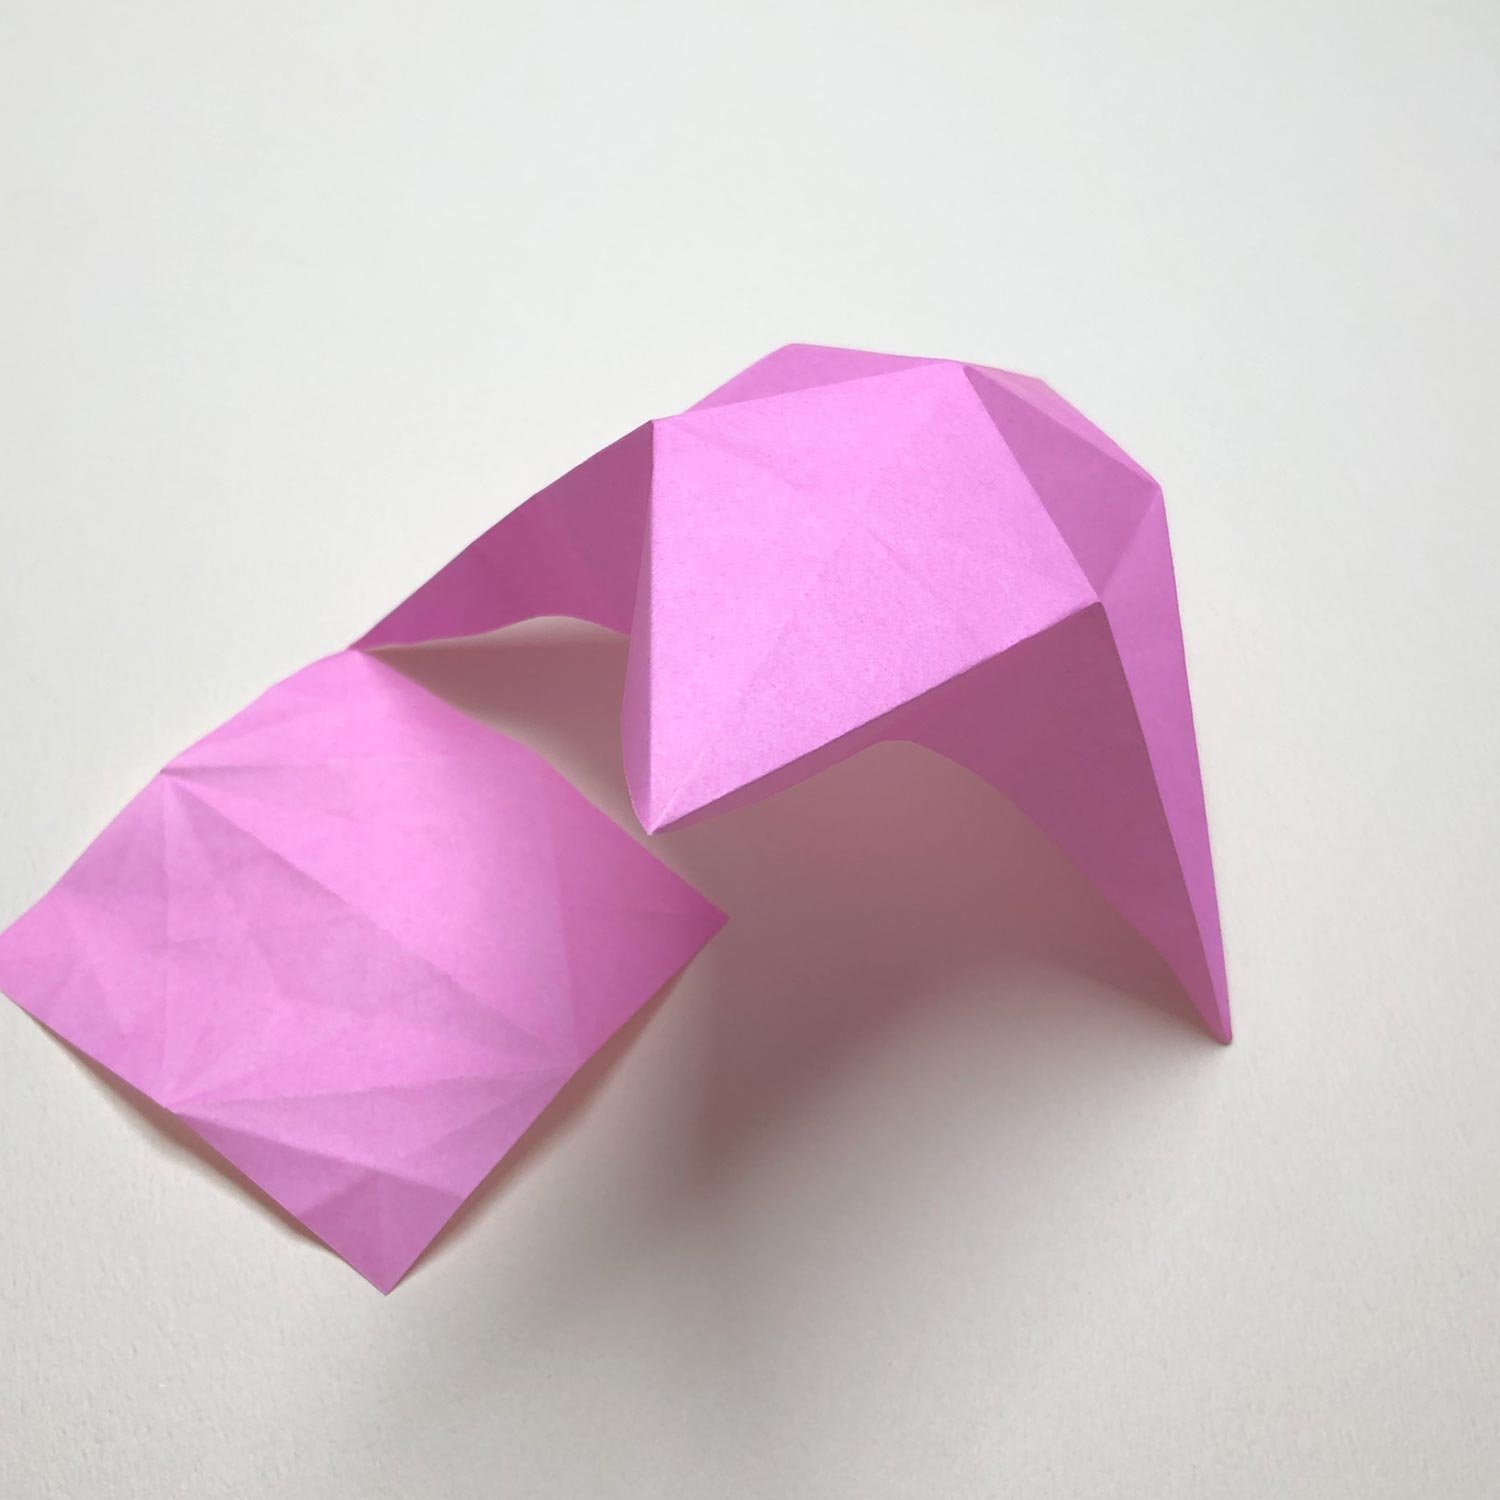
(2)
This picture is halfway through.
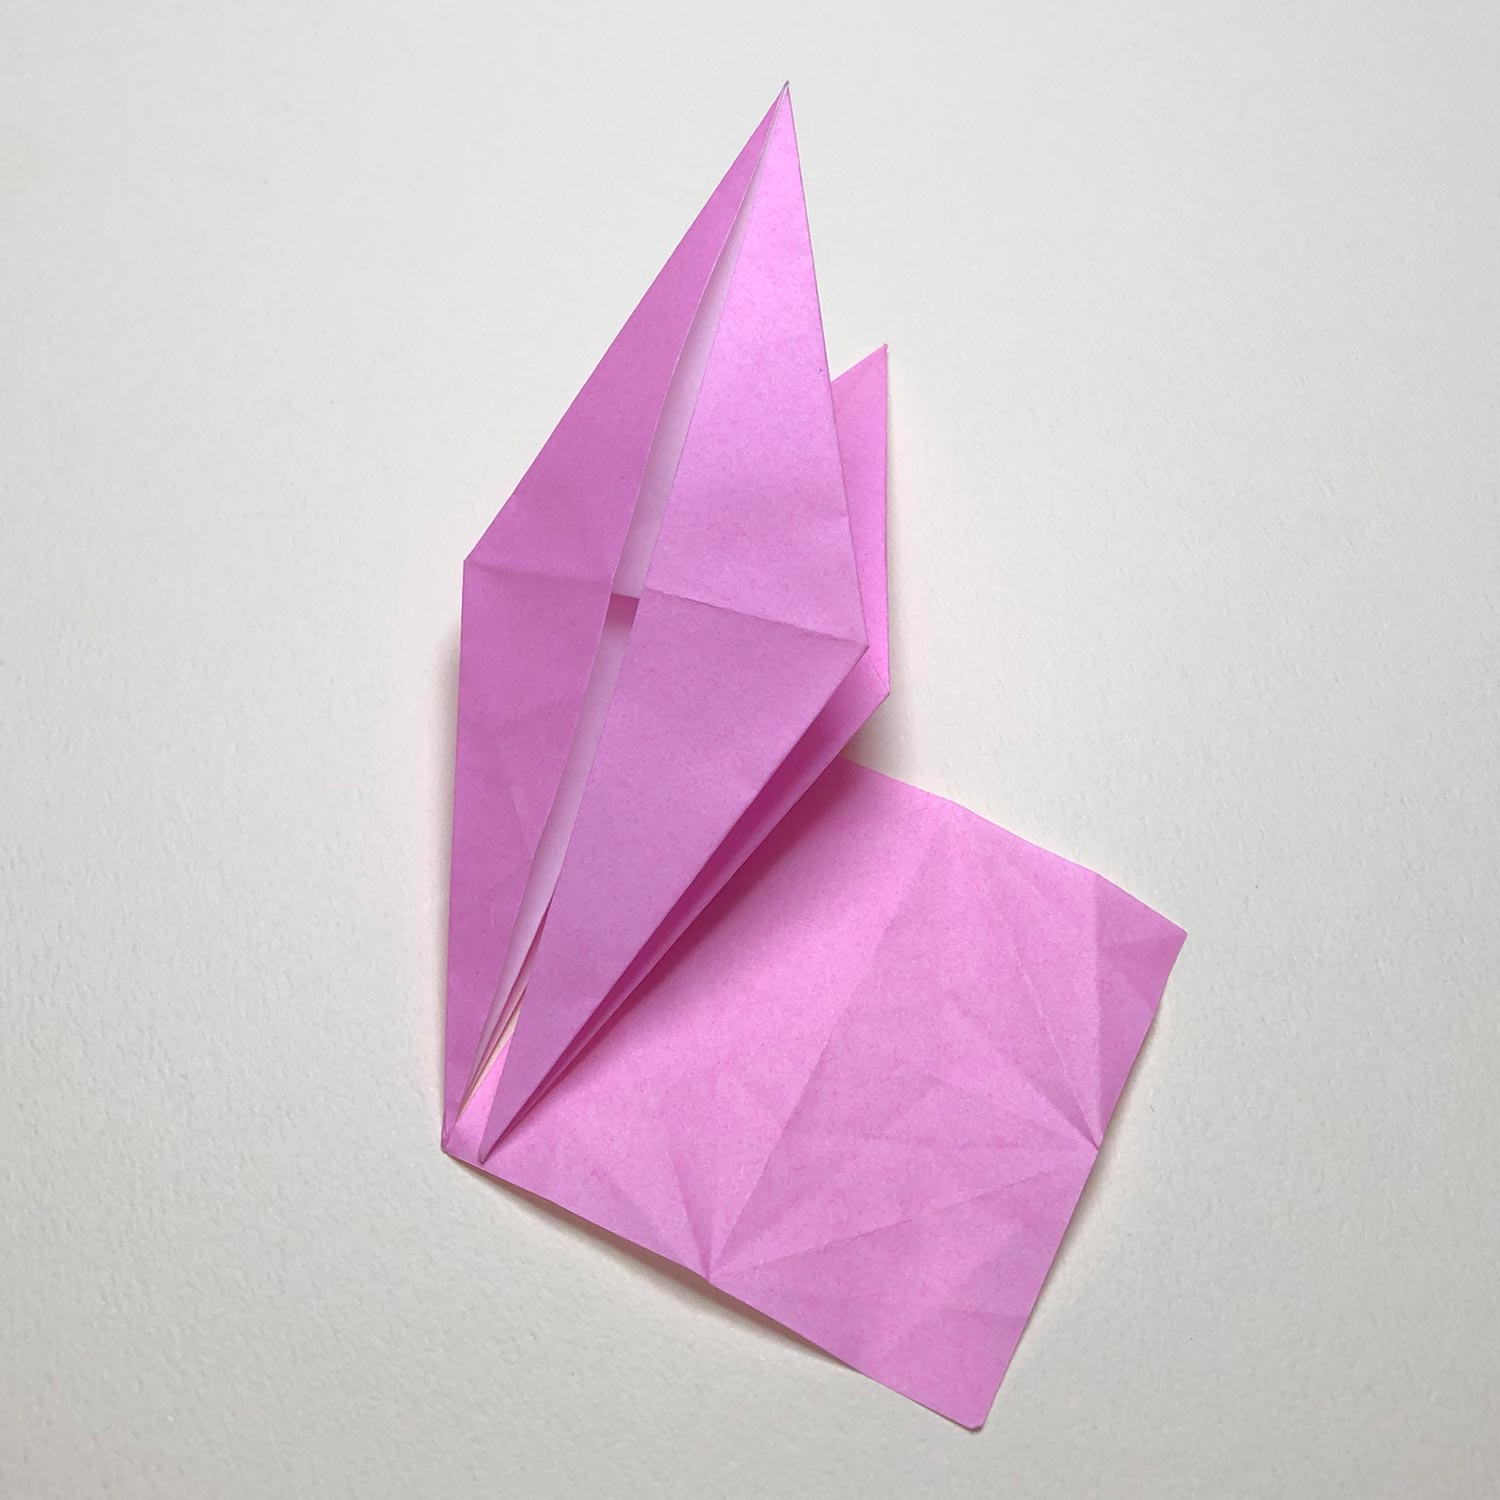
(3)
The bird-base is finished.
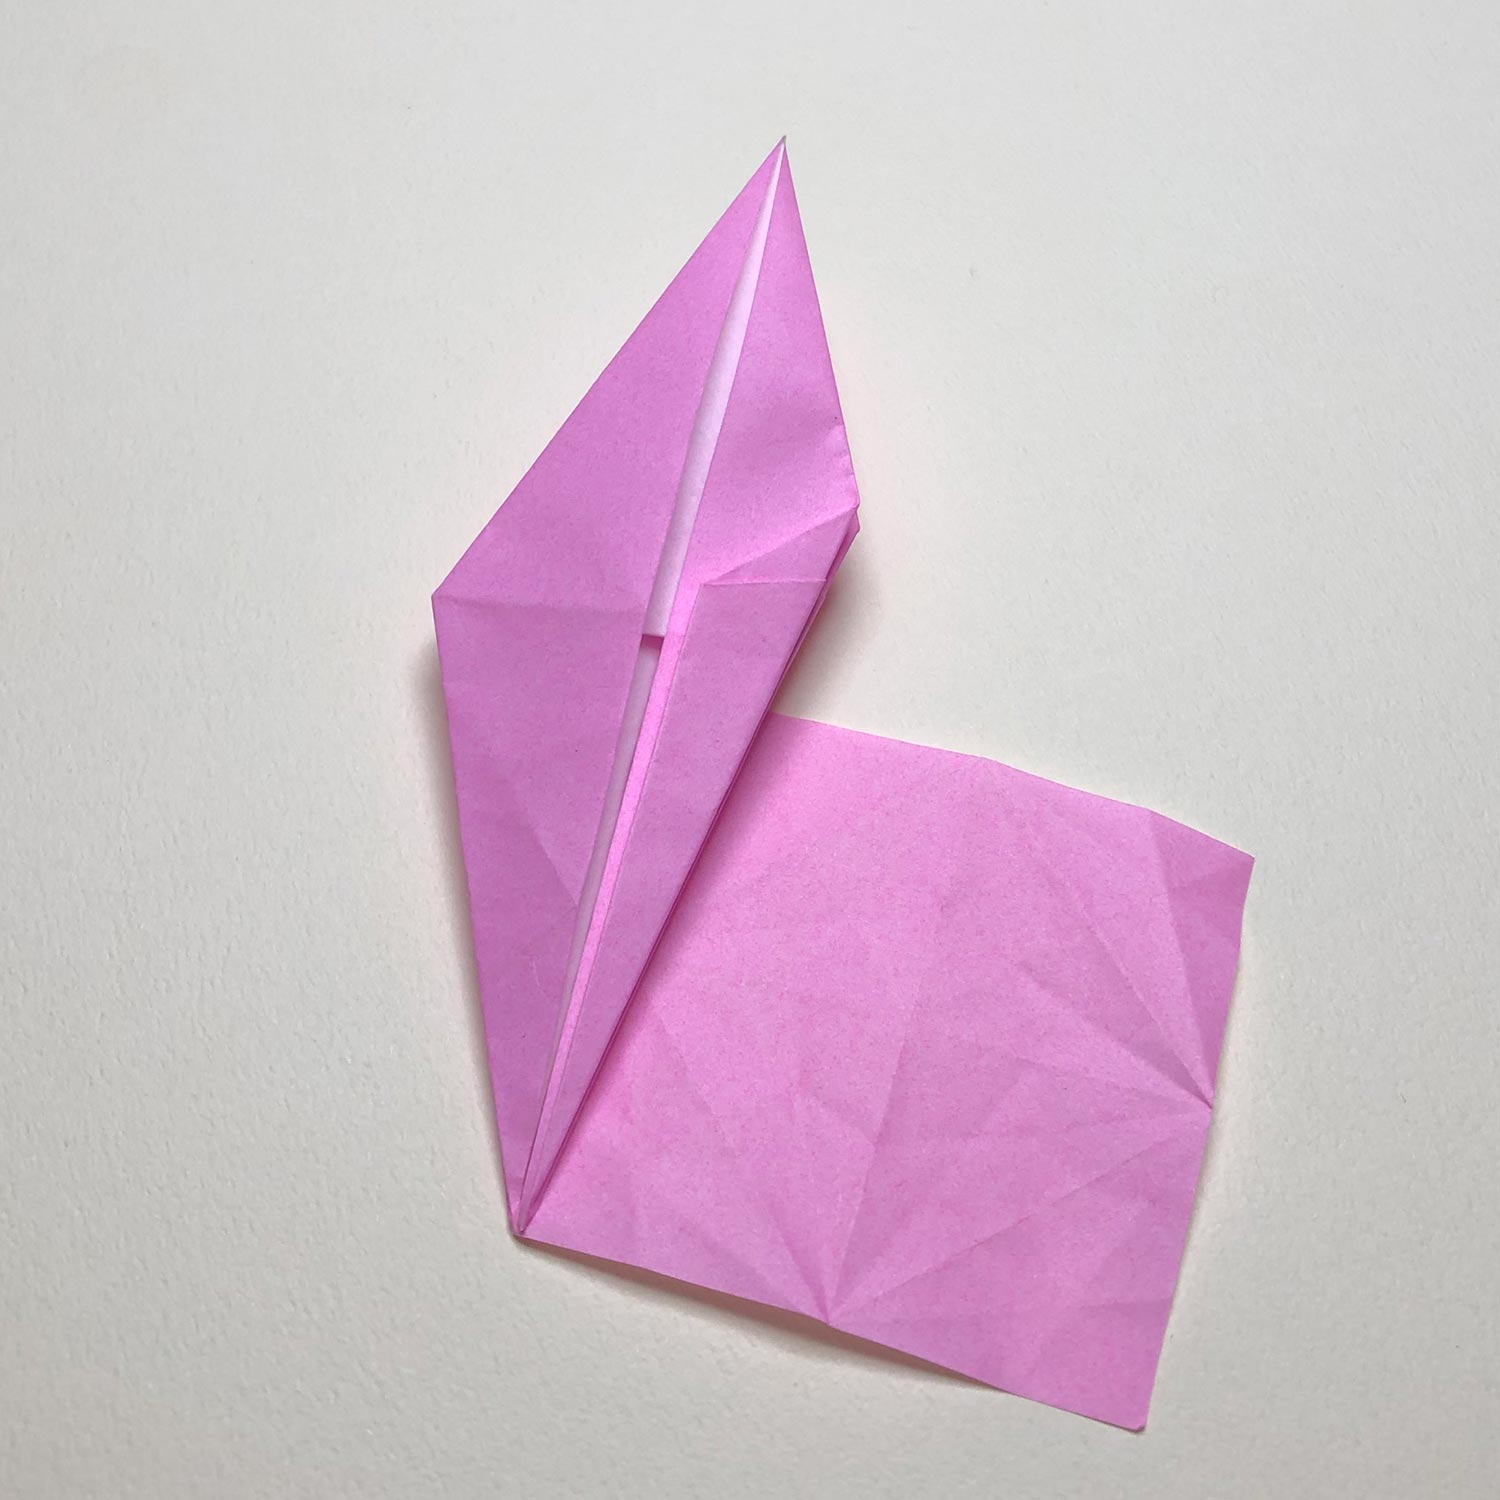
(4)
First, fold the head/tail, which is not connected, to the center.

(5)
After folding the head/tail, raise it.
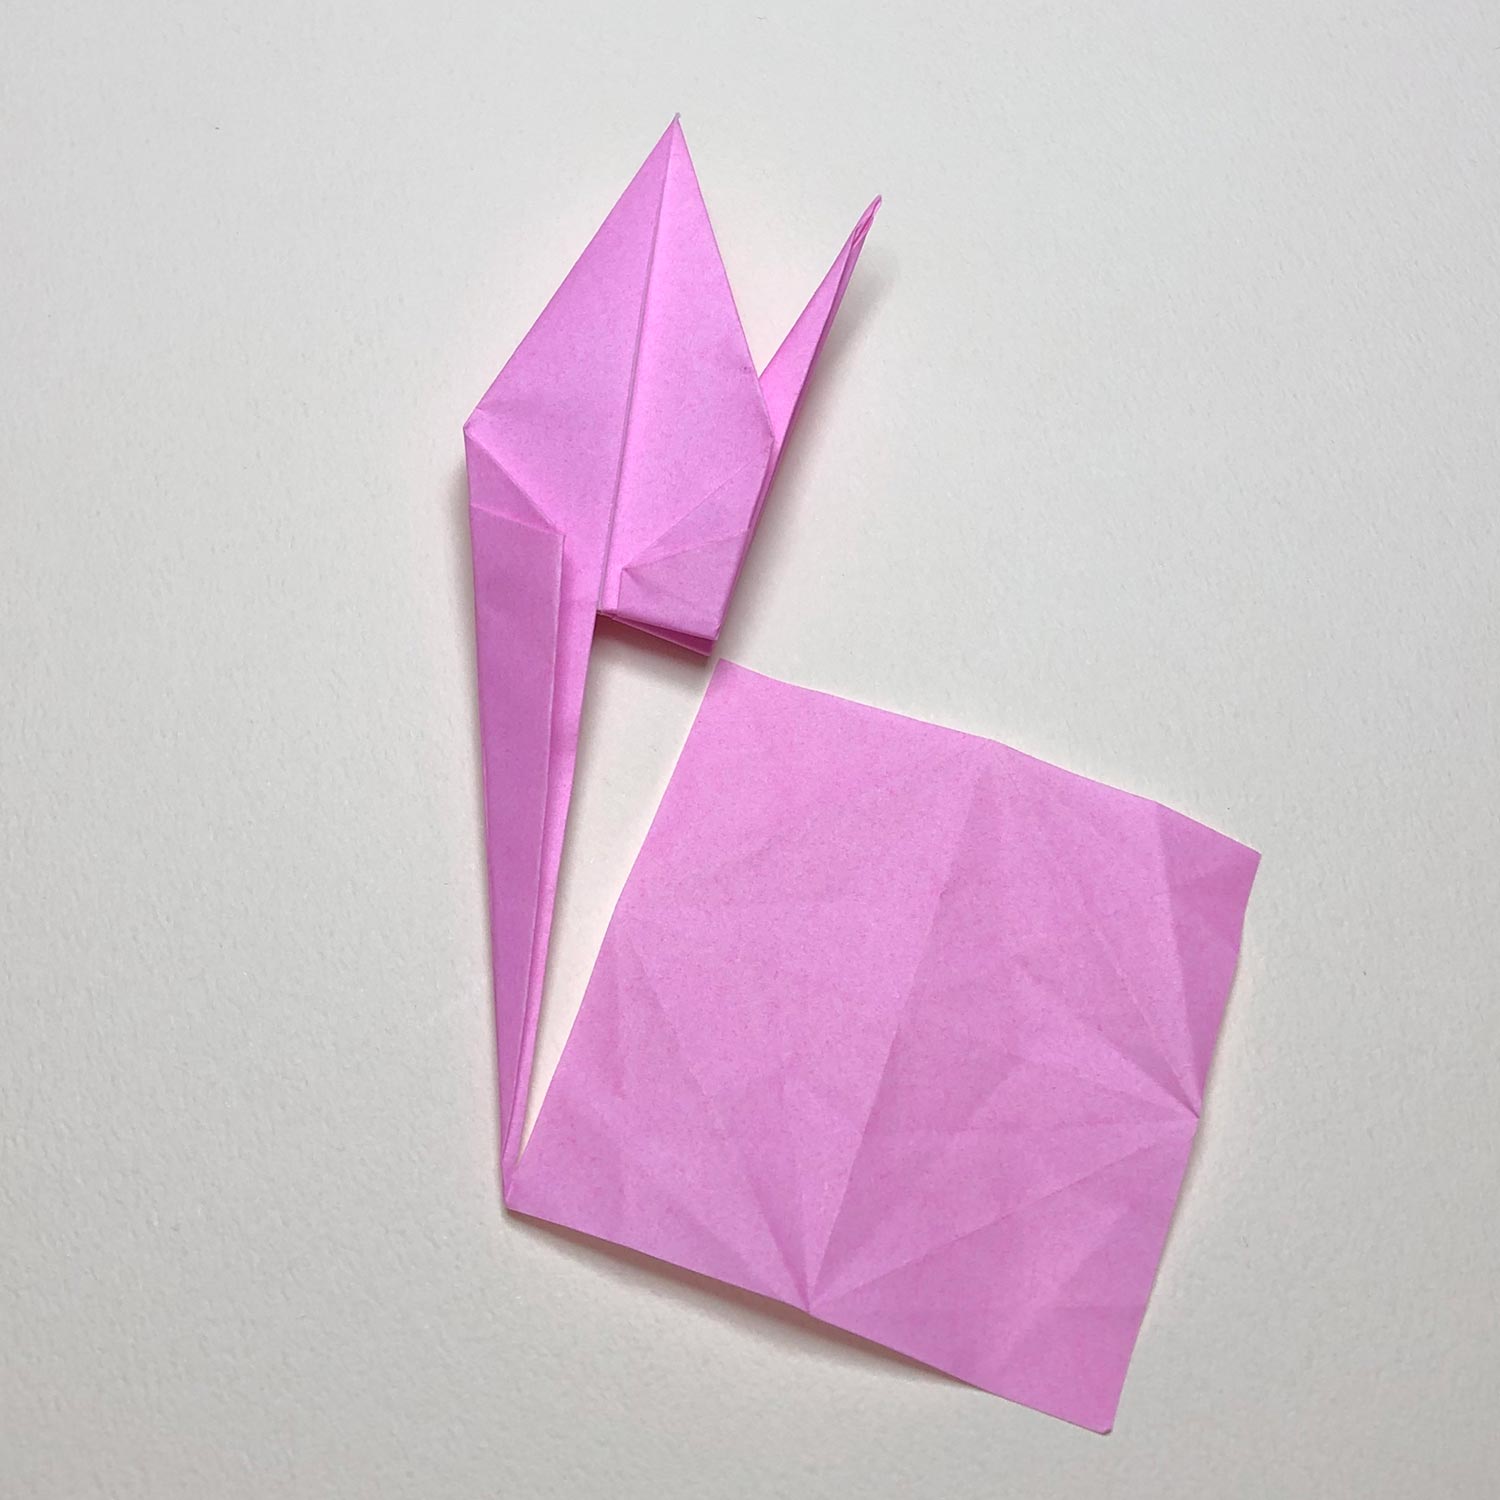
(6)
Fold the other head/tail to the center.
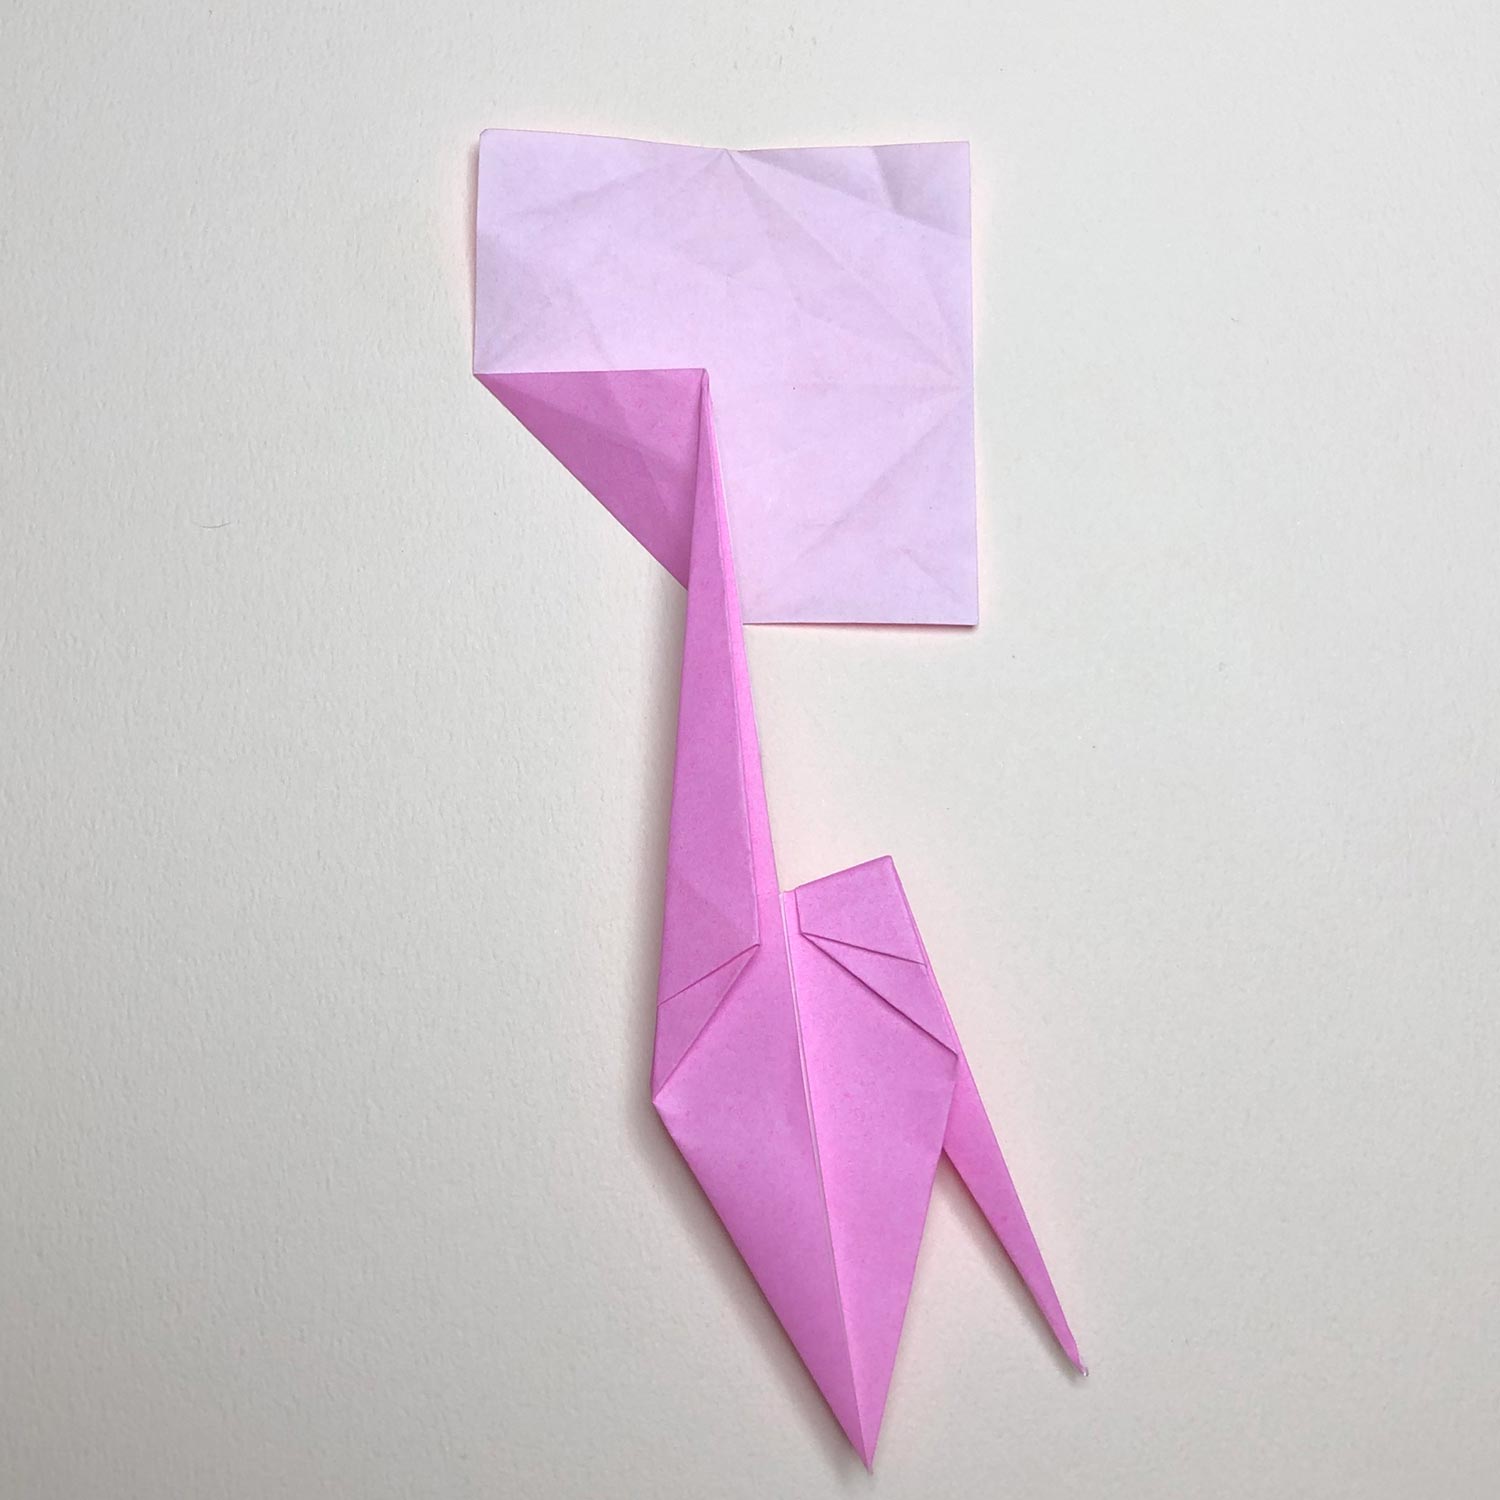
(7)
Then put the paper like this picture.
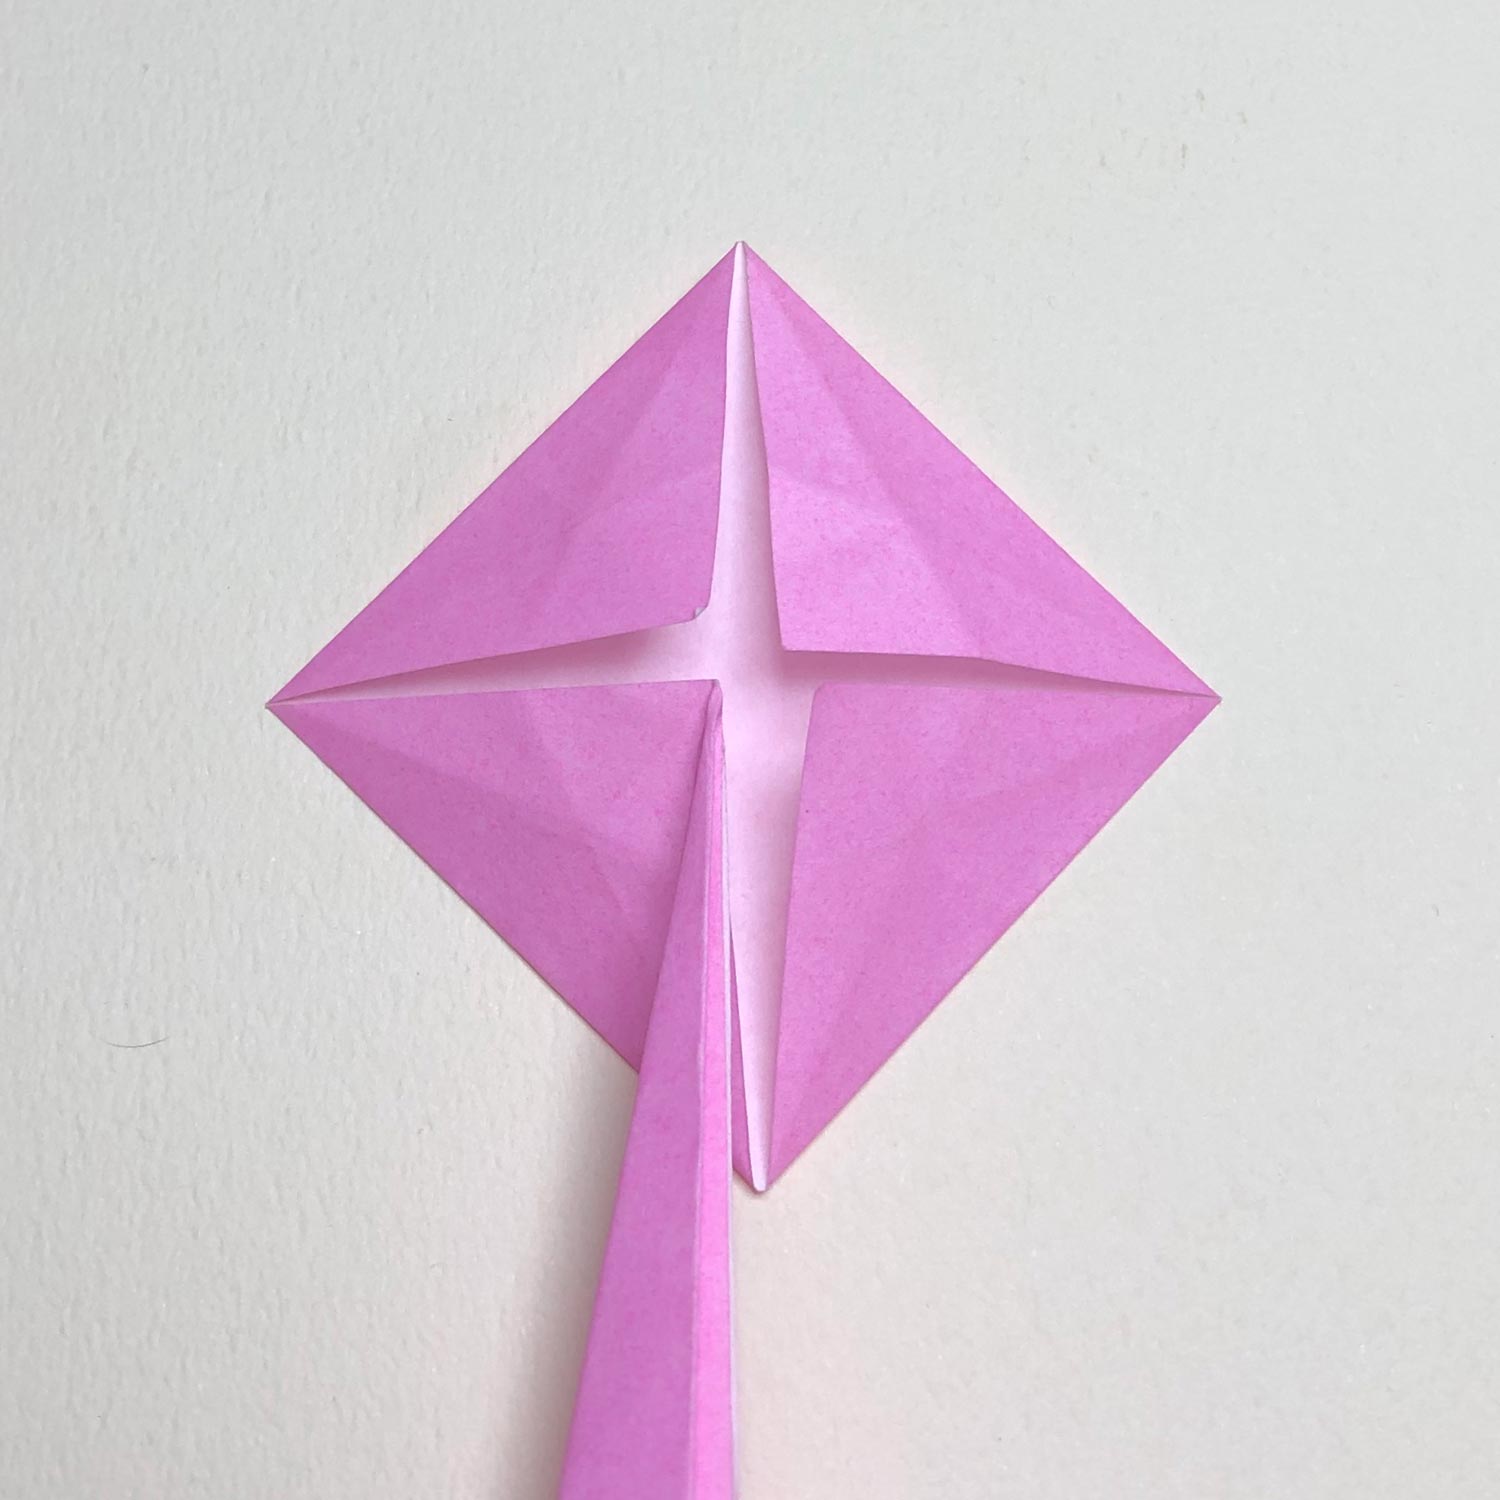
(8)
Fold the four corners to the center point.
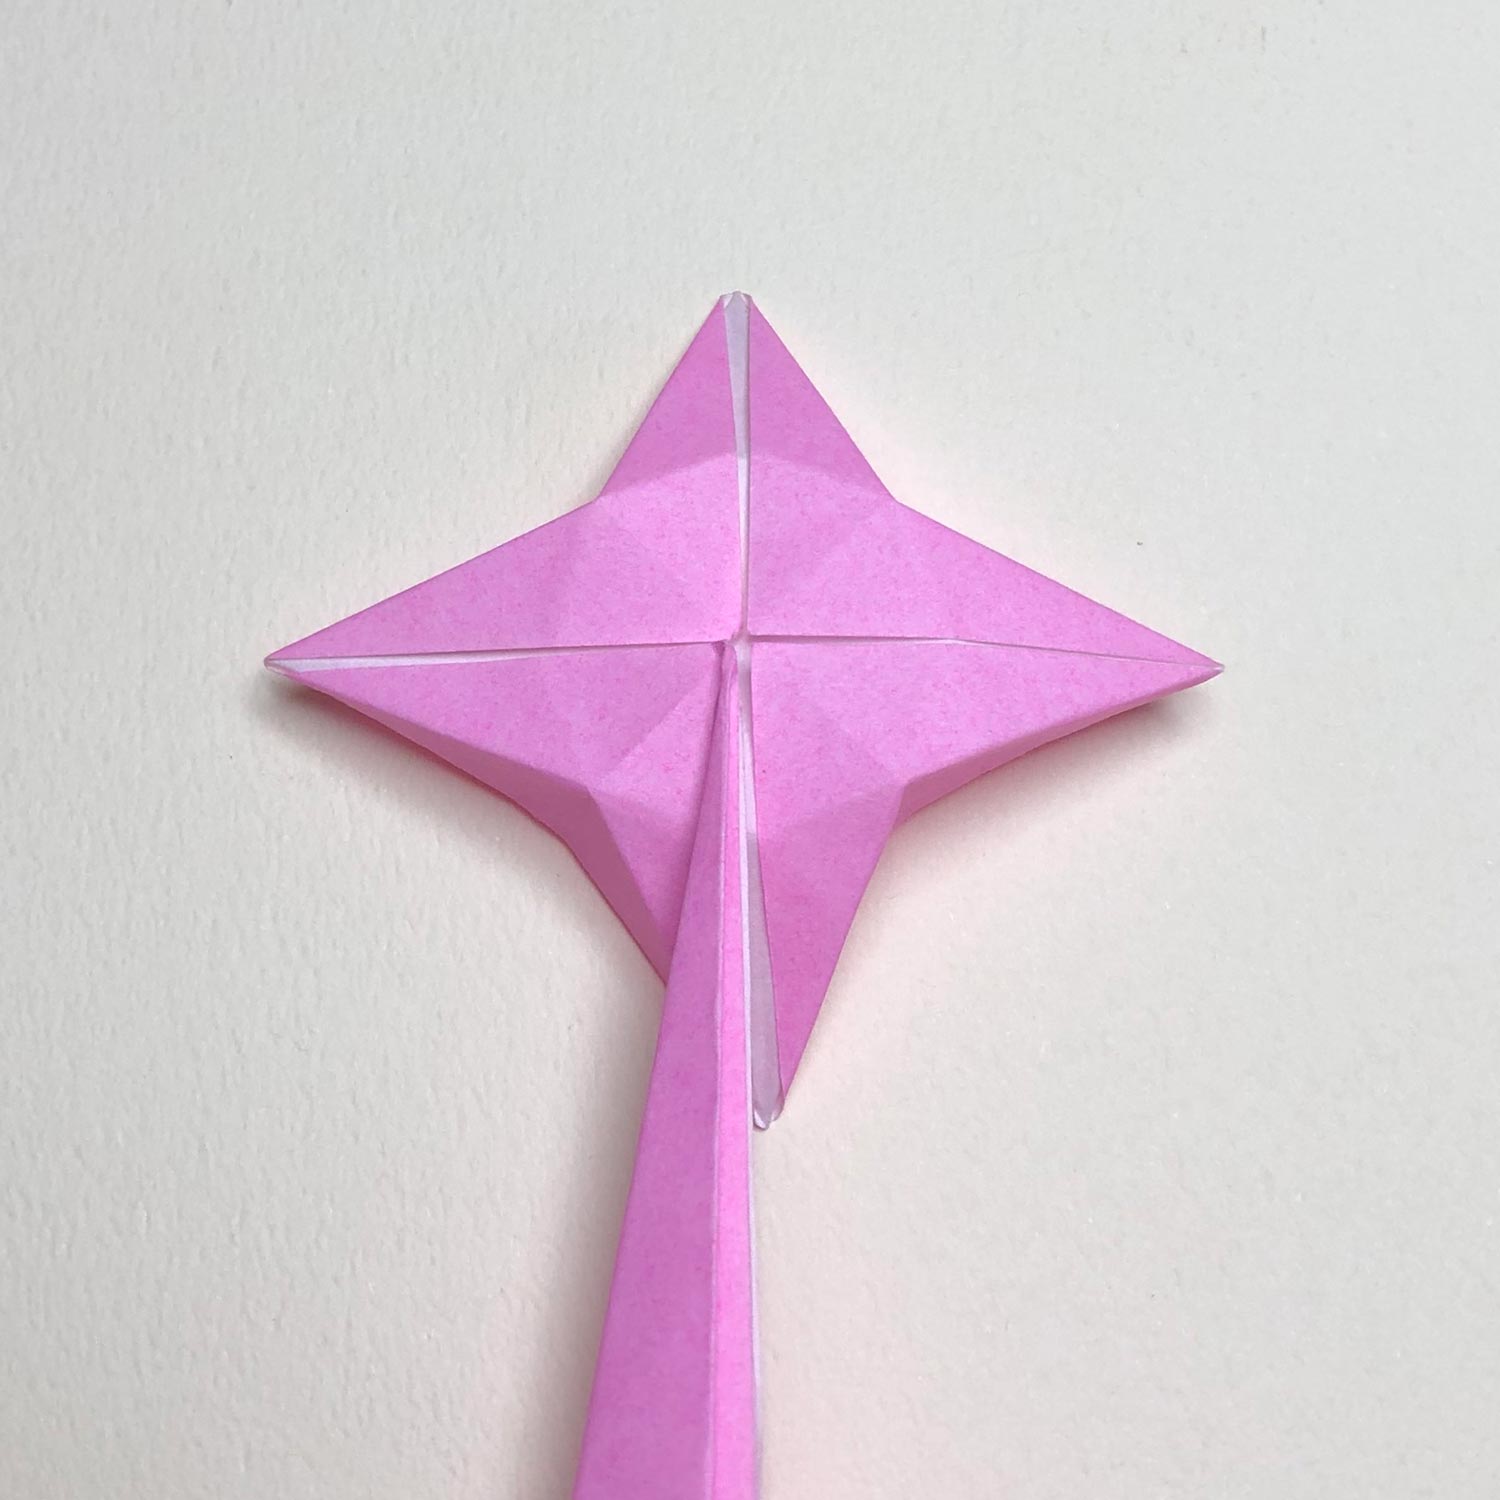
(9)
Make a star-shape like this picture.
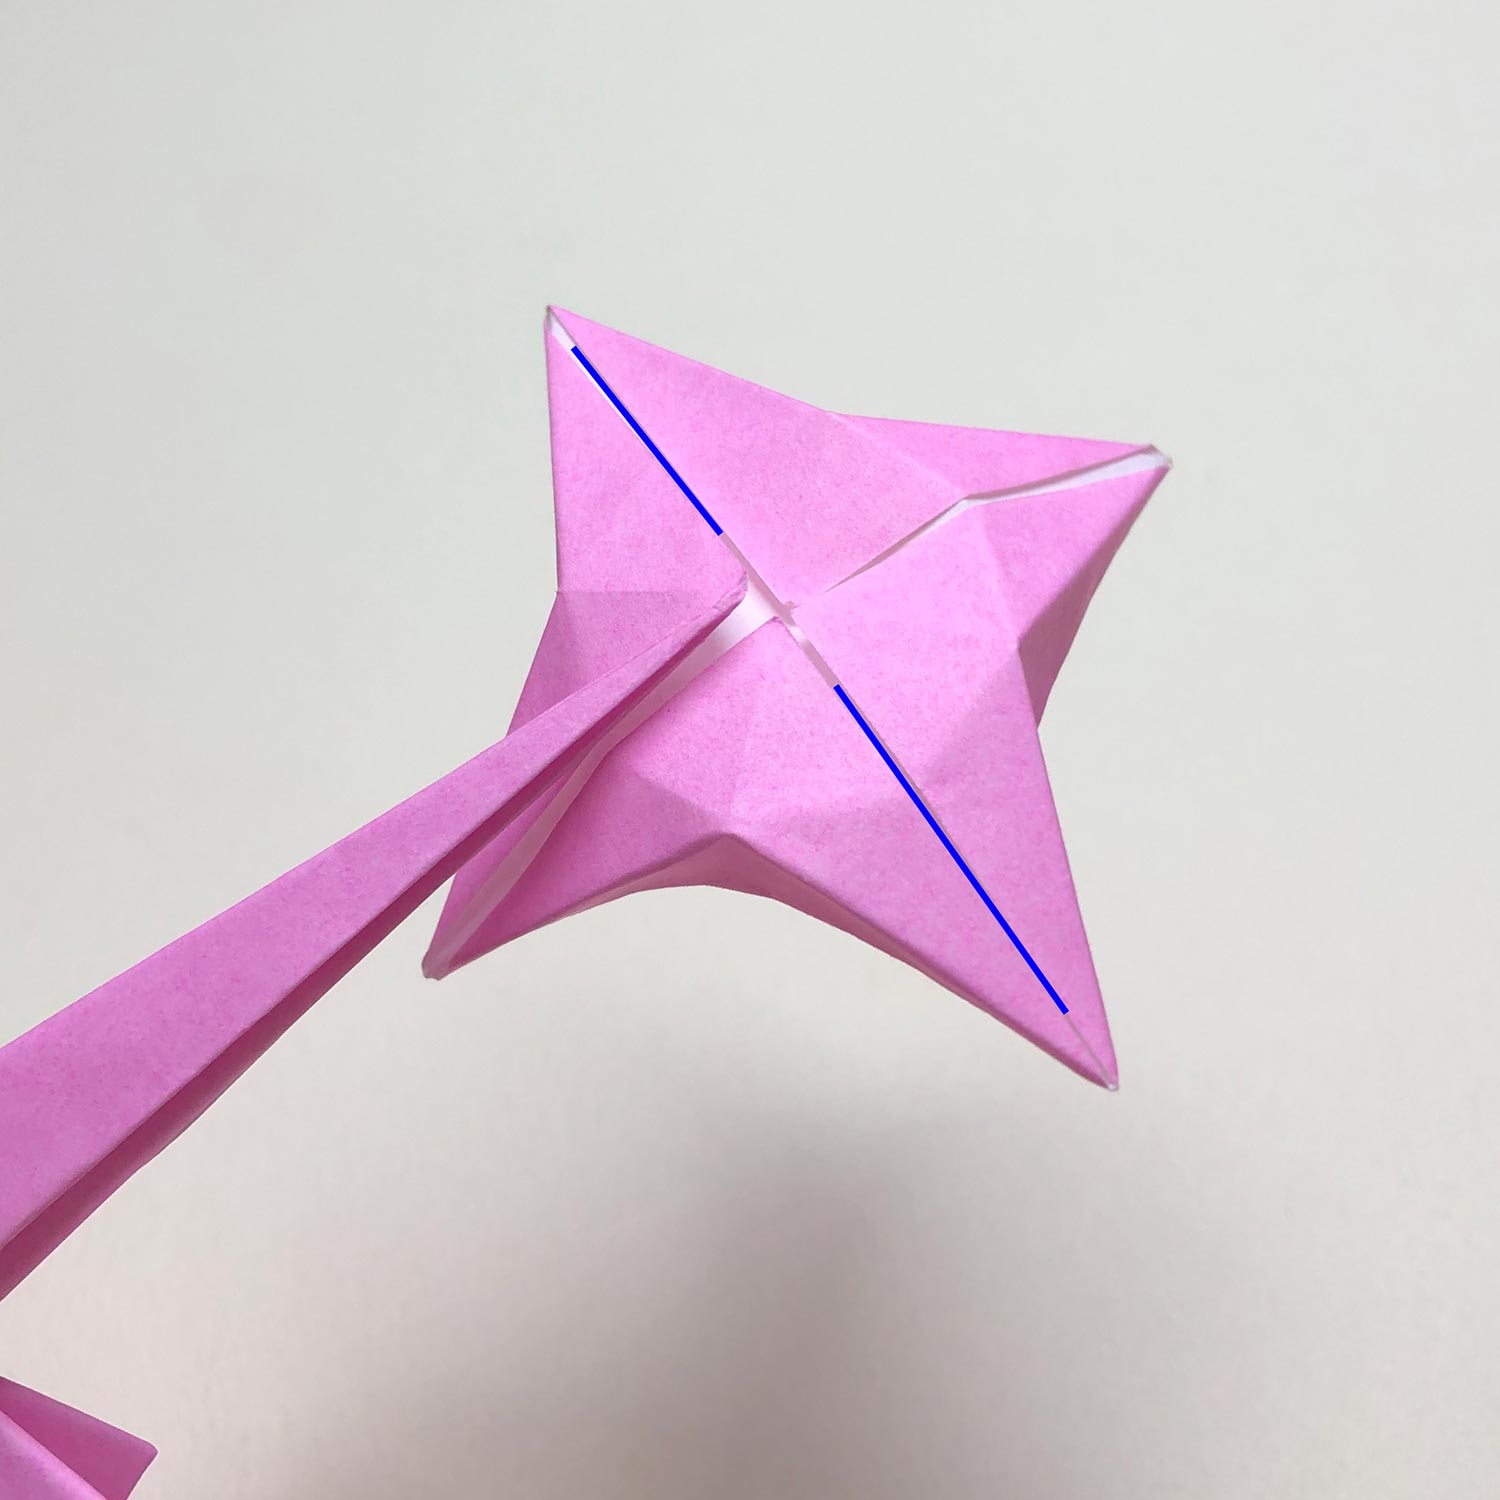
(10)
Then make a bird-base so that the blue lines are changed to wings.
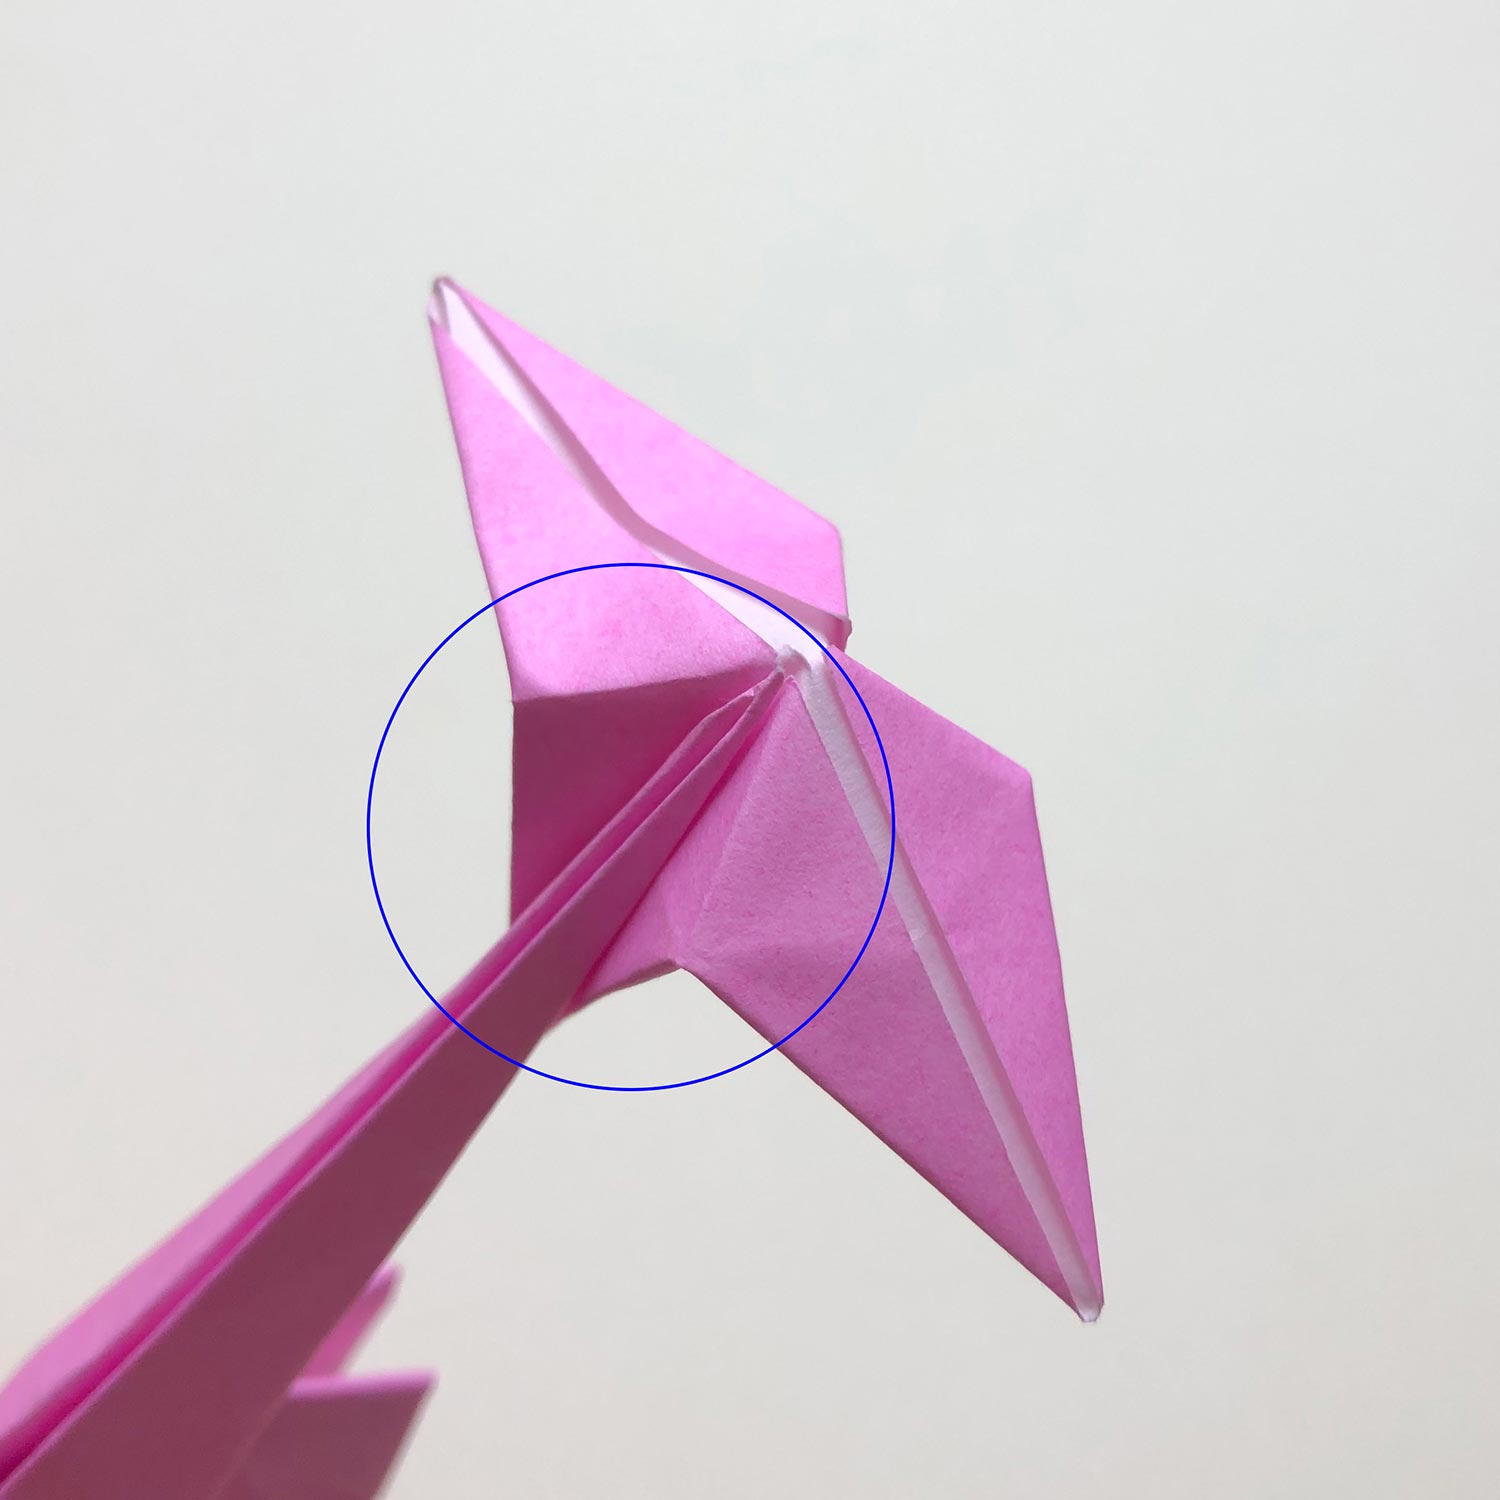
(11)
This picture is halfway through.
In order to get harder to put pressure on a connecting part,
make a bird-base while putting the head/tail of the big crane between the bird-base.
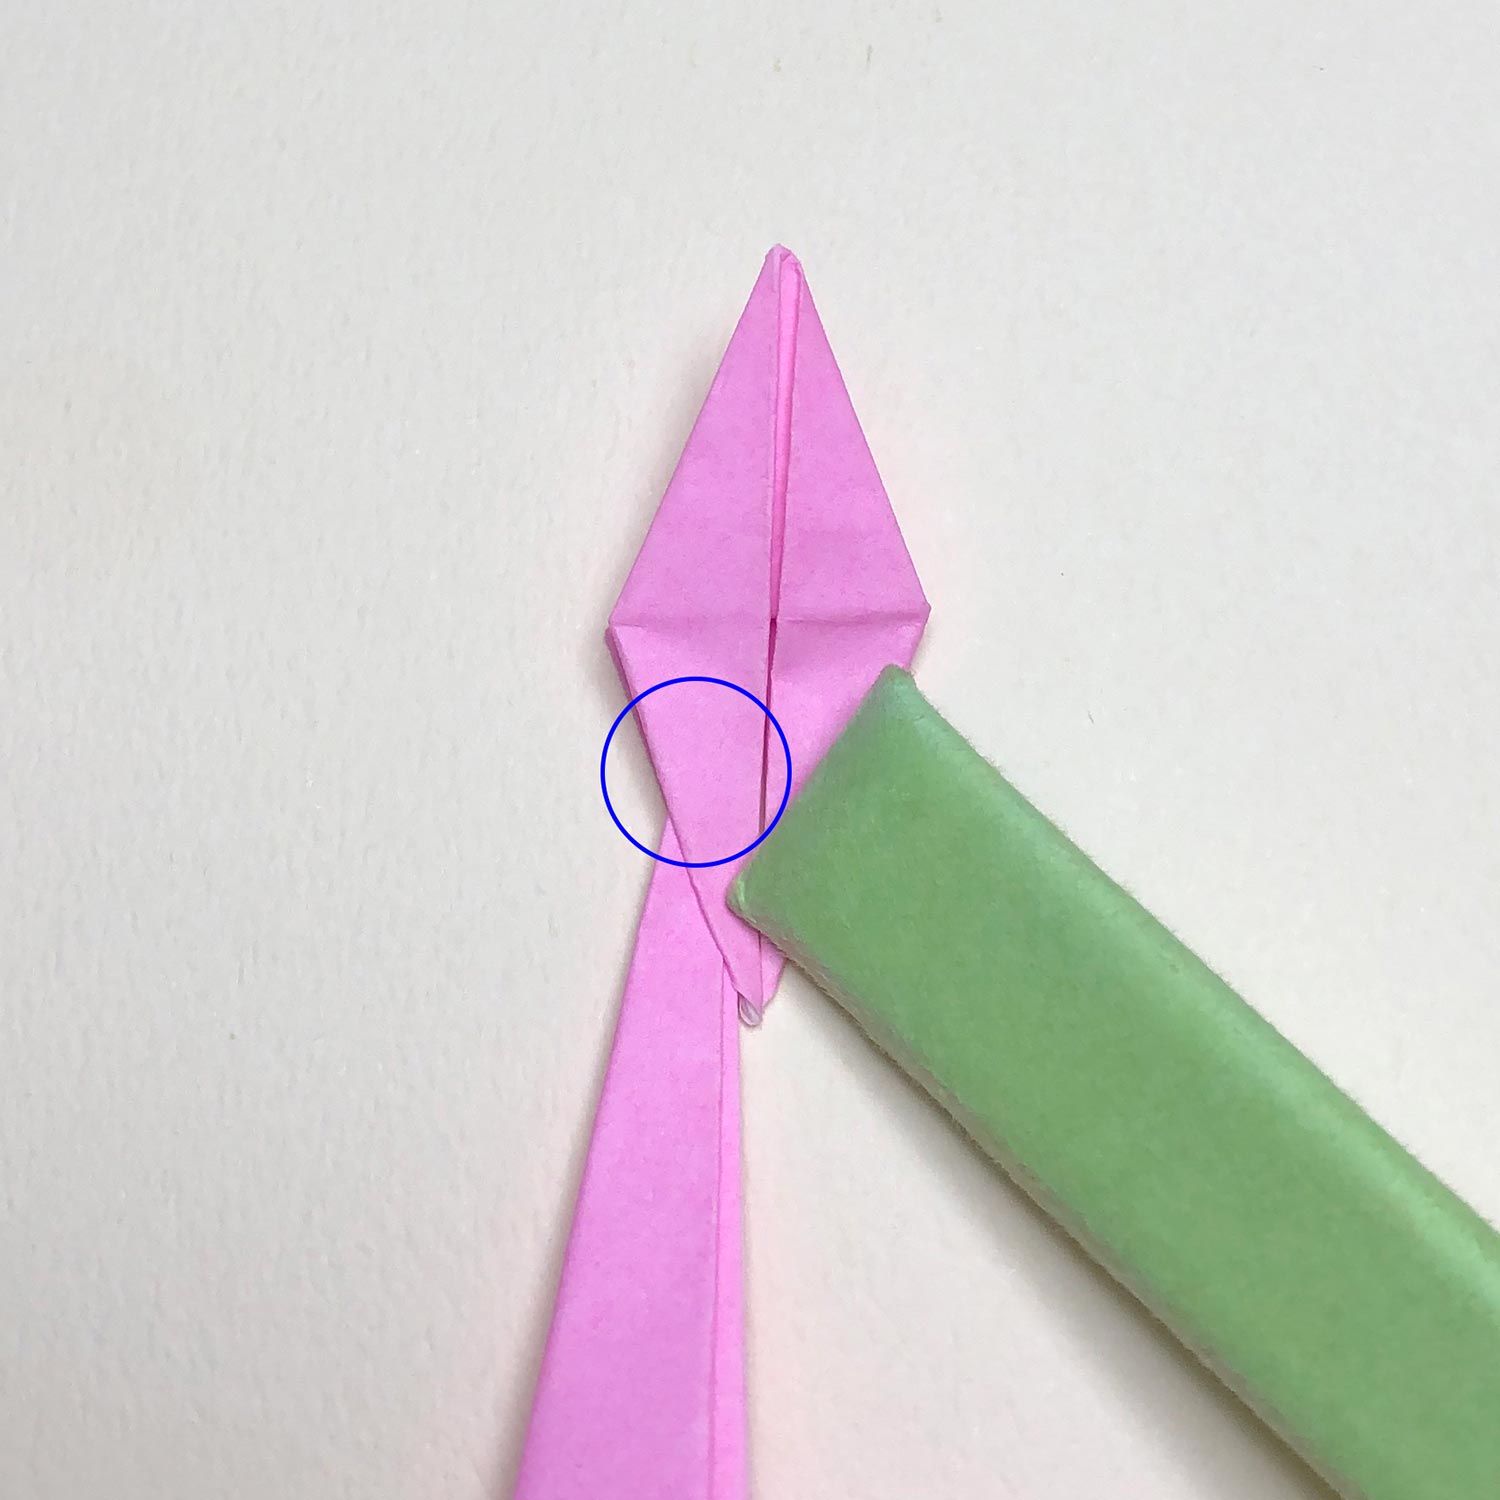
(12)
The bird-base is finished.
In order to get harder to put pressure on a connecting part,
fold each of the head/tail to the center and raise the right head/tail while pinching both sides that have been circled.
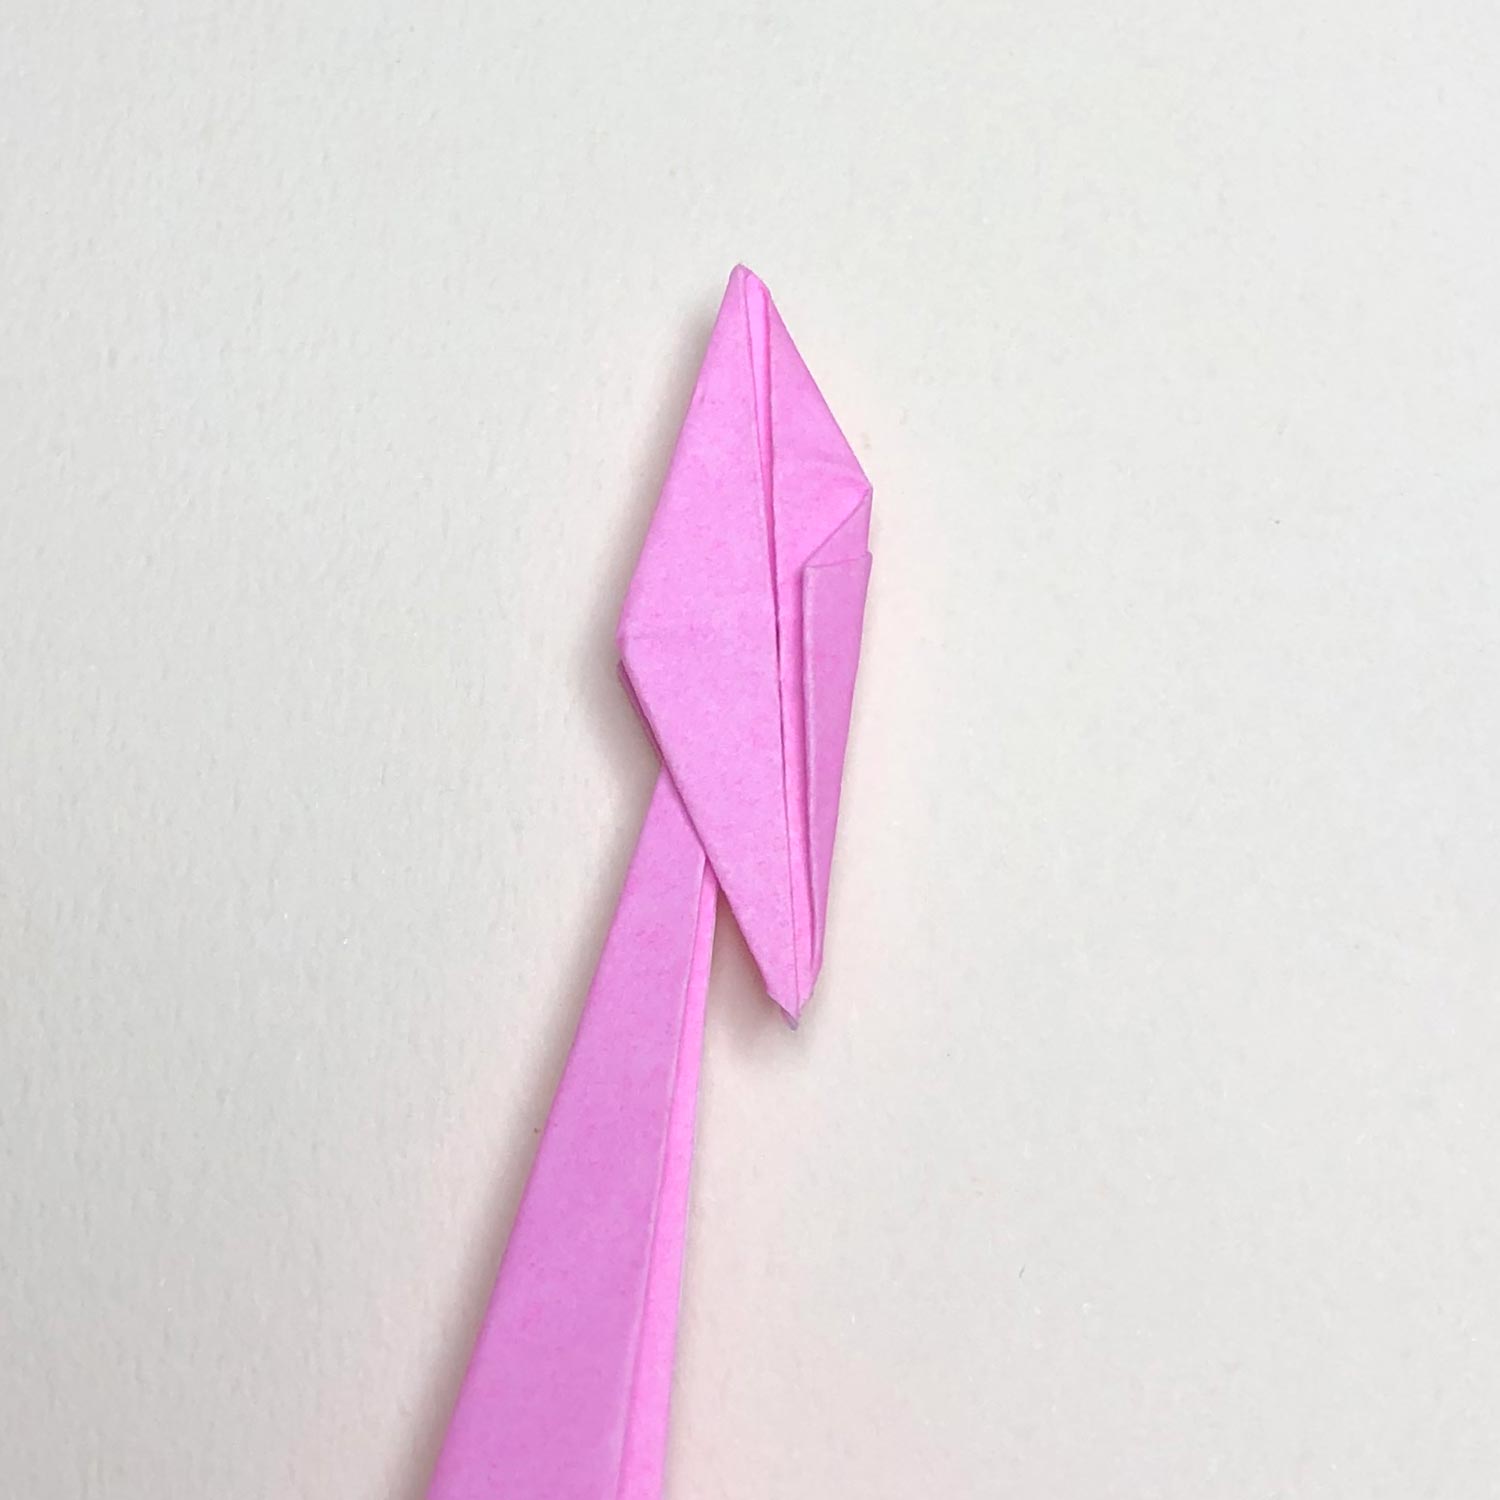
(13)
First, fold the right head/tail to the center.
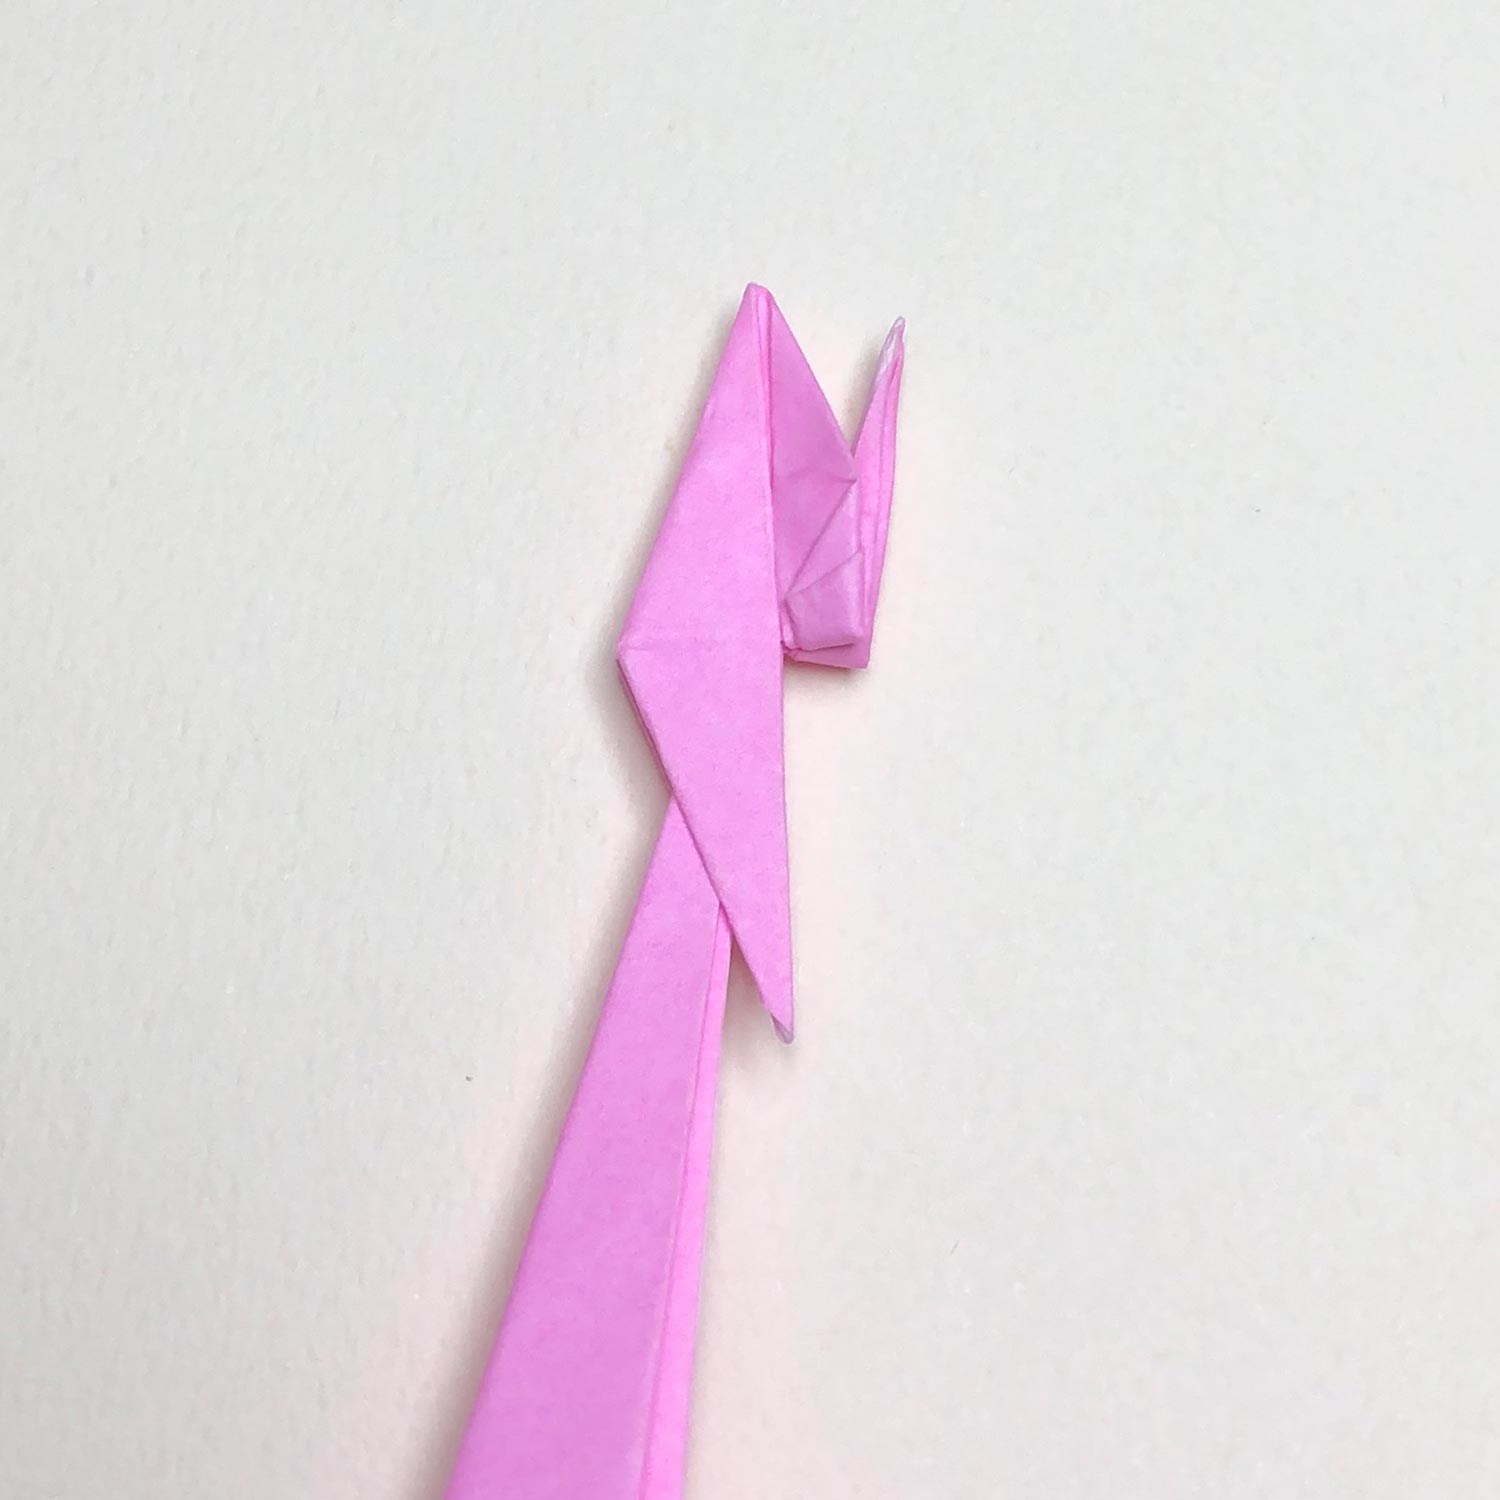
(14)
After folding the head/tail, raise it.
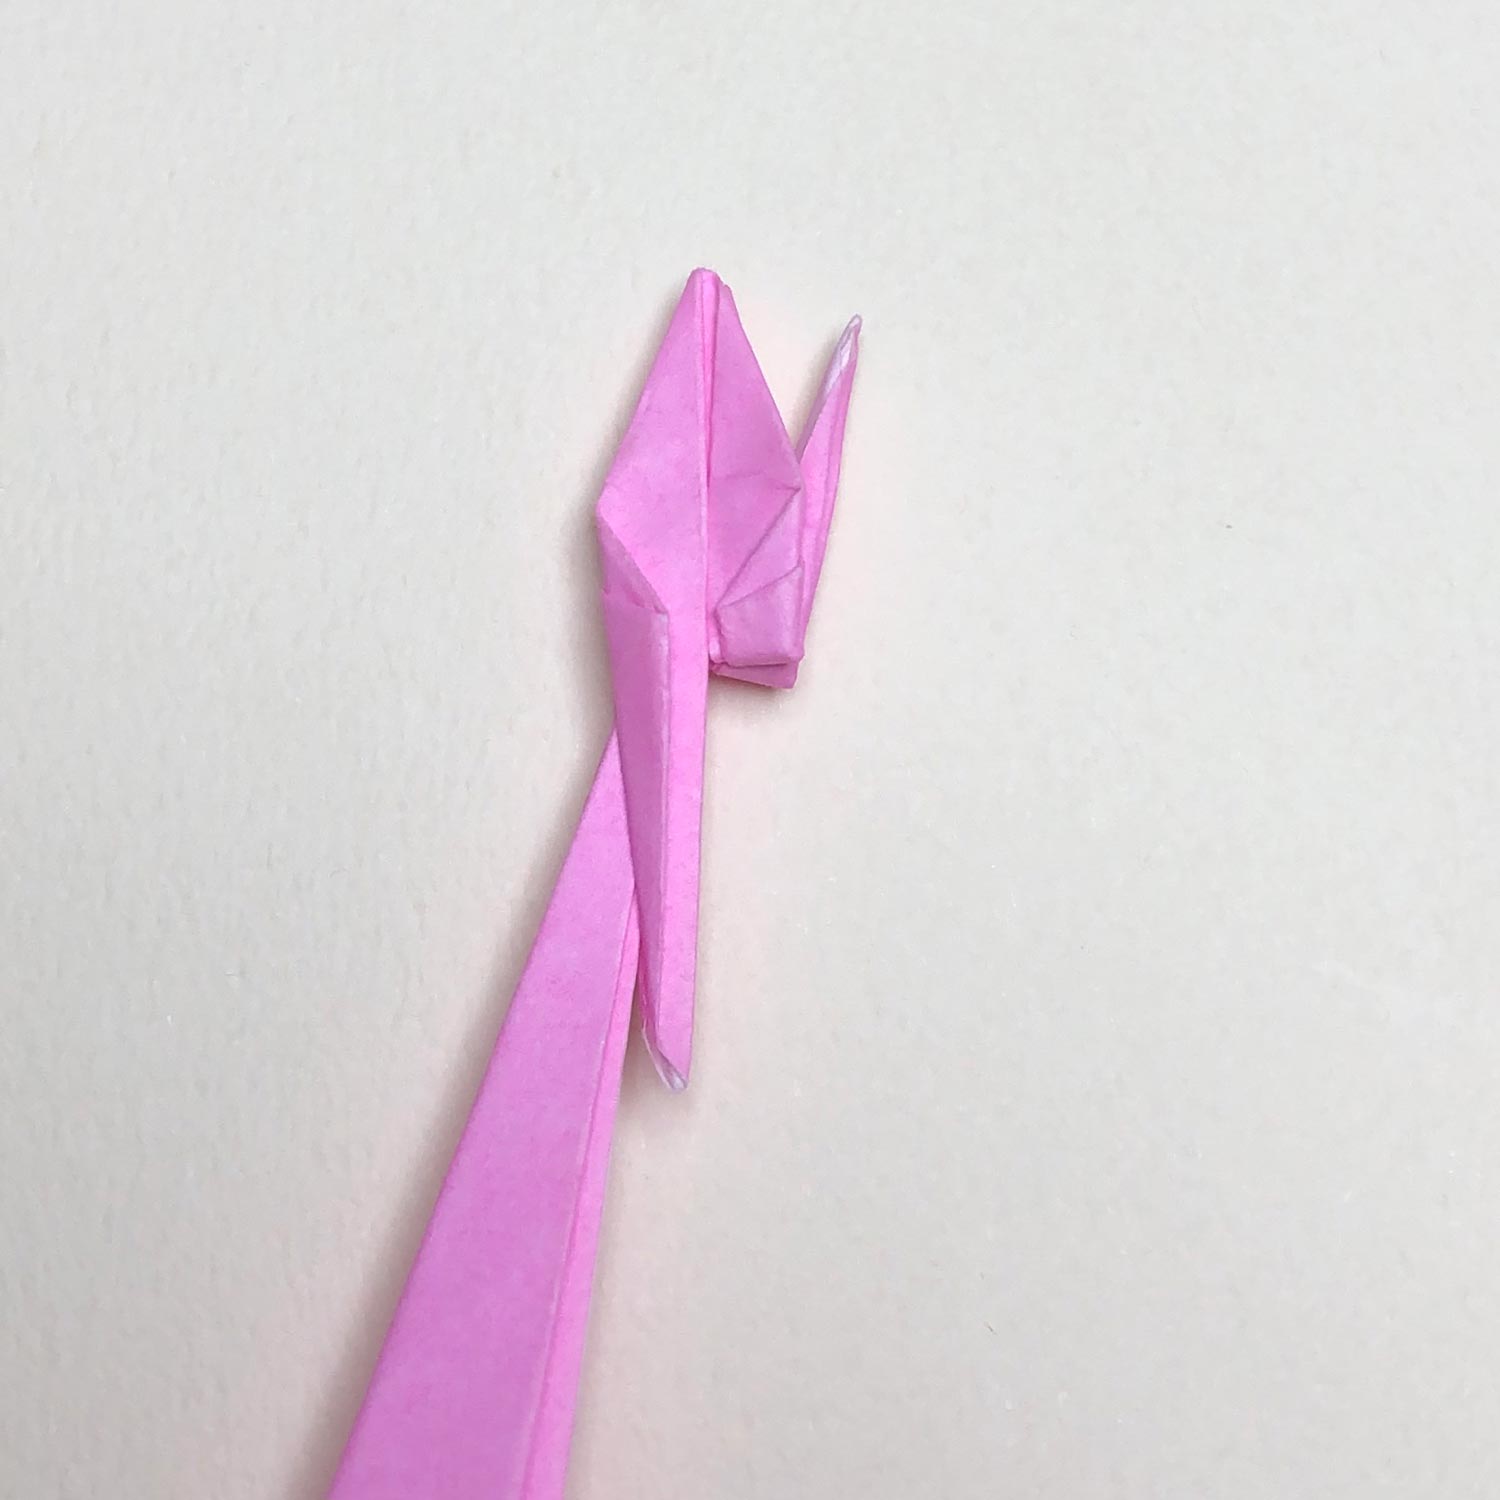
(15)
Then fold the left head/tail to the center.
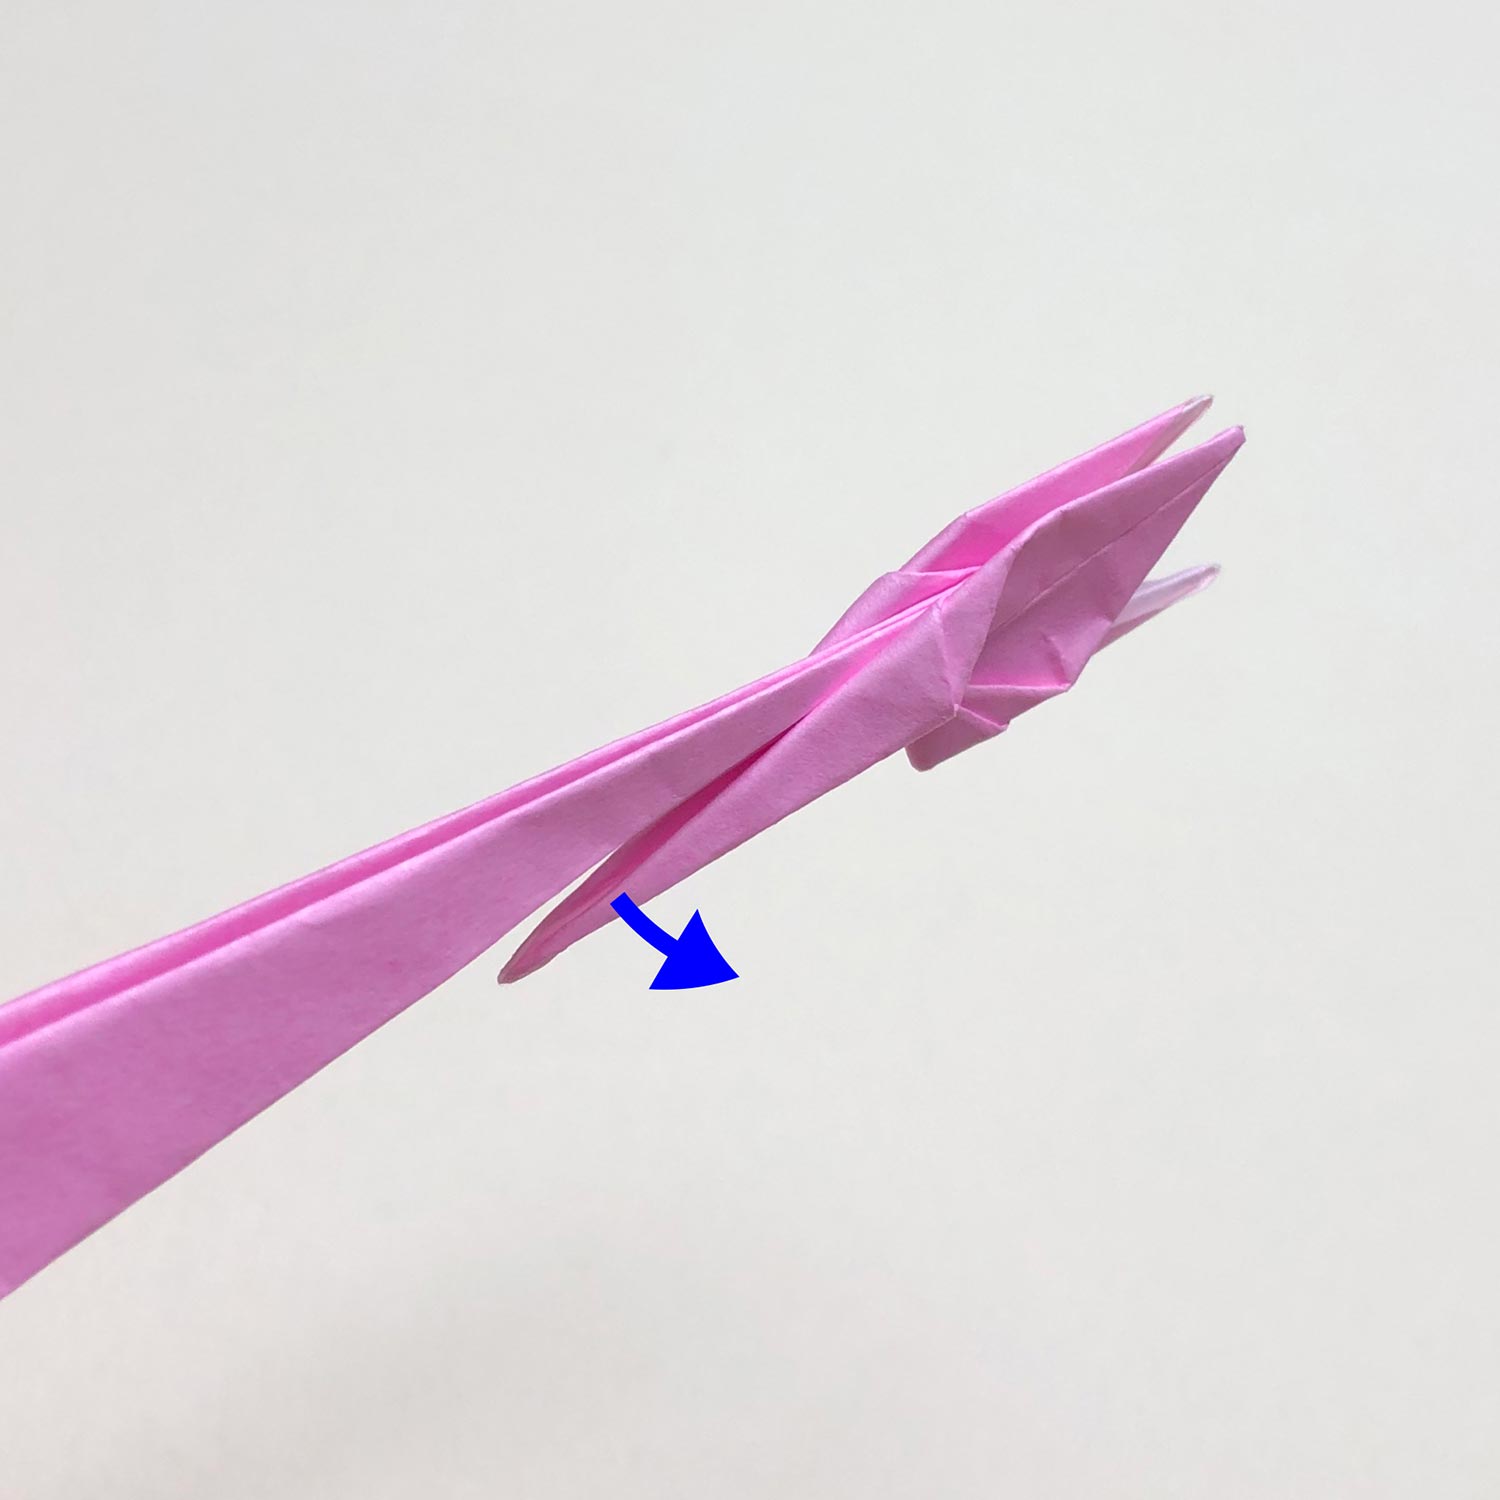
(16)
Before raising the head/tail, move the small crane in the direction of the arrow.
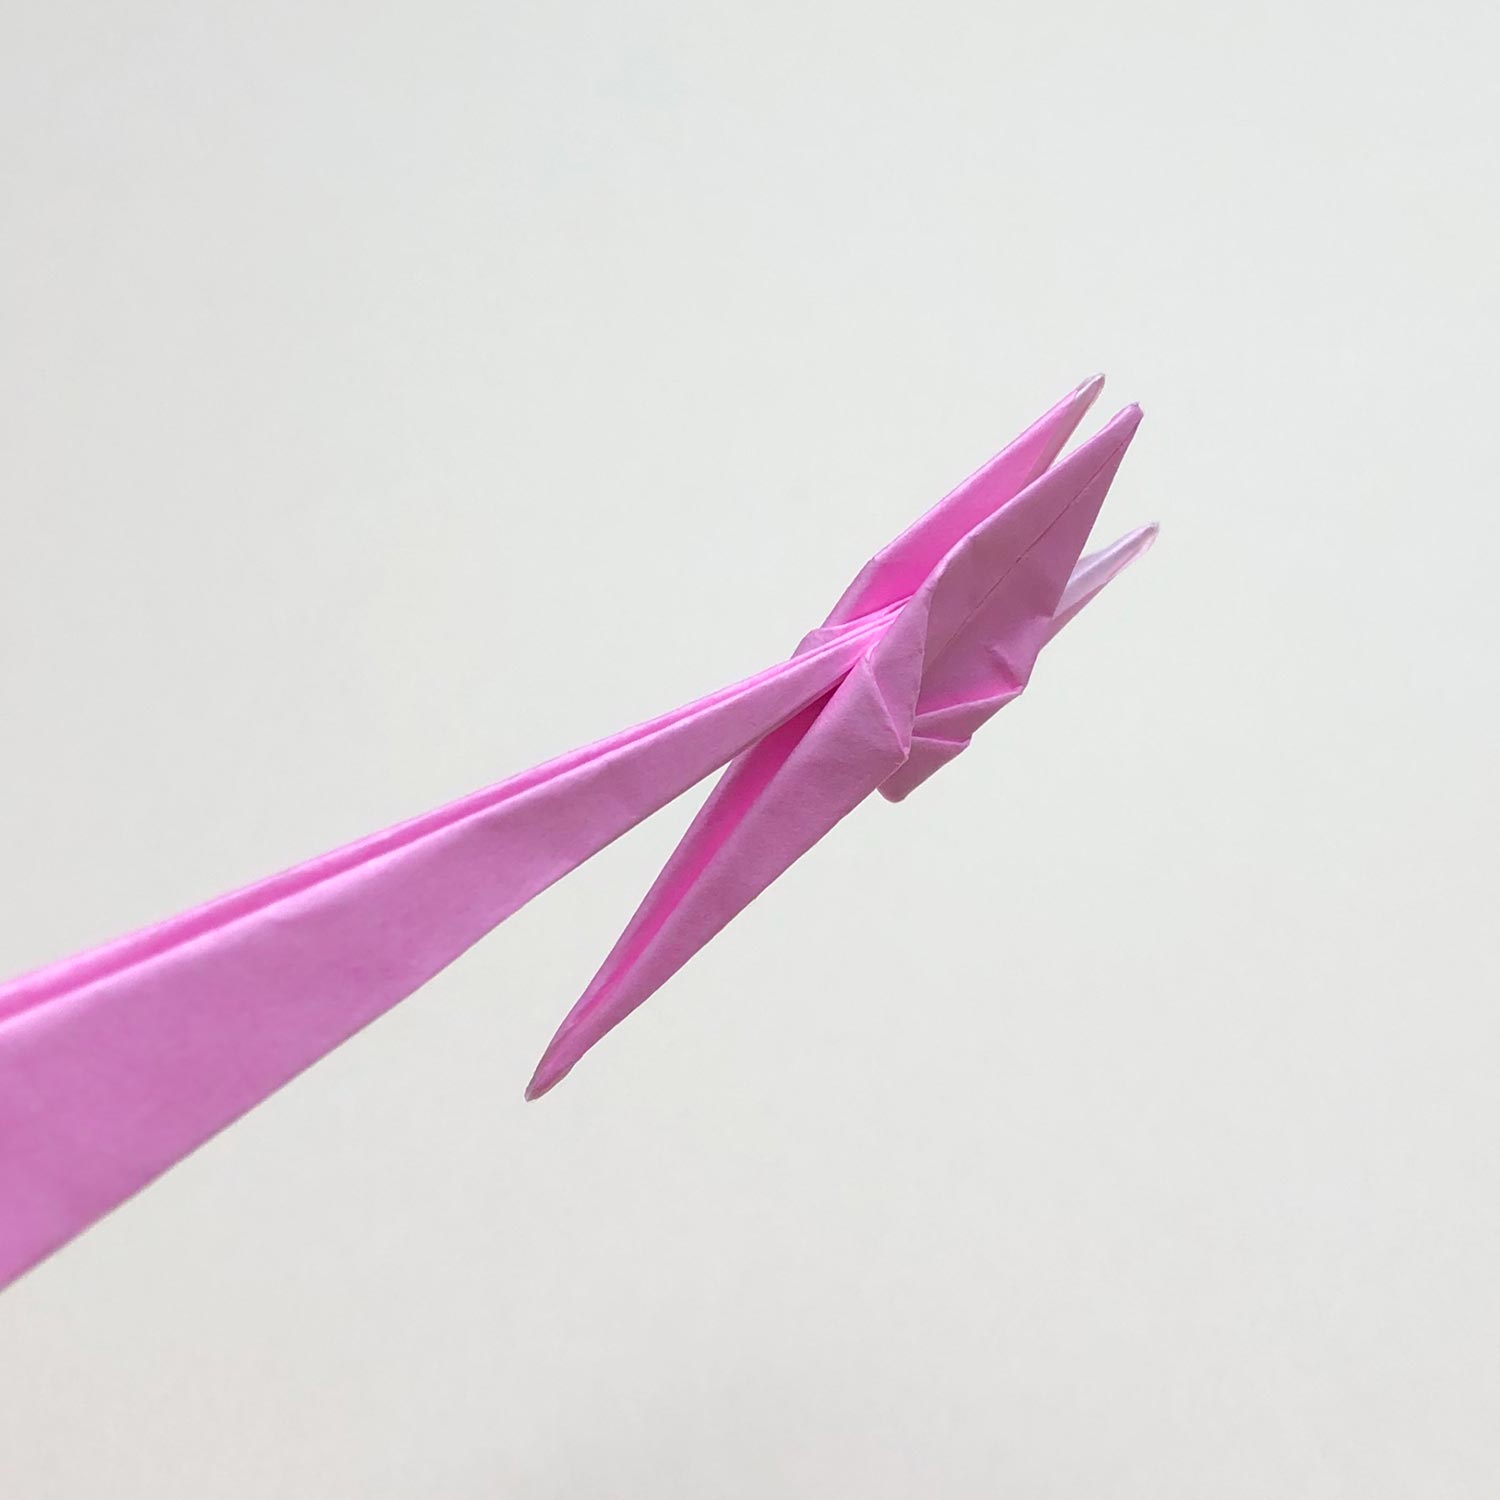
(17)
Move the small crane like this picture.
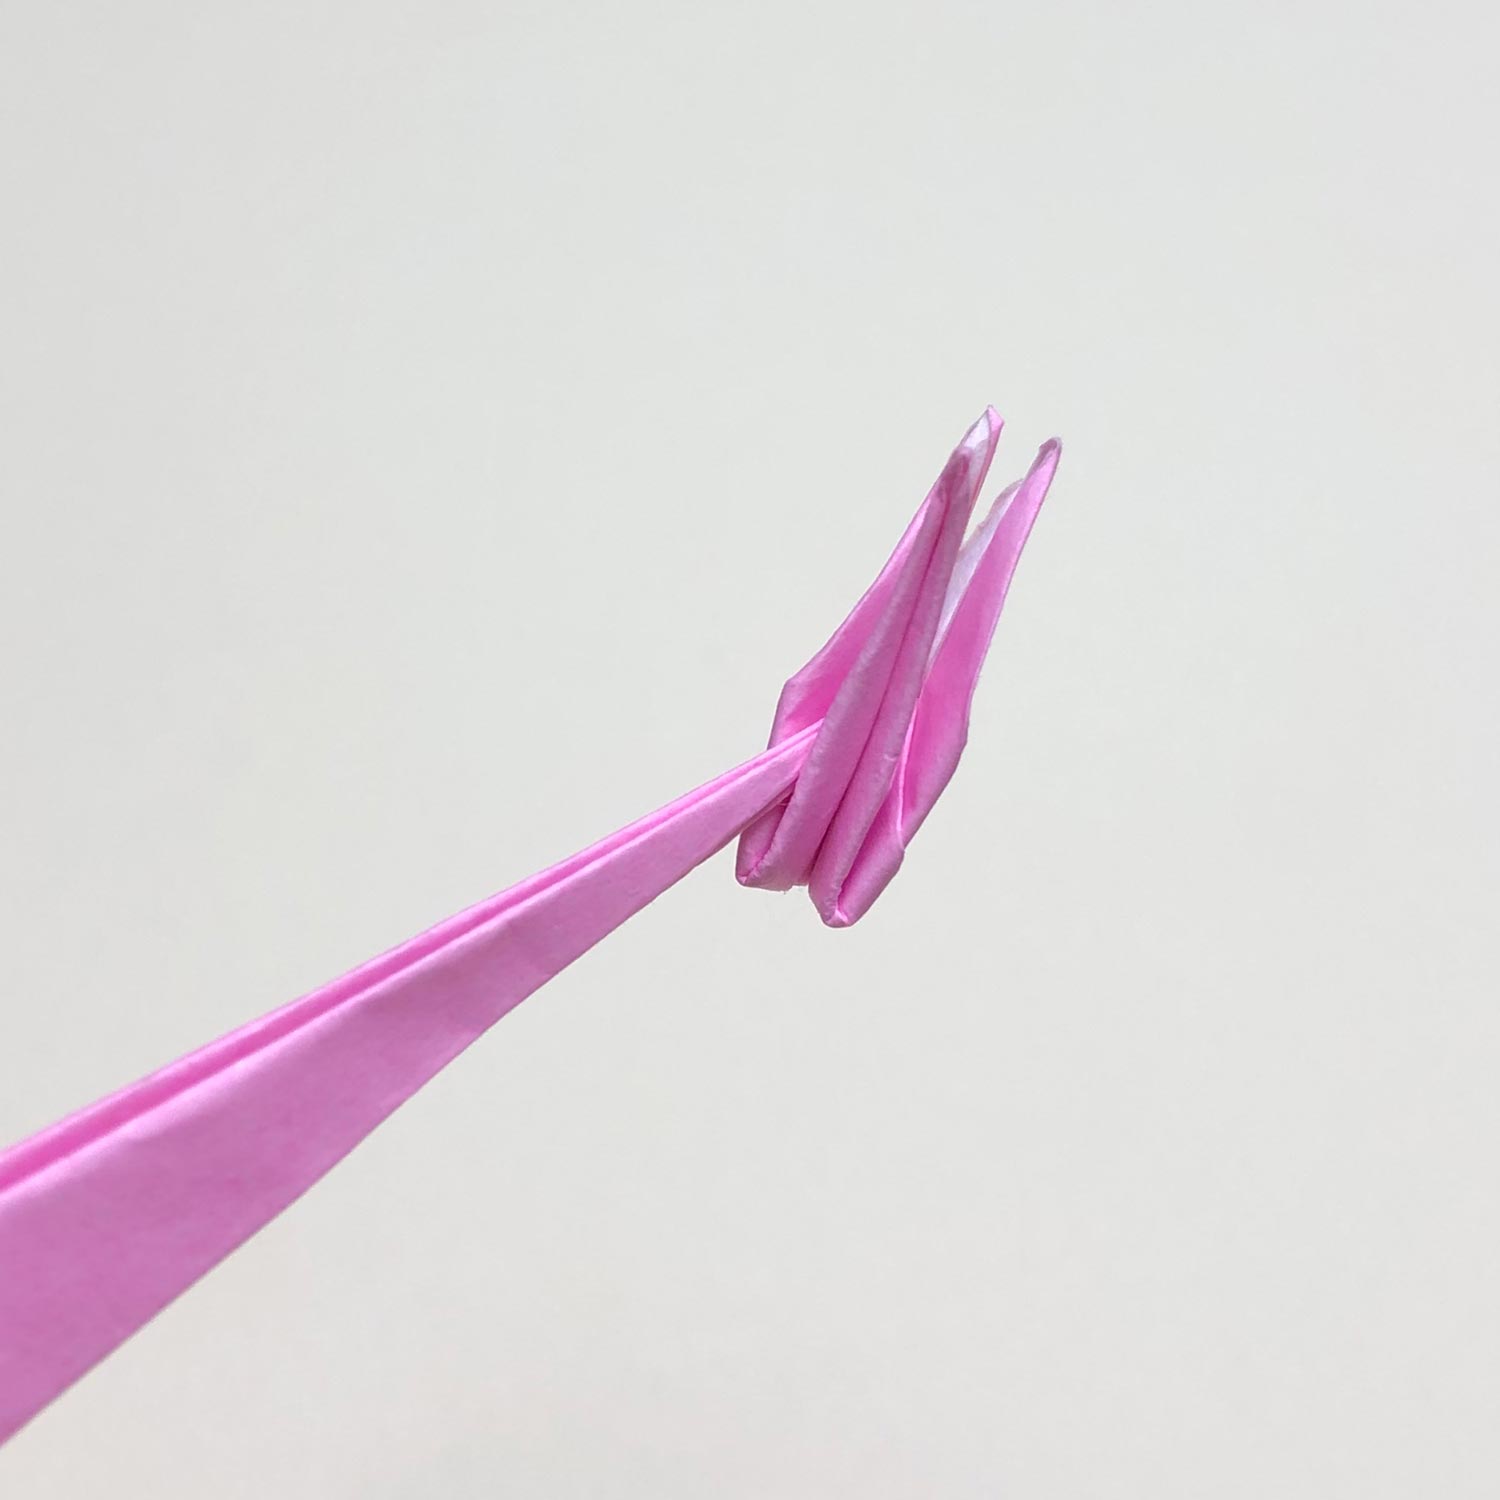
(18)
Raise the head/tail of the small crane so that the head/tail of the big crane stuck between the left side of the small crane.
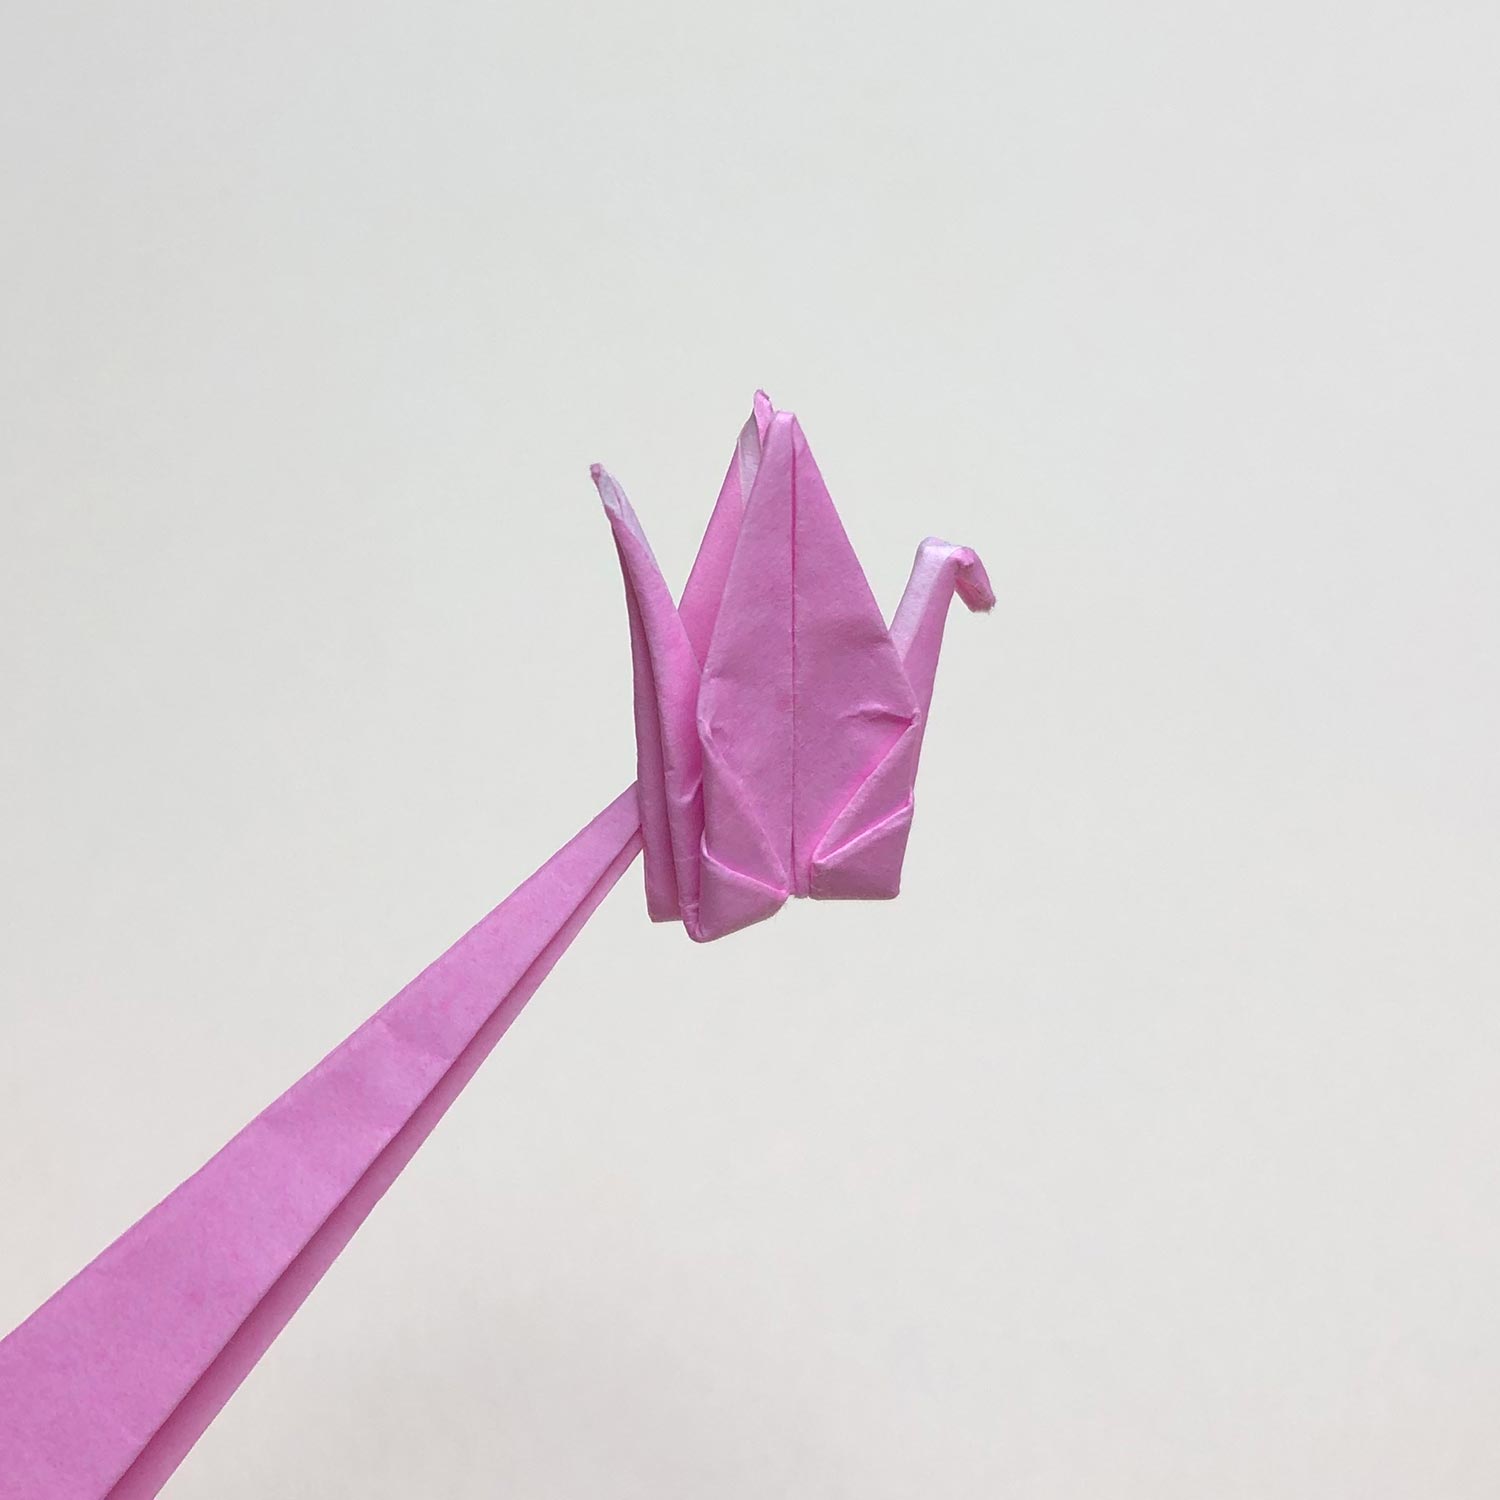
(19)
Make a beak like this picture and spread wings.
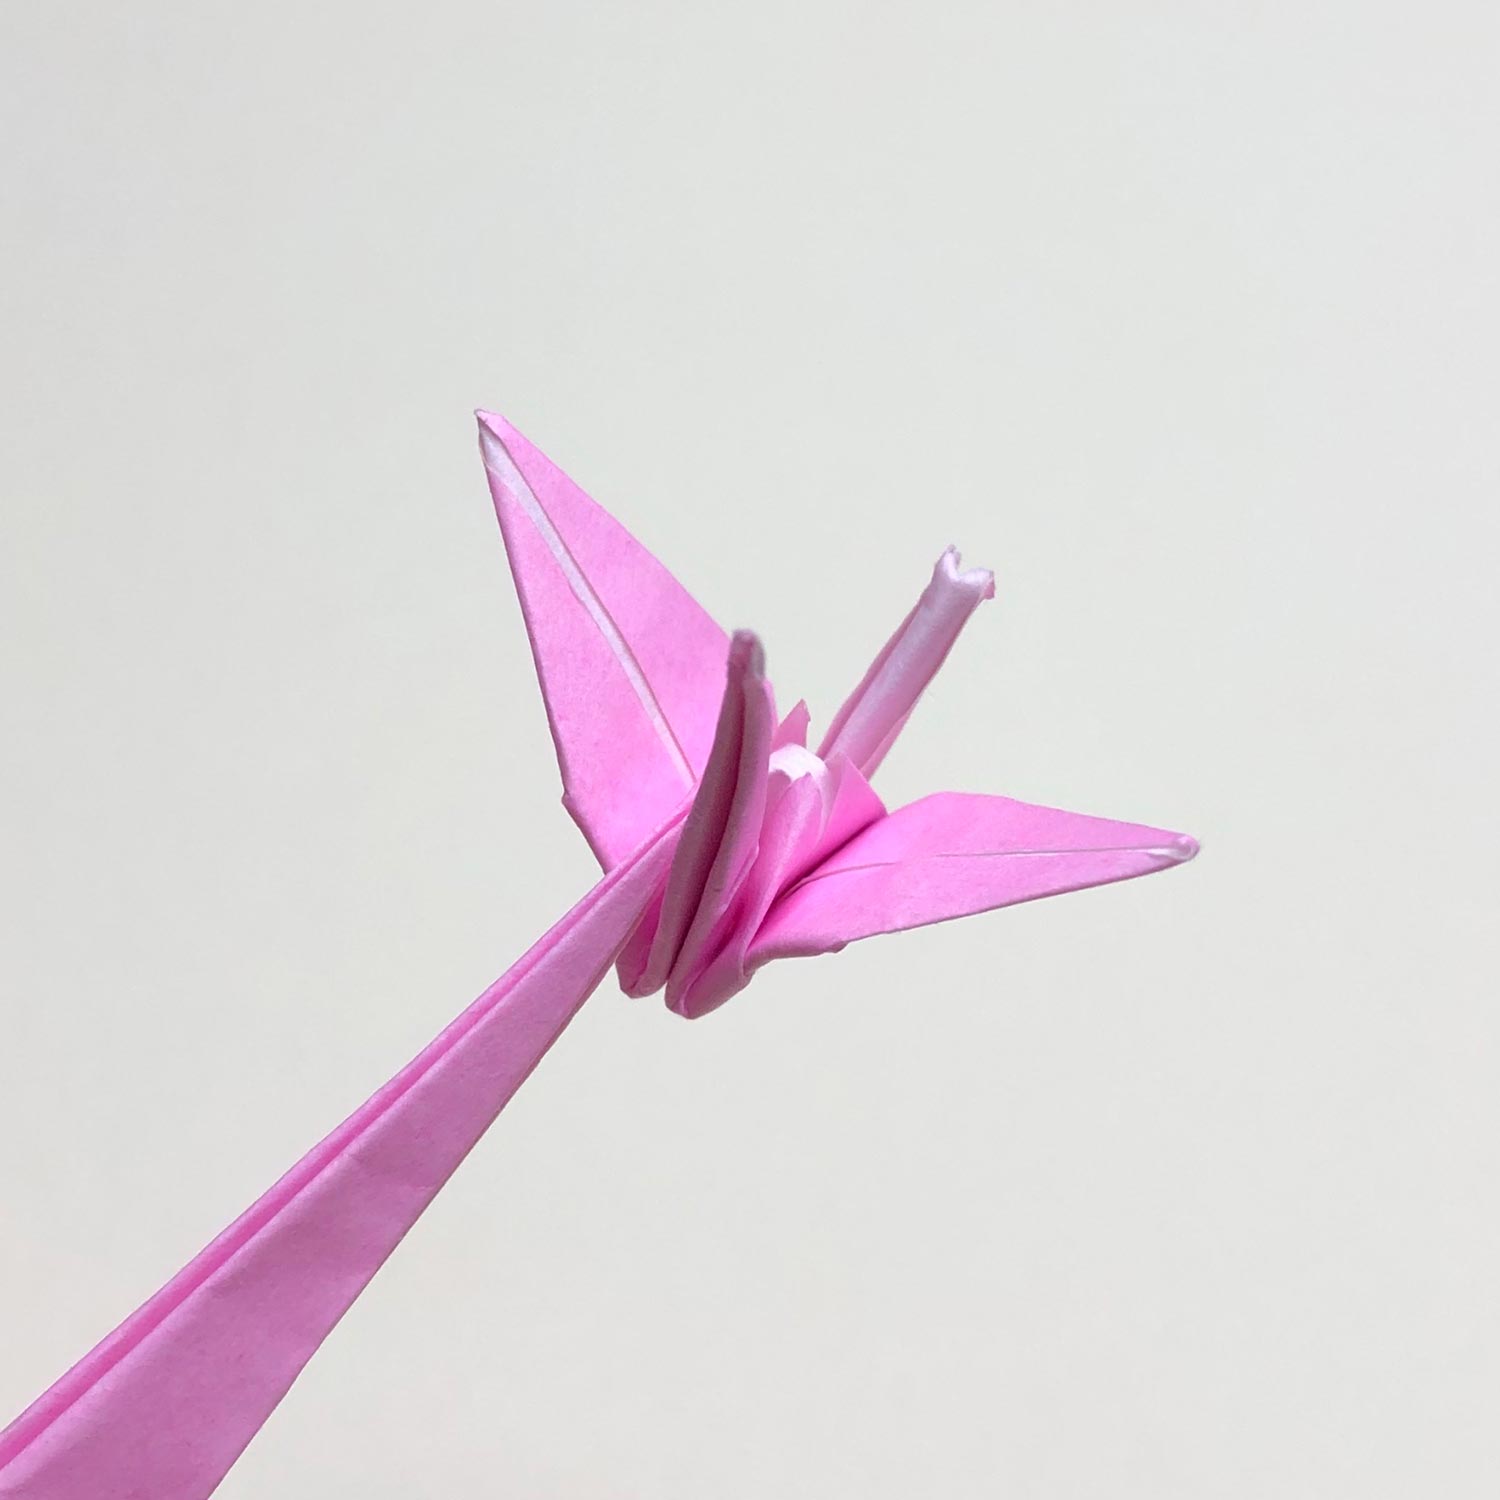
(20)
After spreading wings, it looks like this picture.
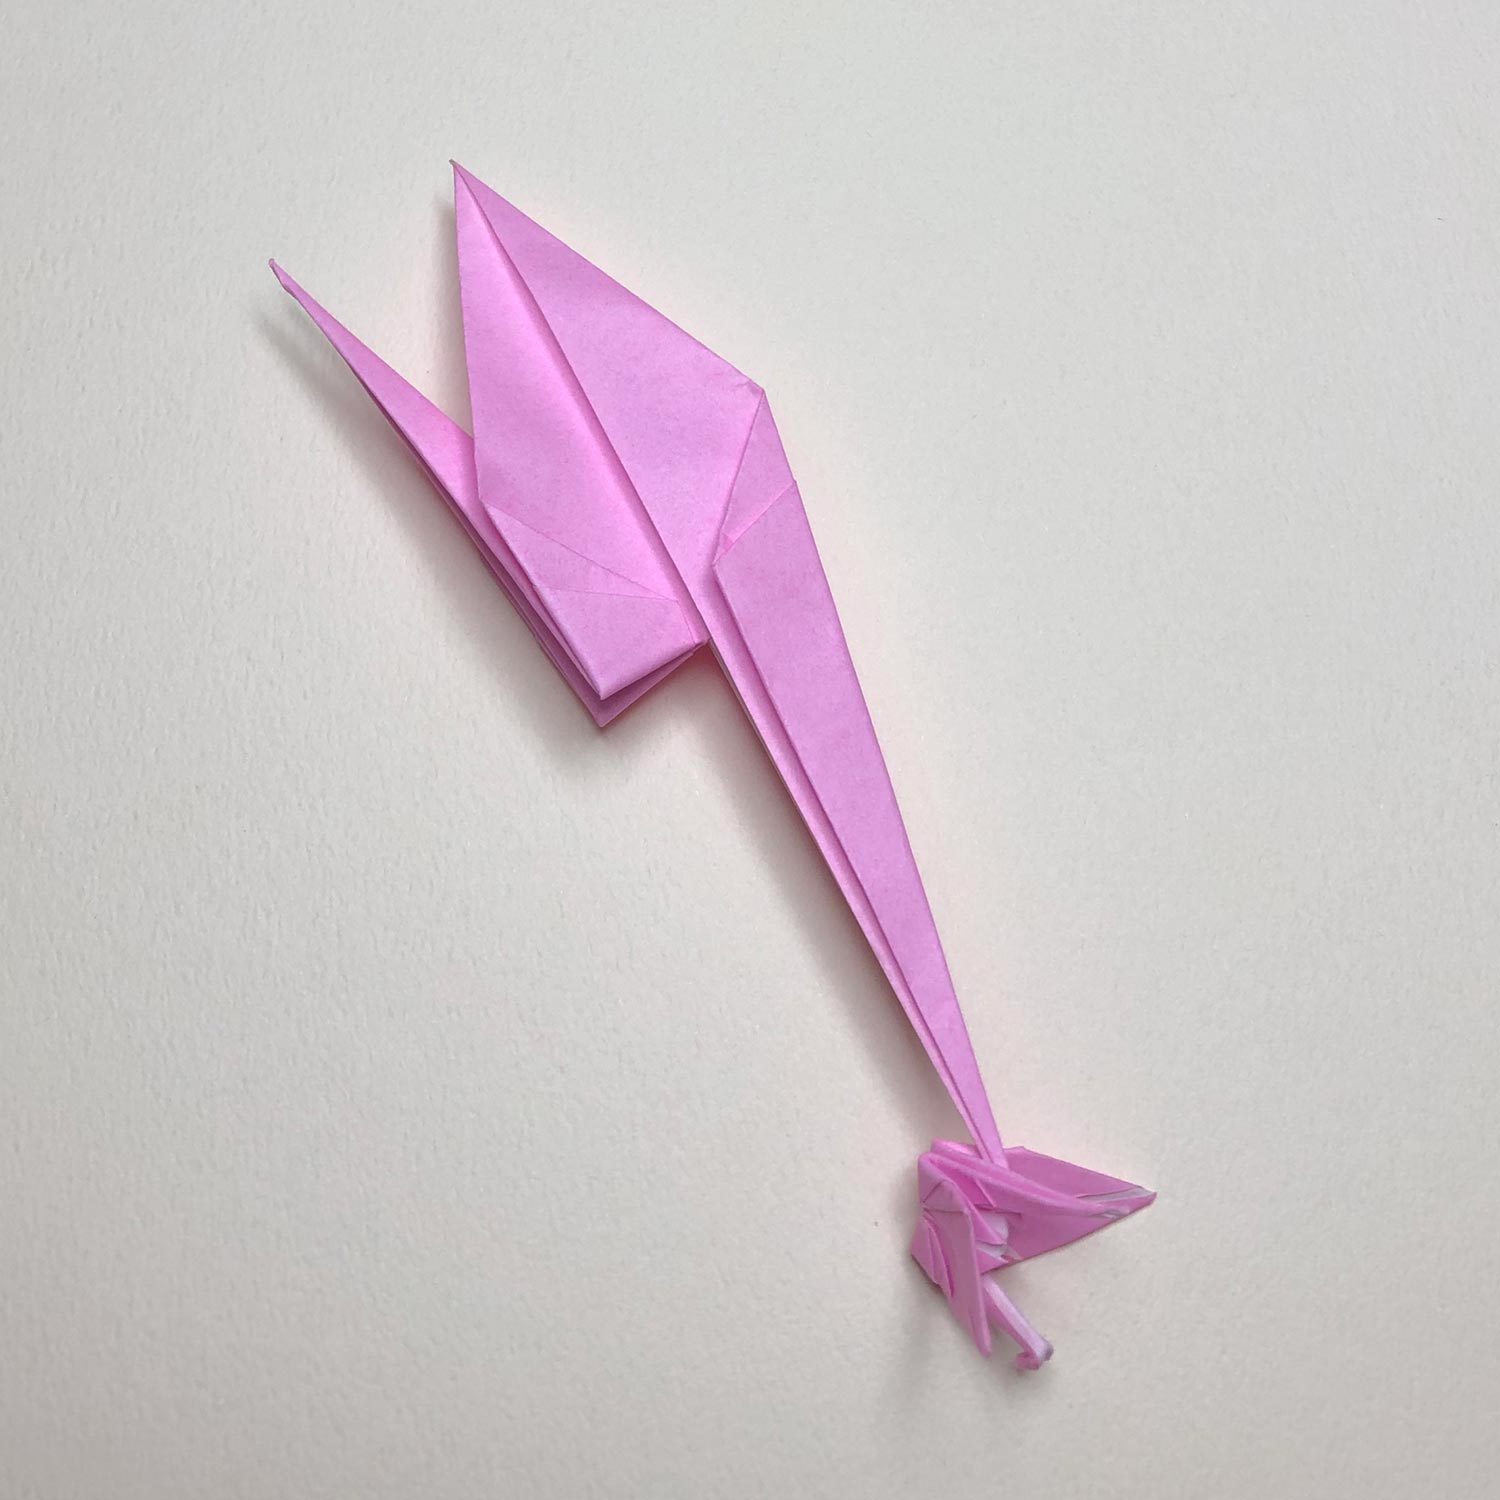
(21)
Next step is raising the head/tail of the big crane.
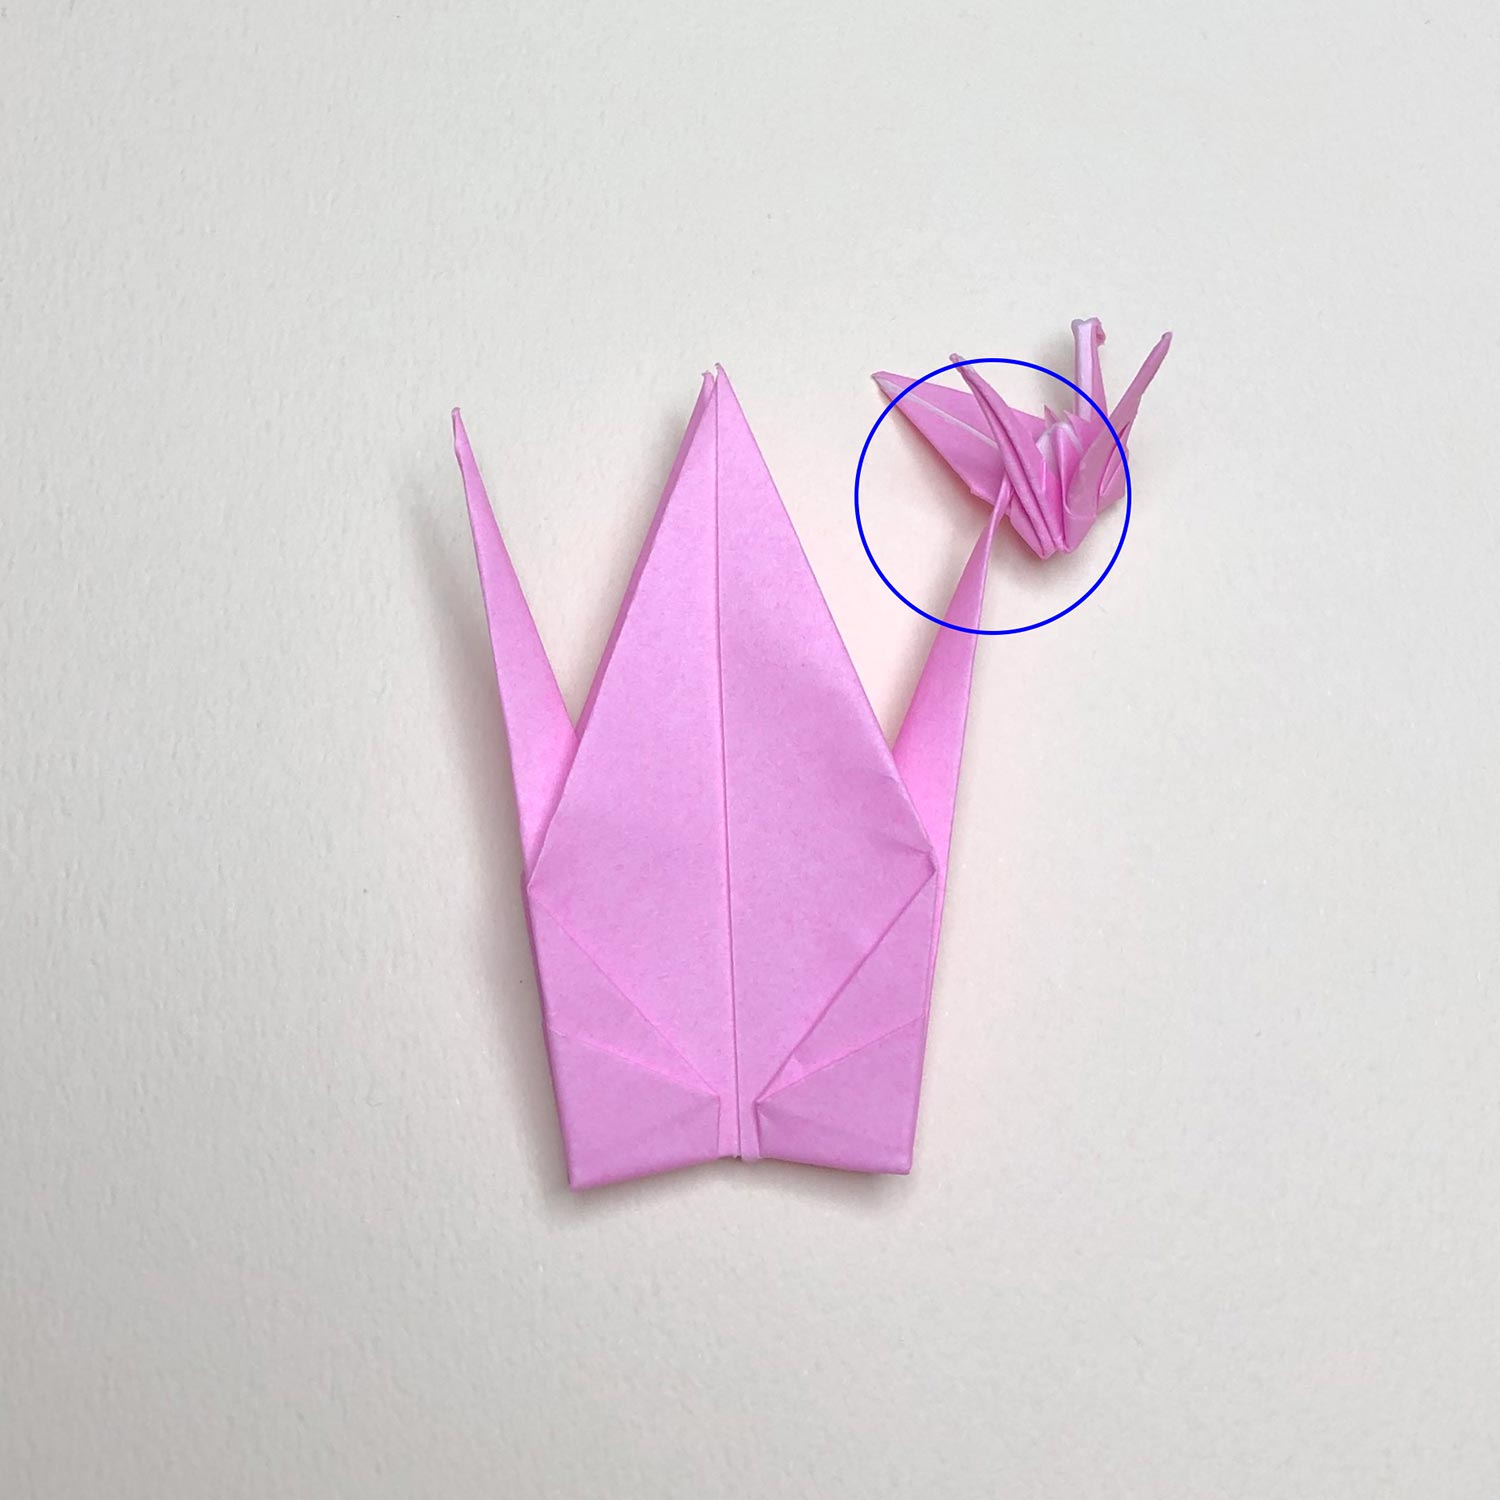
(22)
Since a tip of the big crane is connected to a small crane,
make a beak as it is before making creases.
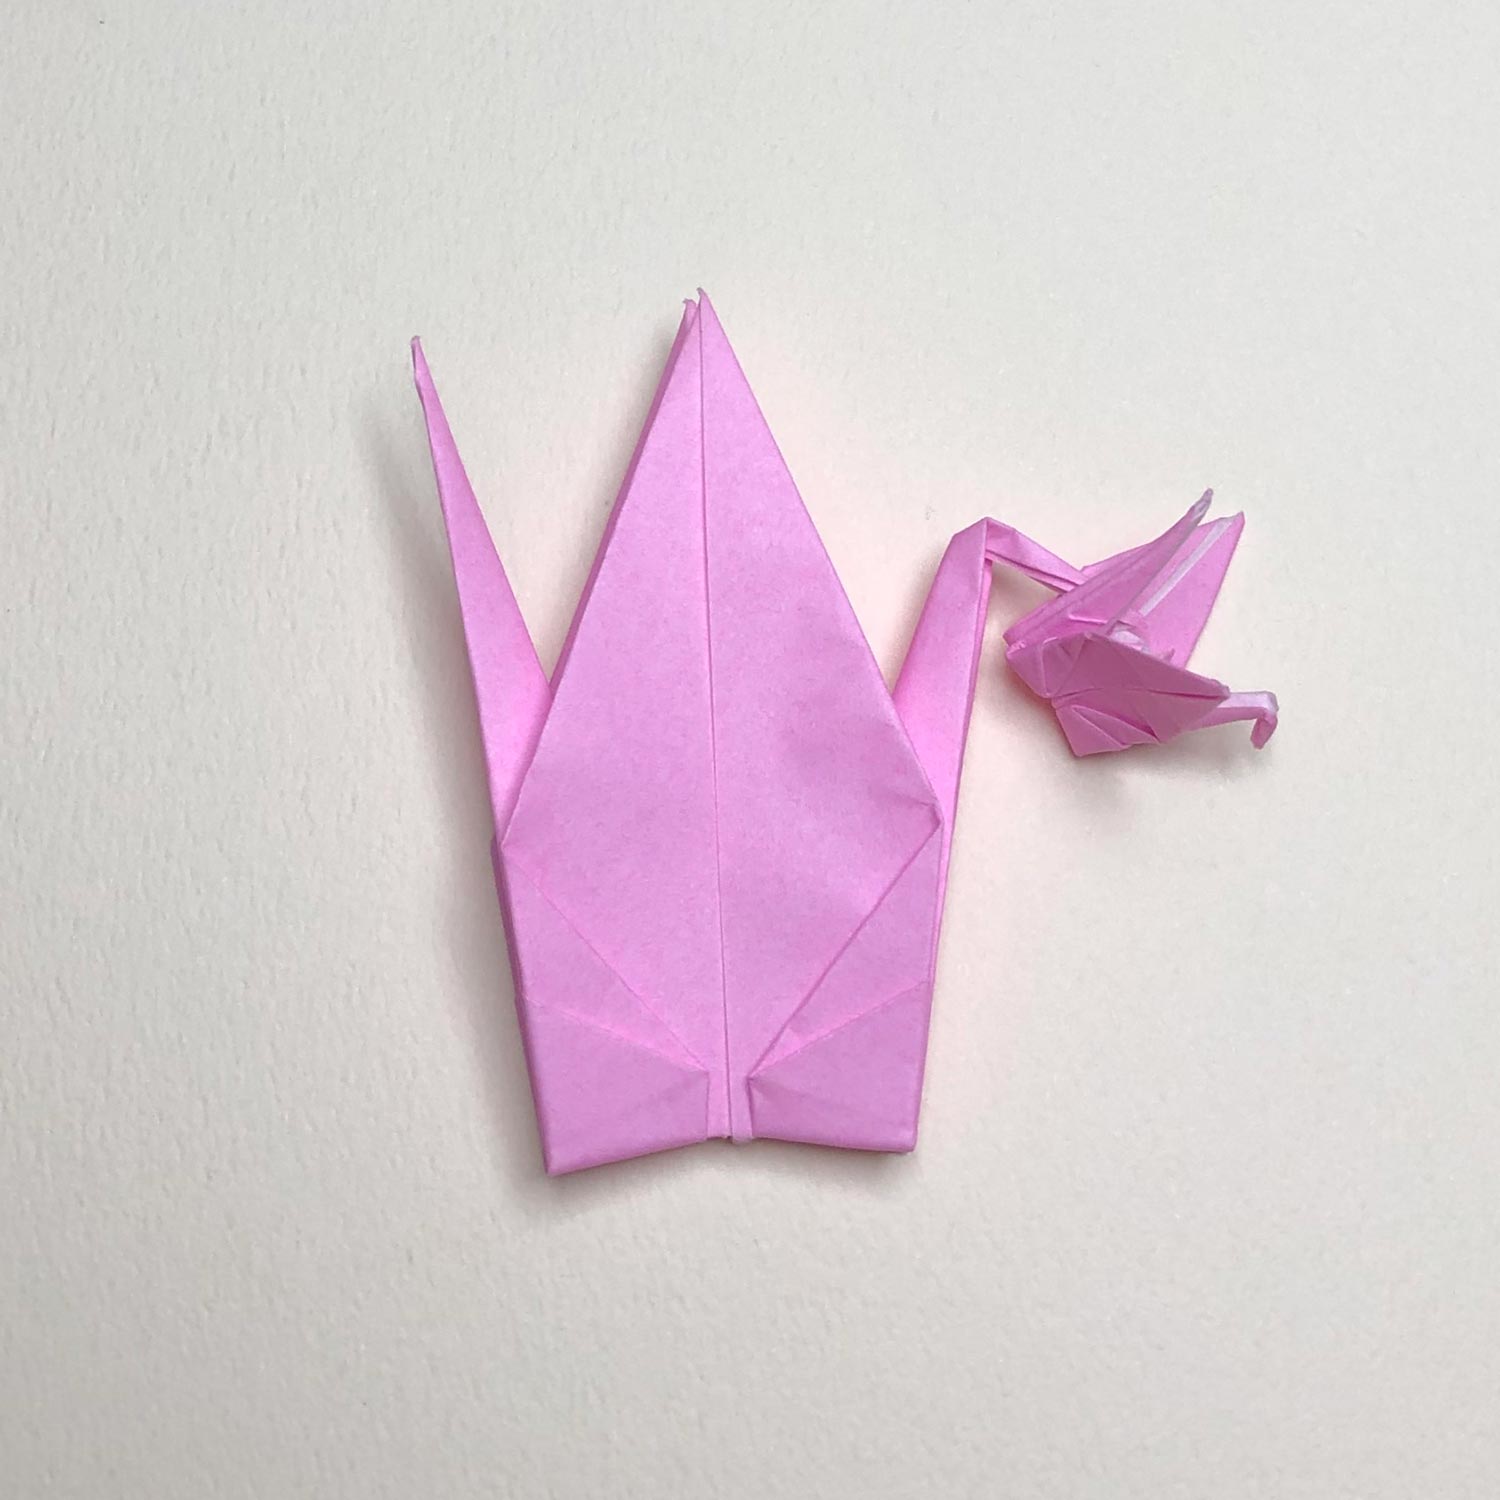
(23)
After making a beak, it looks like this picture.
Finally, spread wings of the big crane.
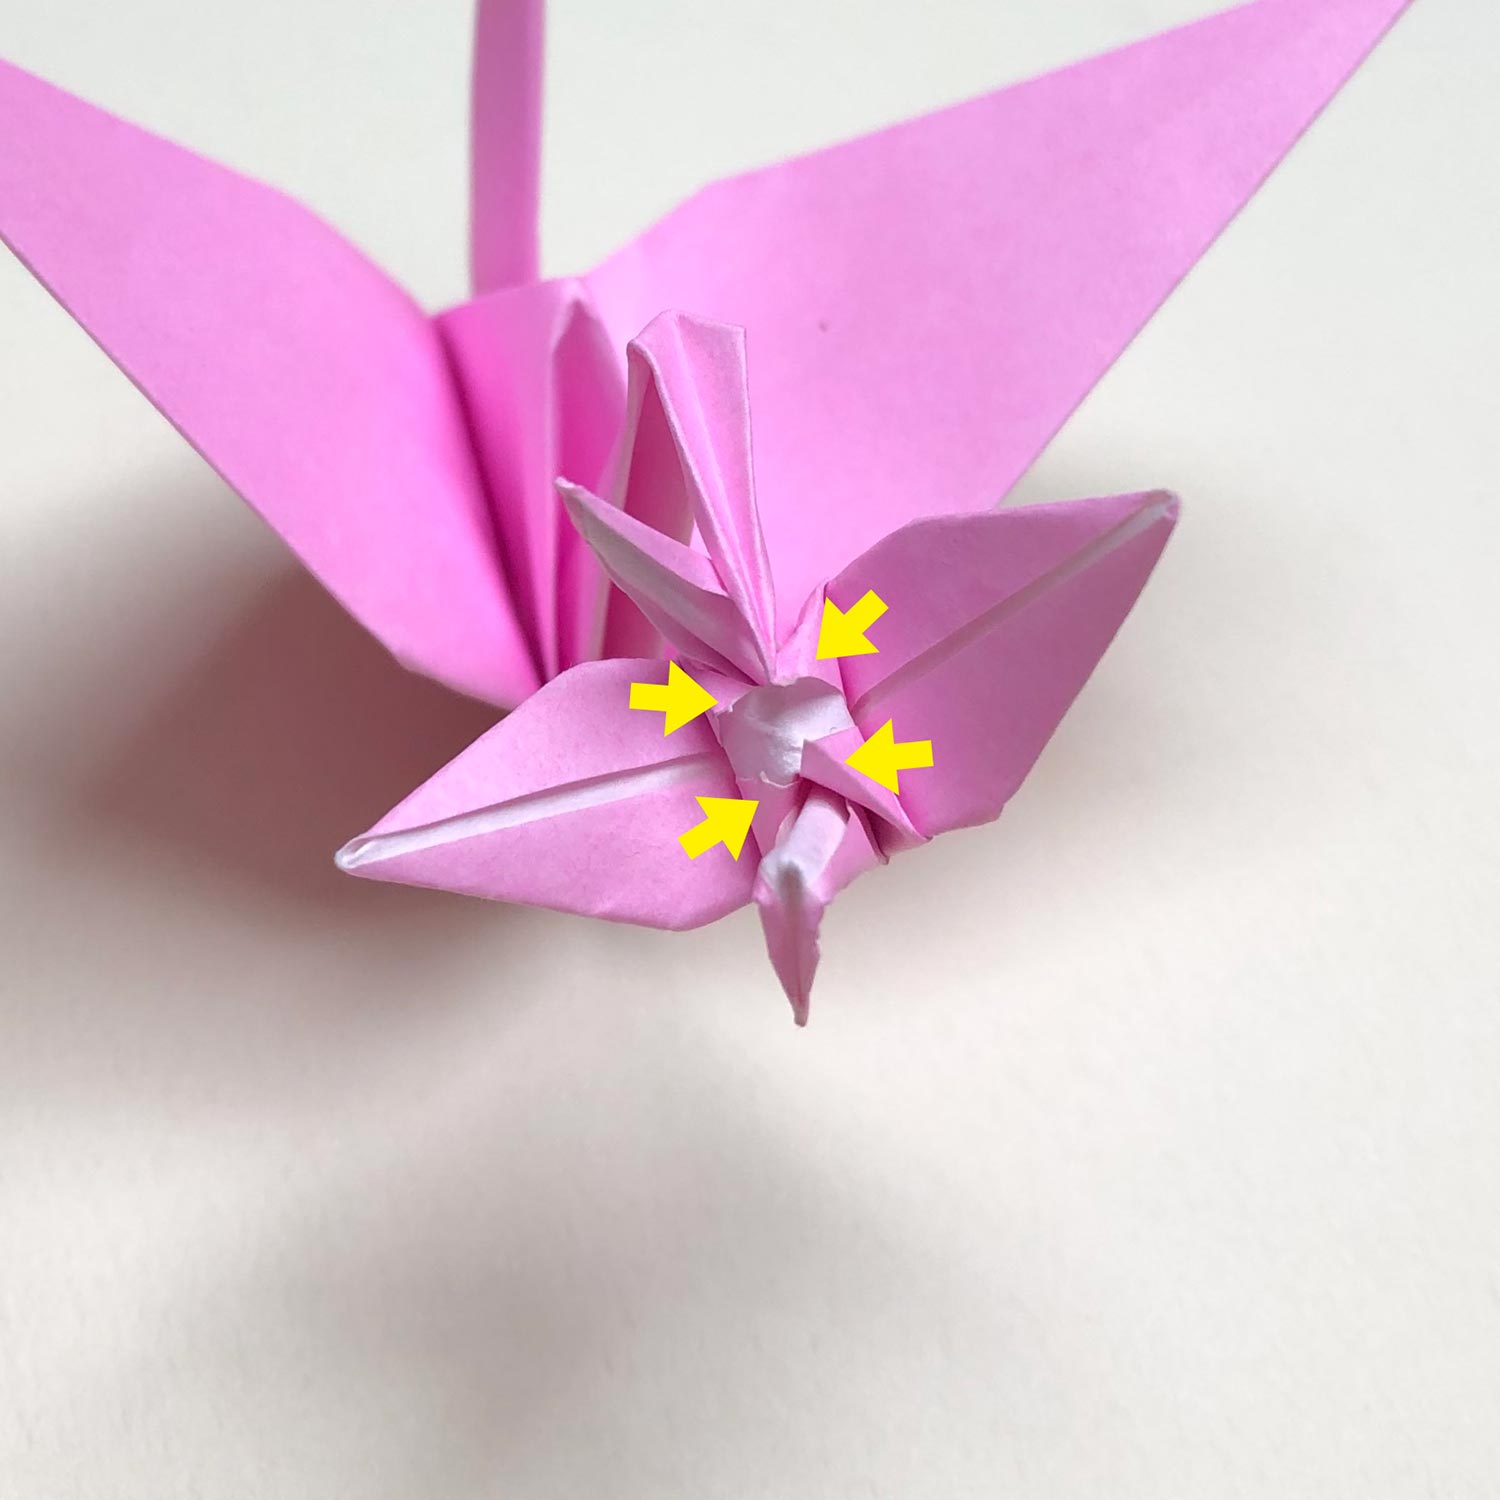
(24)
The back of a small crane would spread like this picture.
If you push the back a little, it will be more beautiful.
(push the parts a little which are shown with the arrows.)
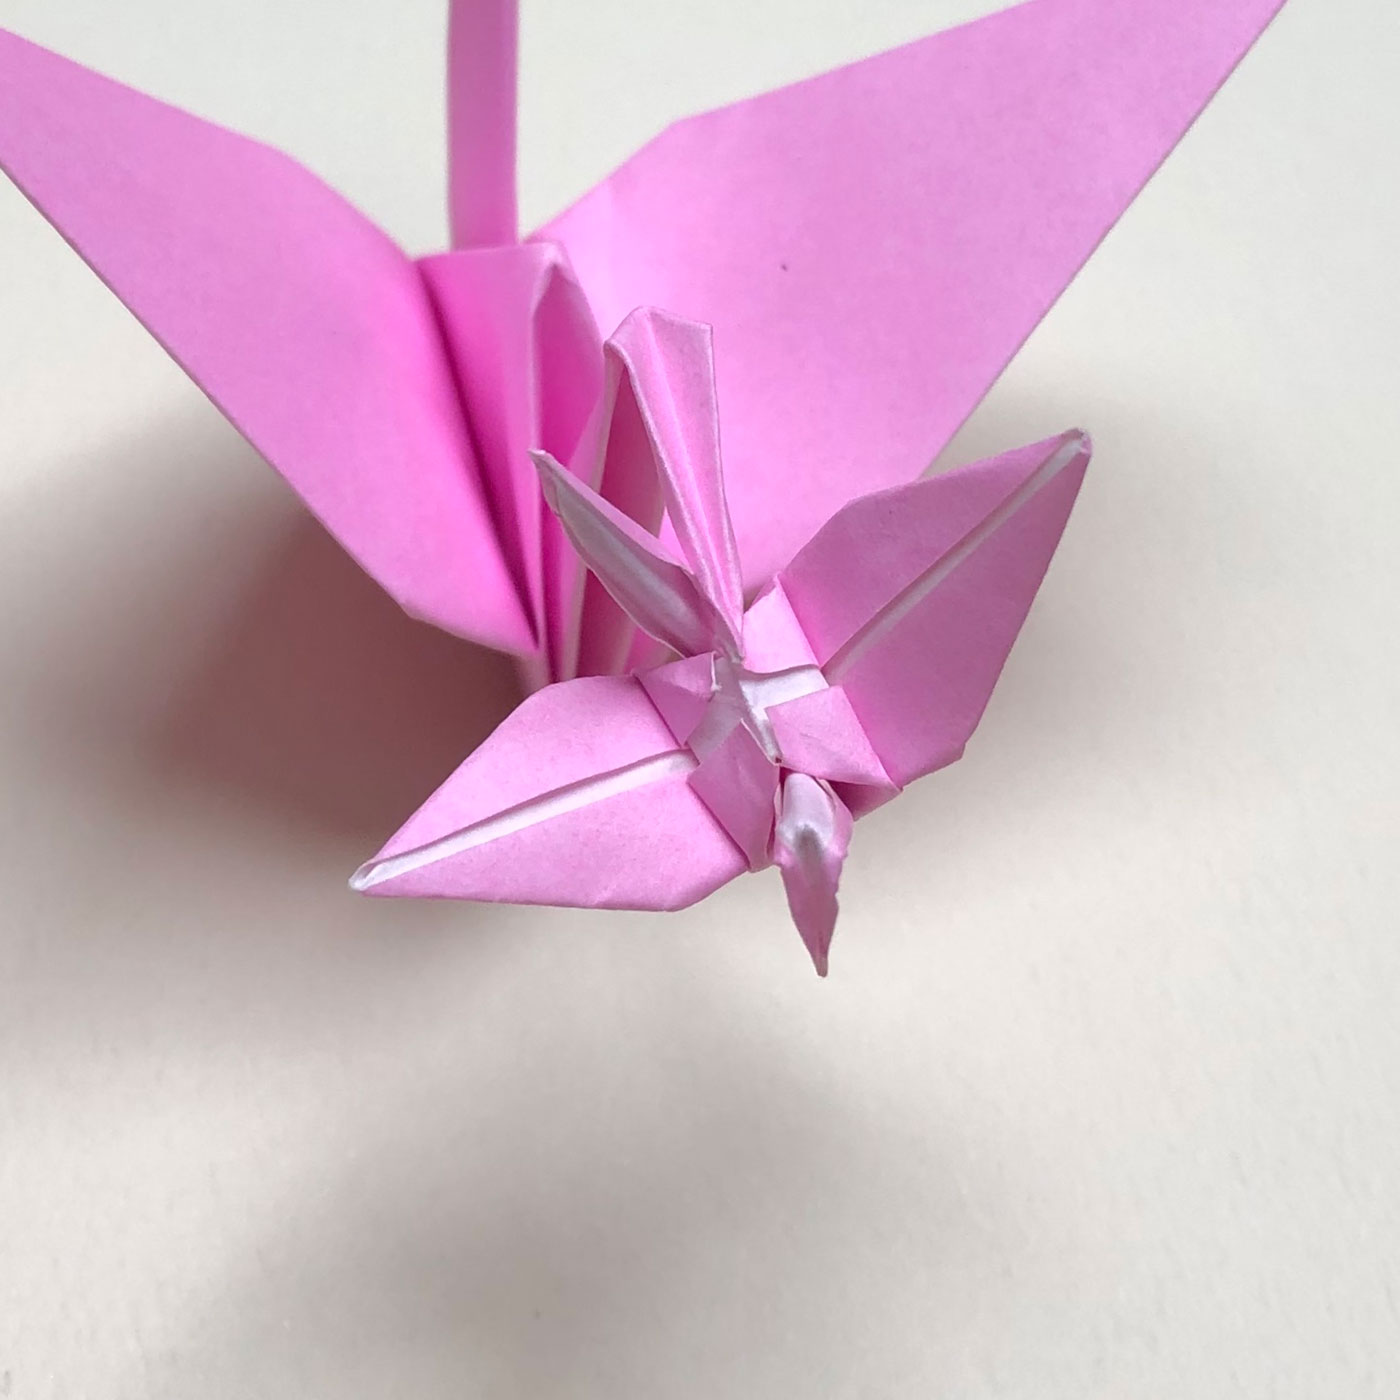
(25)
After pushing the back a little, it looks like this picture.
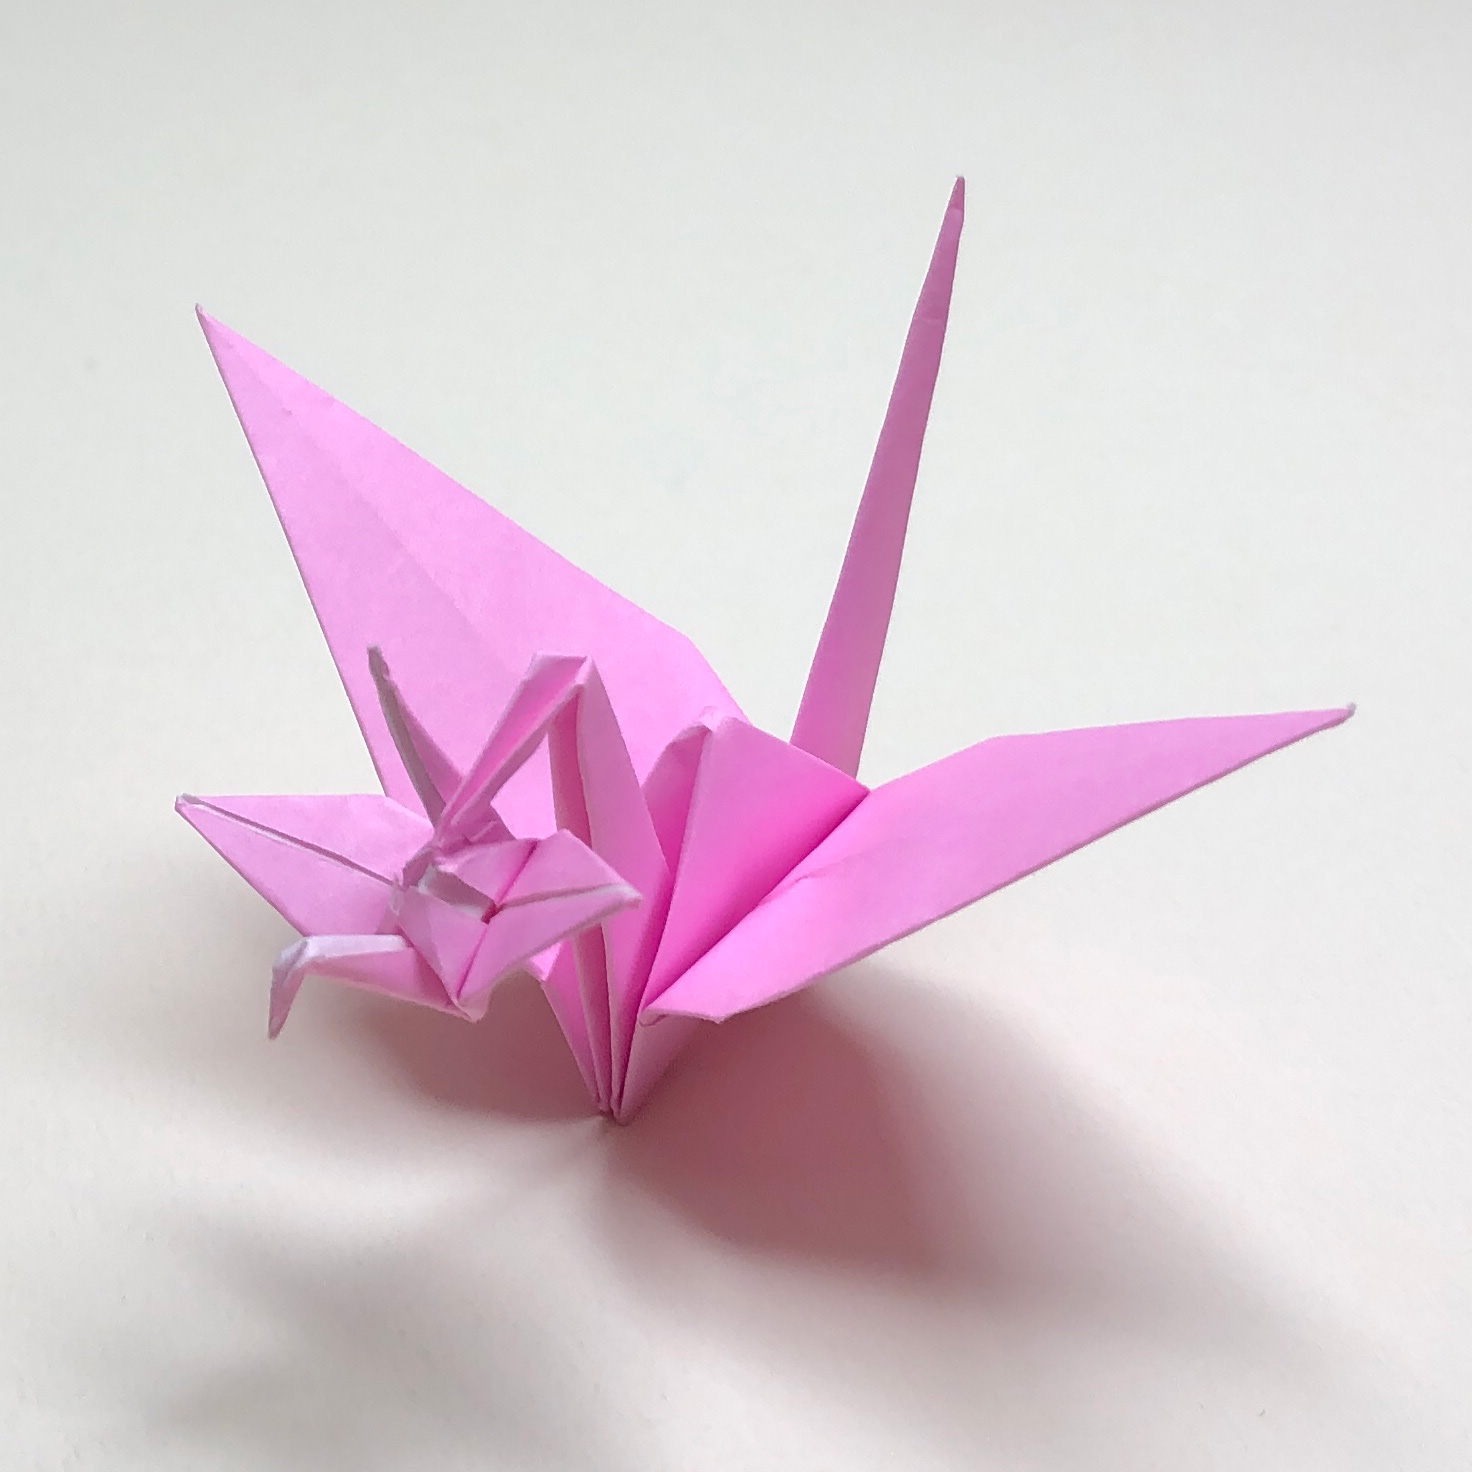
Kakitsubata is complete!
When you post pictures of your completed Renzuru works on social media,
please write my website’s name – “Tsuru-no-Goshiki” or paste the link!
On Instagram, if you write “@ritsu_cranes”,
I will be able to see your works and glad!😀
If you liked this Renzuru model,
please click the button below and share this pages on Twitter!


