
(39)
Fold the left and right flaps to the center.
Try not to fold them aligning with the center line neatly.

(40)
Fold the left and right flaps to the center leaving a bit space like this picture.

(41)
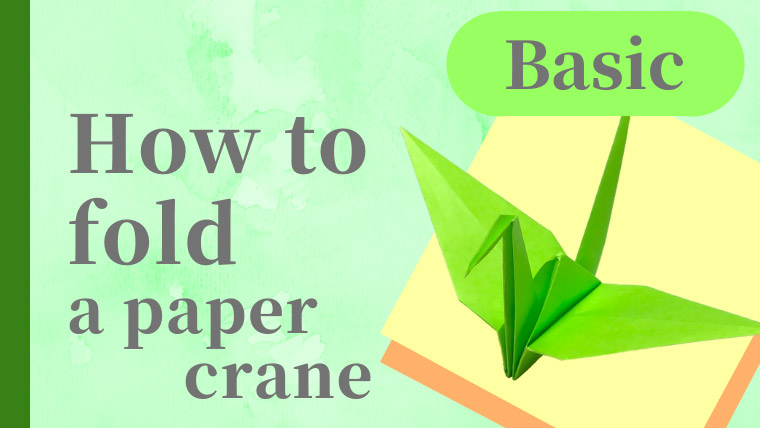
This is the picture of the whole.
If you fold them leaving a bit space, it will get easier to do the later steps.
(42)
After folding the two edges, turn the paper over as it is.
(43)
Fold the left and right flaps to the center leaving a bit space as well.

(44)
After folding the edges, it looks like this picture.

(45)
Then open the two flaps a little in the direction of the arrow.
(46)
Open the flaps like this picture.

(47)
Move the bottom upwards to fold the paper at the dotted line.
(48)
Fold the paper like this picture.
(49)
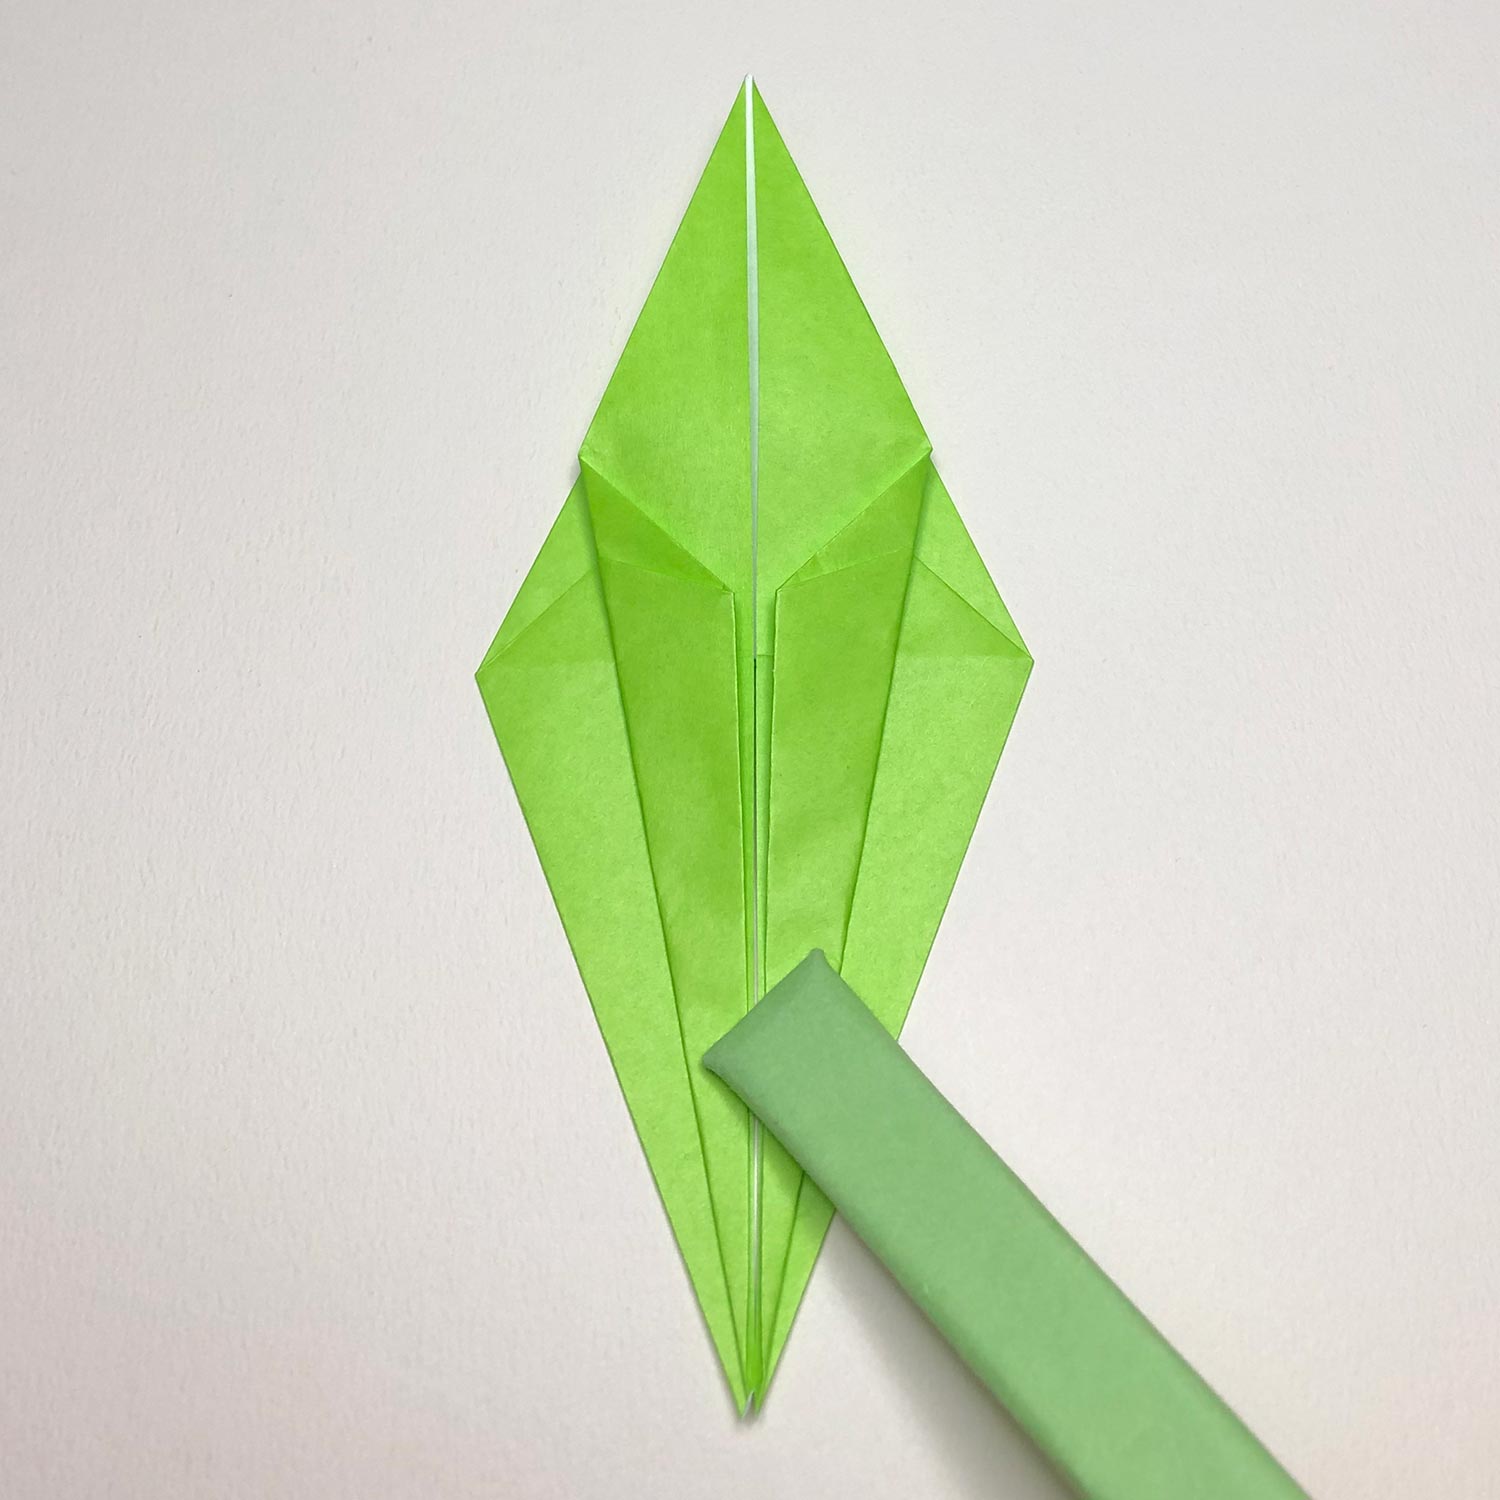
Close the center left and right edges to the center a little.

(50)
Close them like this picture.

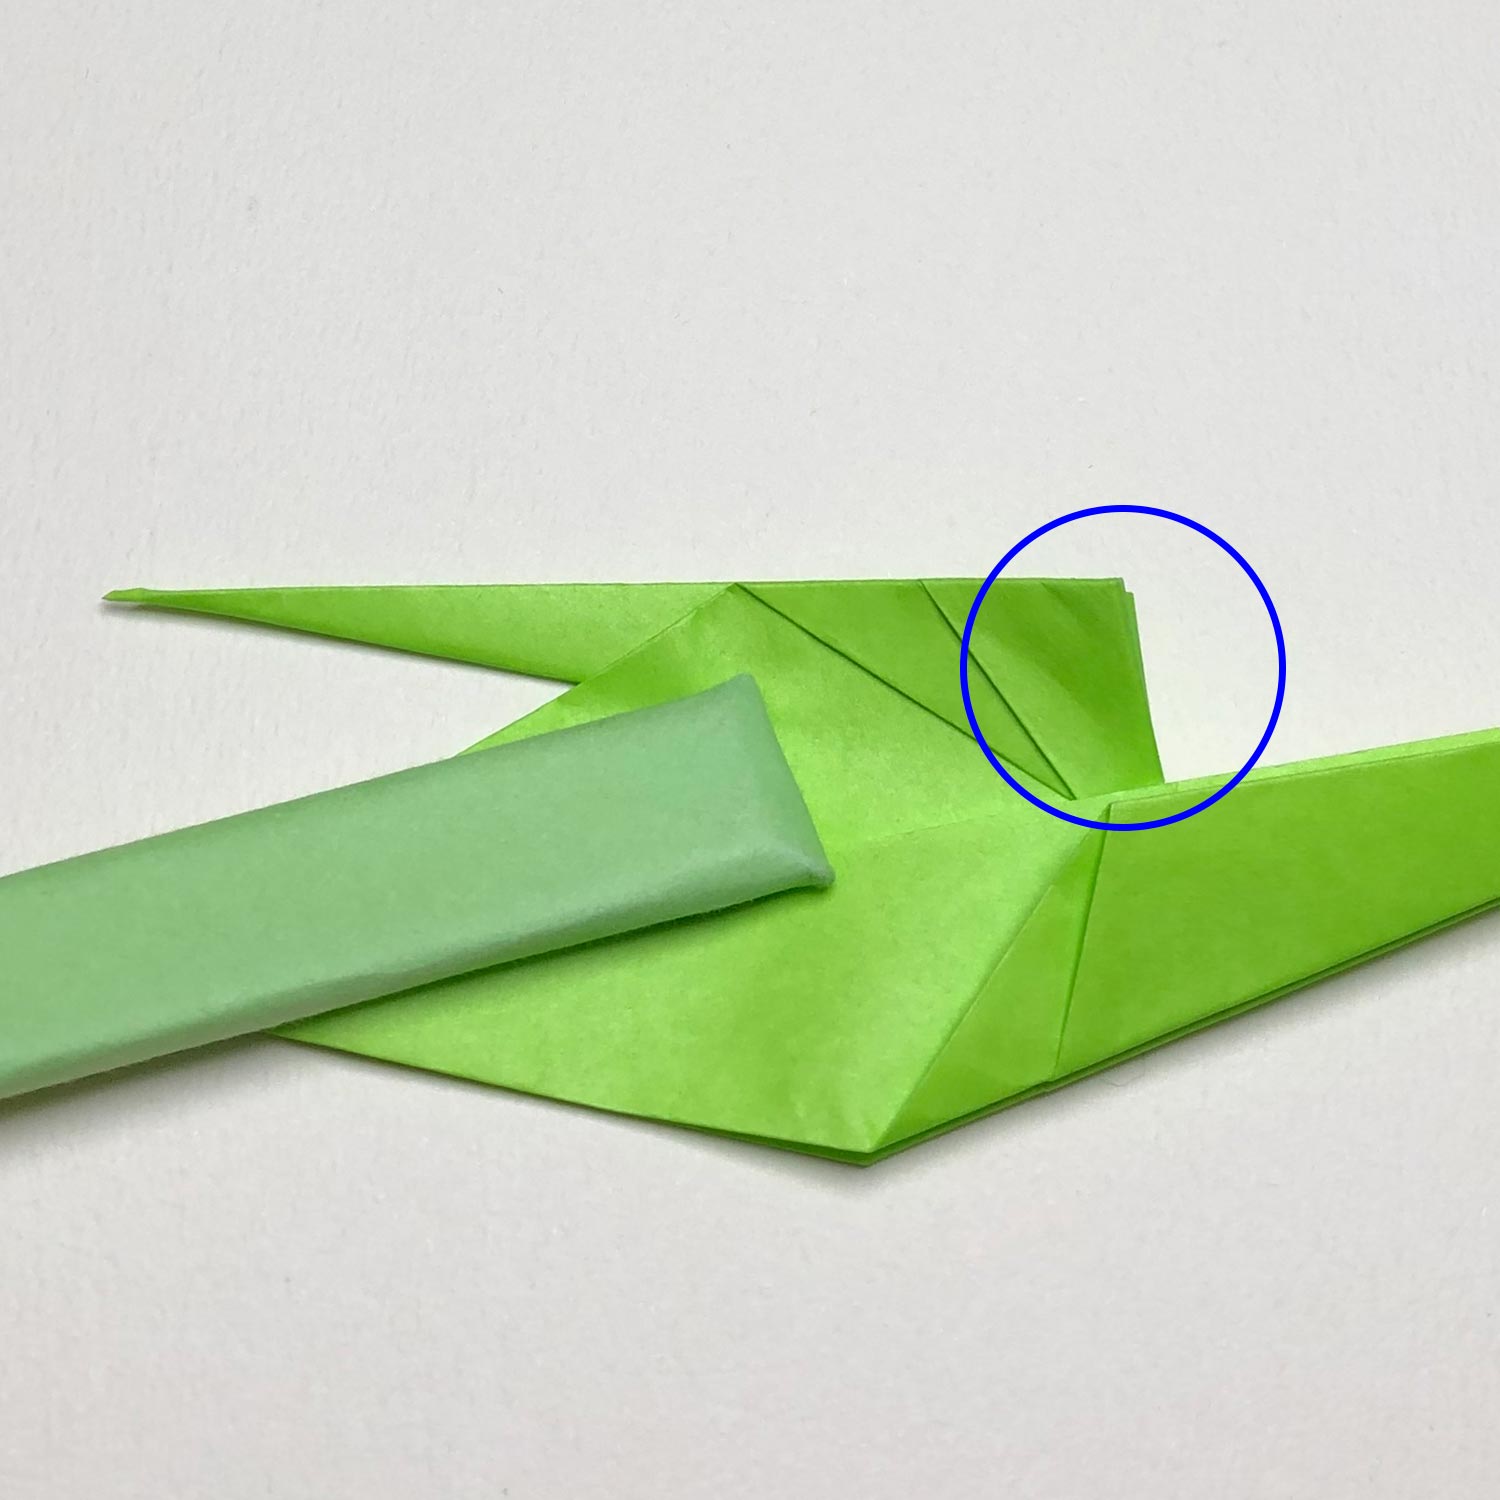
(51)
By folding the flaps leaving a bit space in the 39th step and the 43th step,
there is a bit space at the blue circle and it get easier to fold the edges in the 49th step.
(52)
Put the center left edge and the left edge together.
Put the center right edge and the right edge together.
(53)
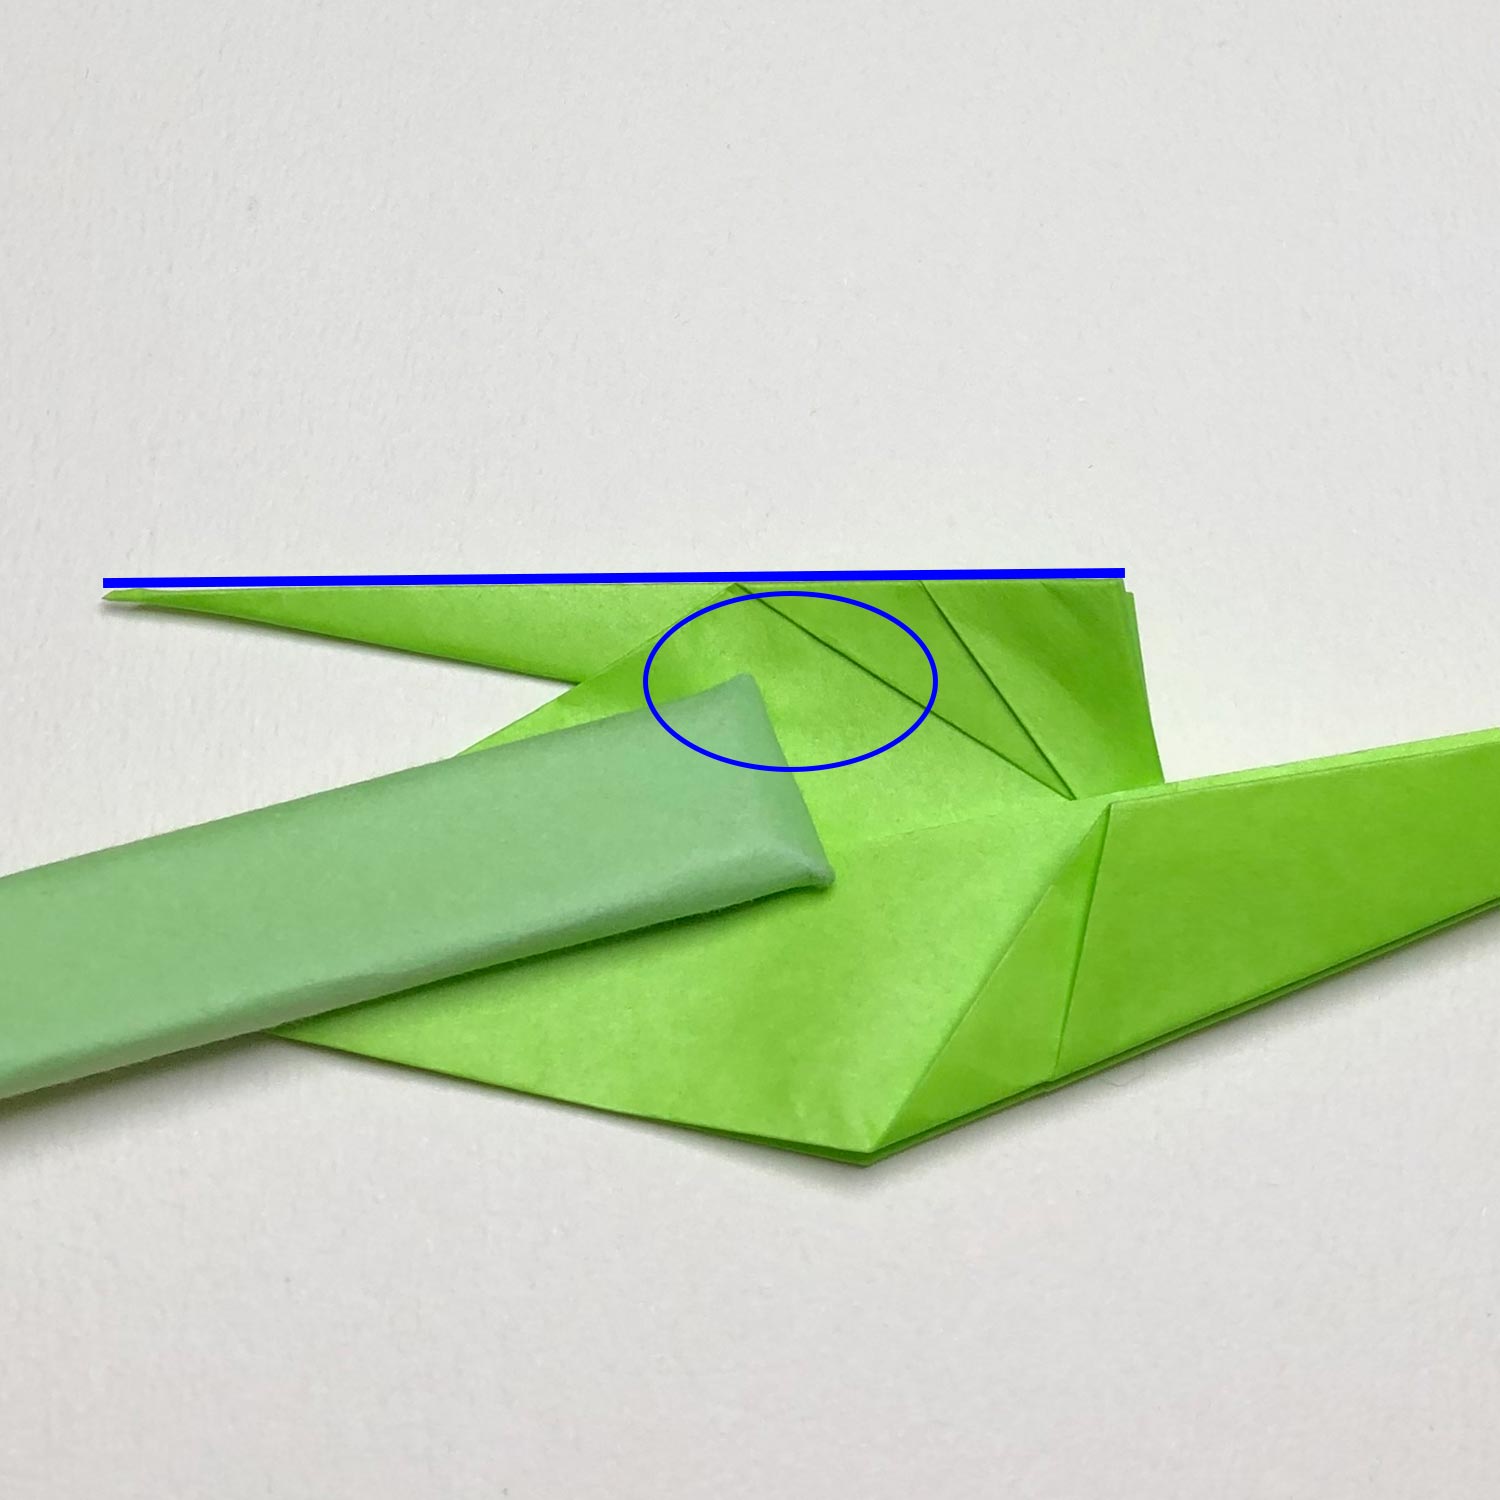
Line up the four edges like the blue line in this picture.
Then proceed with the next step while pinching both sides at the blue circle.
(54)
Make creases at the blue circle.

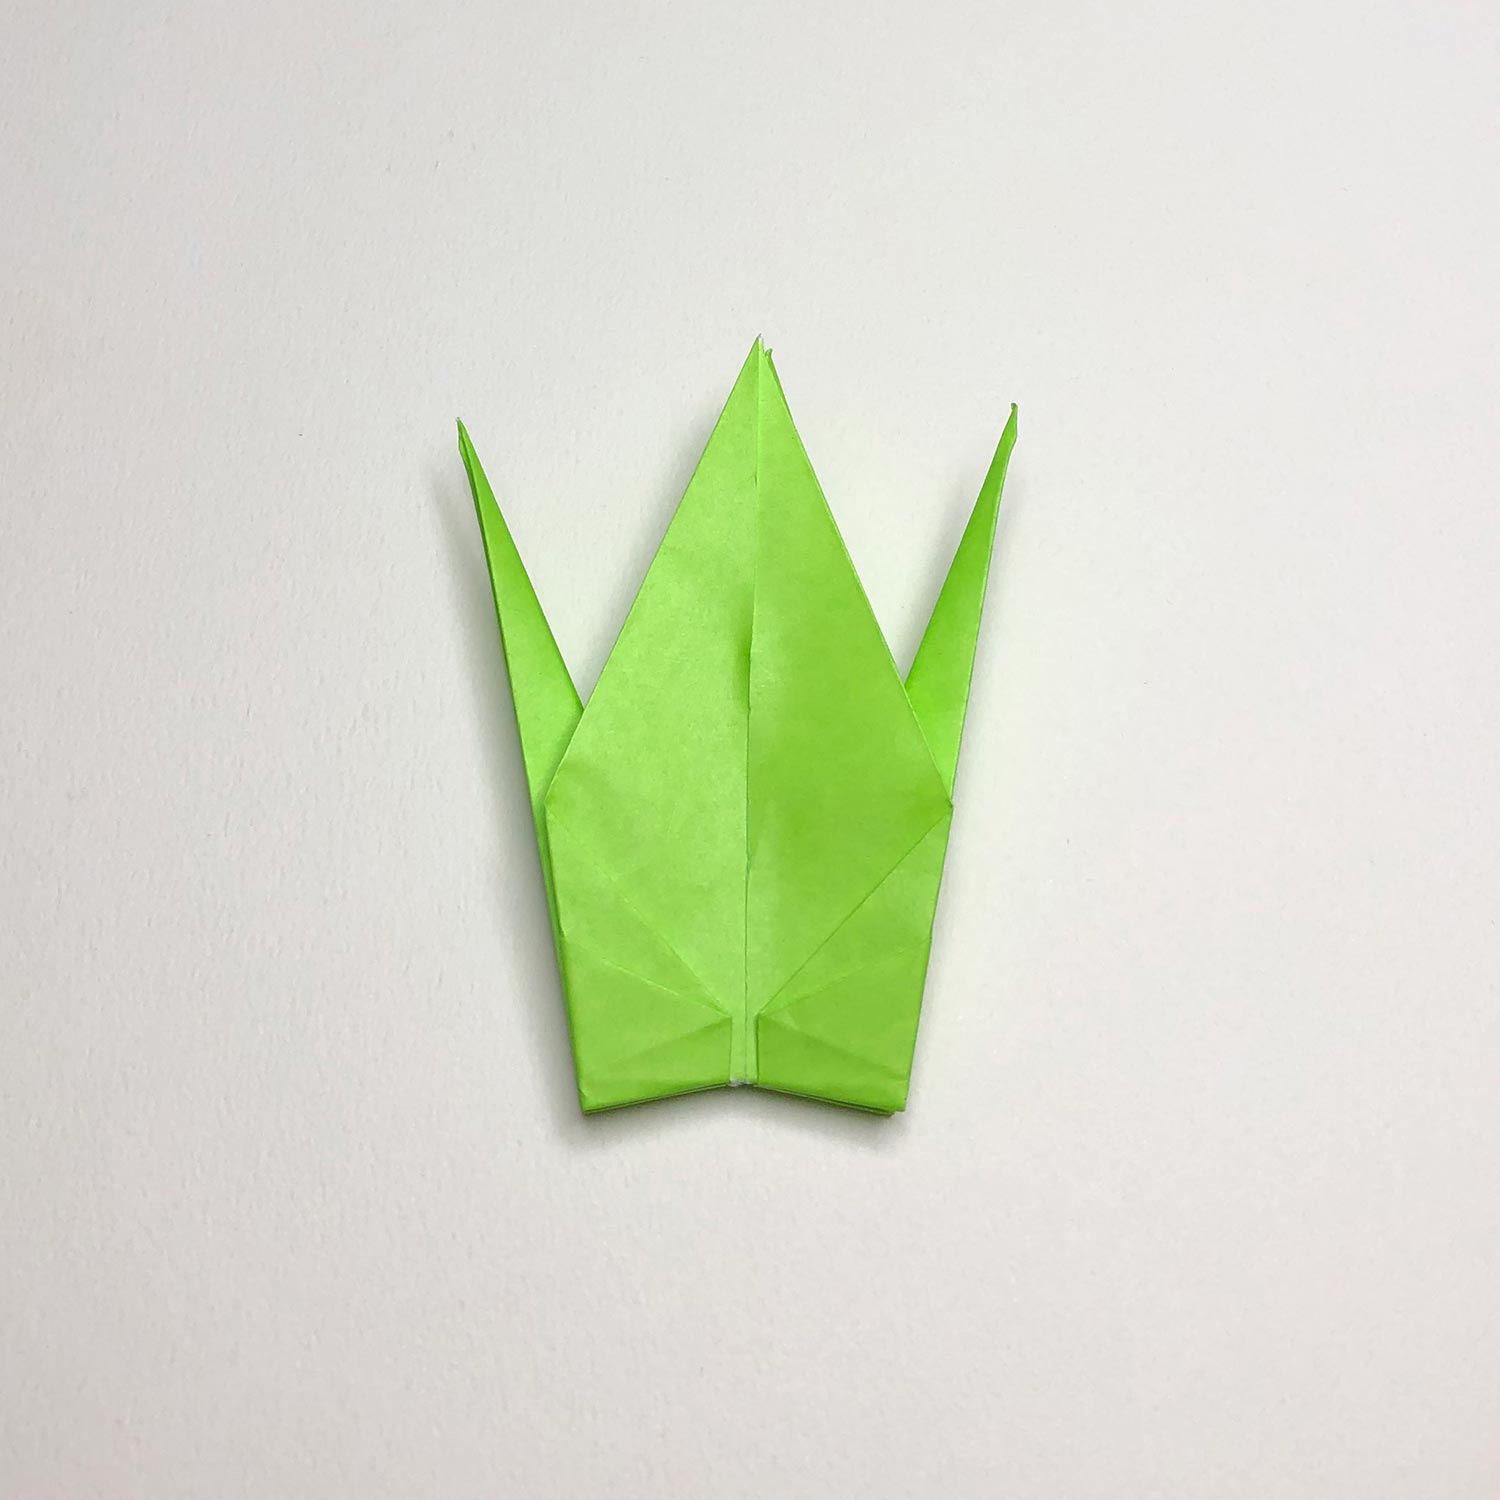
(55)
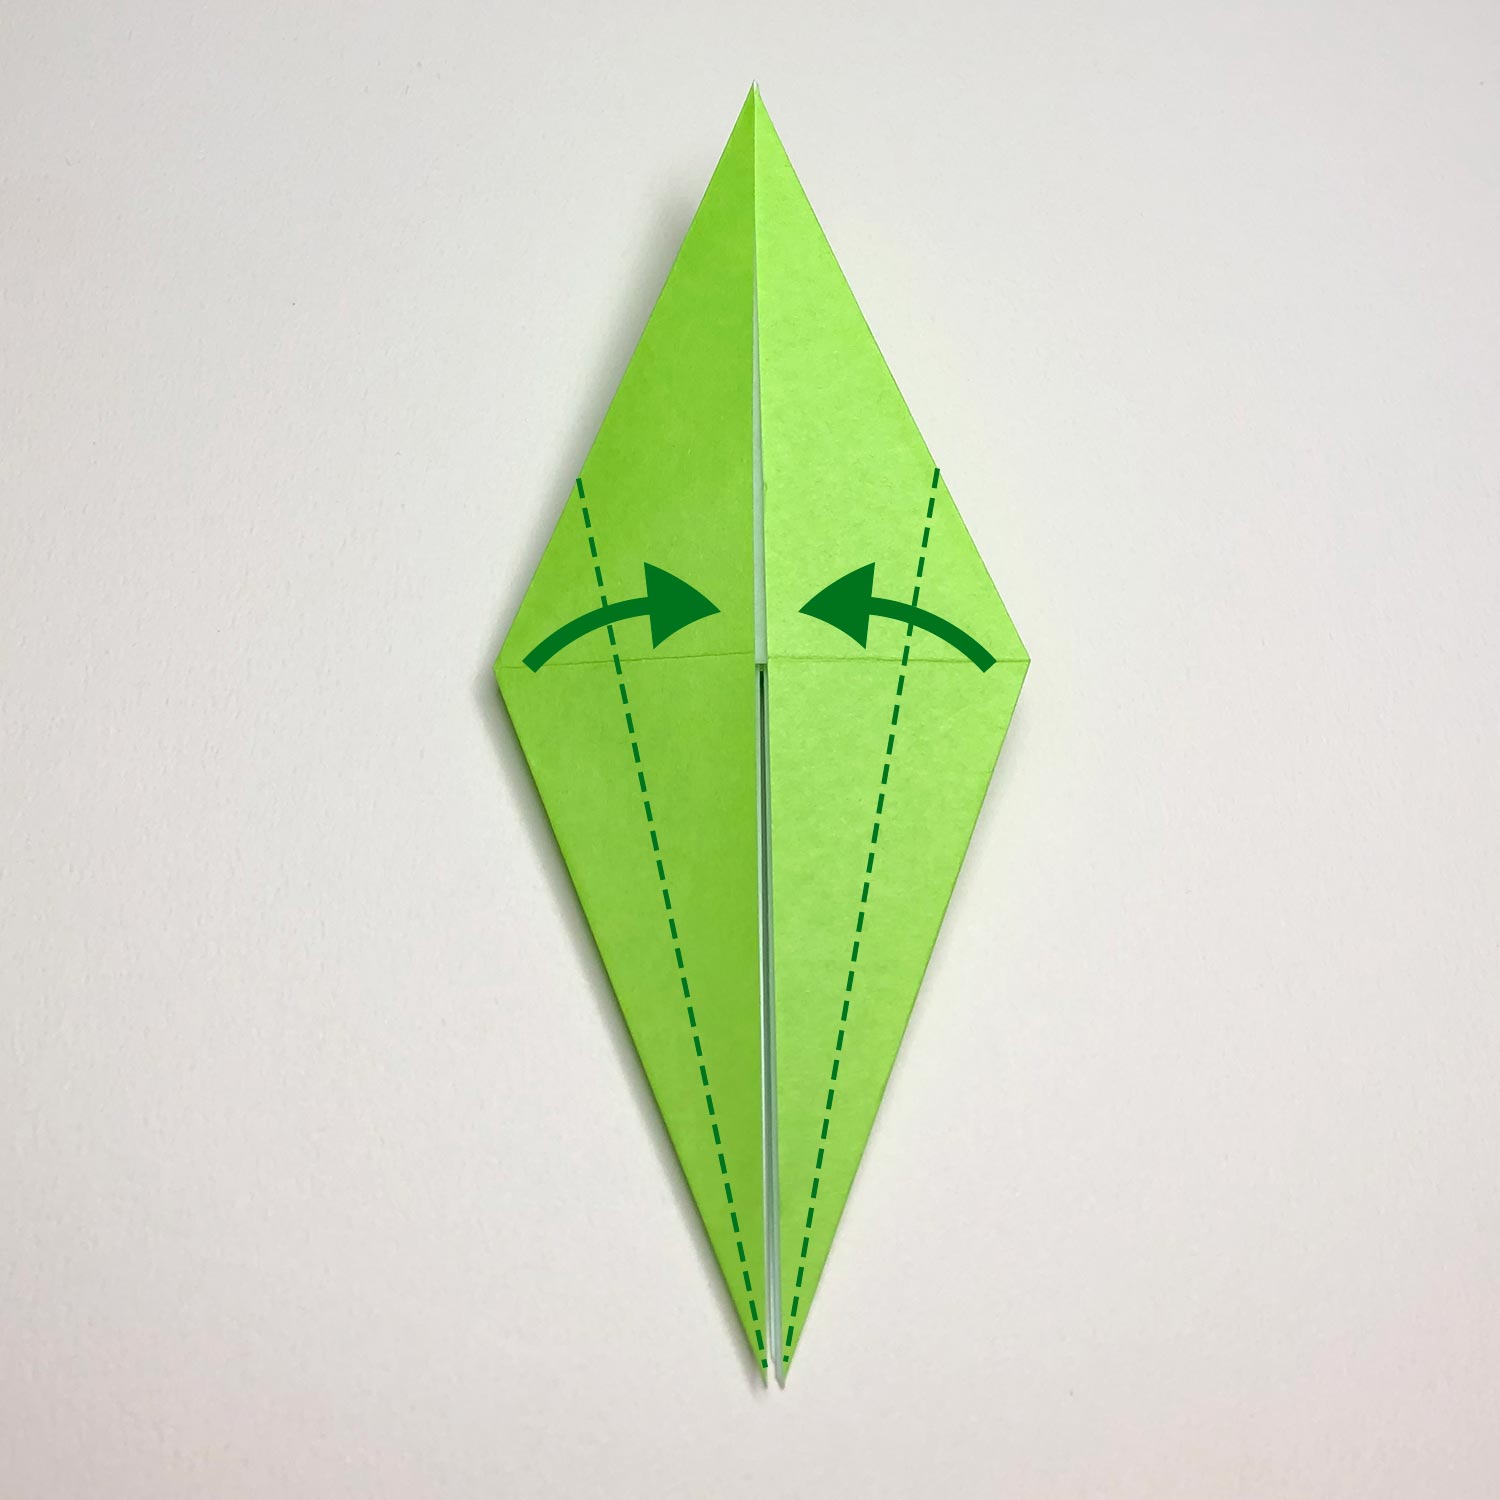
After making creases, it looks like this picture.
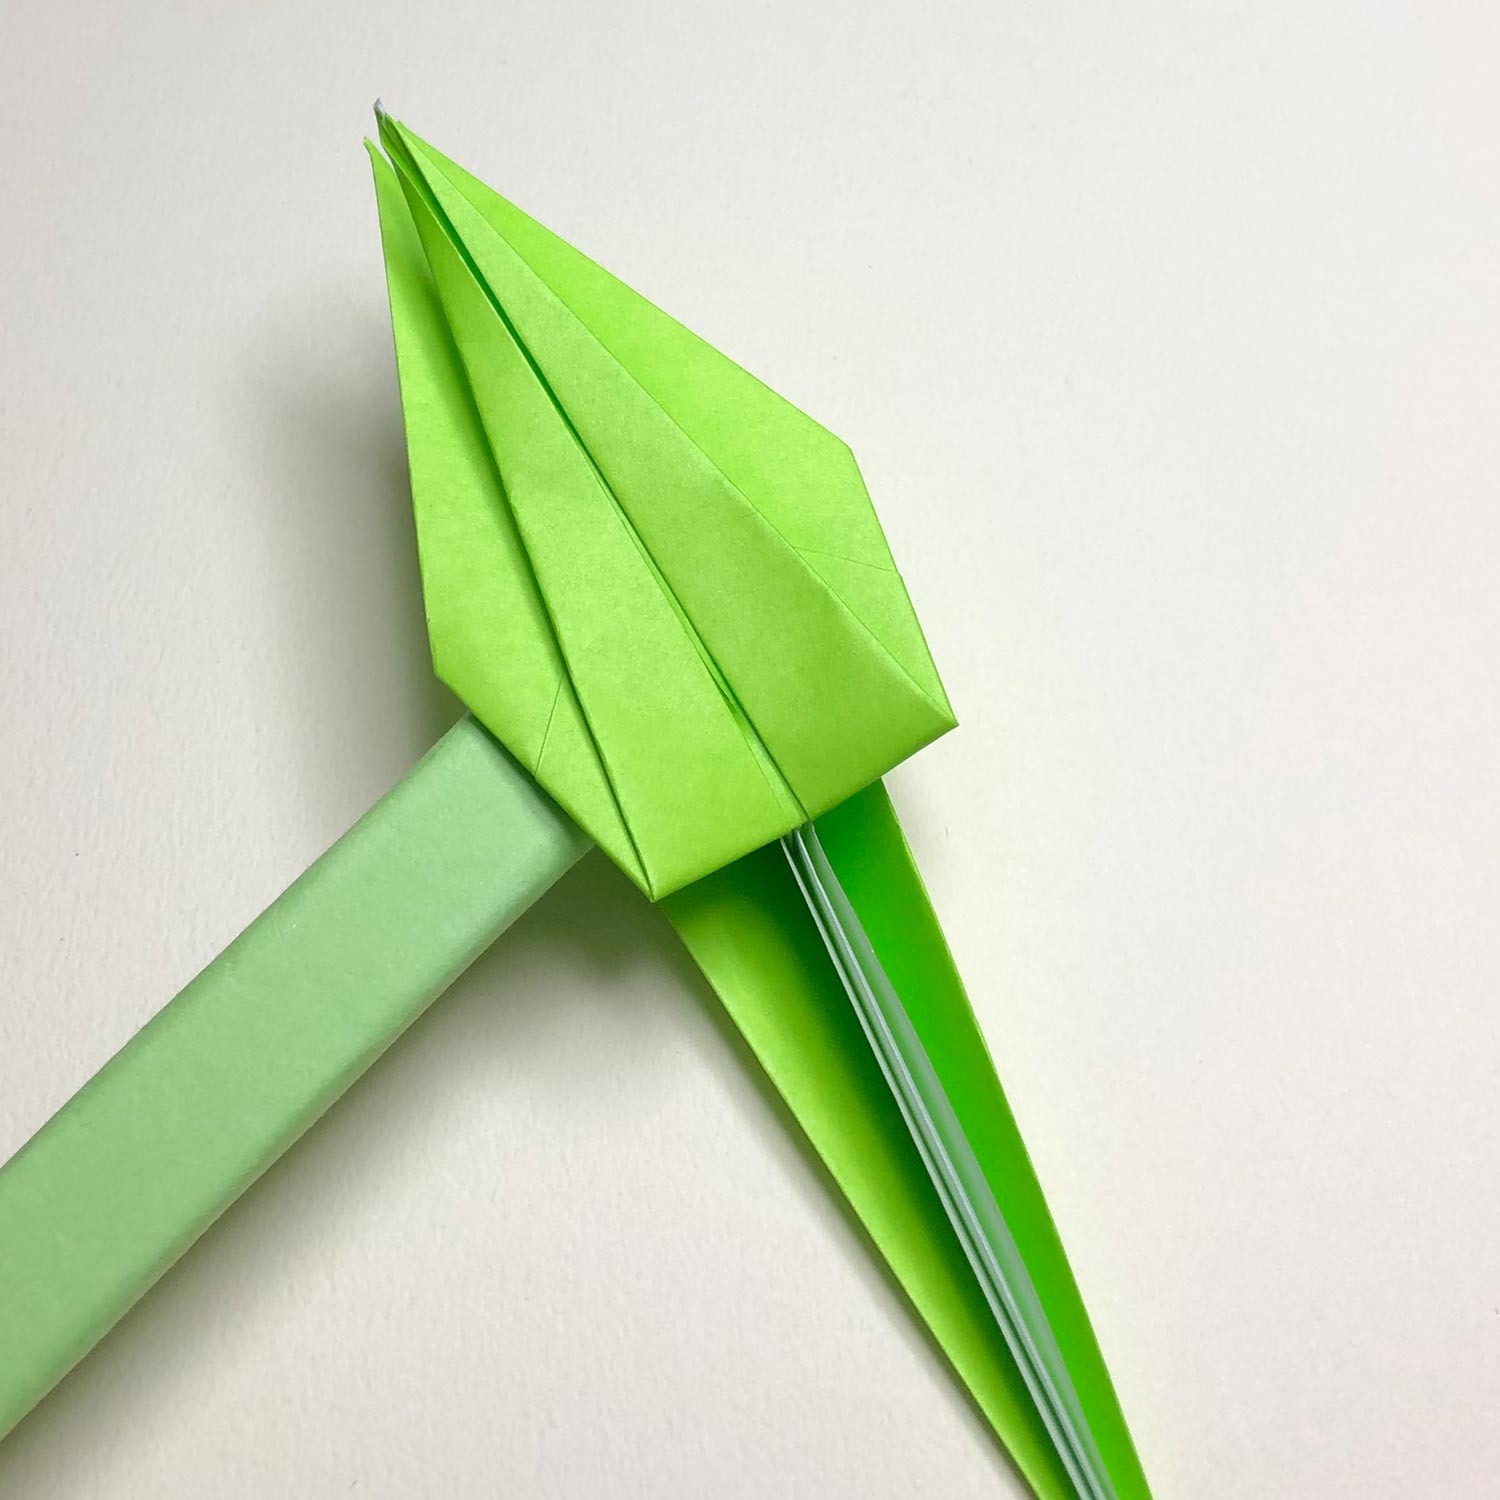
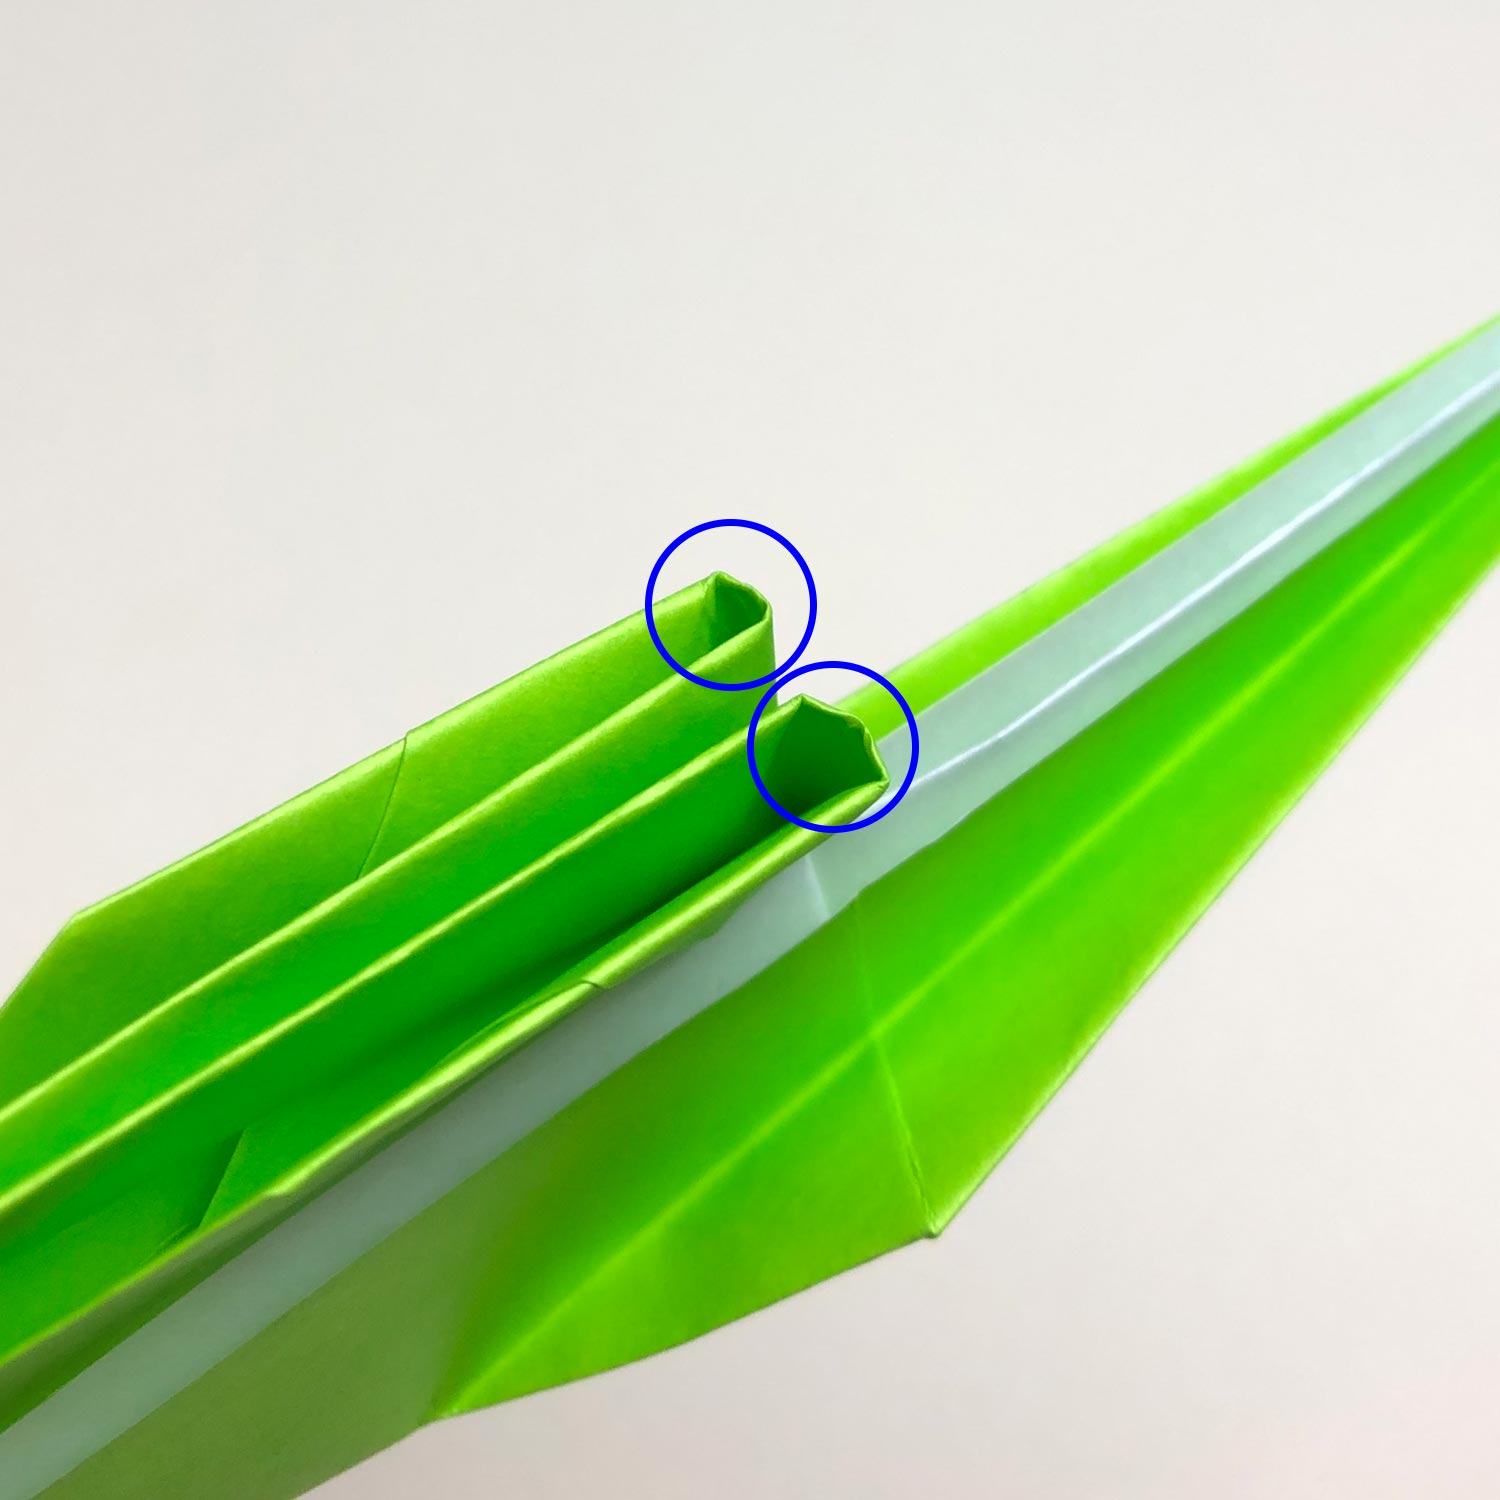
(56)
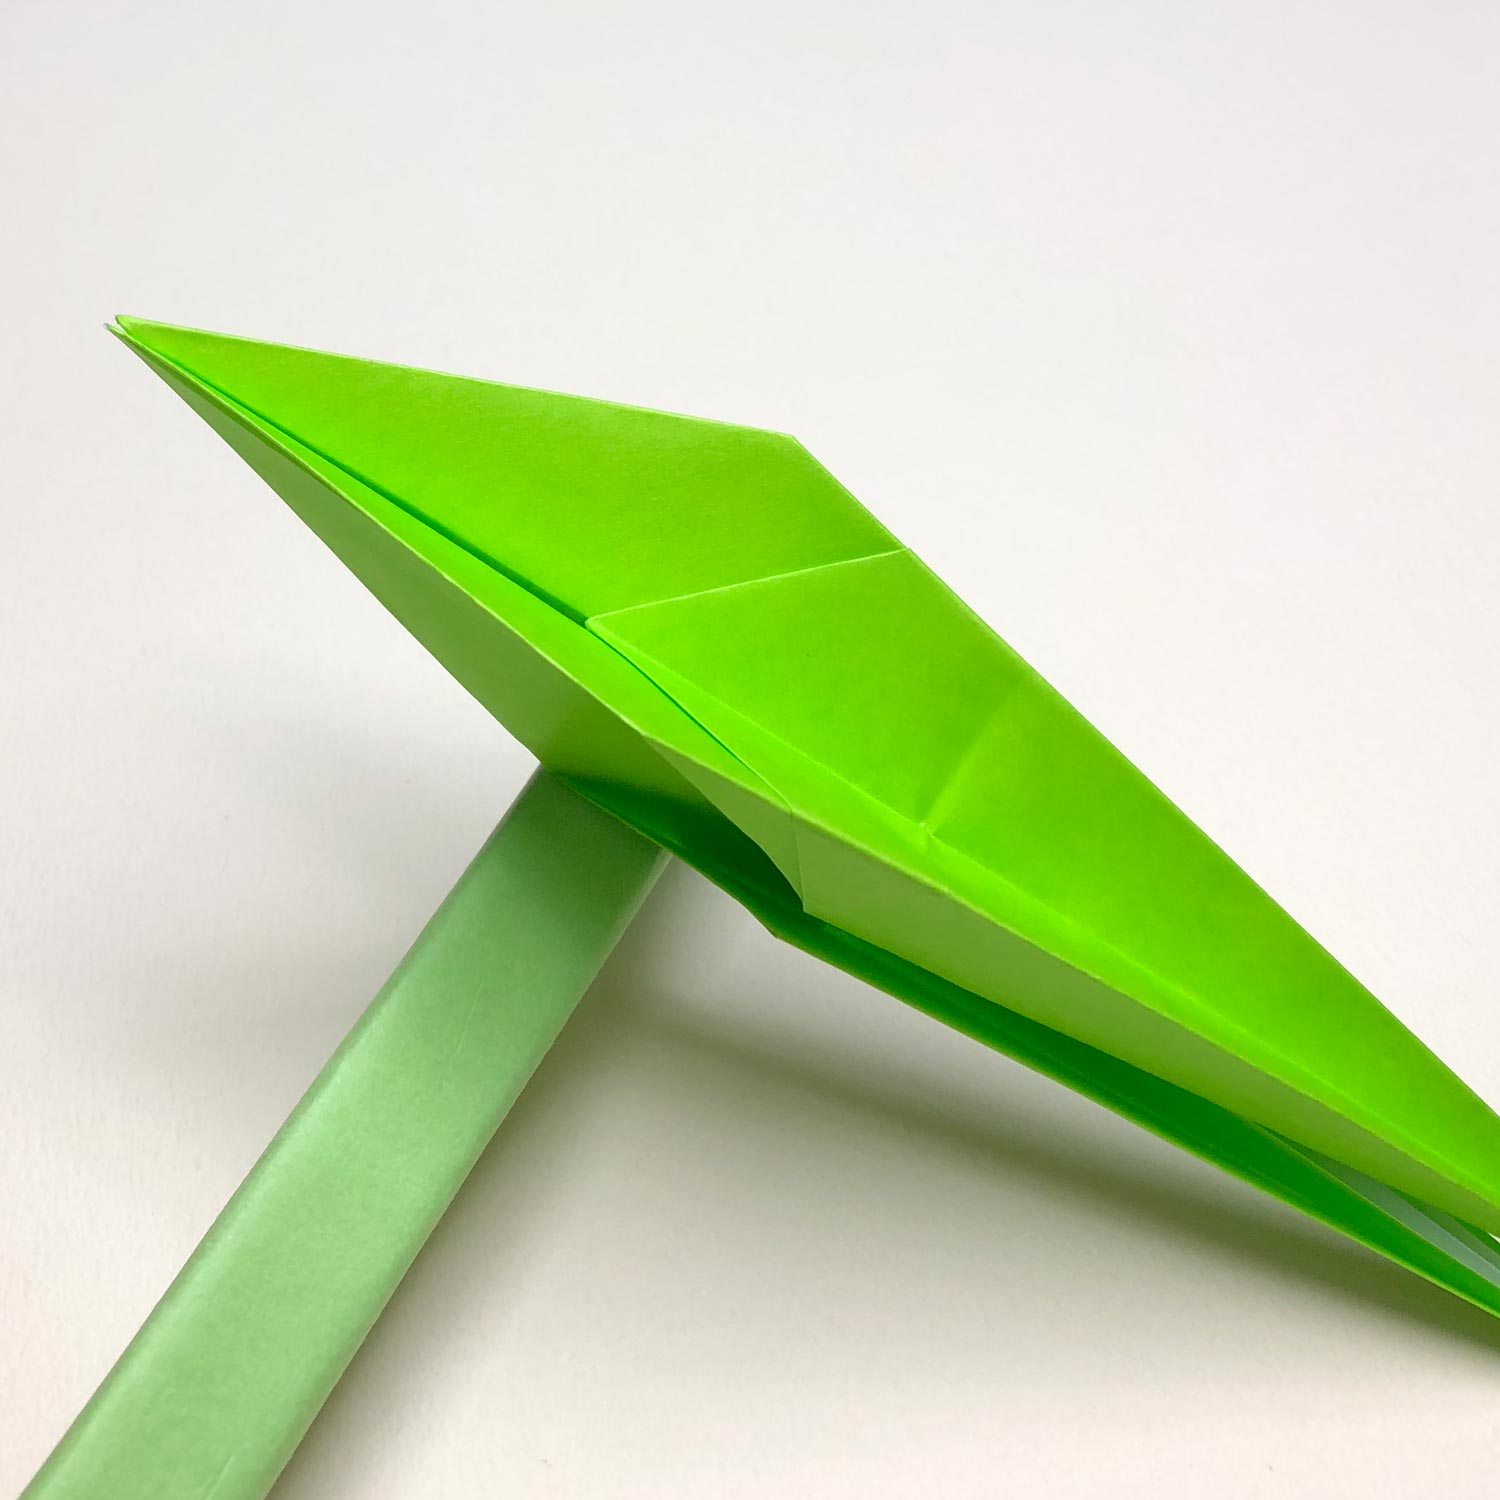
This picture is taken from a different angle.

(57)
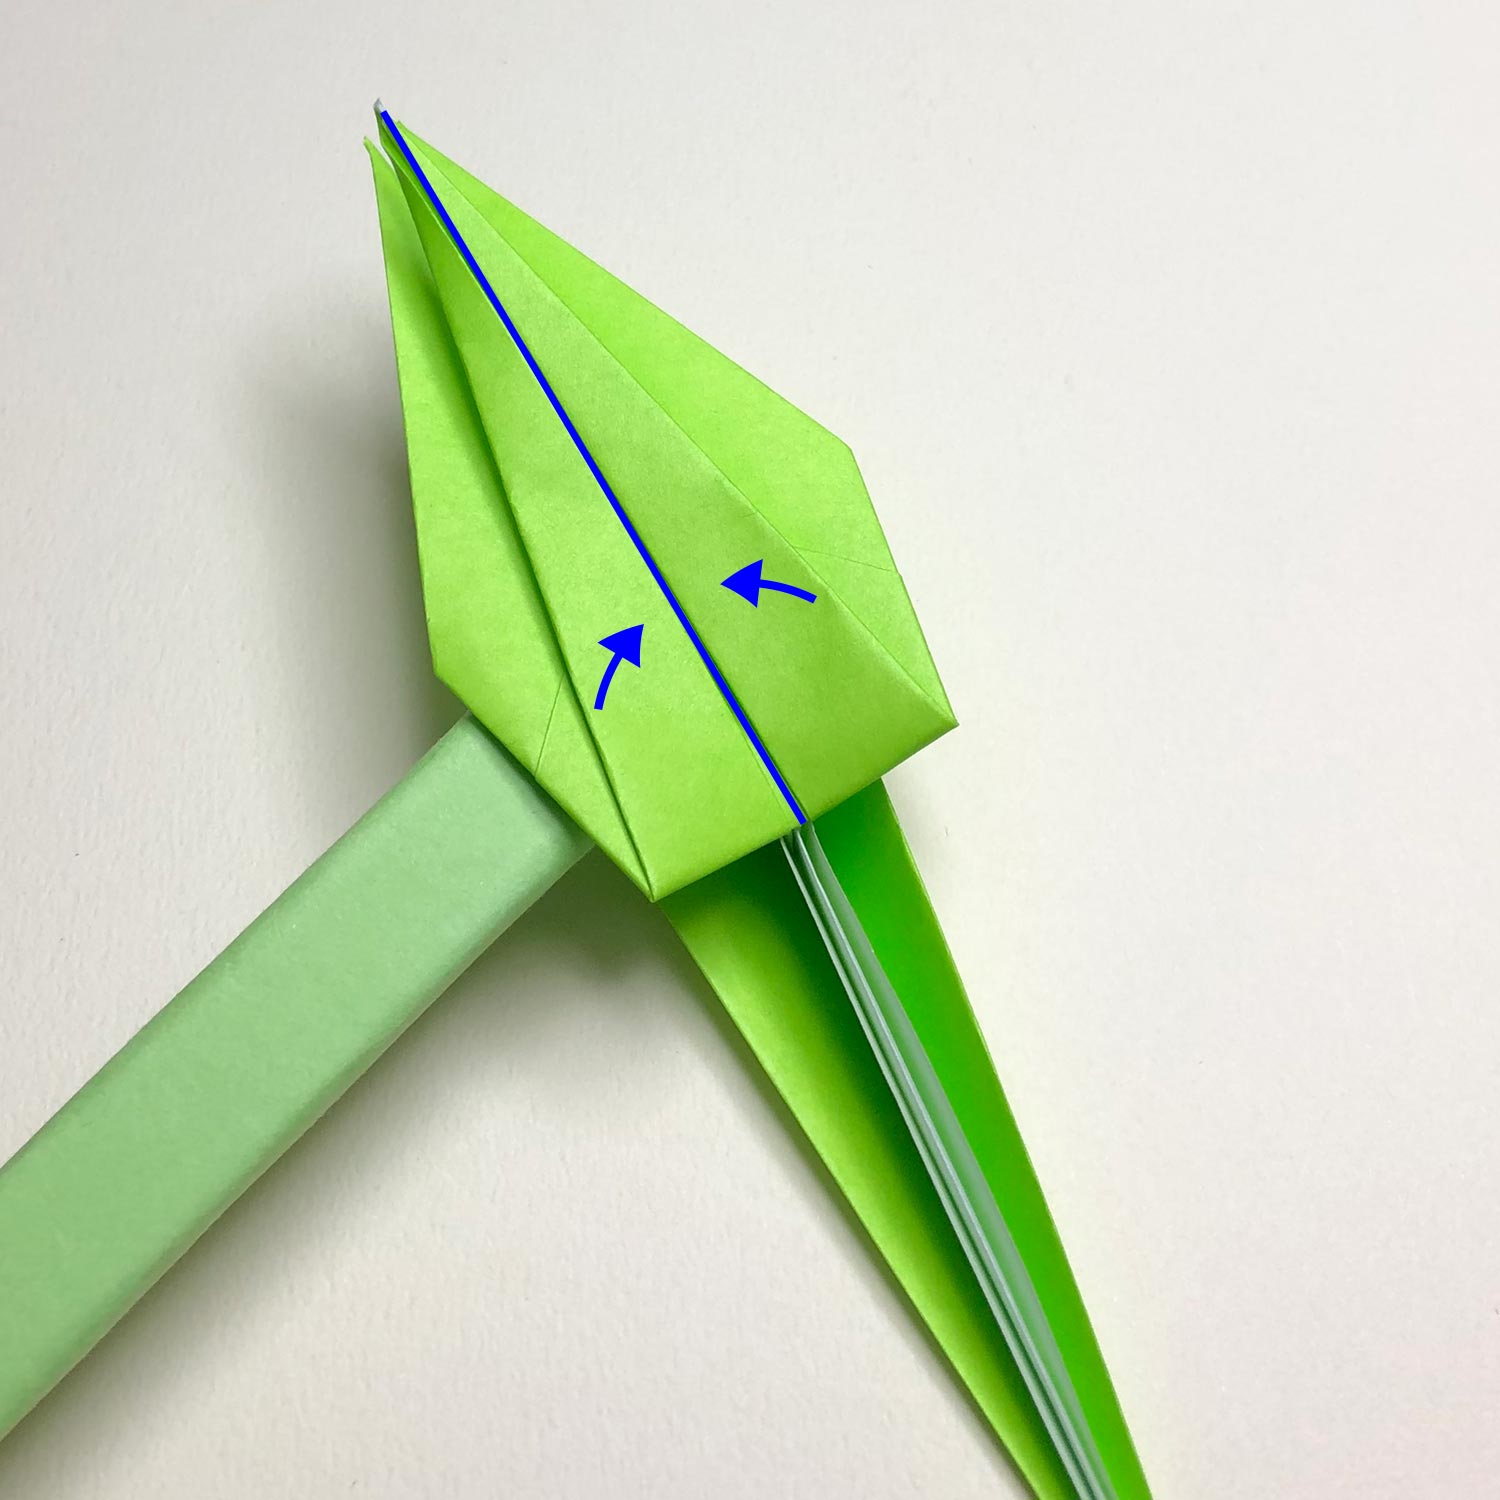
When trying to make creases in the 54th step, sometimes, the tips get into this shape.
If the tips get into this shape, it will get harder to make creases.

(58)
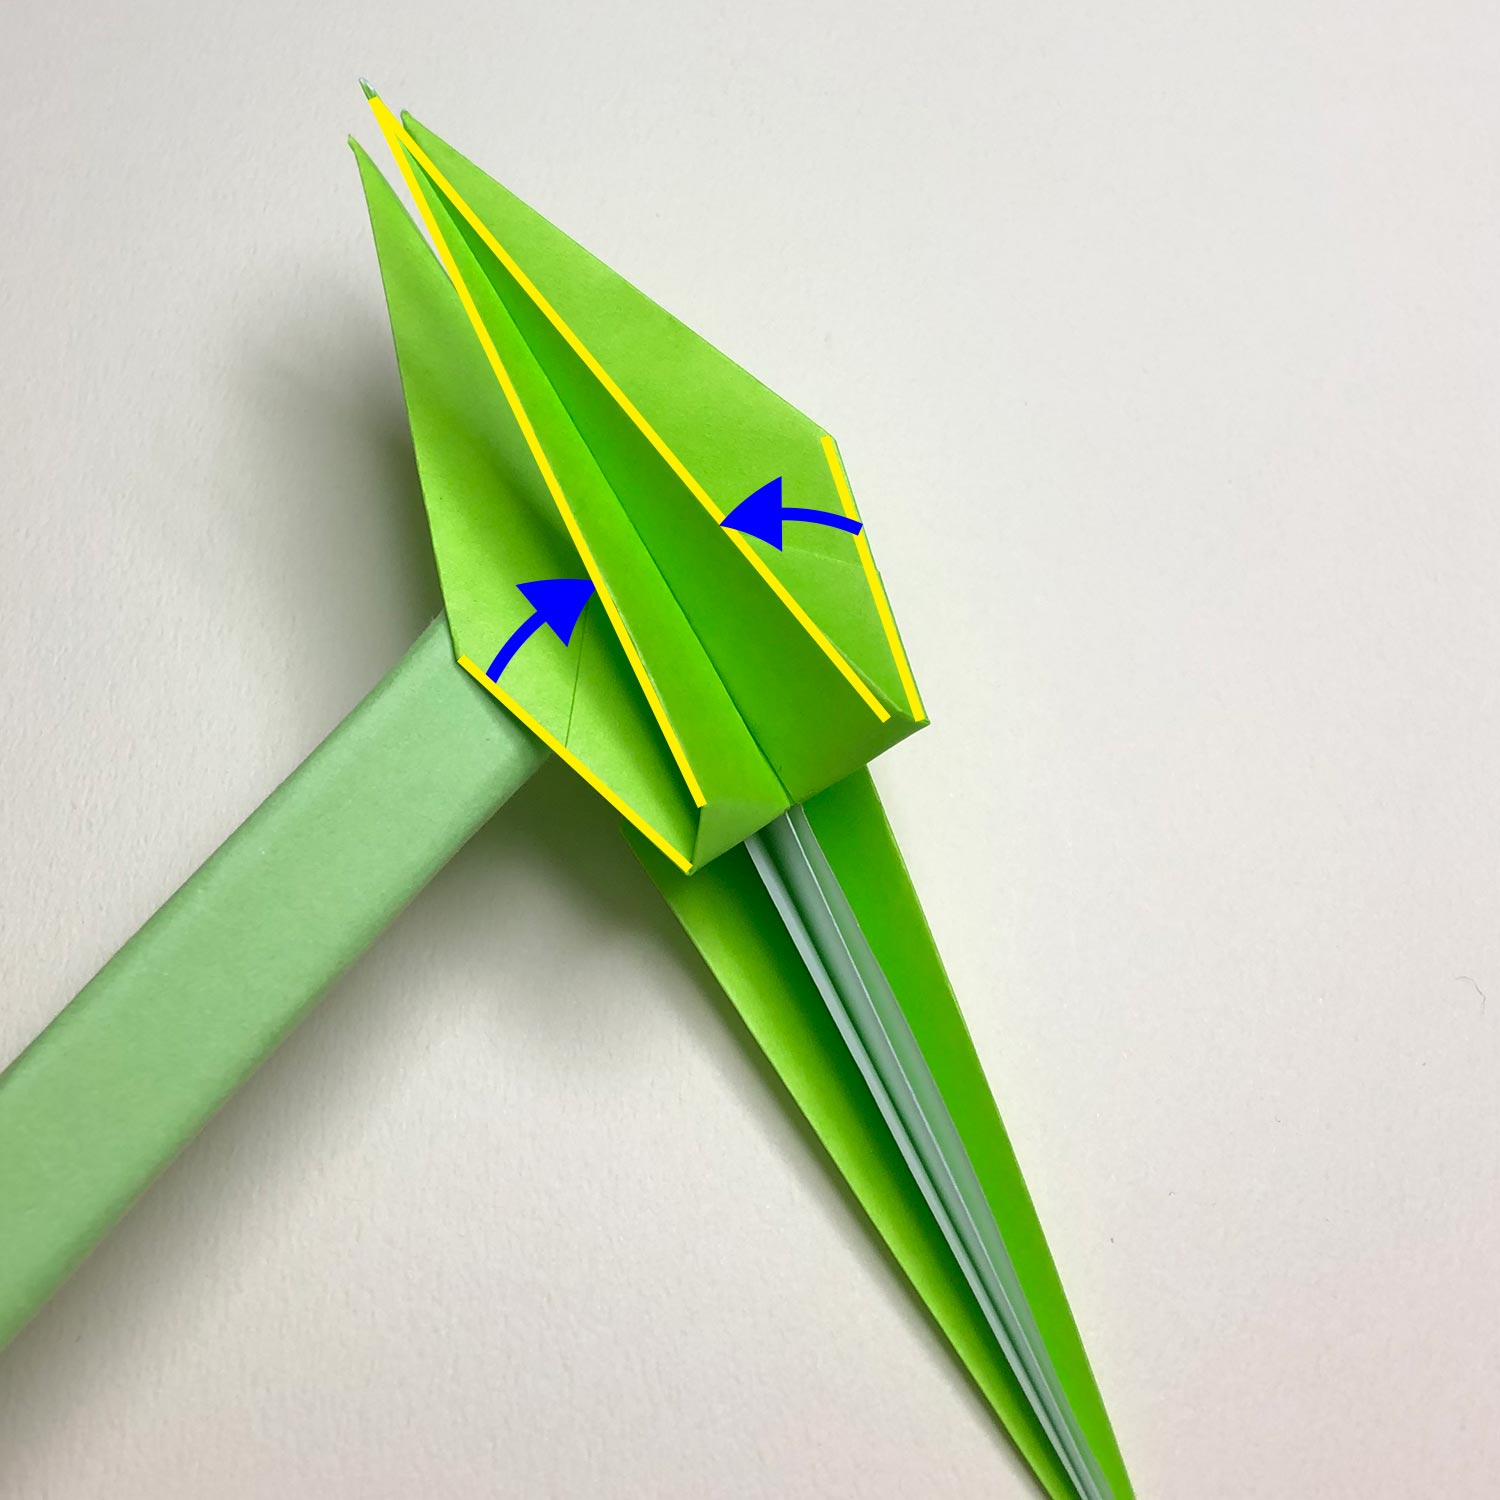
In that case, push the tips with your nail in the direction of the arrows.
(59)
After pushing the tips, they will be rounded like this picture and it will get easier to make creases.
(60)
Fold the left side in the same way.
(61)
After folding the left side, it looks like this picture.