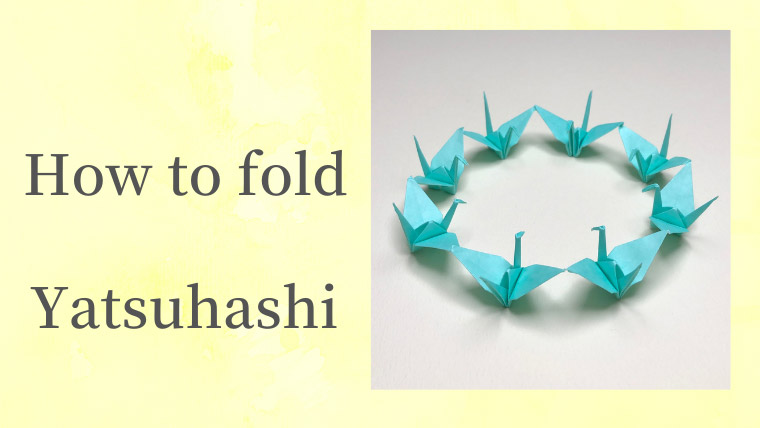
Make Yatsuhashi
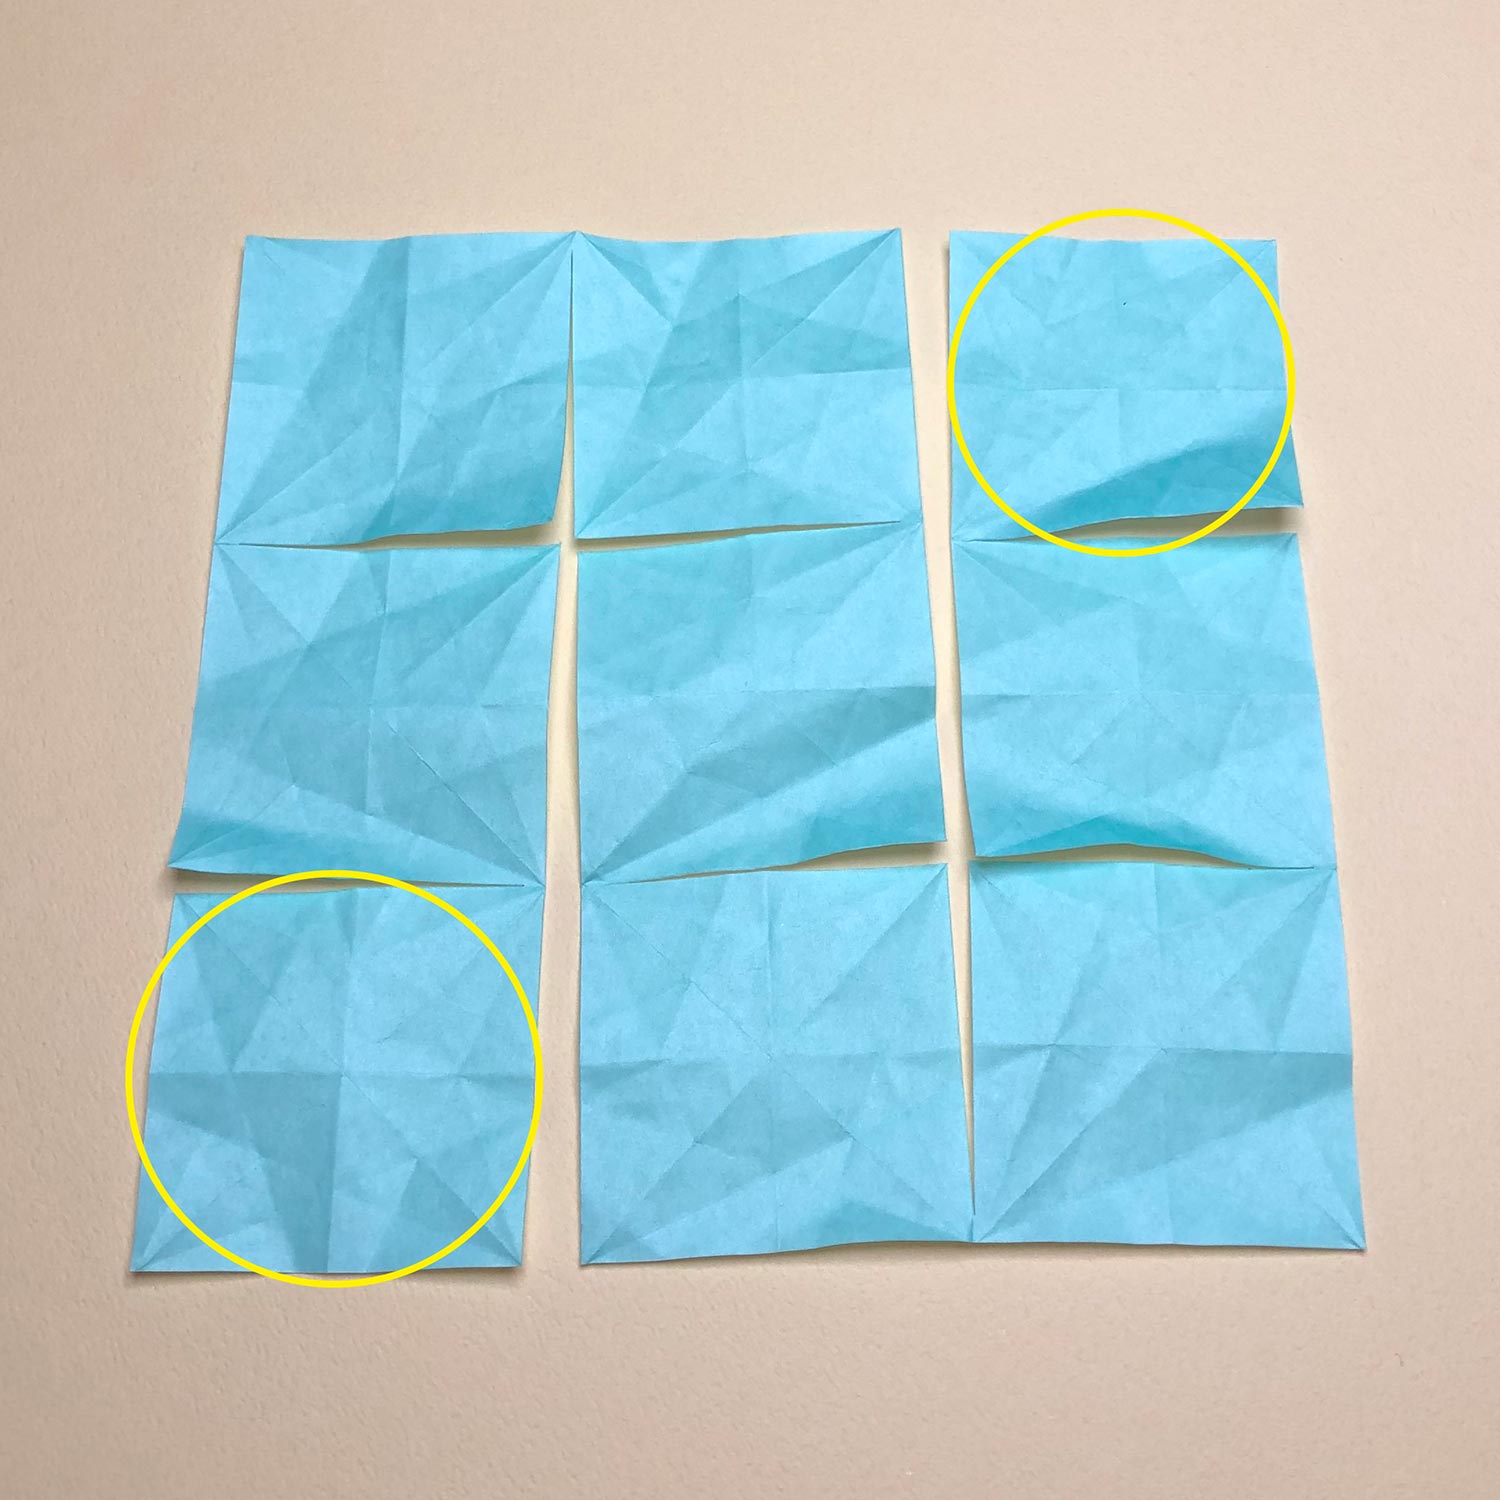
(1)
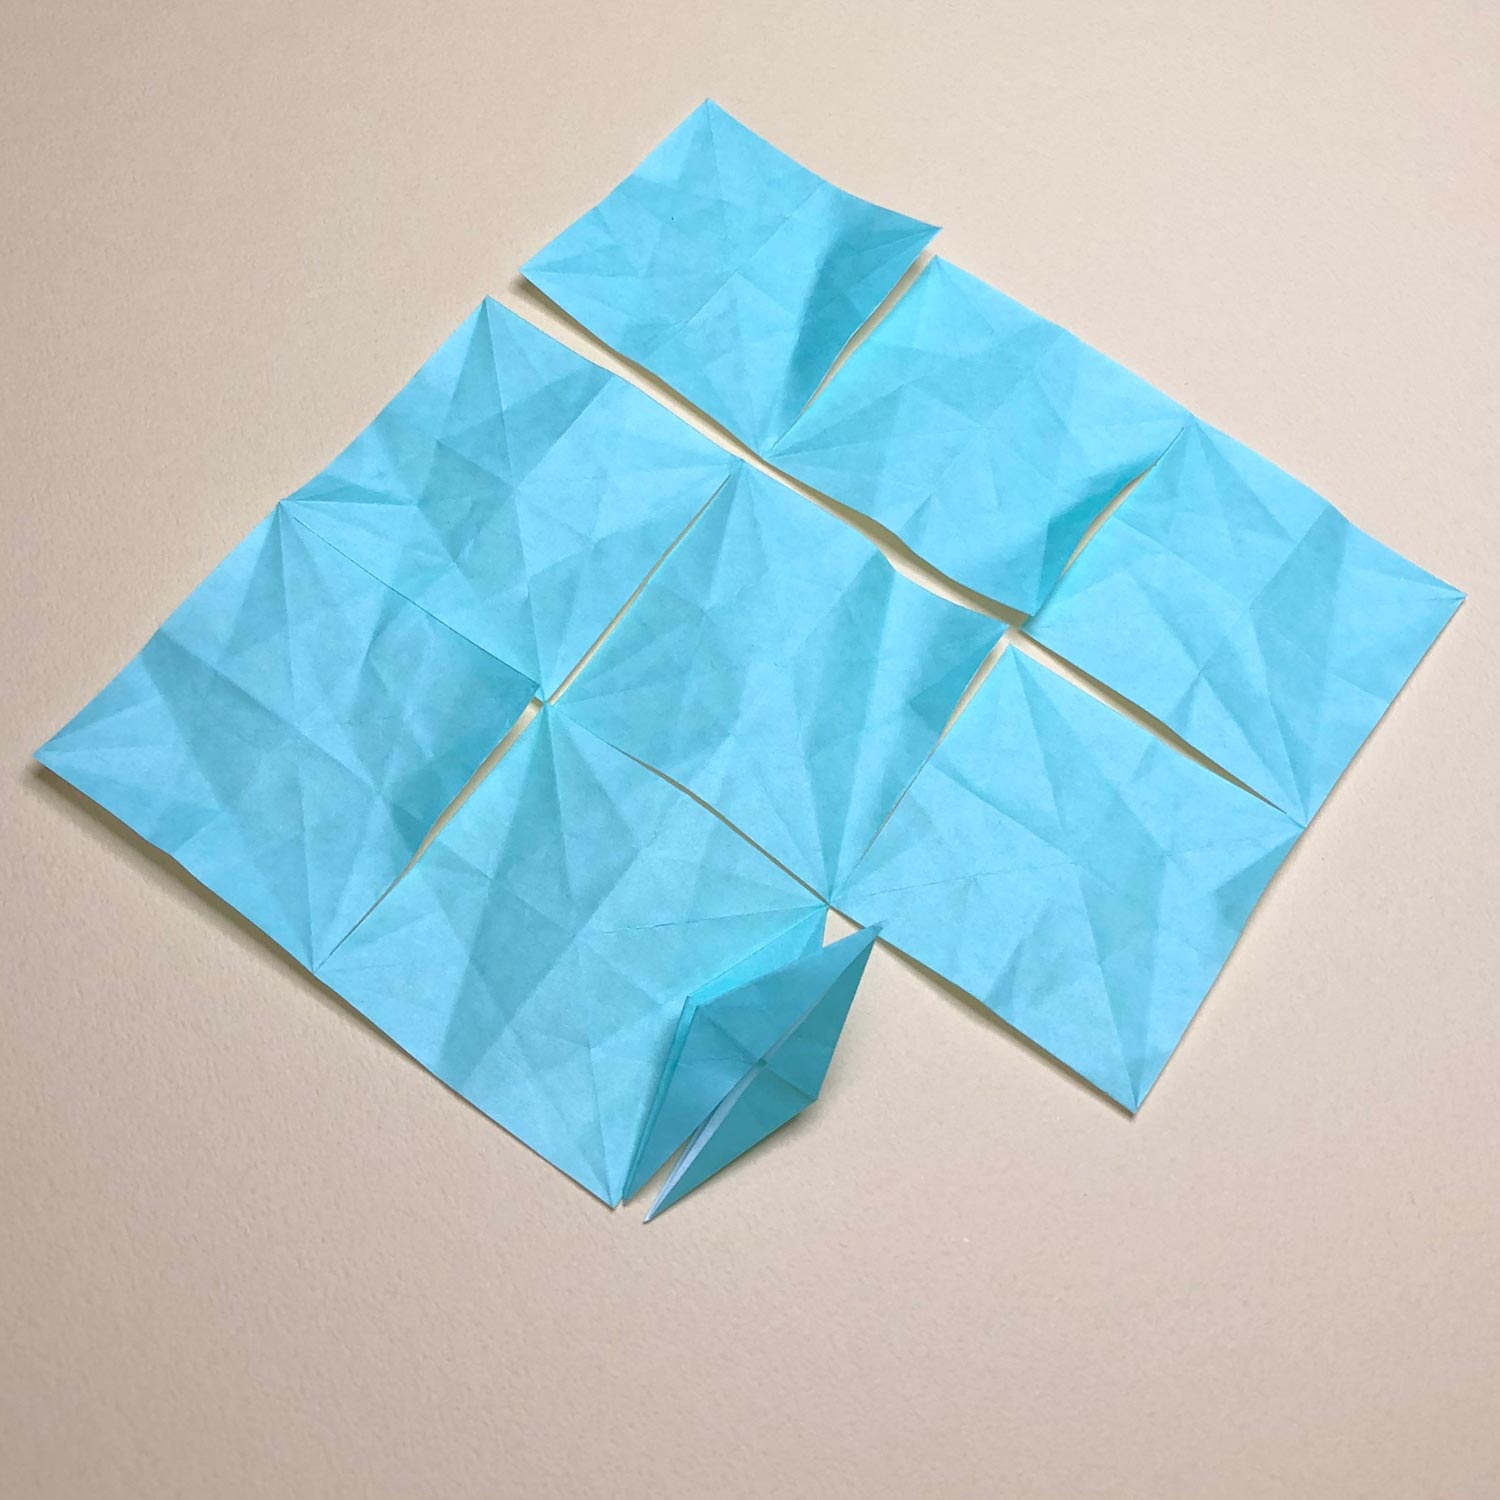
Start with folding the squares that have been circled to make a bird-base.
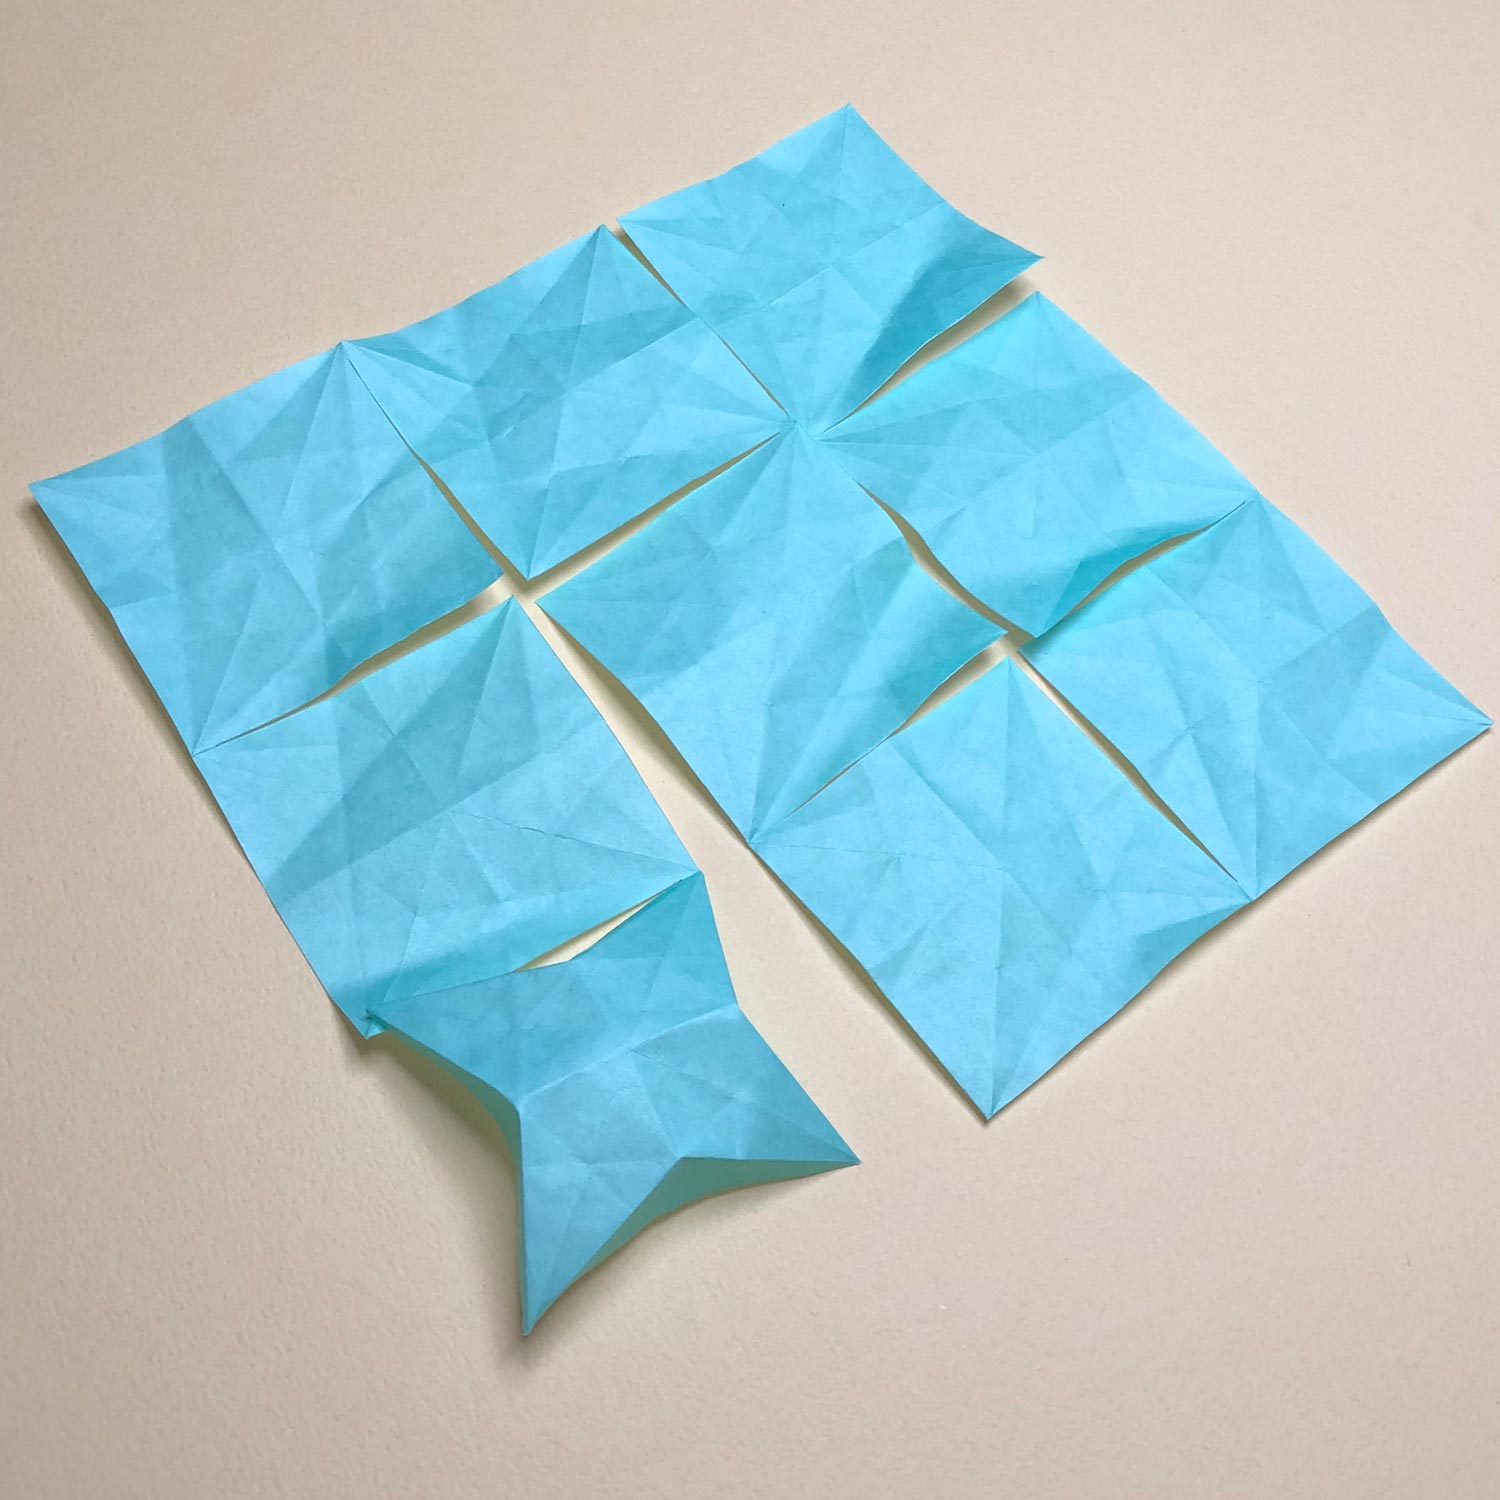
(2)
Make a star-shape like this picture.
Then make a bird-base so that a wing is connected to another.
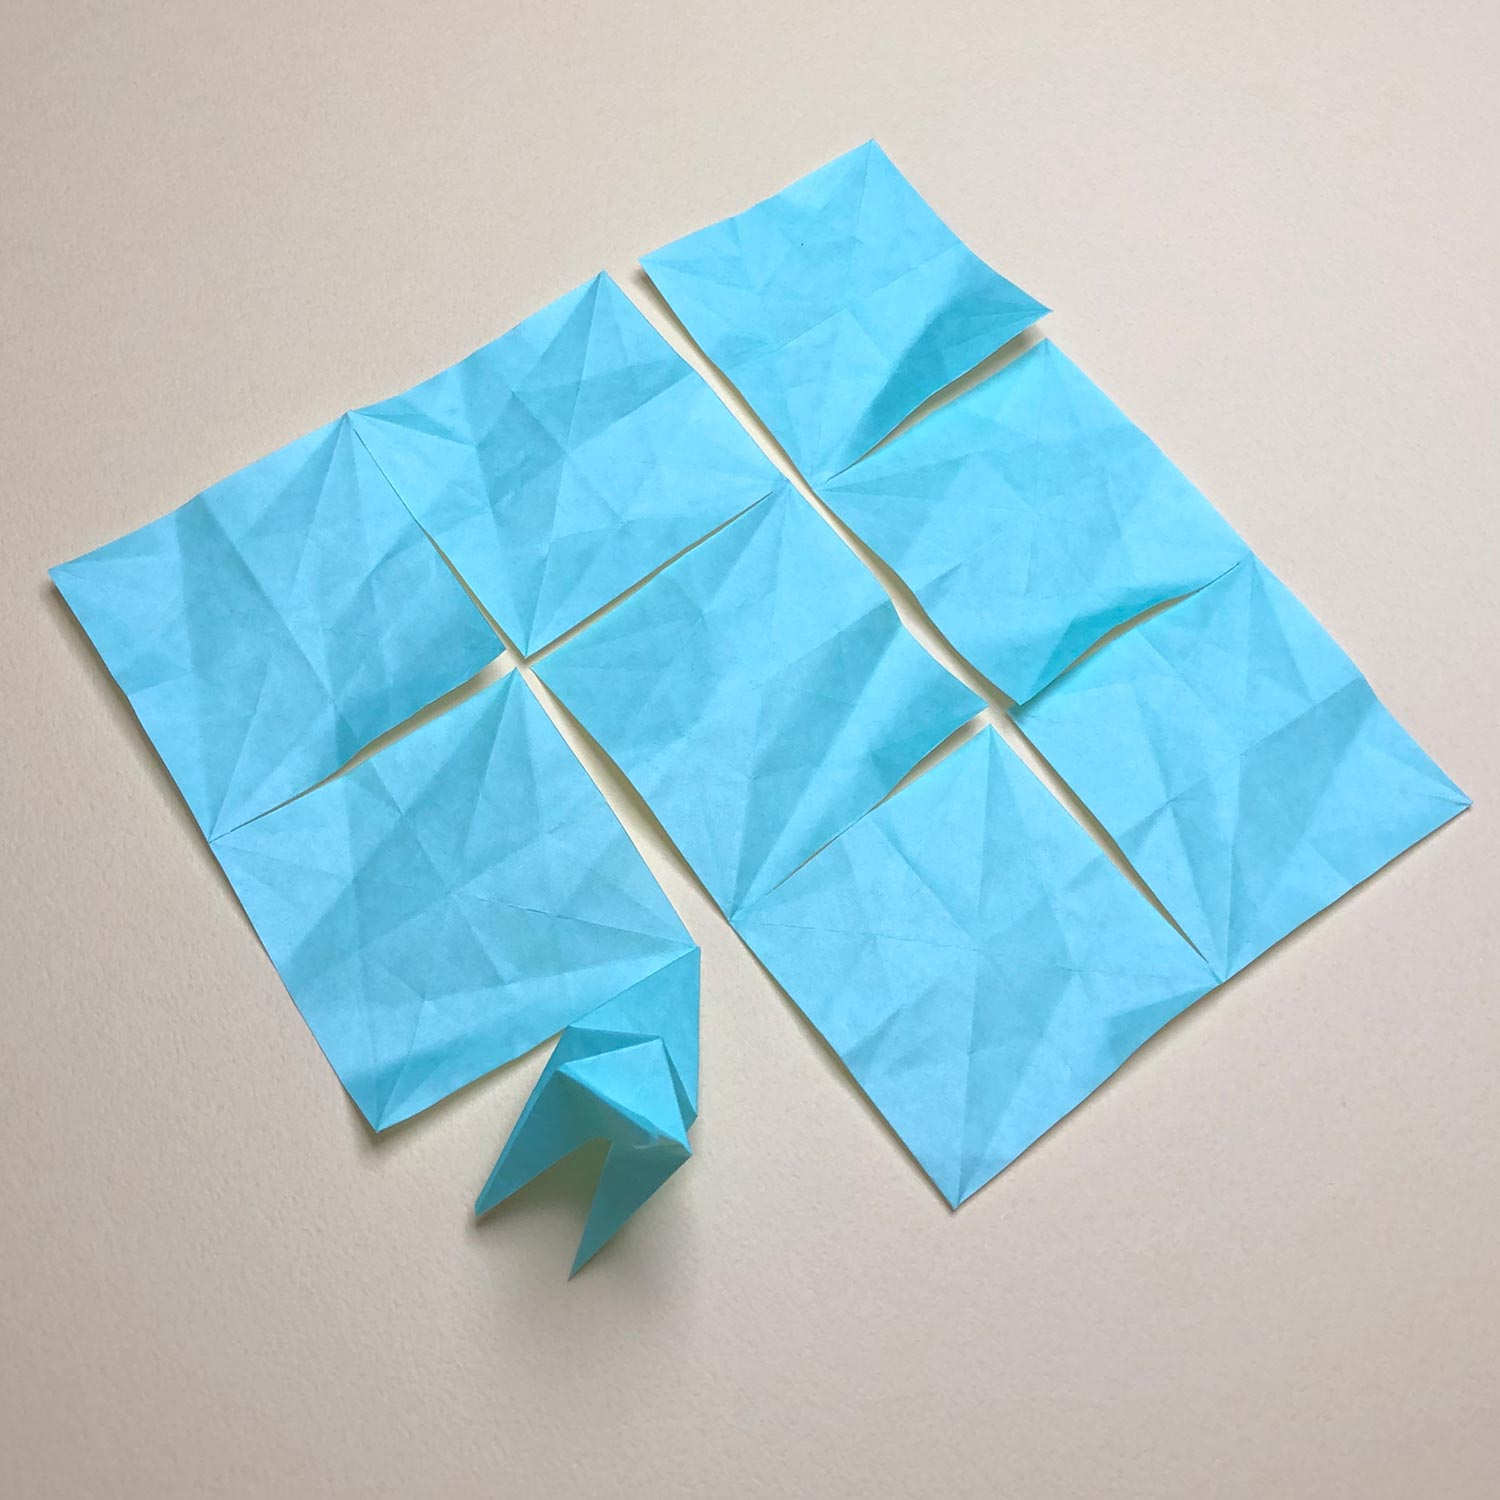
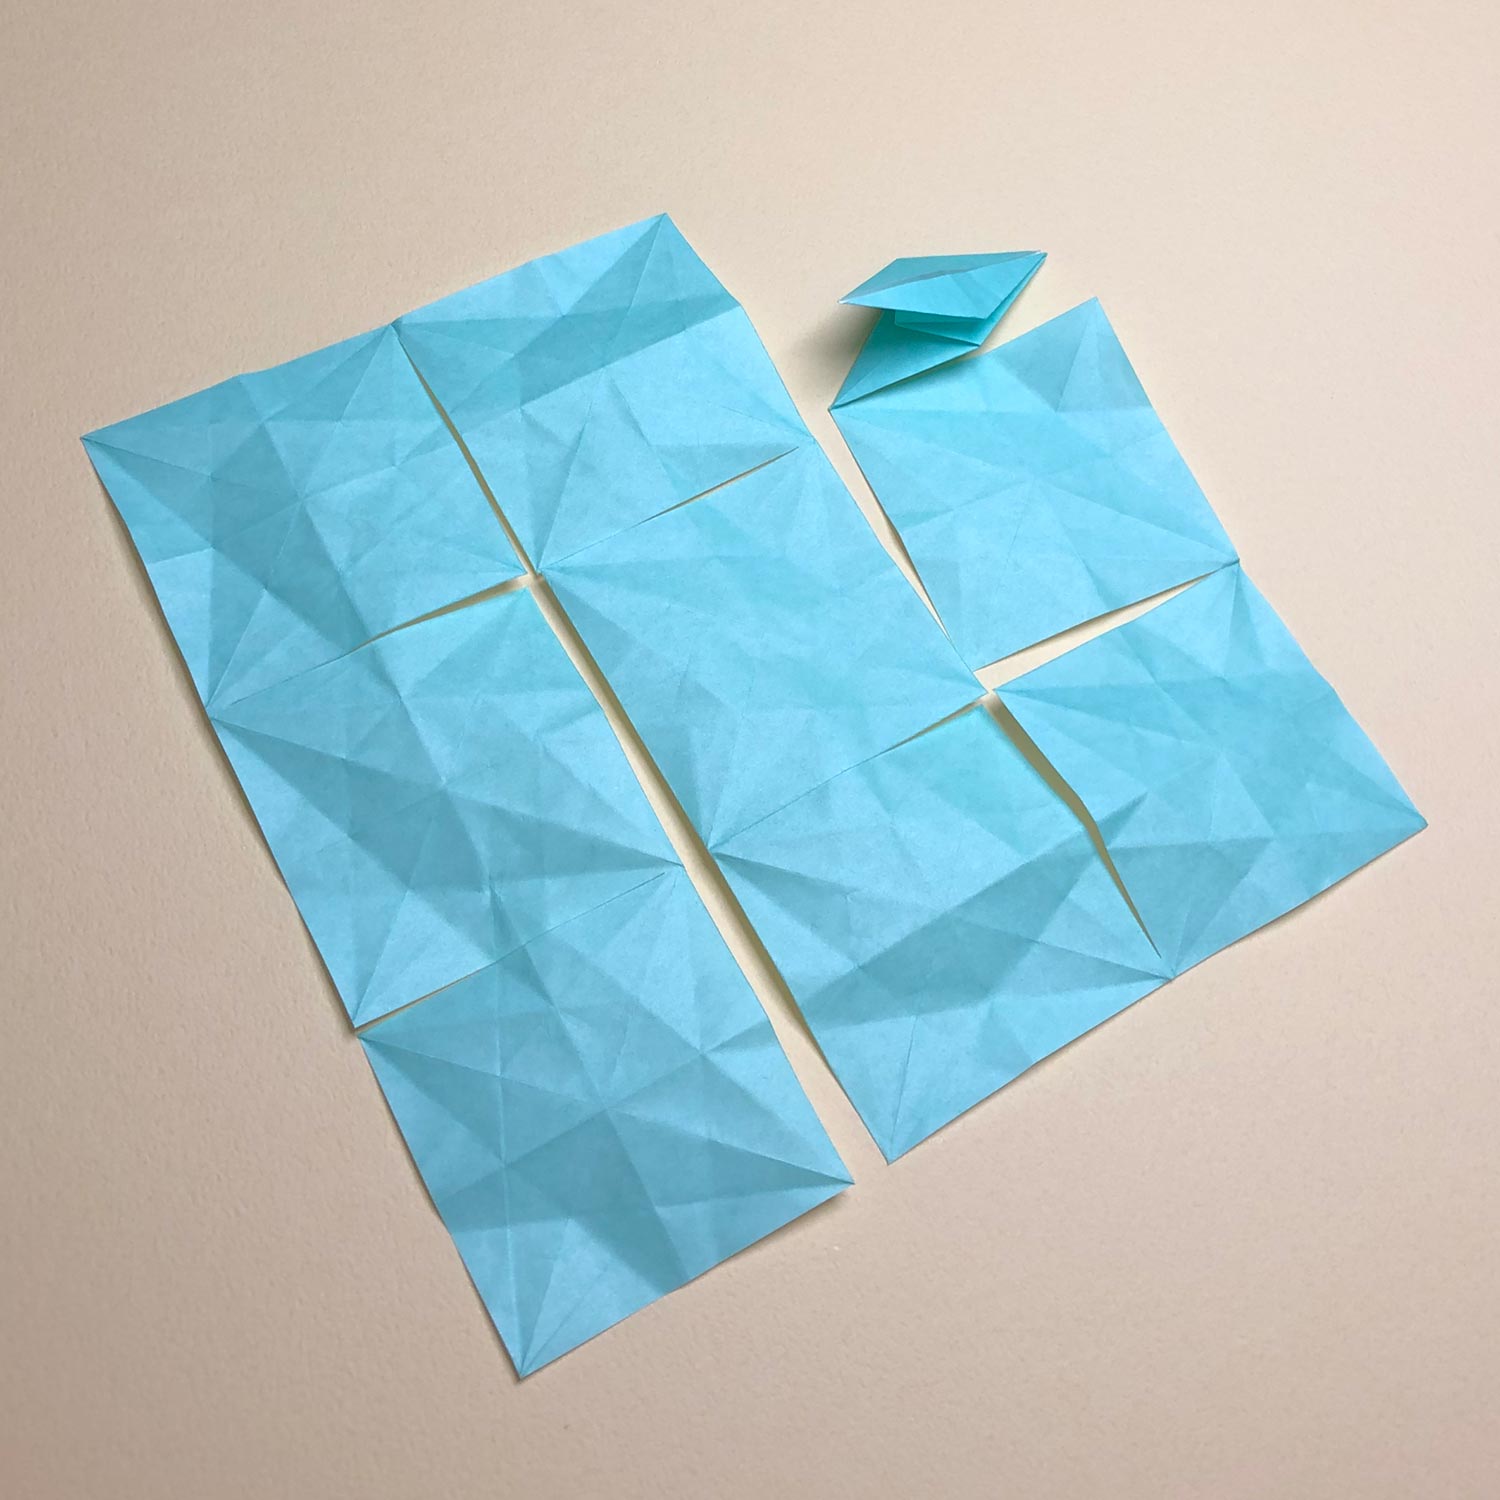
(3)
This picture is halfway through.
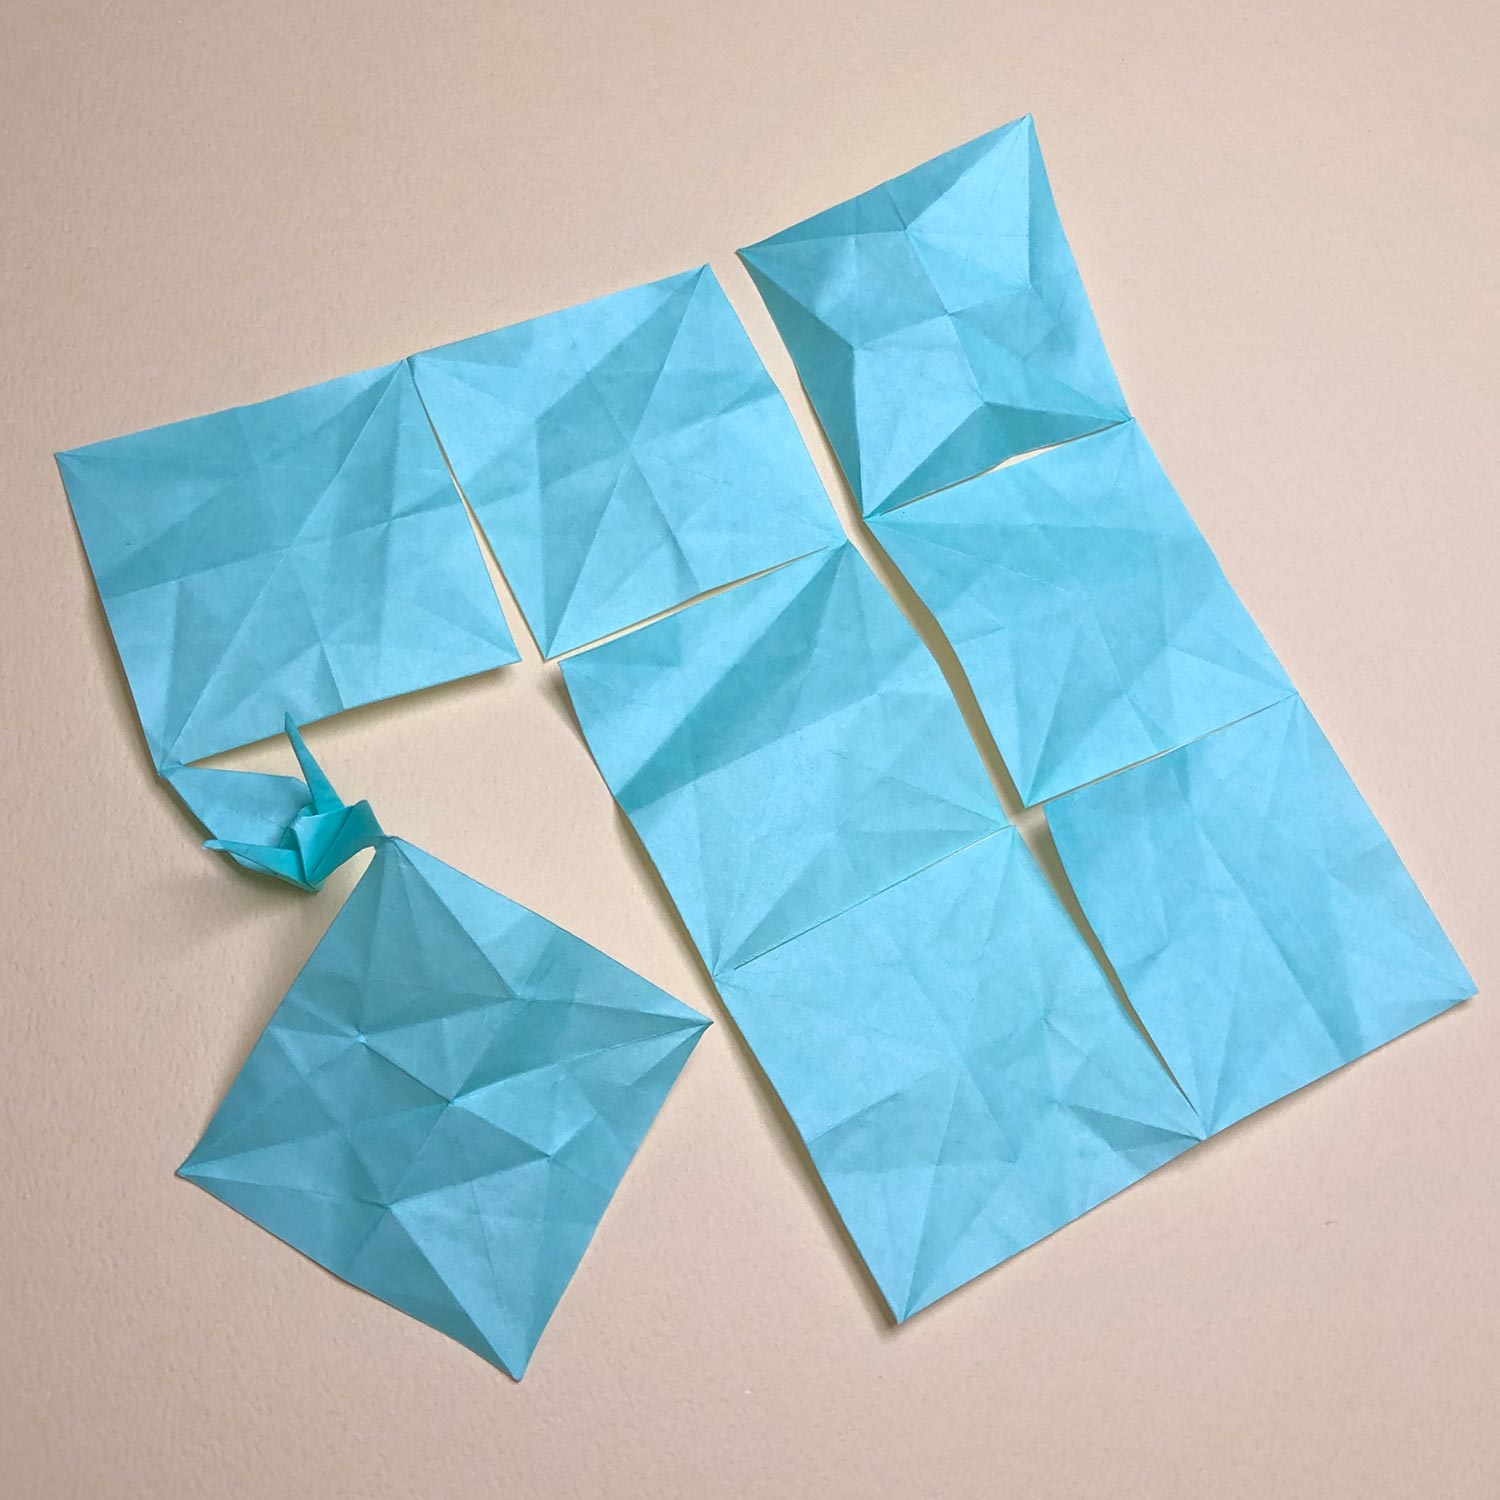
(4)
The bird-base is finished.
(5)
After making the bird-base, rotate the paper 180 degree.
Then fold the bottom square to make a bird-base.
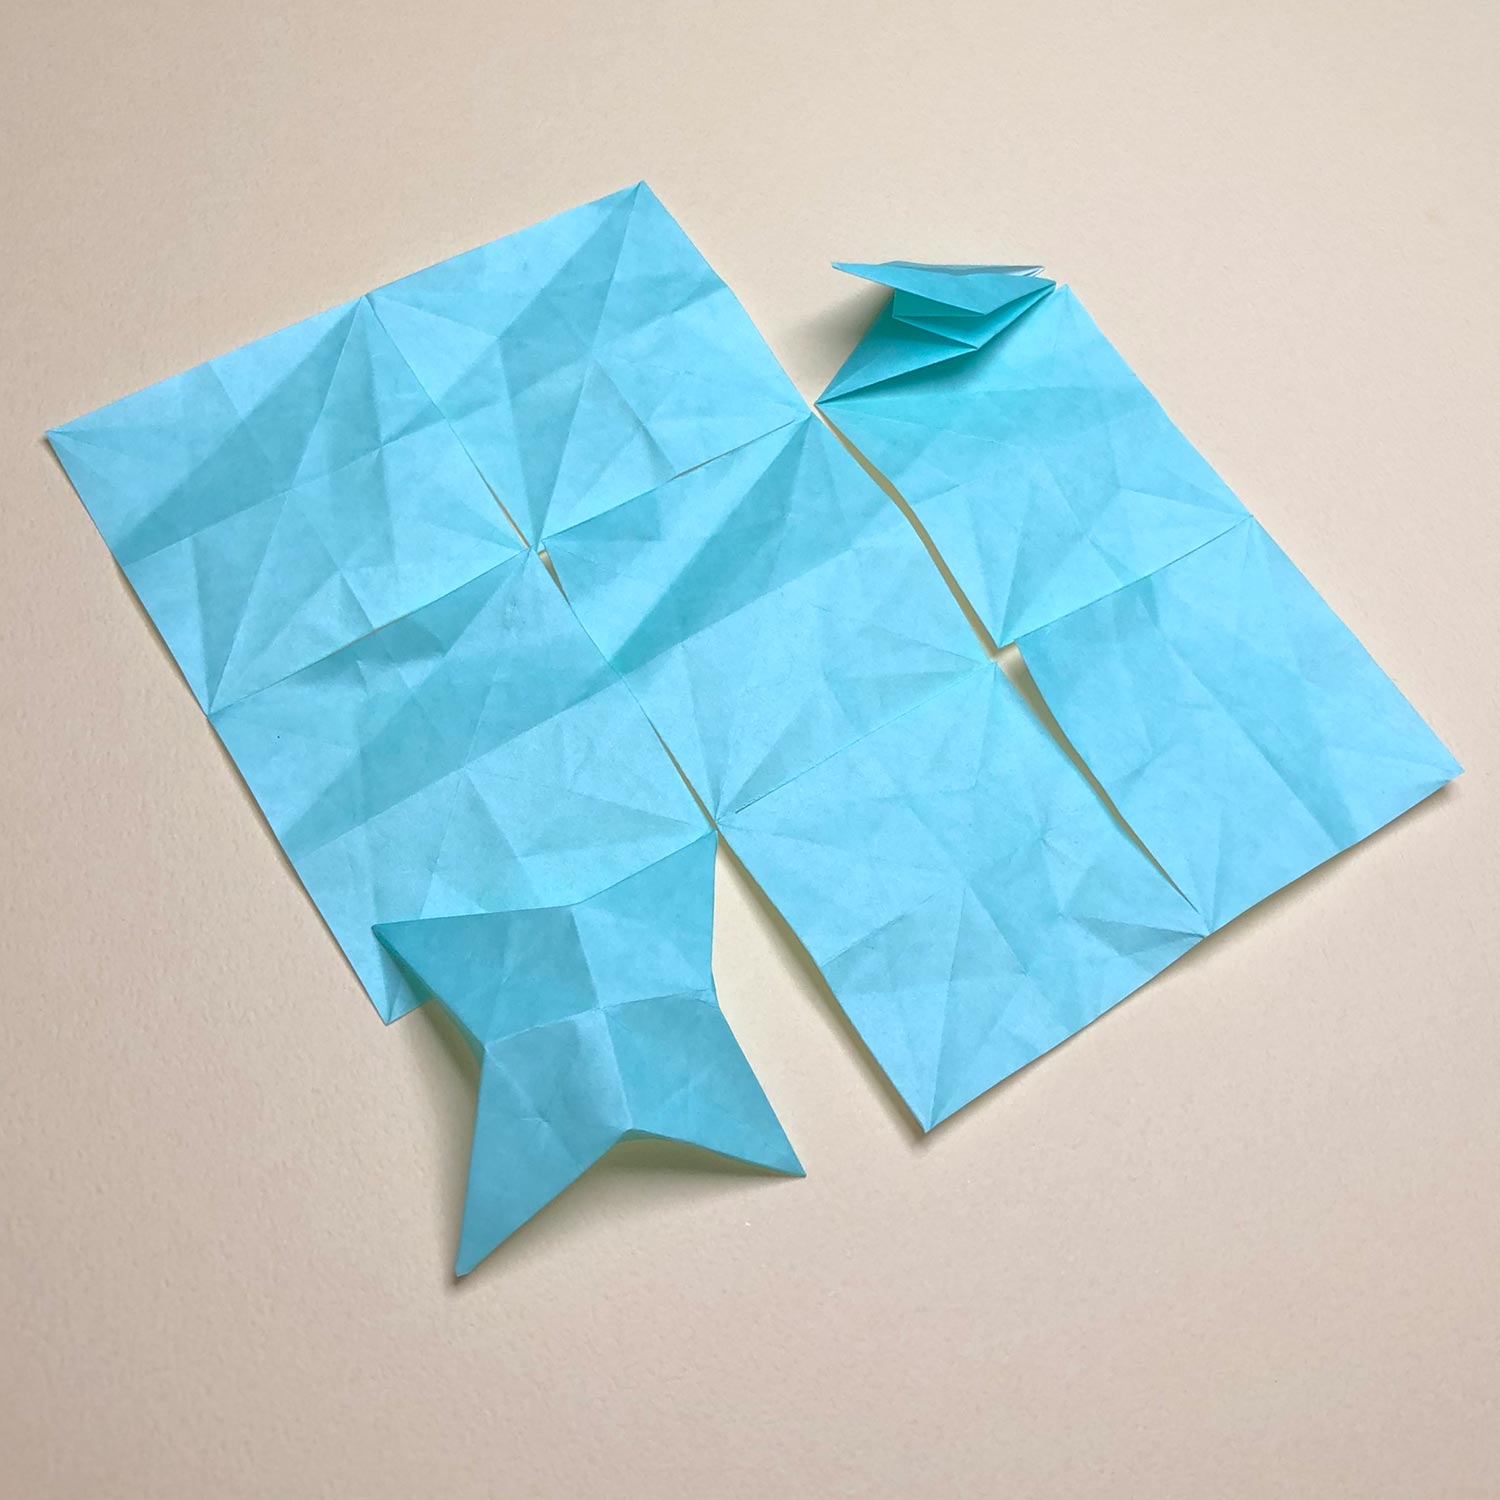
(6)
Make a star-shape like this picture.
Then make a bird-base so that a wing is connected to another.

(7)
The bird-base is finished.
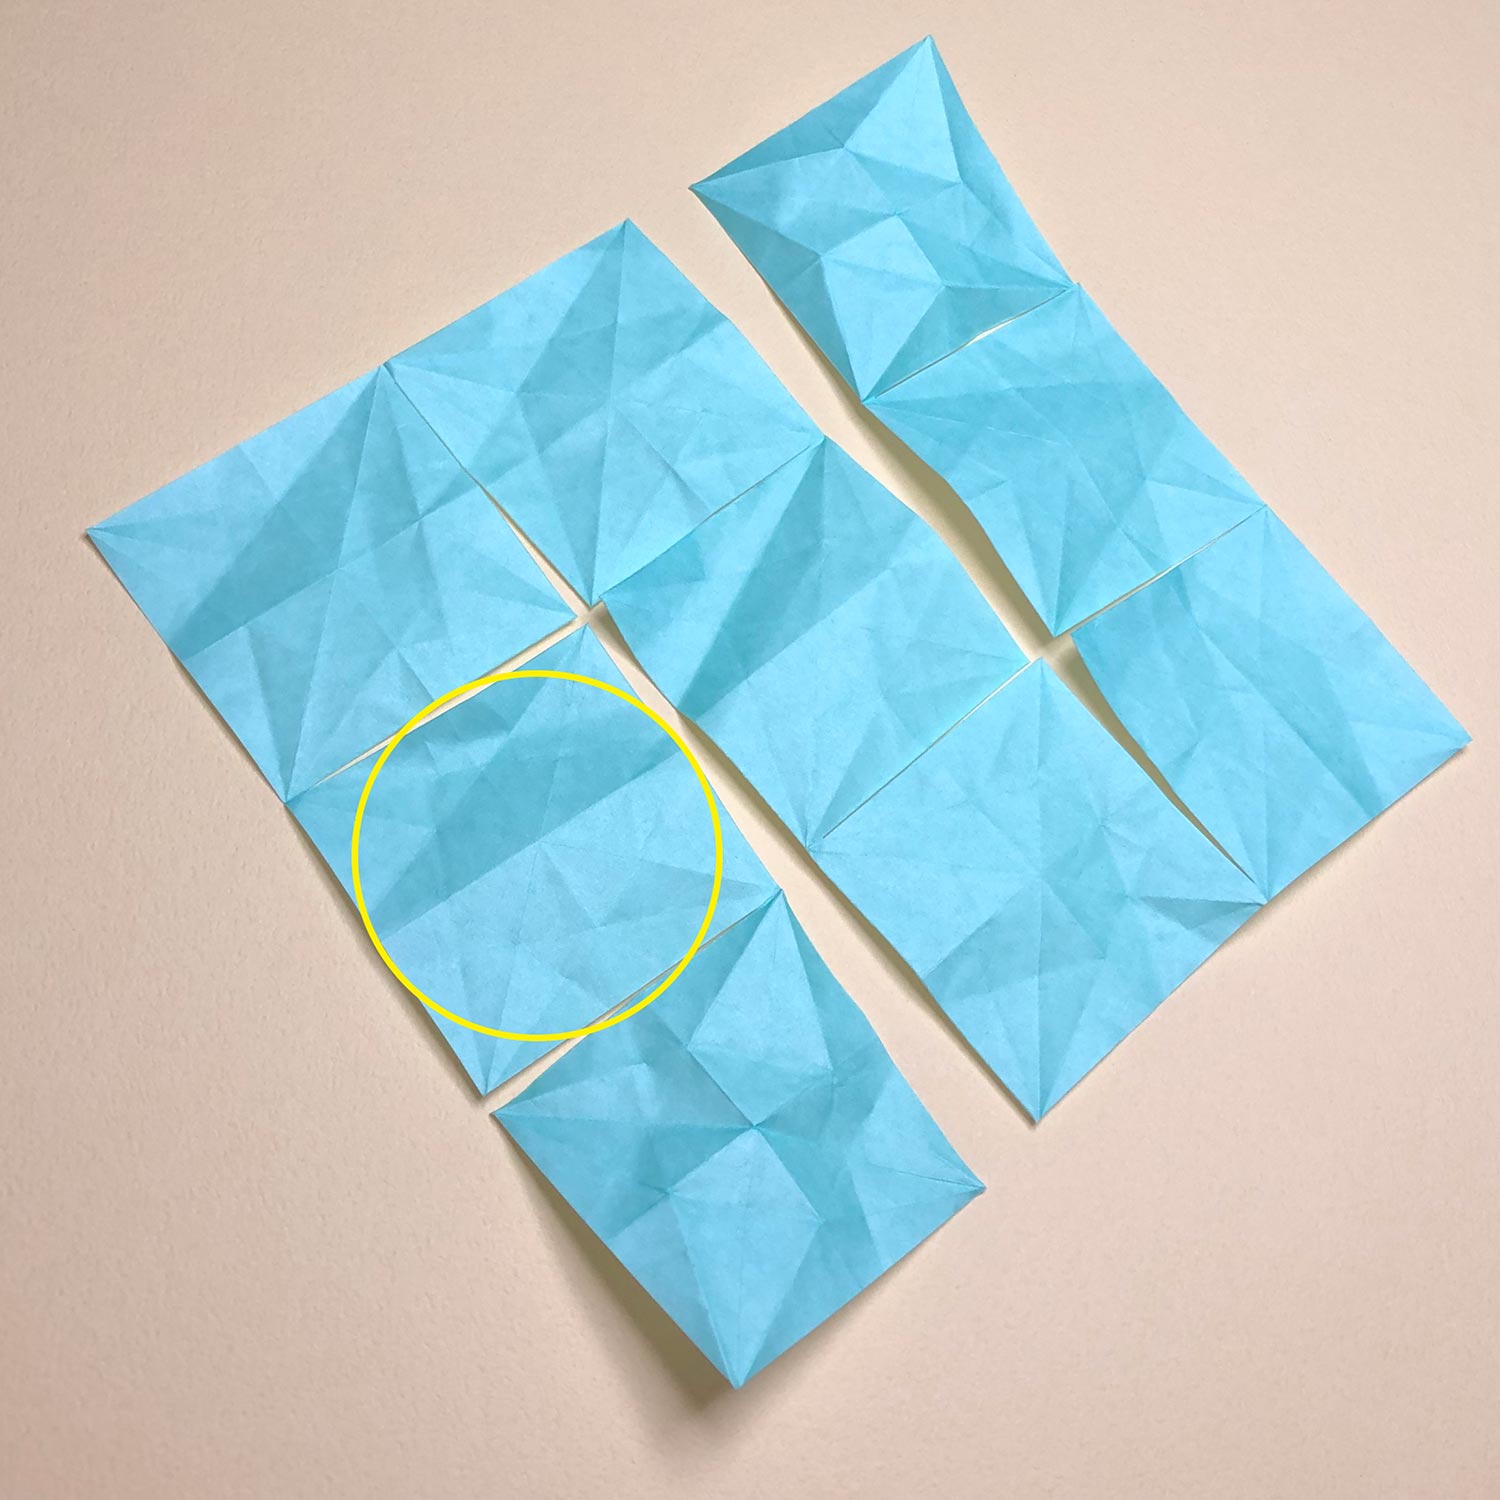
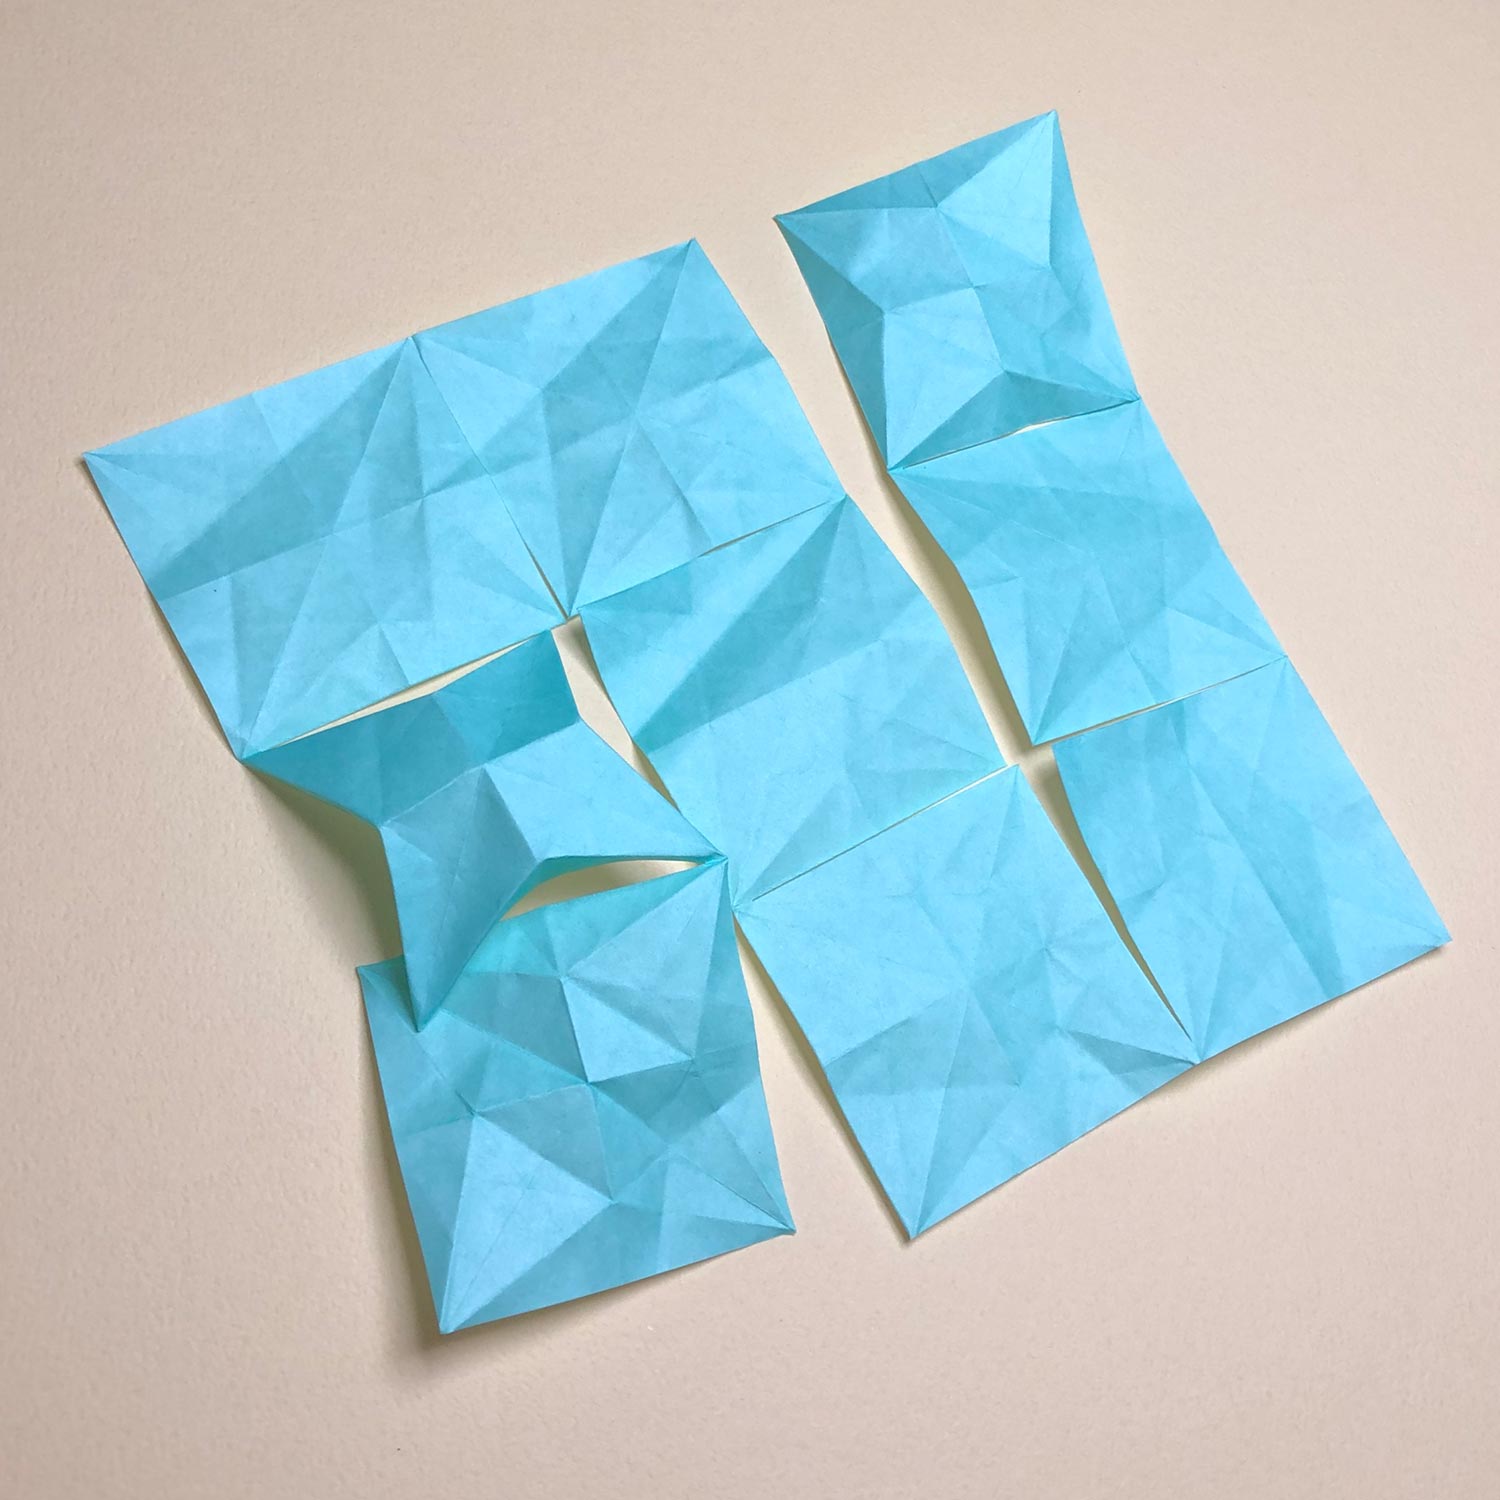
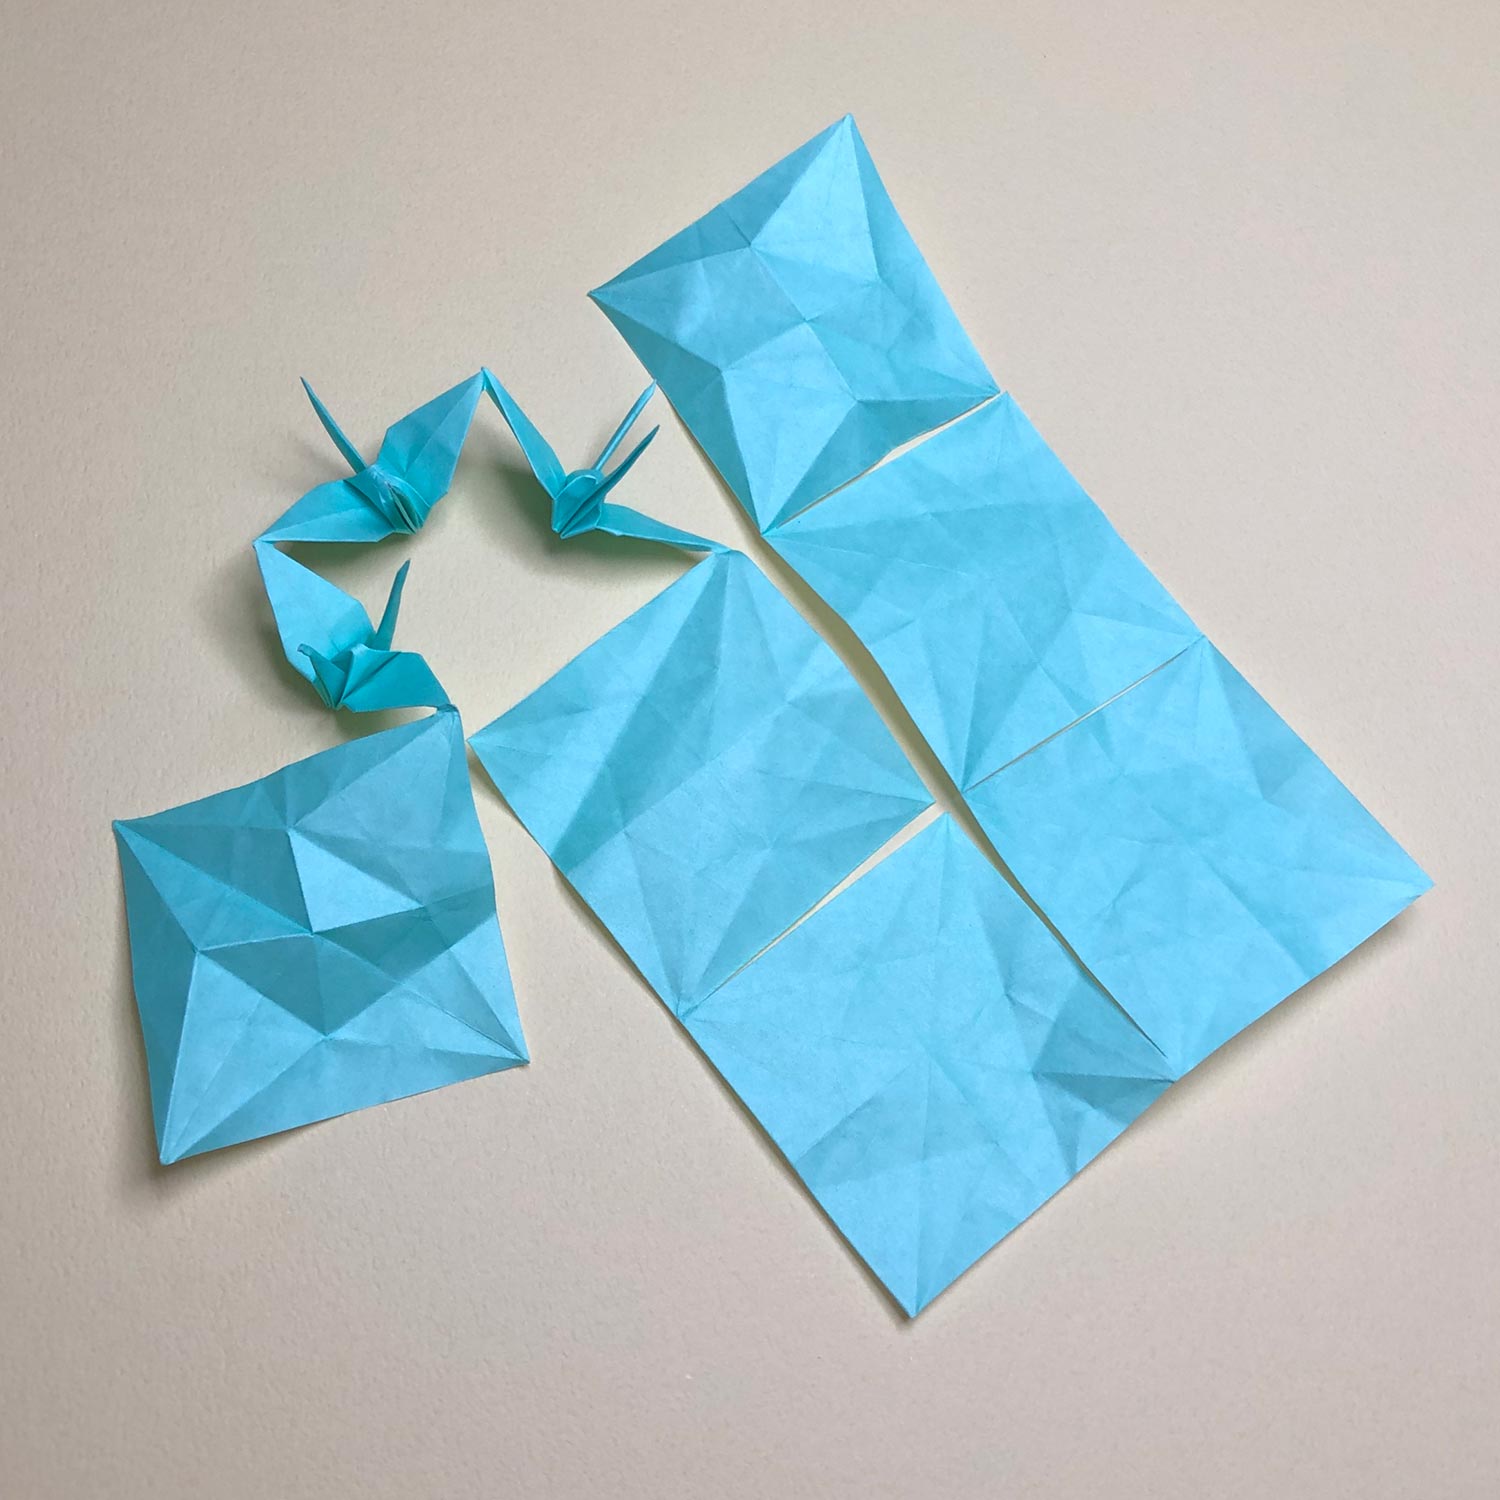
(8)
After making the two bird-base, unfold them like this picture.
Then fold the square that has been circled to make a crane.
(9)
Make a star-shape like this picture.
Then make a bird-base so that wings are connected to others.
(10)
The bird-base is finished.
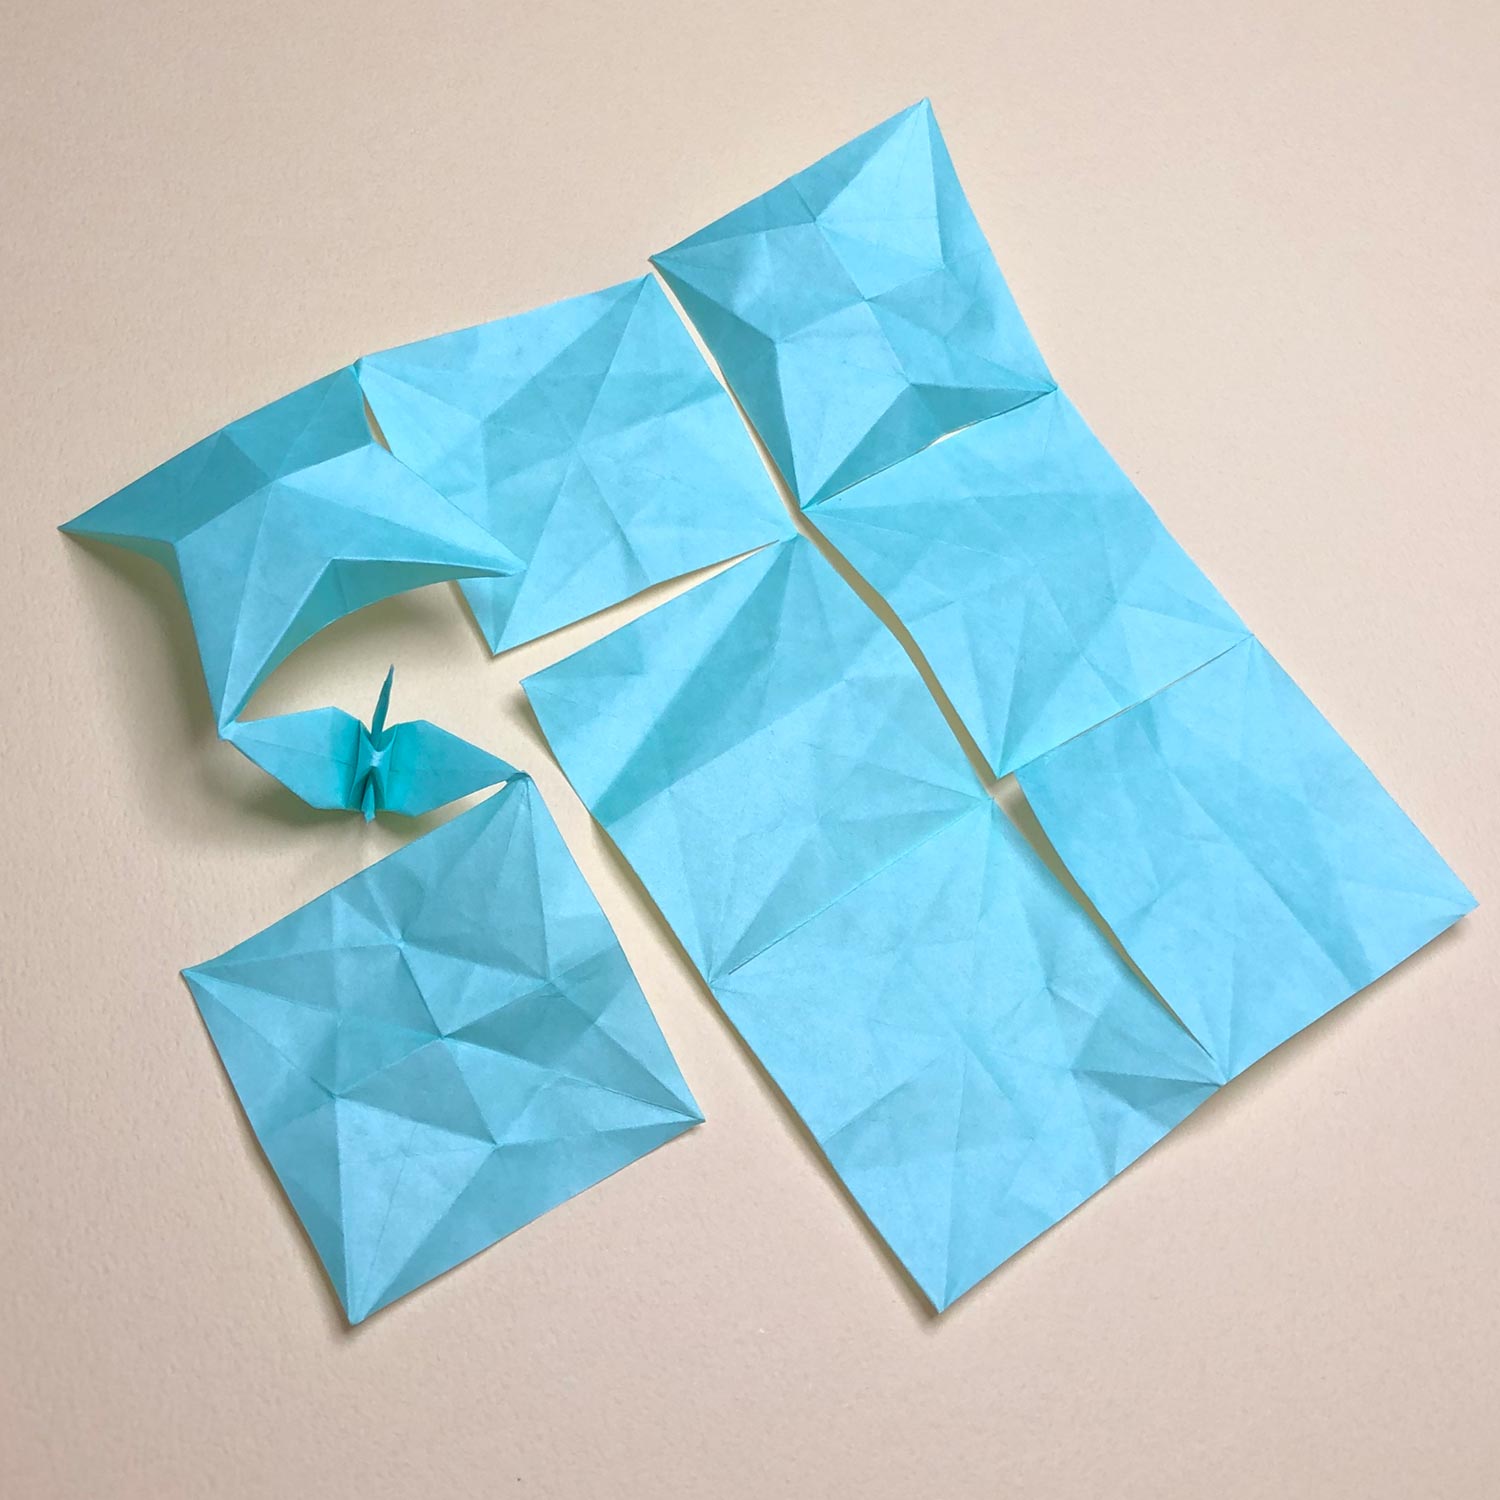
(11)
Fold each of the head/tail to the center.
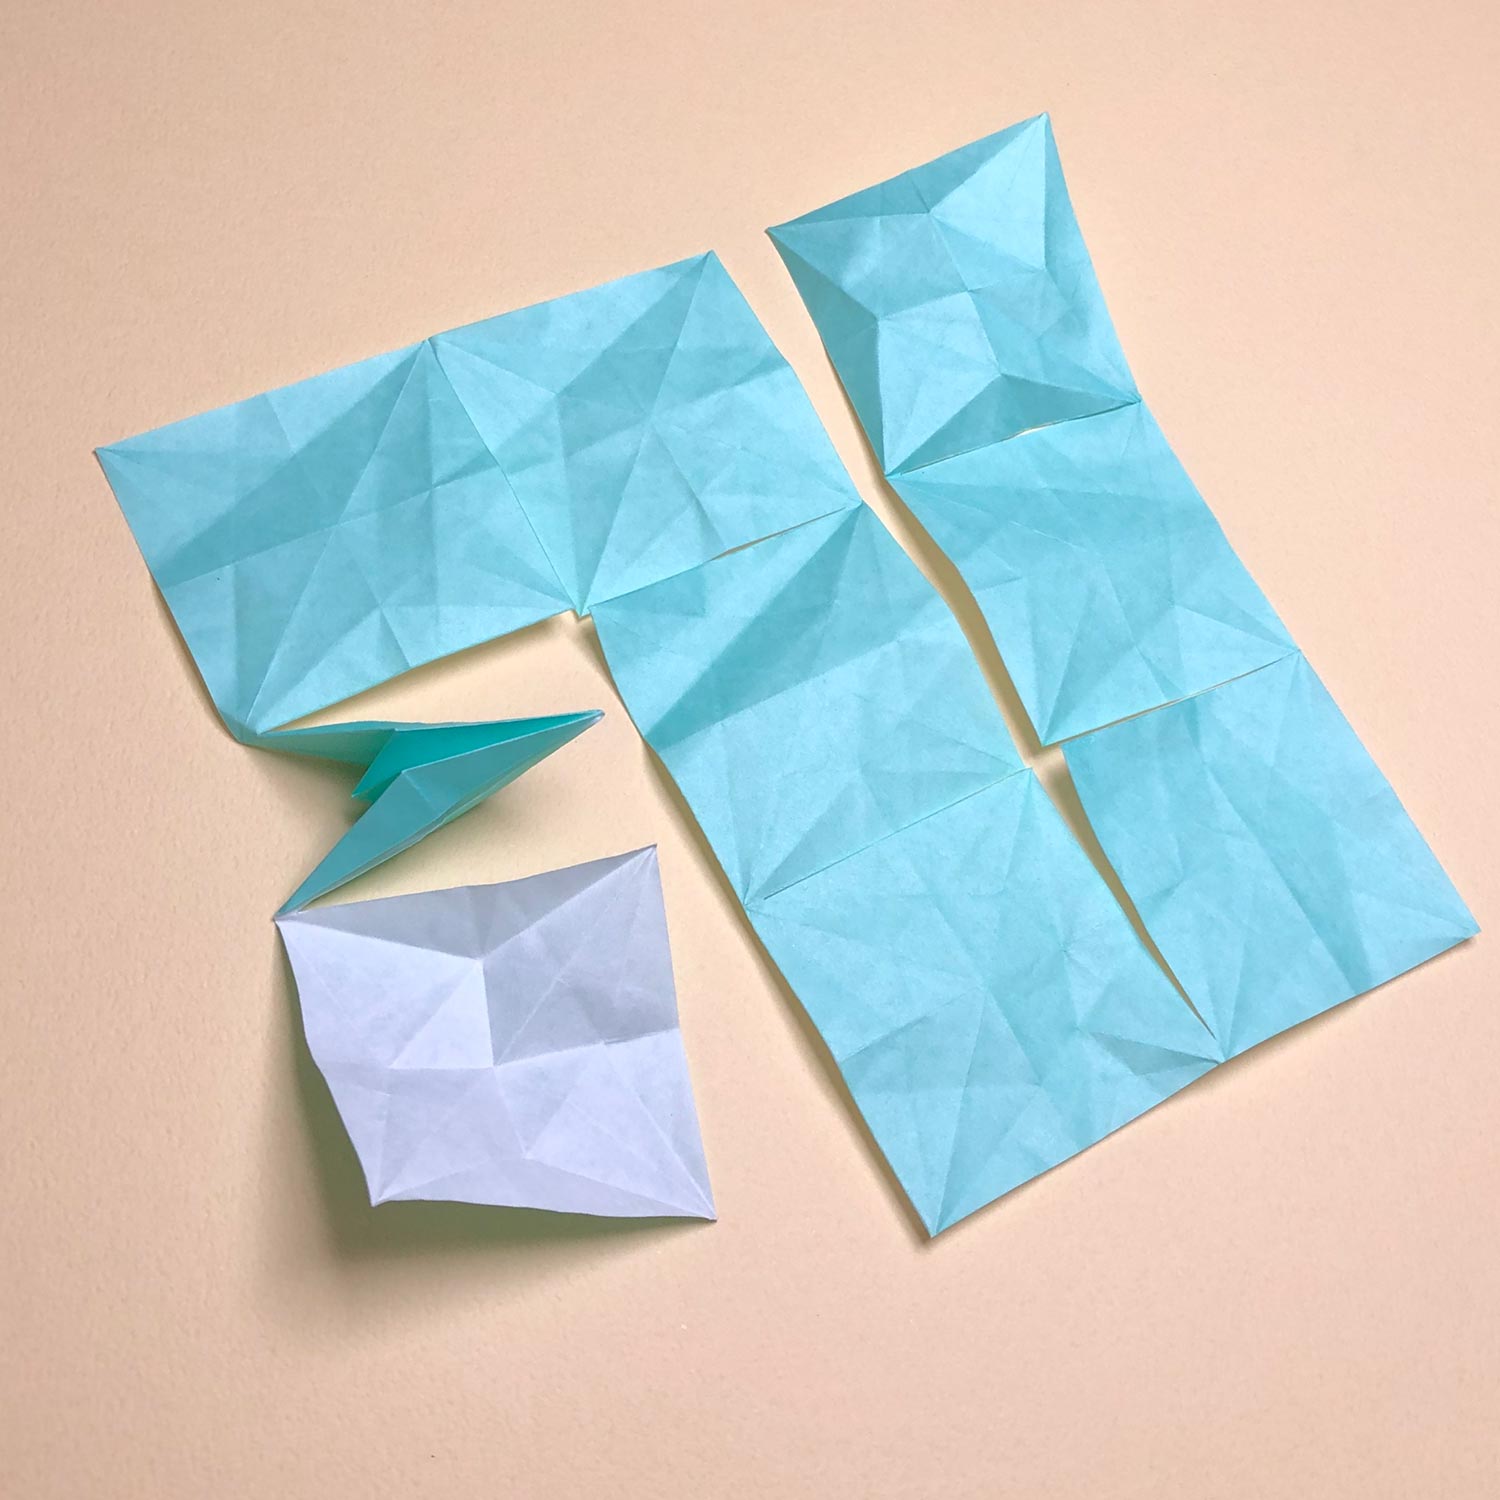
(12)
Raise them like this picture.
The first crane is finished.
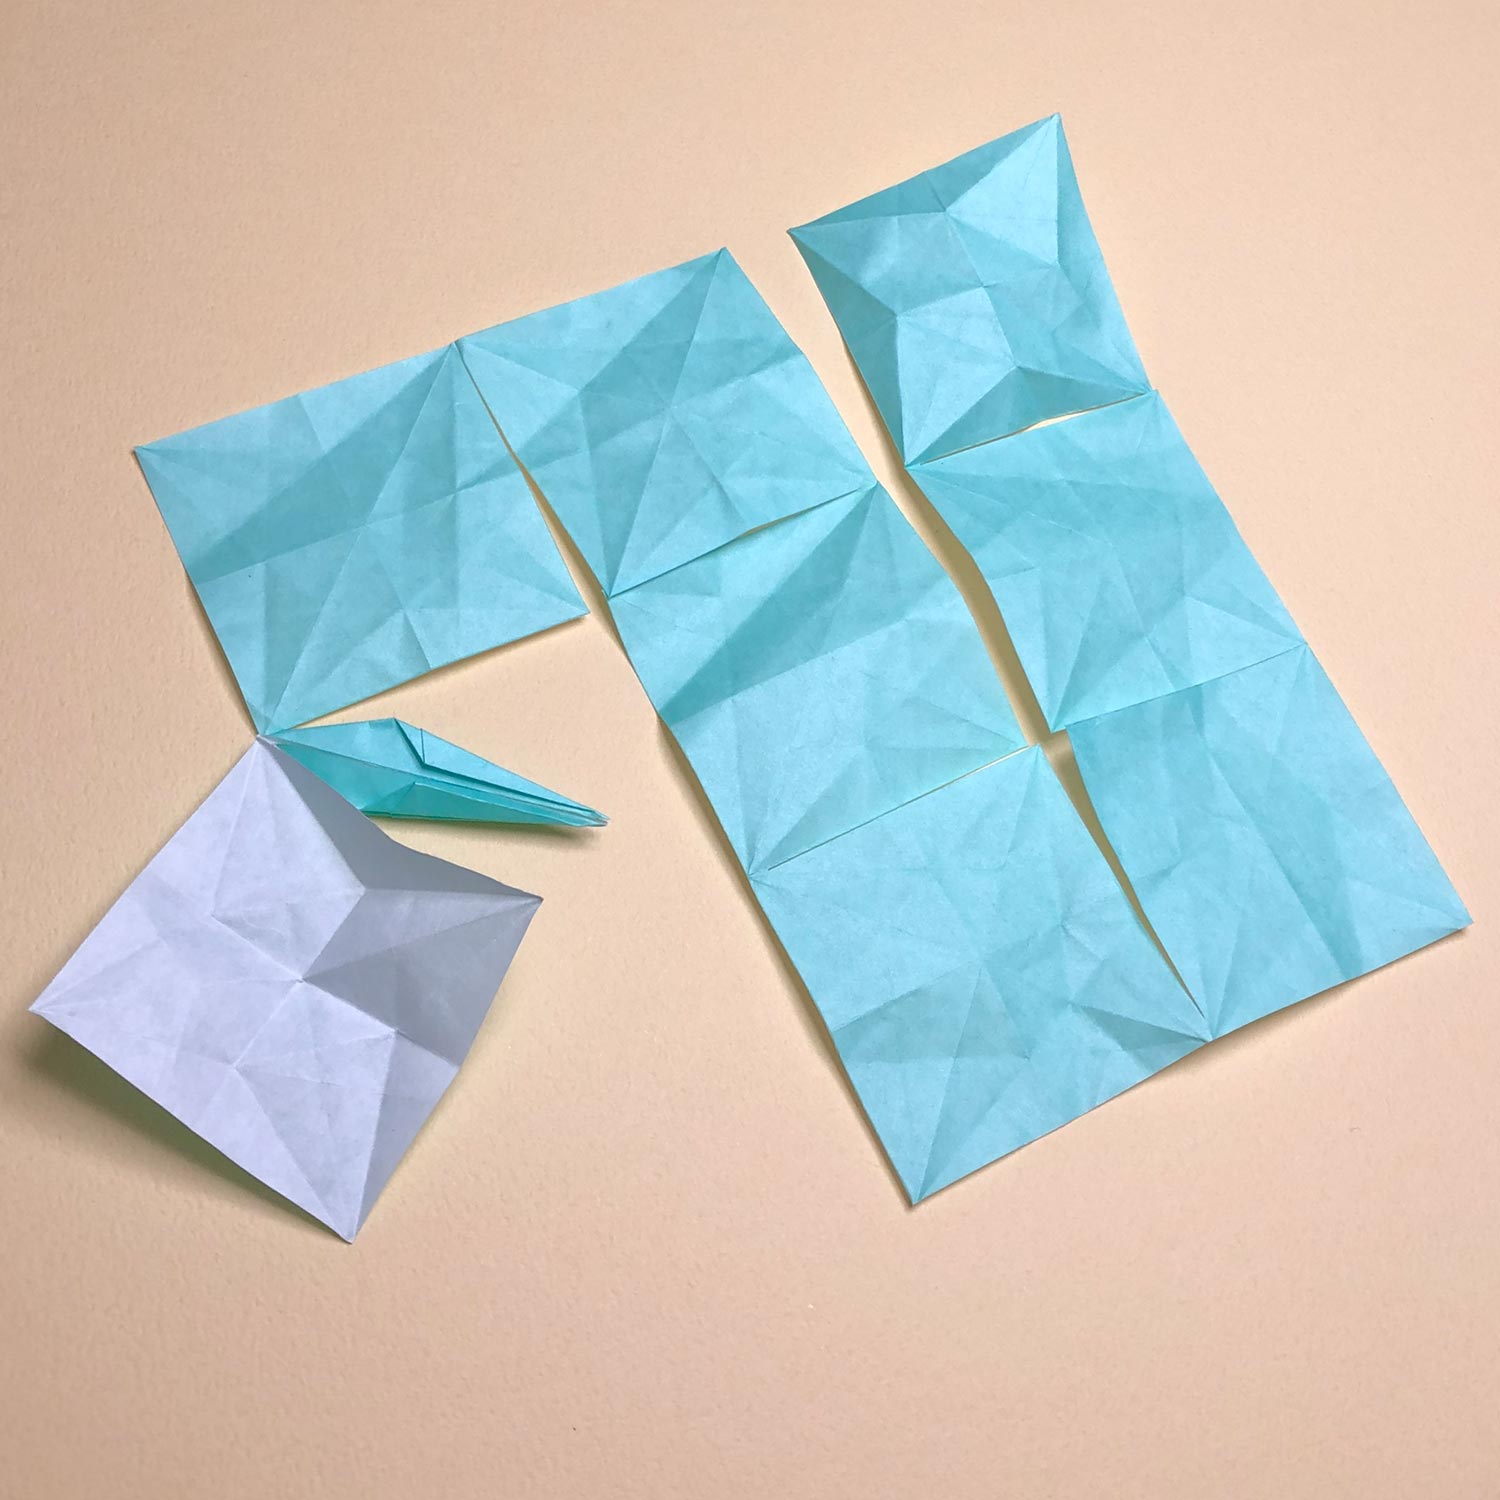
(13)
In order to get easier to fold other cranes, spread wings of the completed crane.
(14)
Then fold the top left square.
Make a star-shape like this picture.
Then make a crane so that wings are connected to others.
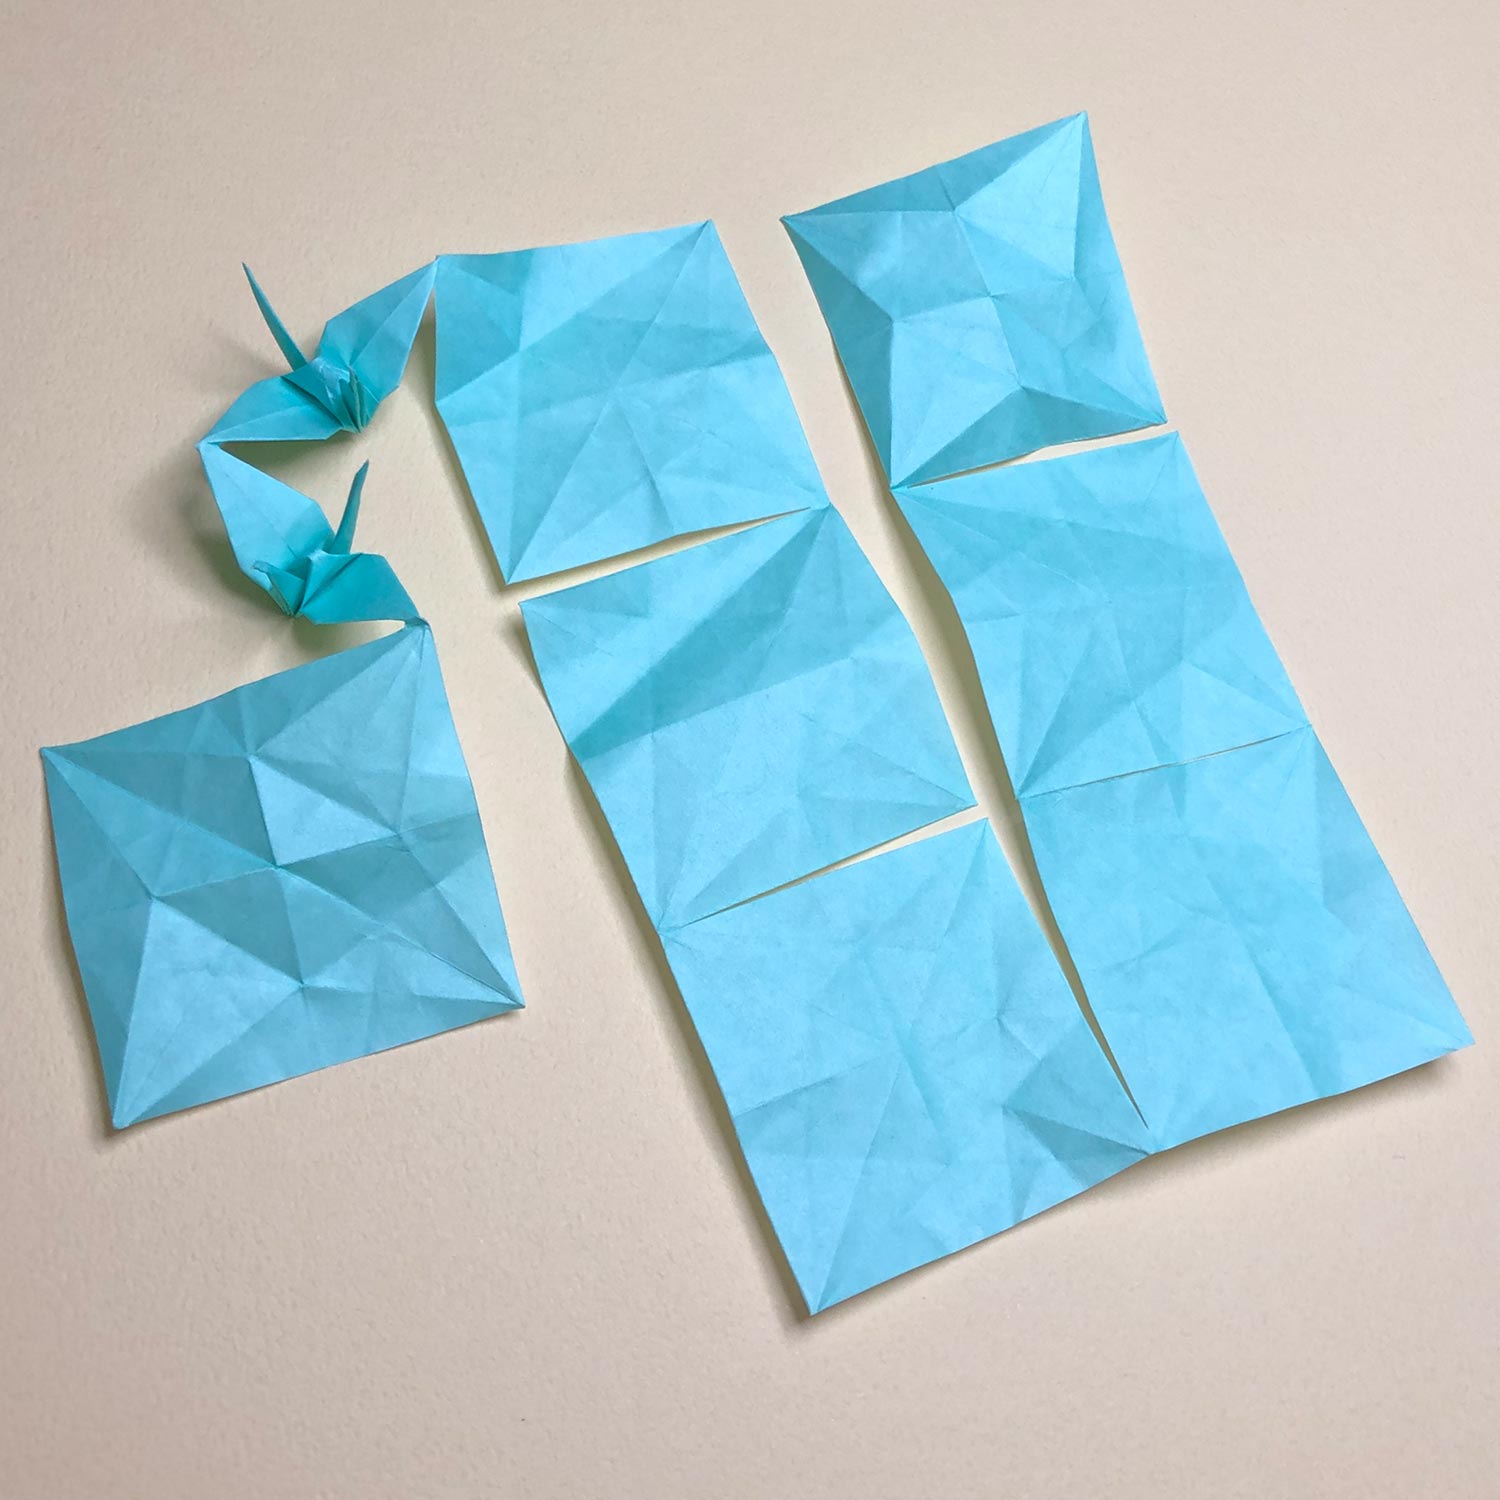
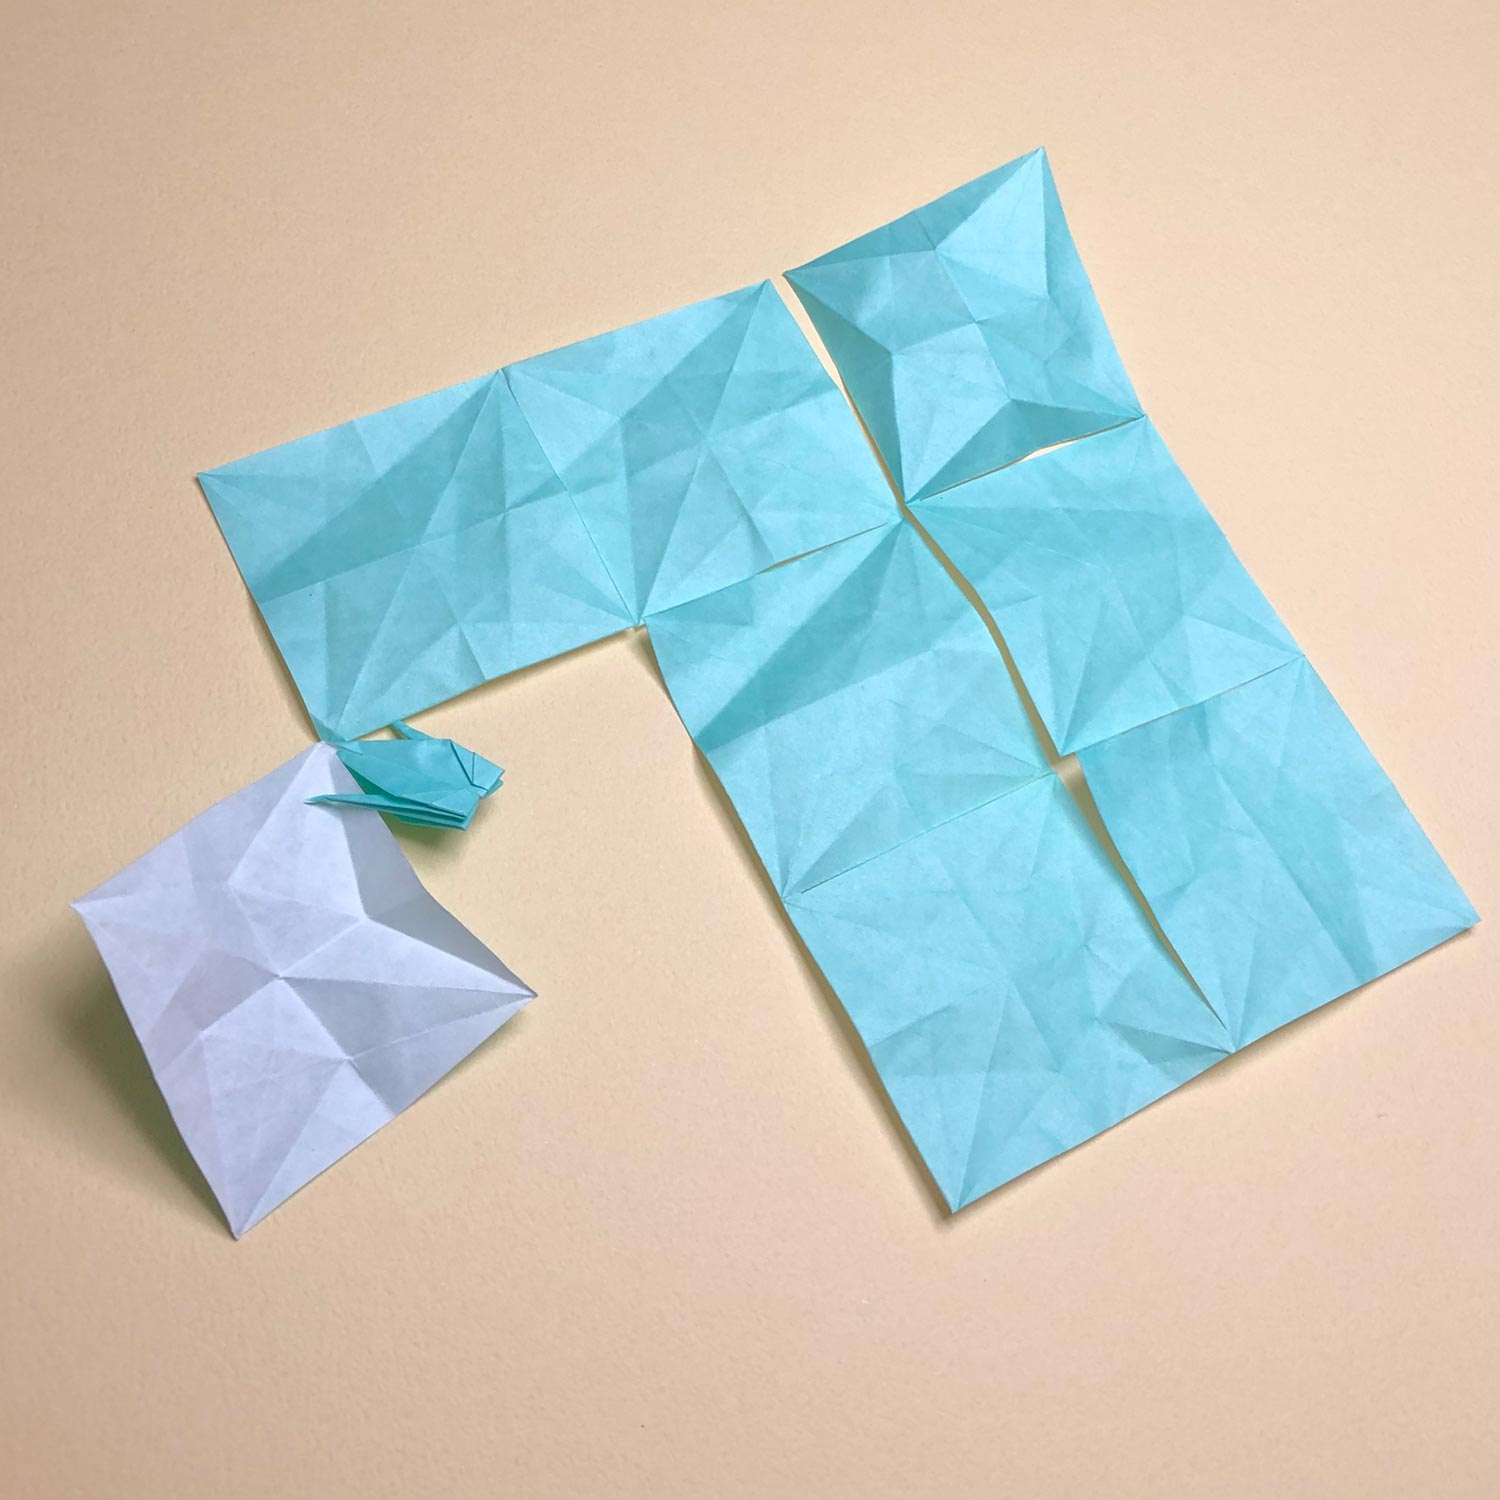
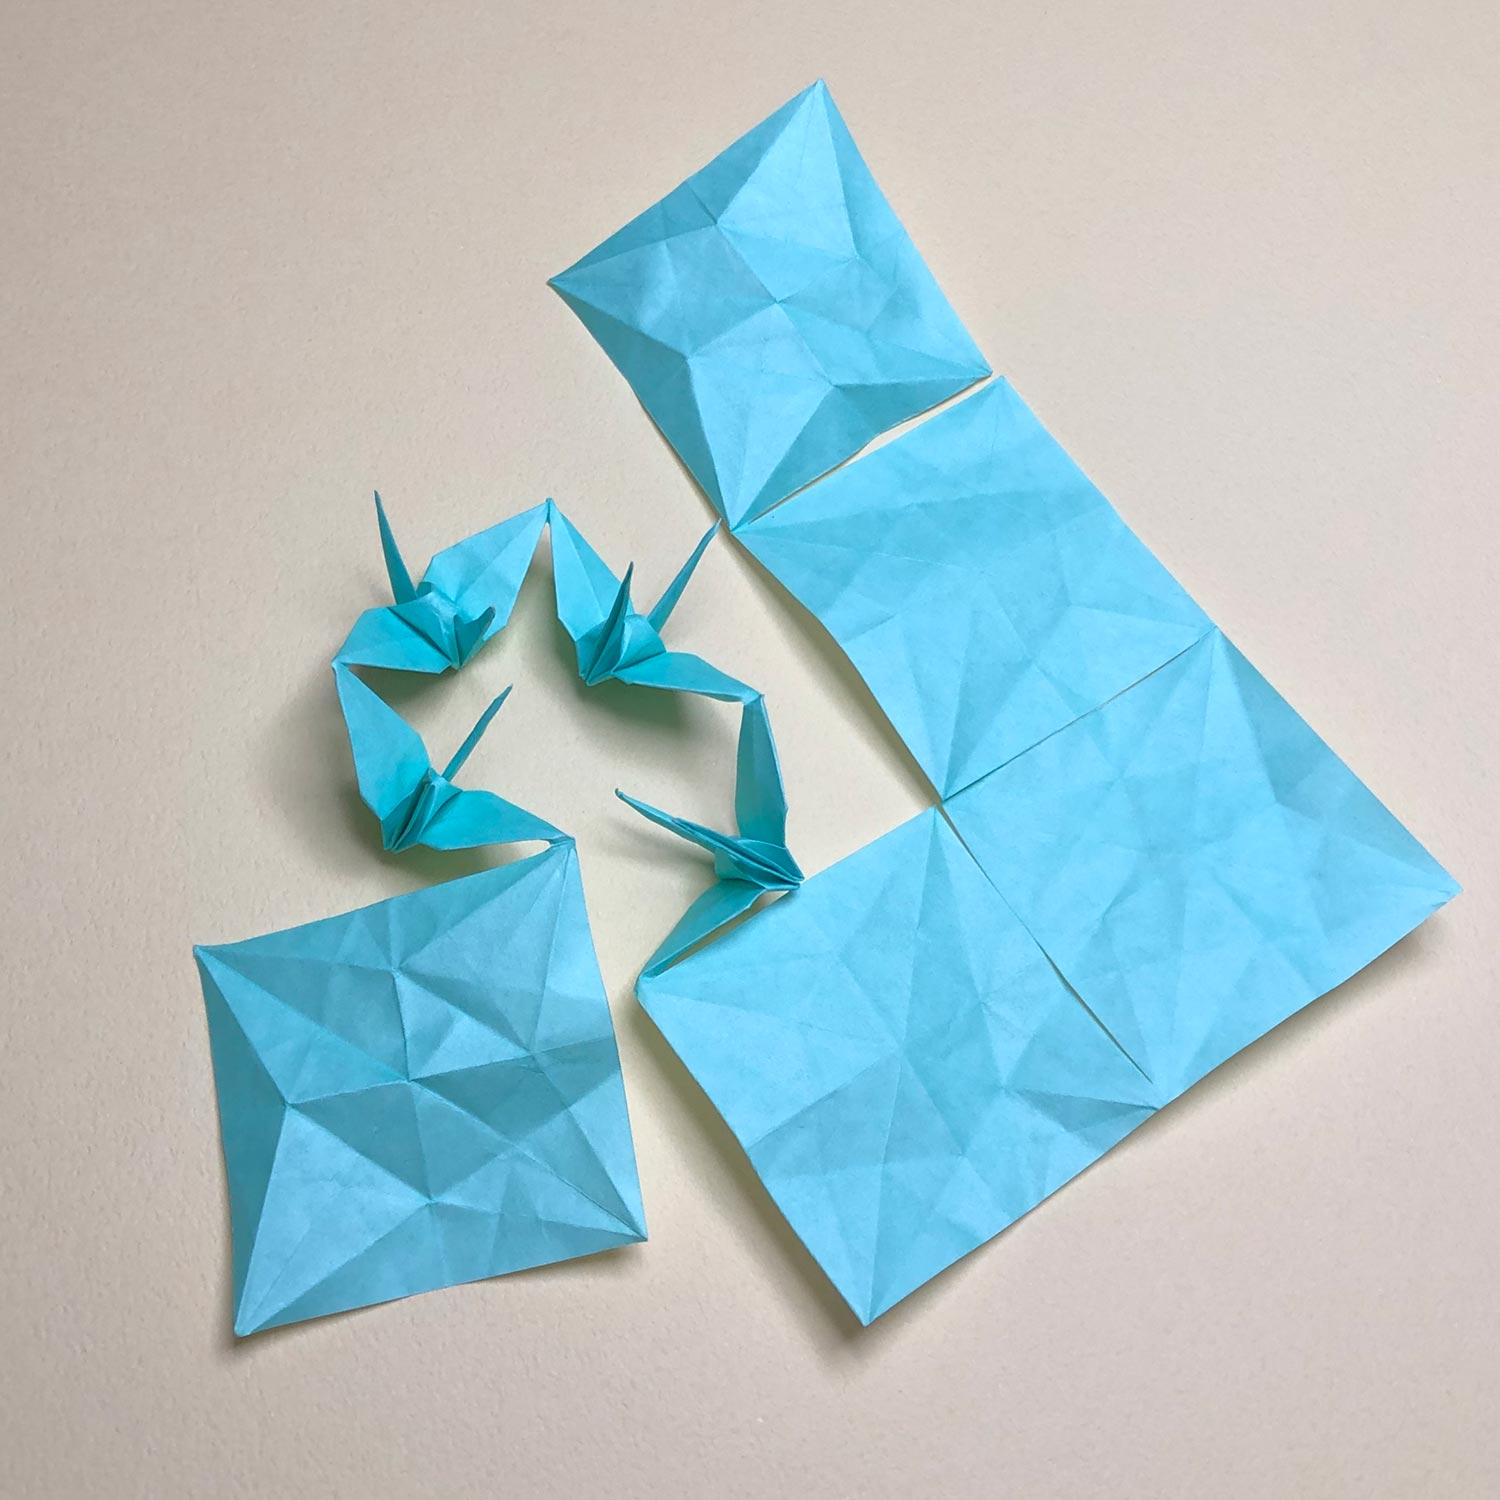
(15)
The second crane is finished.
In order to get easier to fold other cranes, spread wings of the completed crane.
(16)
Then fold each square in order from the square beside the completed crane in the same way.
(Make each crane so that wings are connected to others.)
The more you complete cranes, the easier it get to get caught on each other.
Therefore, fold each square carefully!
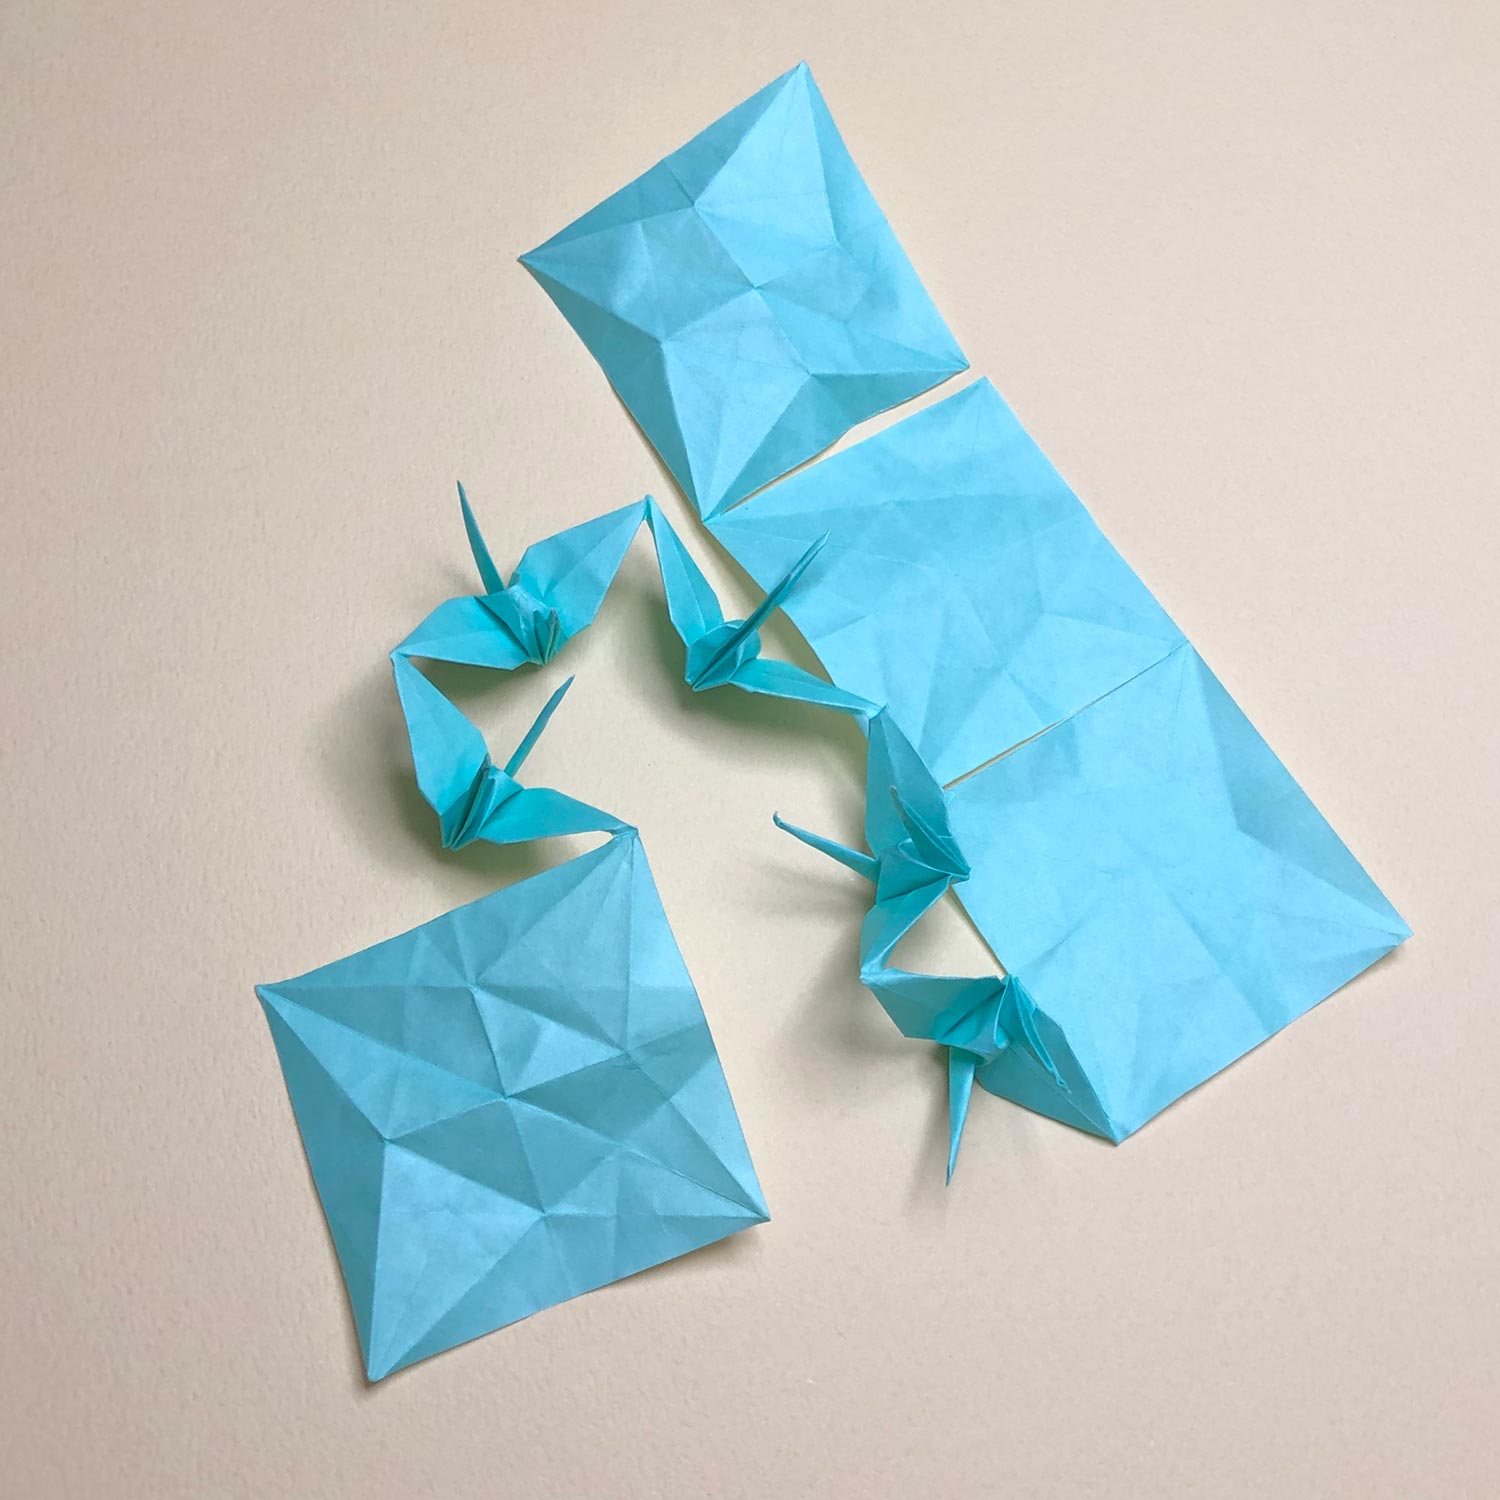
(17)
The third crane is finished.
Fold each square until seventh.
(18)
Make each crane so that wings are connected to others.
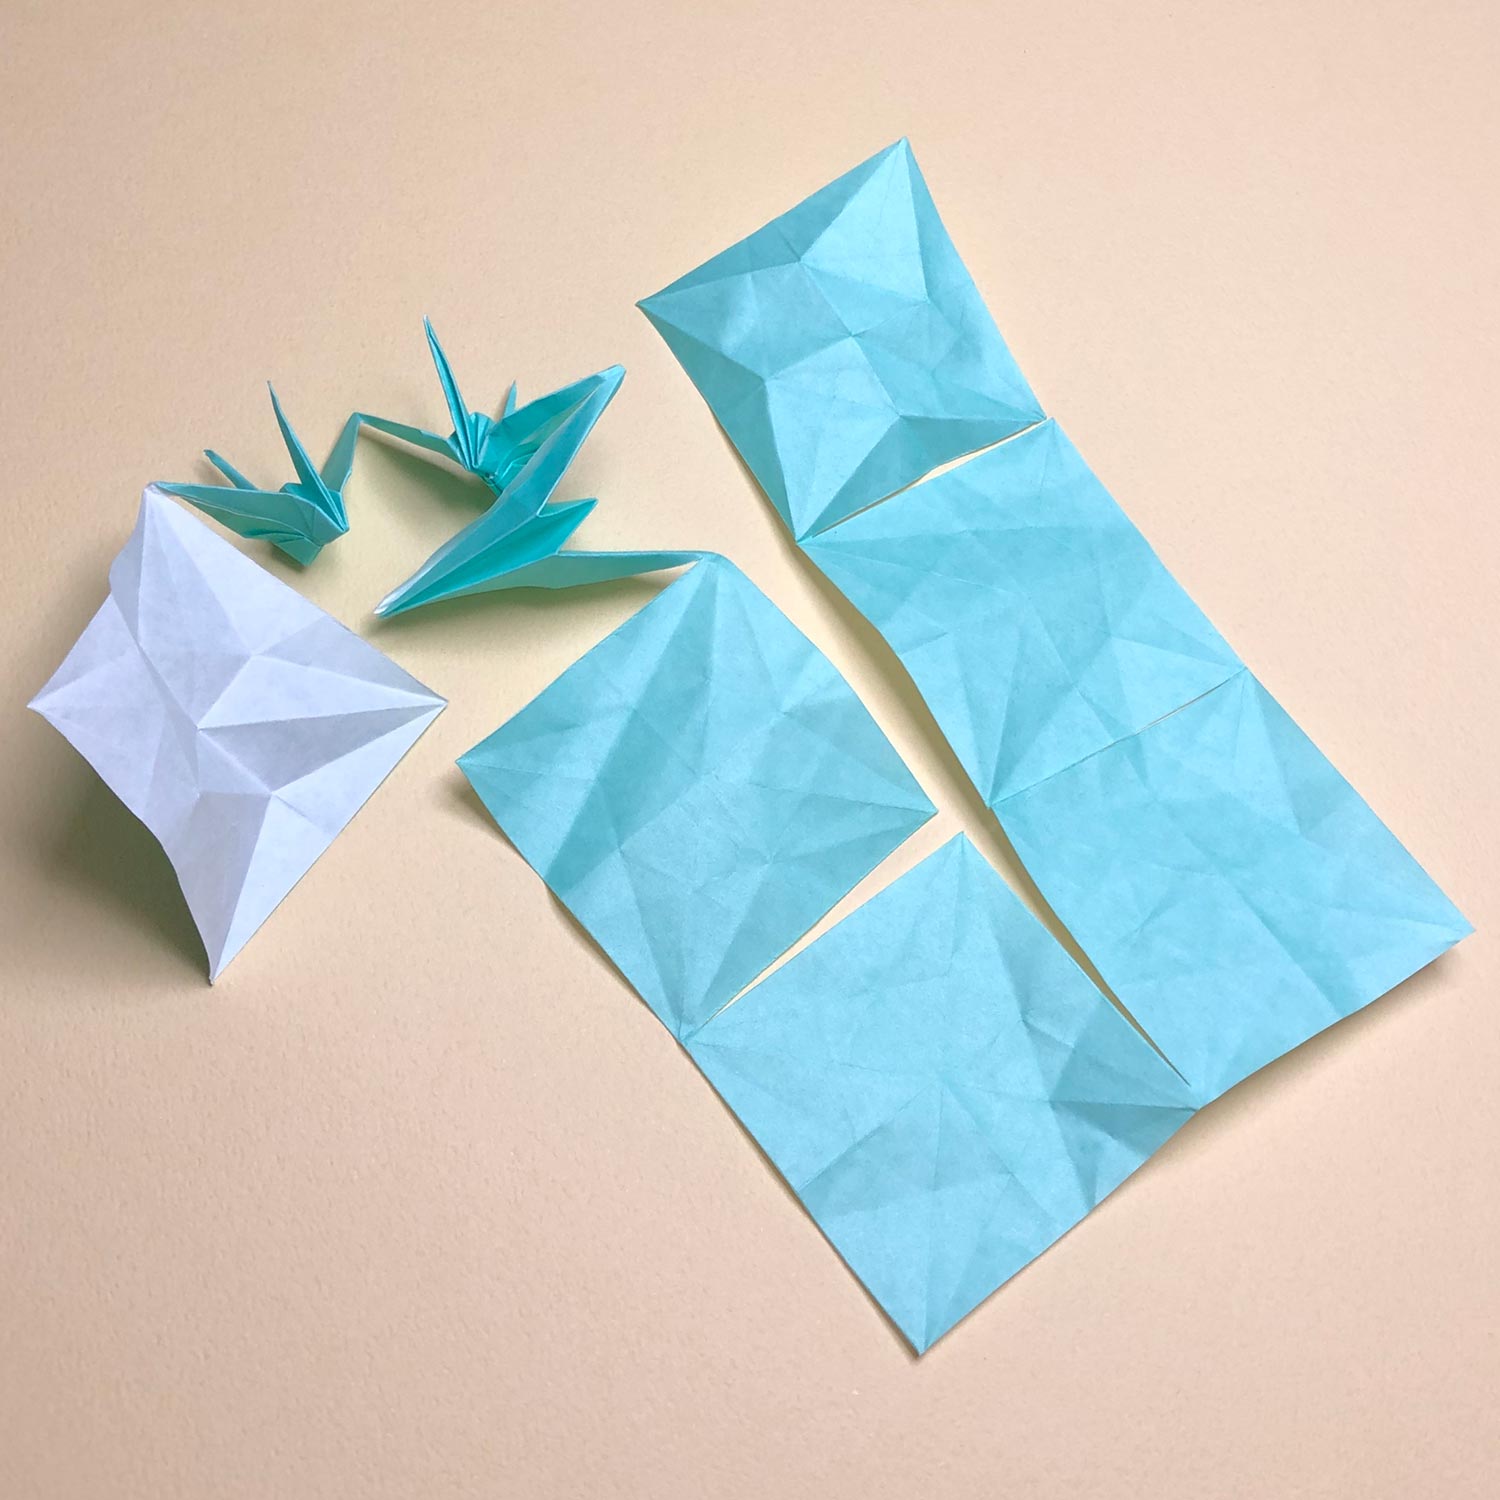
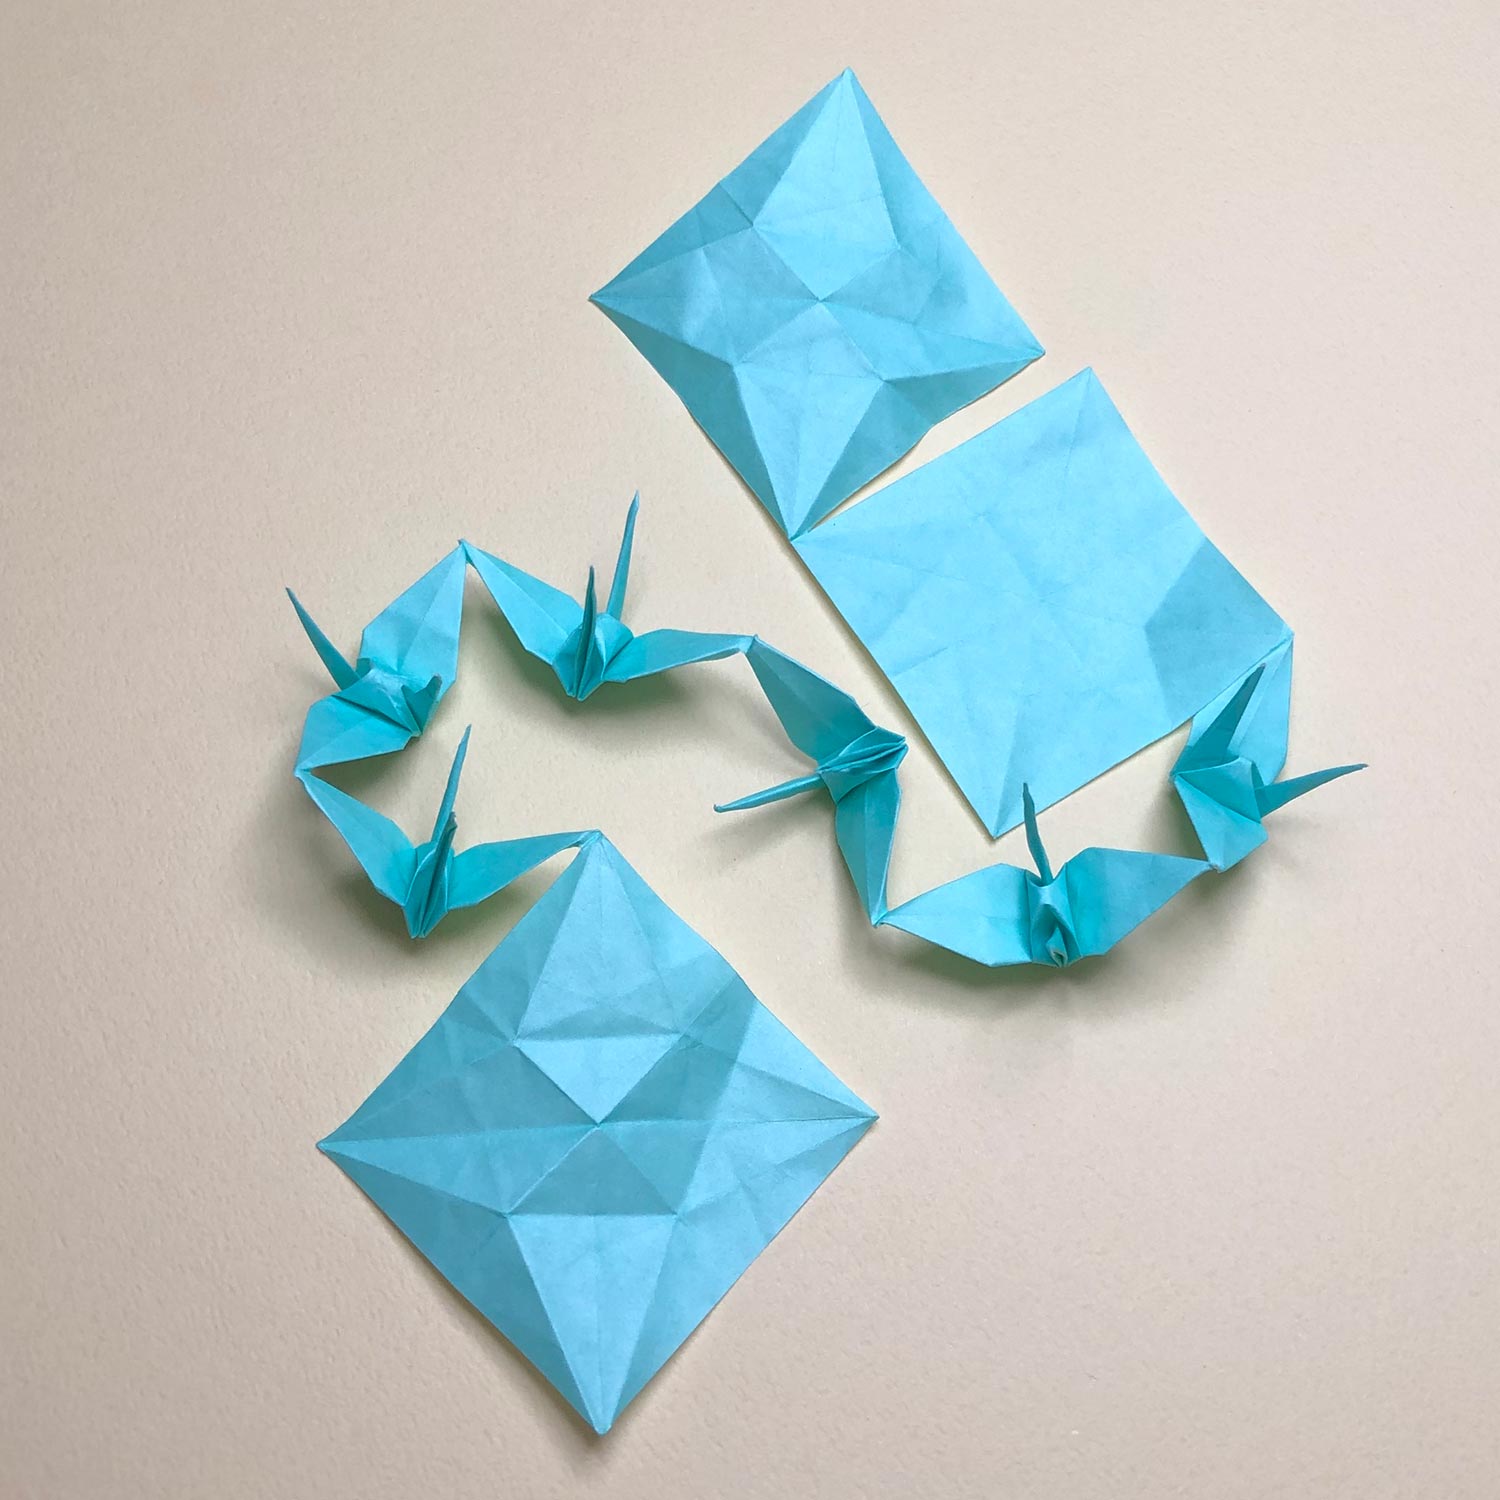
(19)
The fifth crane is finished.
(20)
Fold each square carefully.

(21)
The seventh crane is finished.