Make Hanabishi
(1)
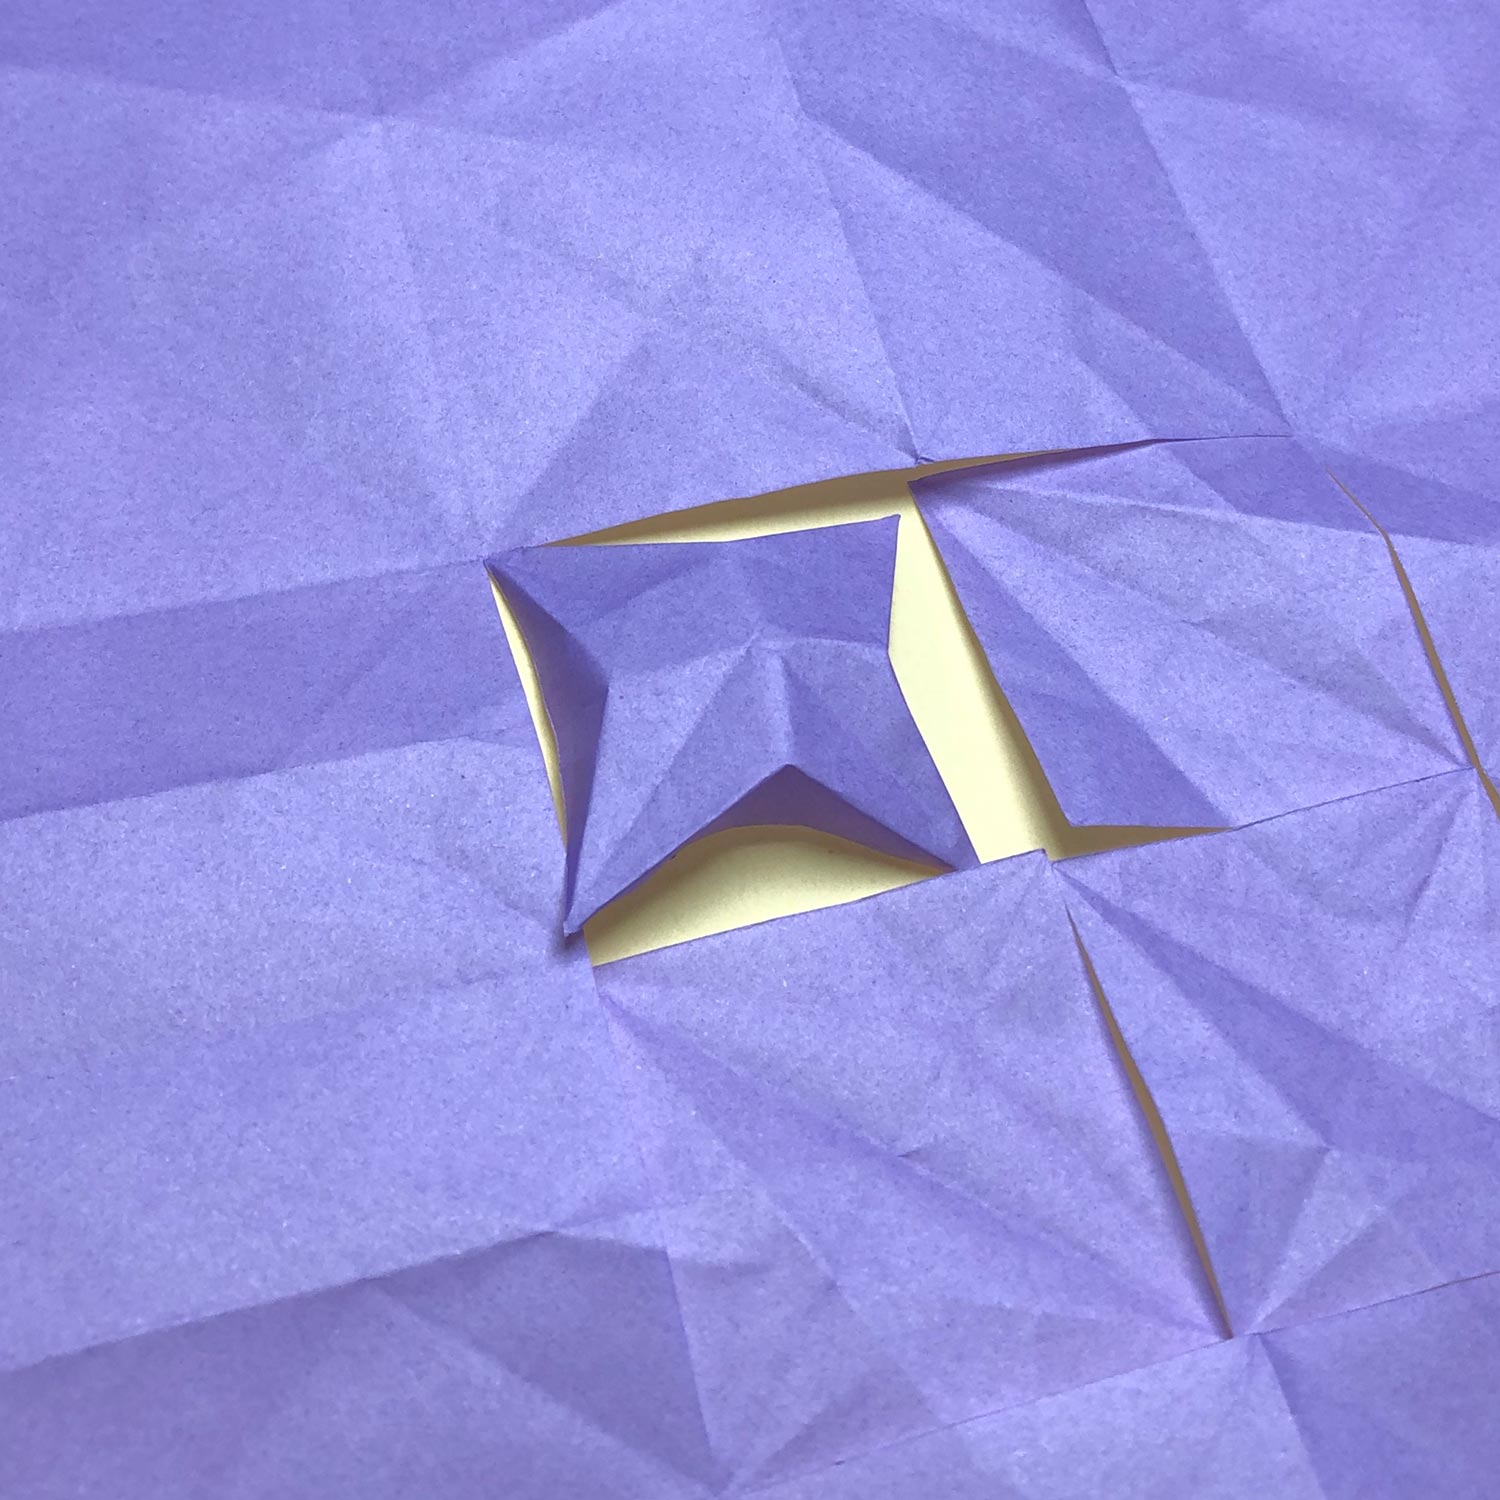
Start with folding the small square.
Make a star-shape like this picture.
Then make a bird-base so that a wing is connected to another.
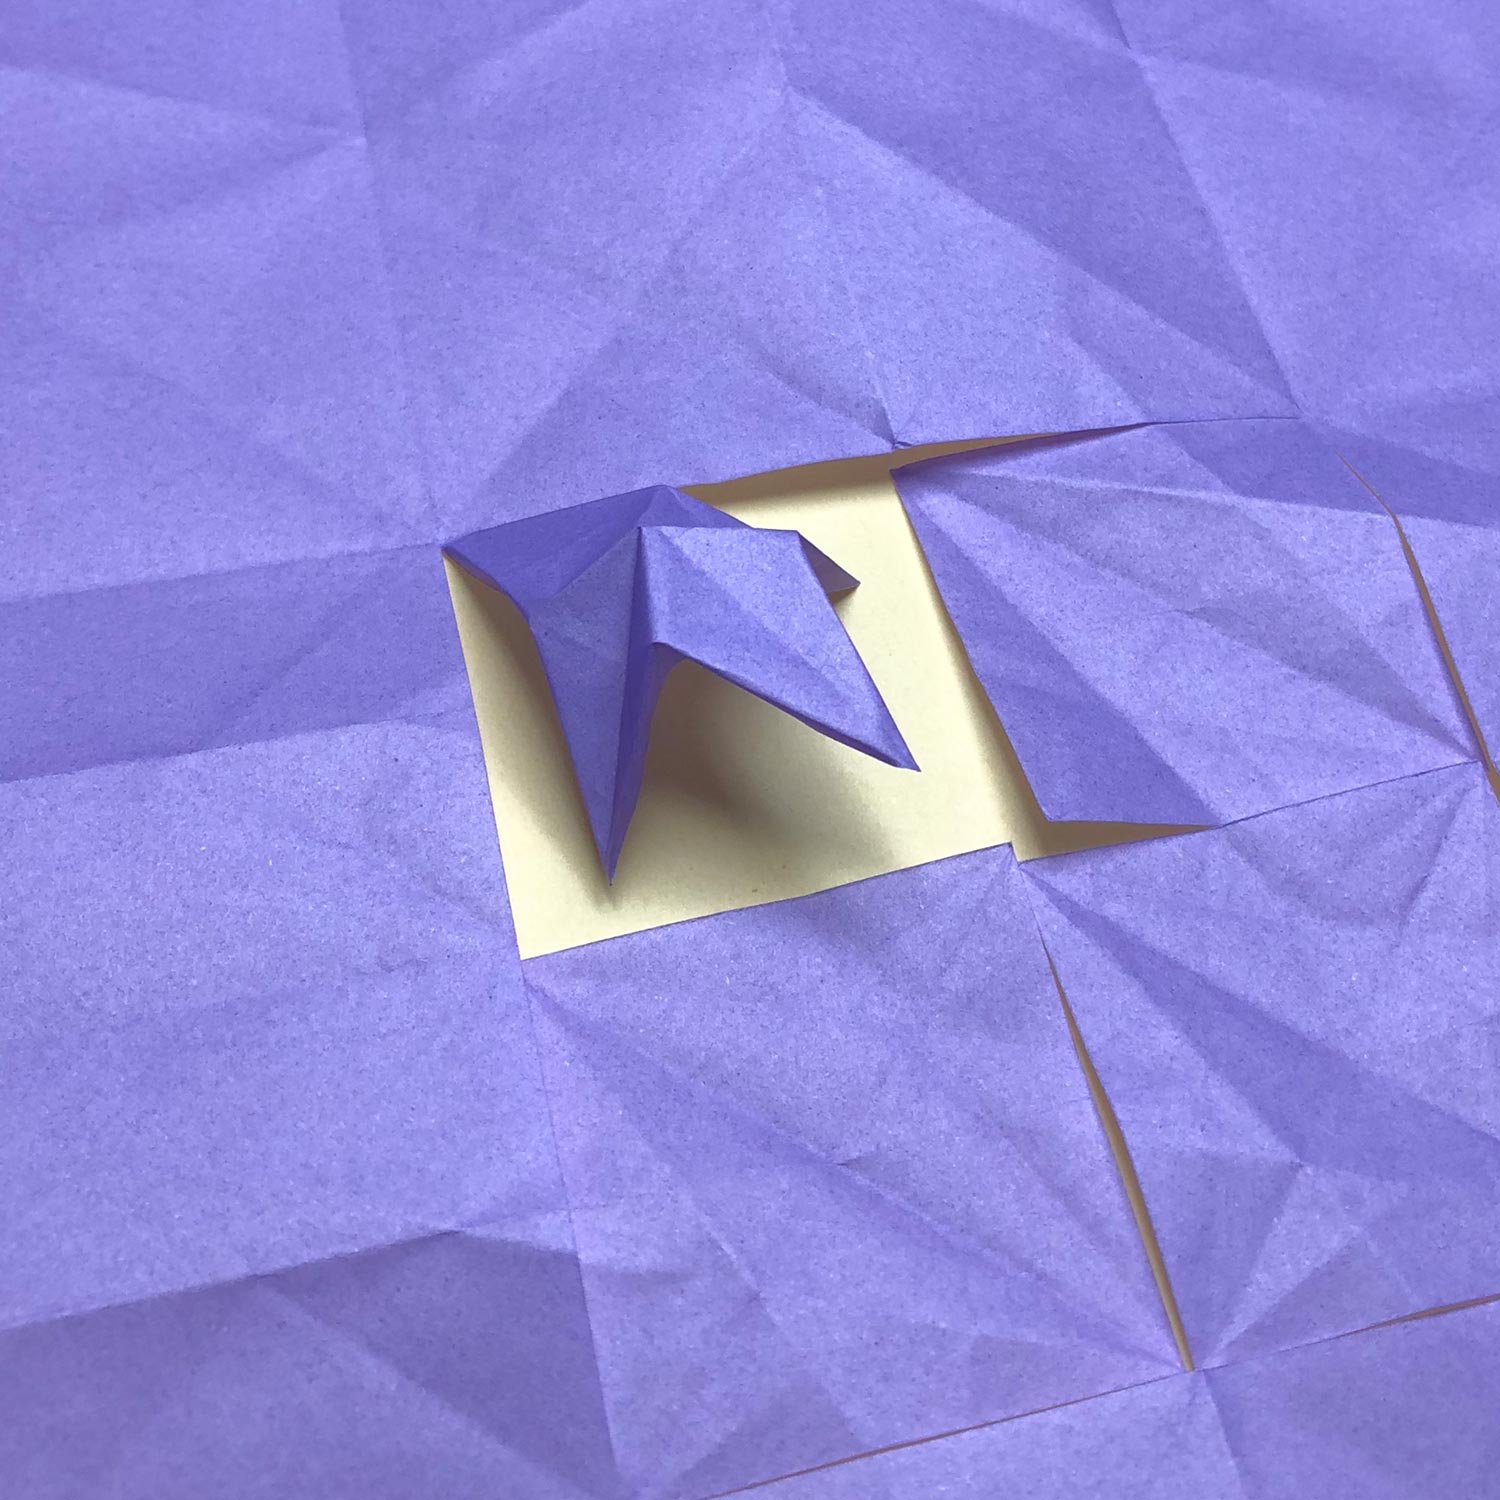
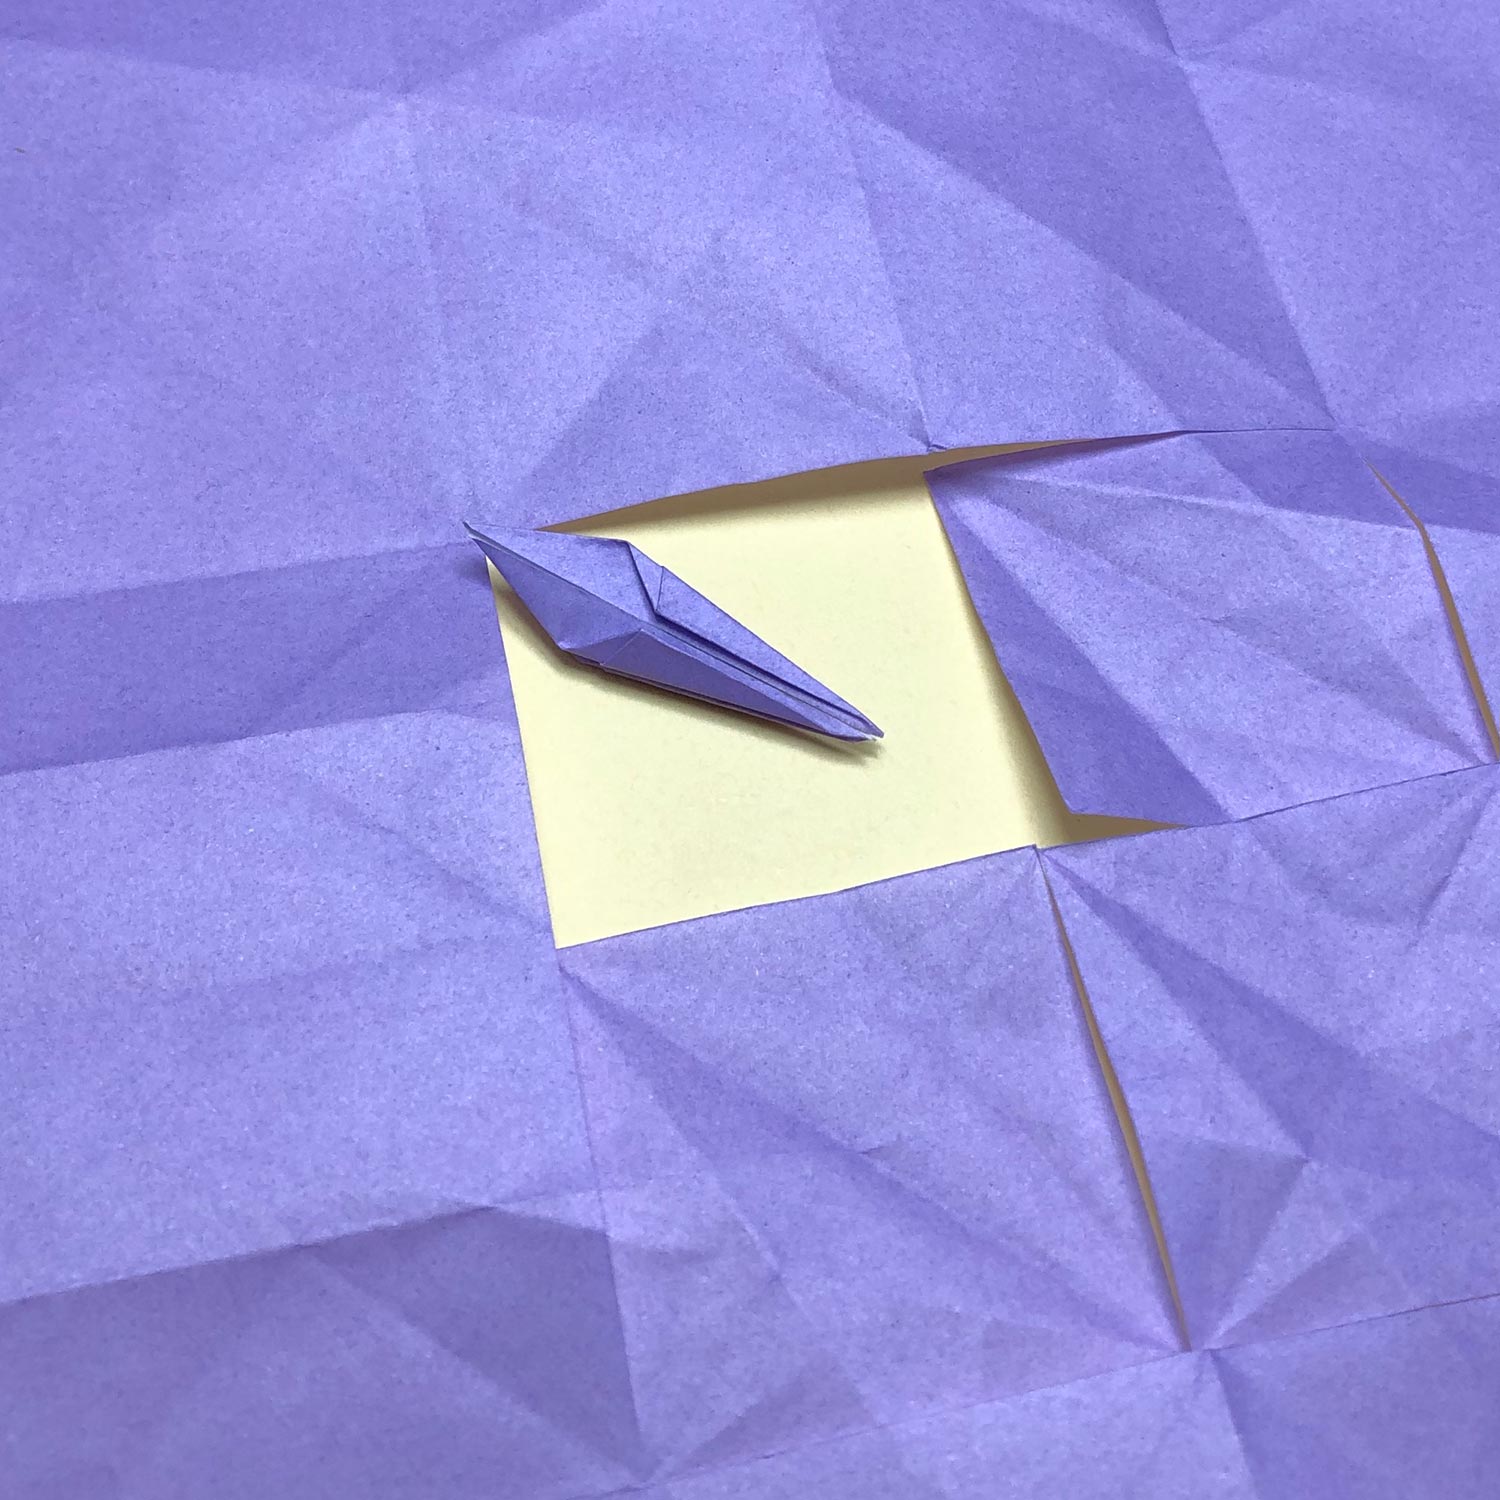
(2)
This picture is halfway through.
(3)
The bird-base is finished.
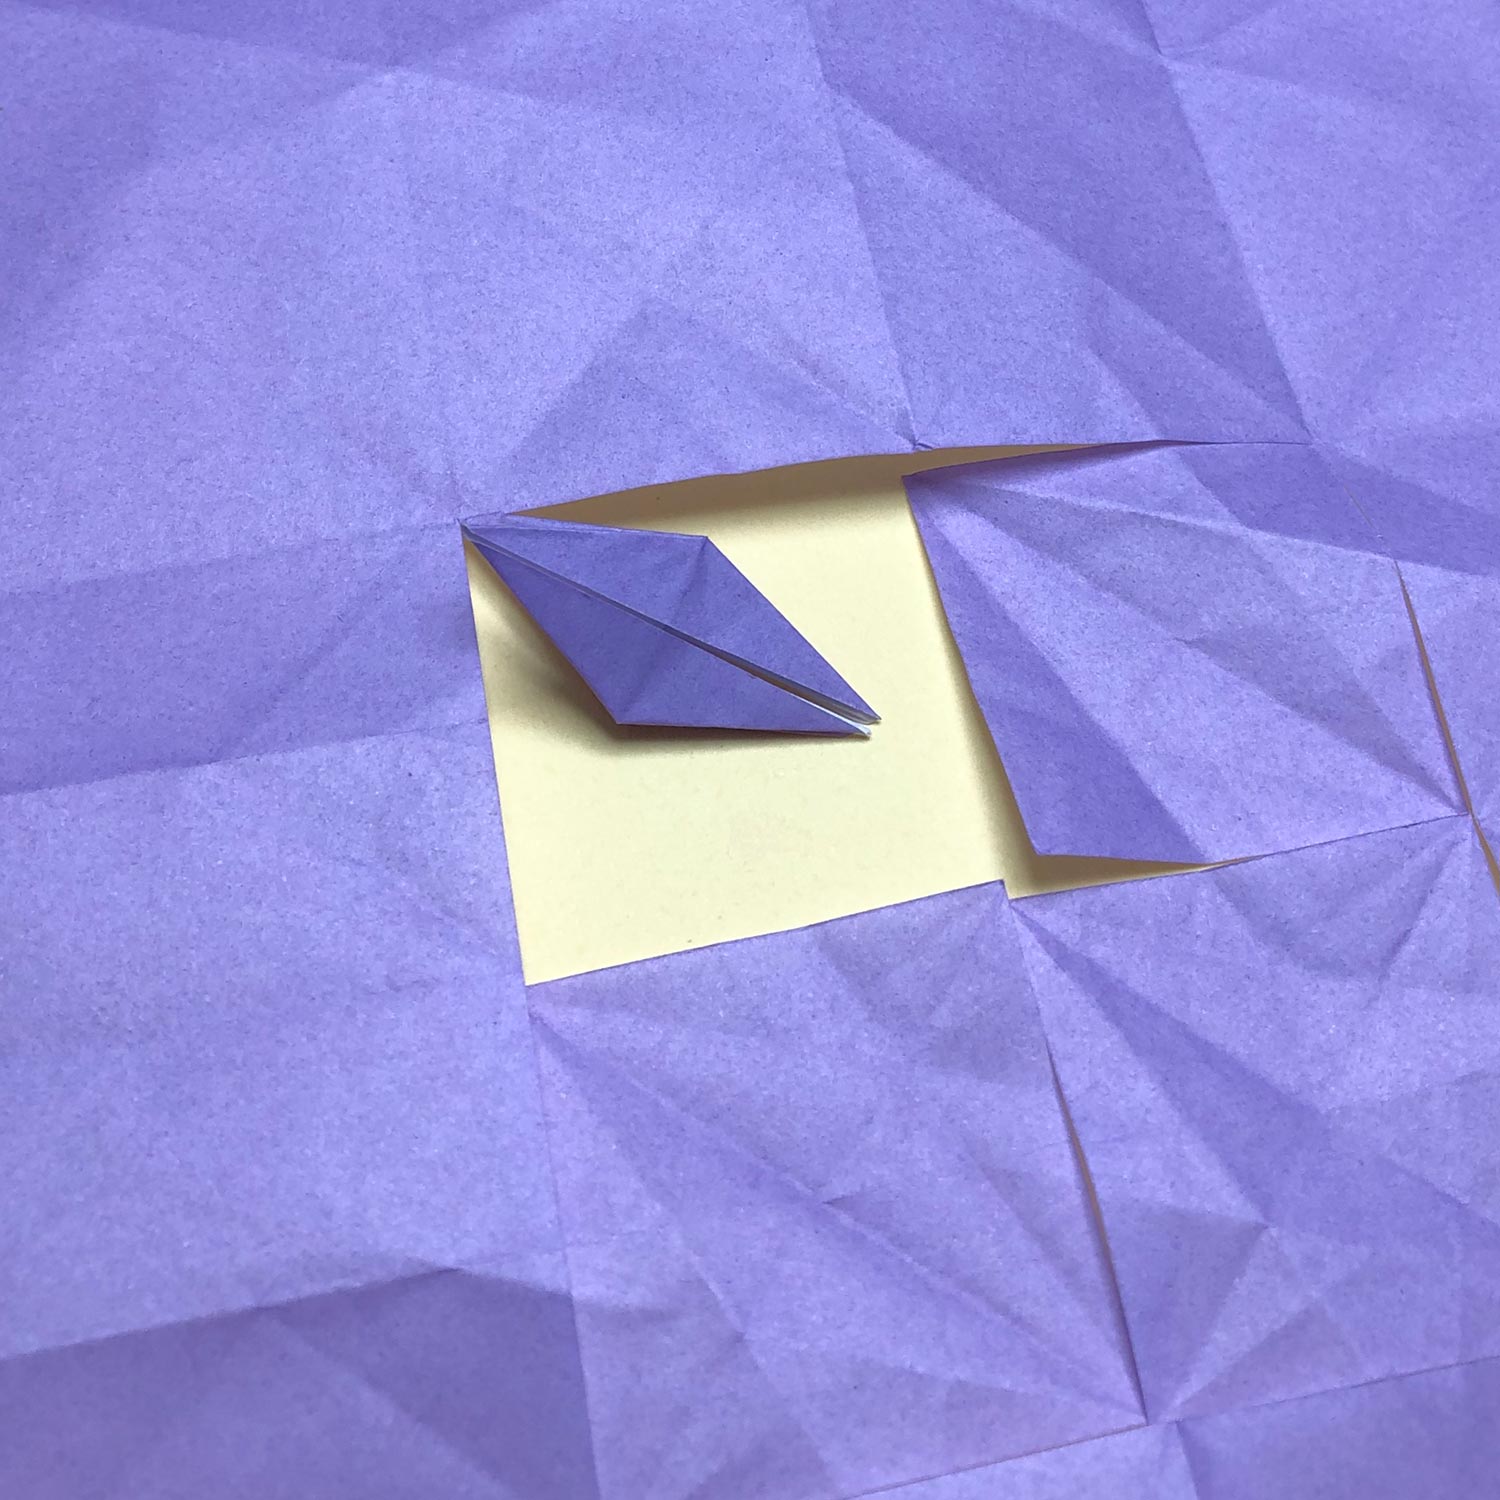
(4)
Fold each of the head/tail to the center.
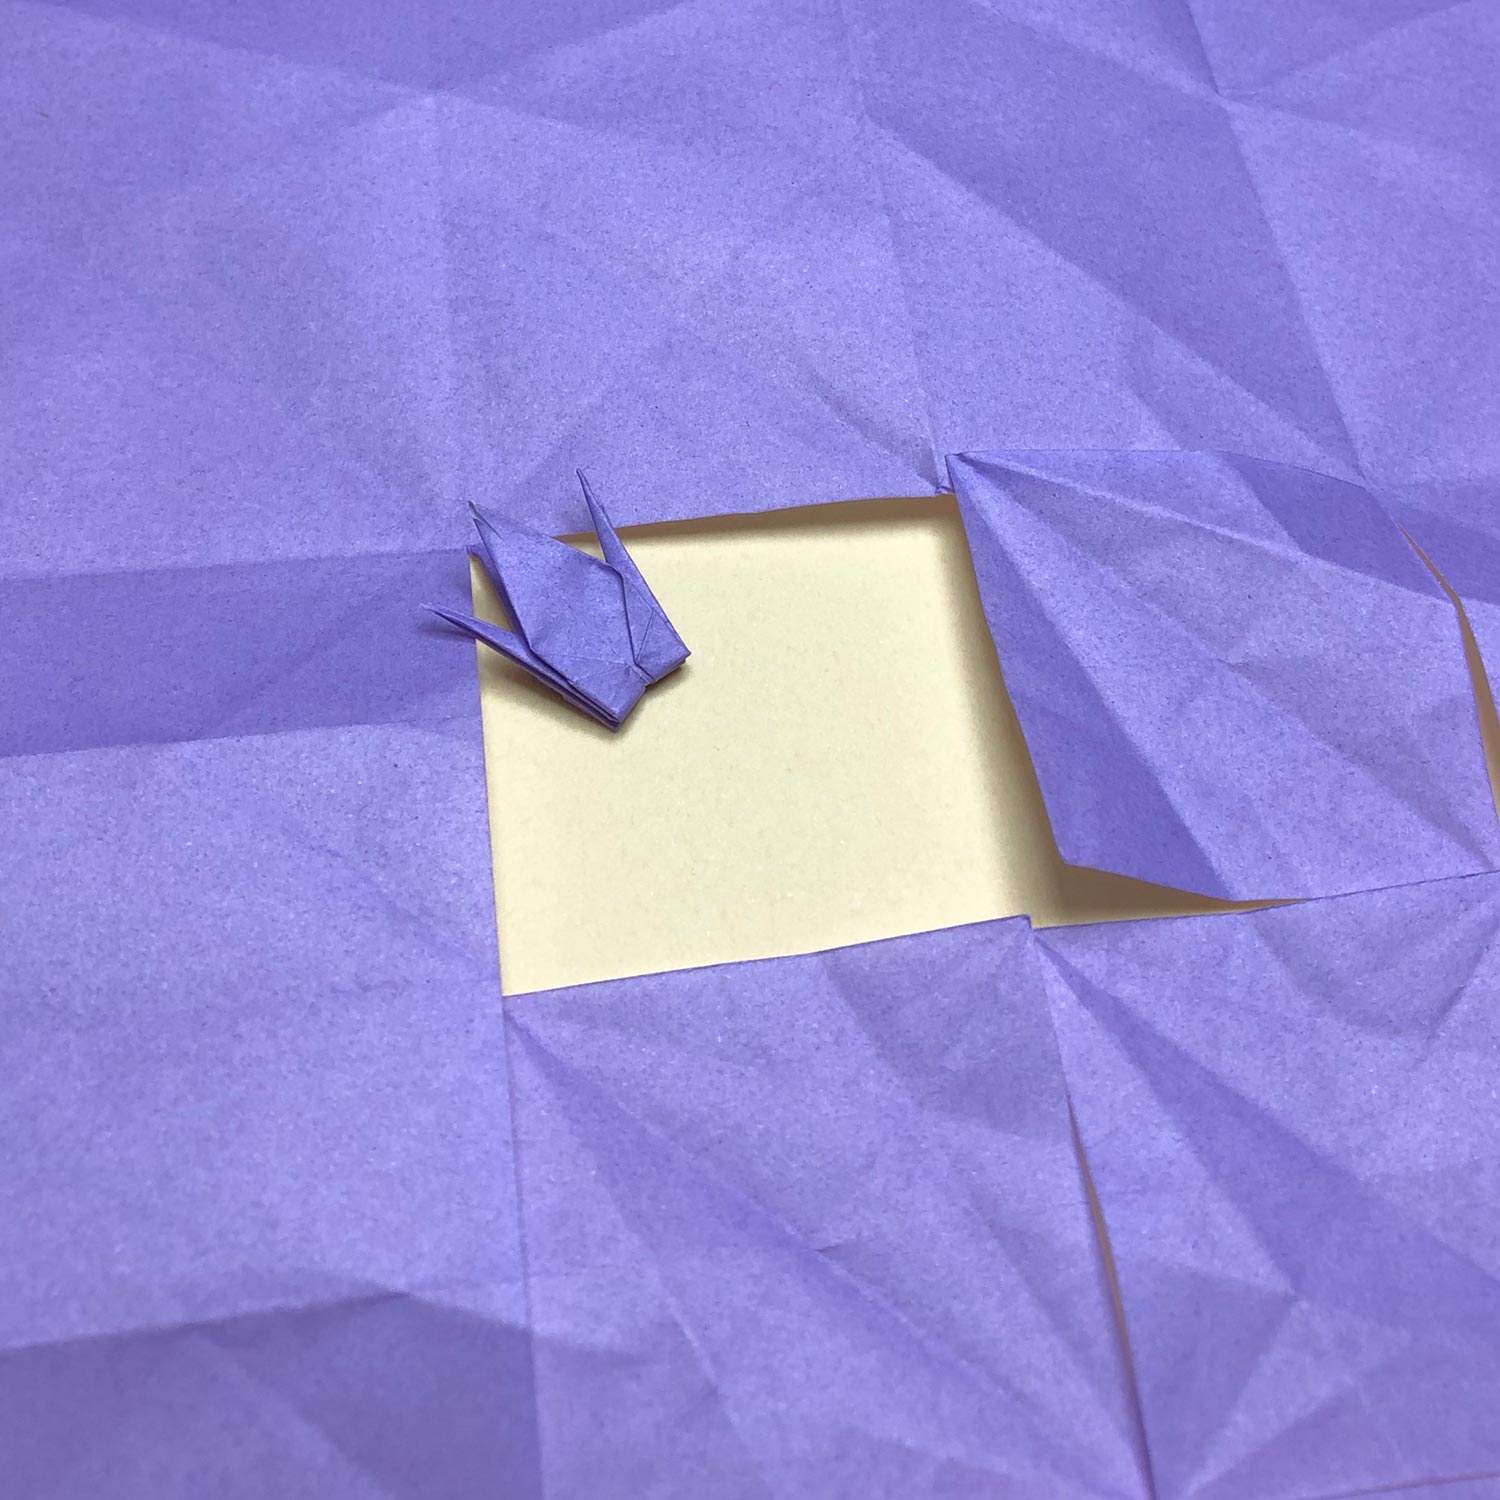
(5)
Raise them like this picture.
The first small crane is finished.
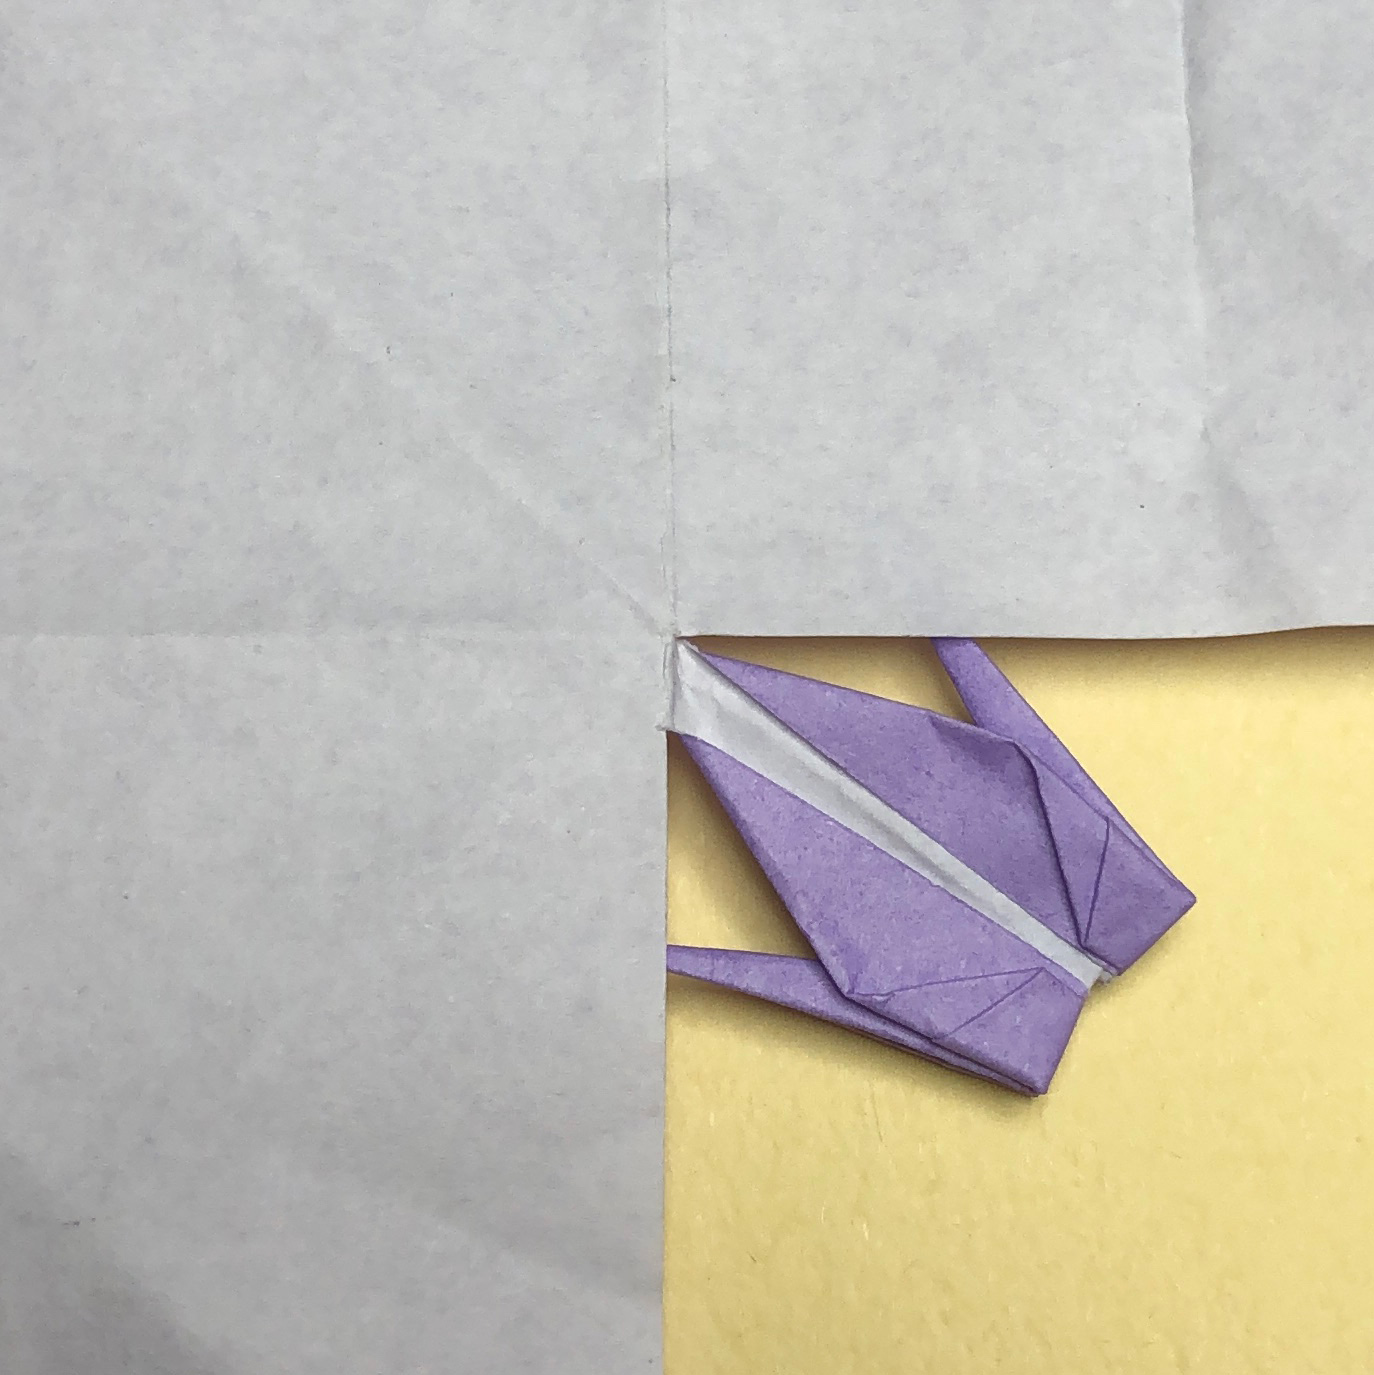
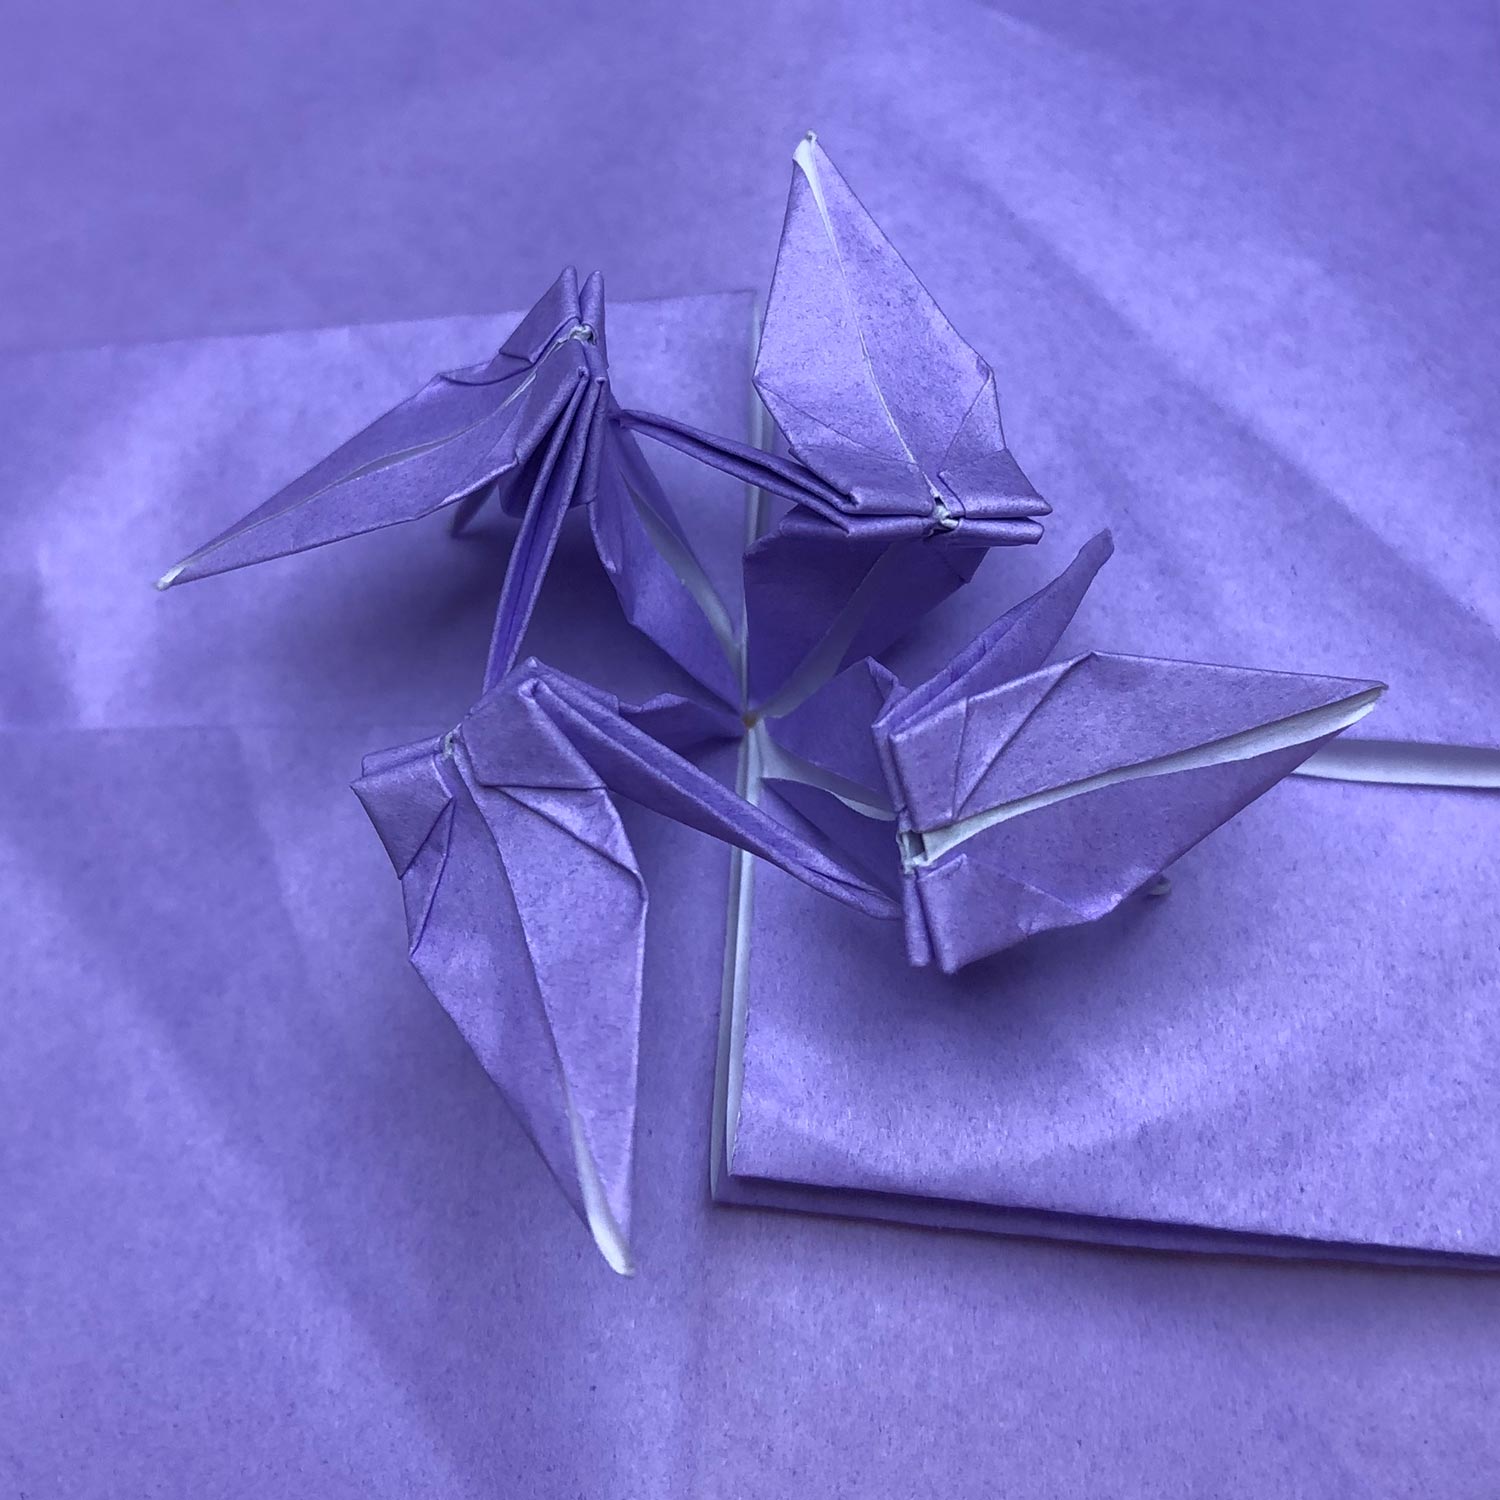
(6)
This is an enlarged picture of the connecting part.
(7)
Then fold the other three small squares.
Make cranes so that a wing is connected to another.
(8)
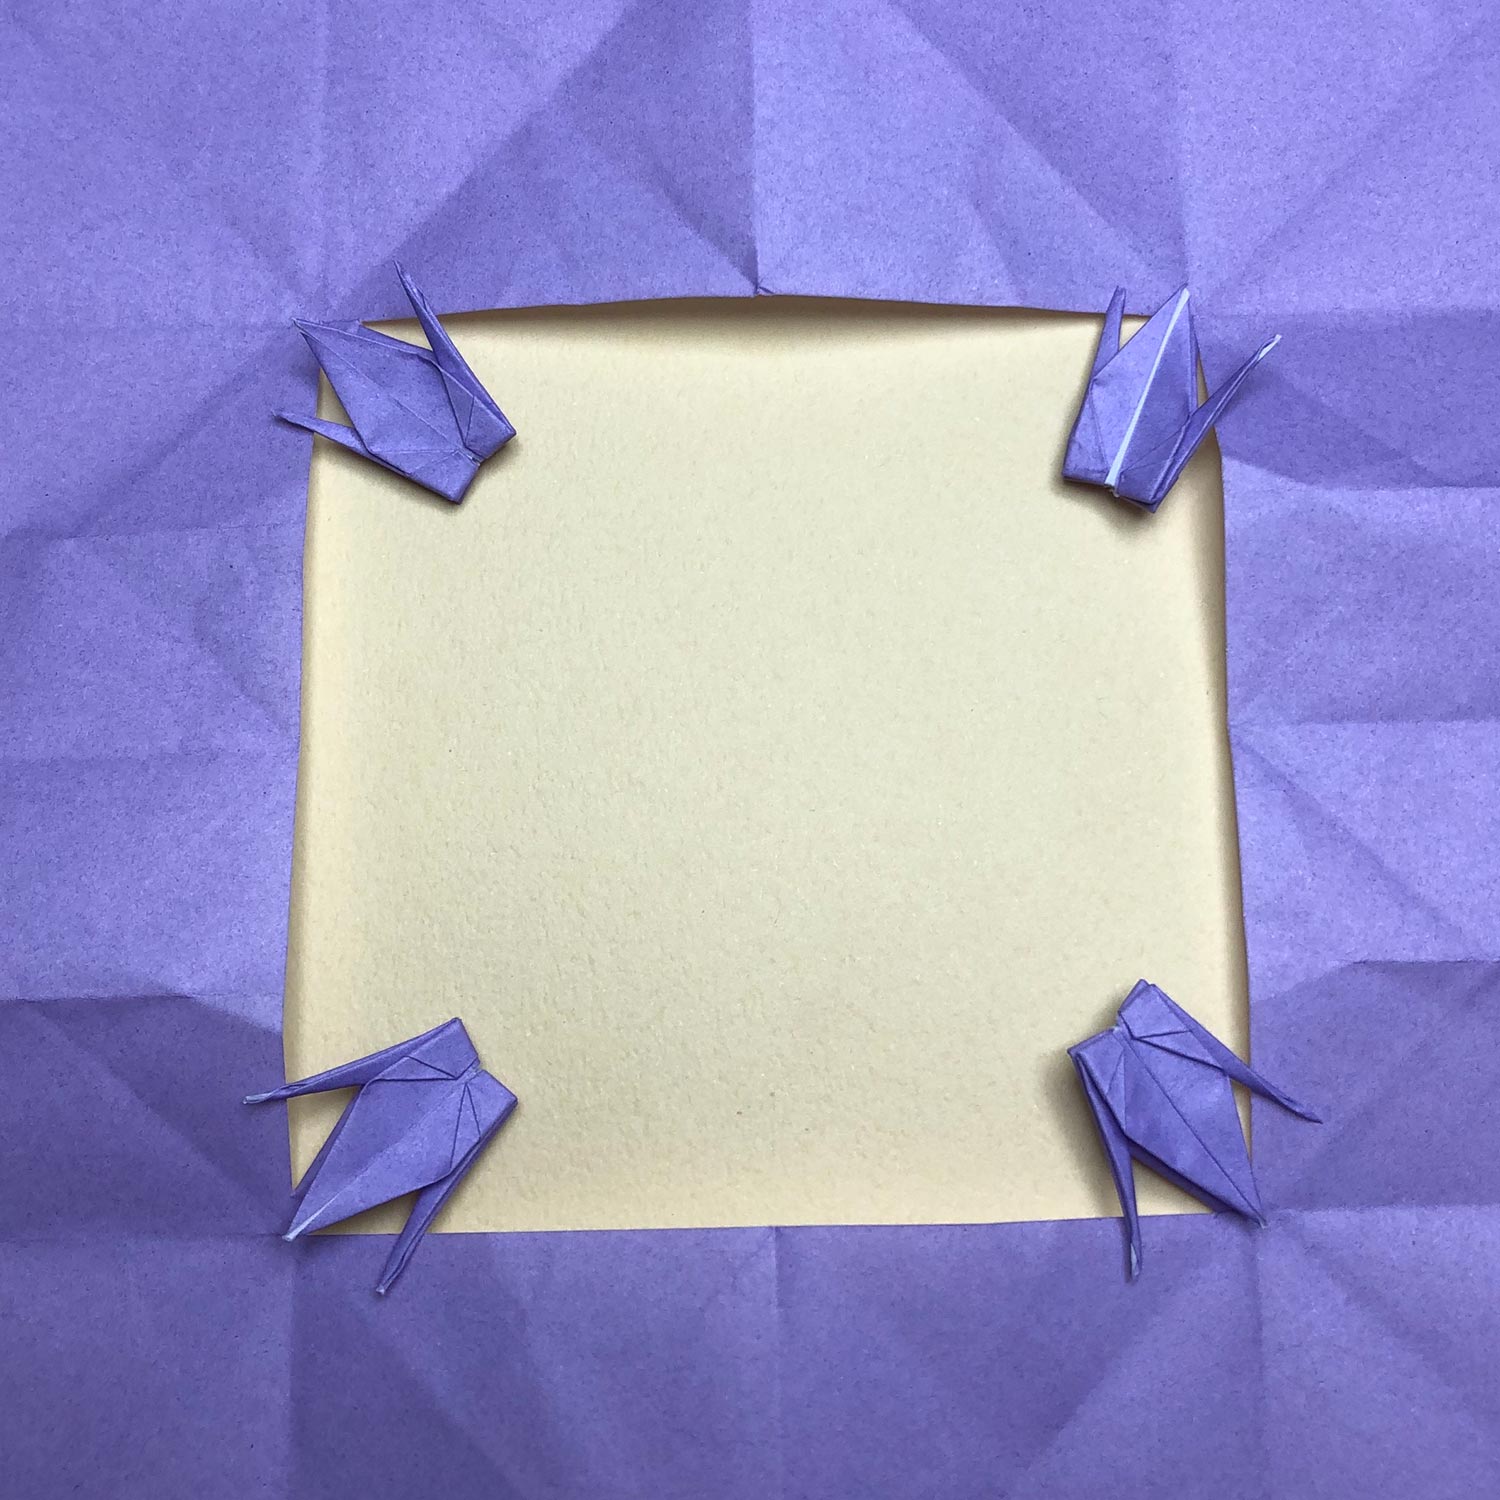
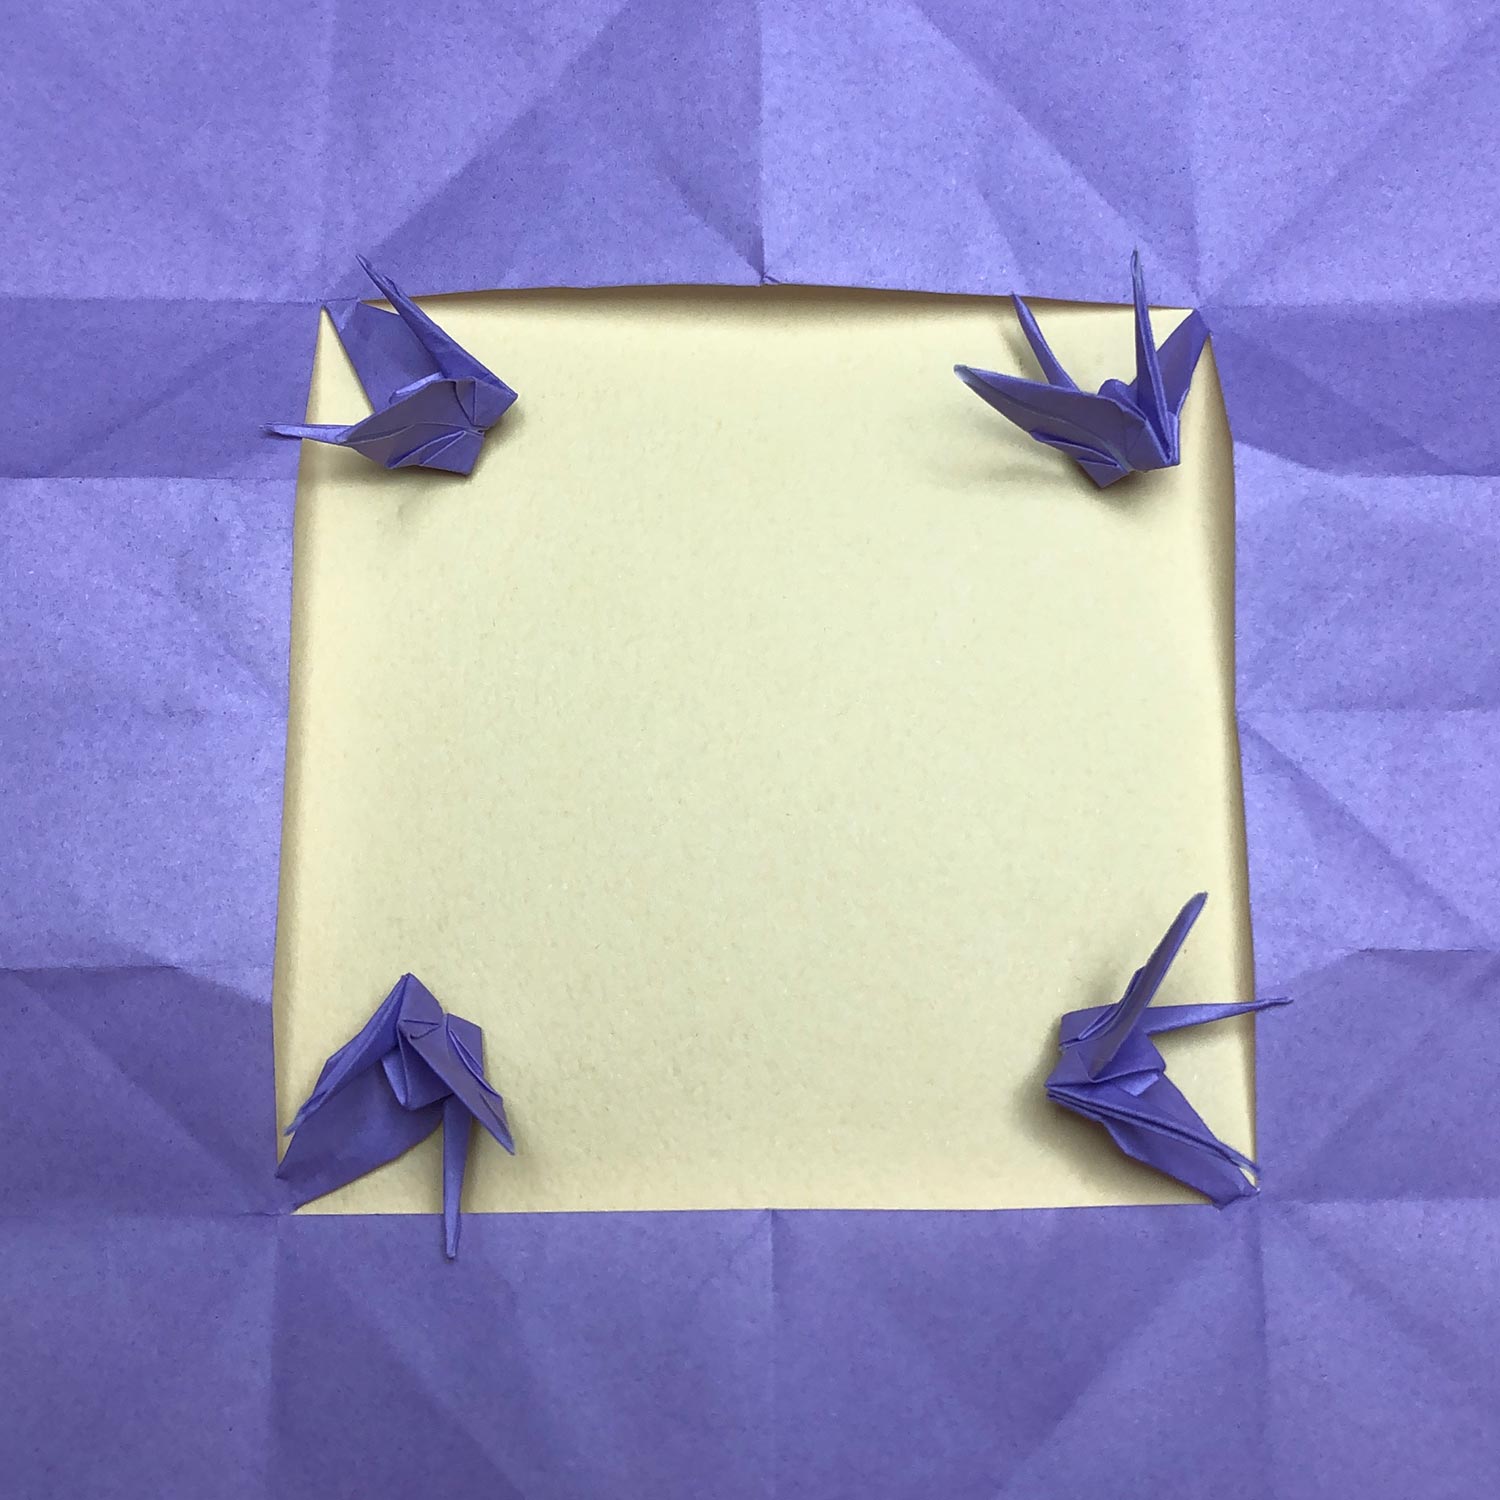
The four small cranes are finished.
(9)
In order to get easier to fold a big crane, spread wings.
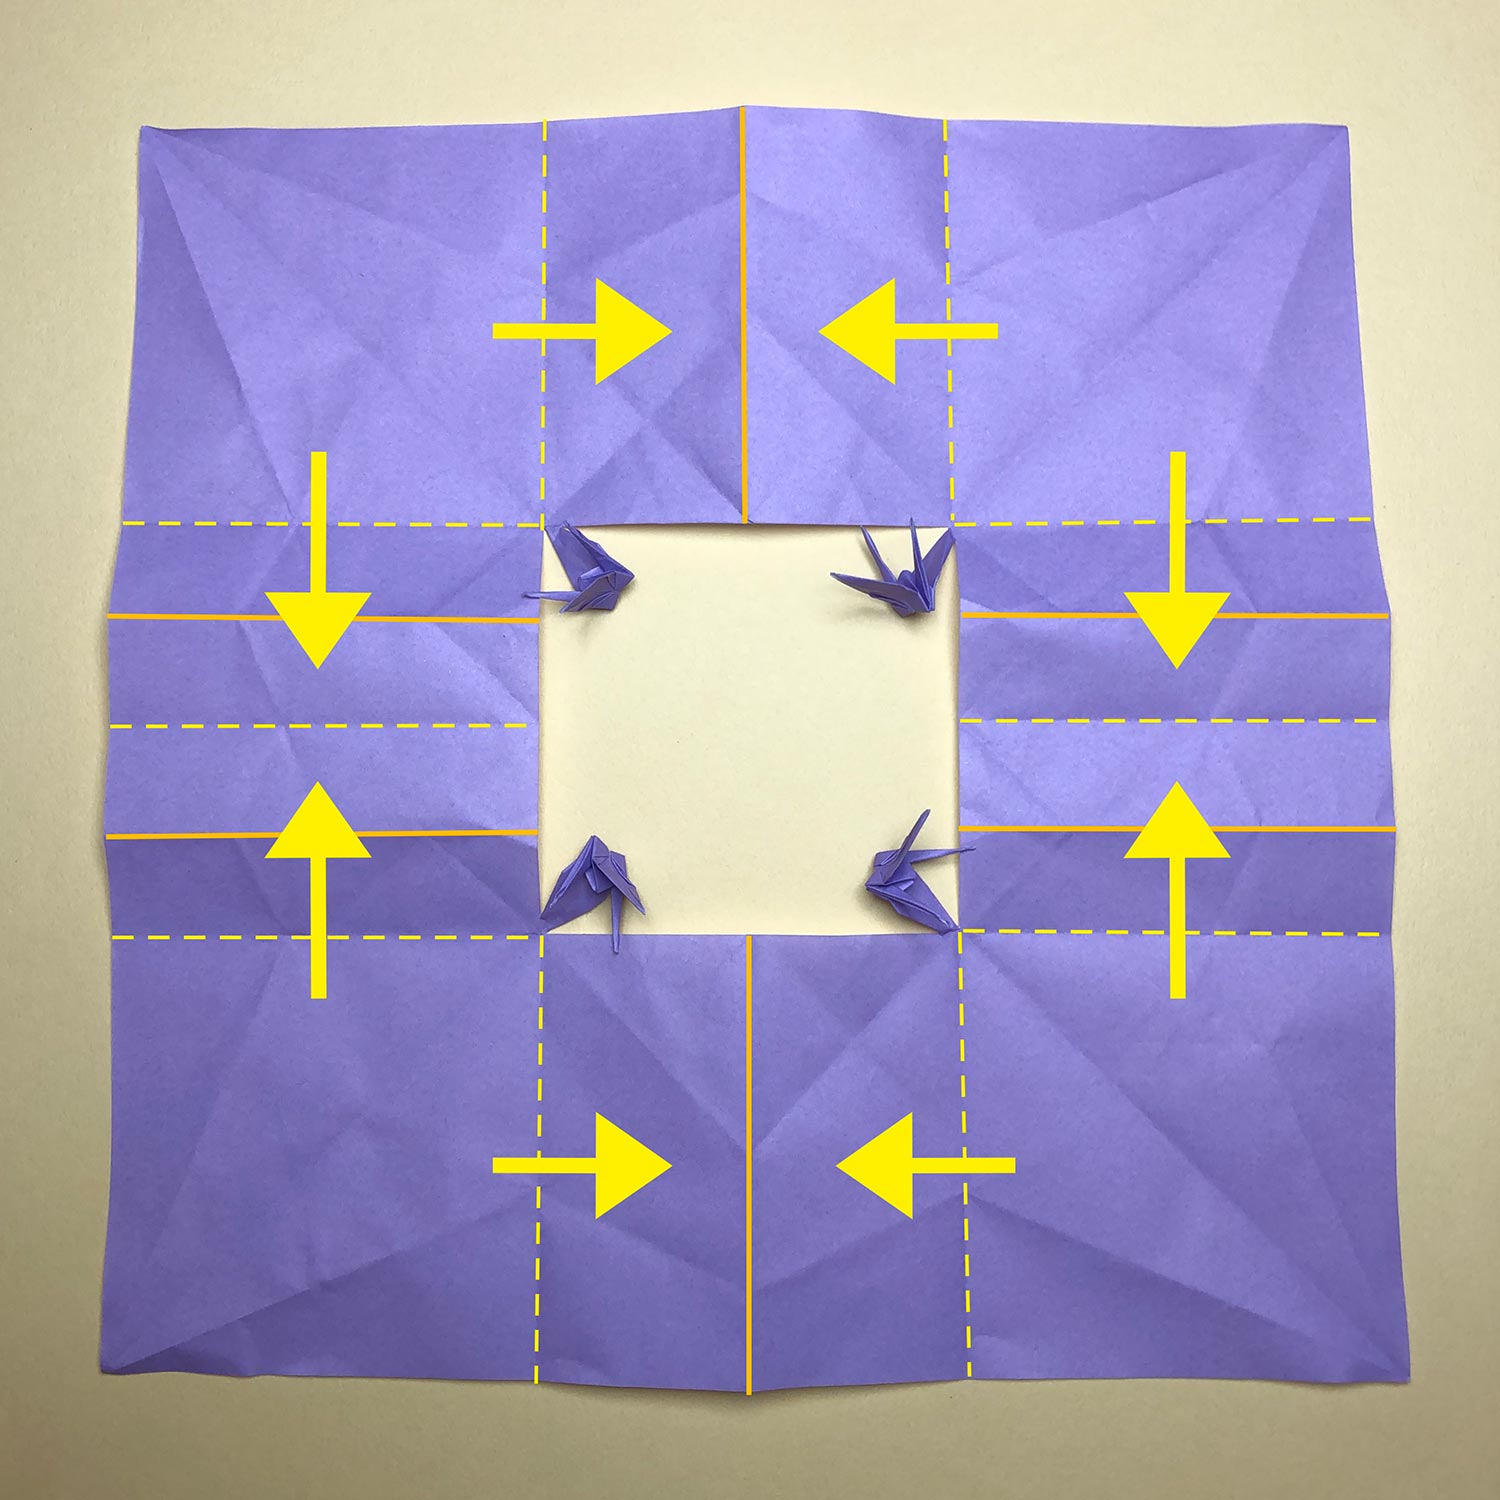
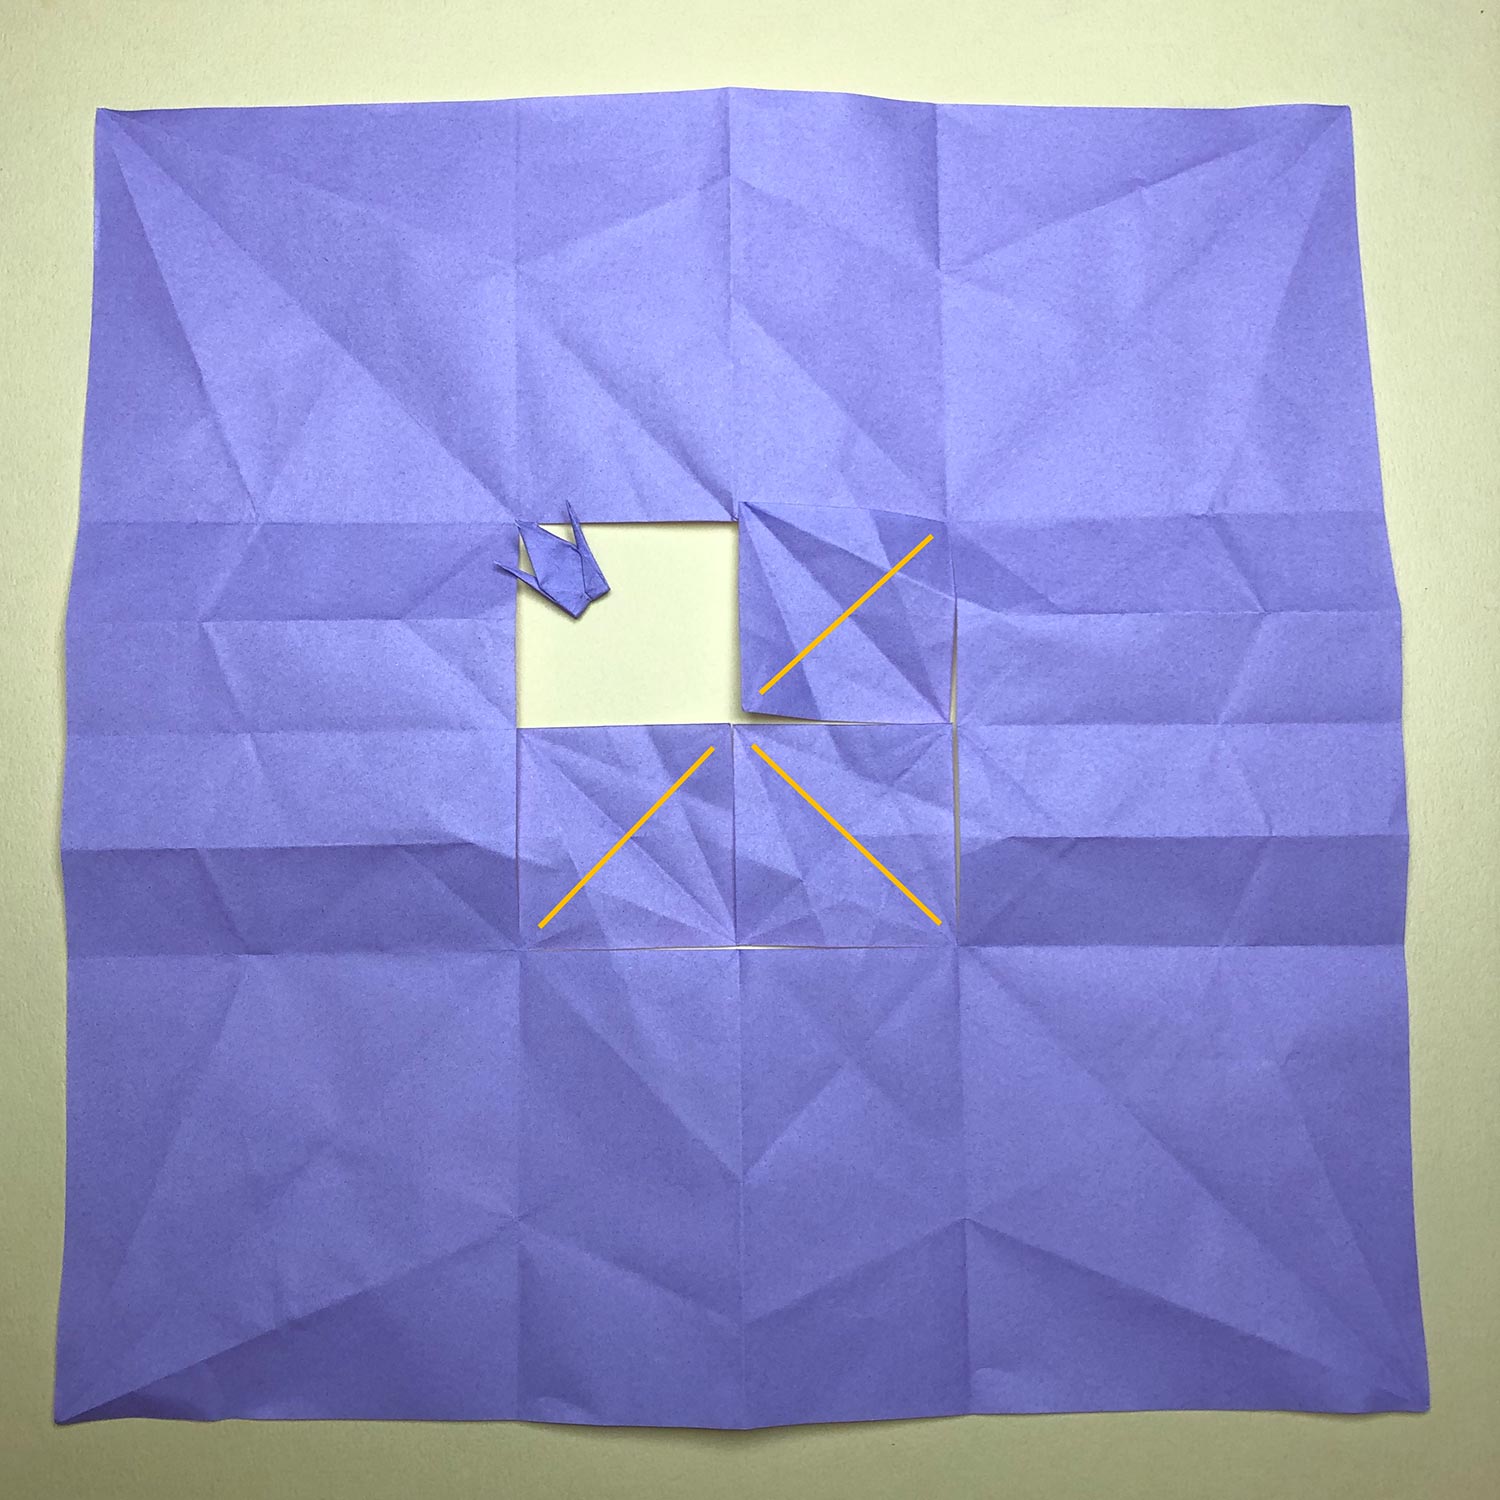
(10)
Then prepare to make a big crane.
Make mountain-folds on the orange lines and valley-folds on the yellow dotted lines.
Also, move the paper in each direction.
(in the direction of the arrows)
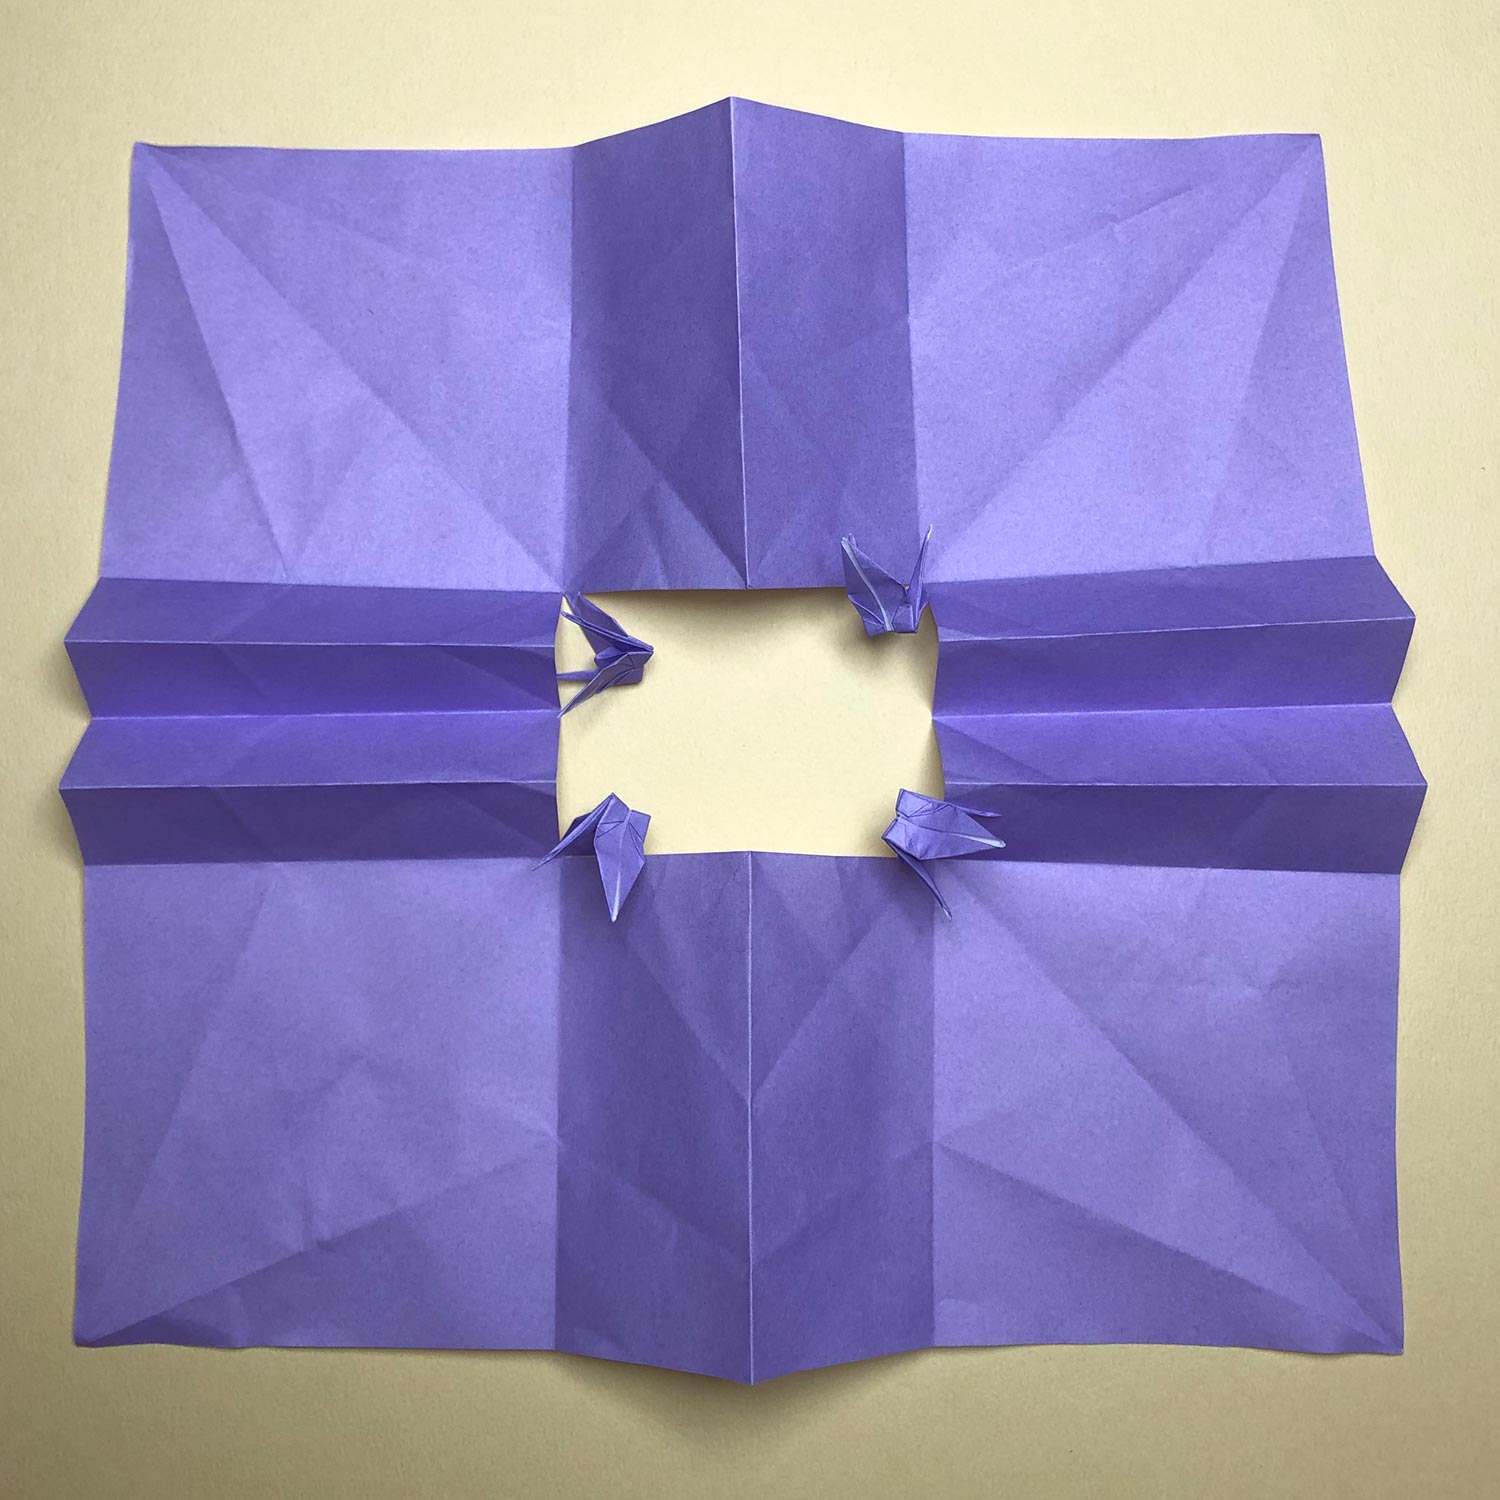
(11)
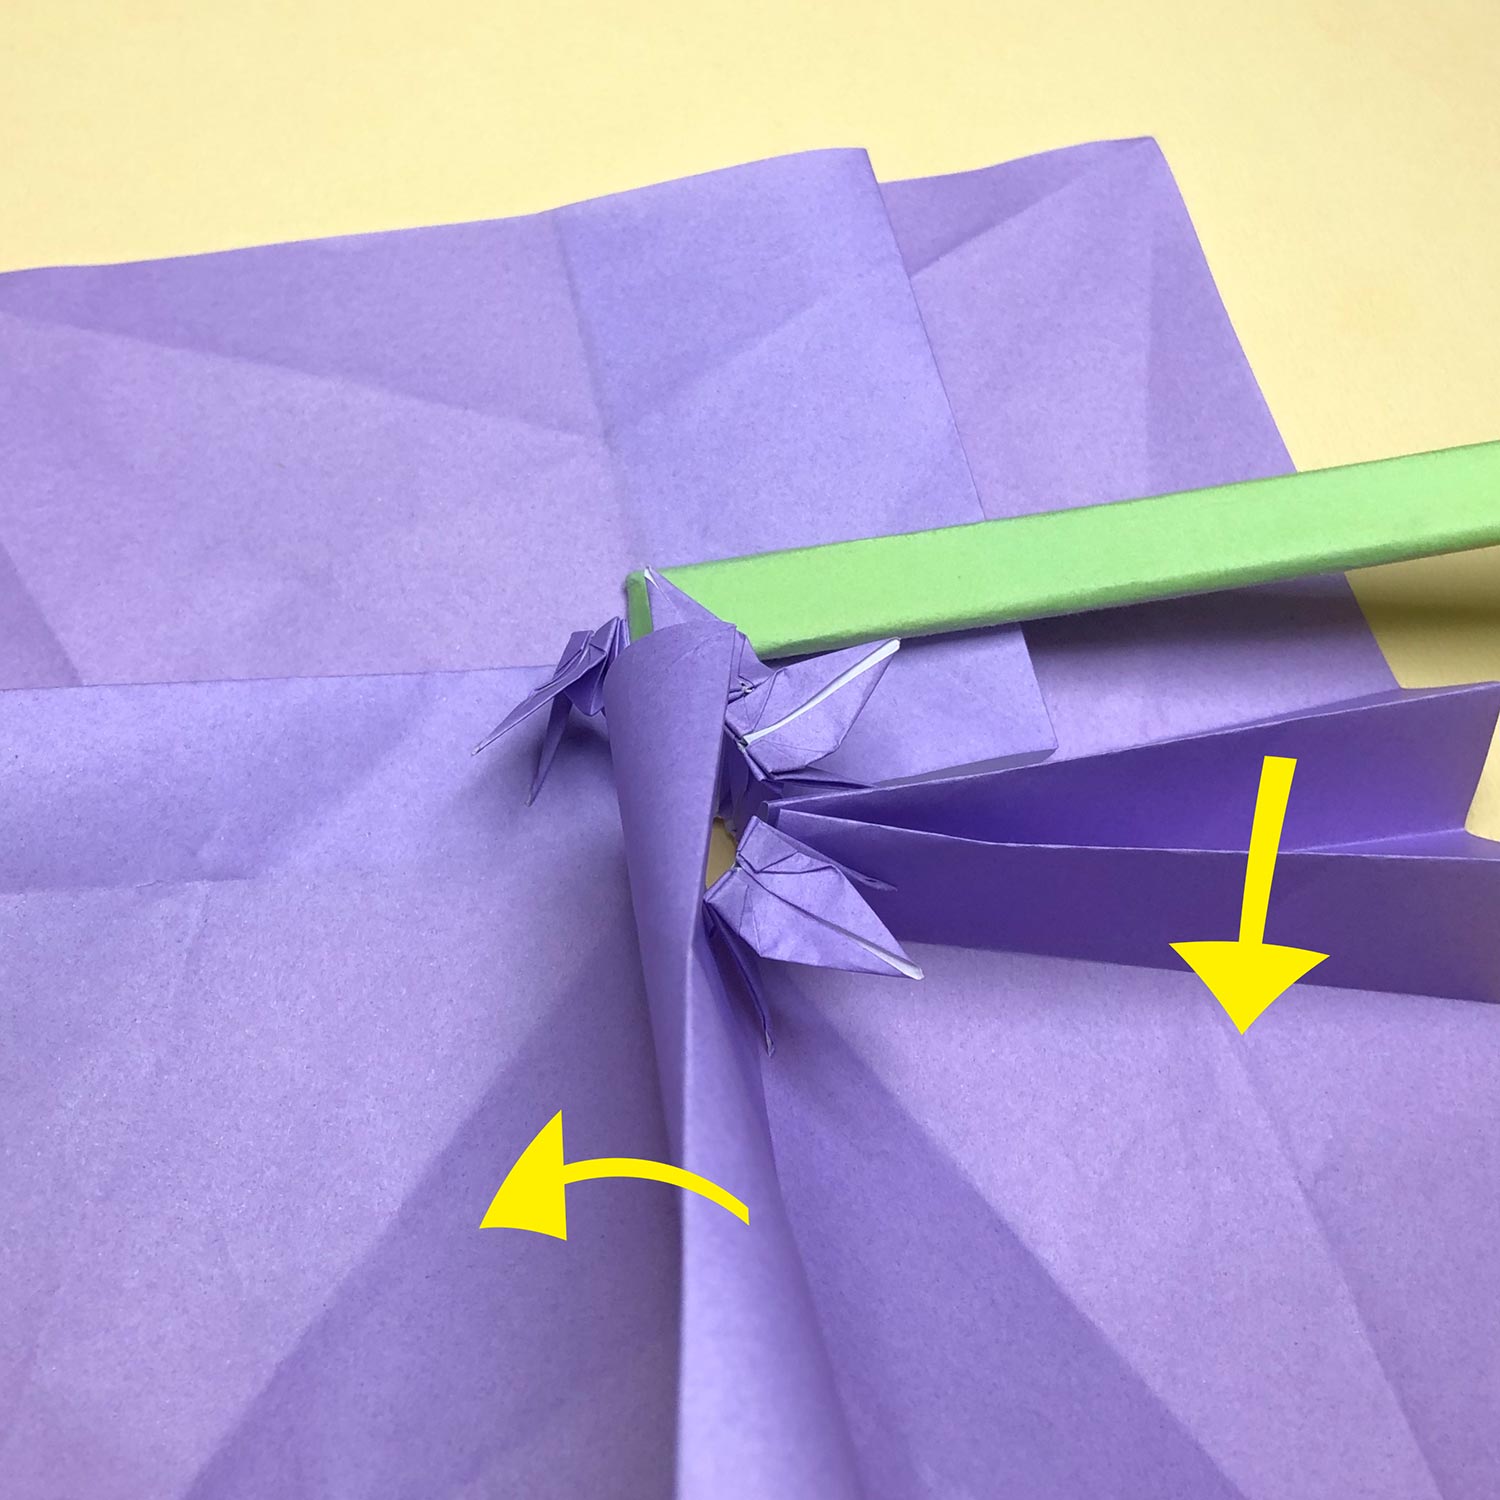
Make mountain-folds and valley-folds and move the paper like this picture.
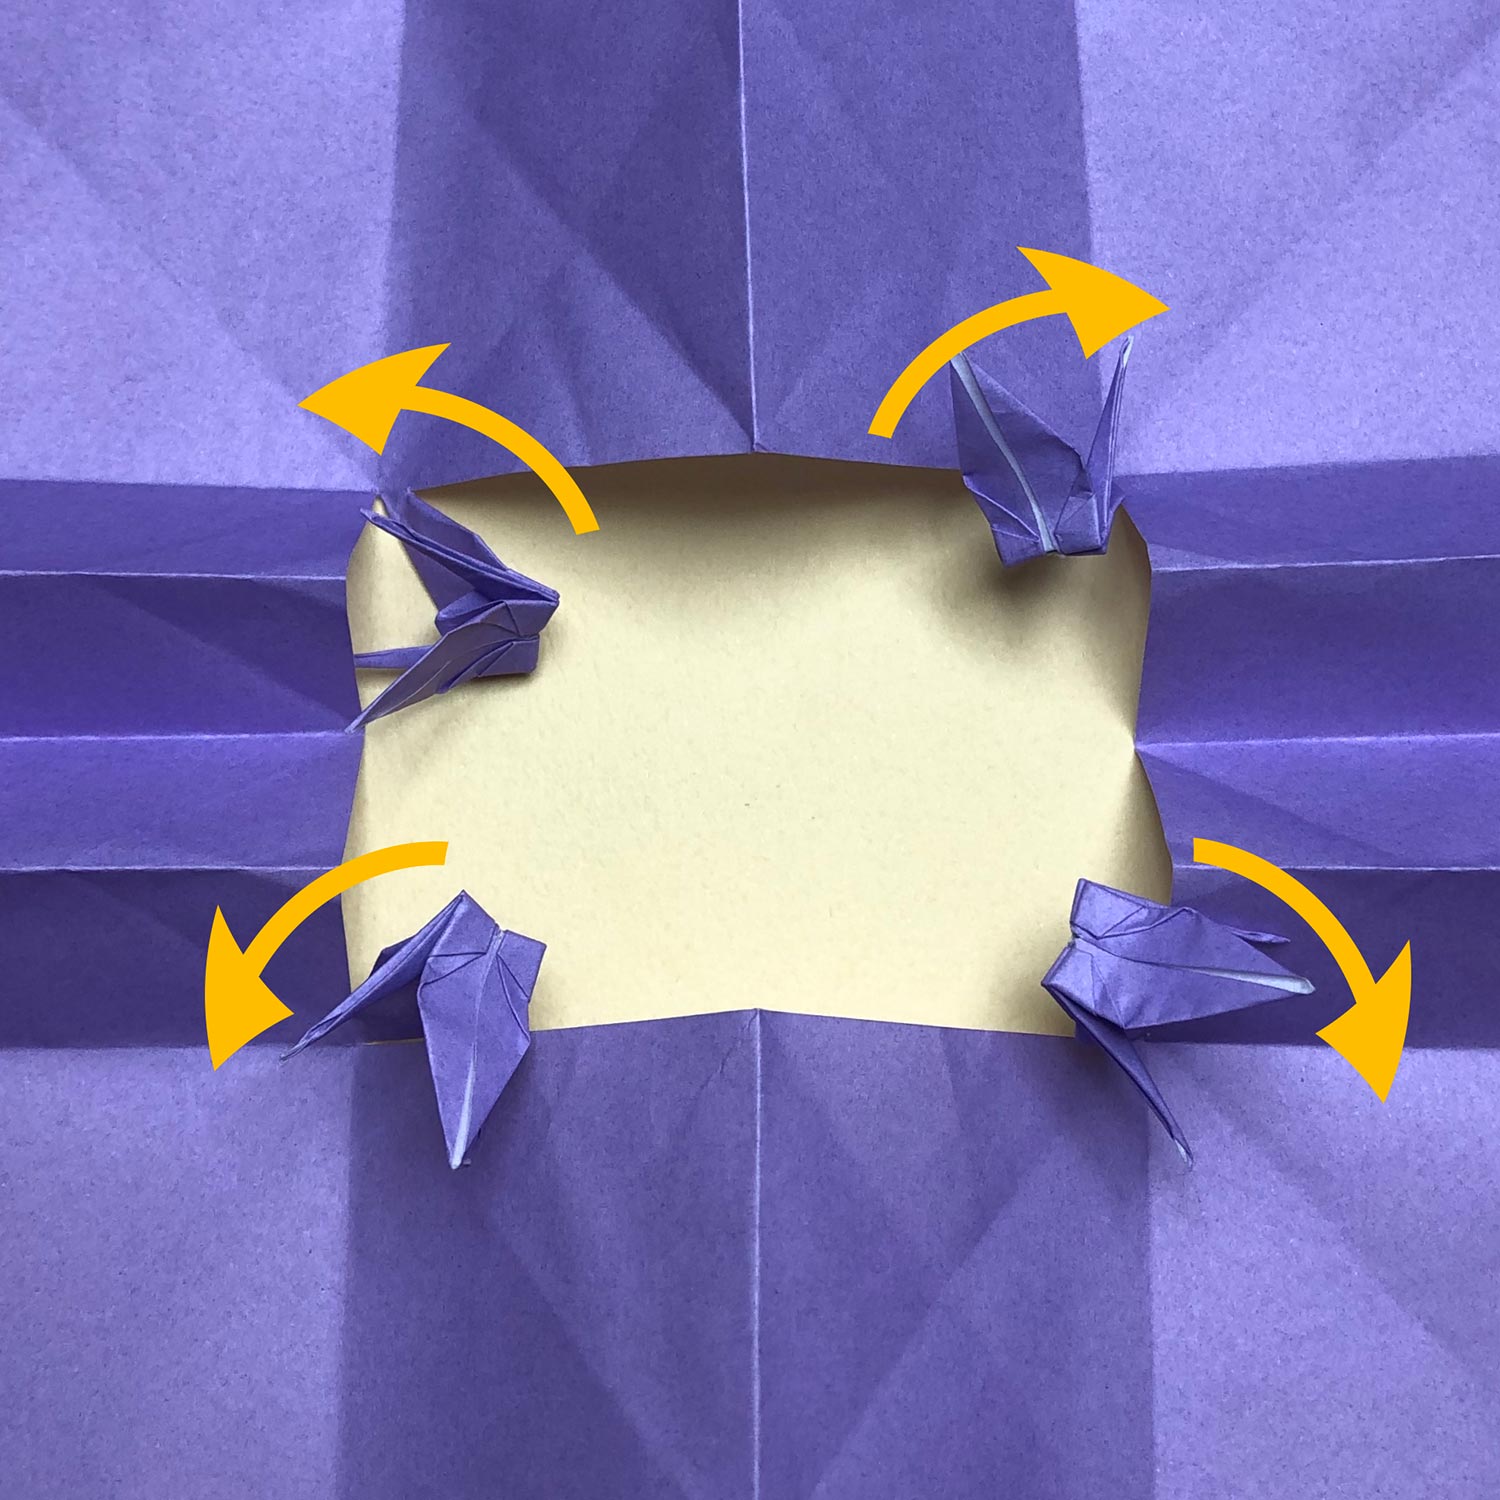
(12)
Move four cranes in the direction of the arrows and put the four cranes on the paper.
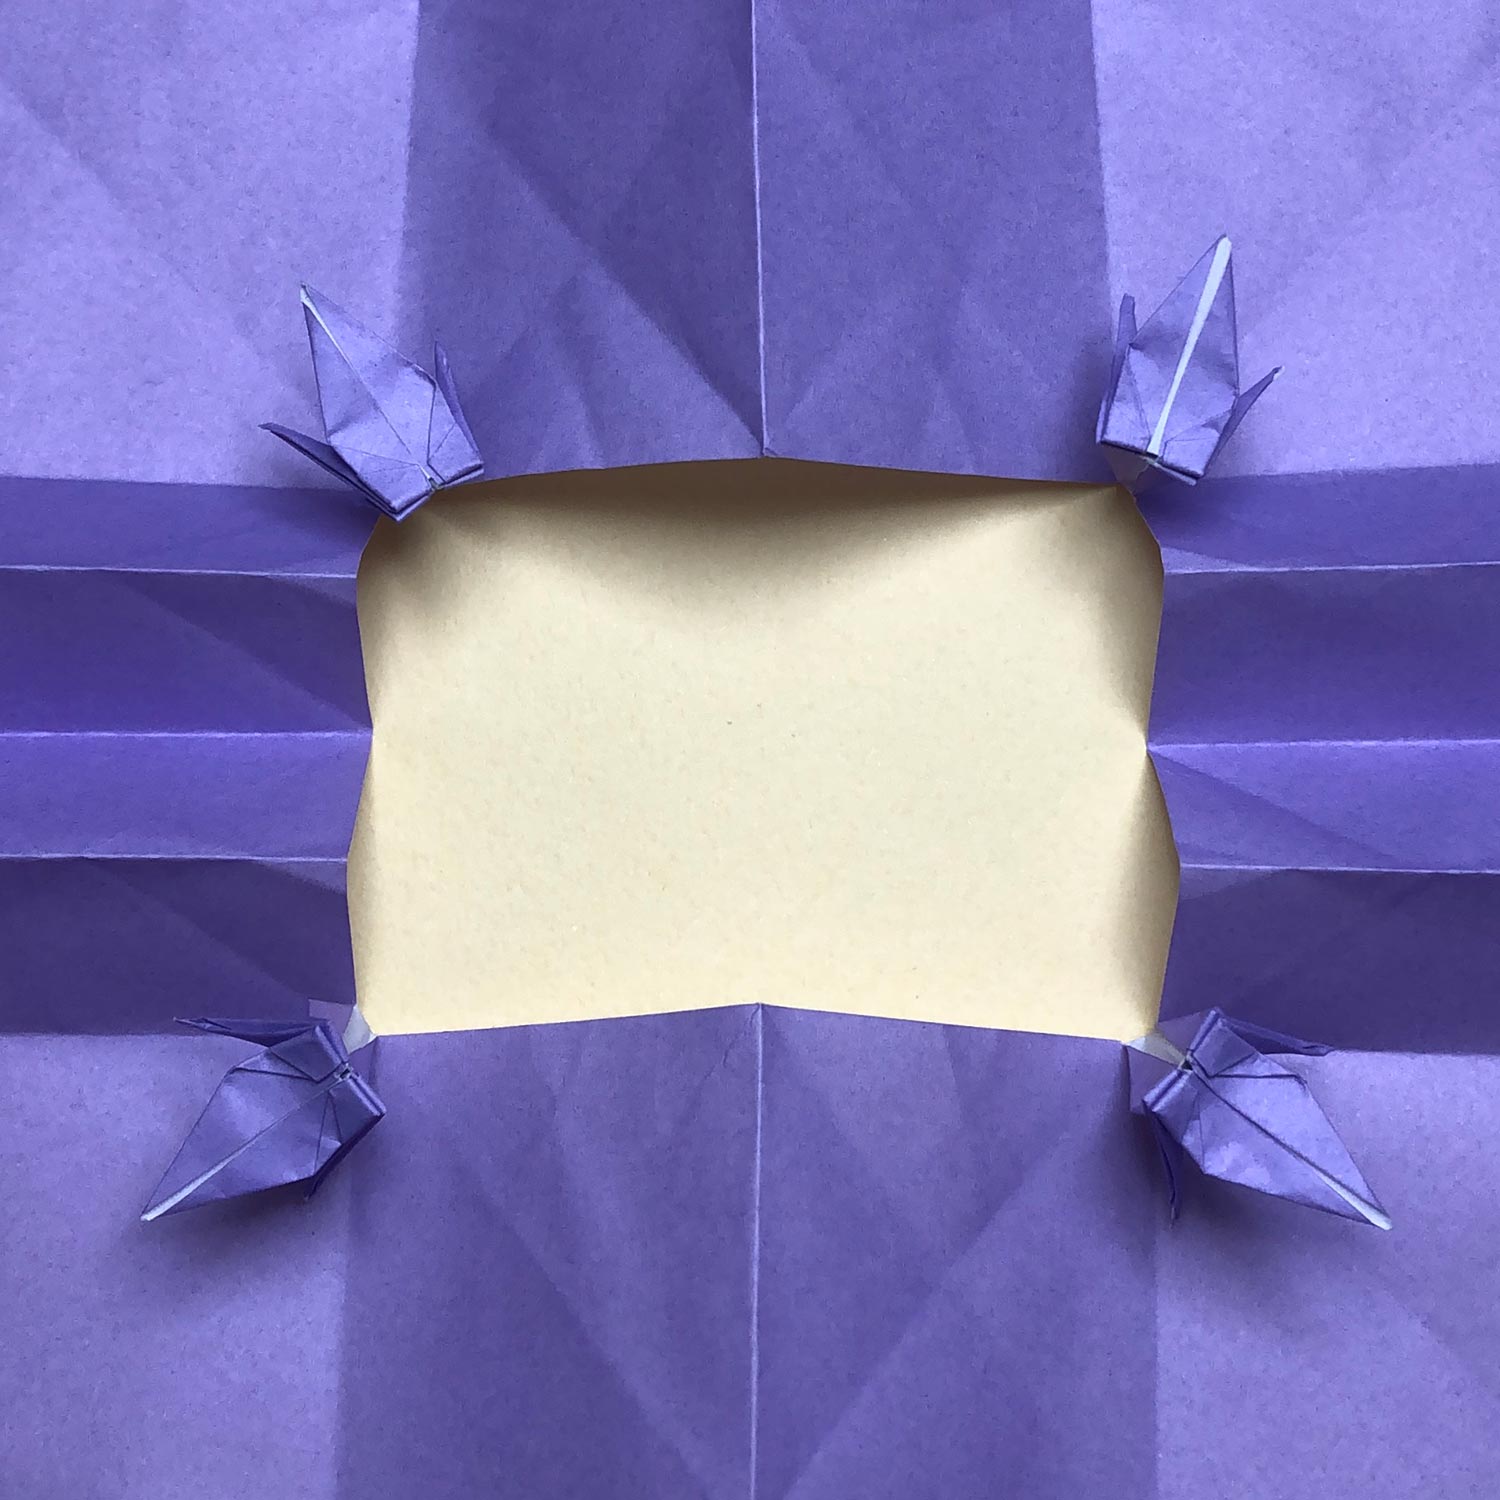
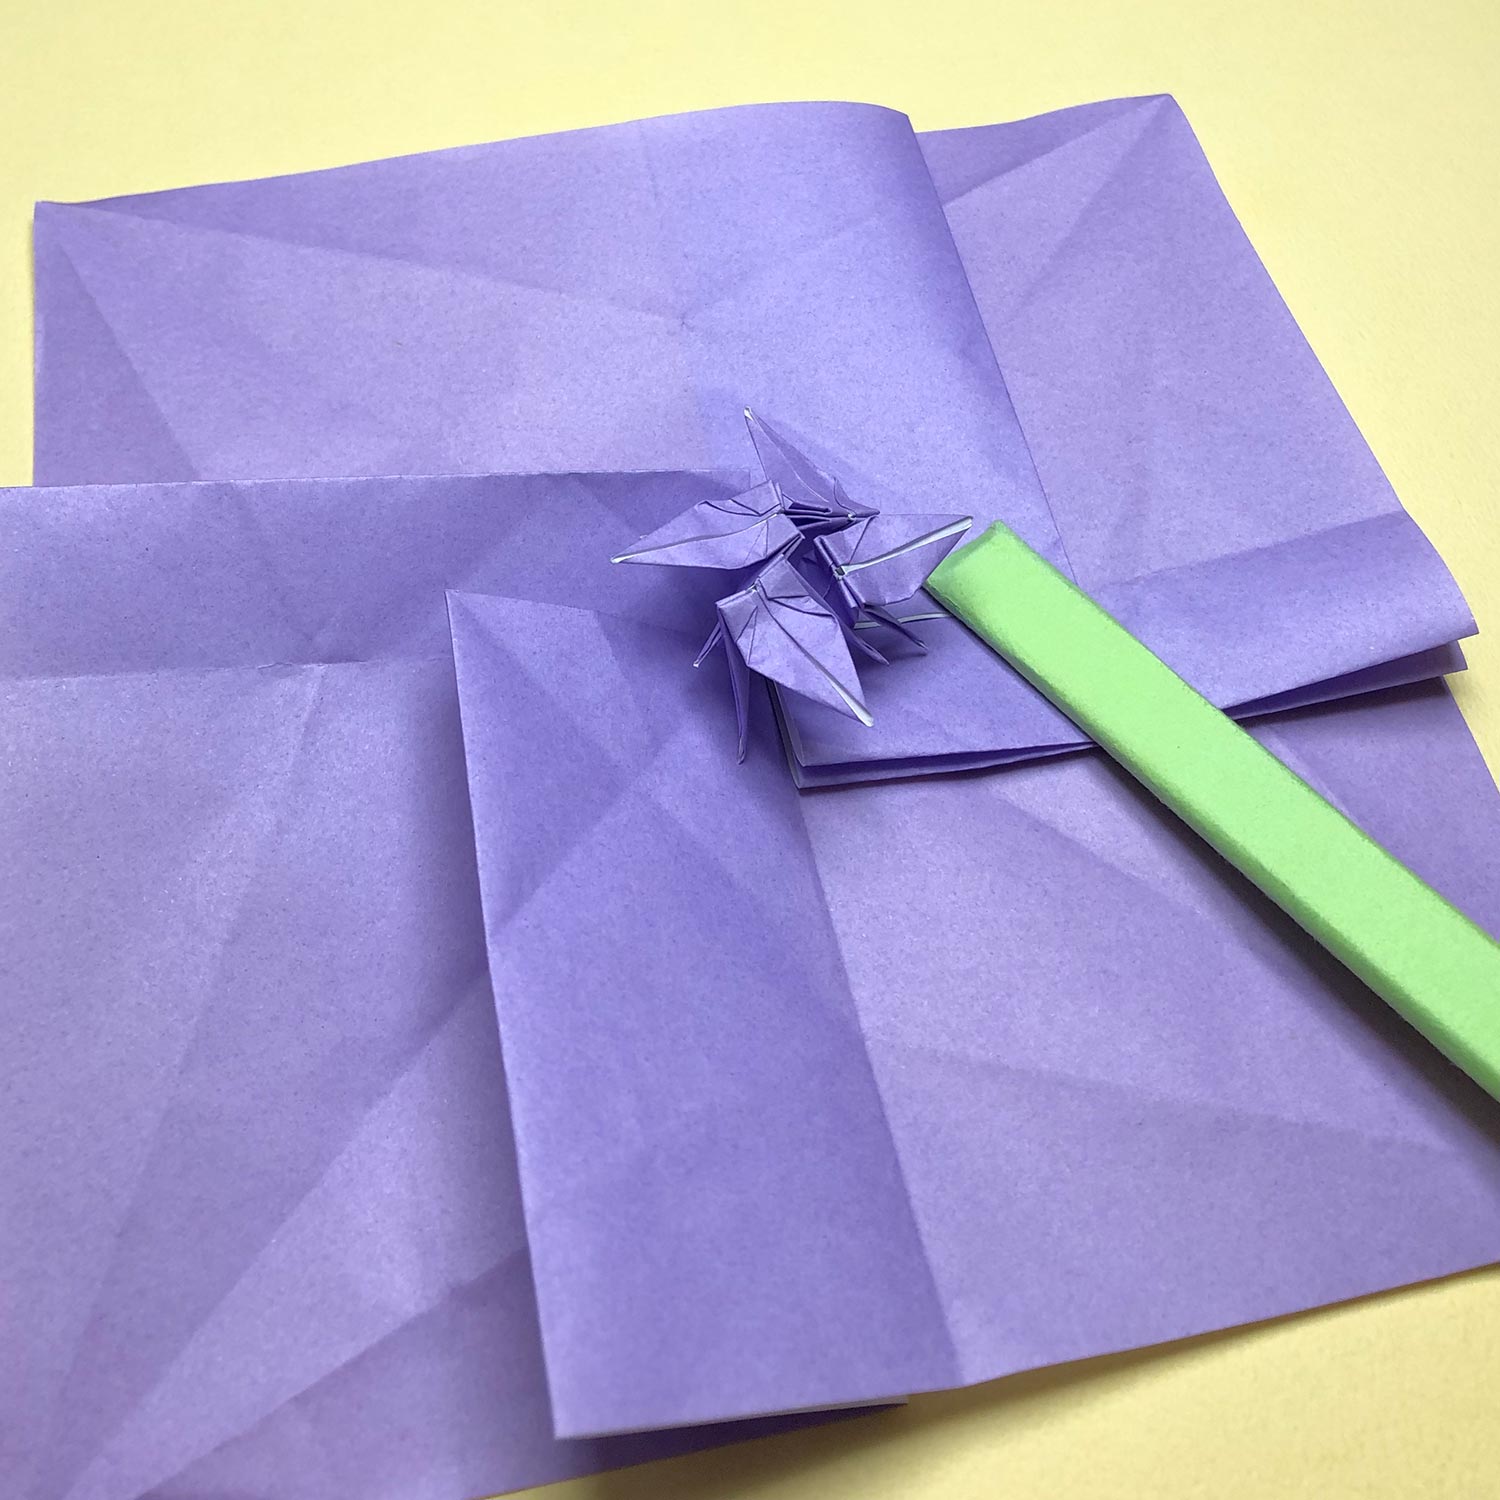
(13)
Put the four cranes on the paper like this picture.
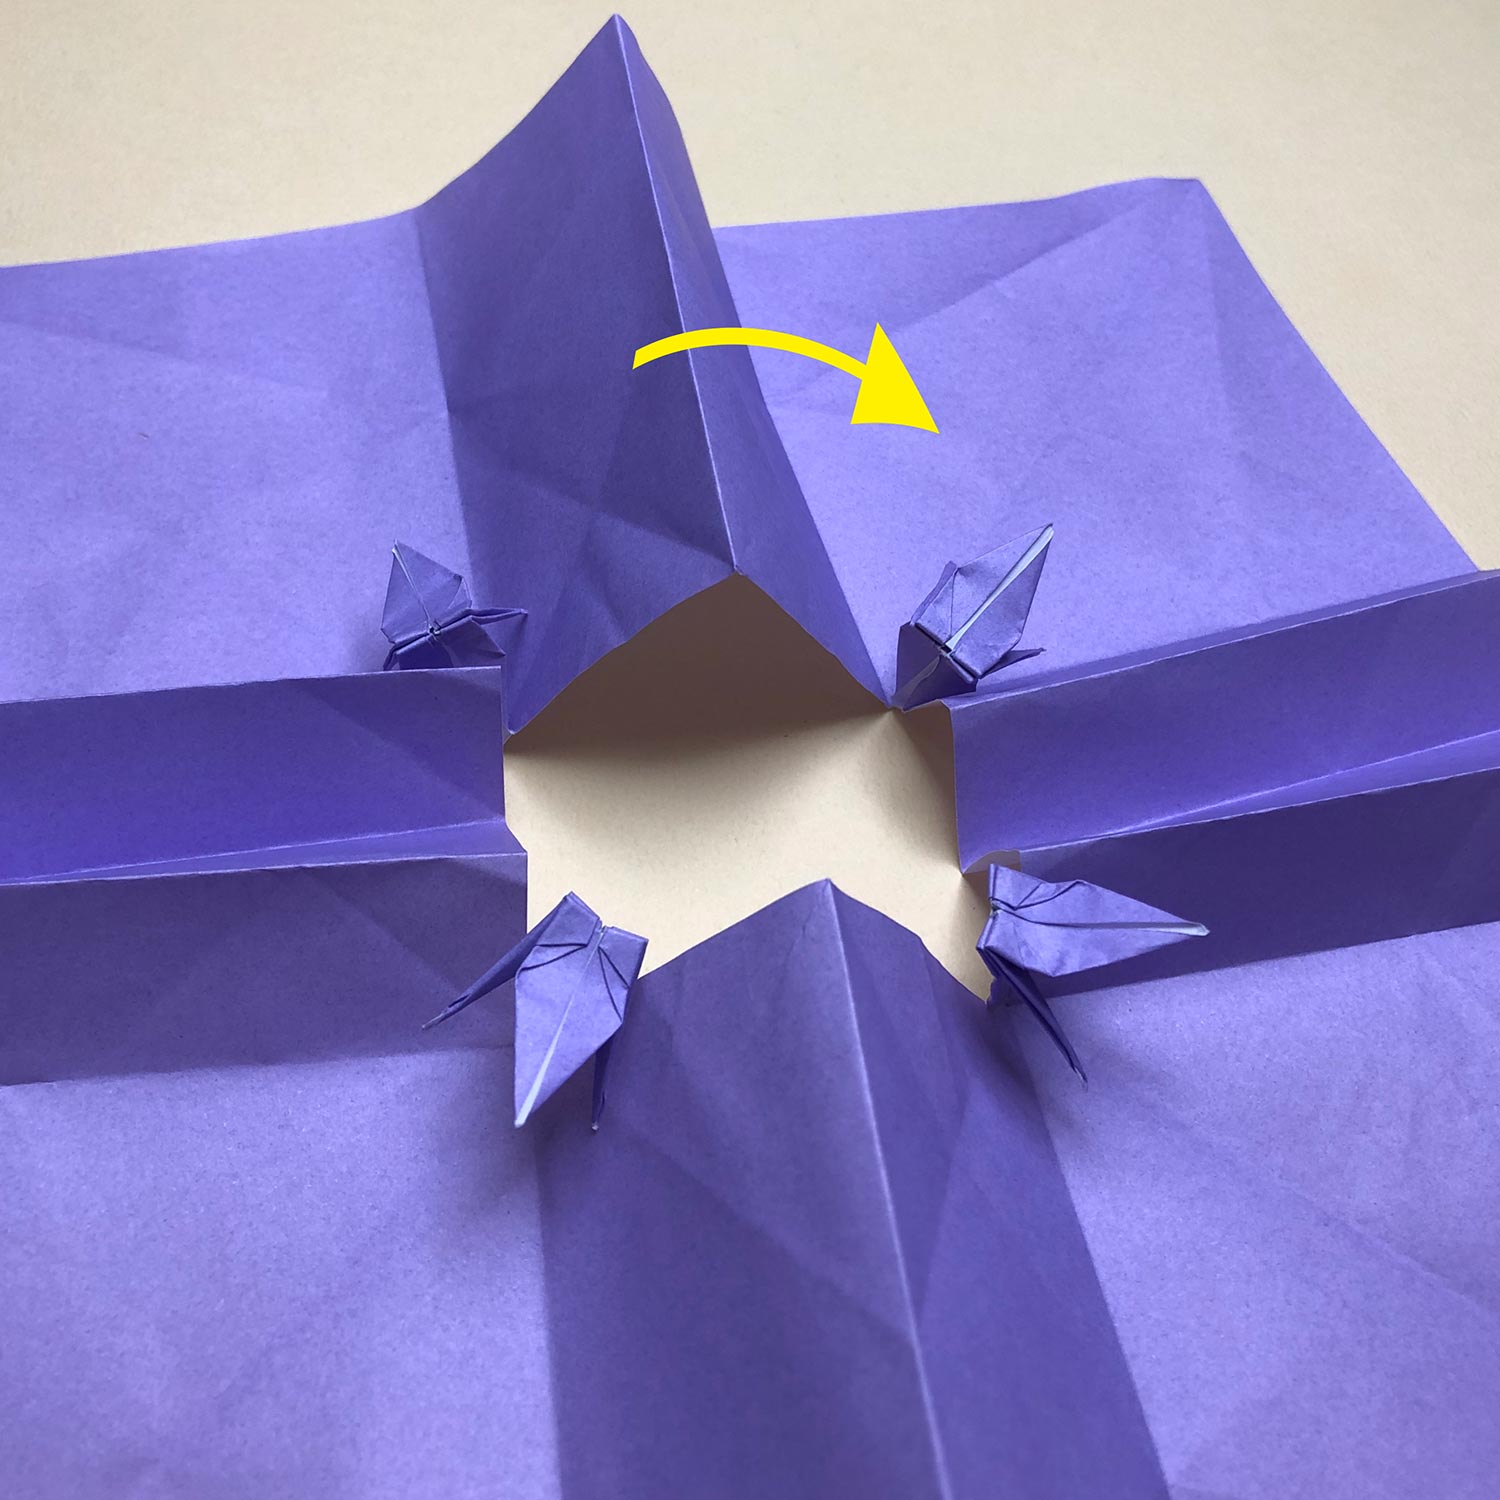
(14)
Then fold the top flap in the direction of the arrow.
There is one small crane on the top right.
Therefore, fold the top flap under the top right crane.
(15)
Fold the top flap under the top right crane like this picture.
Then fold the two flaps in the direction of the arrow.
(16)
Fold the two flaps like this picture.
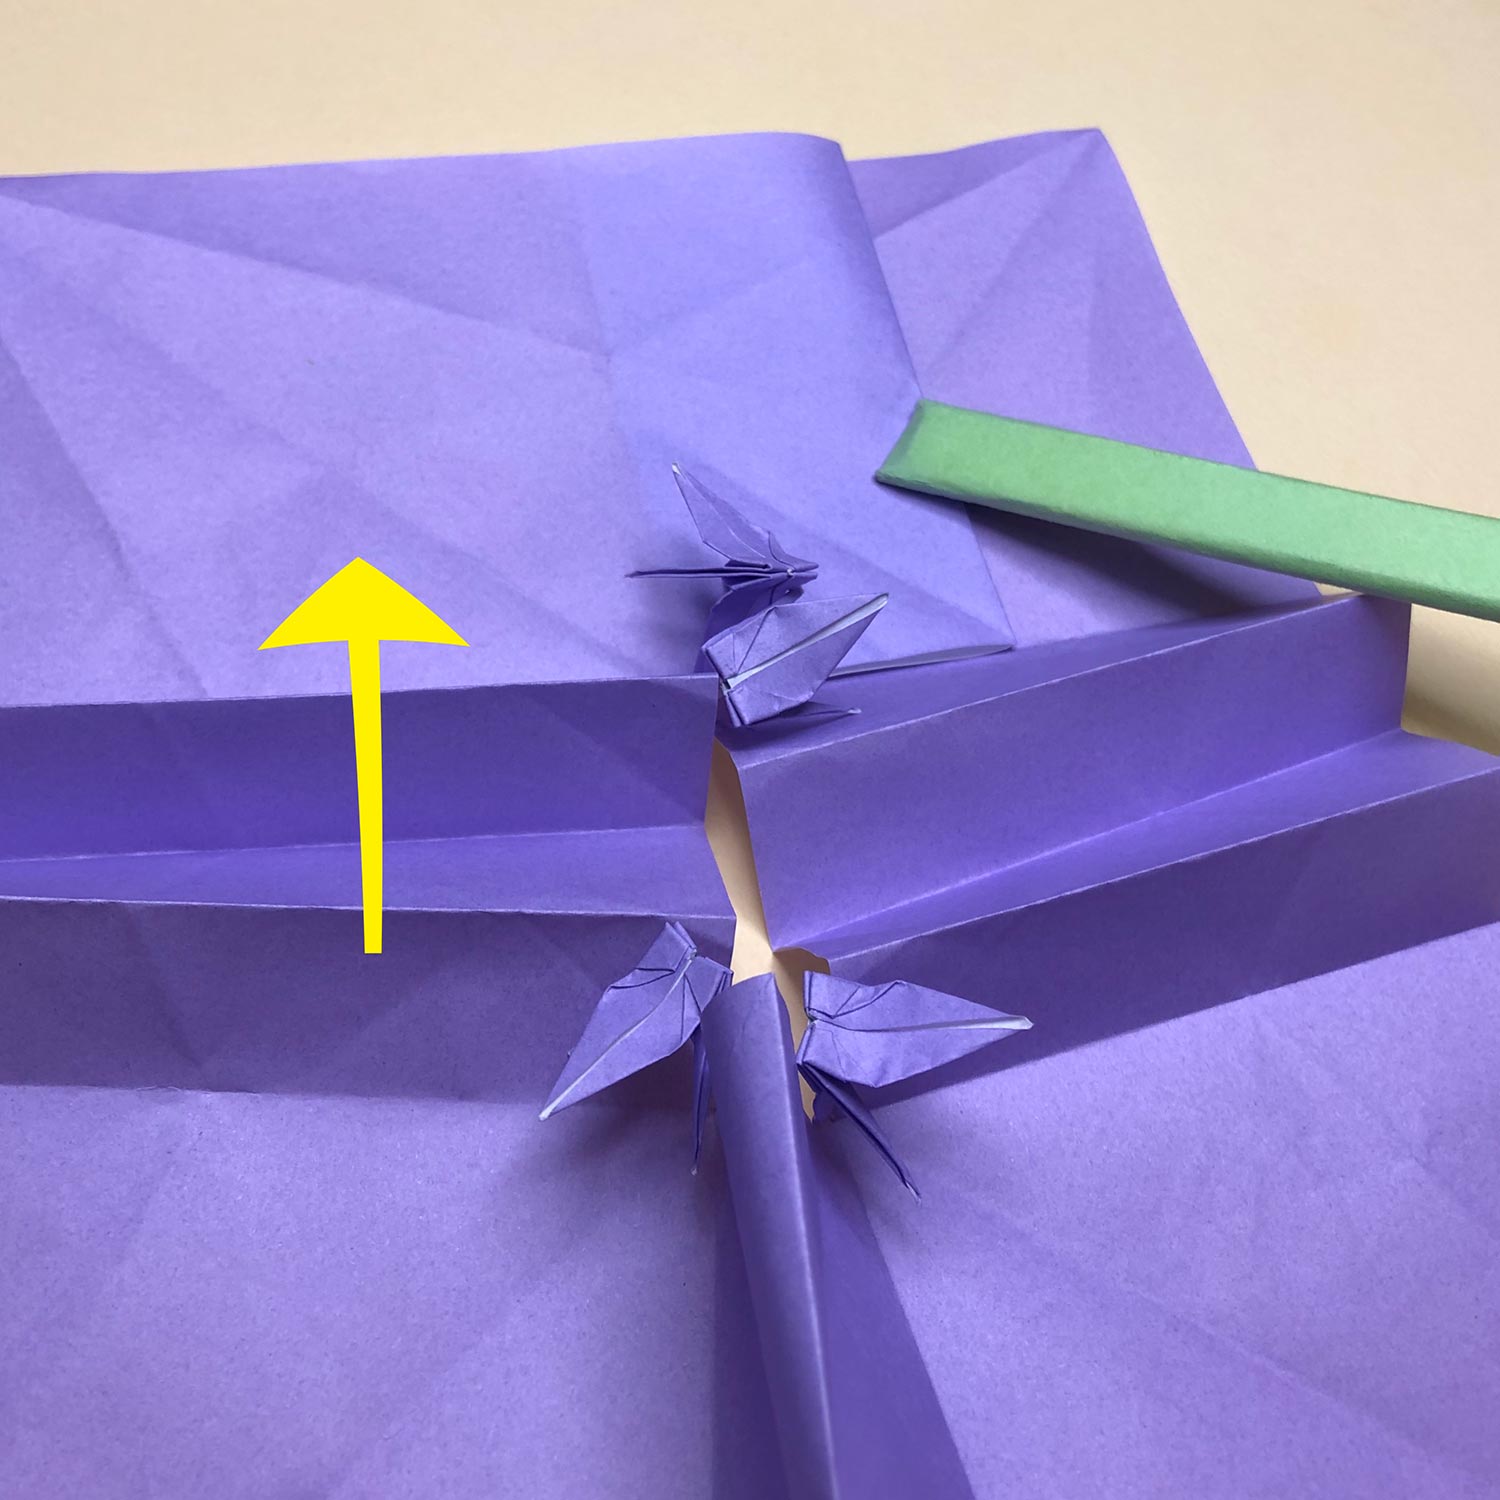
Then fold the bottom flap and the two right flaps in the direction of the arrows.
(fold them under small cranes)
(17)
Fold the bottom flap and the two right flaps under small cranes like this picture.
(18)
This is an enlarged picture of the center part.