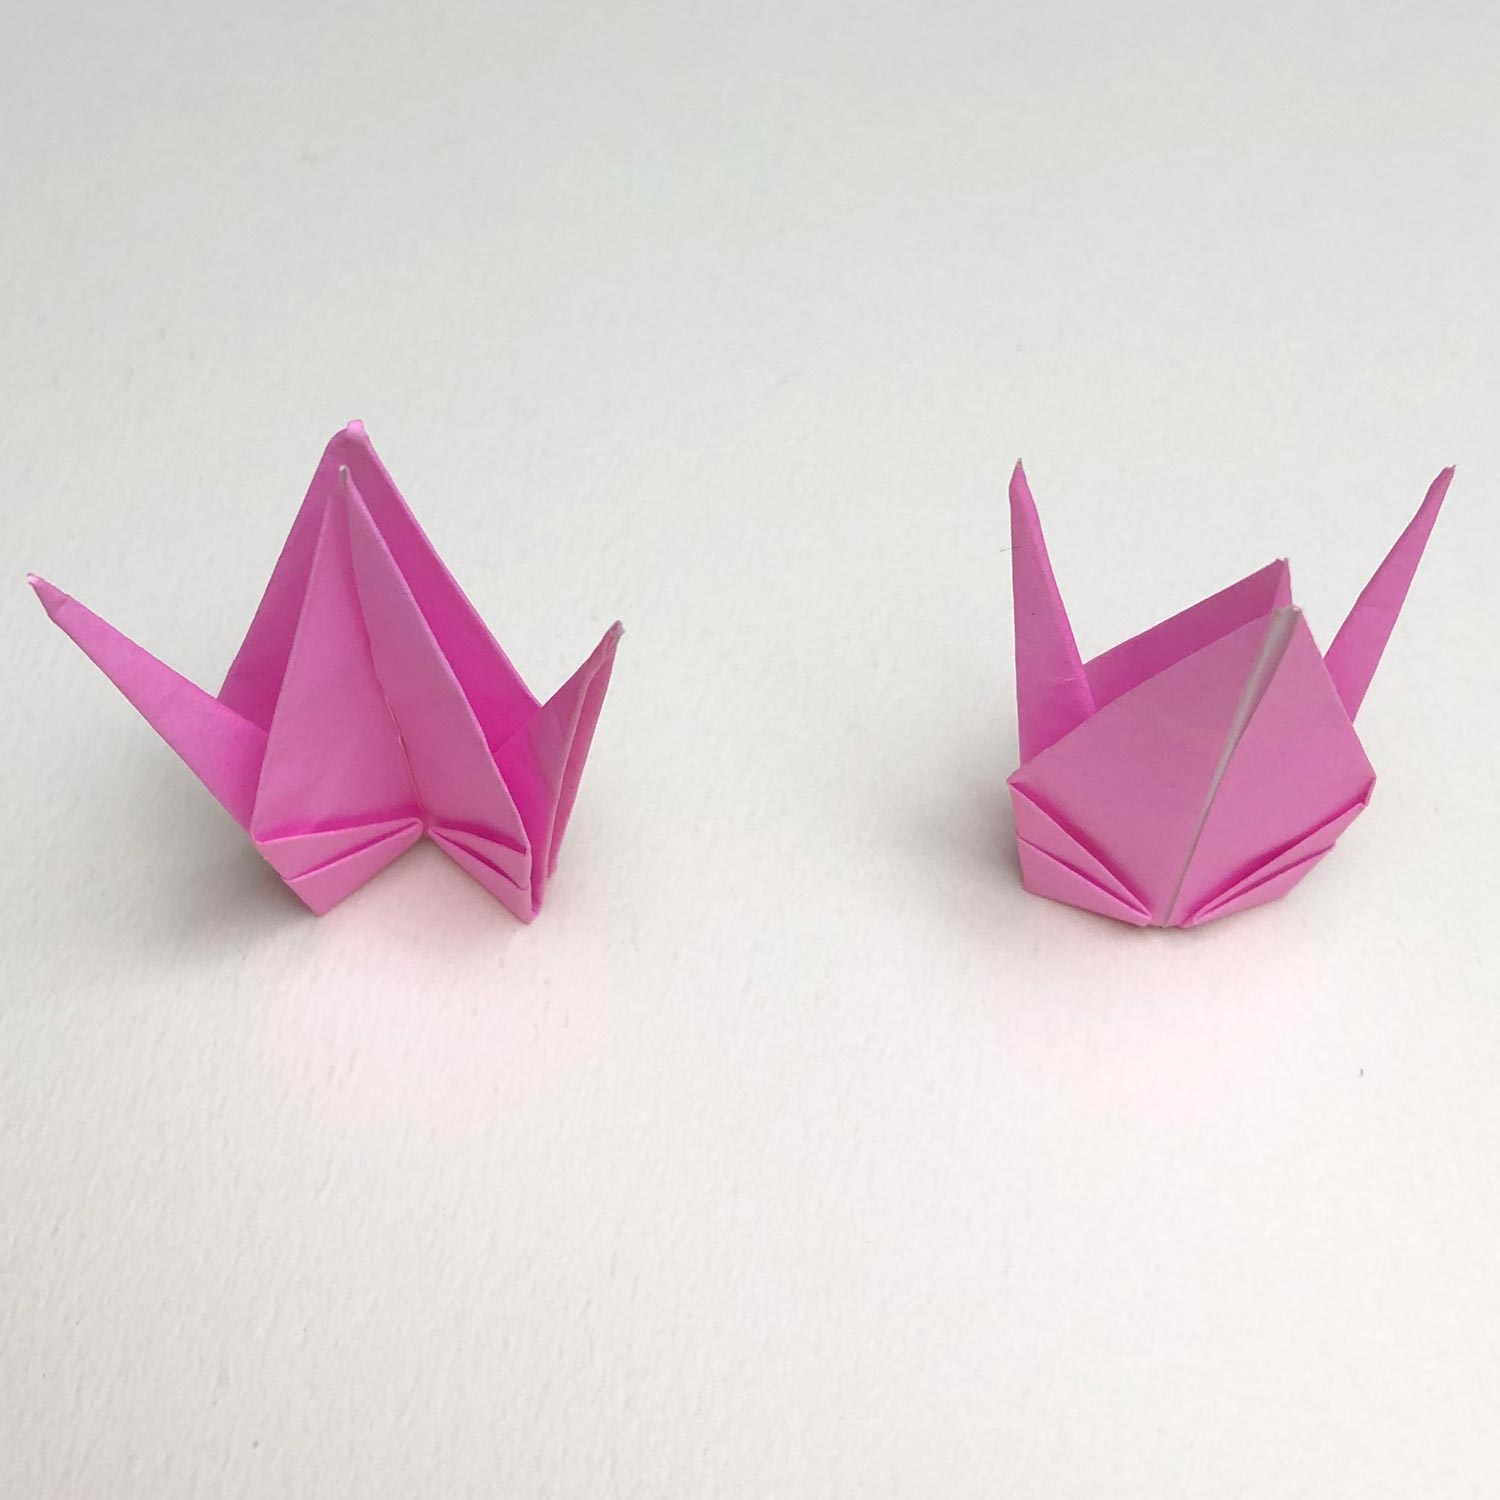
Then look at how to put completed cranes on top of each other!
It is hard to insert a completed crane in a wing as it is.
Therefore, make creases first.
(Explanation 1)
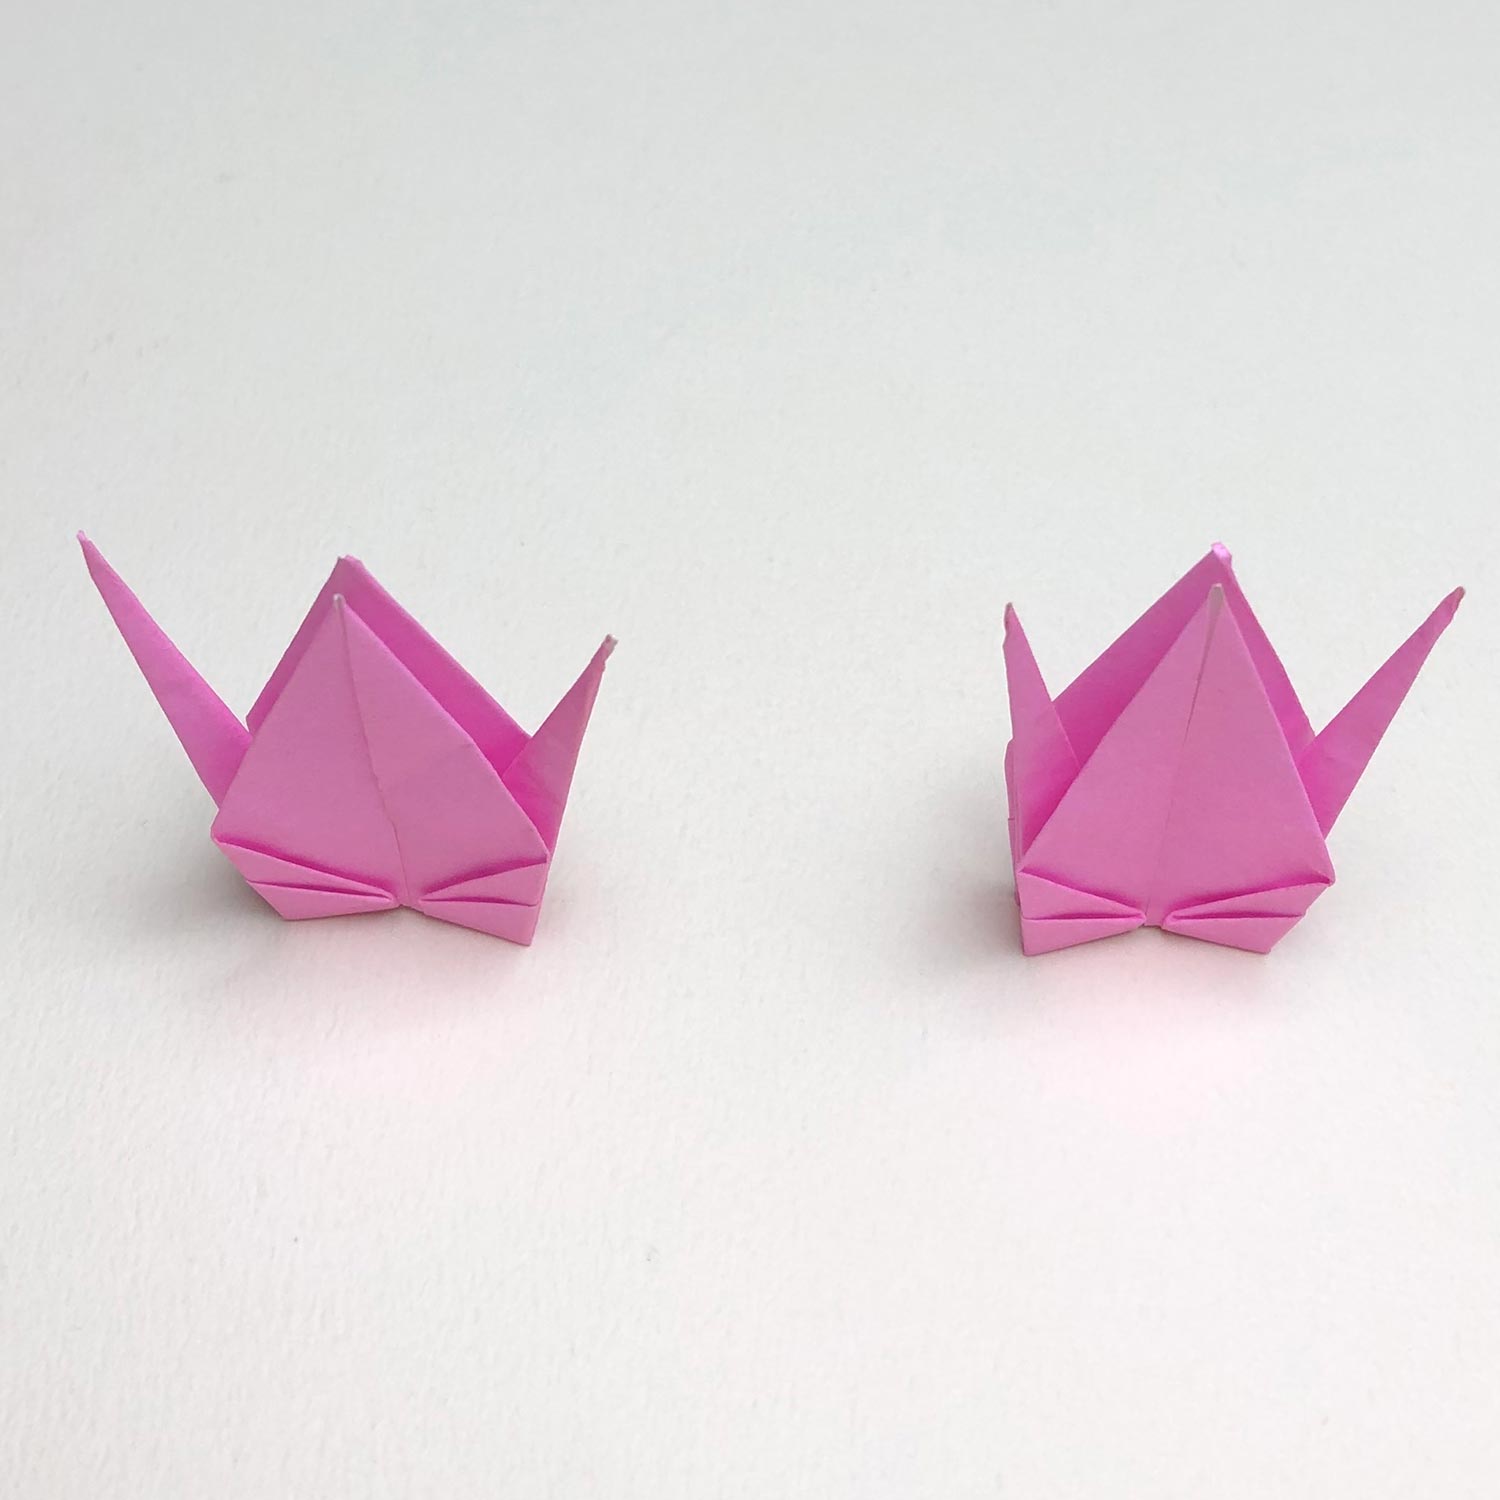
Look at the way with two cranes.
Because it is hard to explain with cranes which are connected.
(Explanation 2)
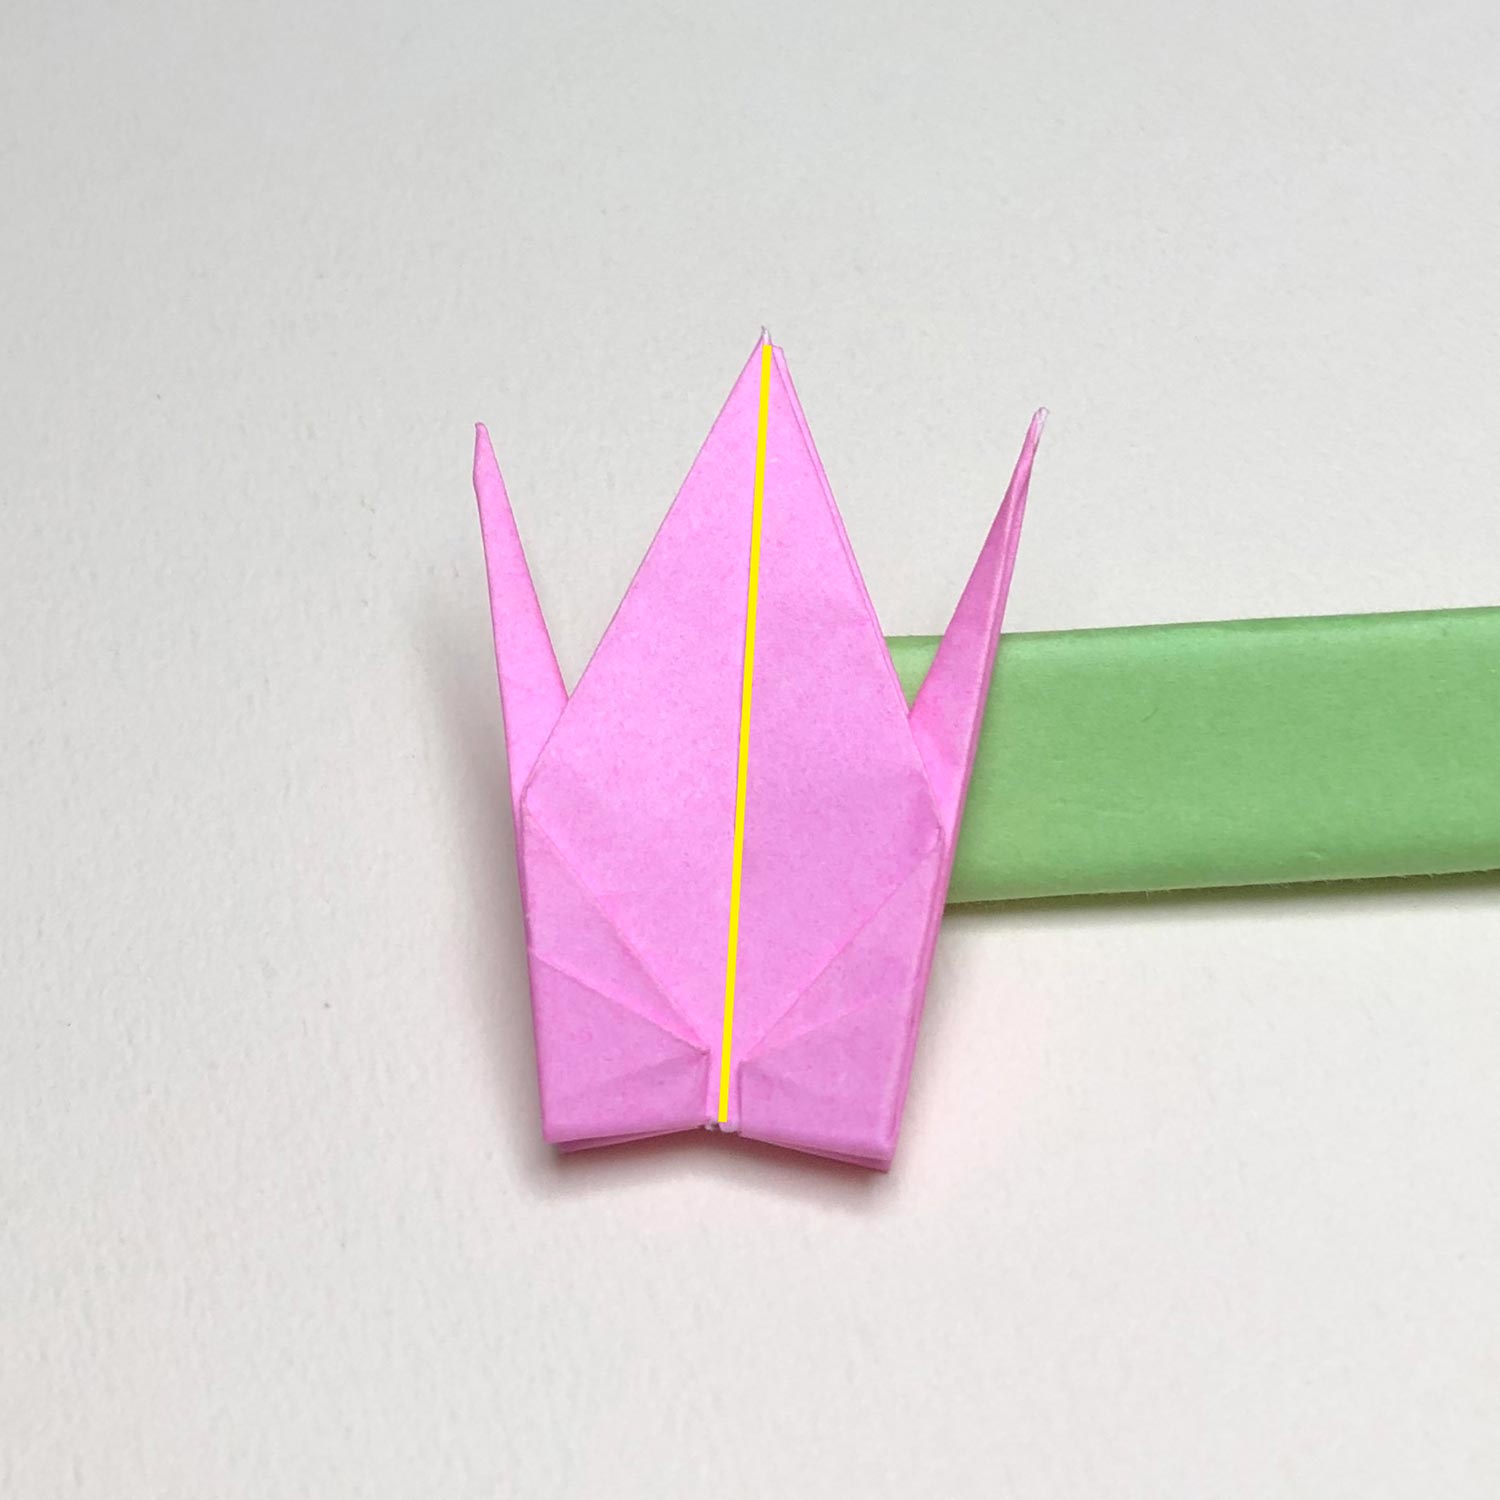
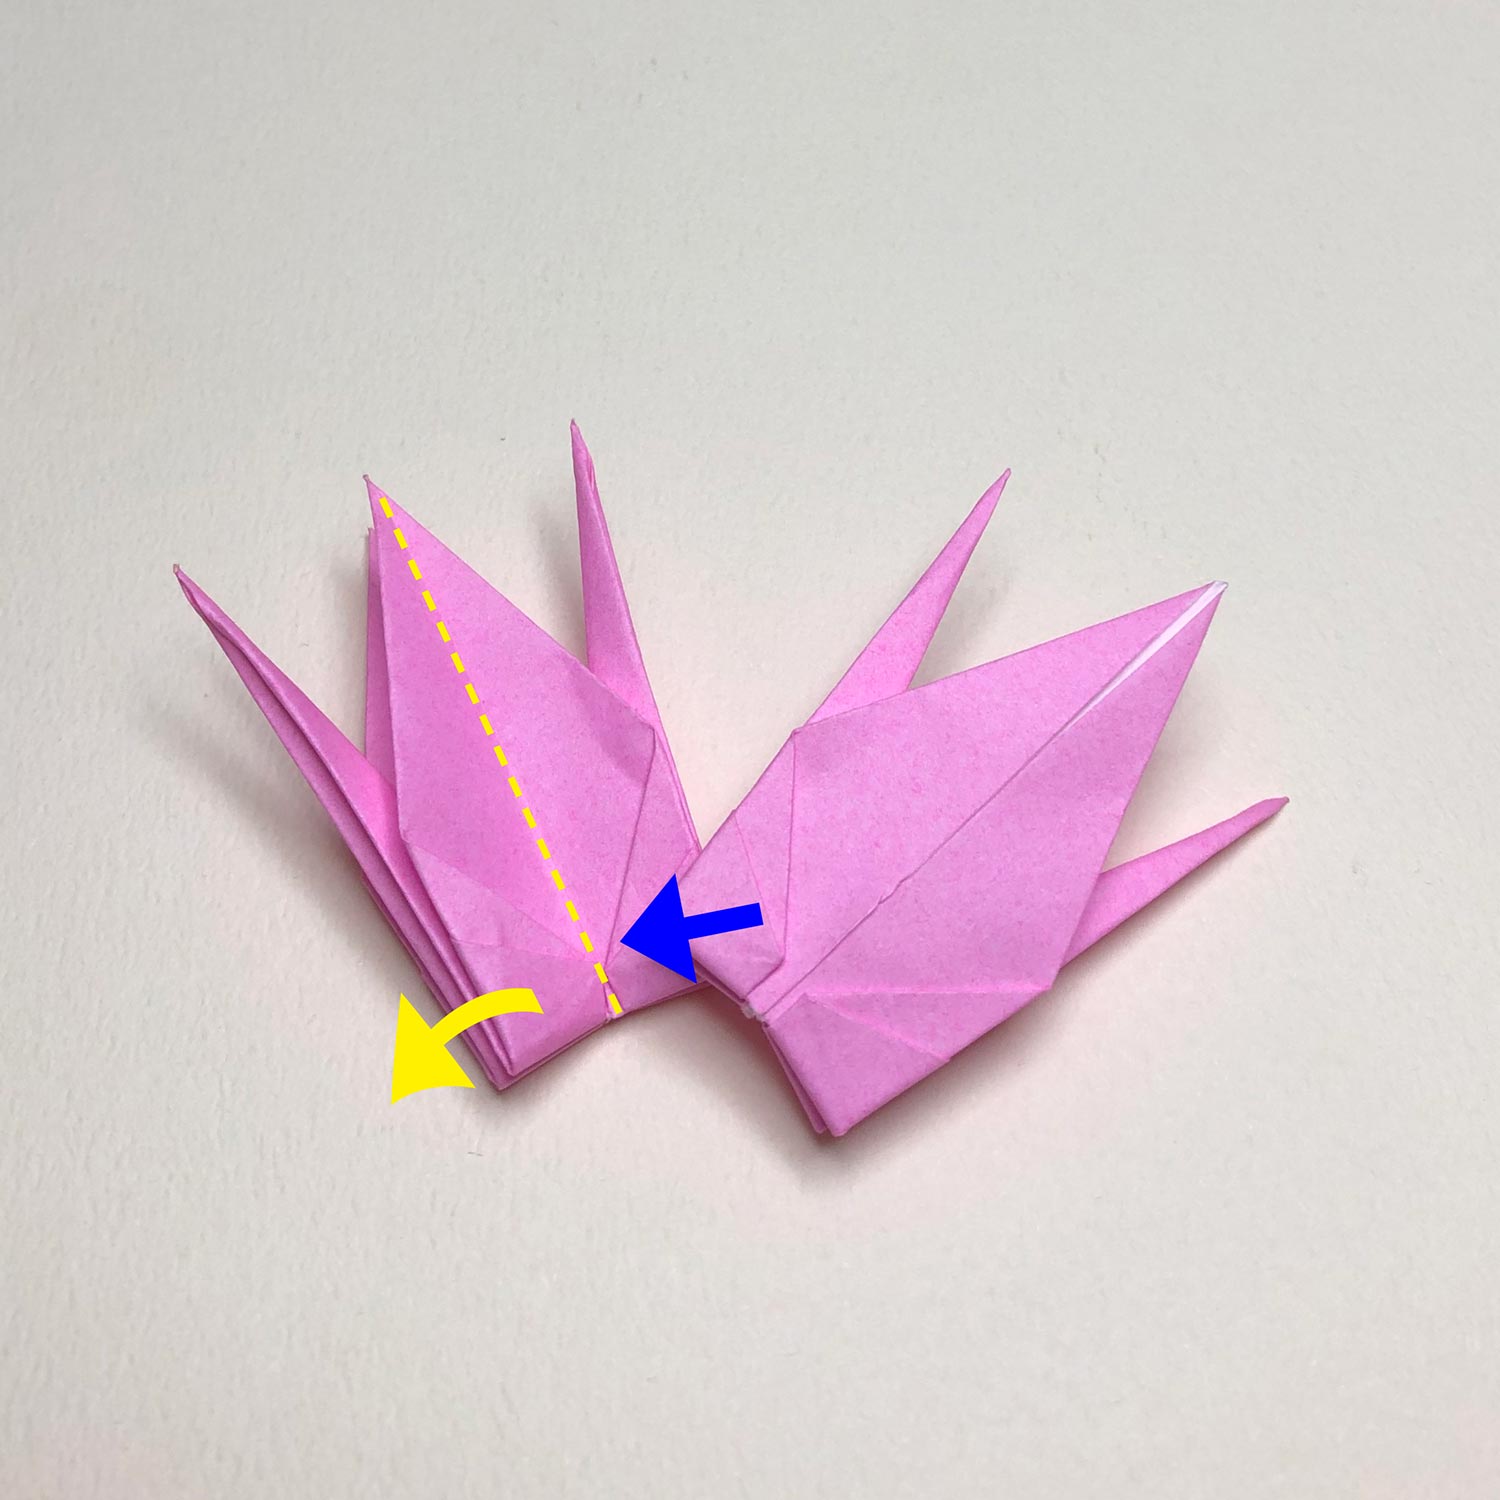
Make a valley-fold on the yellow line in each crane.
(Explanation 3)
Make a valley-fold like this picture.
(Explanation 4)
In the left crane, make a valley-fold looking from this side.
In the right crane, make a valley-fold looking from the opposite side.
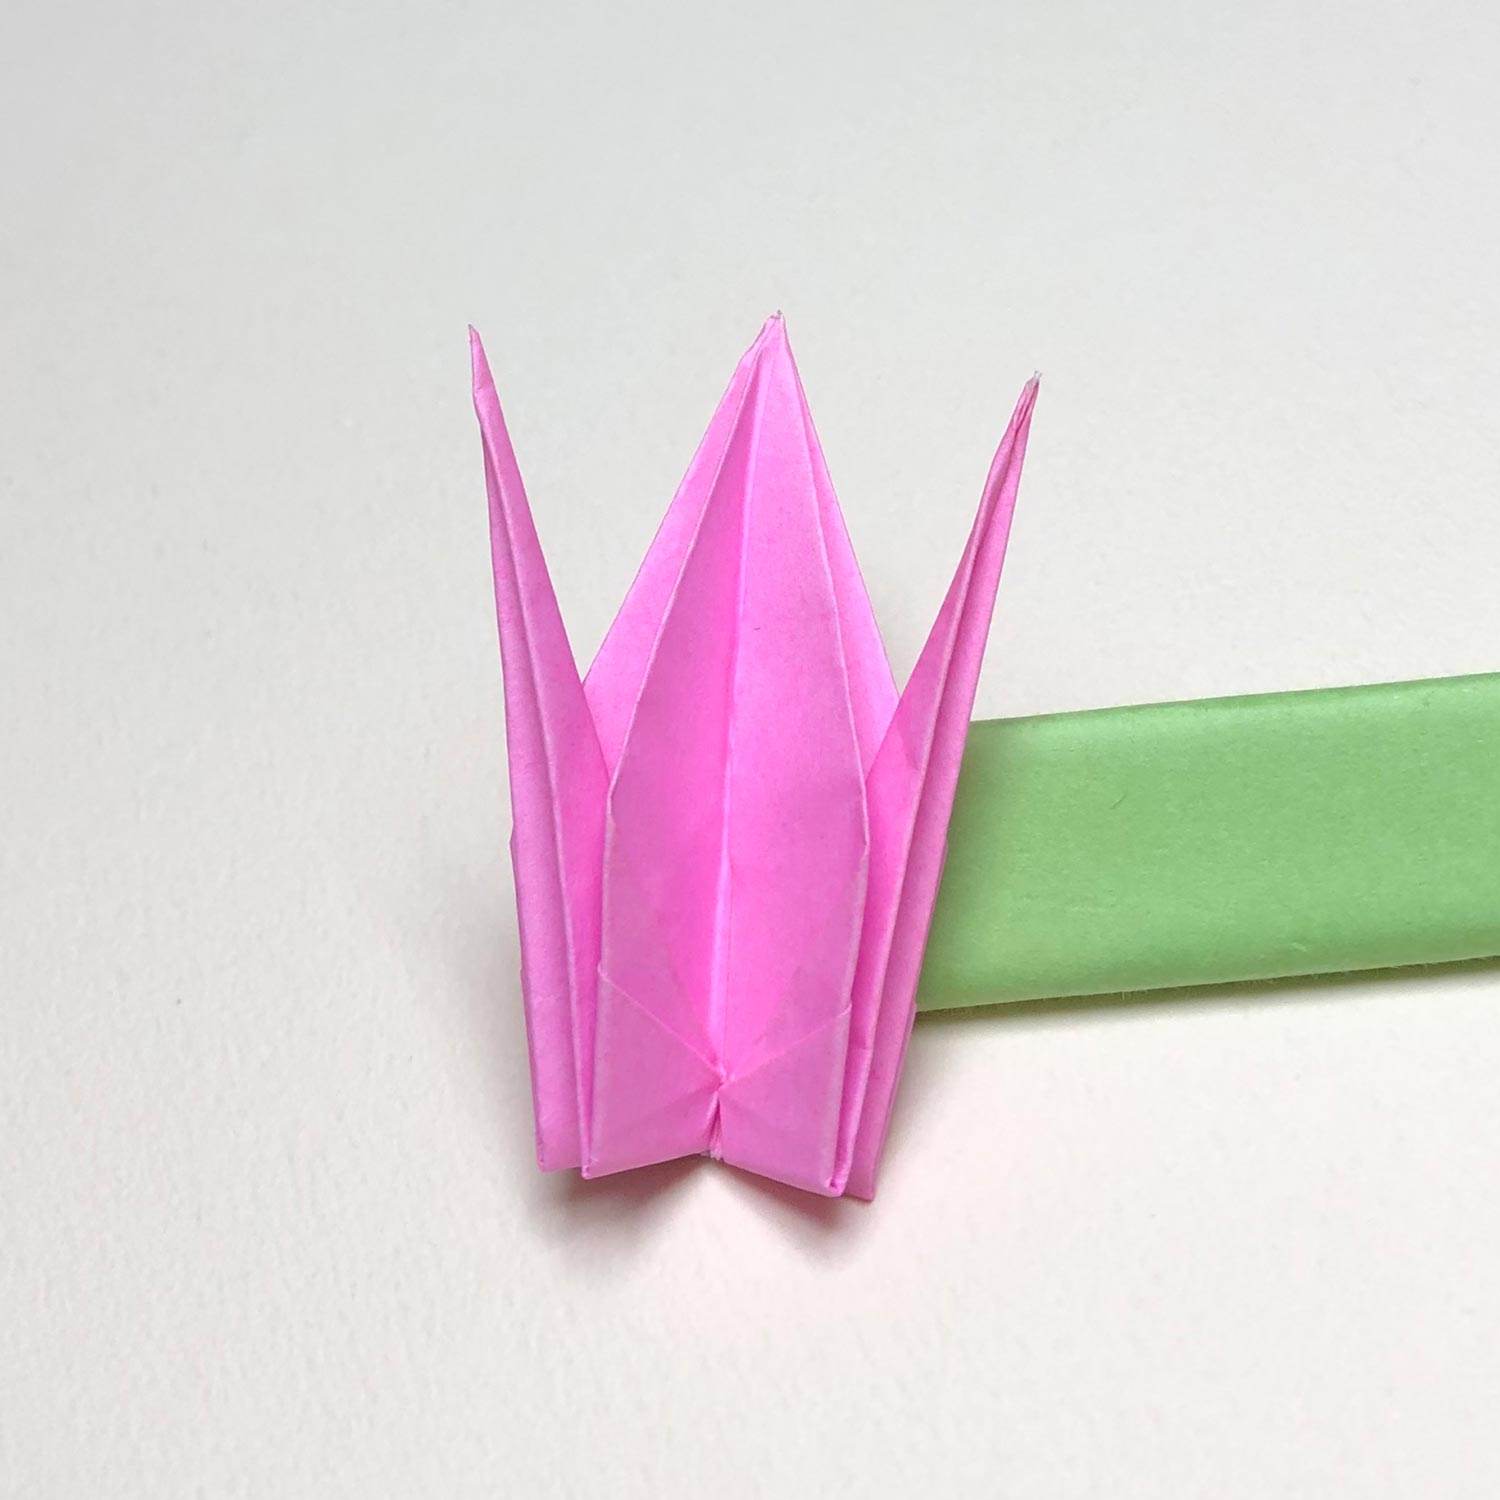
After making a valley-fold in each crane, it looks like this picture.

(Explanation 5)
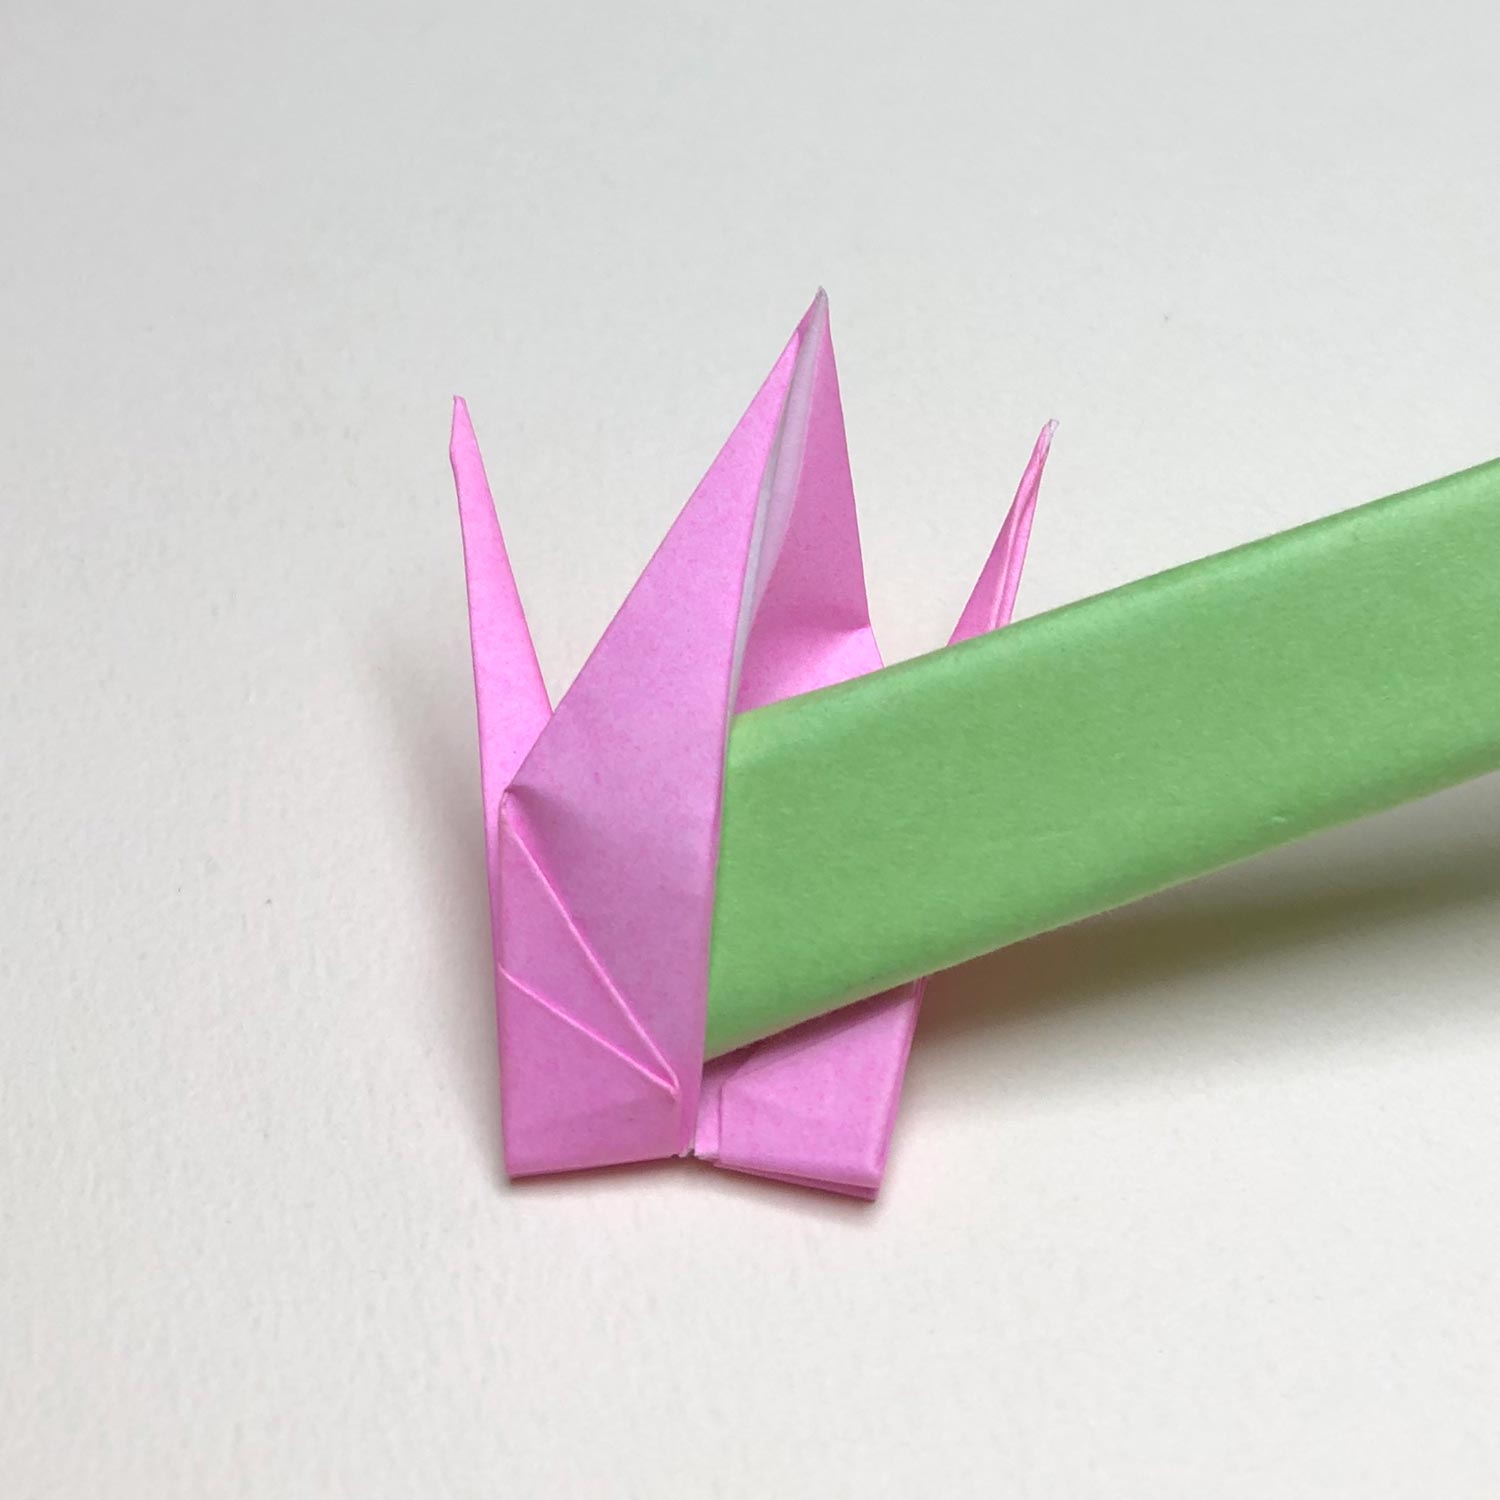
Then insert your finger in the circled part so that the part is swollen a little.
(Insert your finger in the left part in the side which you have made a valley-fold.)
(Explanation 6)
Insert your finger in the part like this picture.
After releasing your finger, it would be reverted back to an original shape.
However, by inserting your finger in the part once, it will get easier to put cranes on top of each other.
(Explanation 7)
Insert your finger in the left part in the side which you have made a valley-fold.
In the left crane, insert your finger the left part looking from this side.
In the right crane, insert your finger in the left part looking from the opposite side.
Then put cranes on top of each other.
(Explanation 8)
This picture is taken from the side.
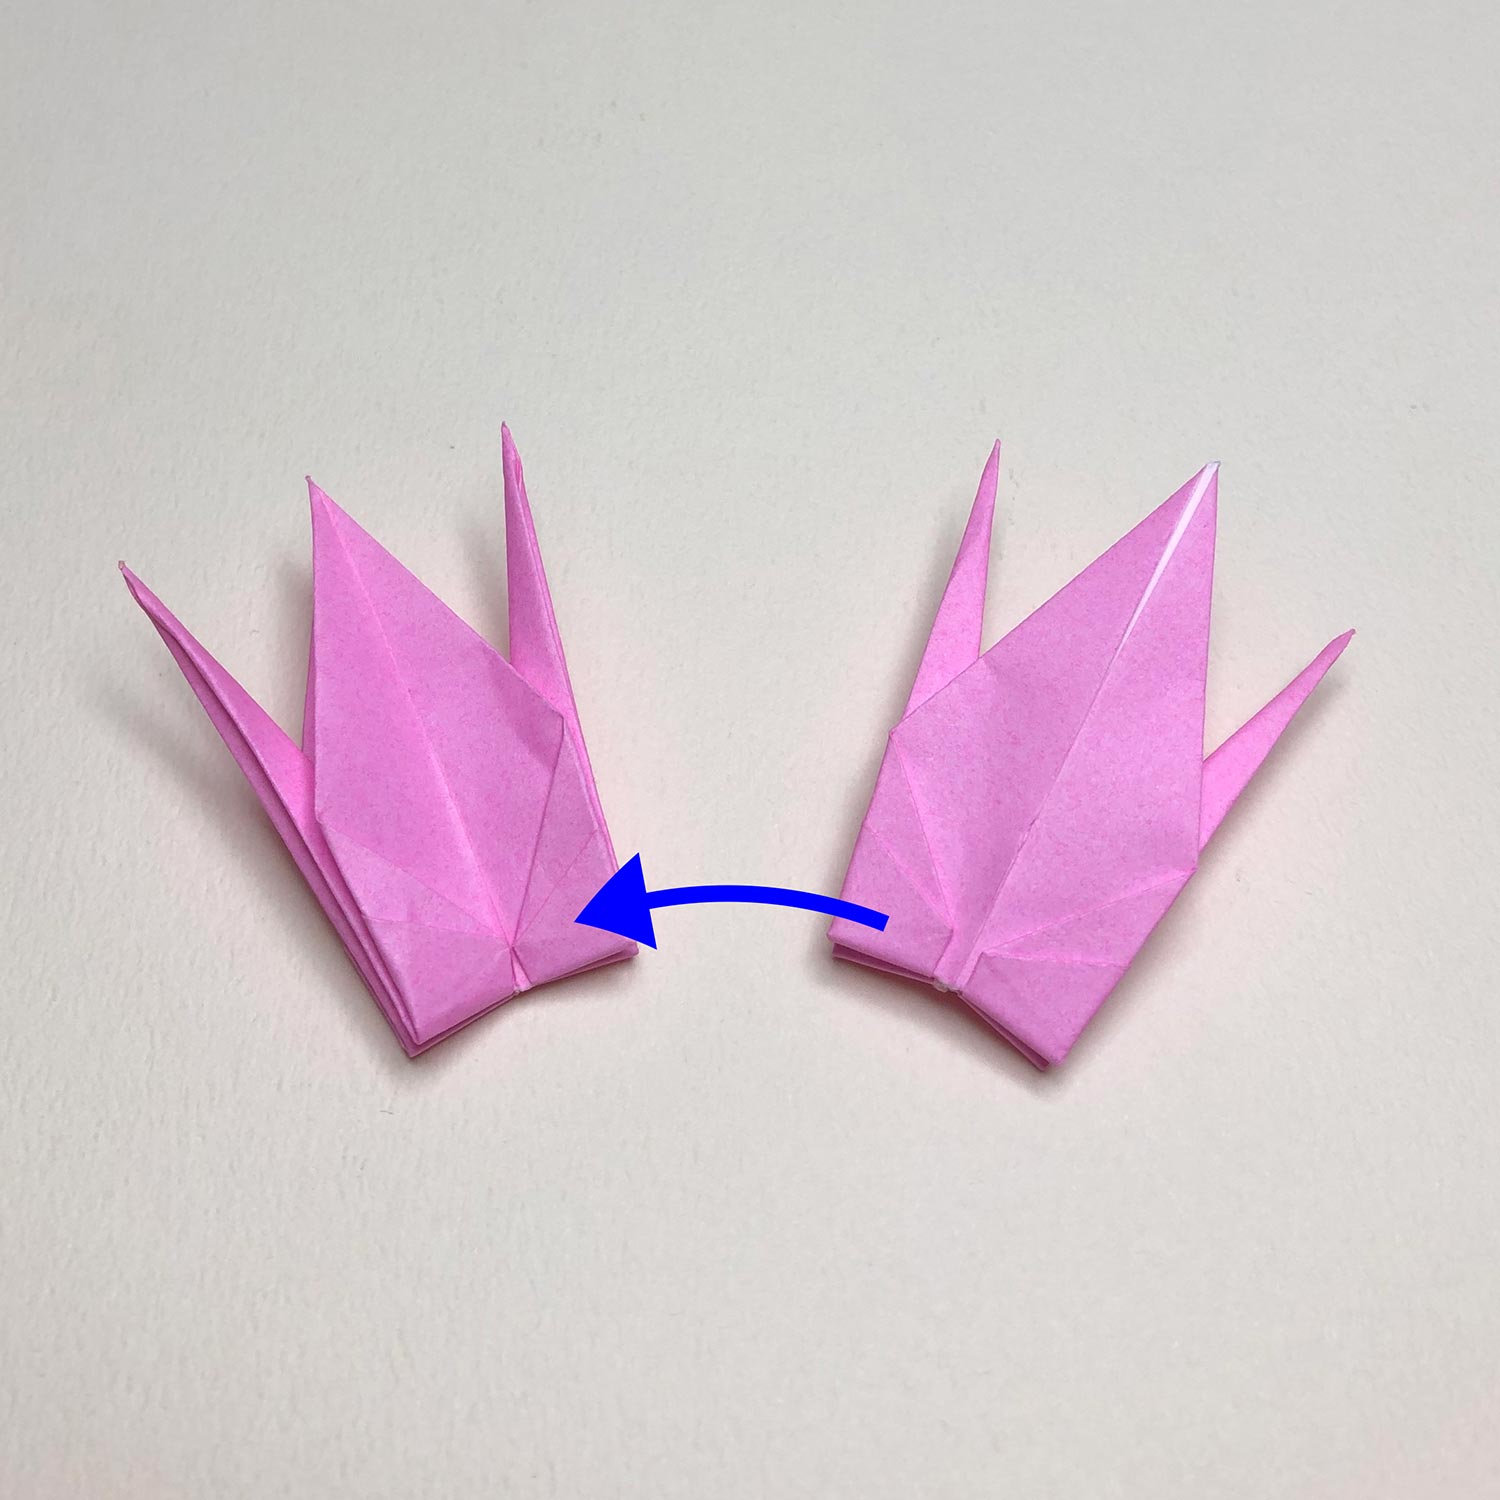
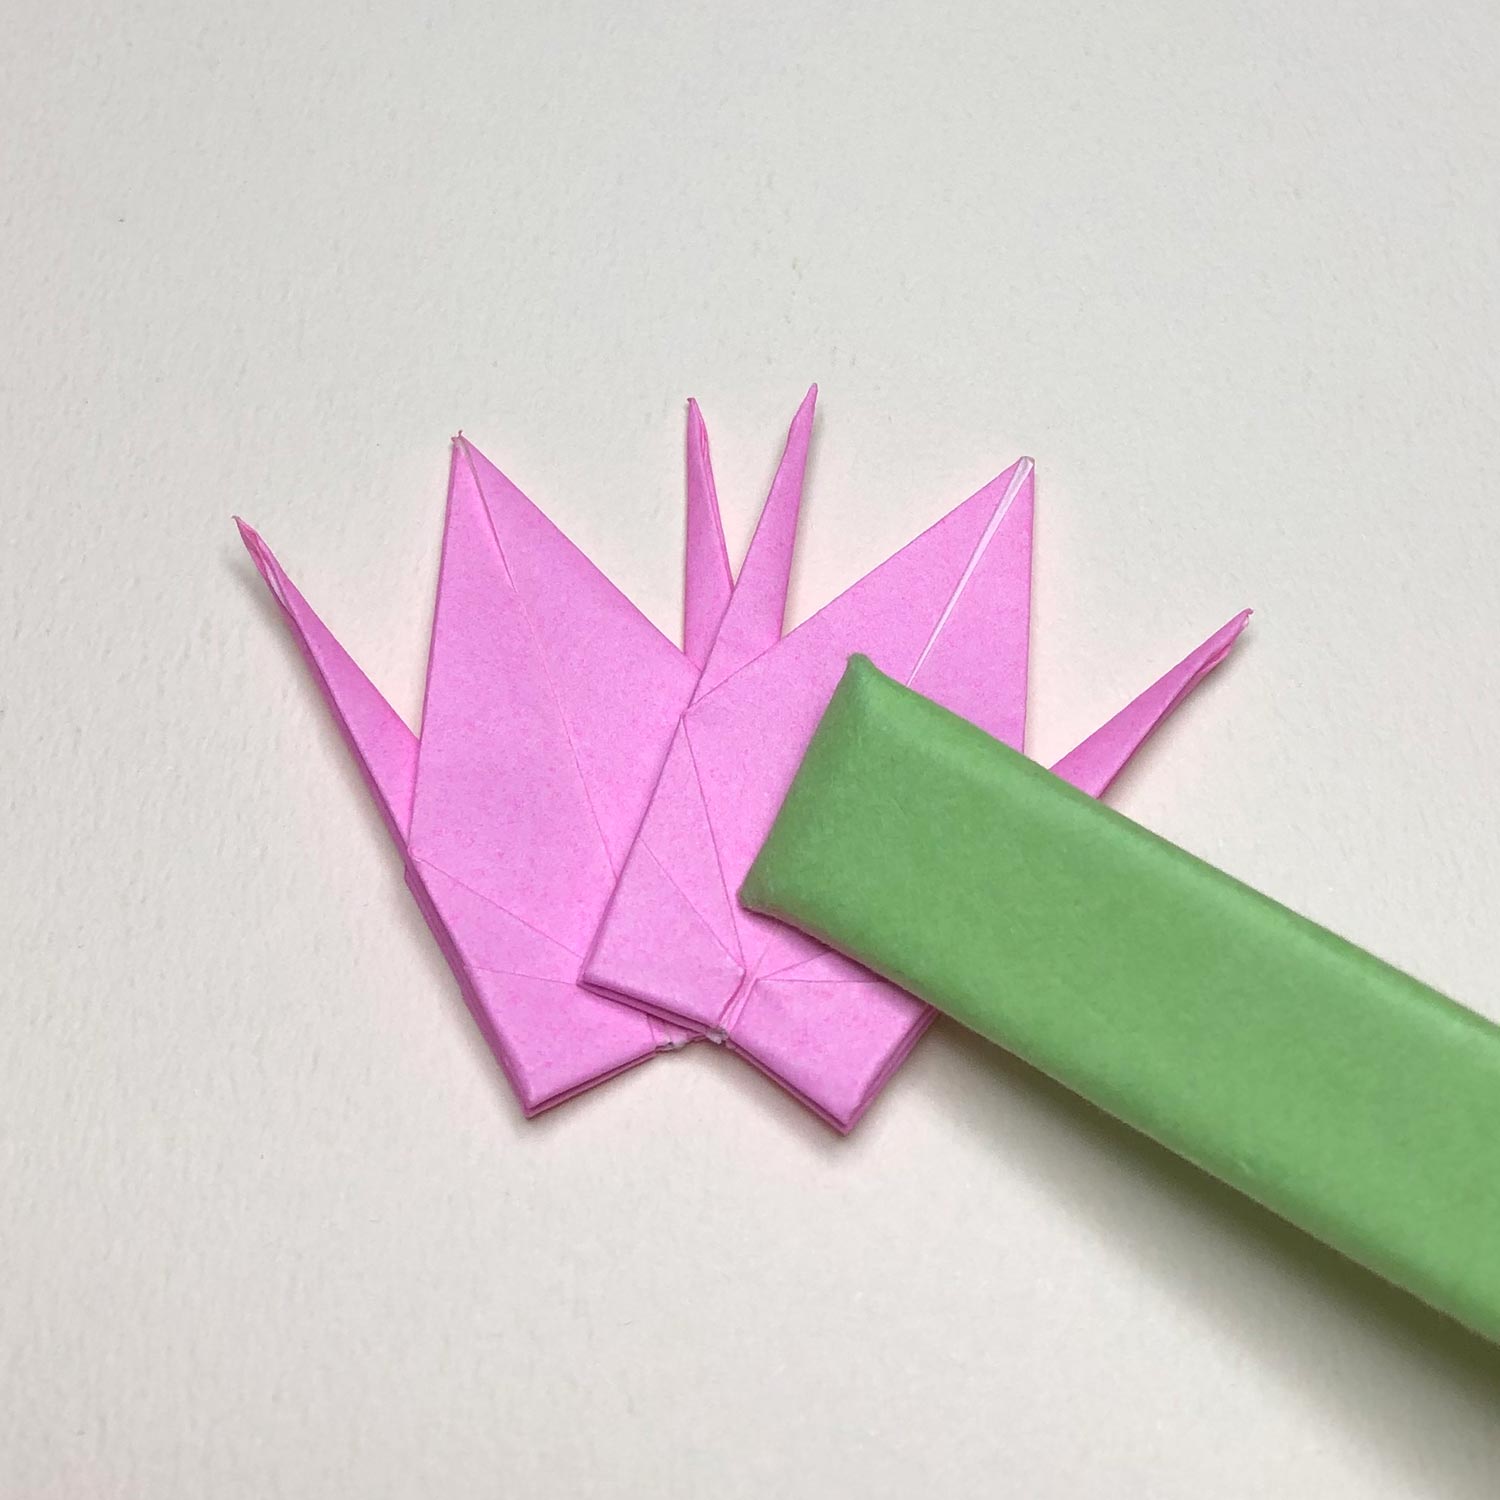
Move and put the right crane on the left crane.
(Explanation 9)
Put the right crane on the left crane with angling them like this picture.
(Explanation 10)
Then flip the left edge of the left crane in the direction of the yellow arrow so that the dotted line is open.
After opening the dotted line, insert the right crane in the left part of the left crane.

(Explanation 11)
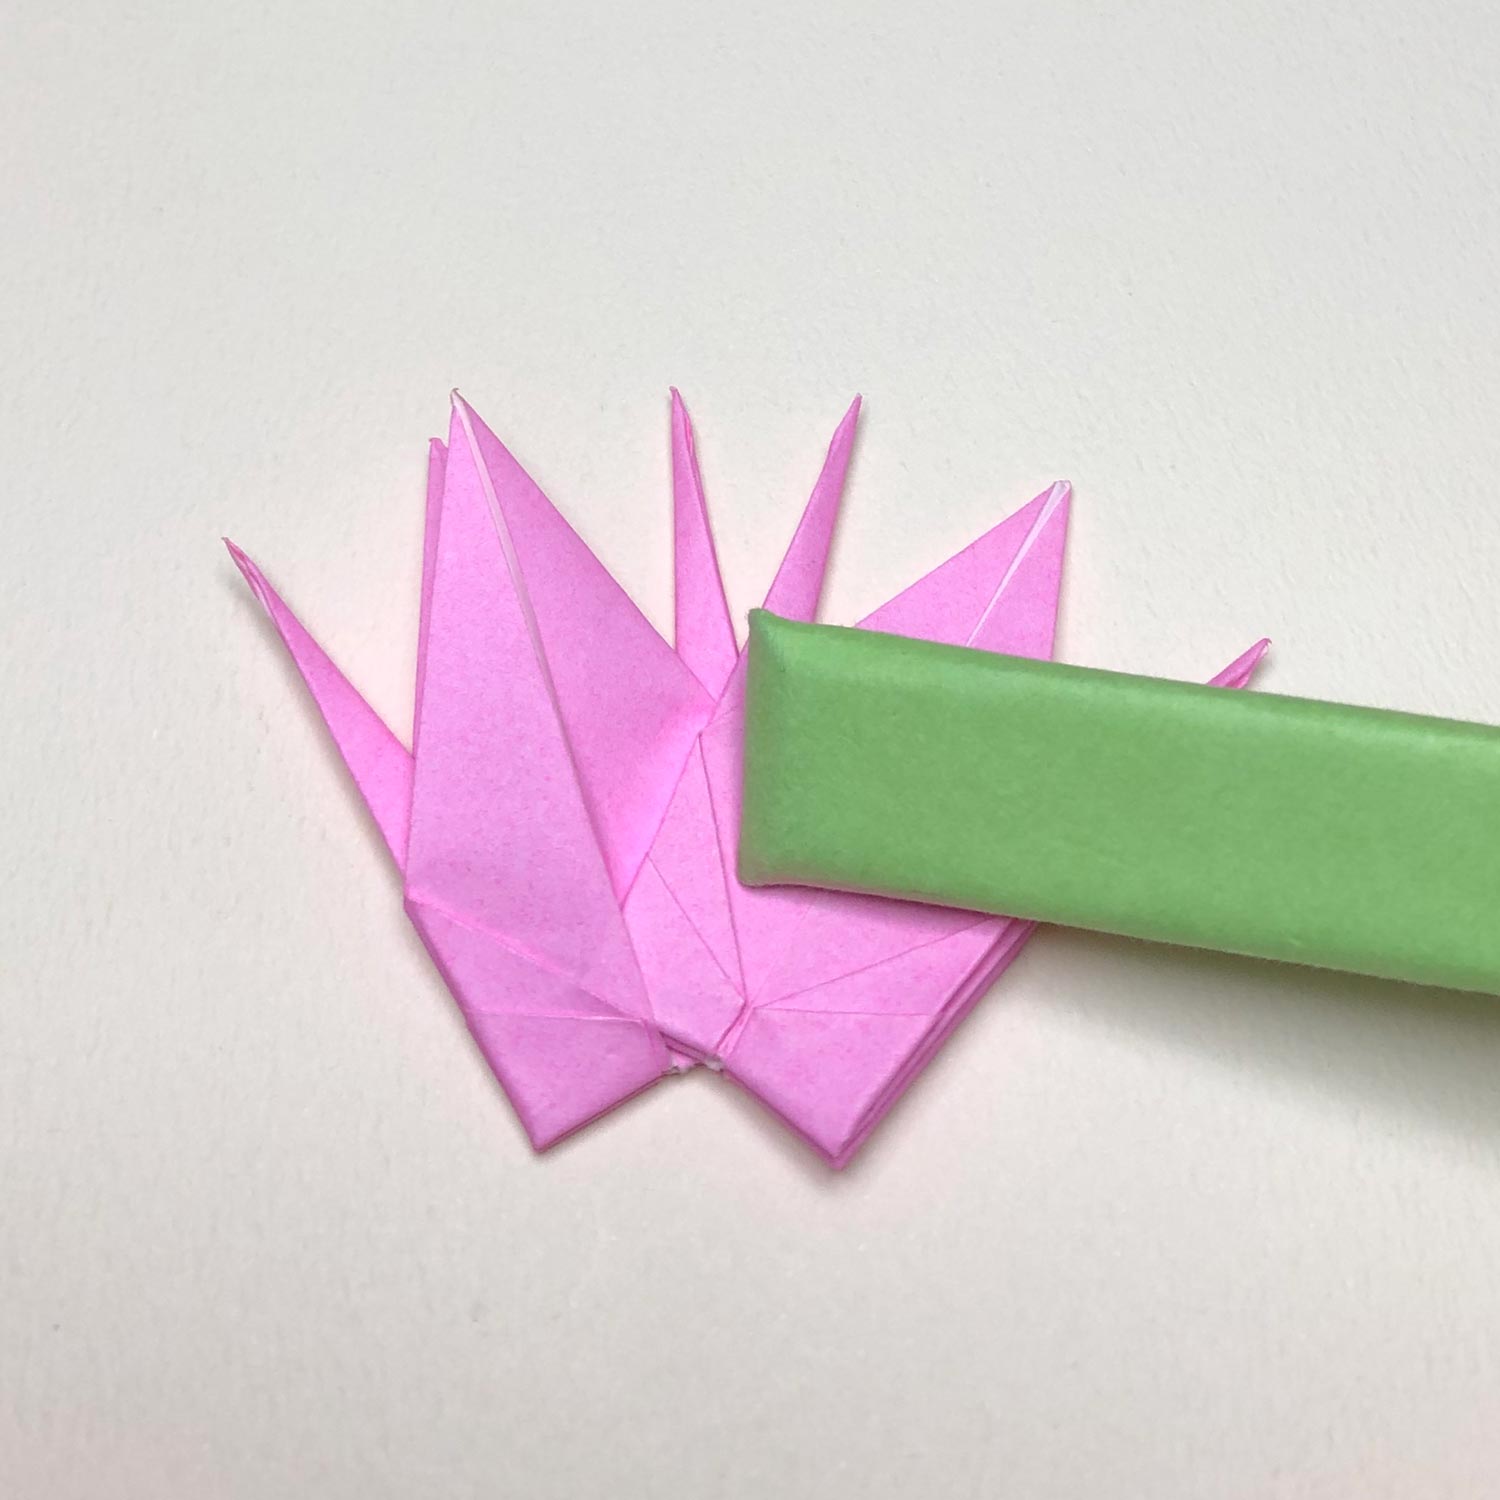
Insert the right crane in the left part of the left crane like this picture.
(Explanation 12)
This picture is taken from the opposite side.

(Explanation 13)
On the opposite side too, flip the left edge of the left crane in the direction of the yellow arrow so that the dotted line is open.
After opening the dotted line, insert the right crane in the left part of the left crane.
(Explanation 14)
Insert the right crane in the left part of the left crane like this picture.
(Explanation 15)
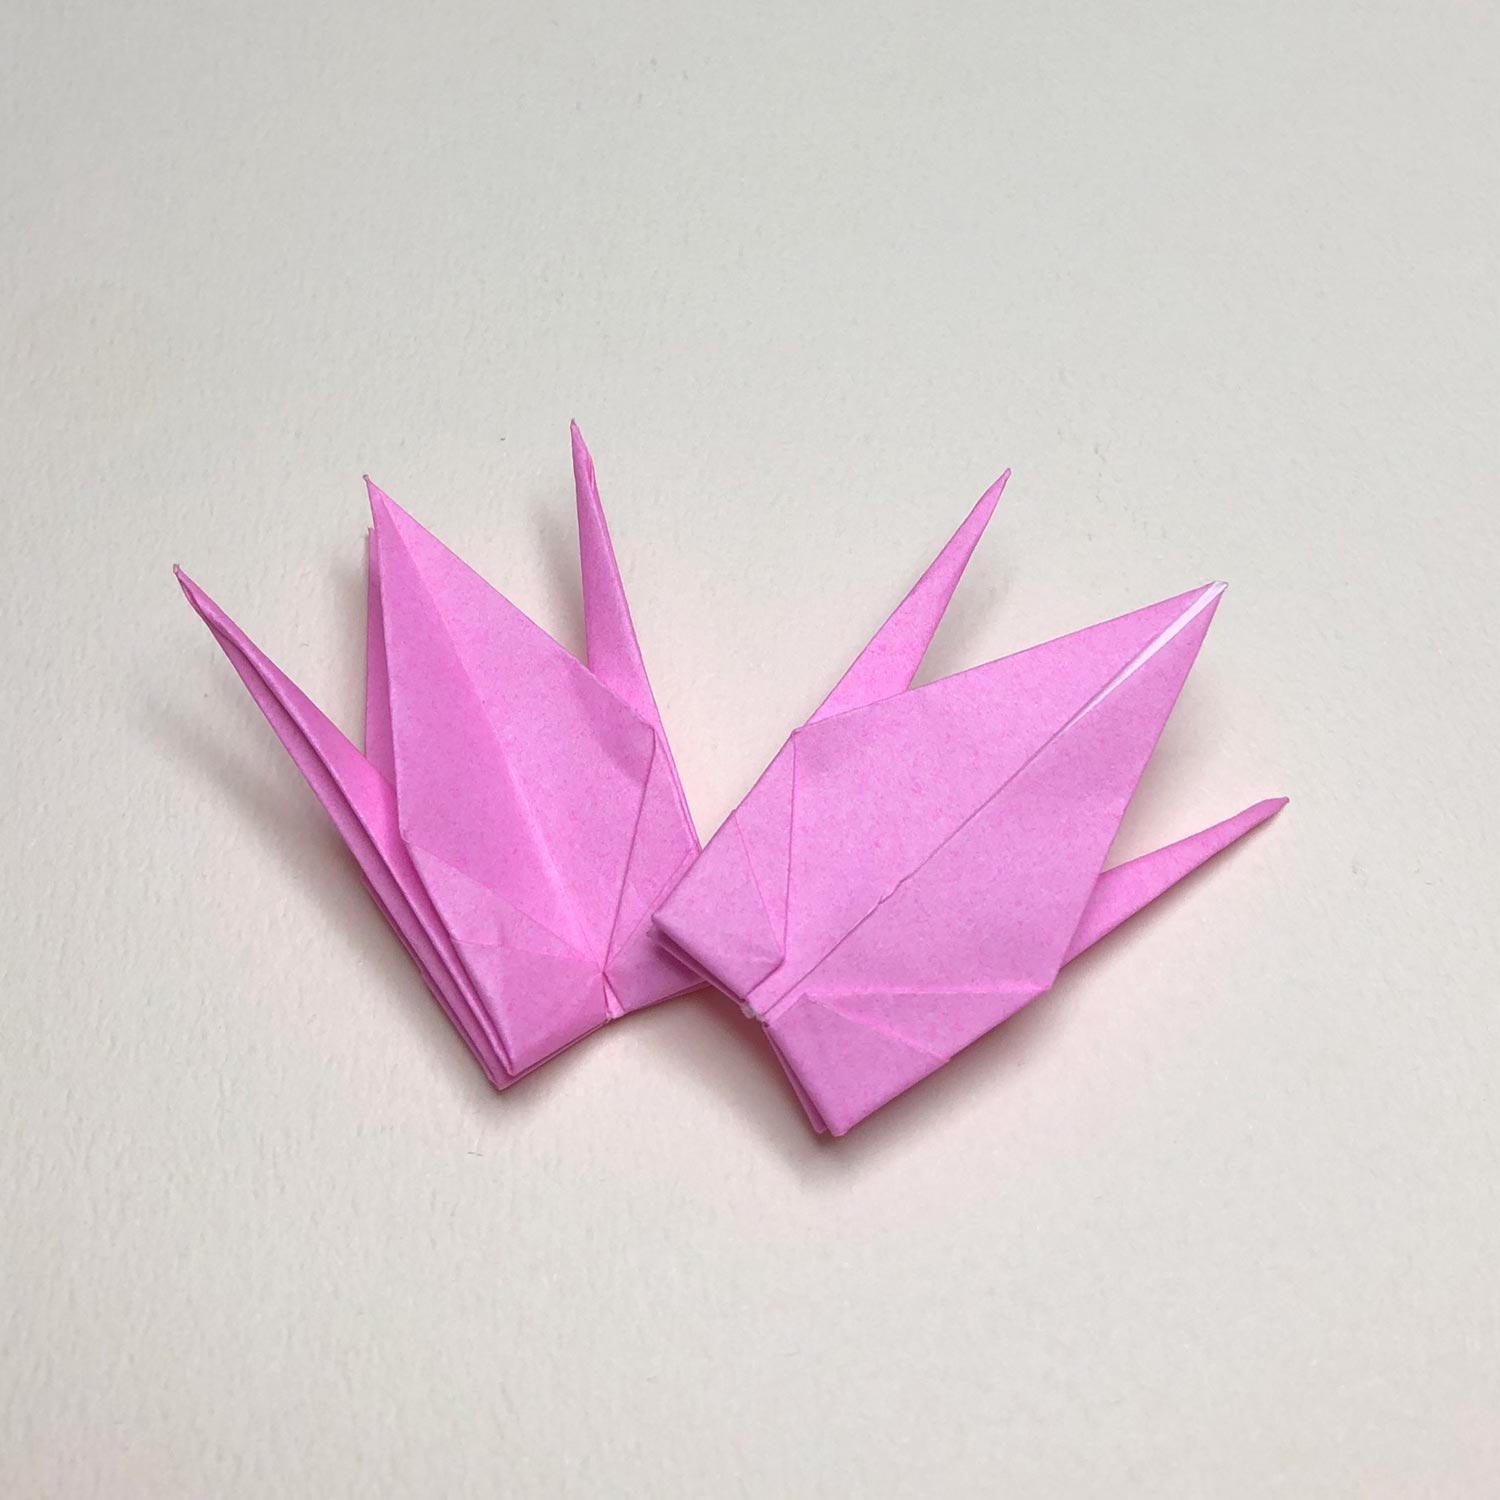
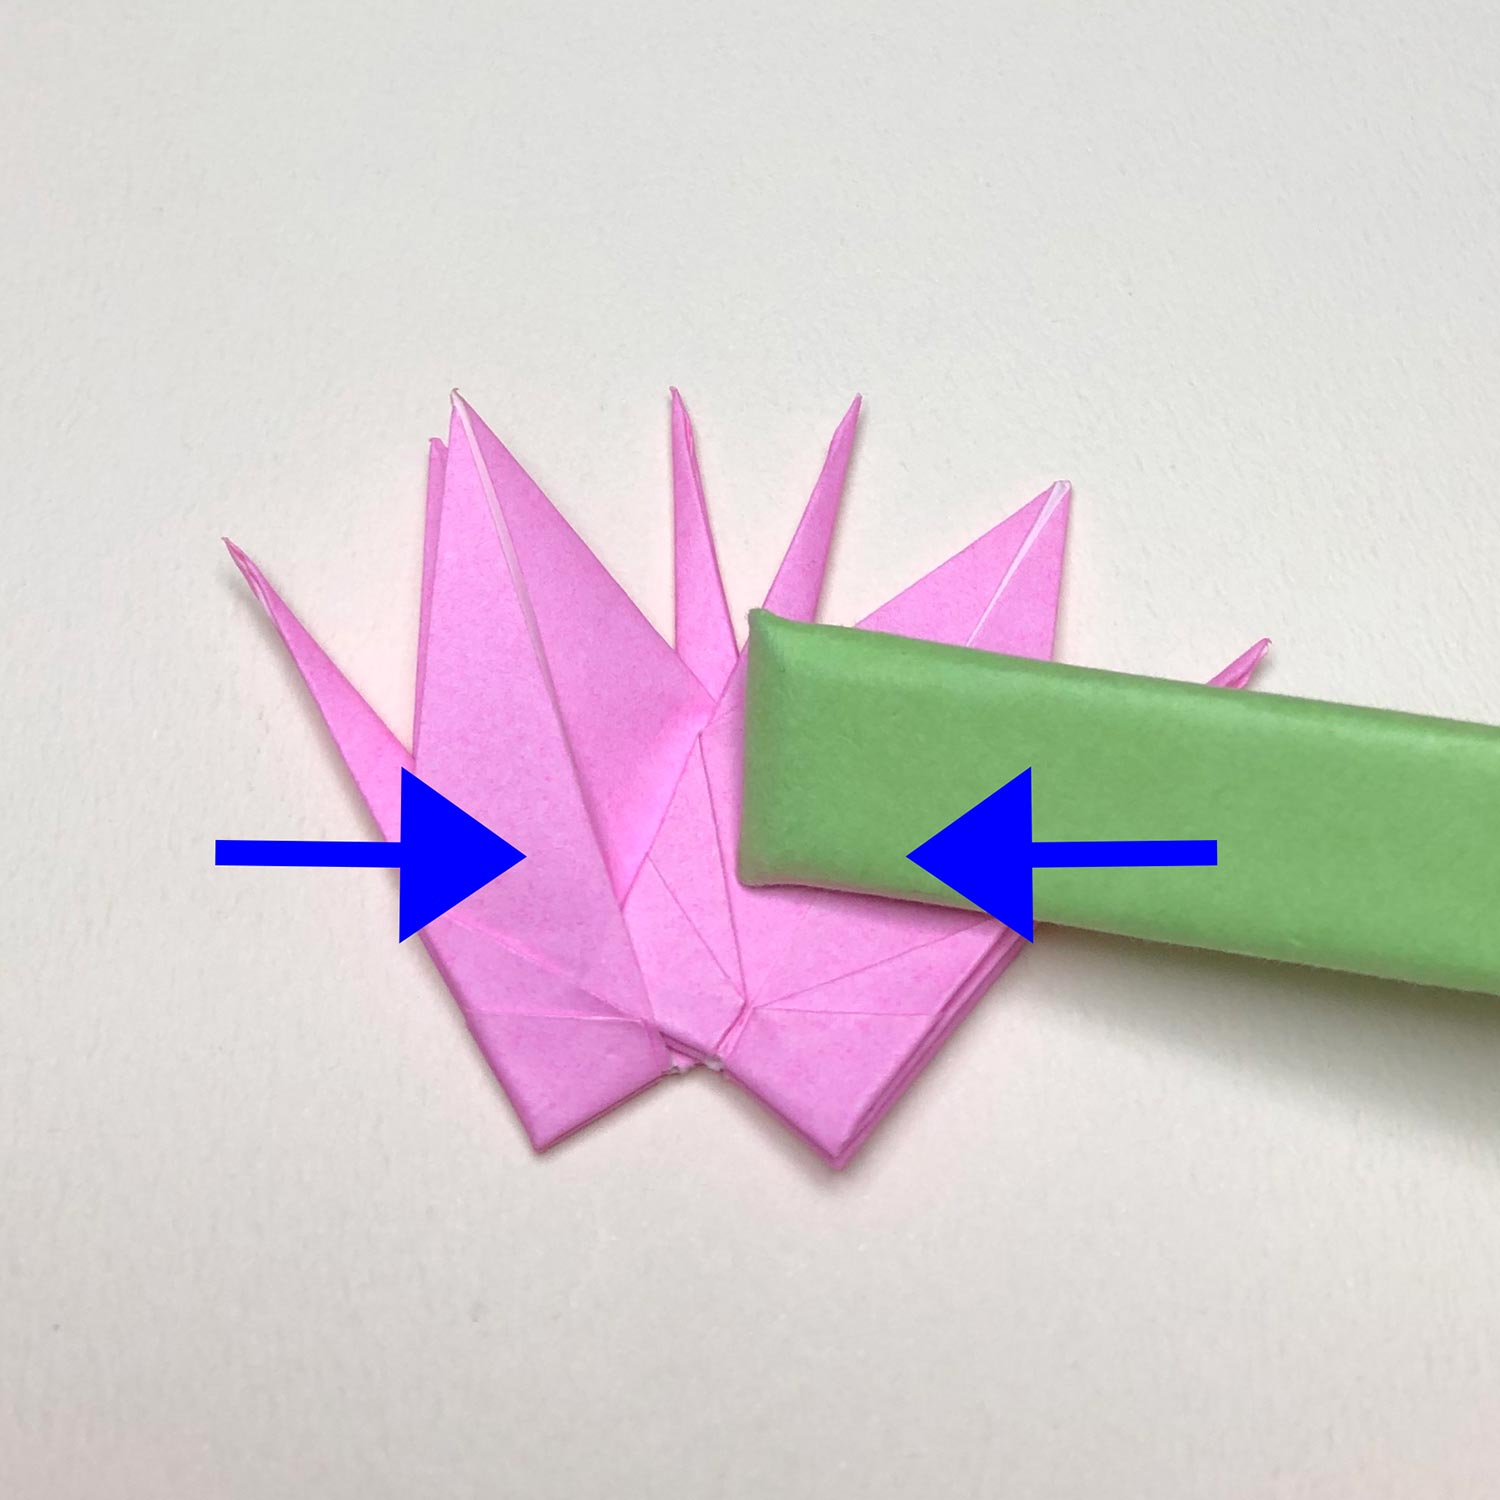
Check that each crane is put between the left part of another crane.
In the state of that, move both cranes in the direction of the arrows.
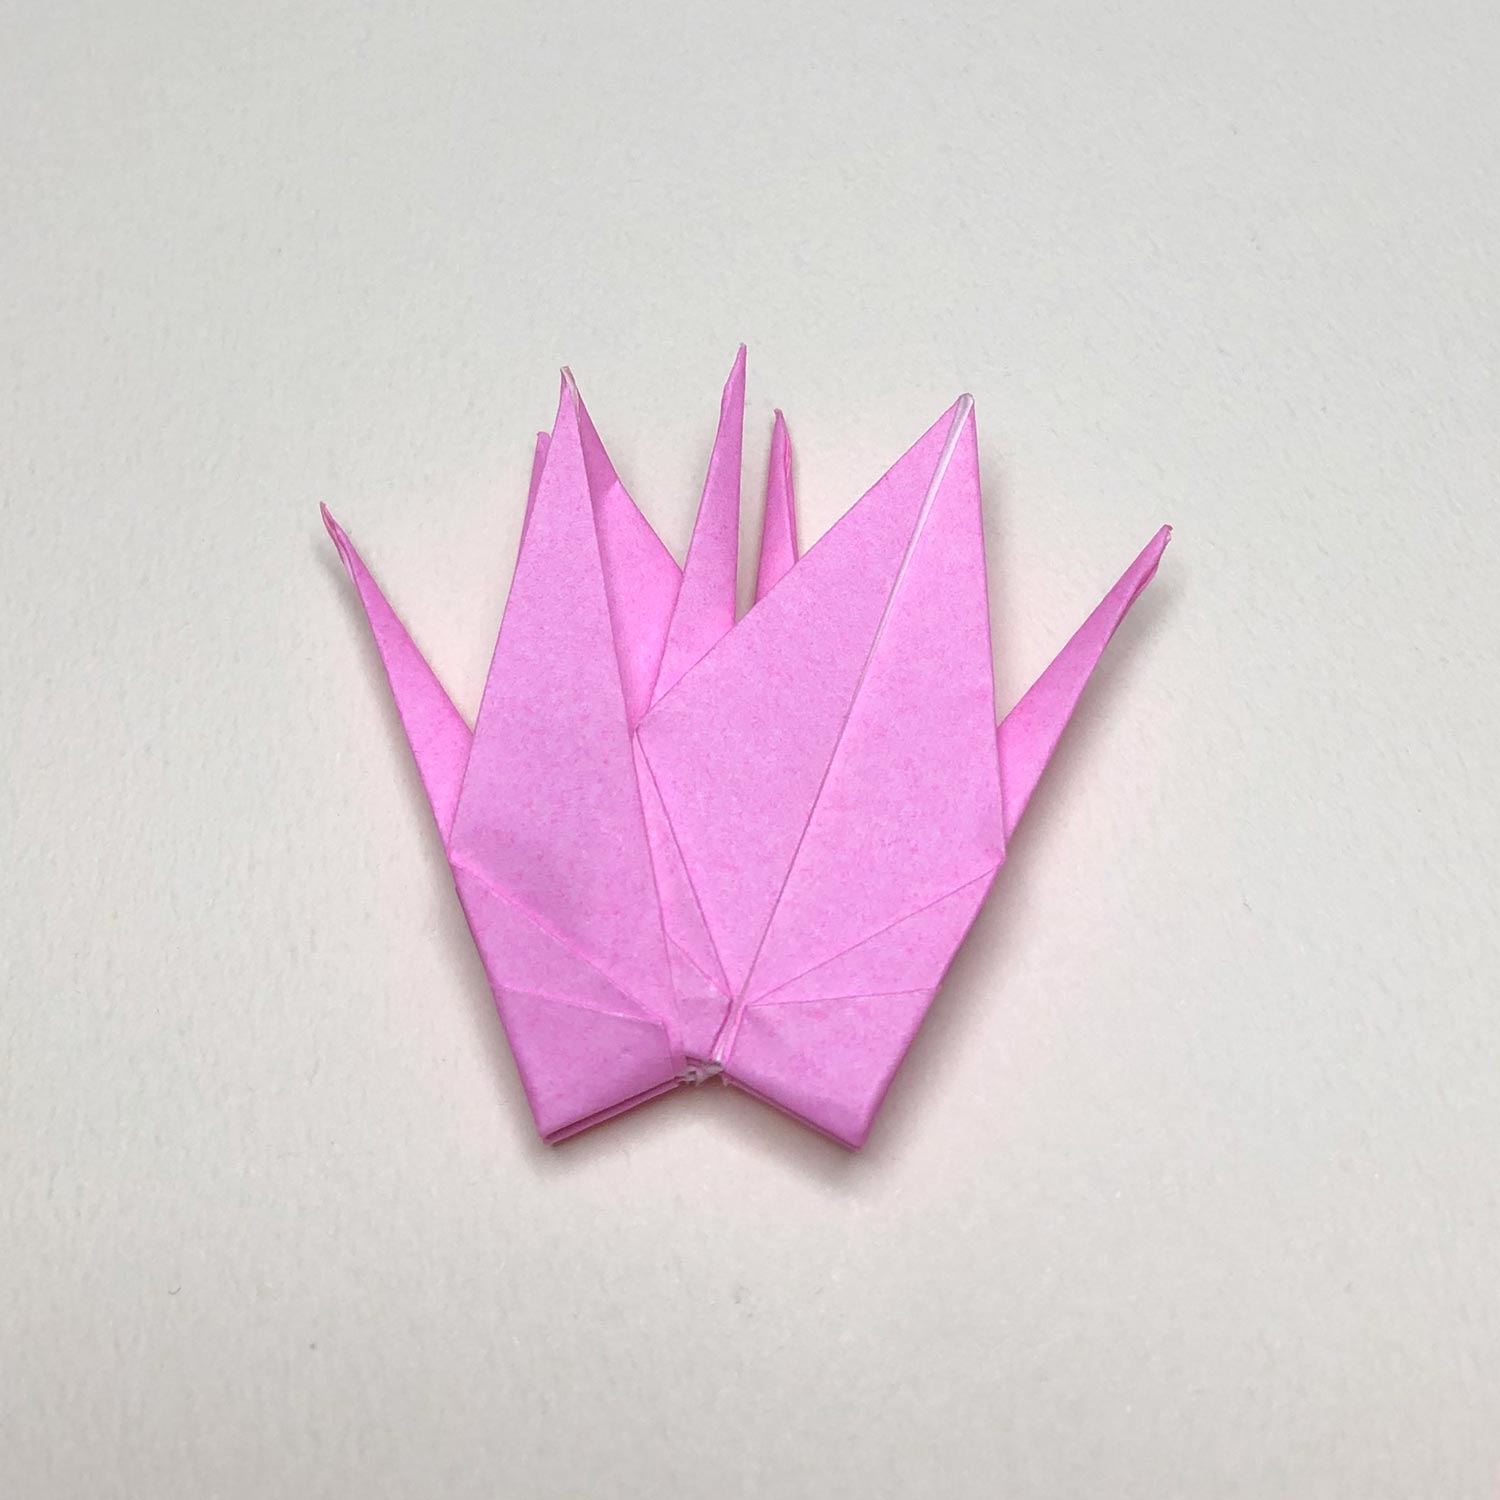
(Explanation 16)
Move both cranes like this picture.
Putting cranes on top of each other is finished.