(20)
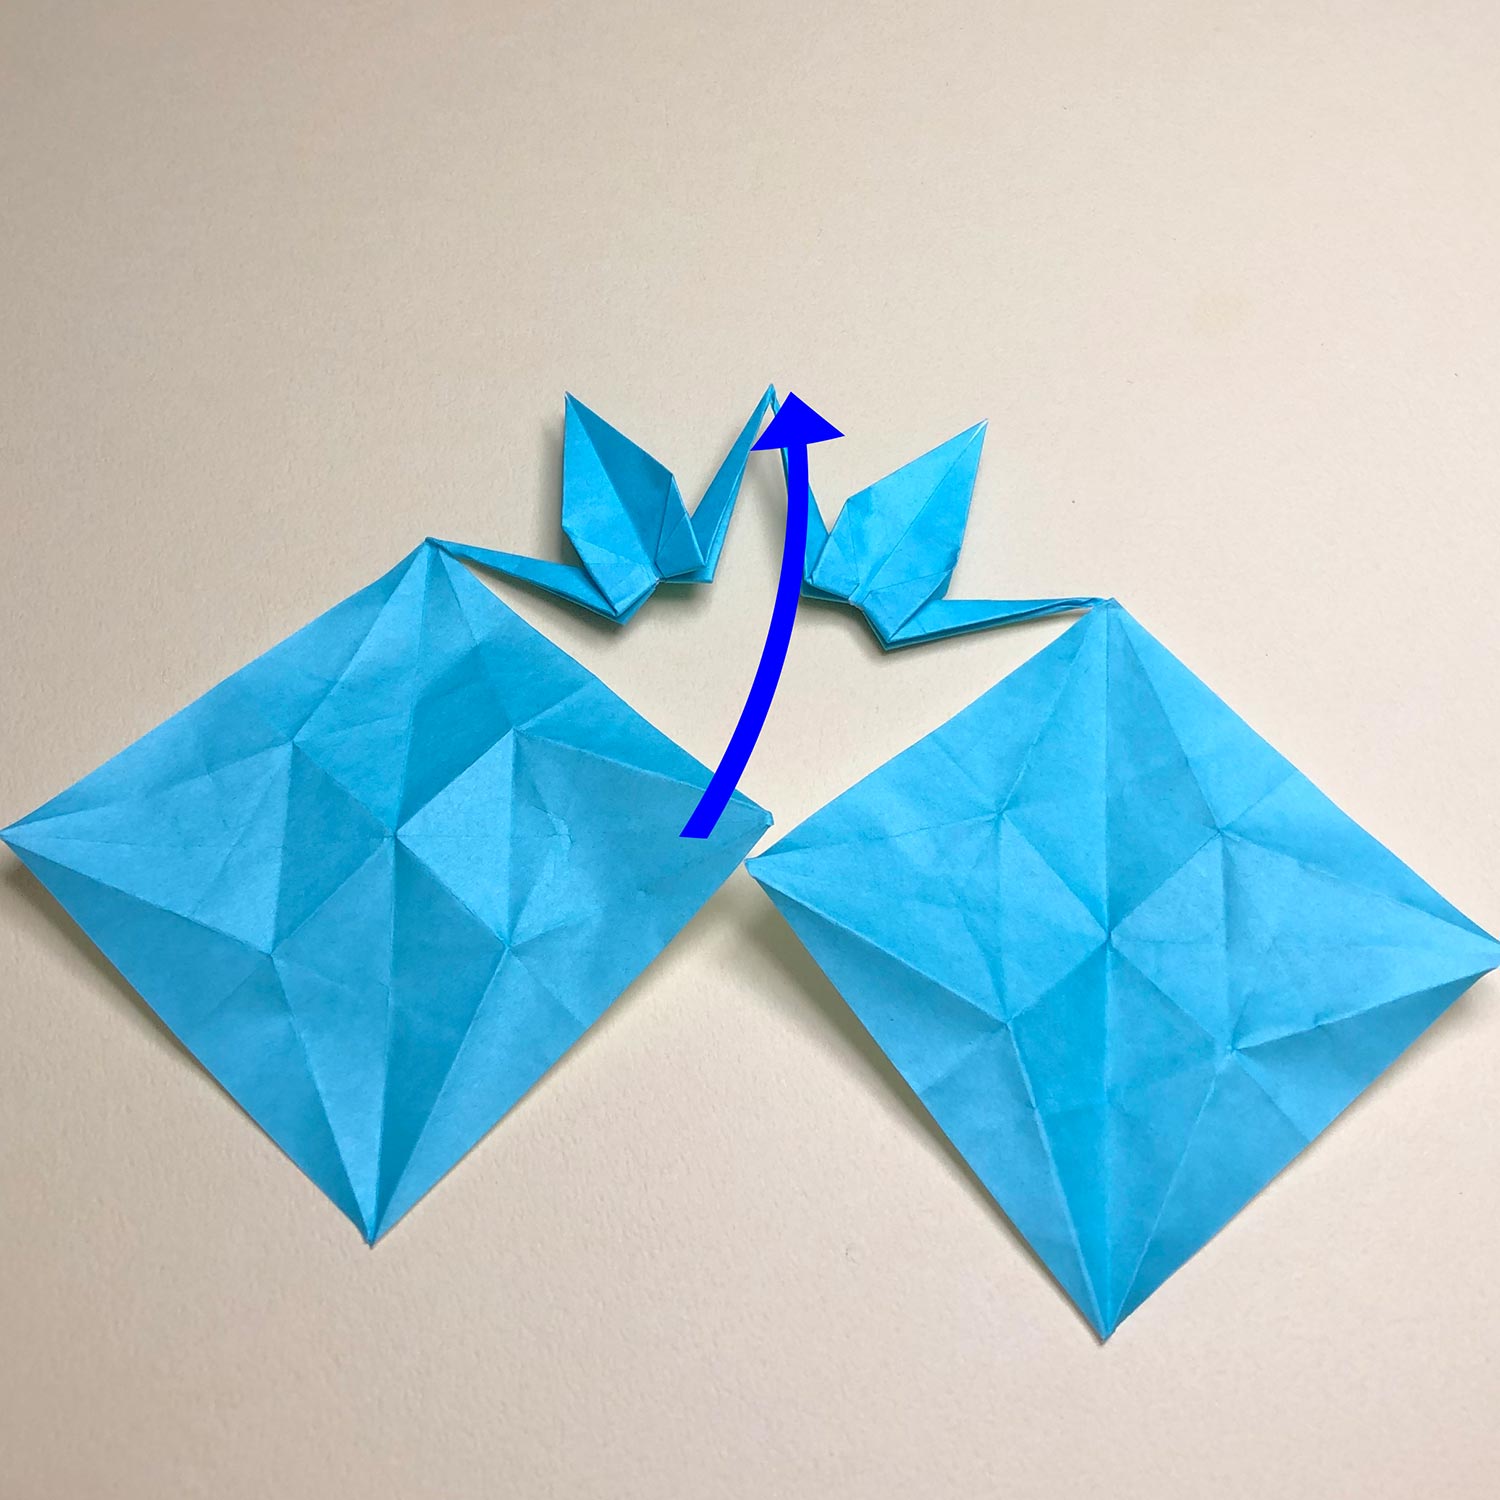
Then make the third crane.
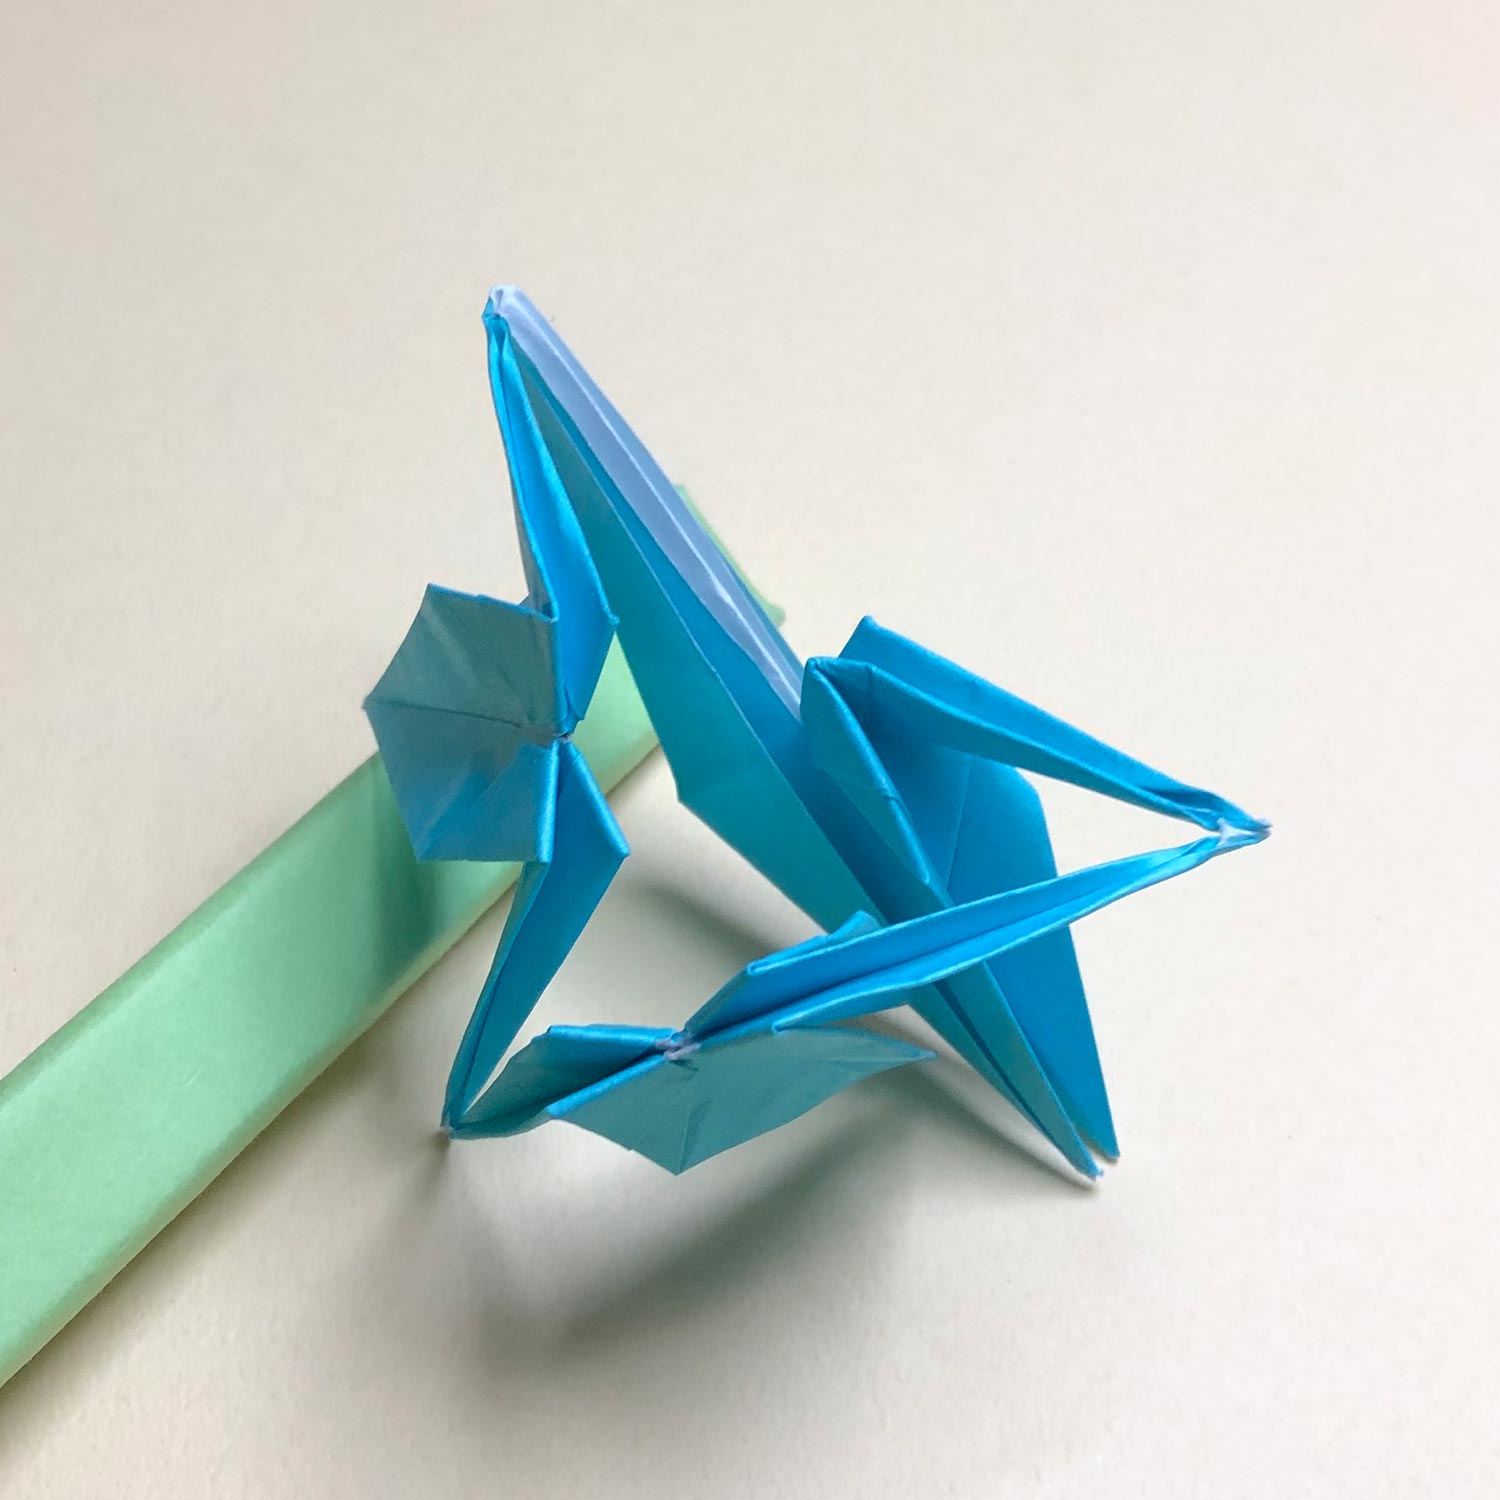
Move the left square in the direction of the arrow.
(21)
Move the left square like this picture.
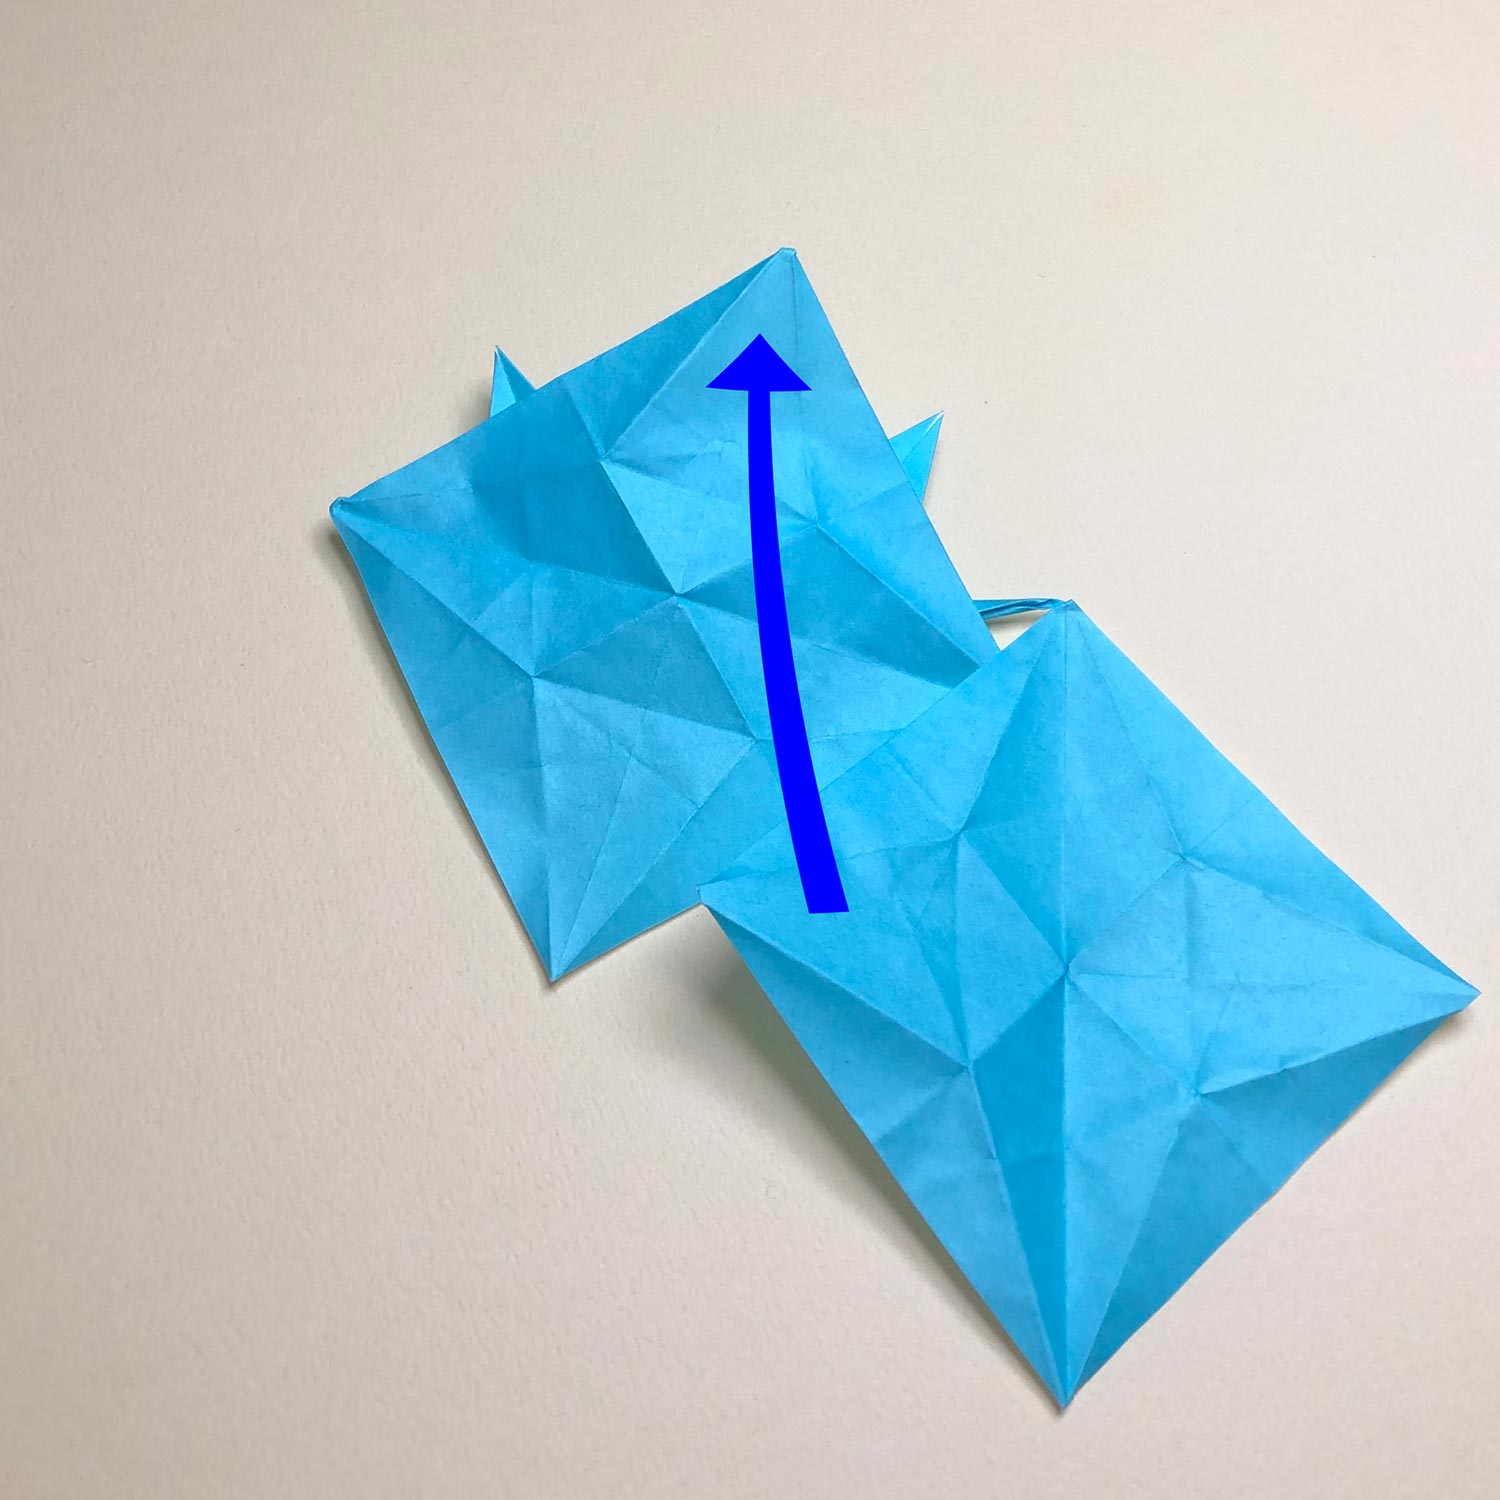
Then move the right square in the direction of the arrow to put one on top of another.
(22)
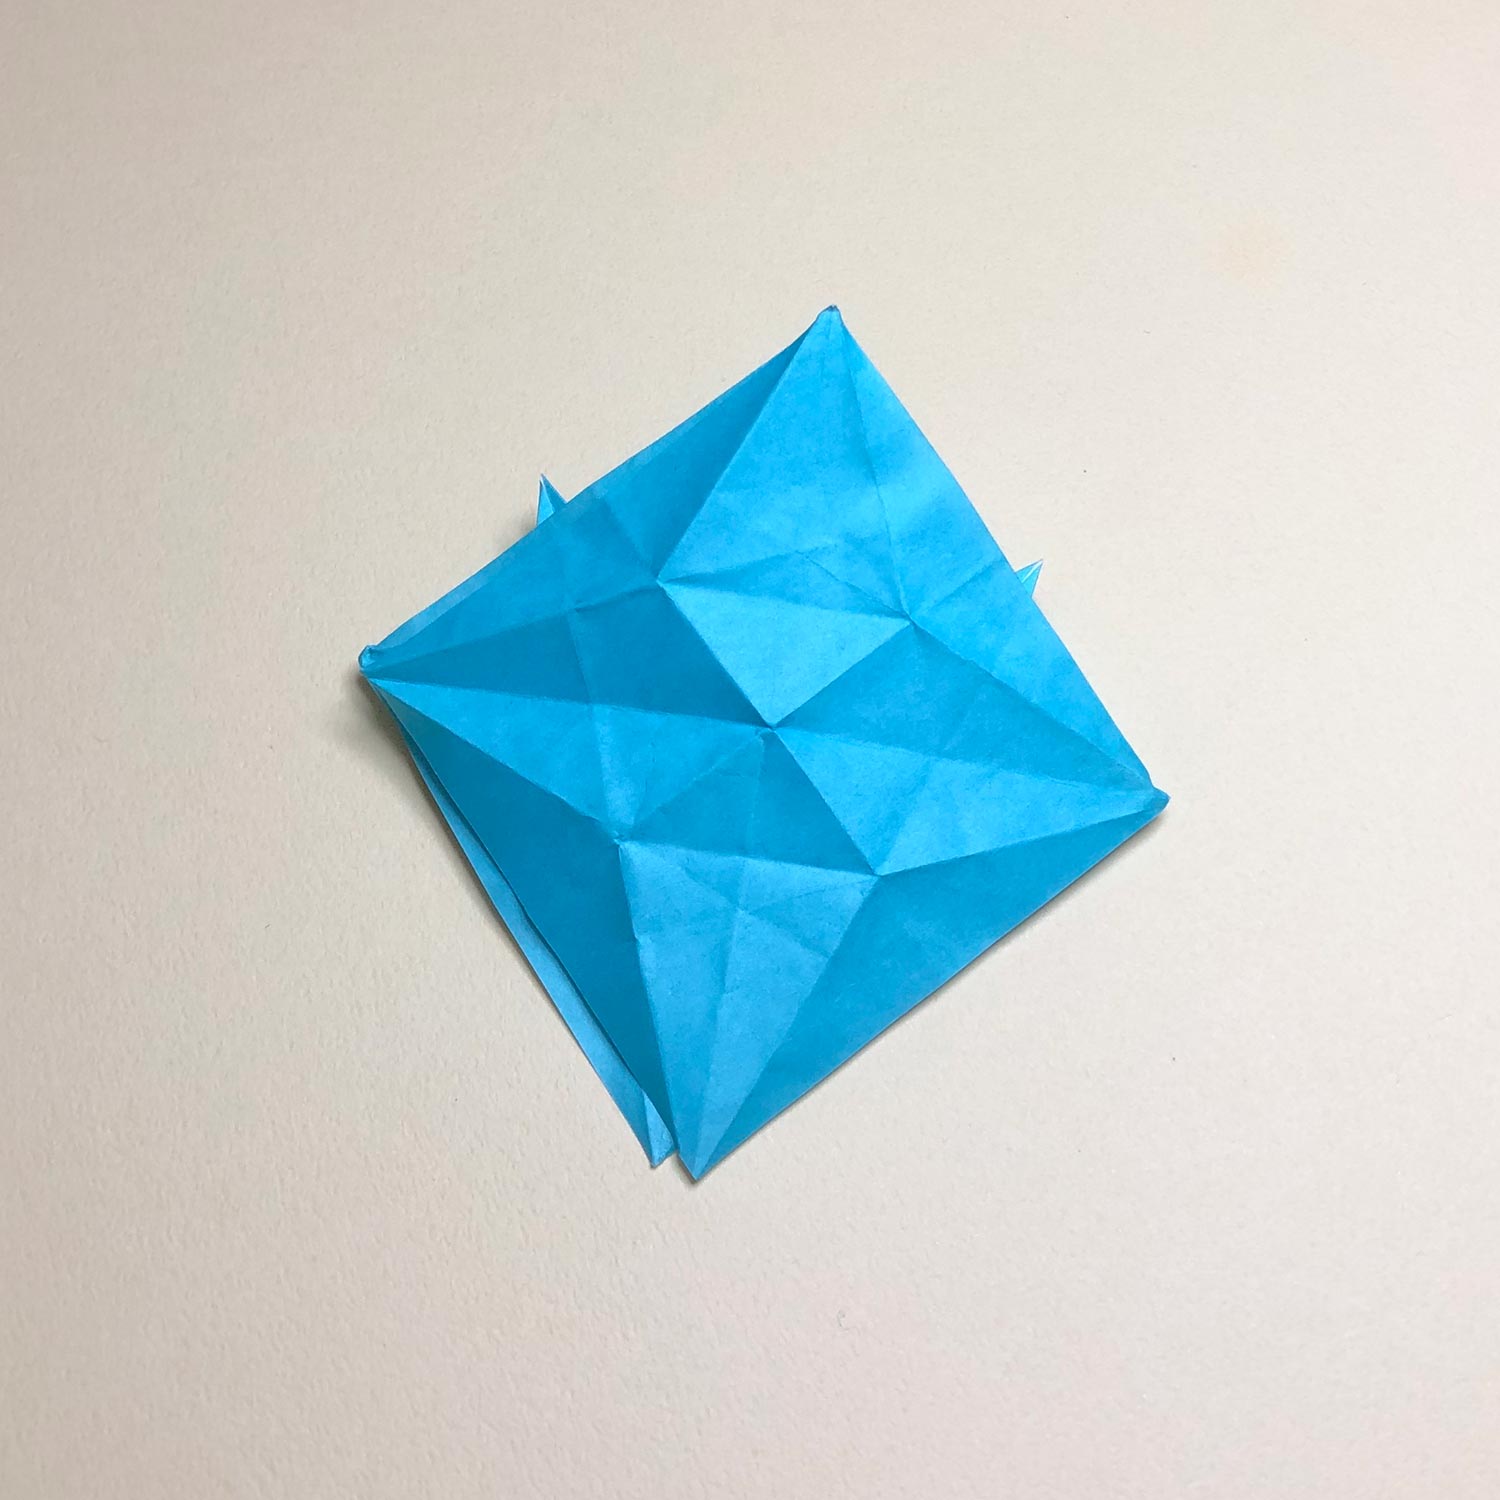
Put the square on top of the other square like this picture.
(23)
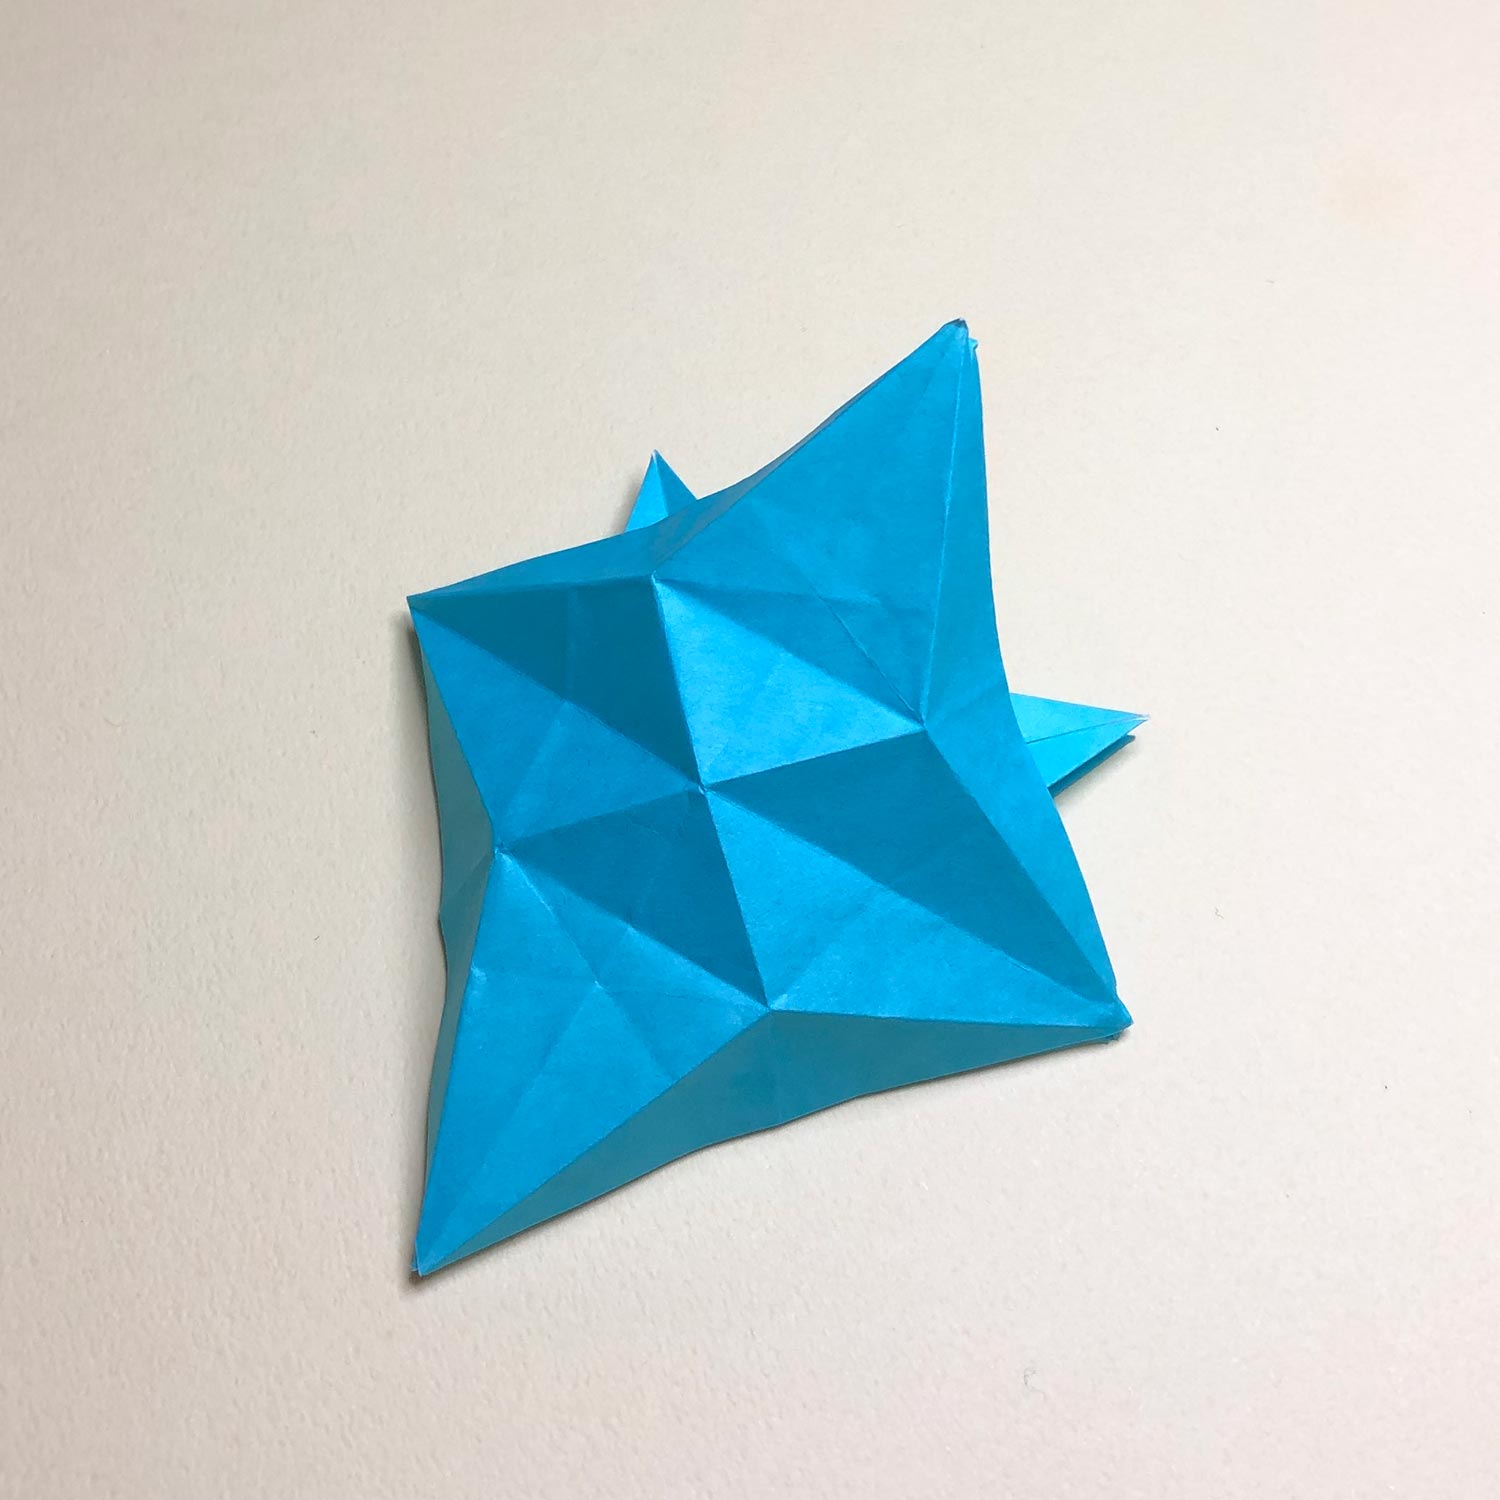
Make a bird-base while putting one on top of another so that two head/tail are connected to others.
(24)
This picture is halfway through.
After folding the paper like this picture, turn it over.
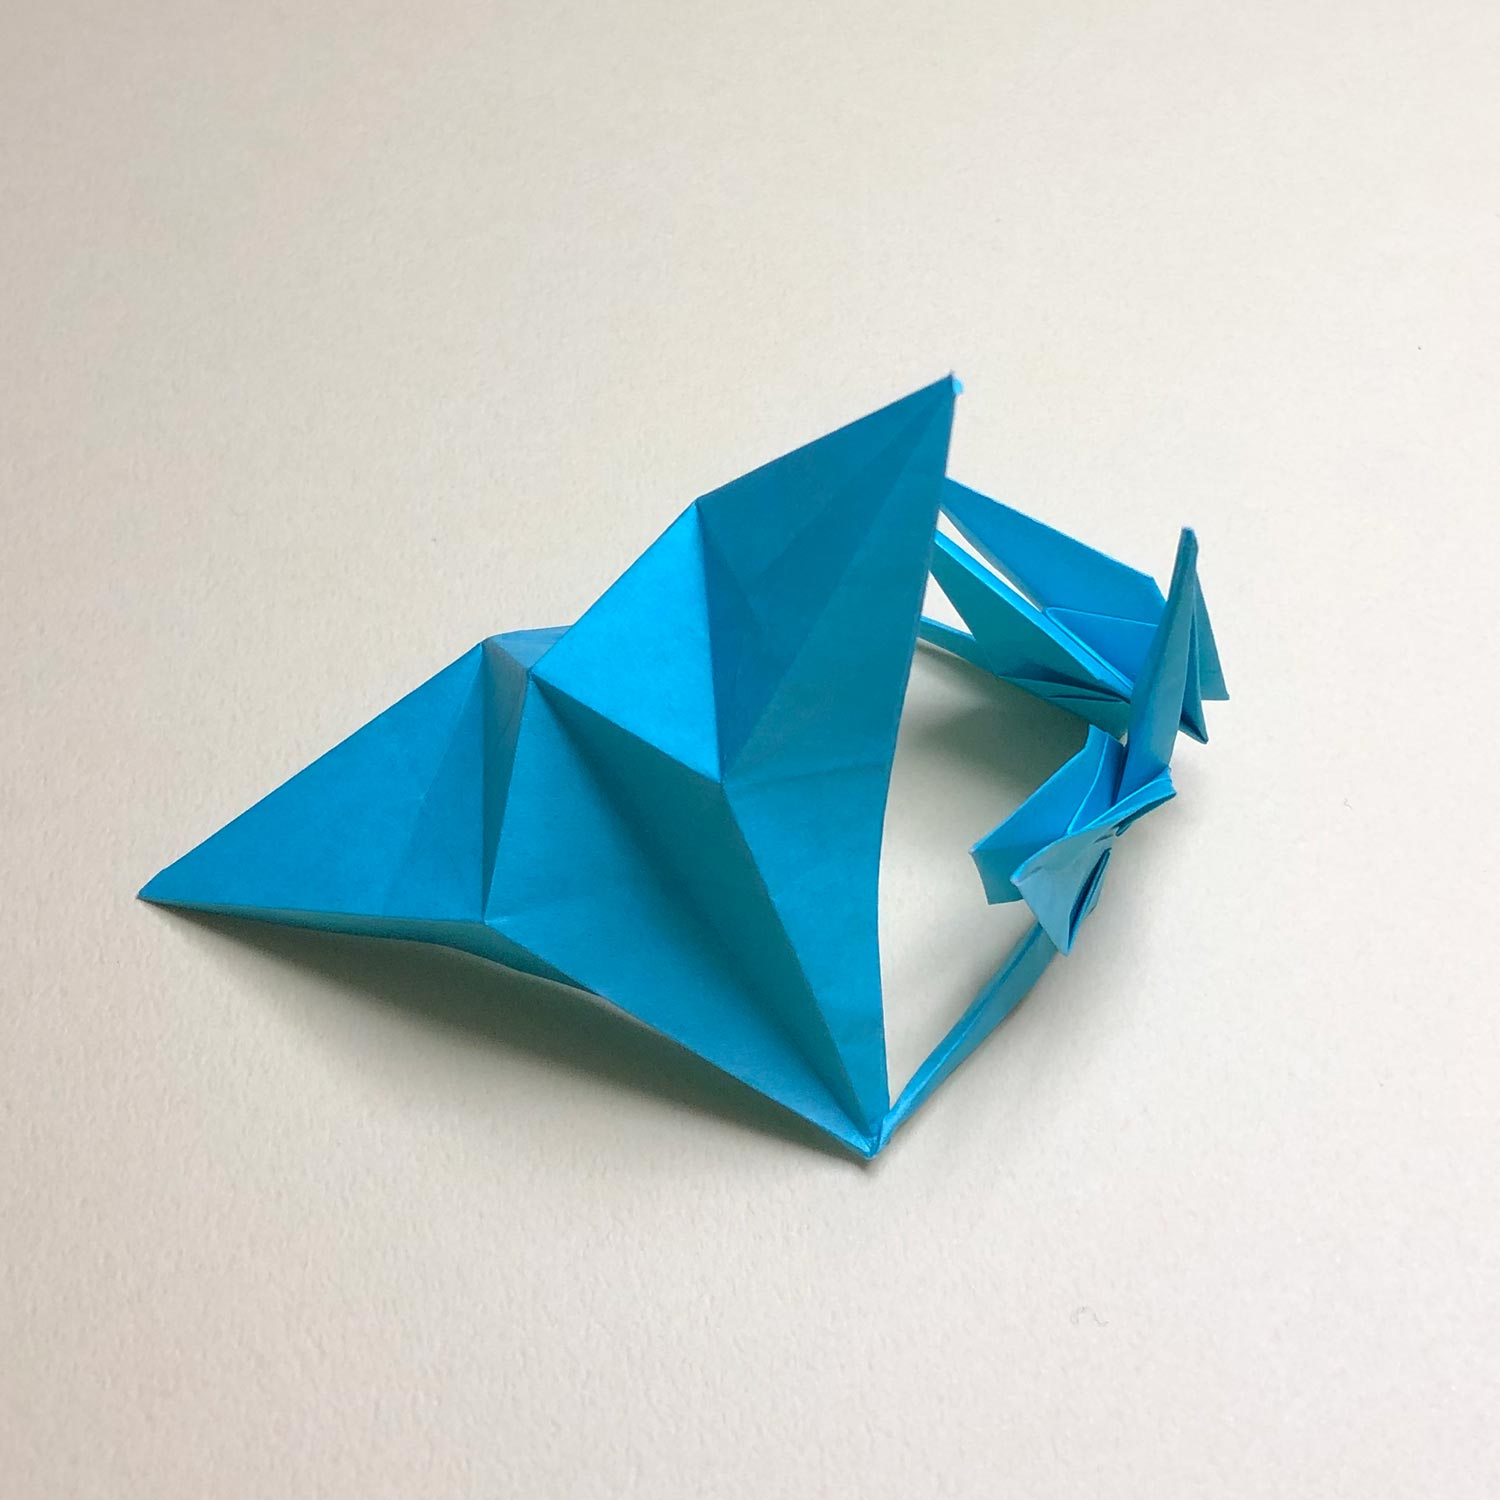
(25)
Turn the paper over like this picture so that connecting parts turn up.
(26)
Complete a bird-base while keeping the shape that connecting parts turn up.
By keeping the shape, it will get harder to put pressure on connecting parts.

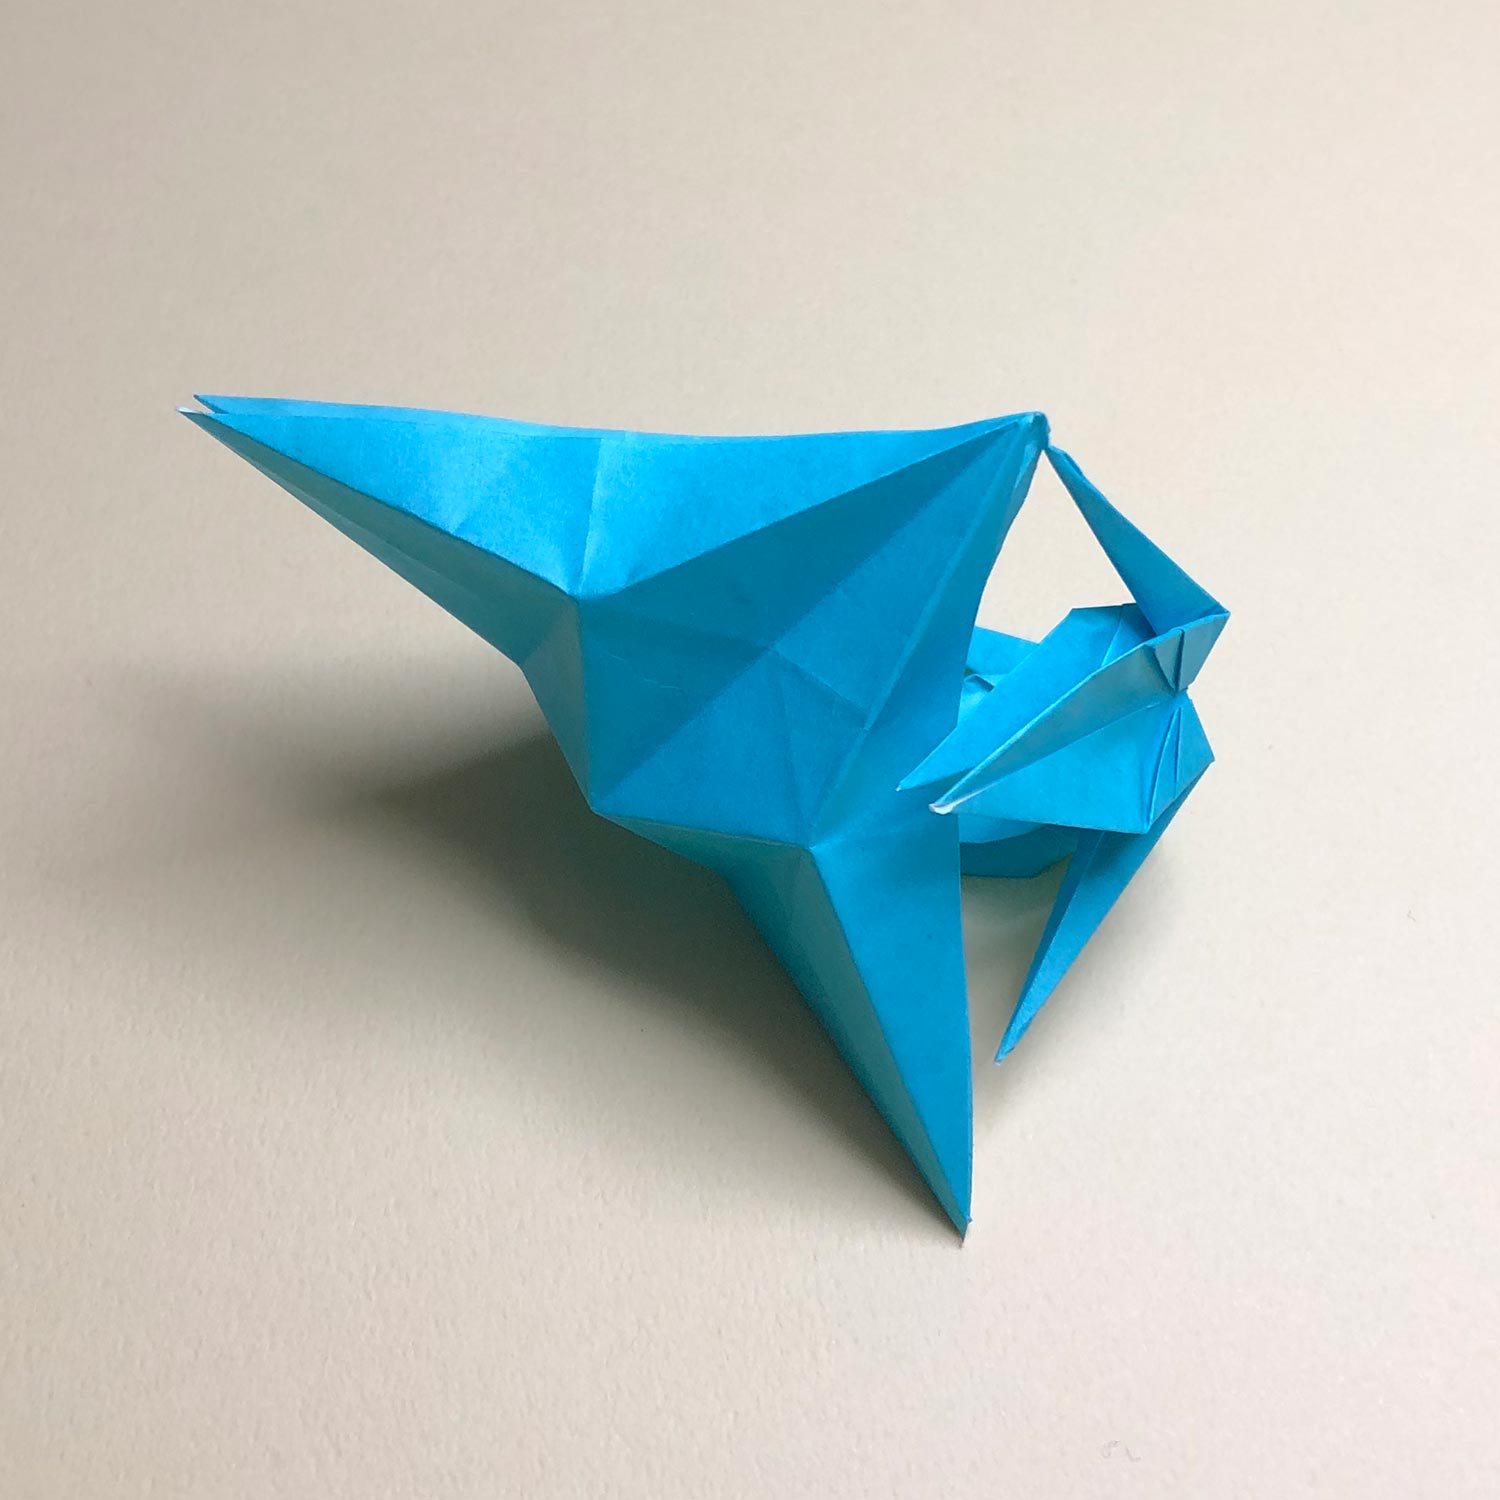
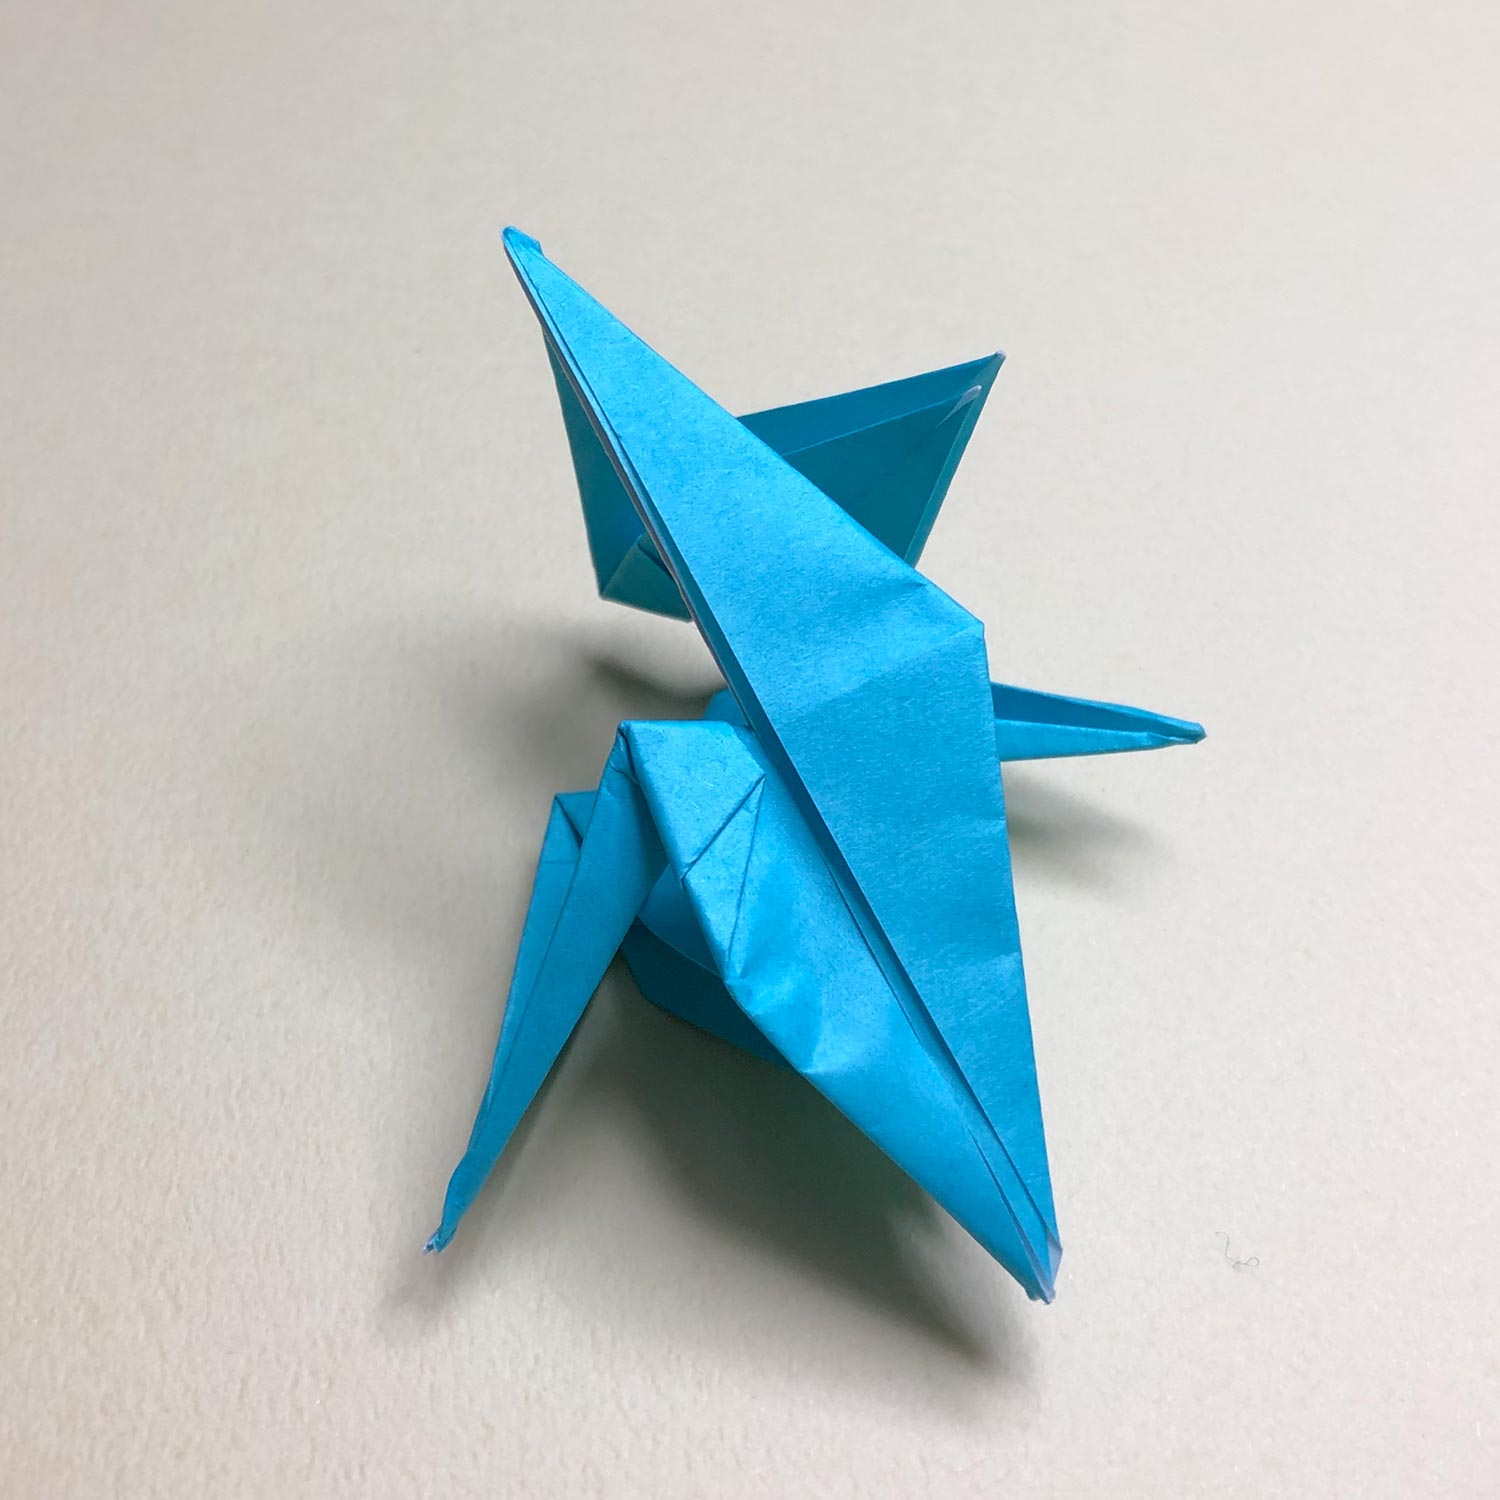
(27)
Fold the head/tail to the center.
I recommend that you fold the head/tail beside a belly of the completed crane first.

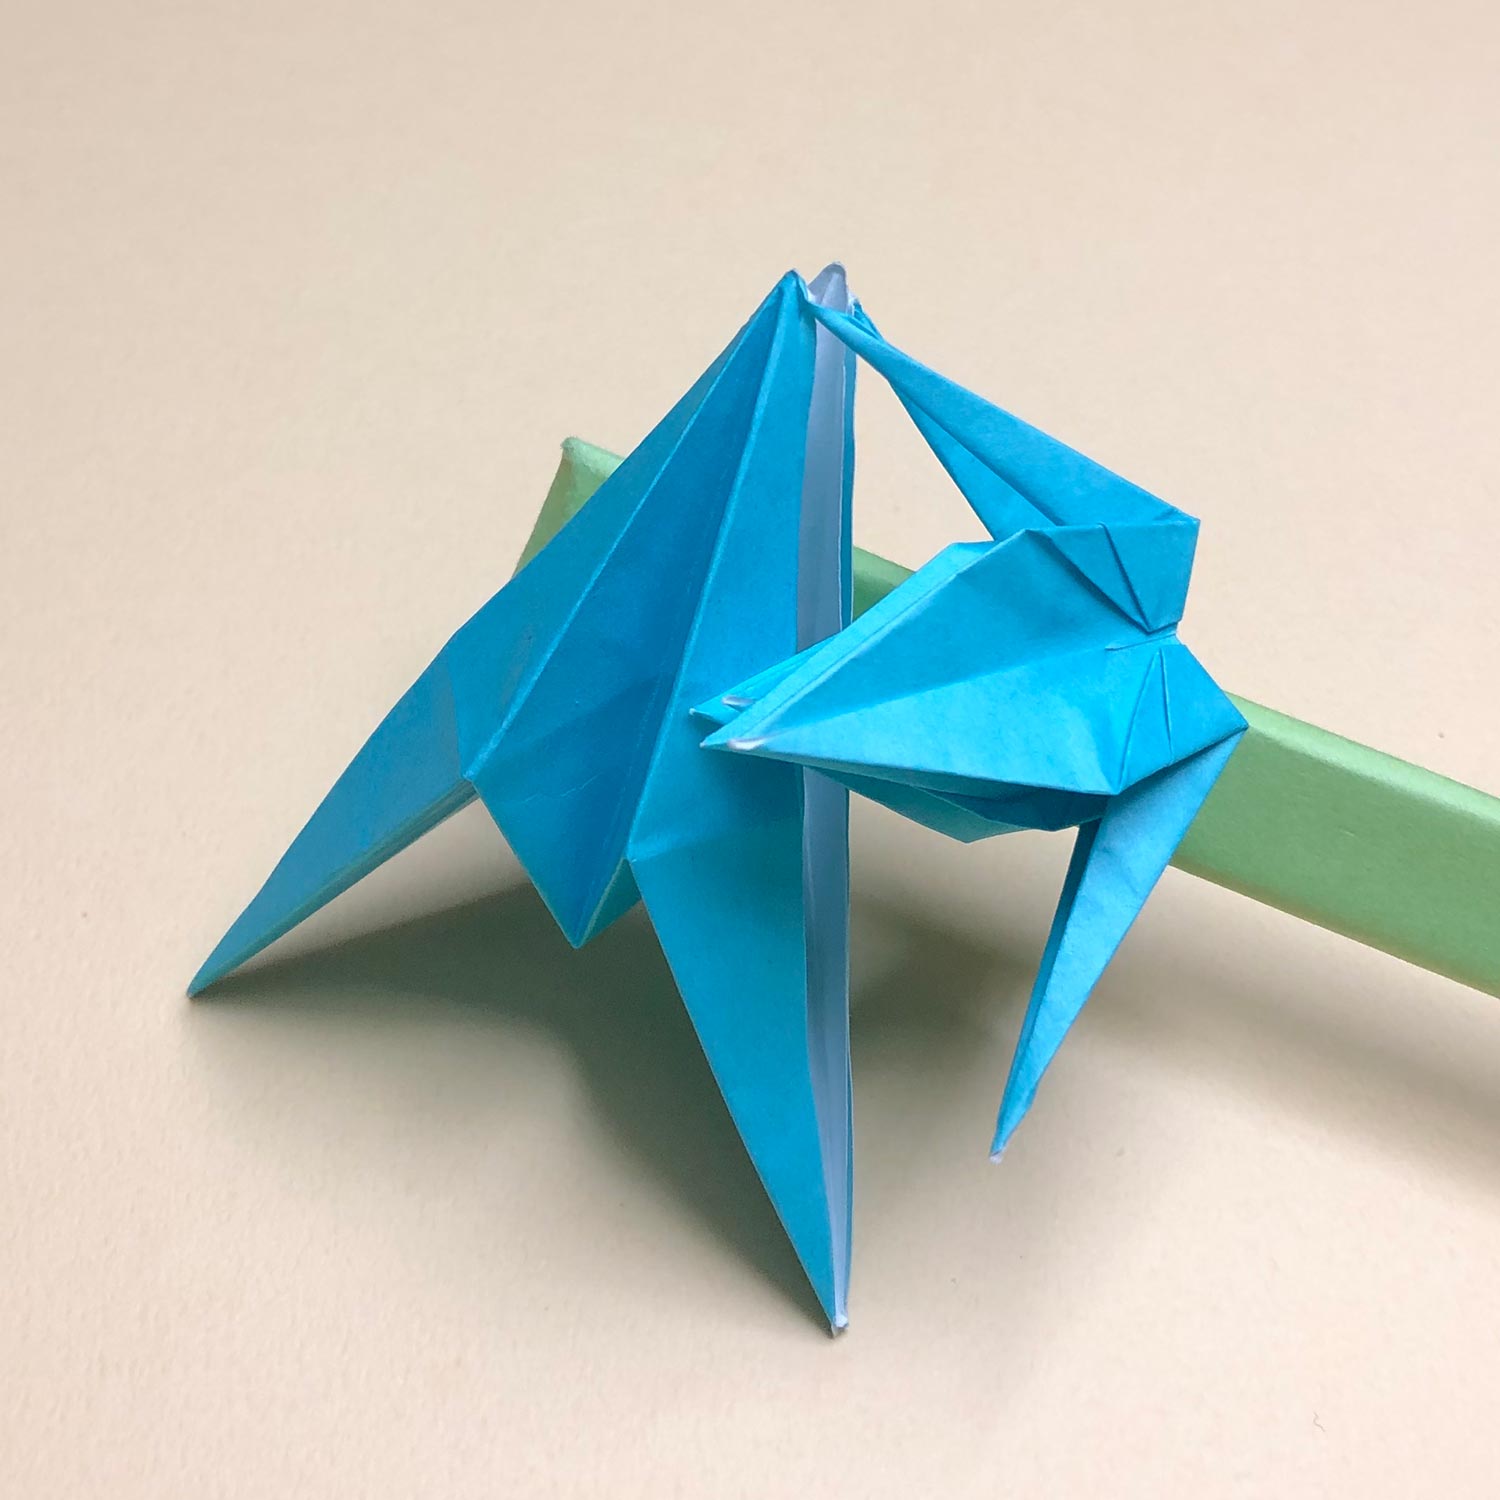
(28)
After folding the head/tail, raise it.
(29)
Raise it like this picture.
(30)
Then fold the other head/tail to the center.
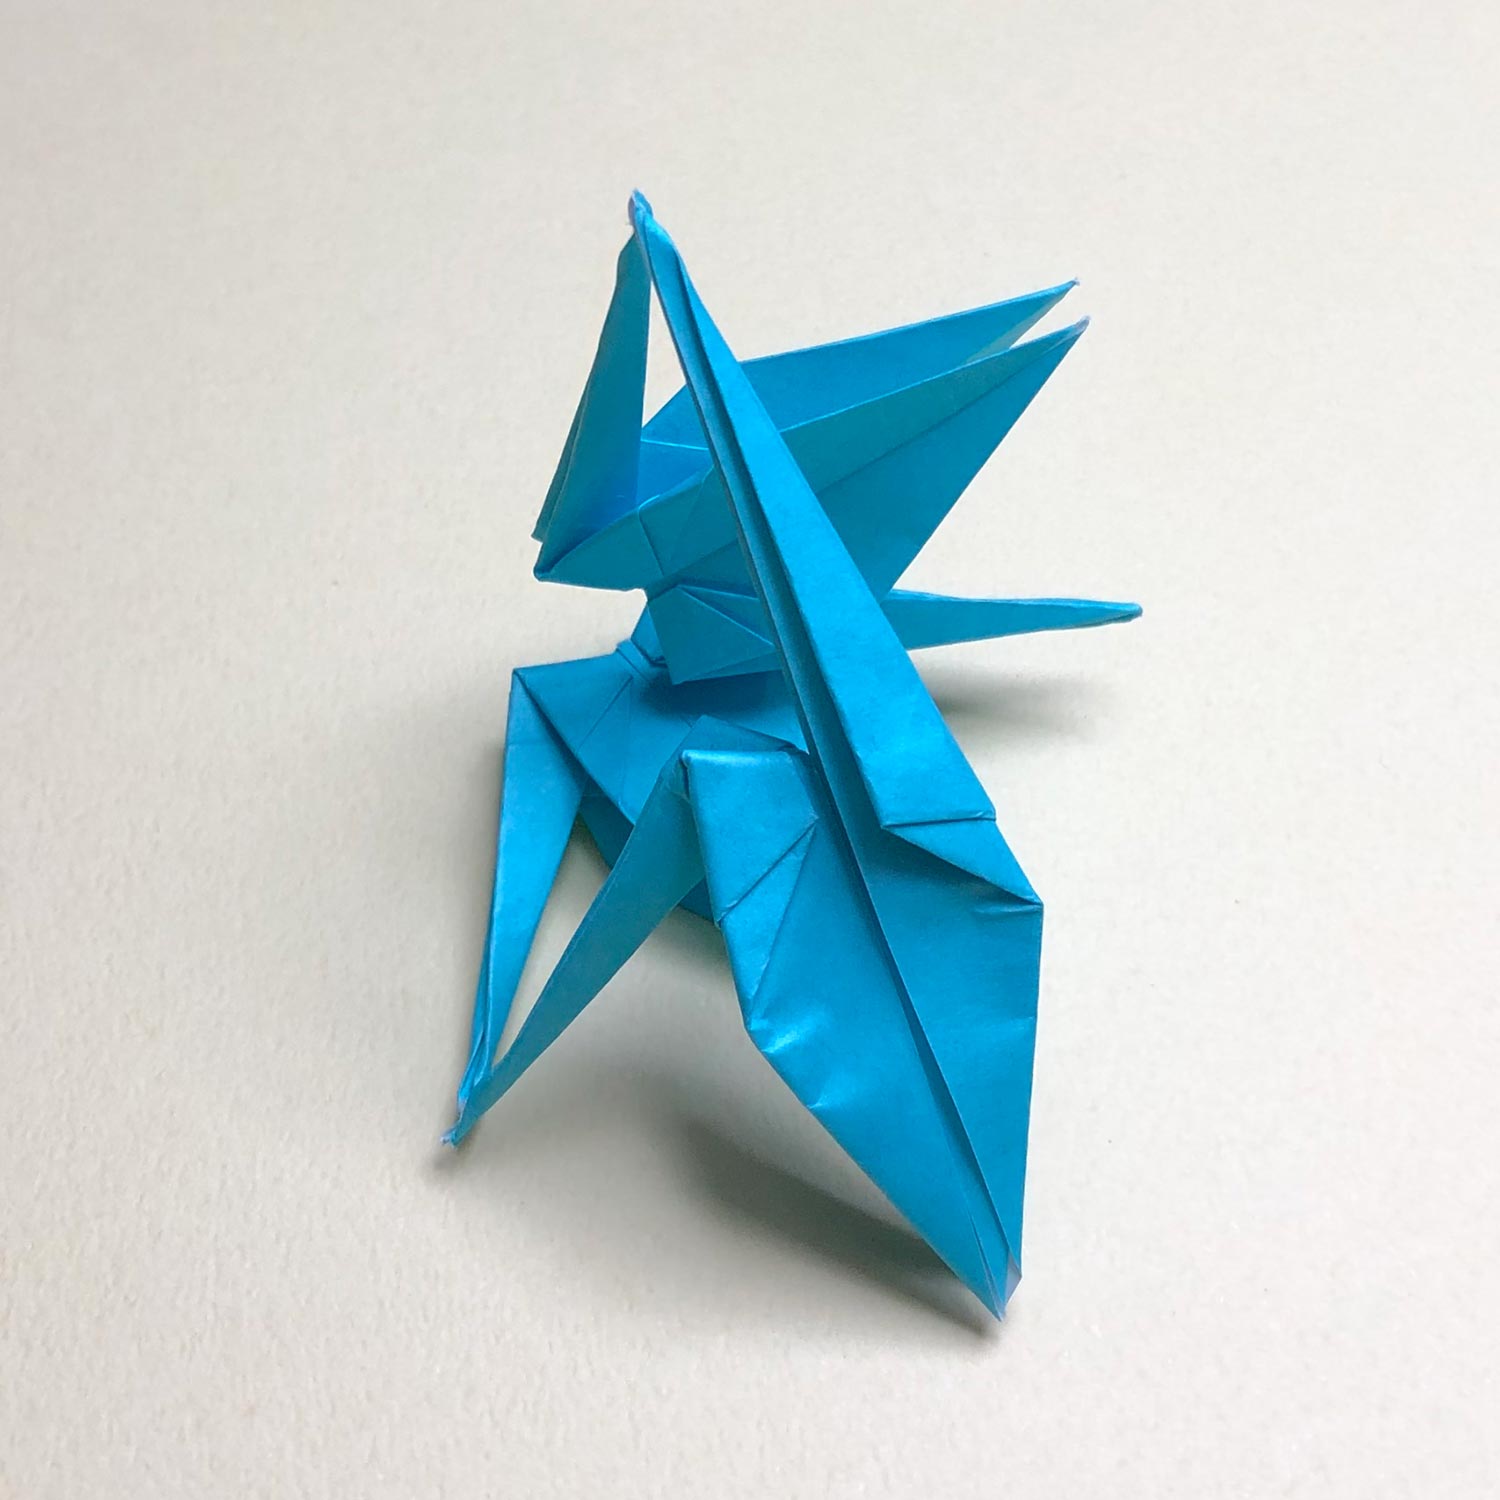
(31)
After folding the head/tail, raise it.
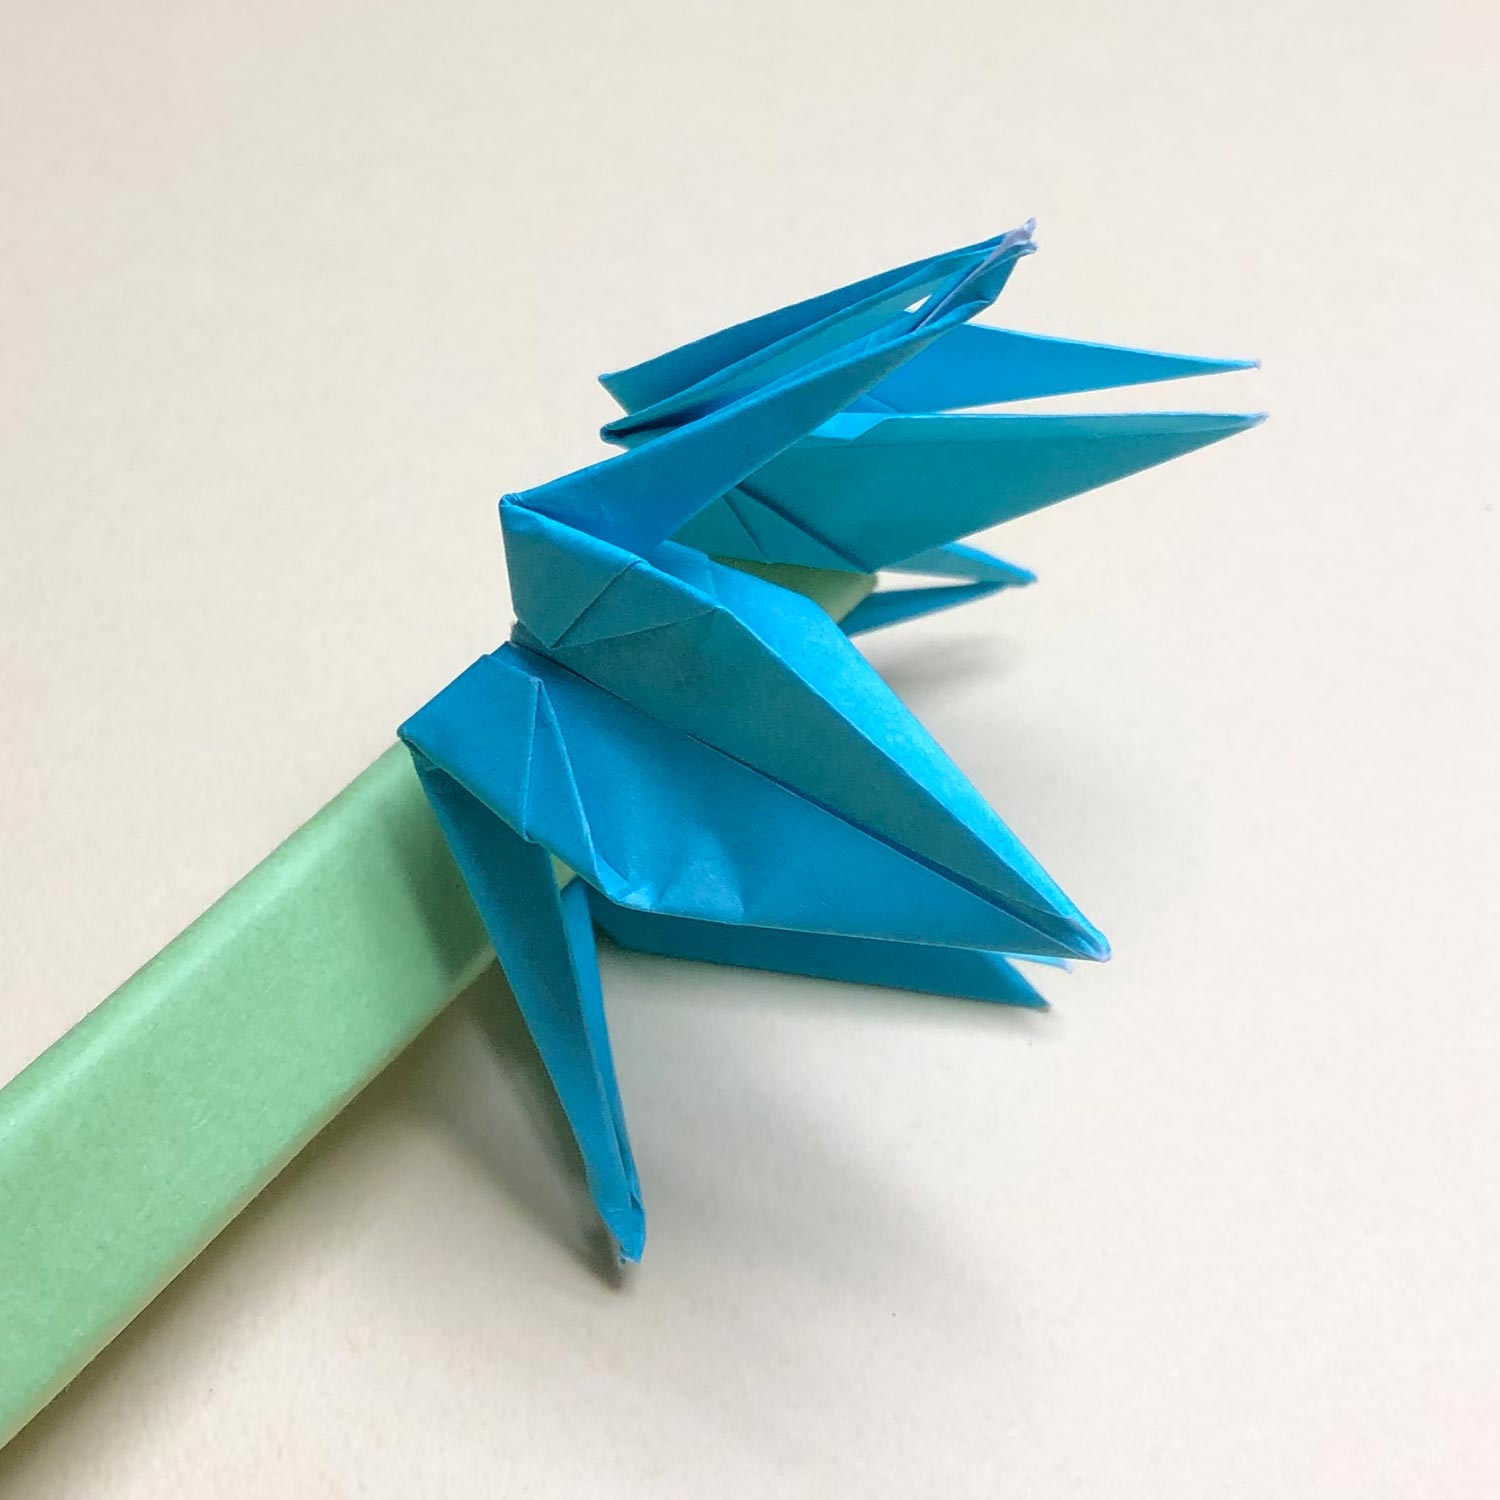
(32)
Raise it like this picture.
(33)
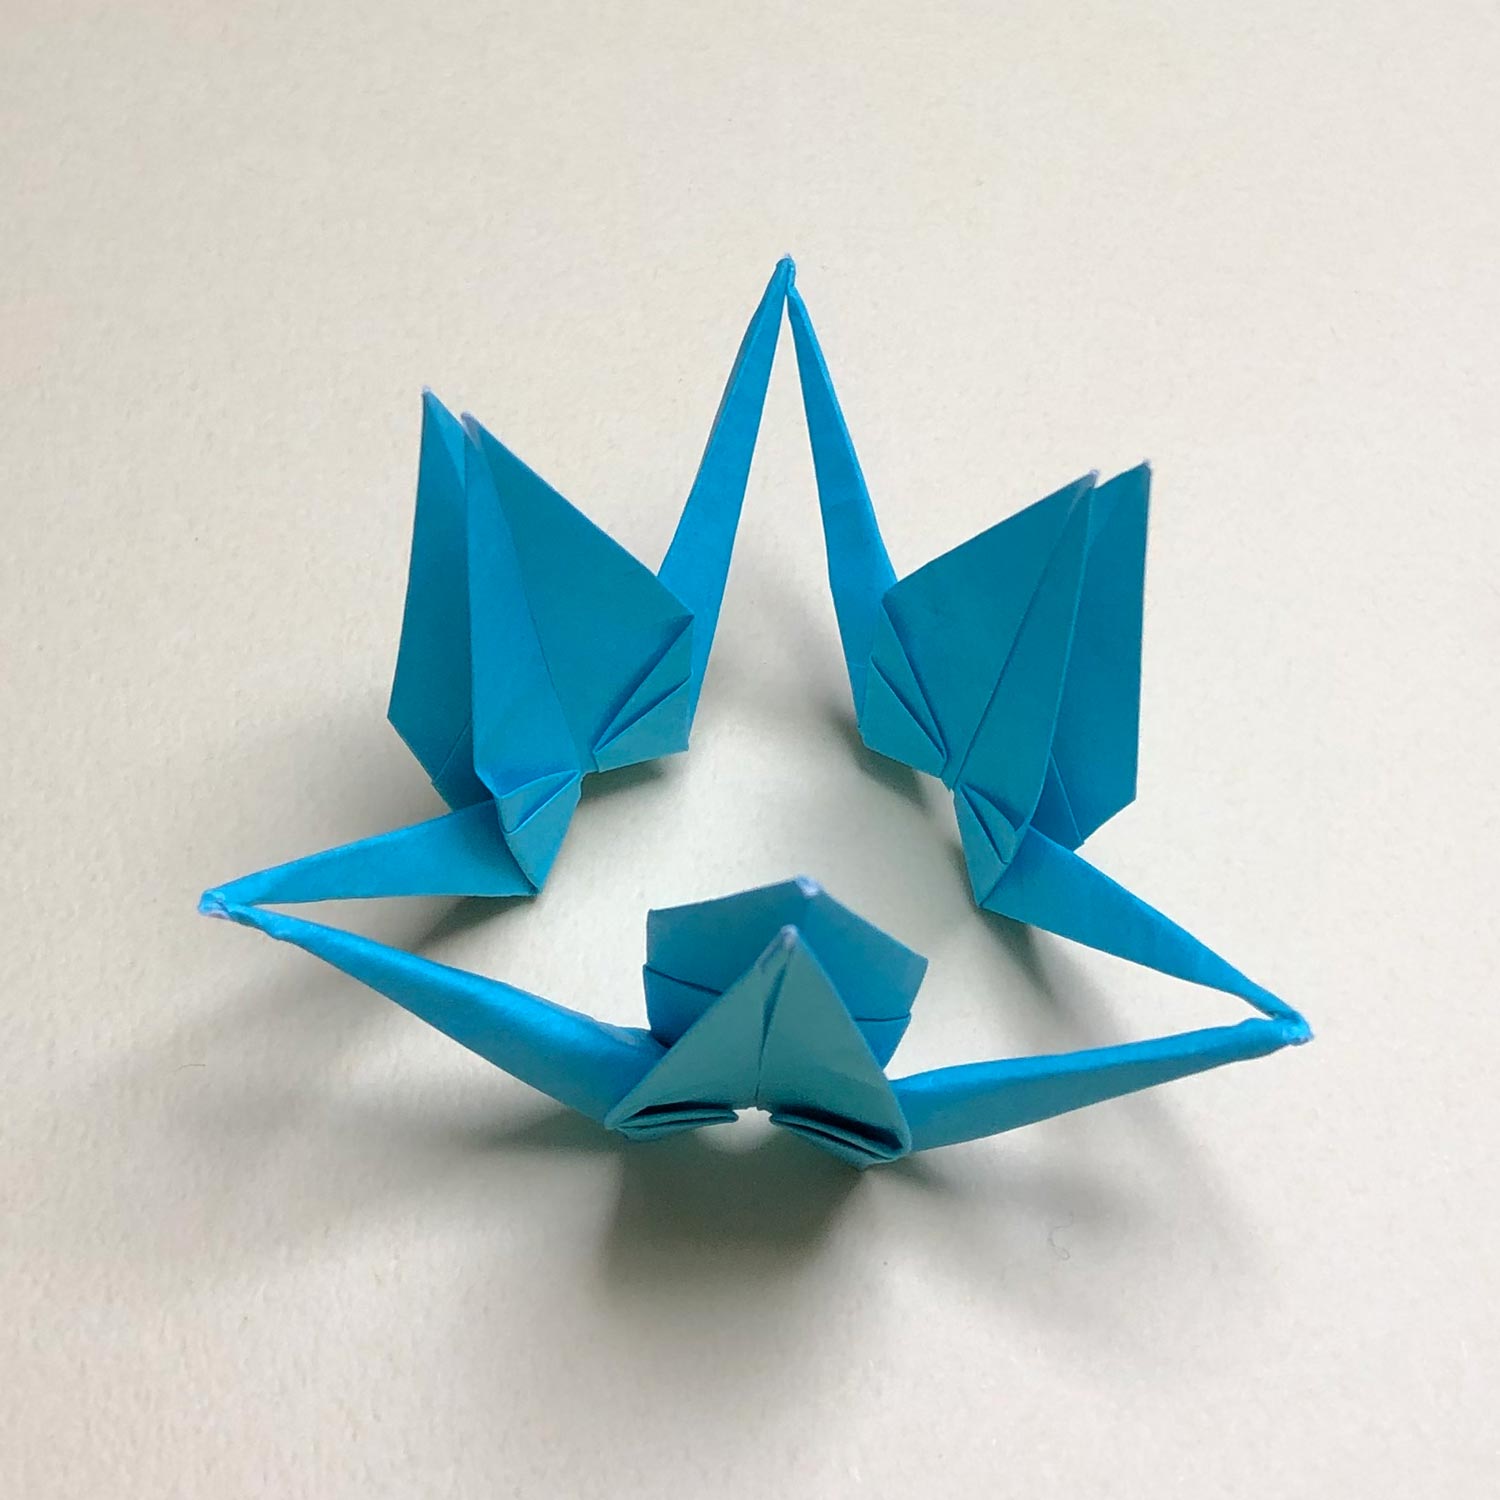
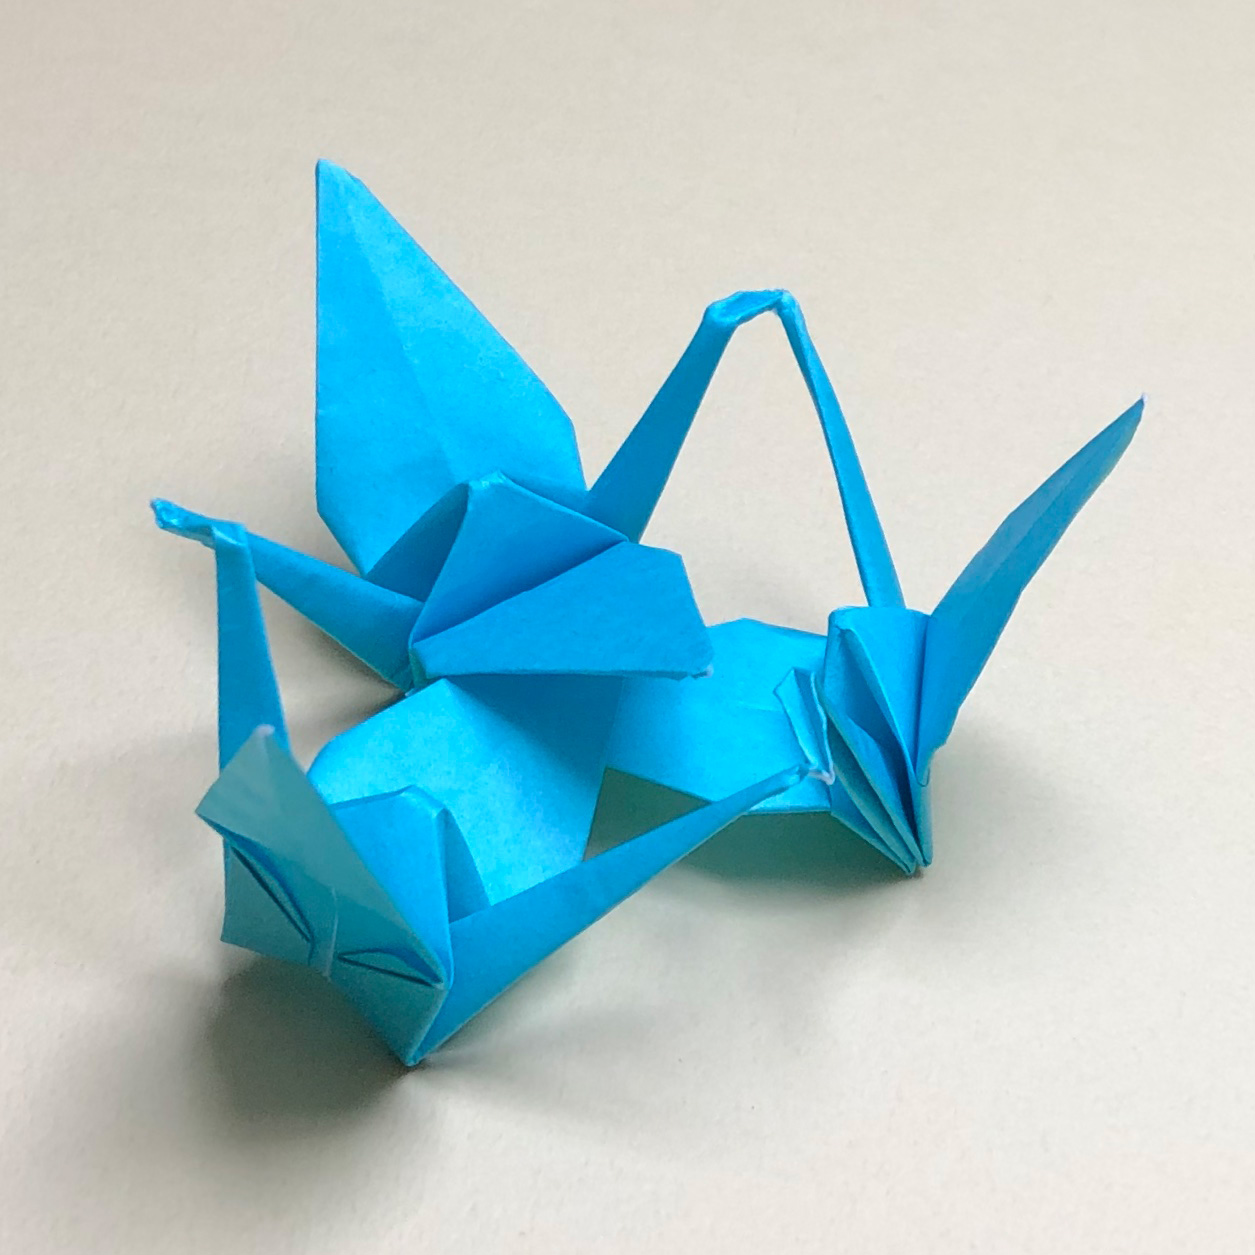
All the cranes are finished.
(34)
I recommend that you angle a head and tail of each crane to the inside a little.
By angling them, this model will be more beautiful.

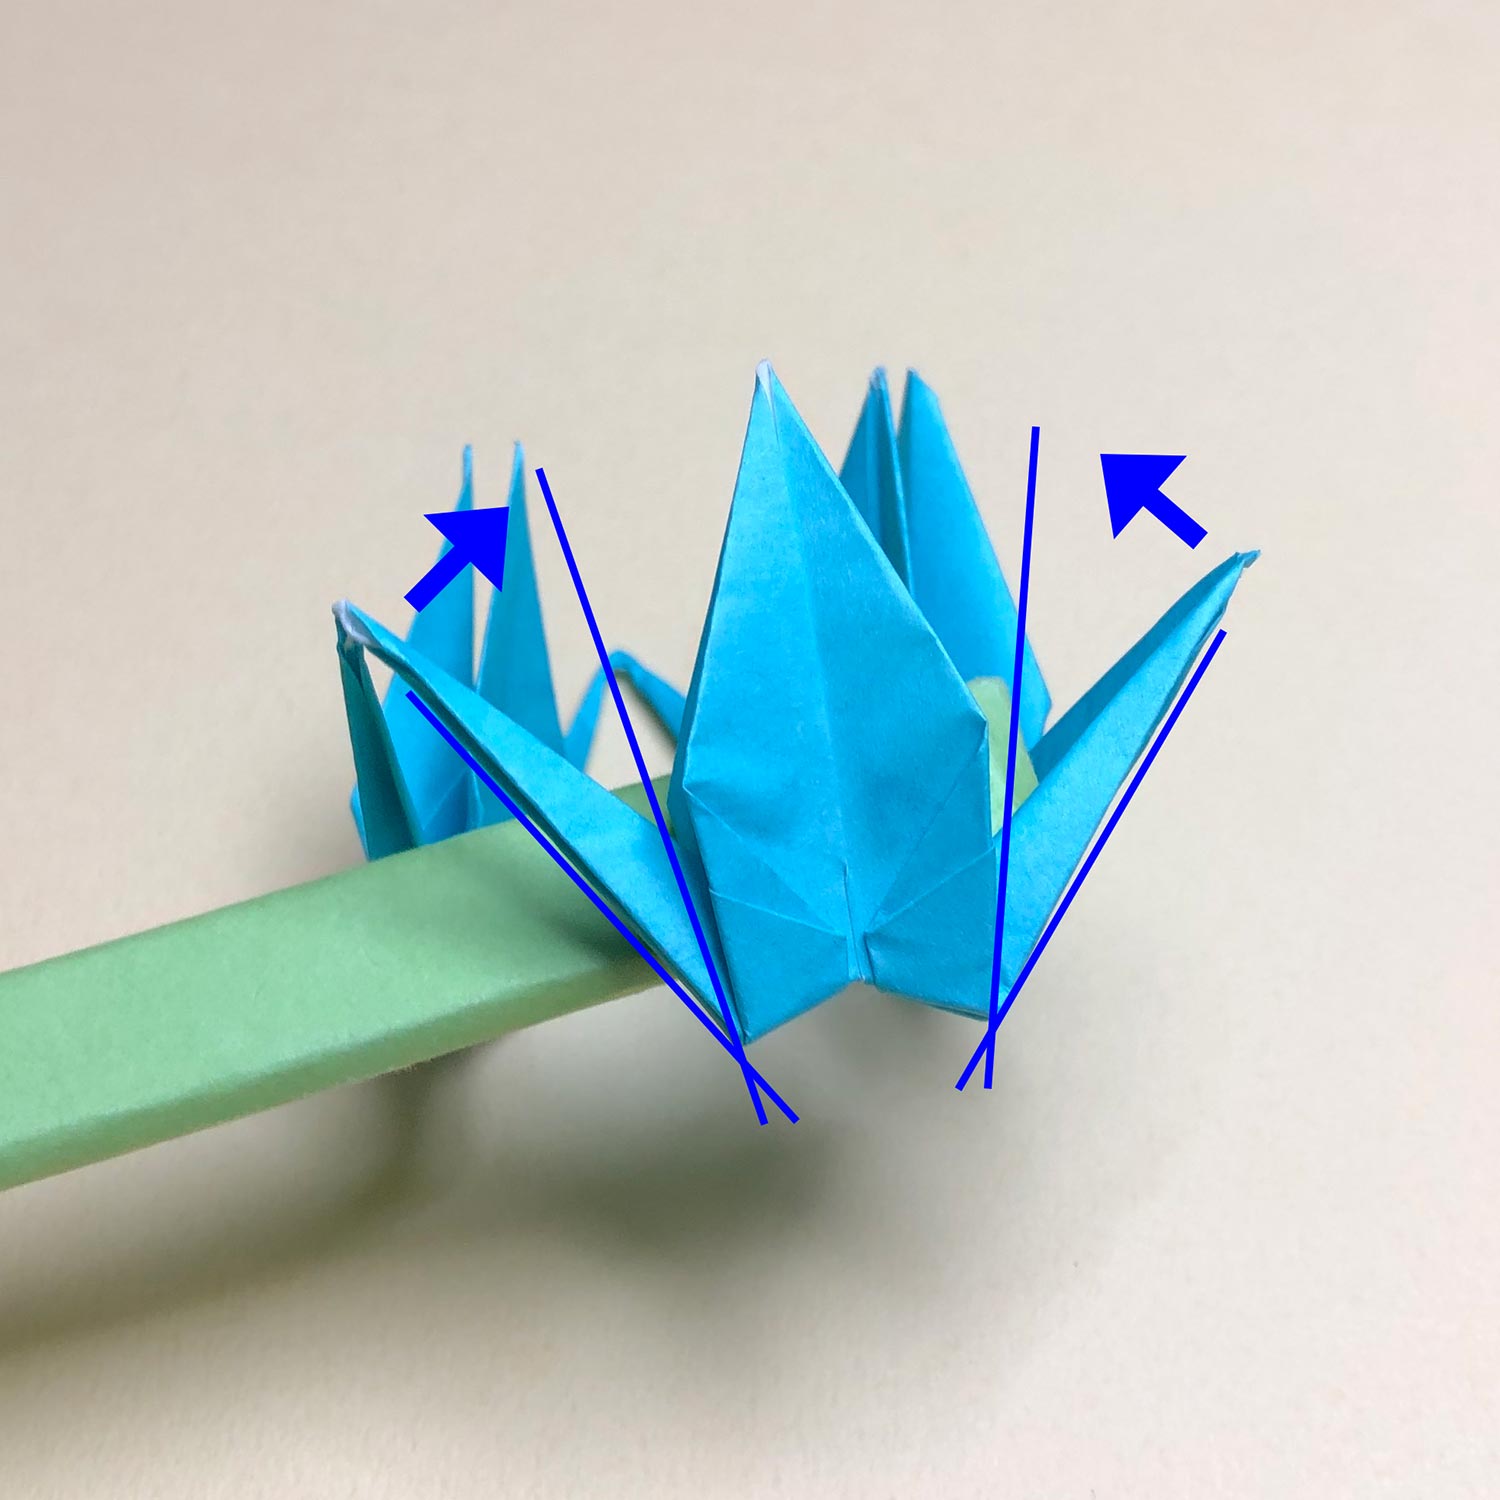
(35)
Angle a head and tail like this picture.
Then angle a head and tail of the other cranes as well.
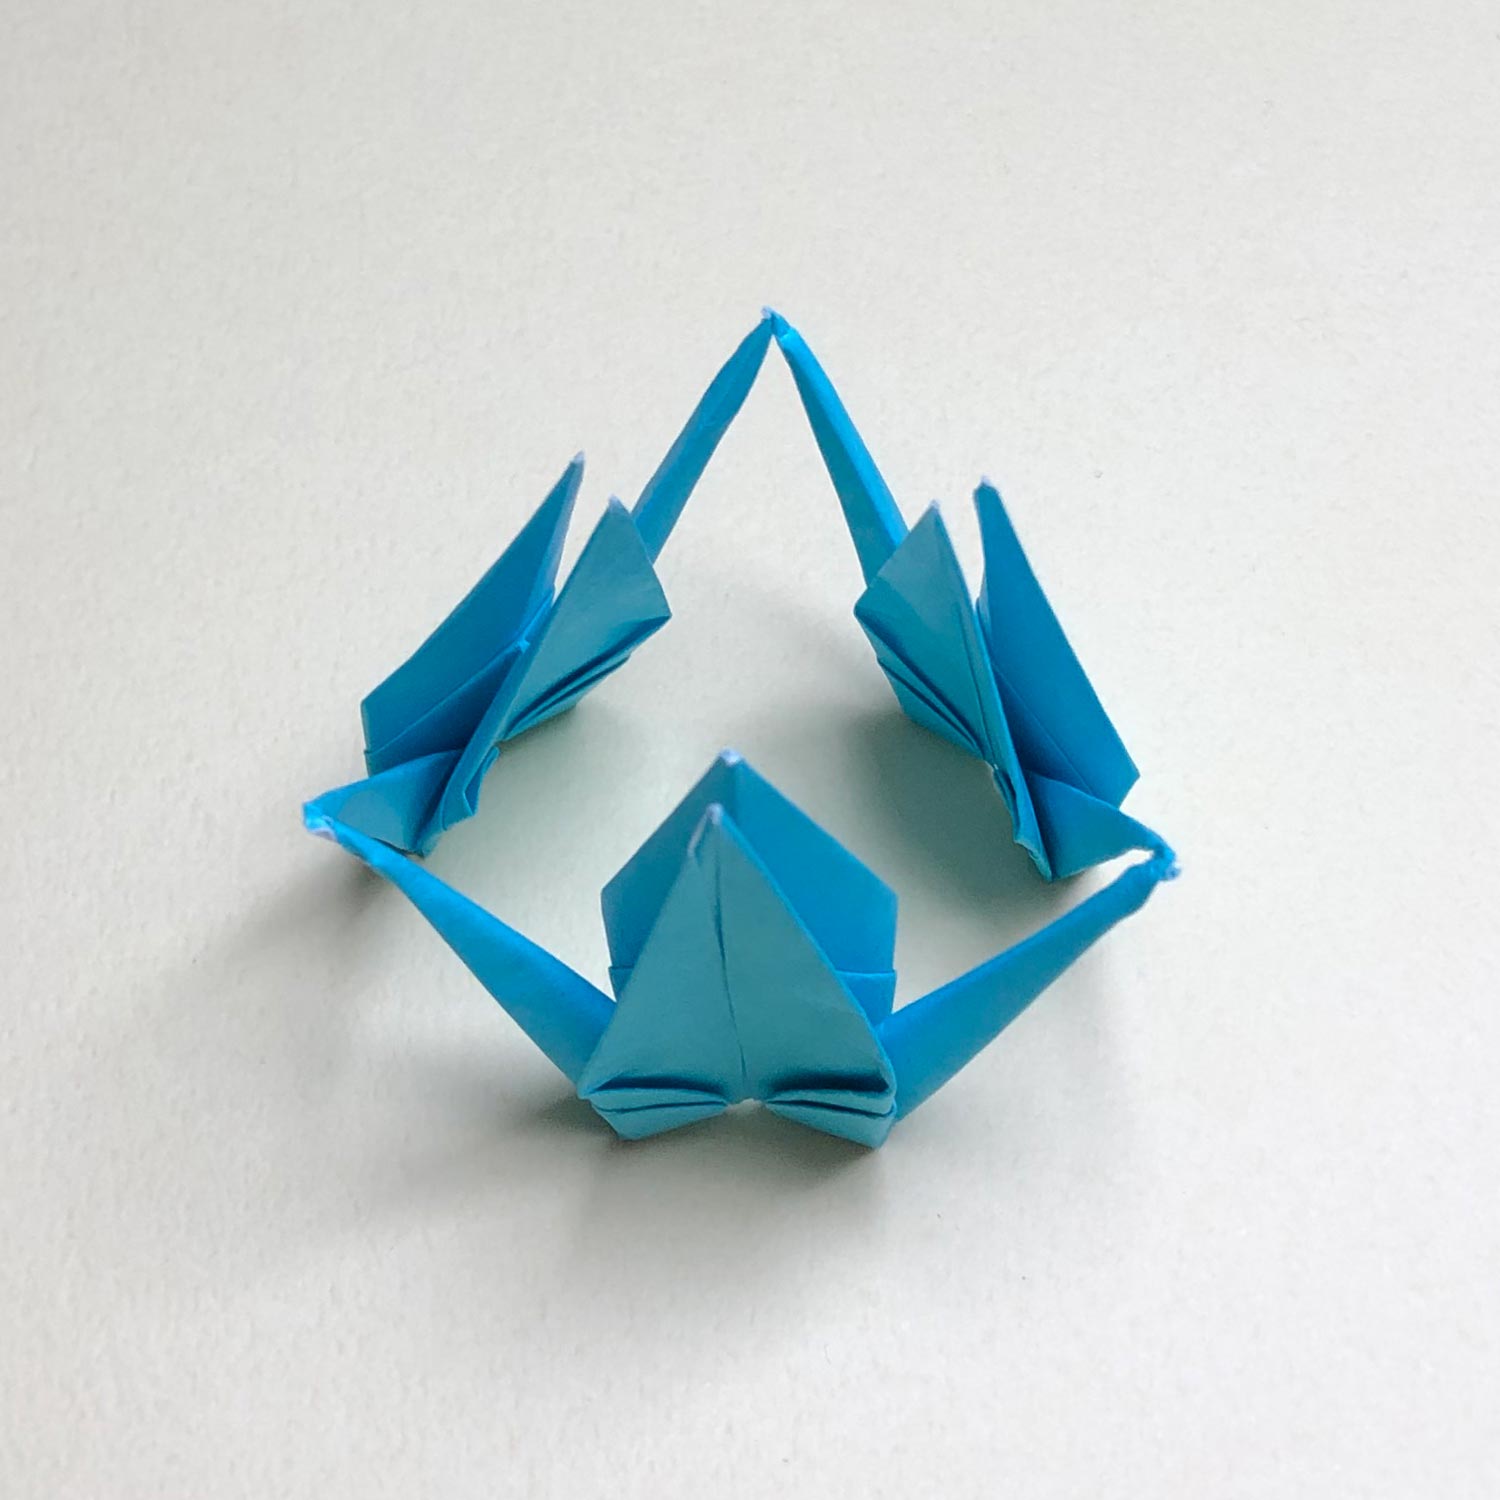
(36)
After angling them, it looks like this picture.
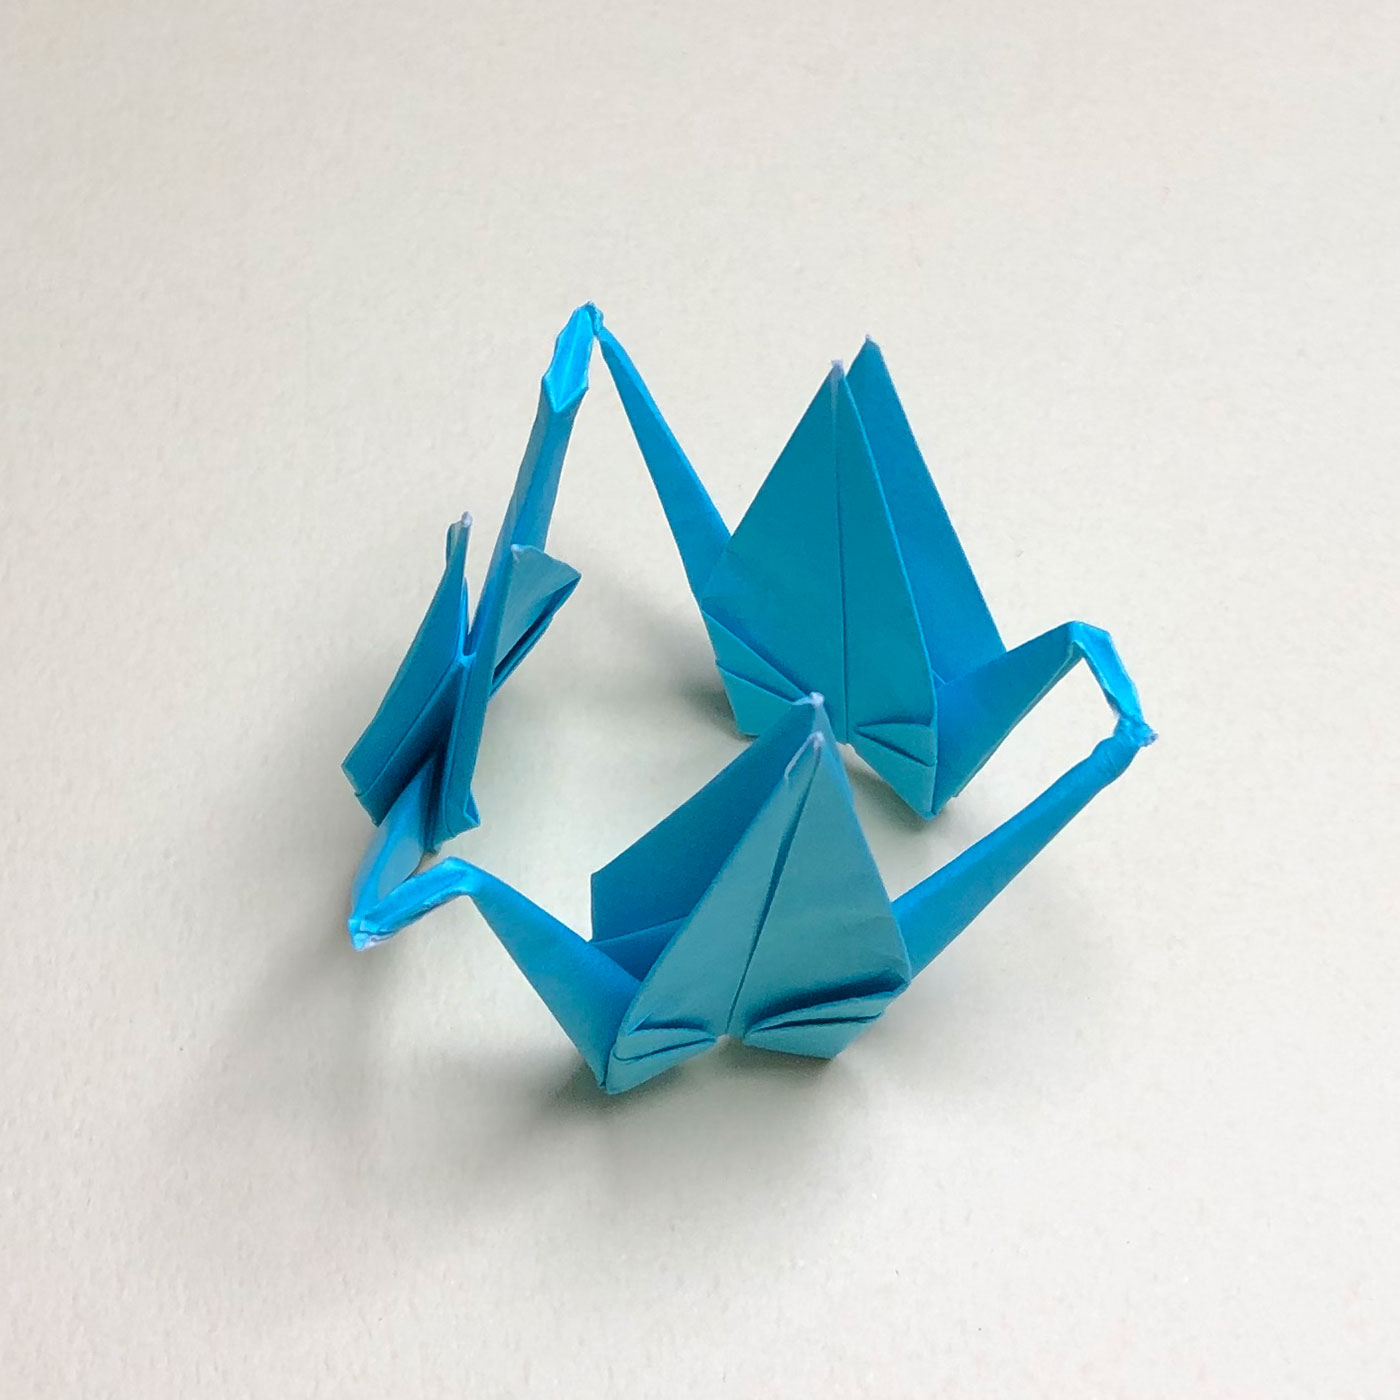
(37)
Make each beak while referencing this picture.
Finally, spread wings.
Kanae is complete!
When you post pictures of your completed Renzuru works on social media,
please write my website’s name – “Tsuru-no-Goshiki” or paste the link!
On Instagram, if you write “@ritsu_cranes”,
I will be able to see your works and glad!😀
If you liked this Renzuru model,
please click the button below and share this pages on Twitter!