(45)
Then fold the last square.

(46)
Make creases for making a bird-base like this picture.
(47)
This picture is taken from the side.
(48)
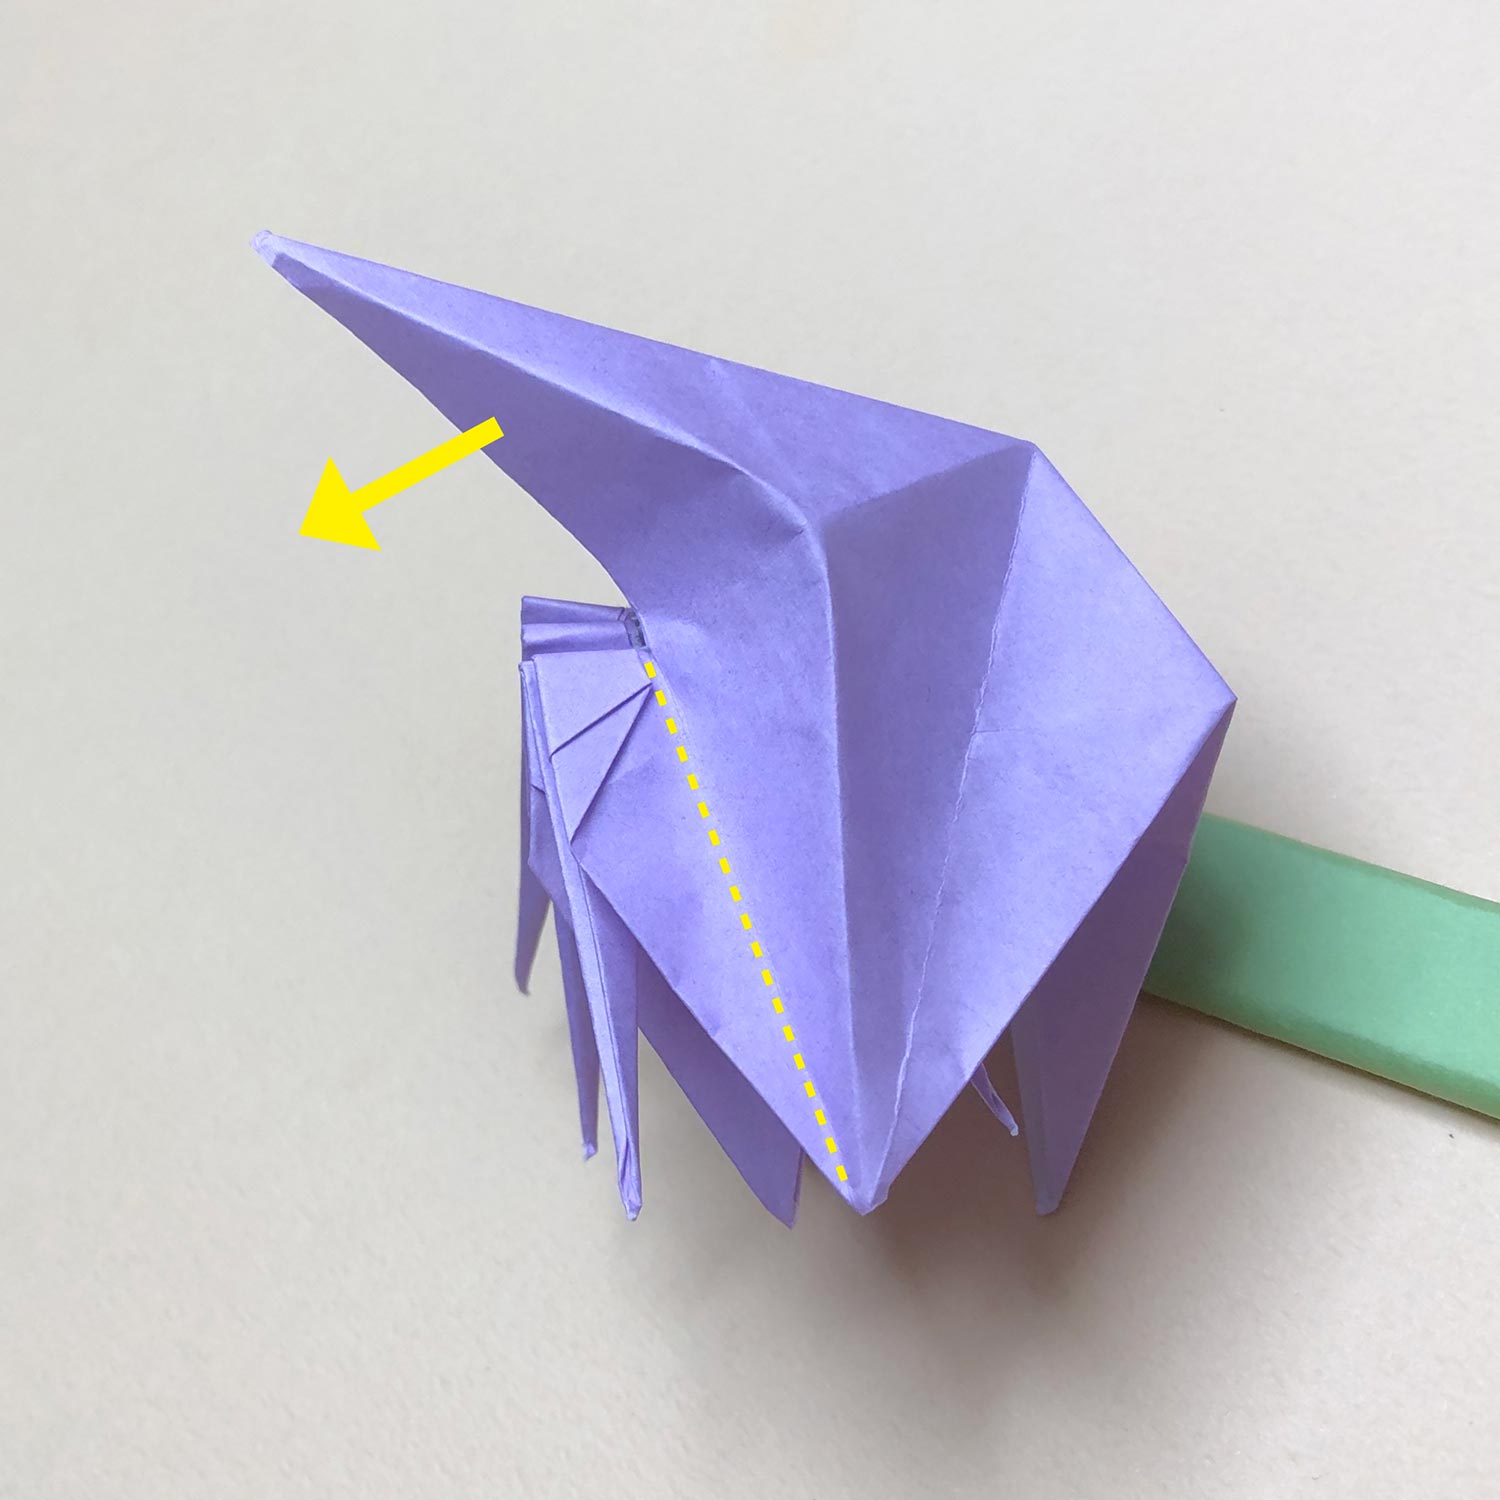
Move the top left in the direction of the arrow while making a valley-fold on the dotted line.
(On the opposite side, make a valley-fold on the dotted line as well.)
(49)
Move the top left like this picture.

(50)
Then make a valley-fold on the dotted line.
(51)
Make a valley-fold like this picture.
Proceed with the next steps while making the valley-fold.
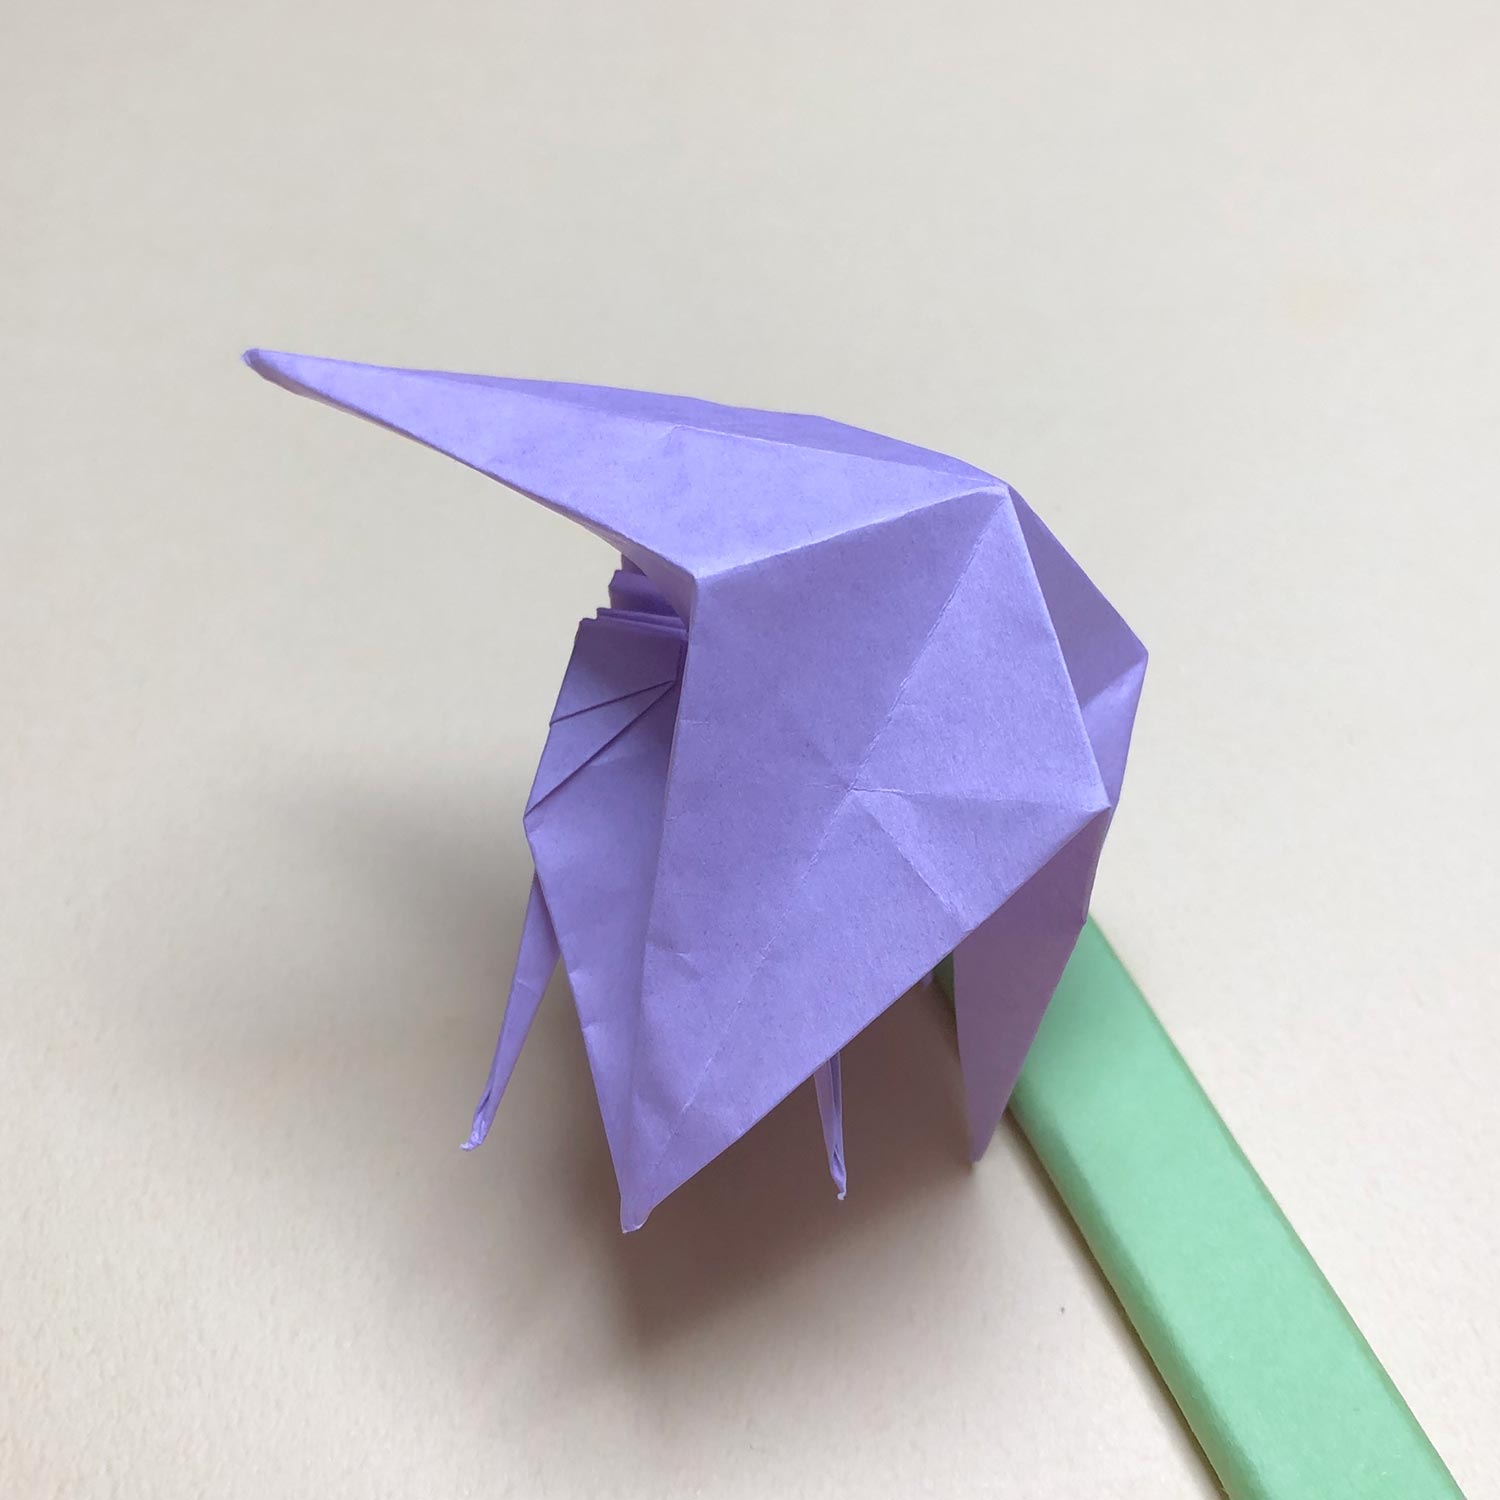
(52)
Put the part, which you have made the valley-fold, between edges of a head/tail of the second completed crane.
(53)
Put the part between edges of the head/tail like this picture.
Then turn the paper over as it is.
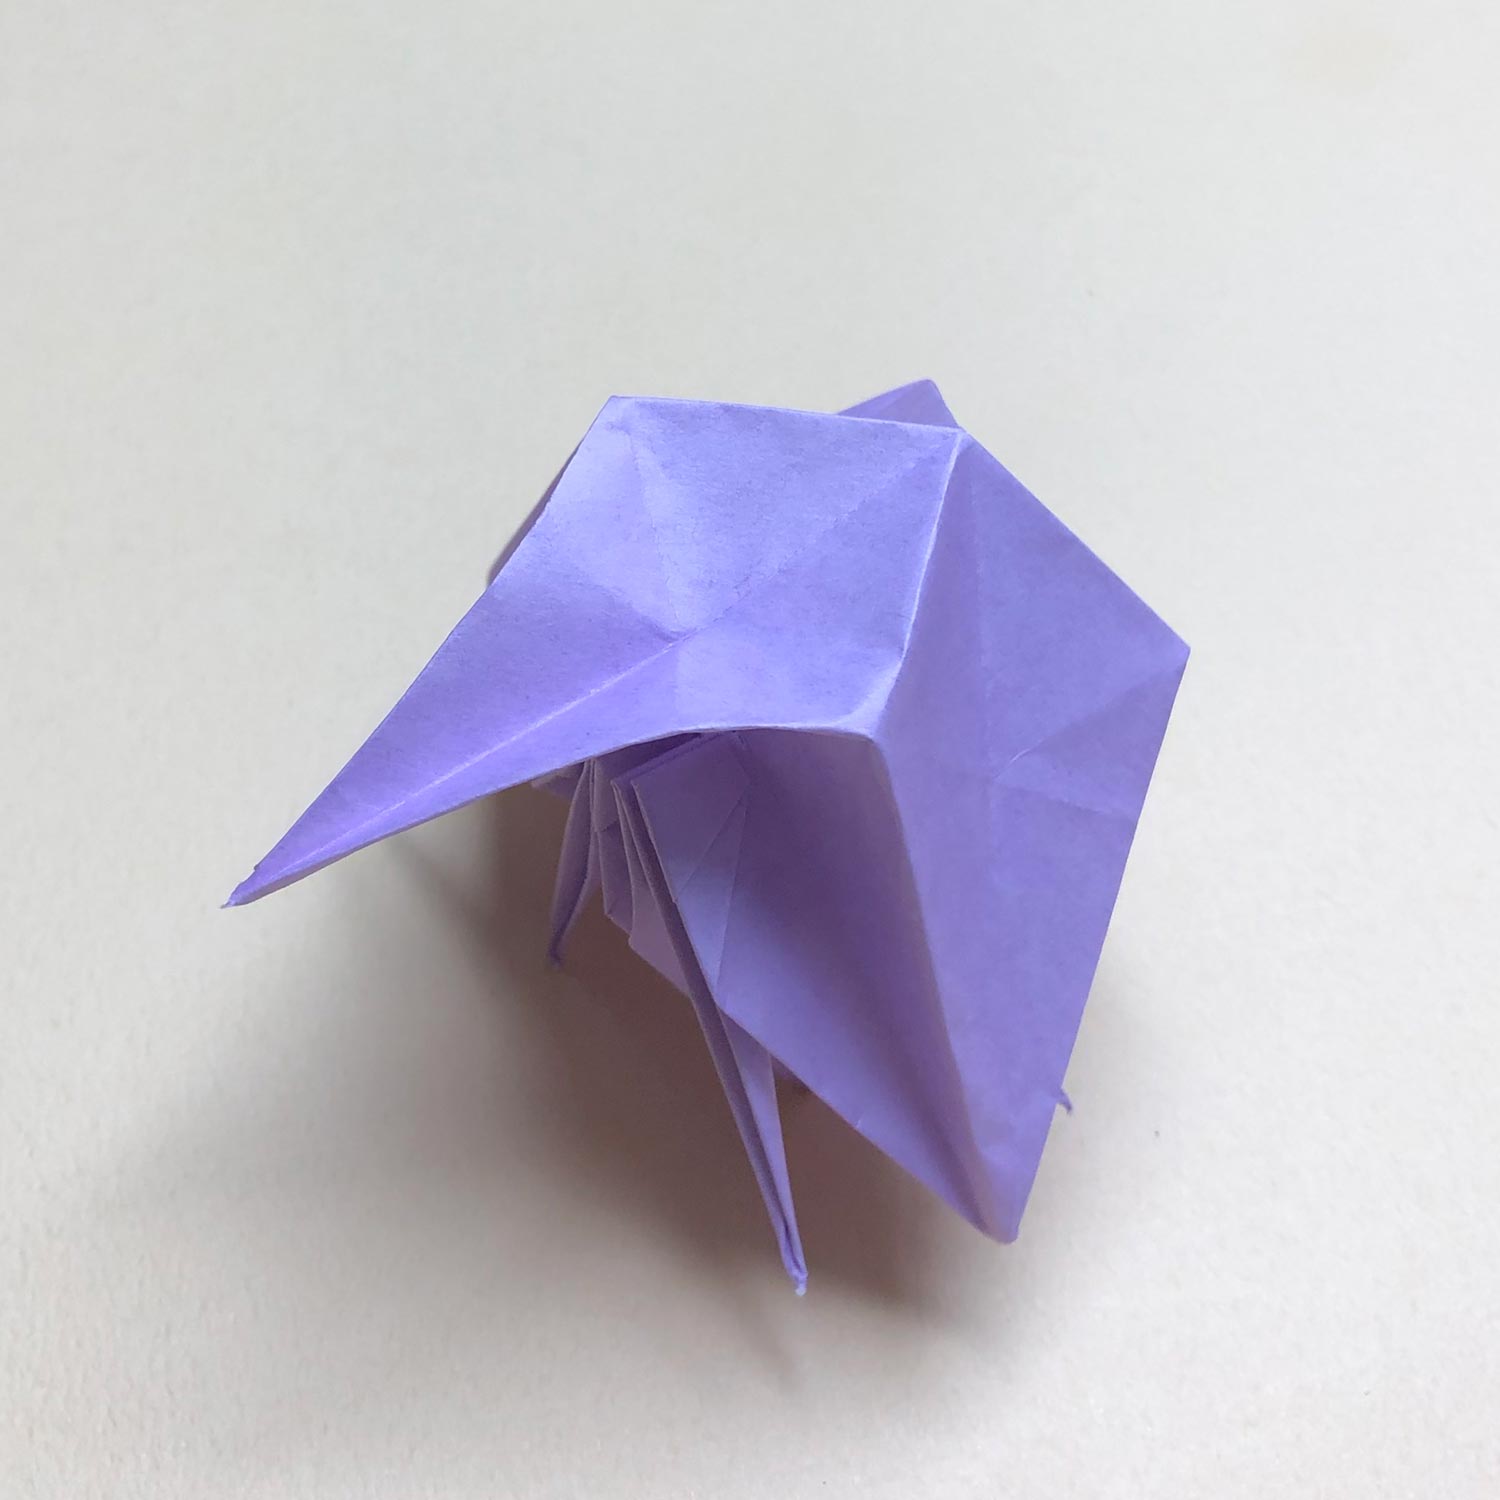
(54)
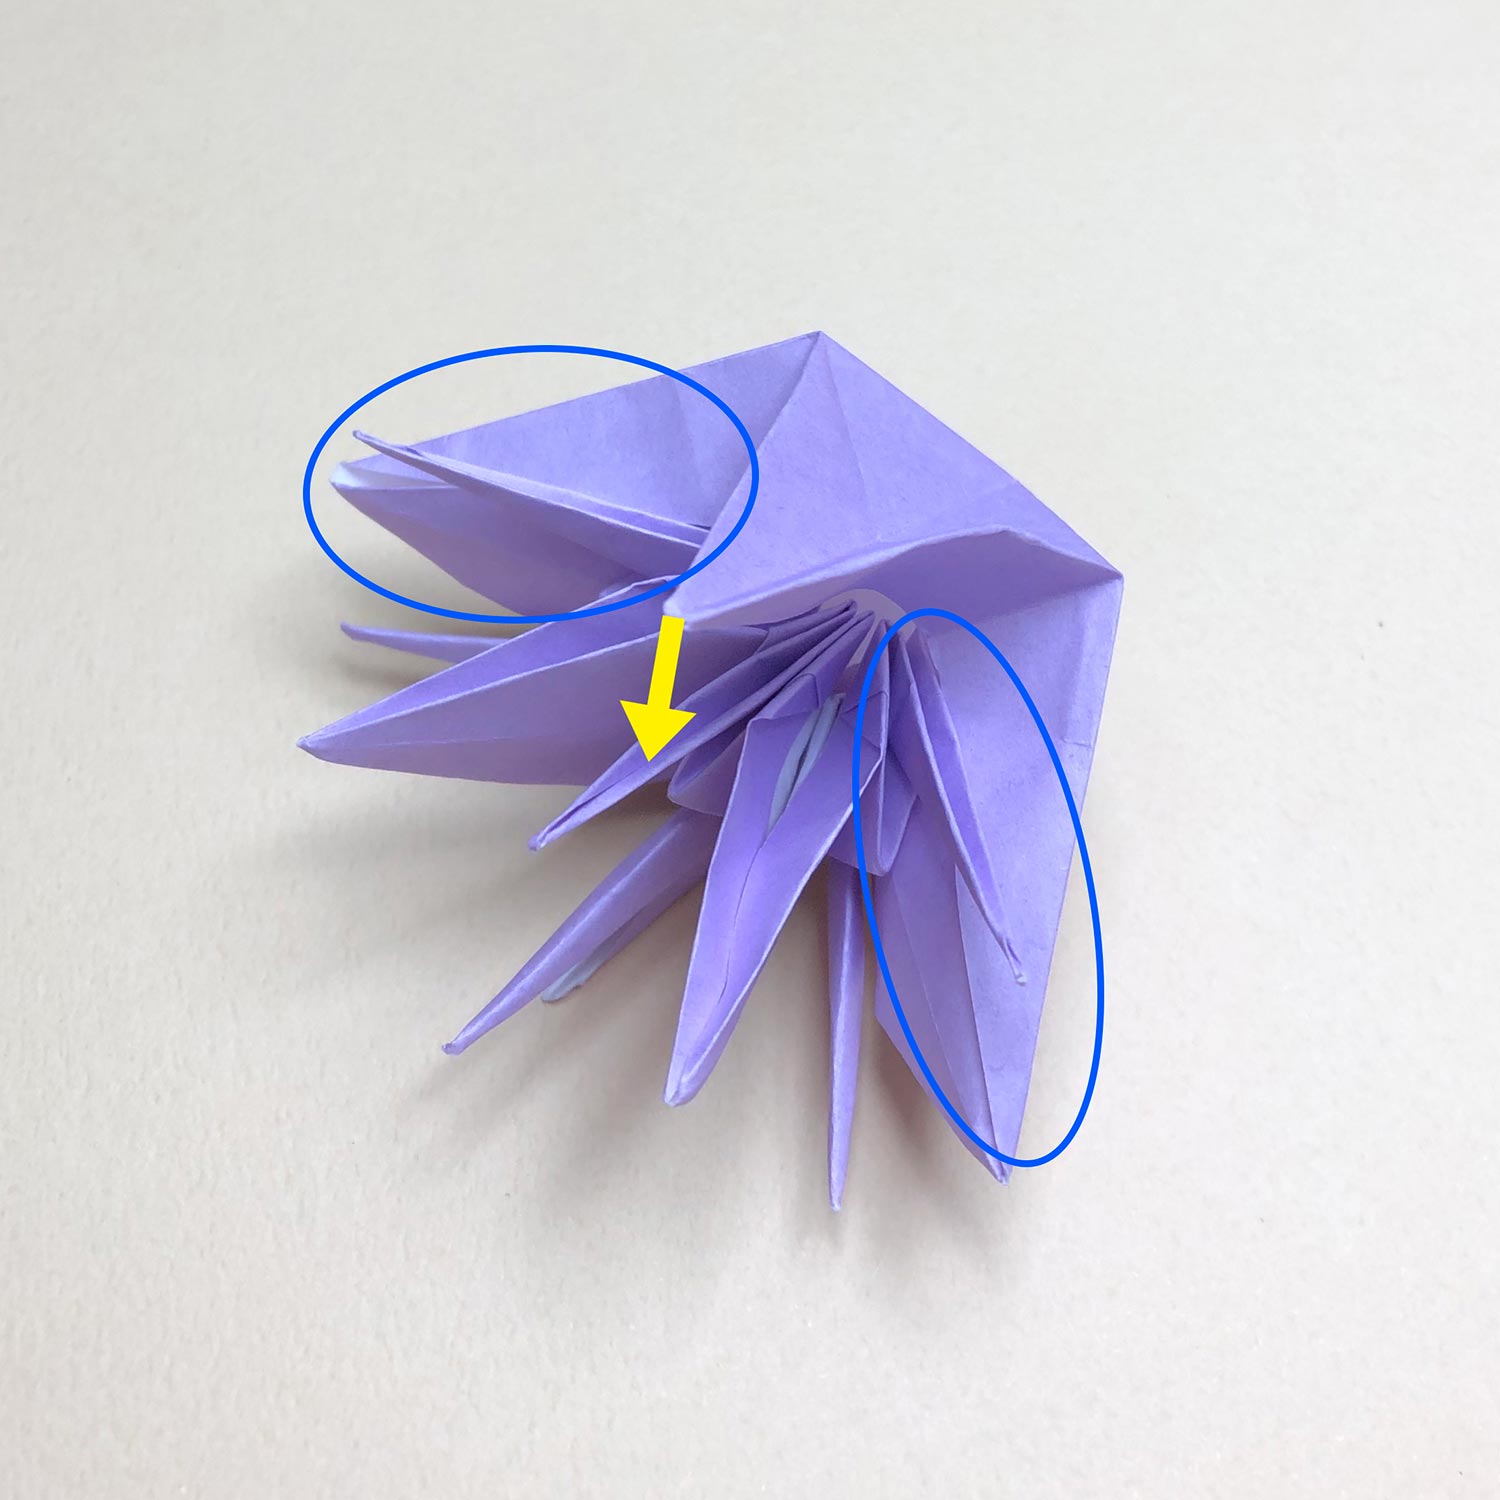
After turning the paper over, put the other part between edges of the other head/tail of the second completed crane in the same way.
At that time, move the parts which have been circled so that the parts are not caught on completed cranes.
(55)
Put the other part between edges of the other head/tail like this picture.
(56)
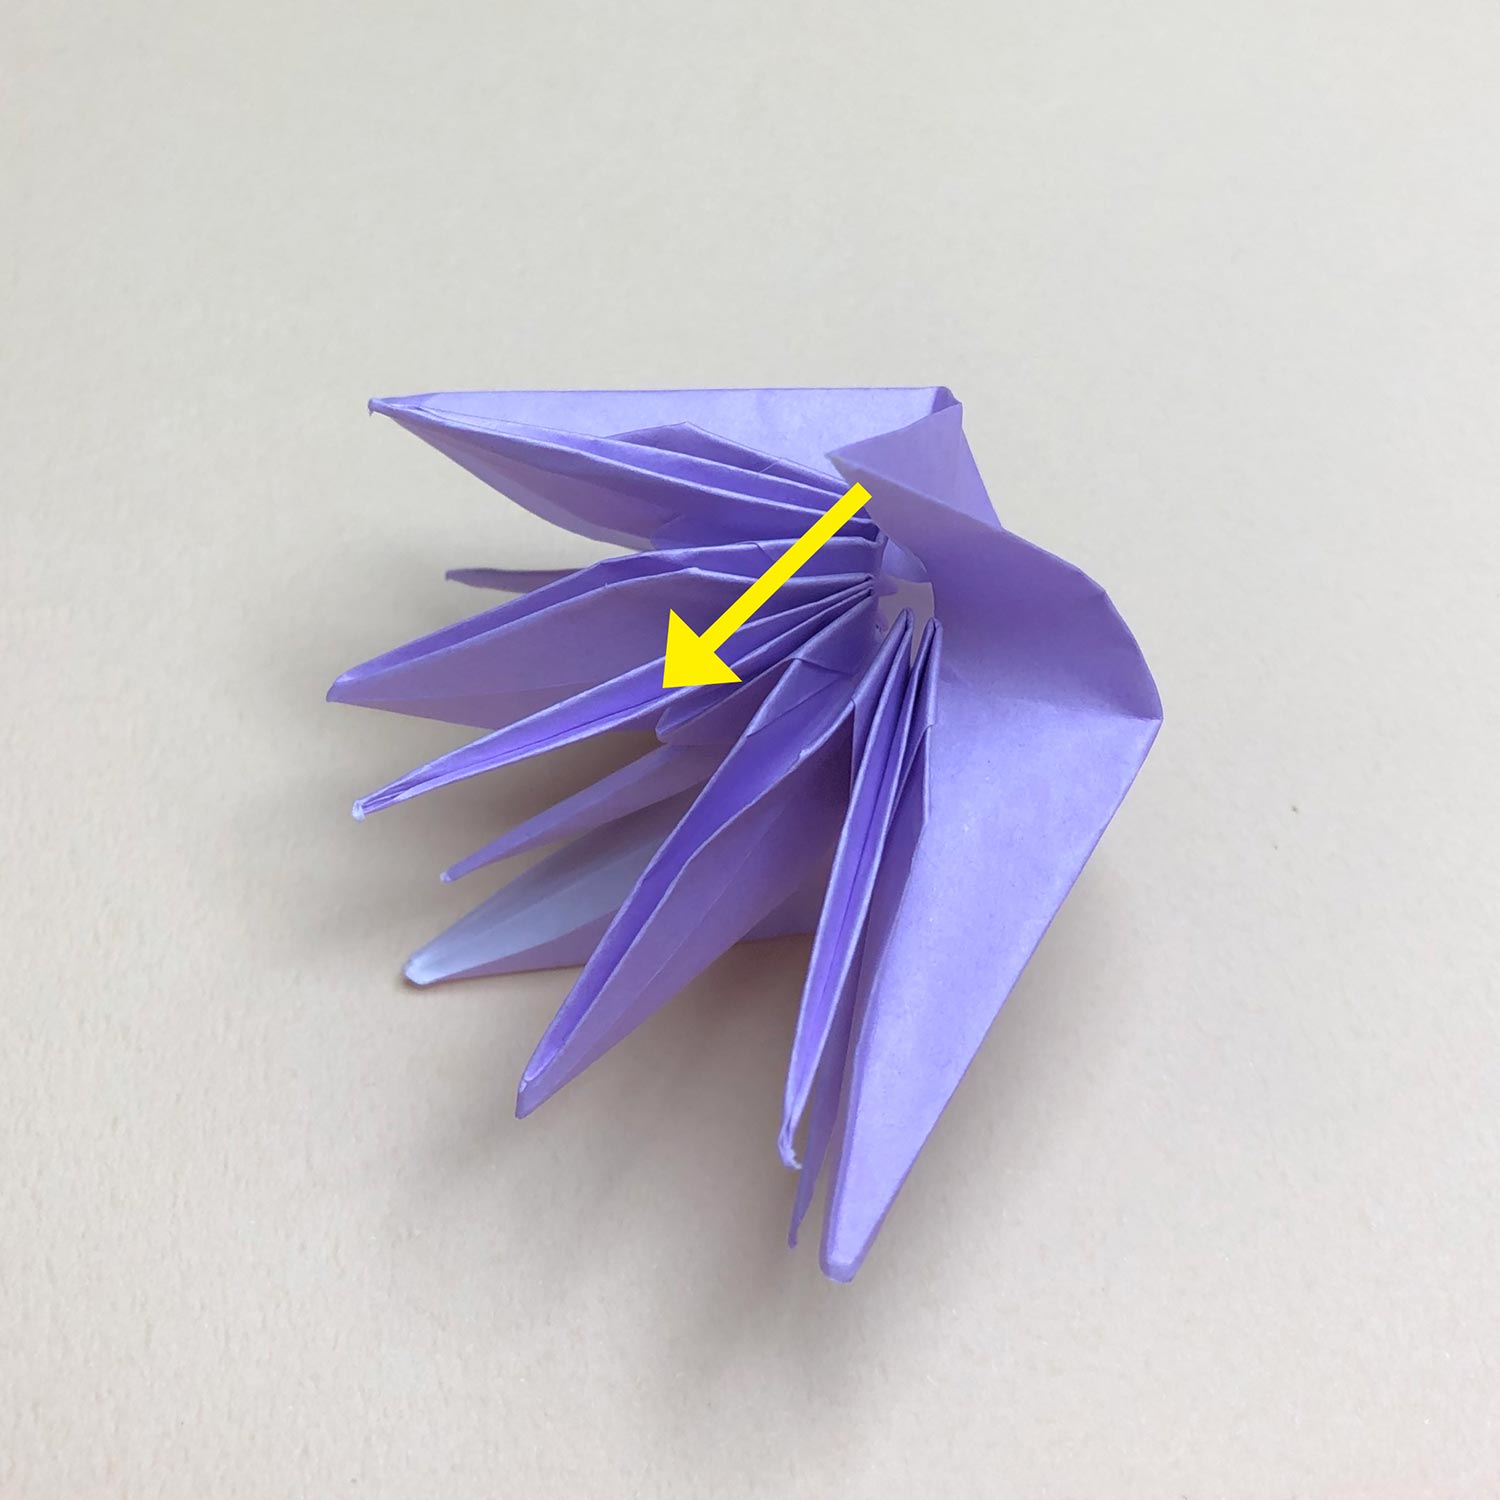
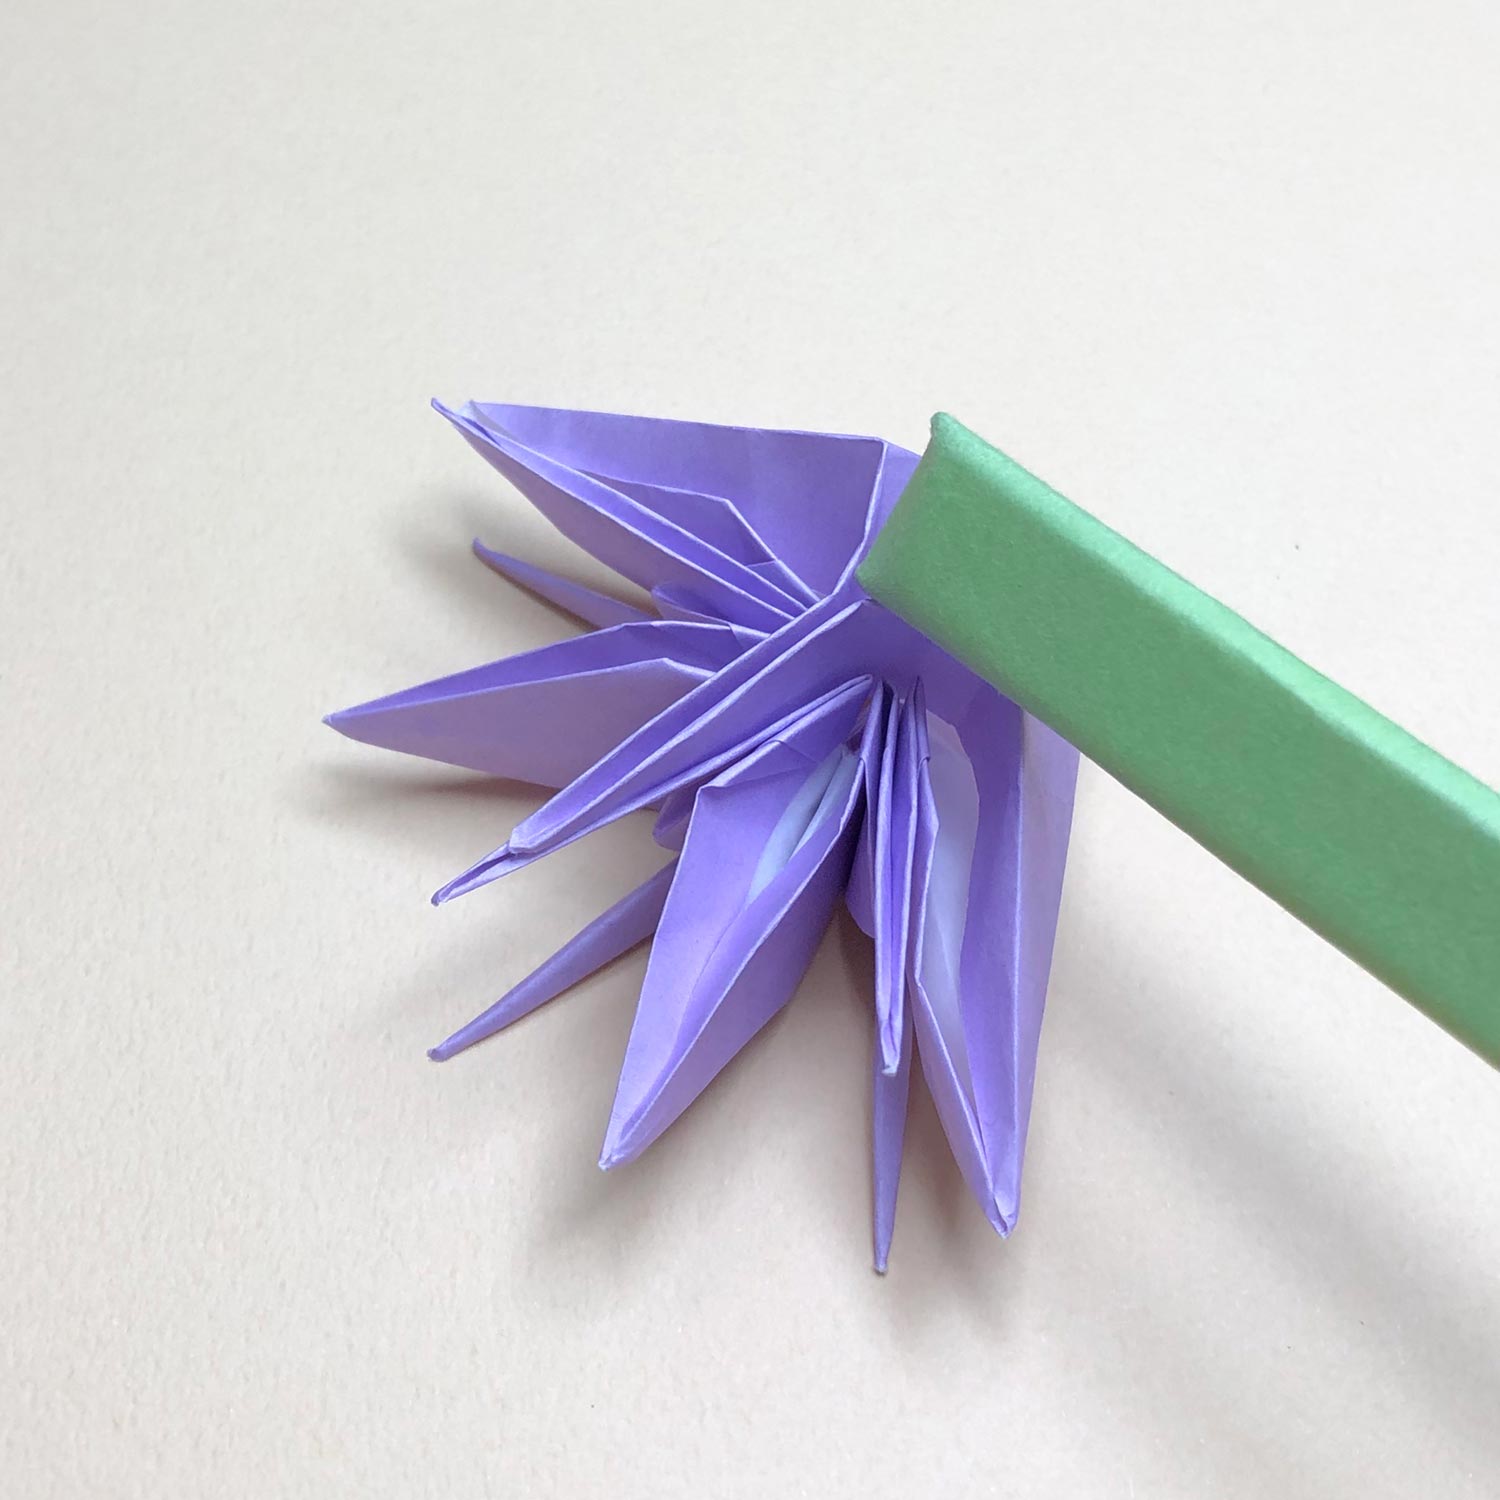
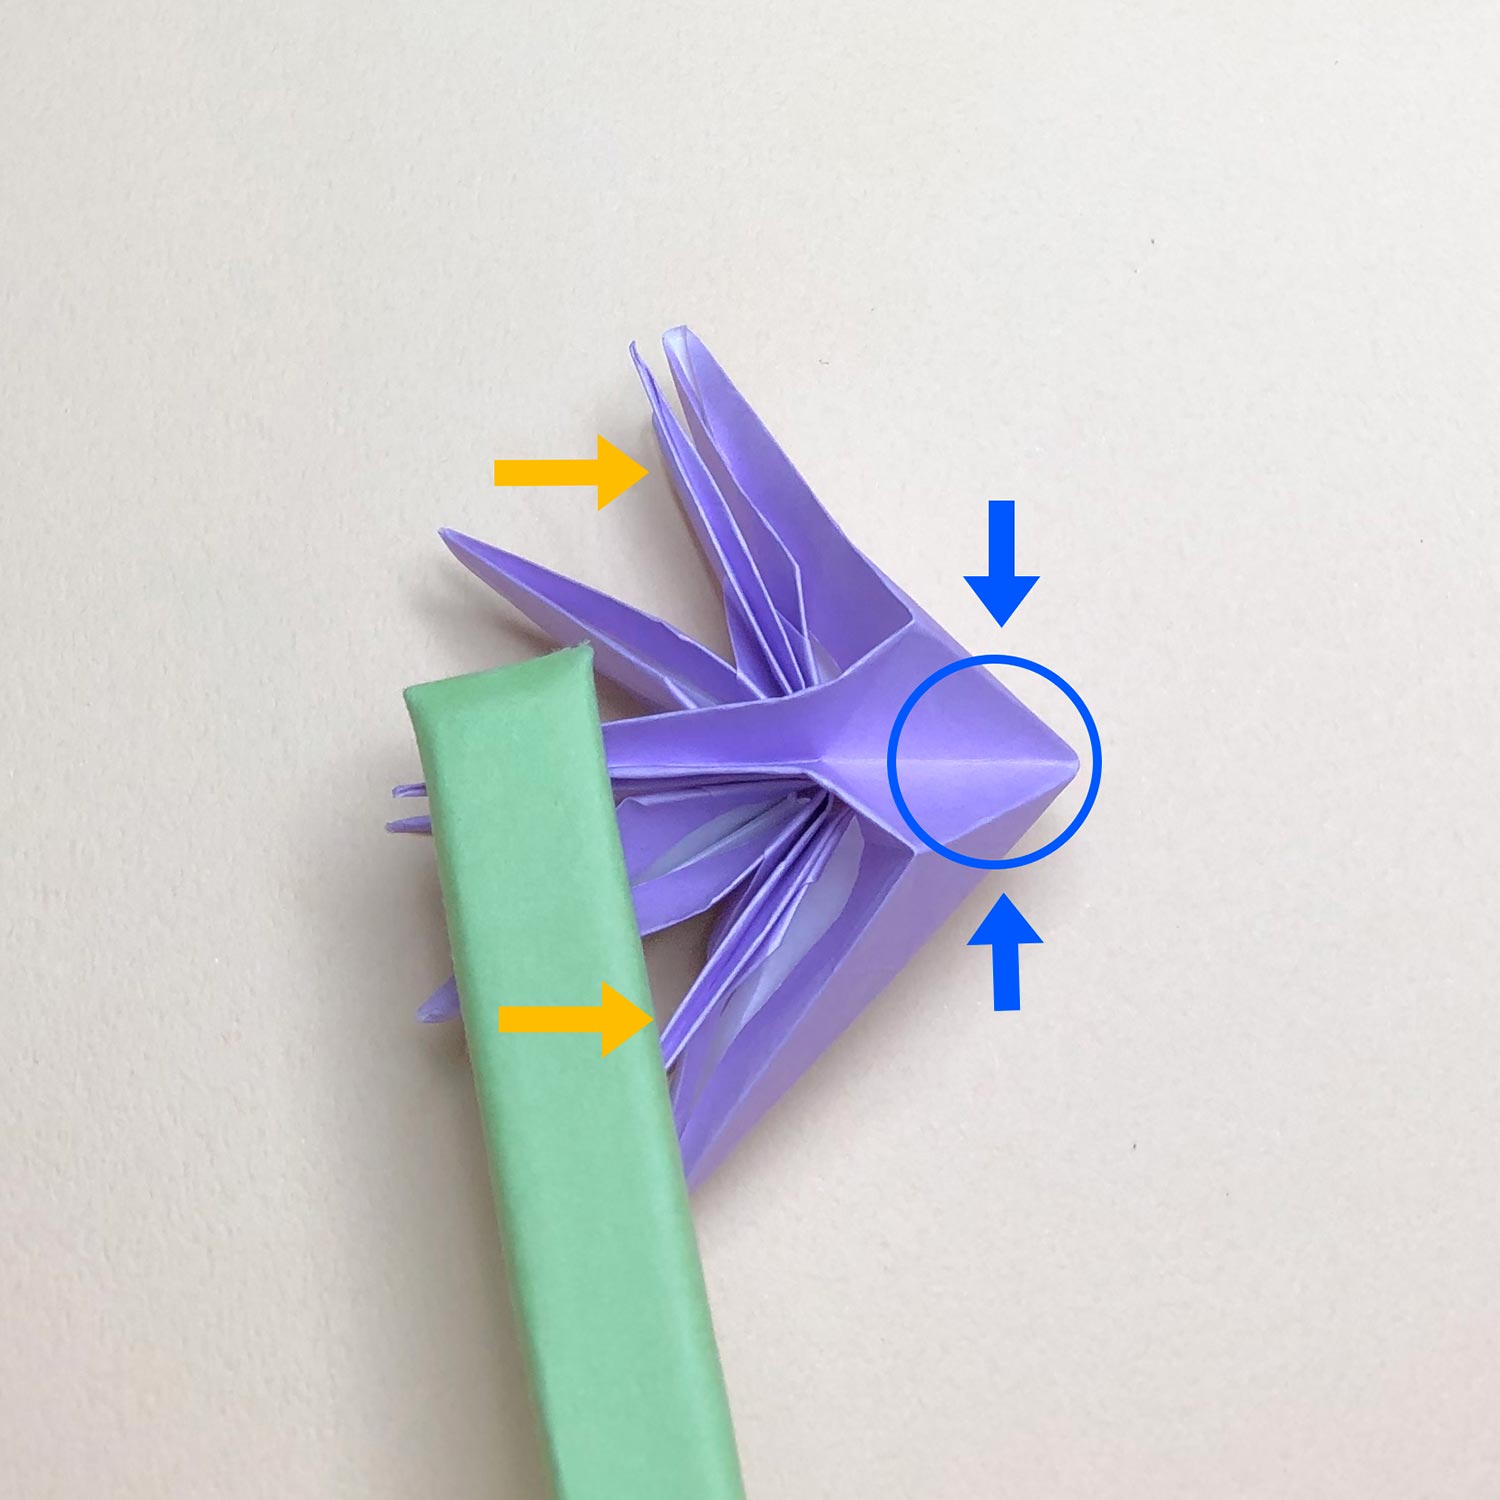
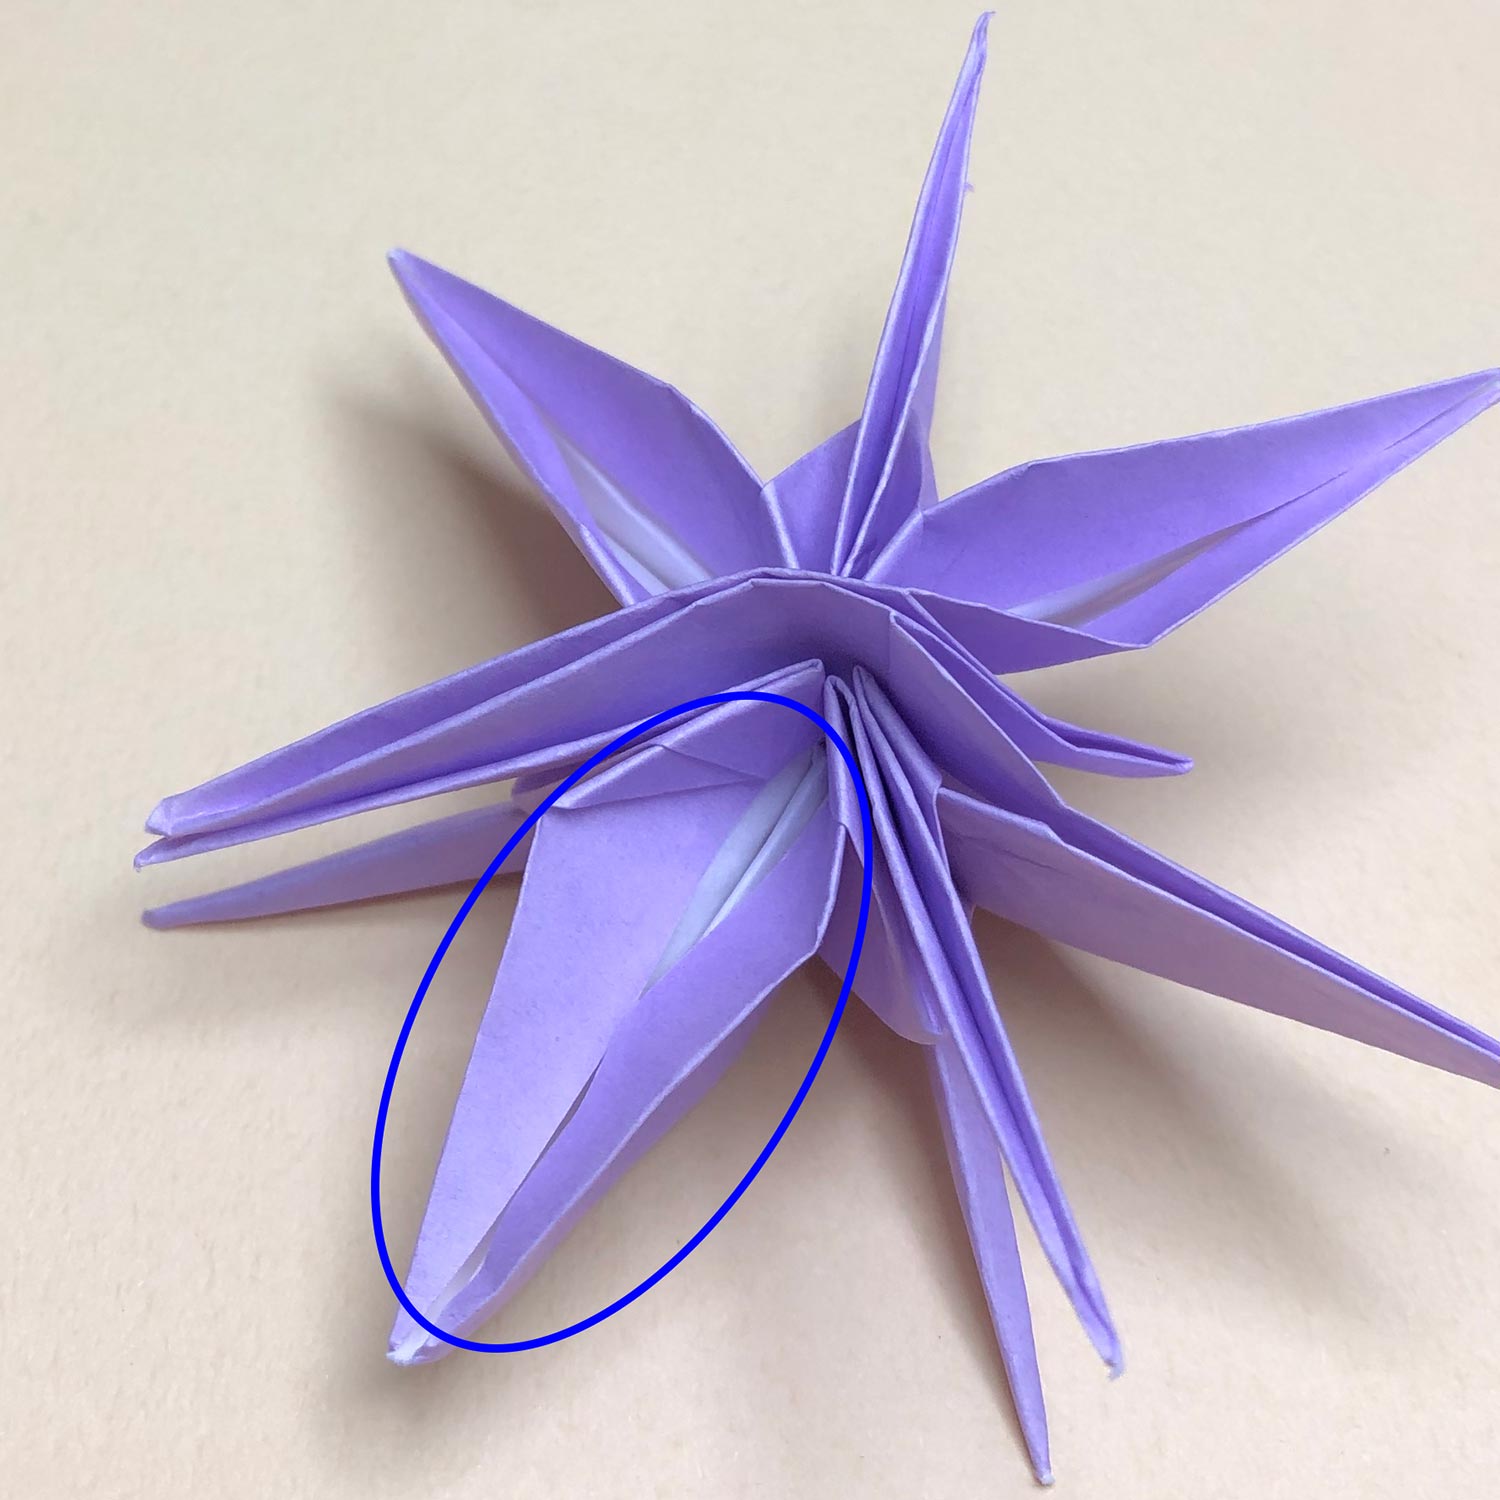
Check that each part of a bird-base is put between edges of each head/tail of the second completed crane.
In the state of that, pinch the part which has been circled and move the top and bottom parts slowly in the direction of the arrows in yellow.
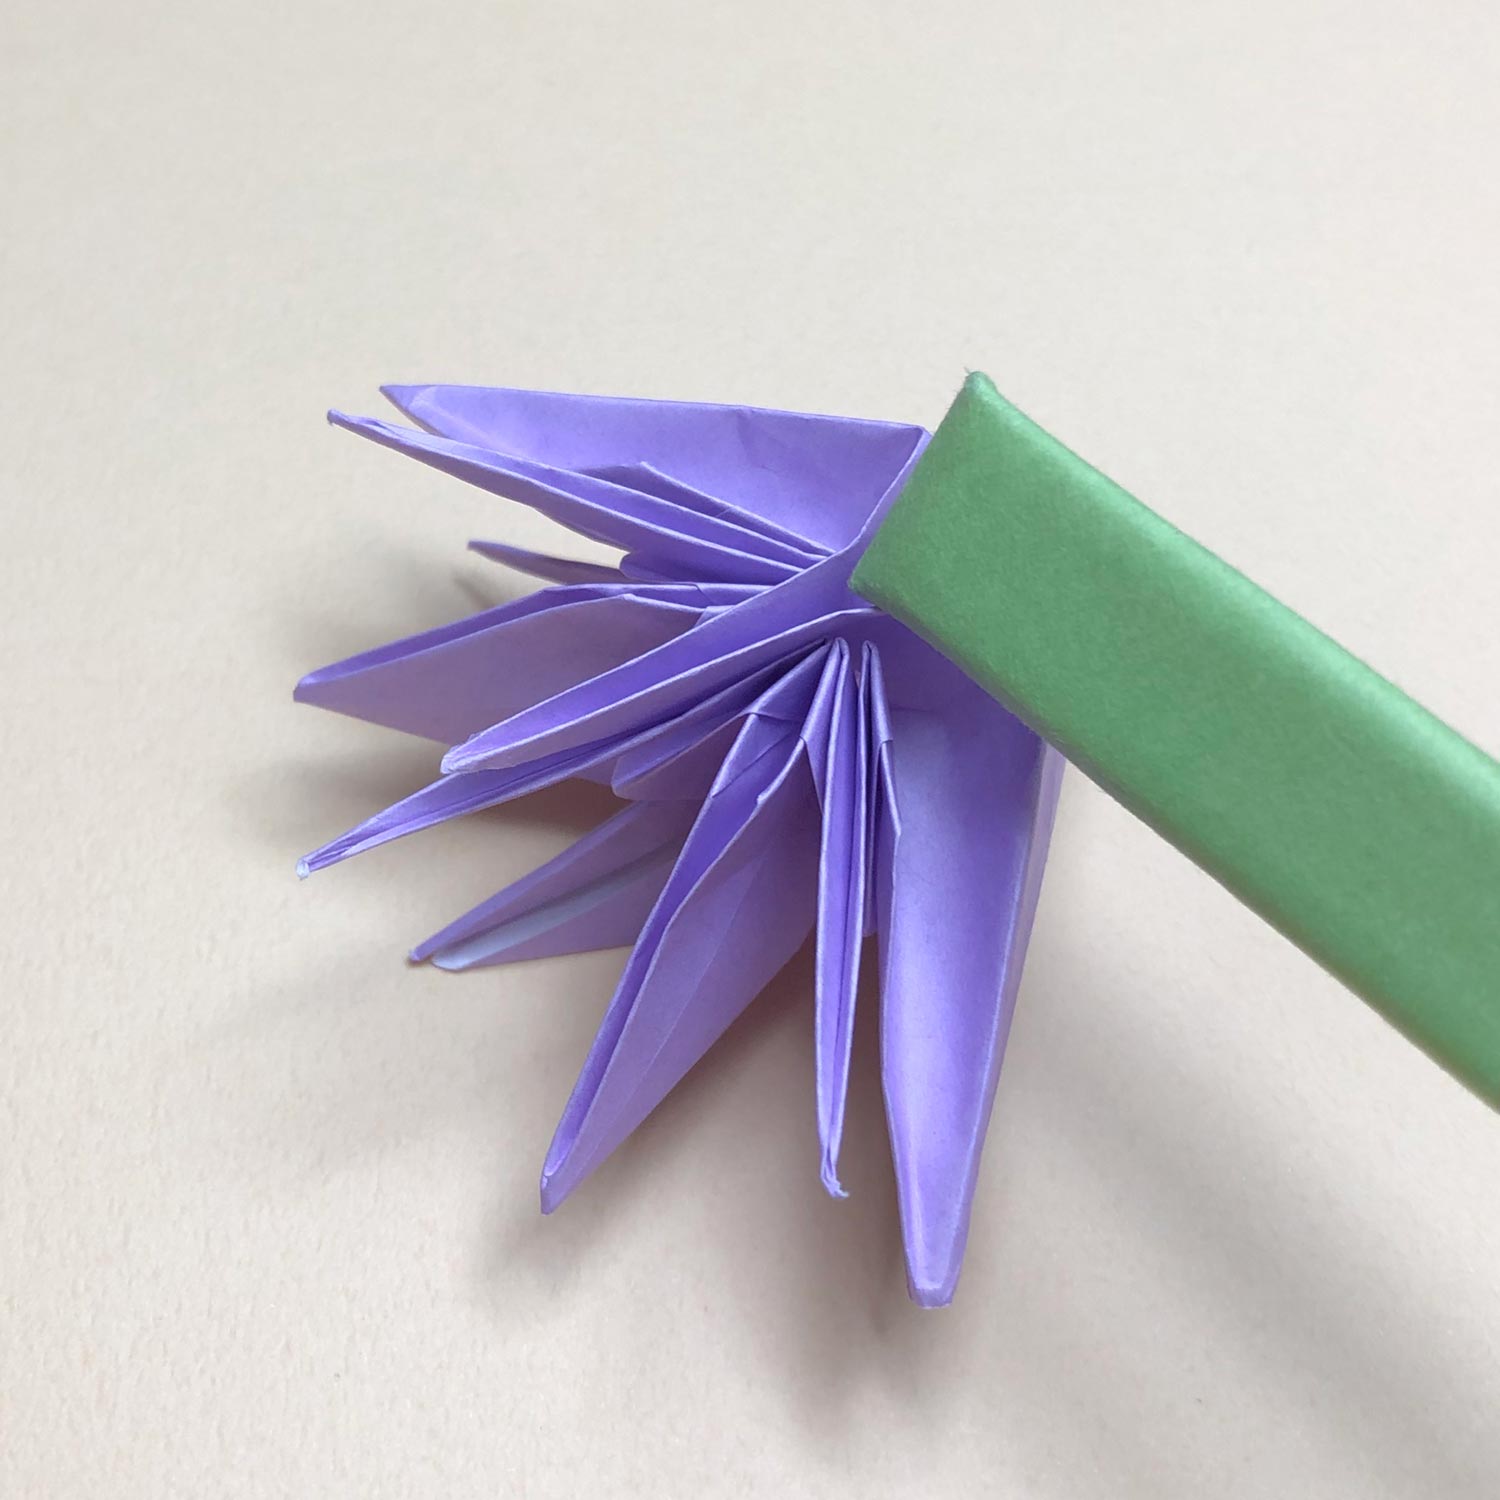
(57)
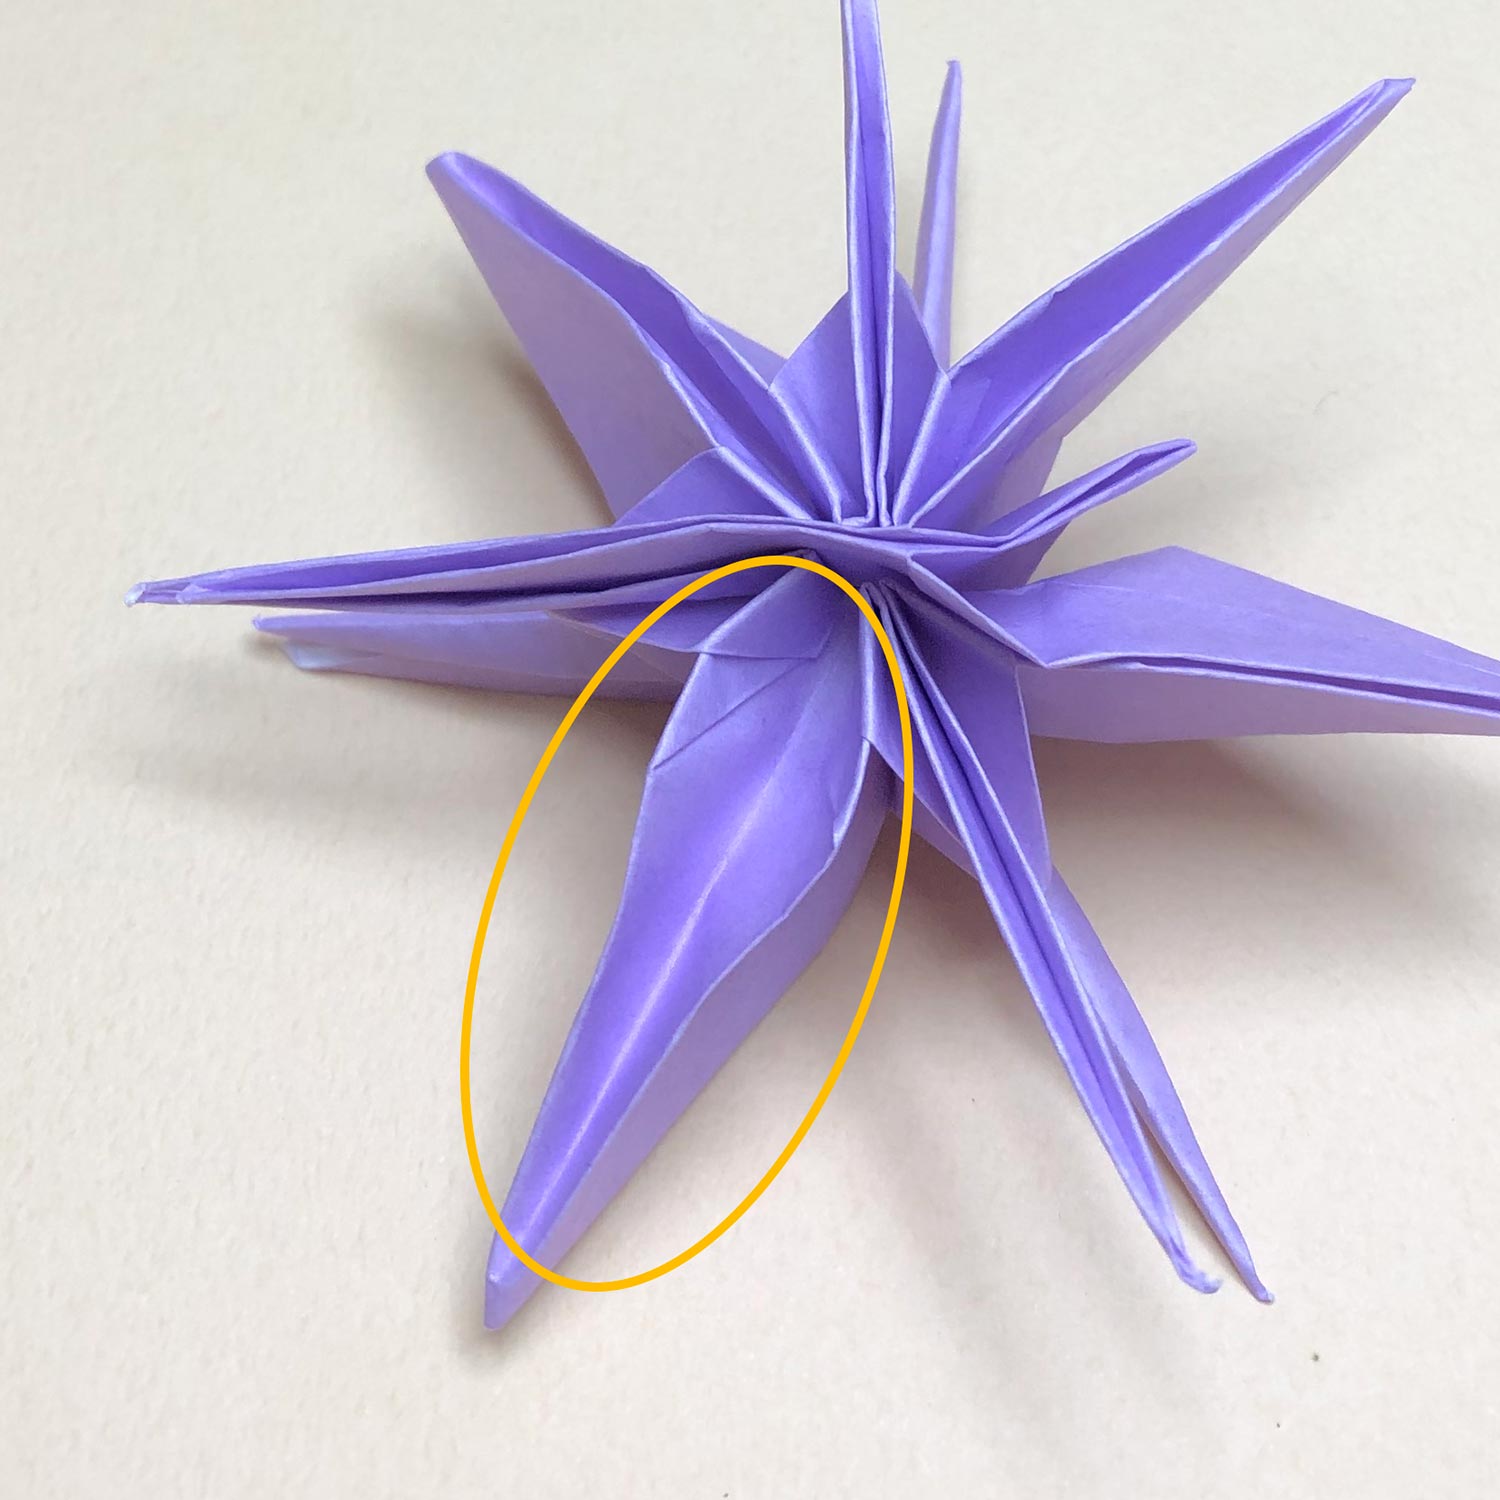
This picture is halfway through.
There is a possibility that some parts get caught on each other.
Therefore, move the top and bottom parts carefully.
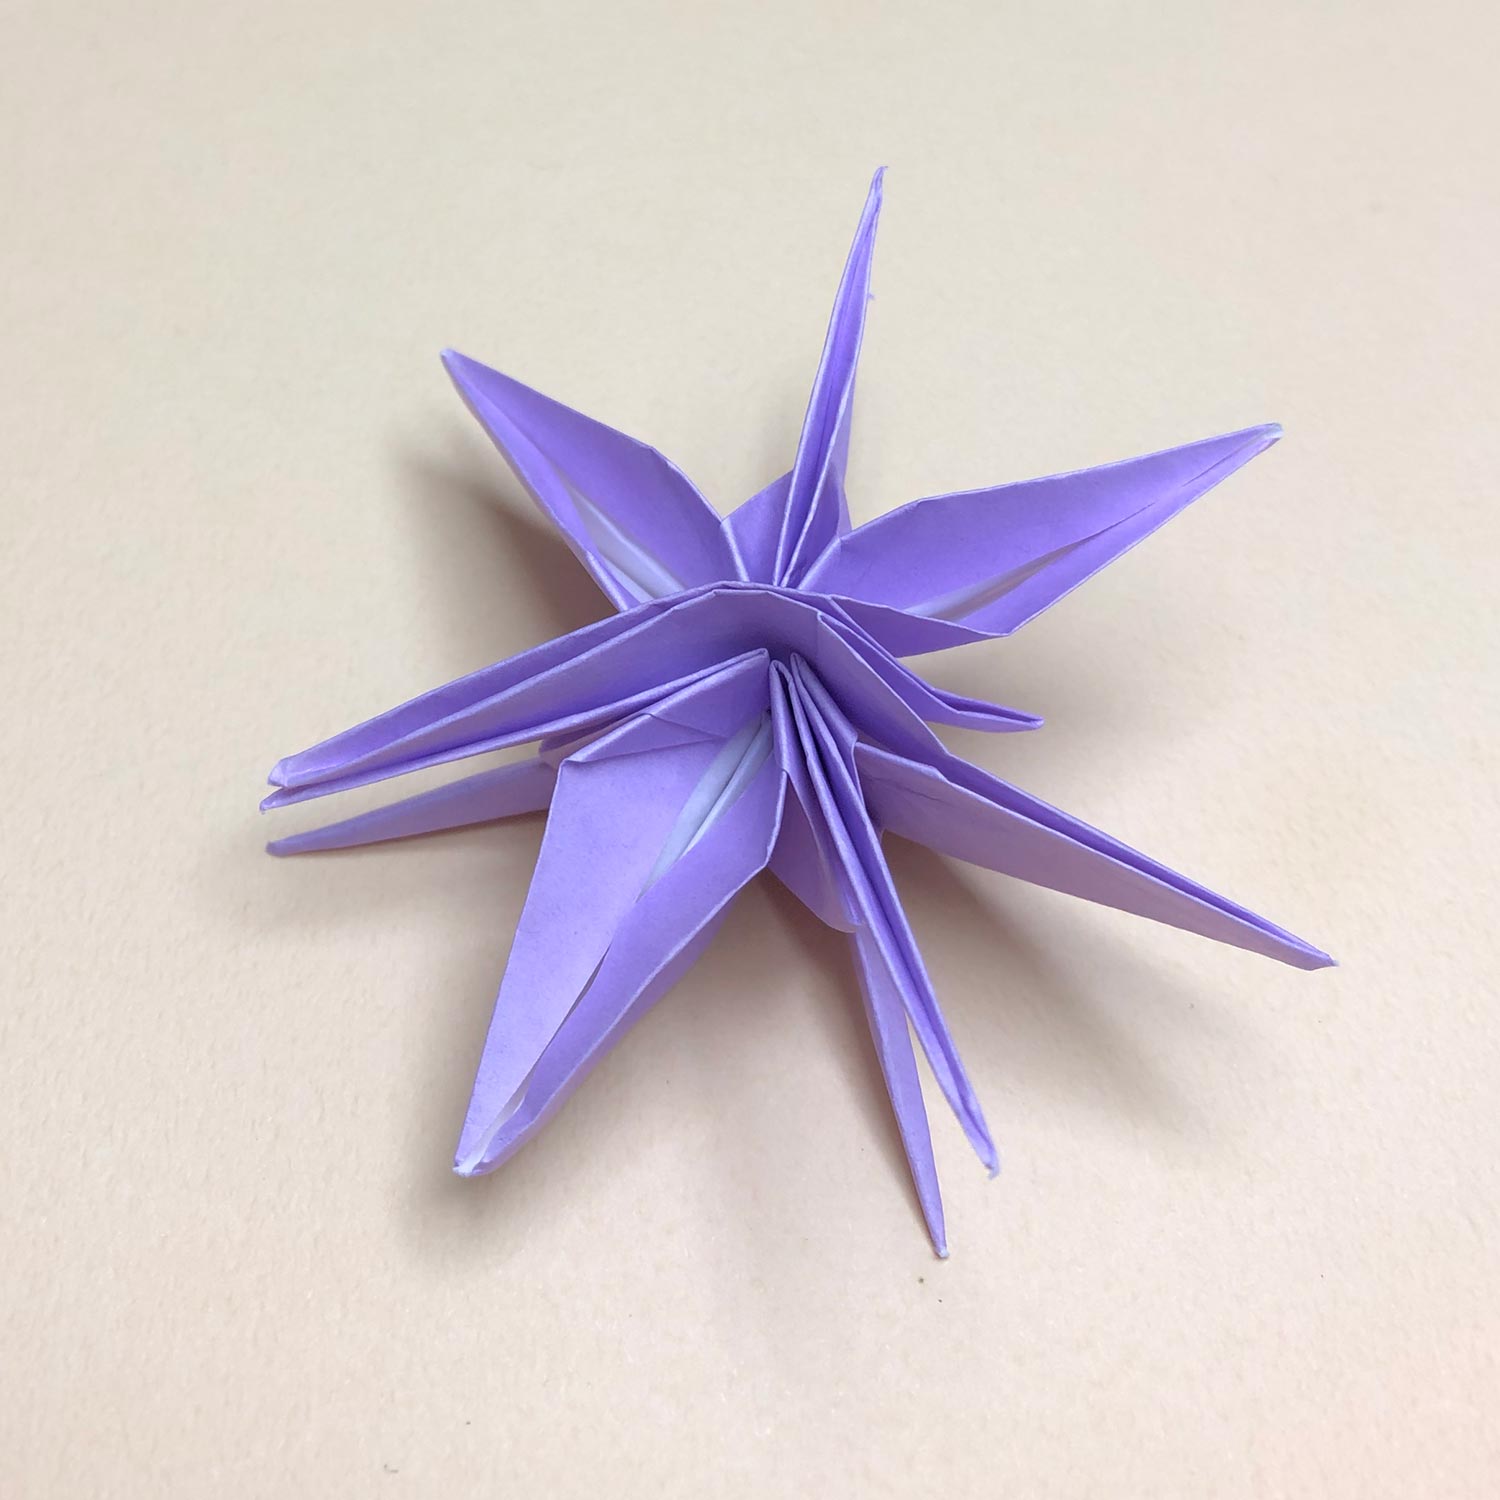
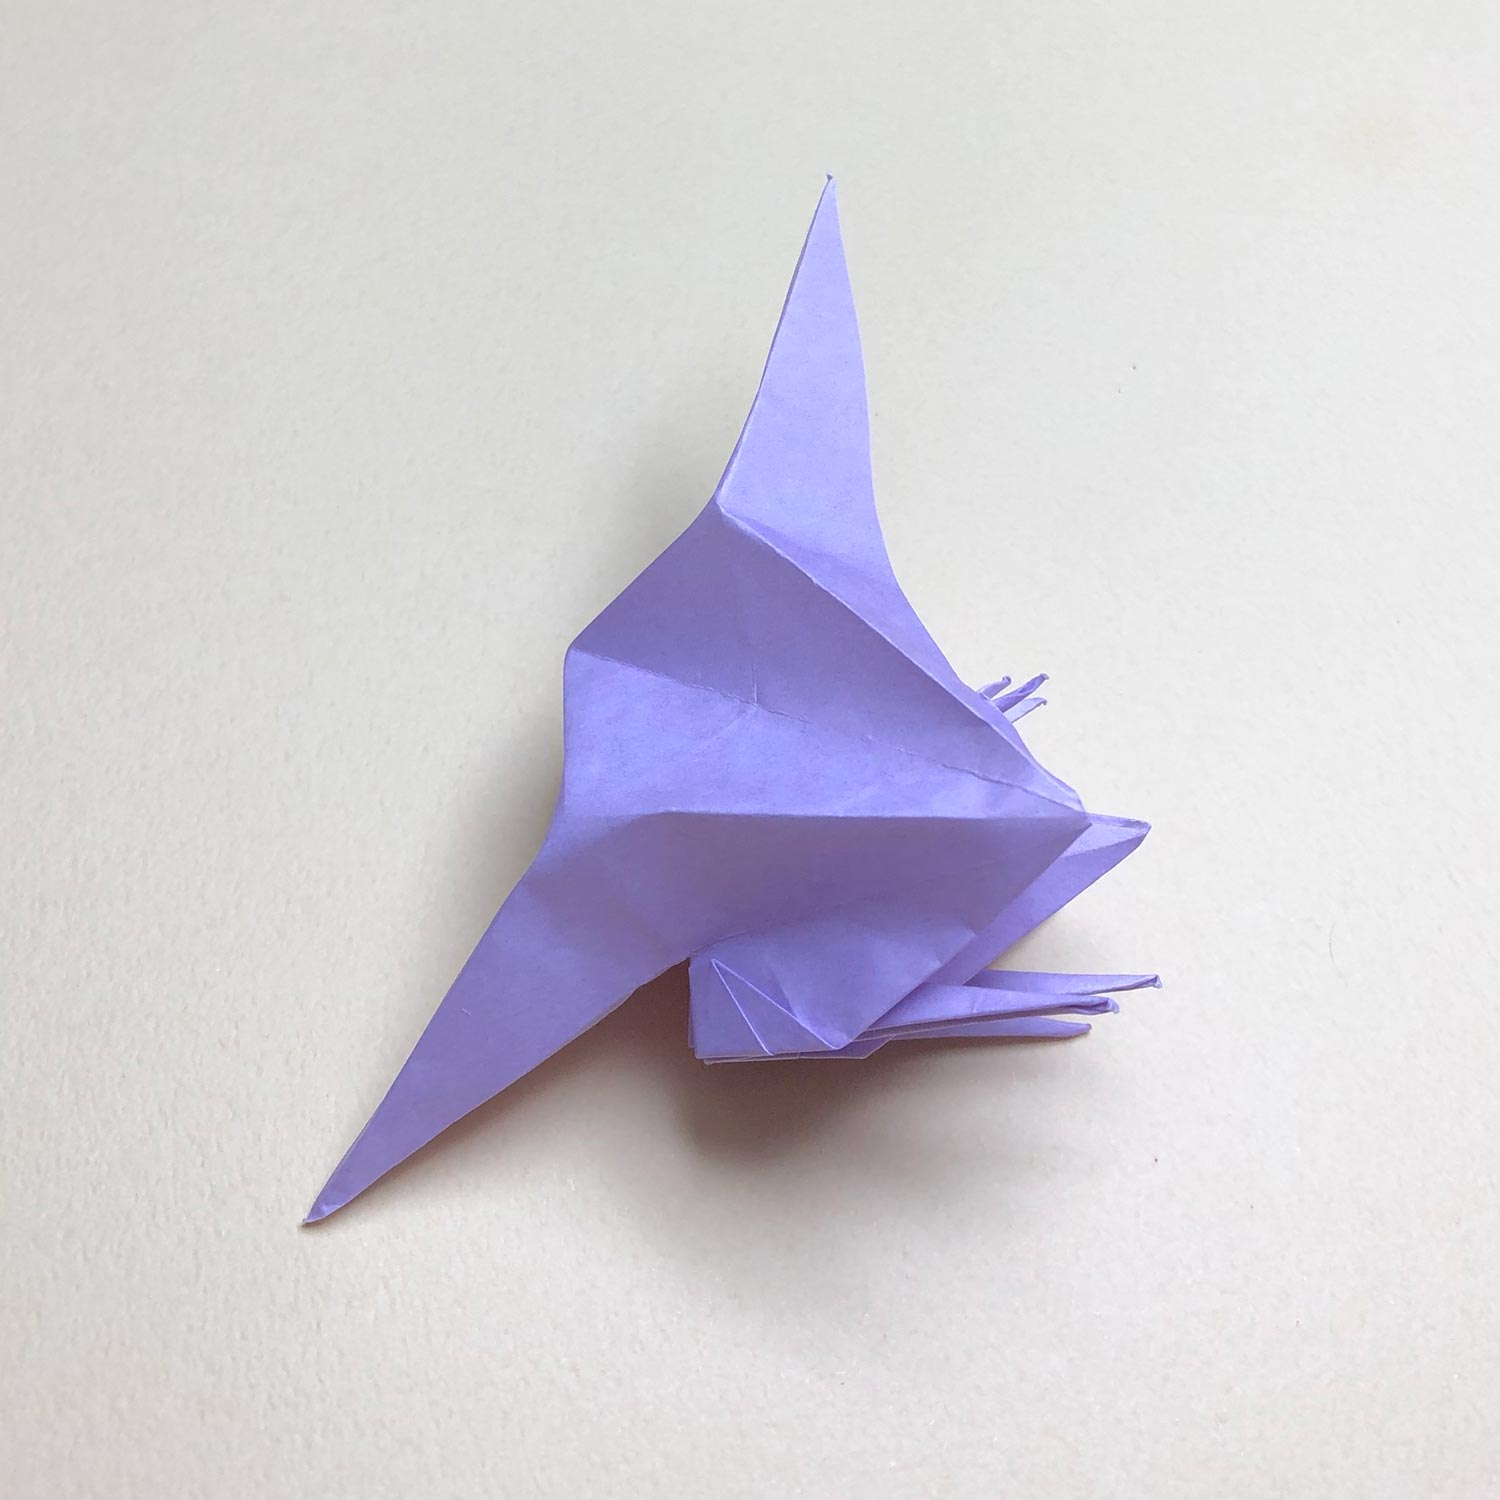
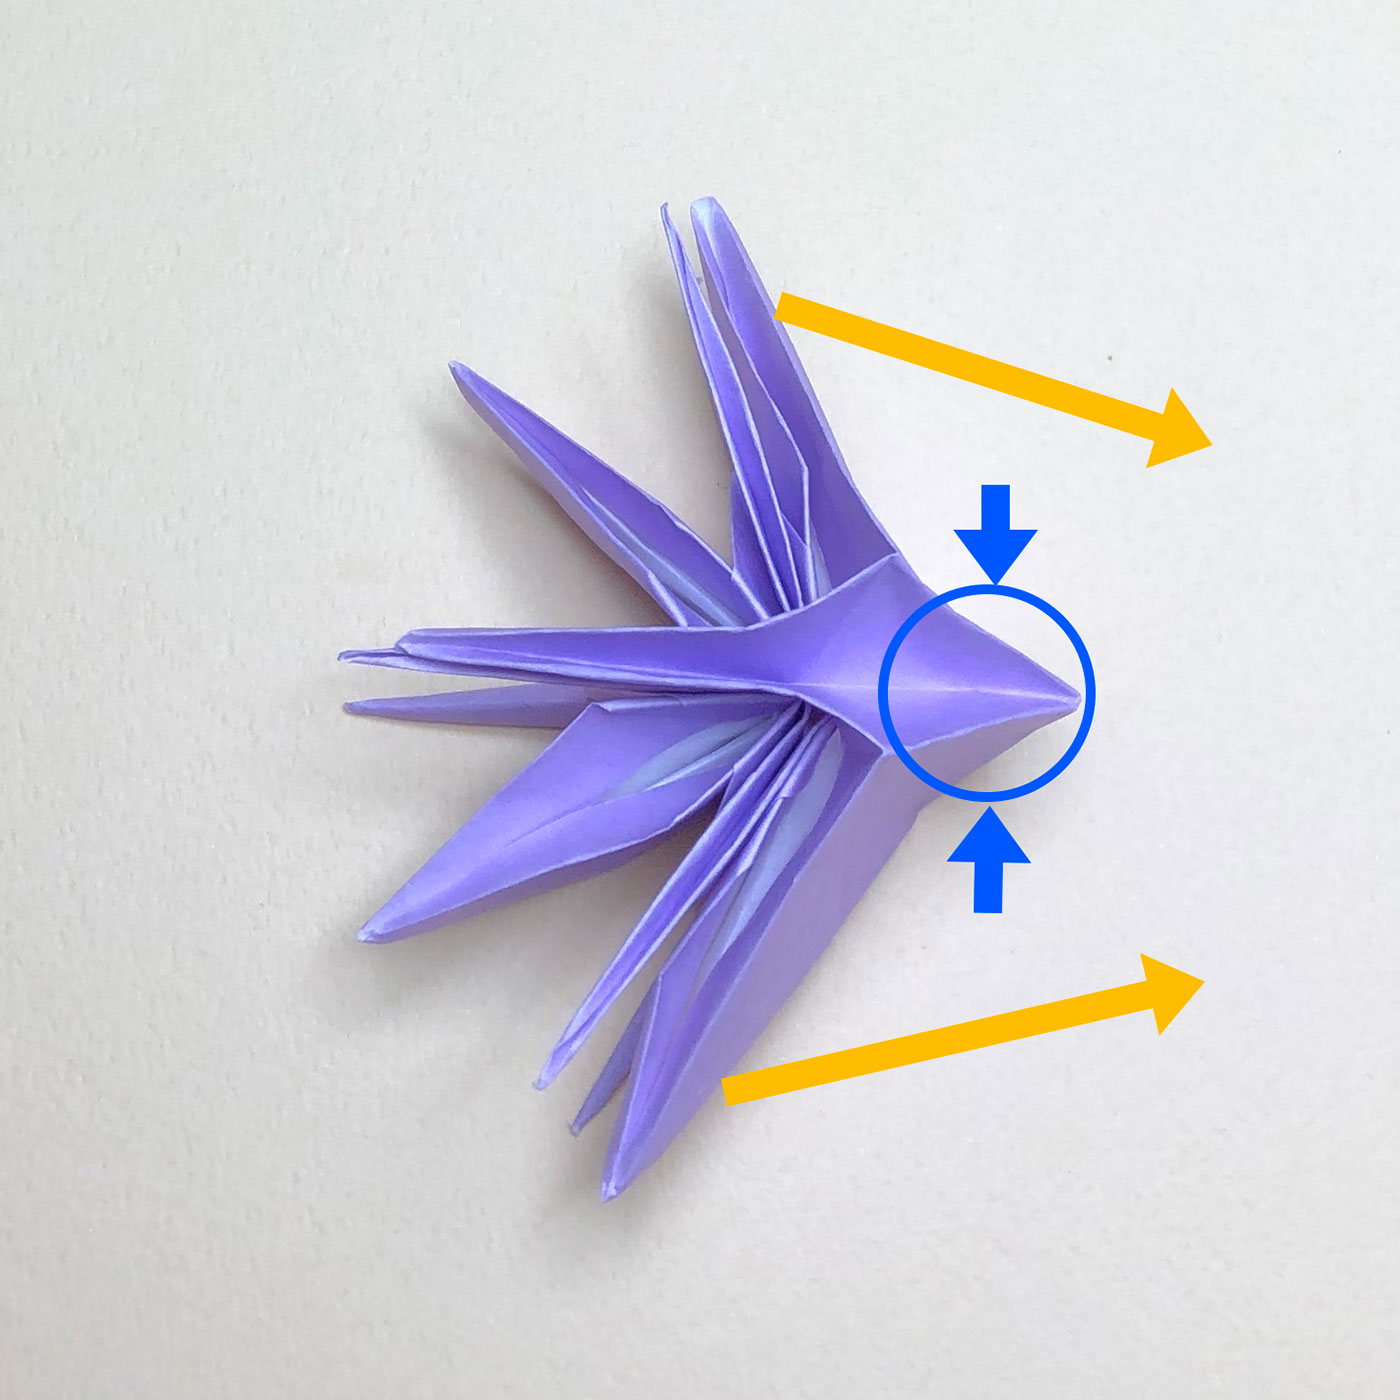
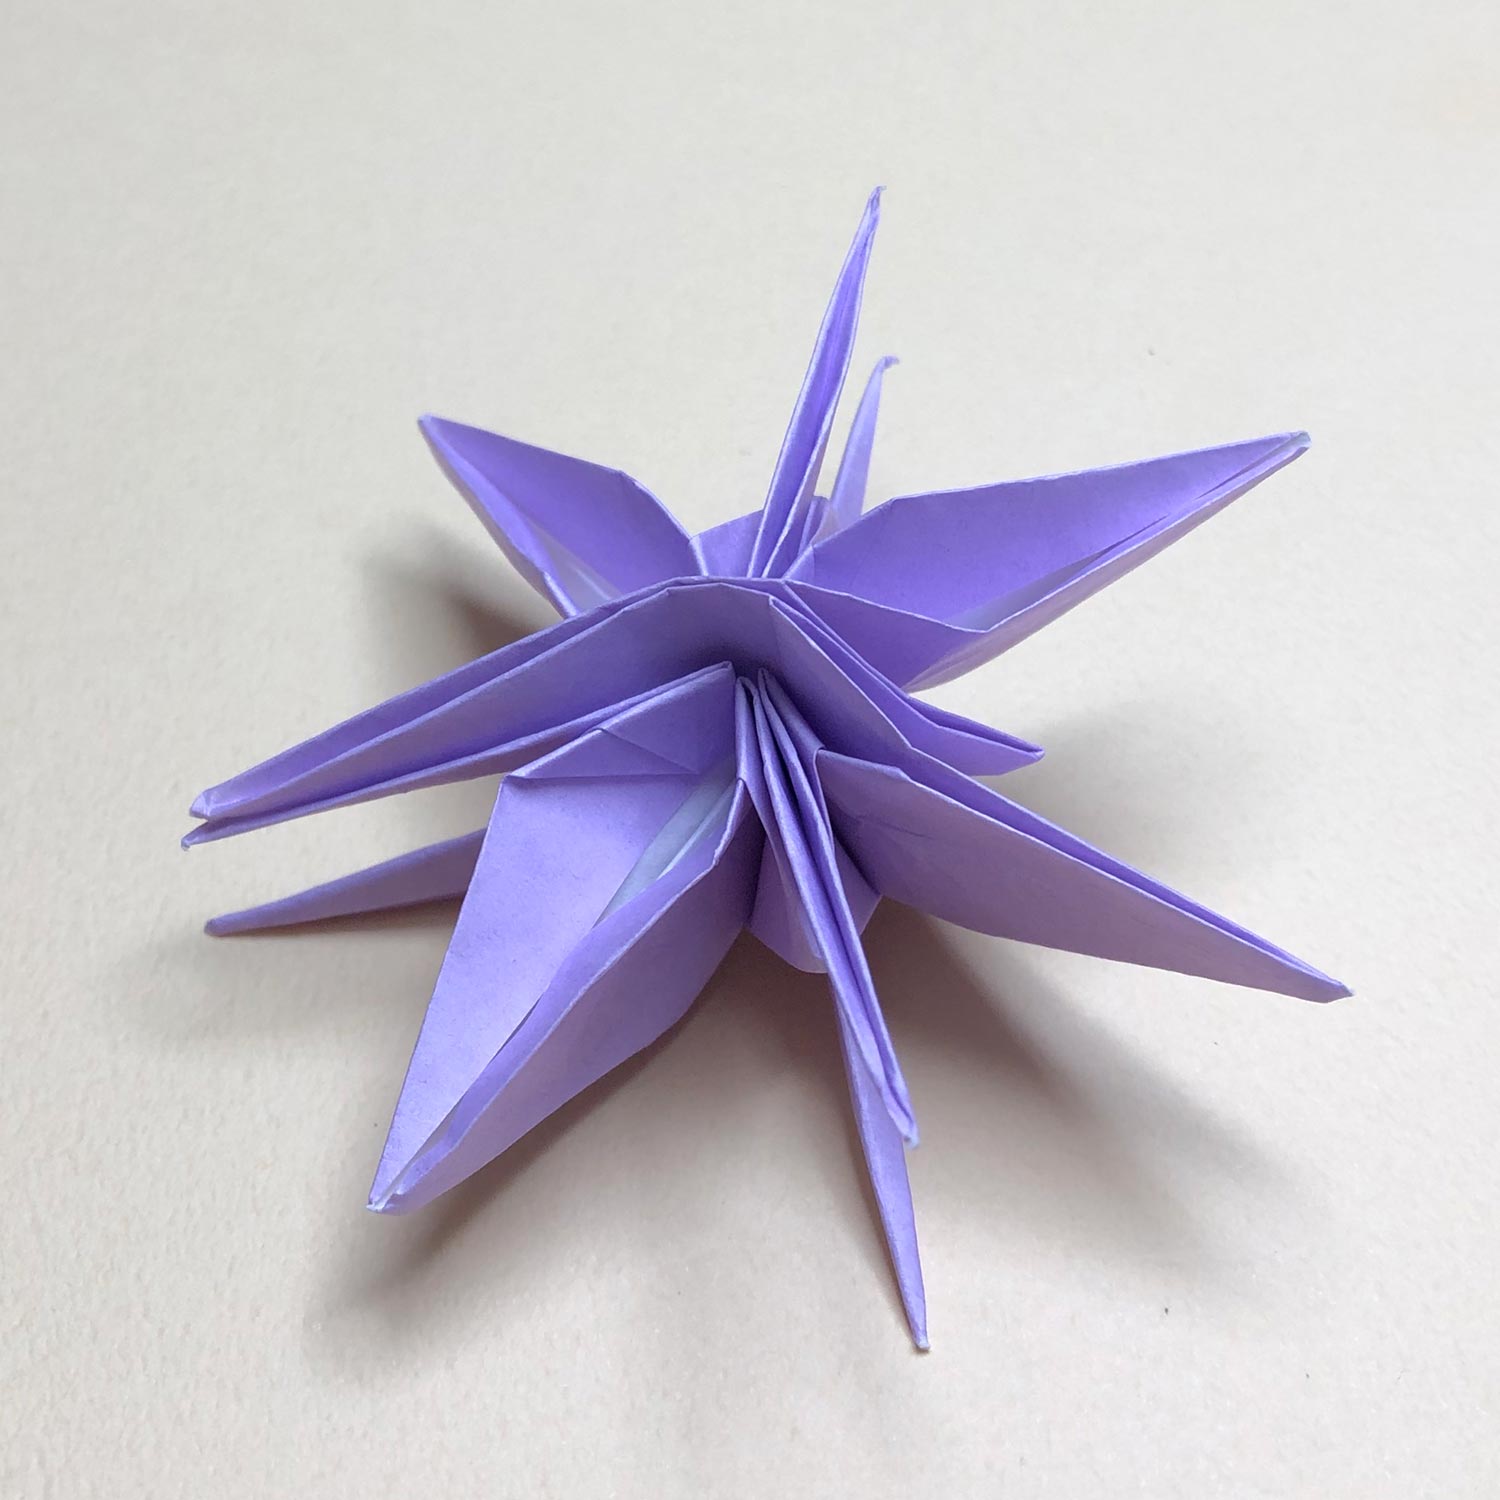
(58)
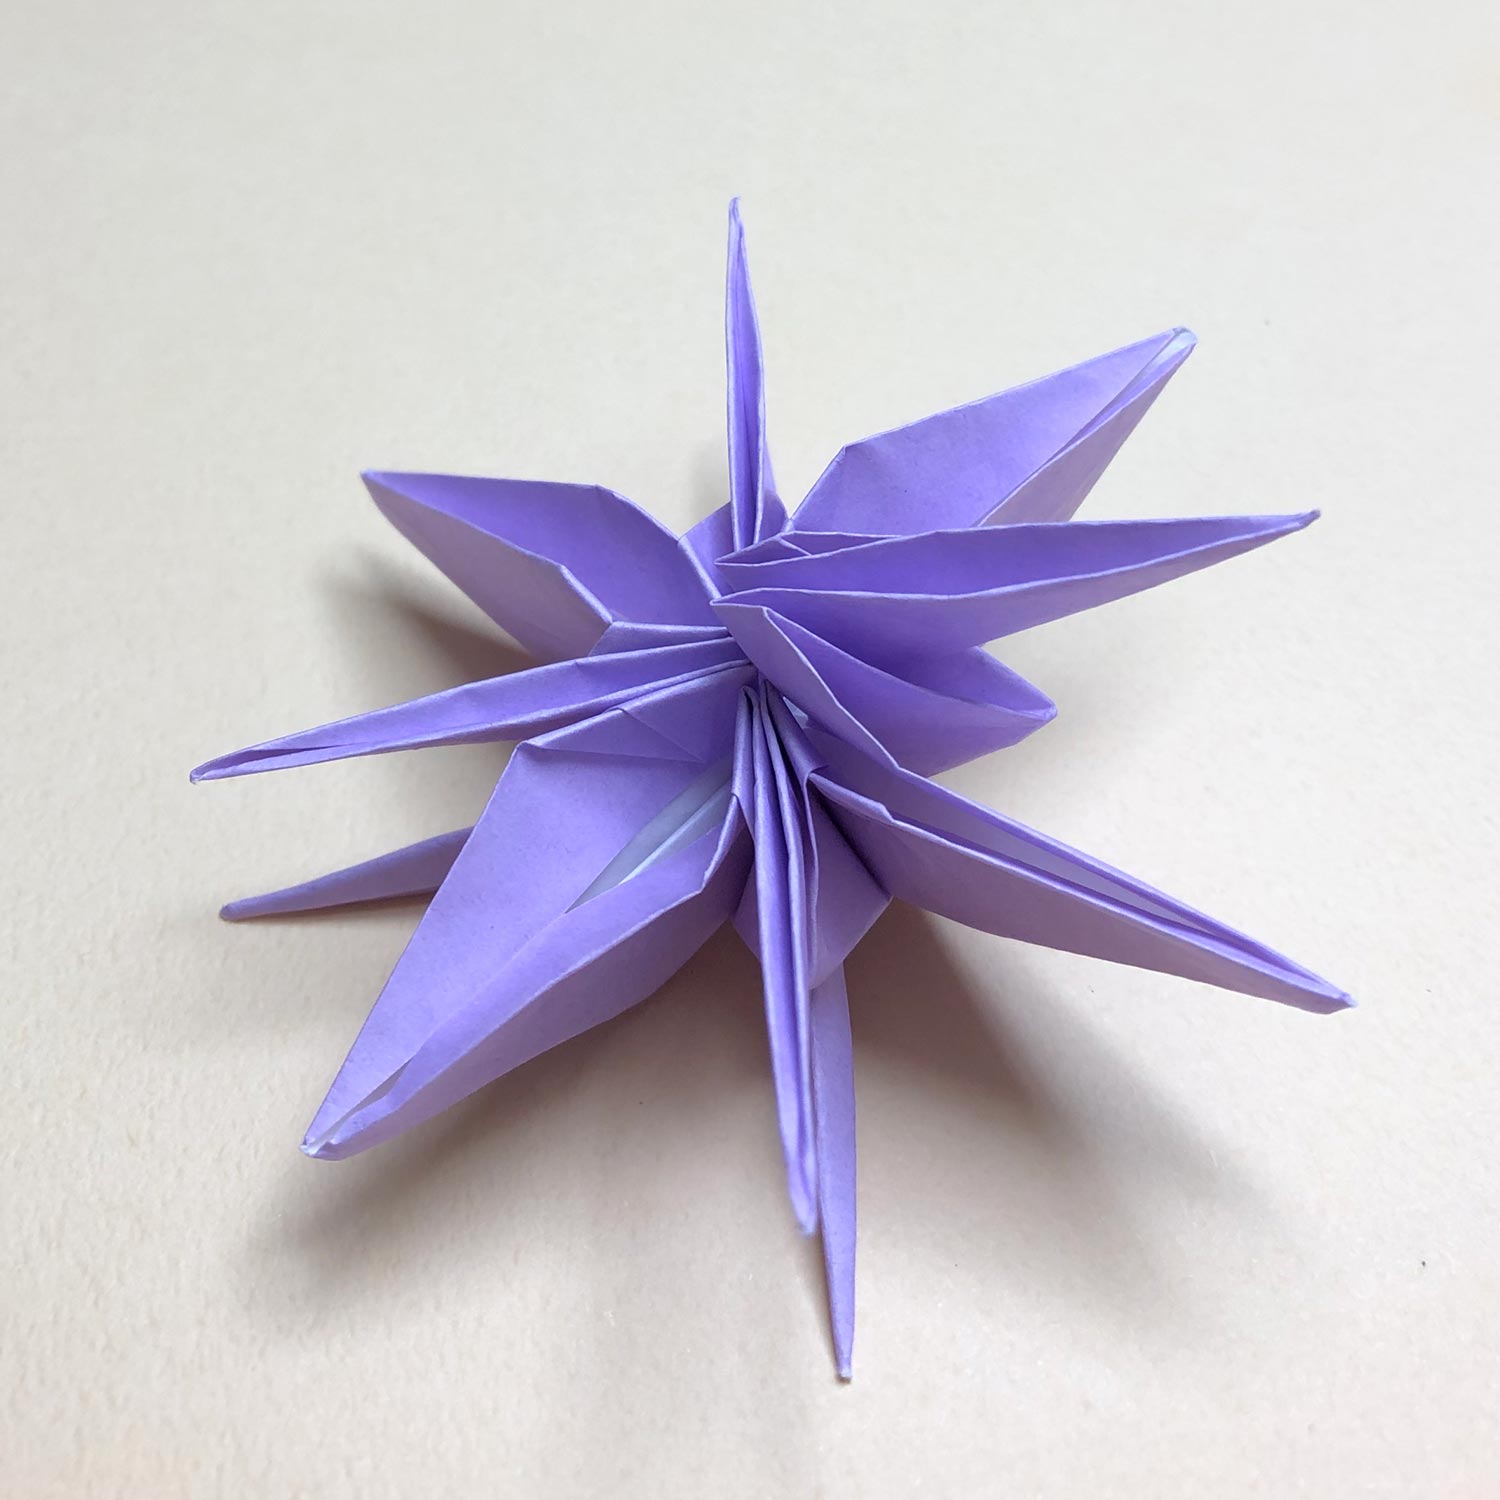
After moving them, it looks like this picture.
(59)
In this pages, I call the side which you can see a liner “the reverse side”.
(60)
Also, I call the side which you can not see a liner “the front side”.
(61)
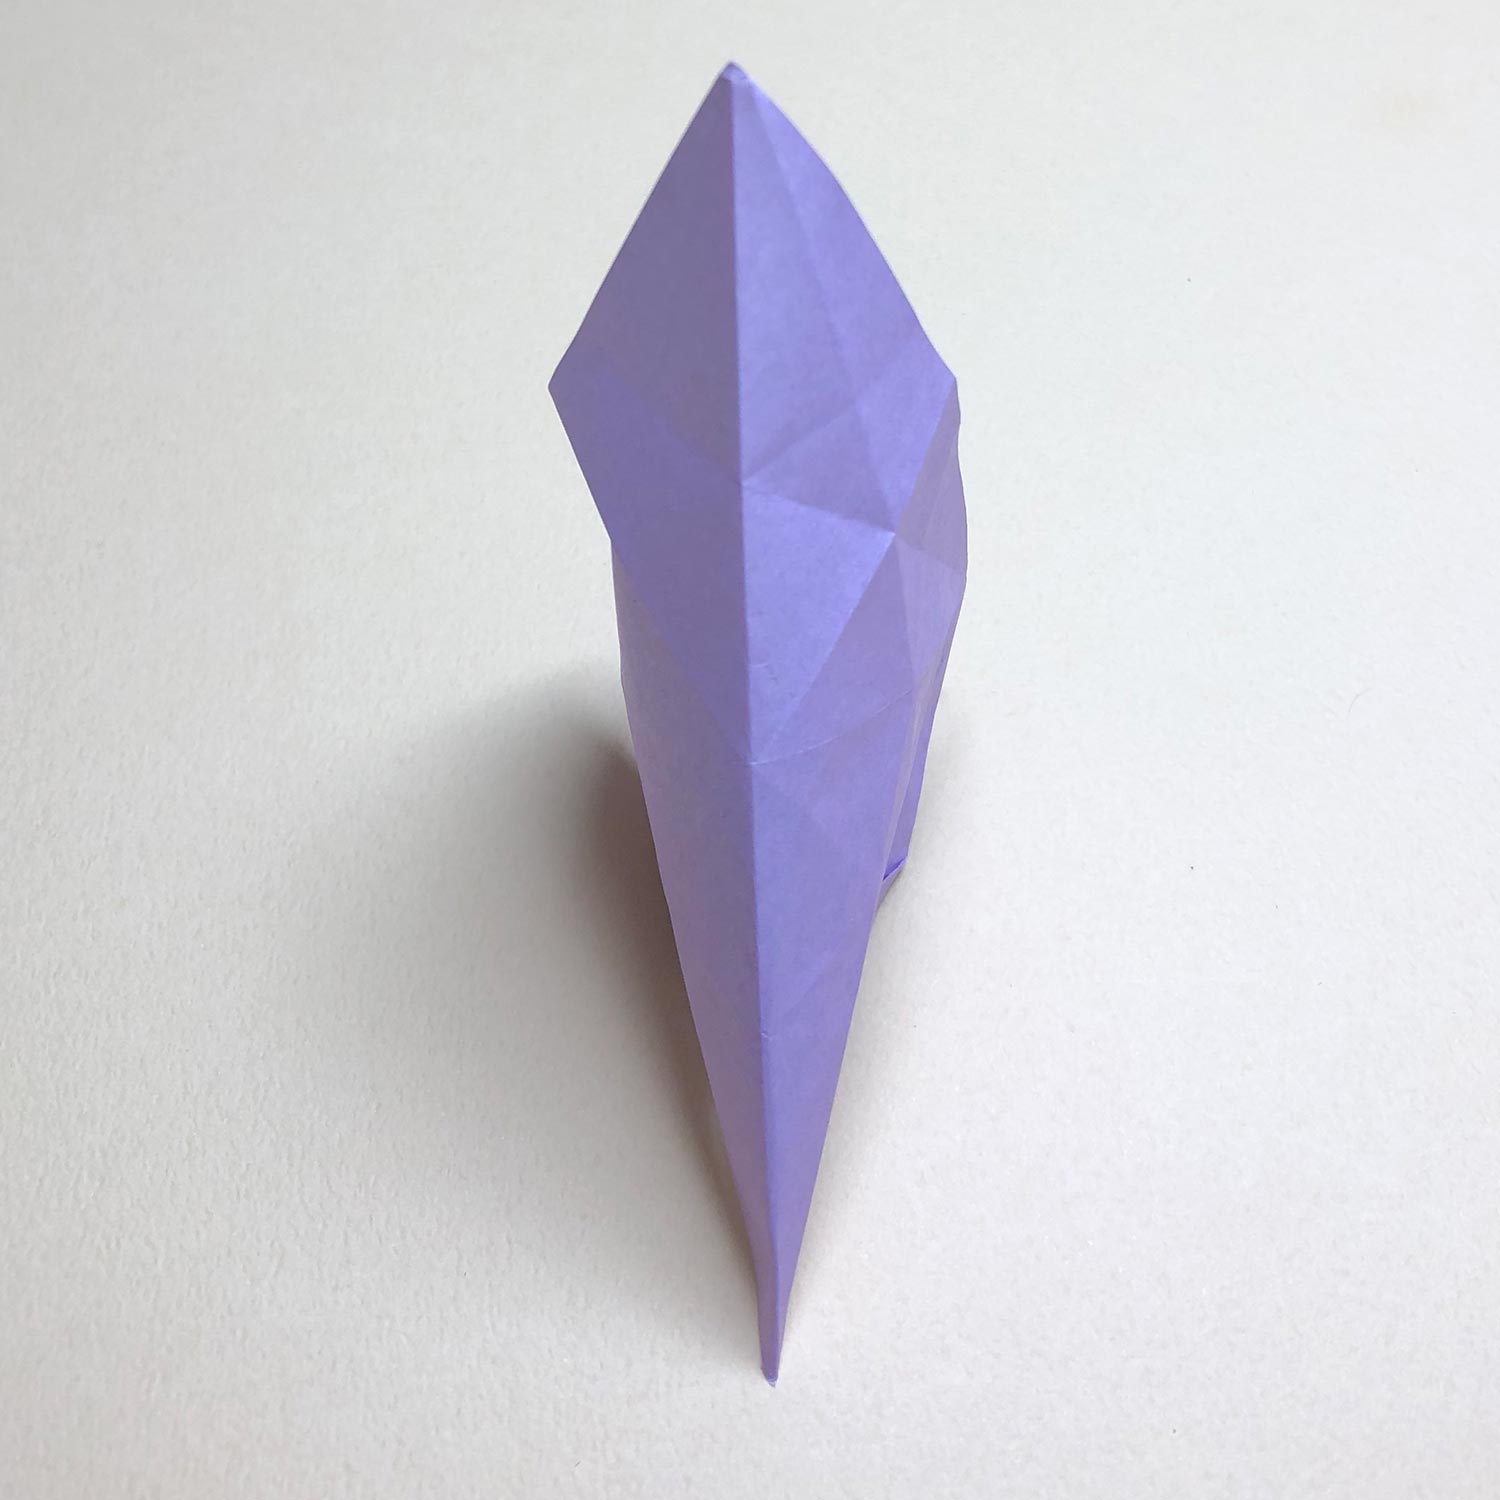
Turn the paper face down.
Raise the head/tail as it is without folding it to the center.

(62)
This picture is halfway through.
(63)
Raise the head/tail as it is like this picture.
After making creases, turn the paper over.