How to fold a crane for connected-cranes
I will introduce how to fold a paper crane for connected-cranes on this page.
The way is a little different from how to fold a basic paper crane.
Because the way is to make creases first before making a crane.
By making creases first, it will get easier to make a crane.
Therefore, when making Renzuru, it will get easier to make cranes as well.
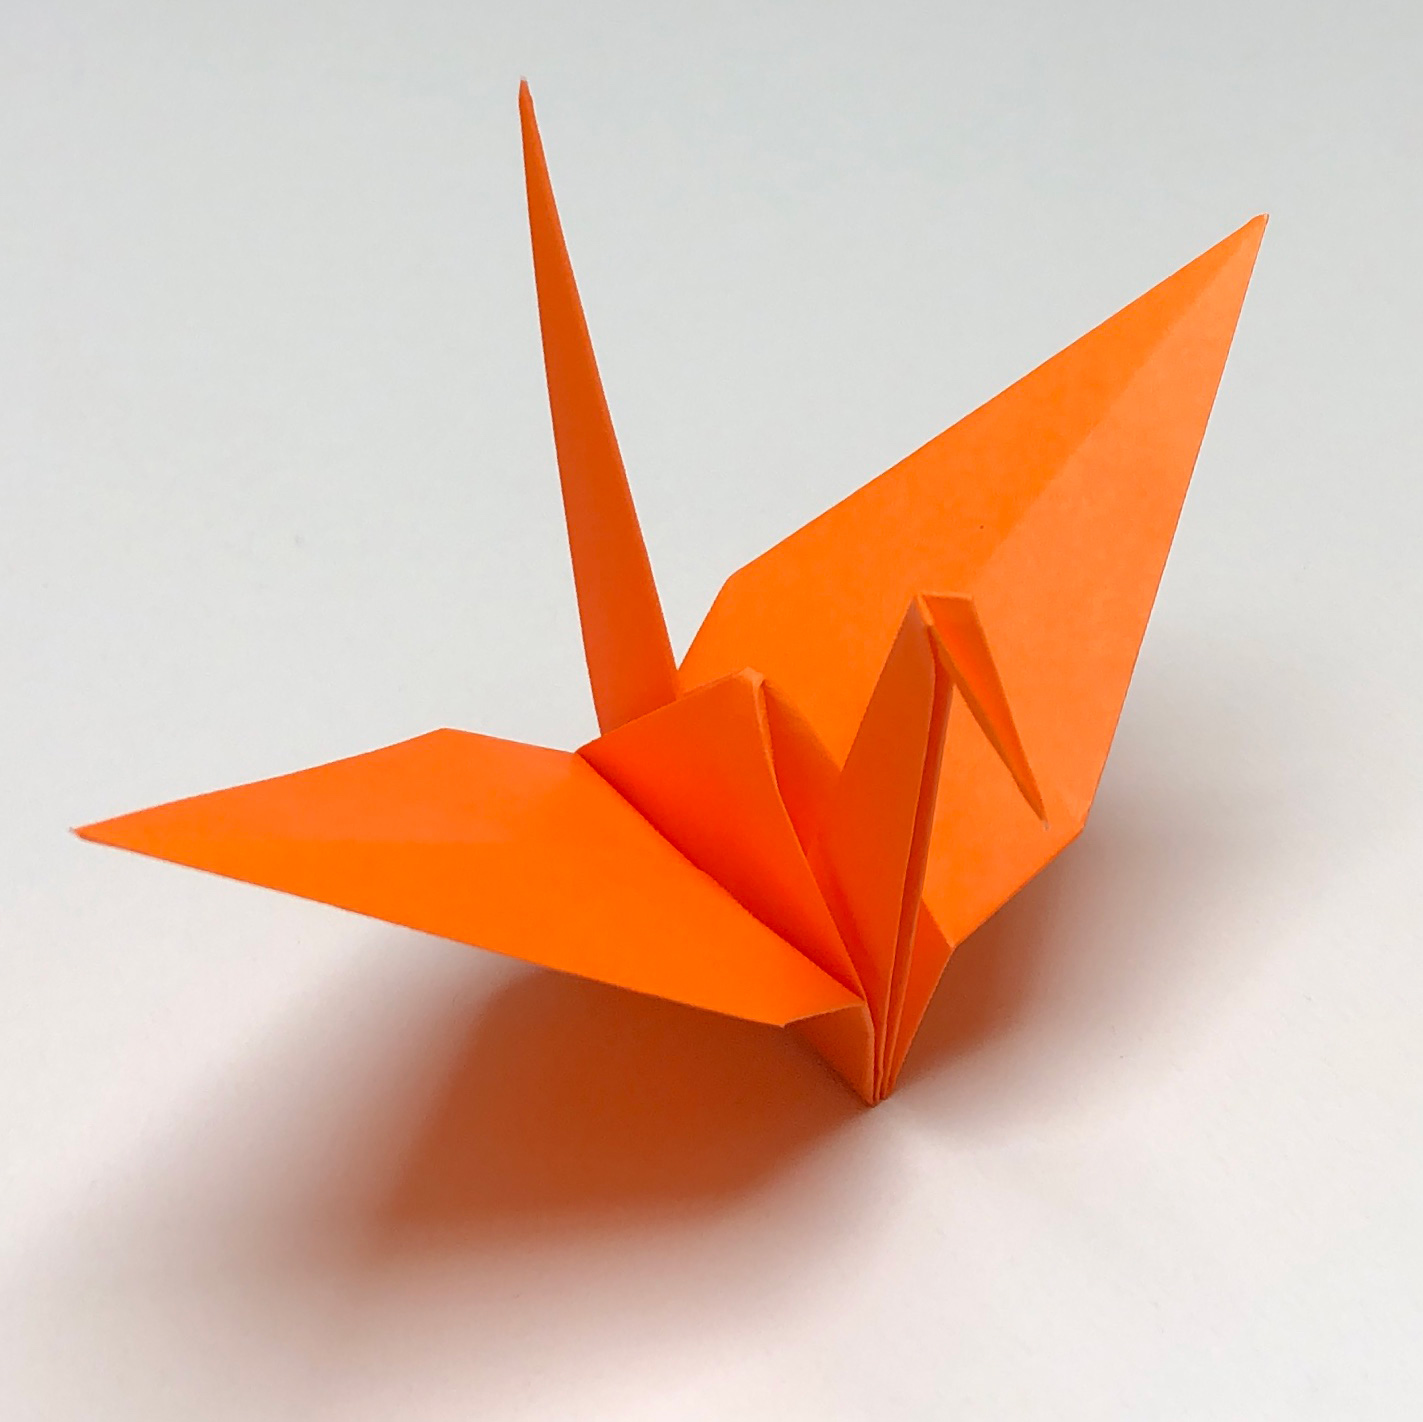
Completed crane
Make creases first
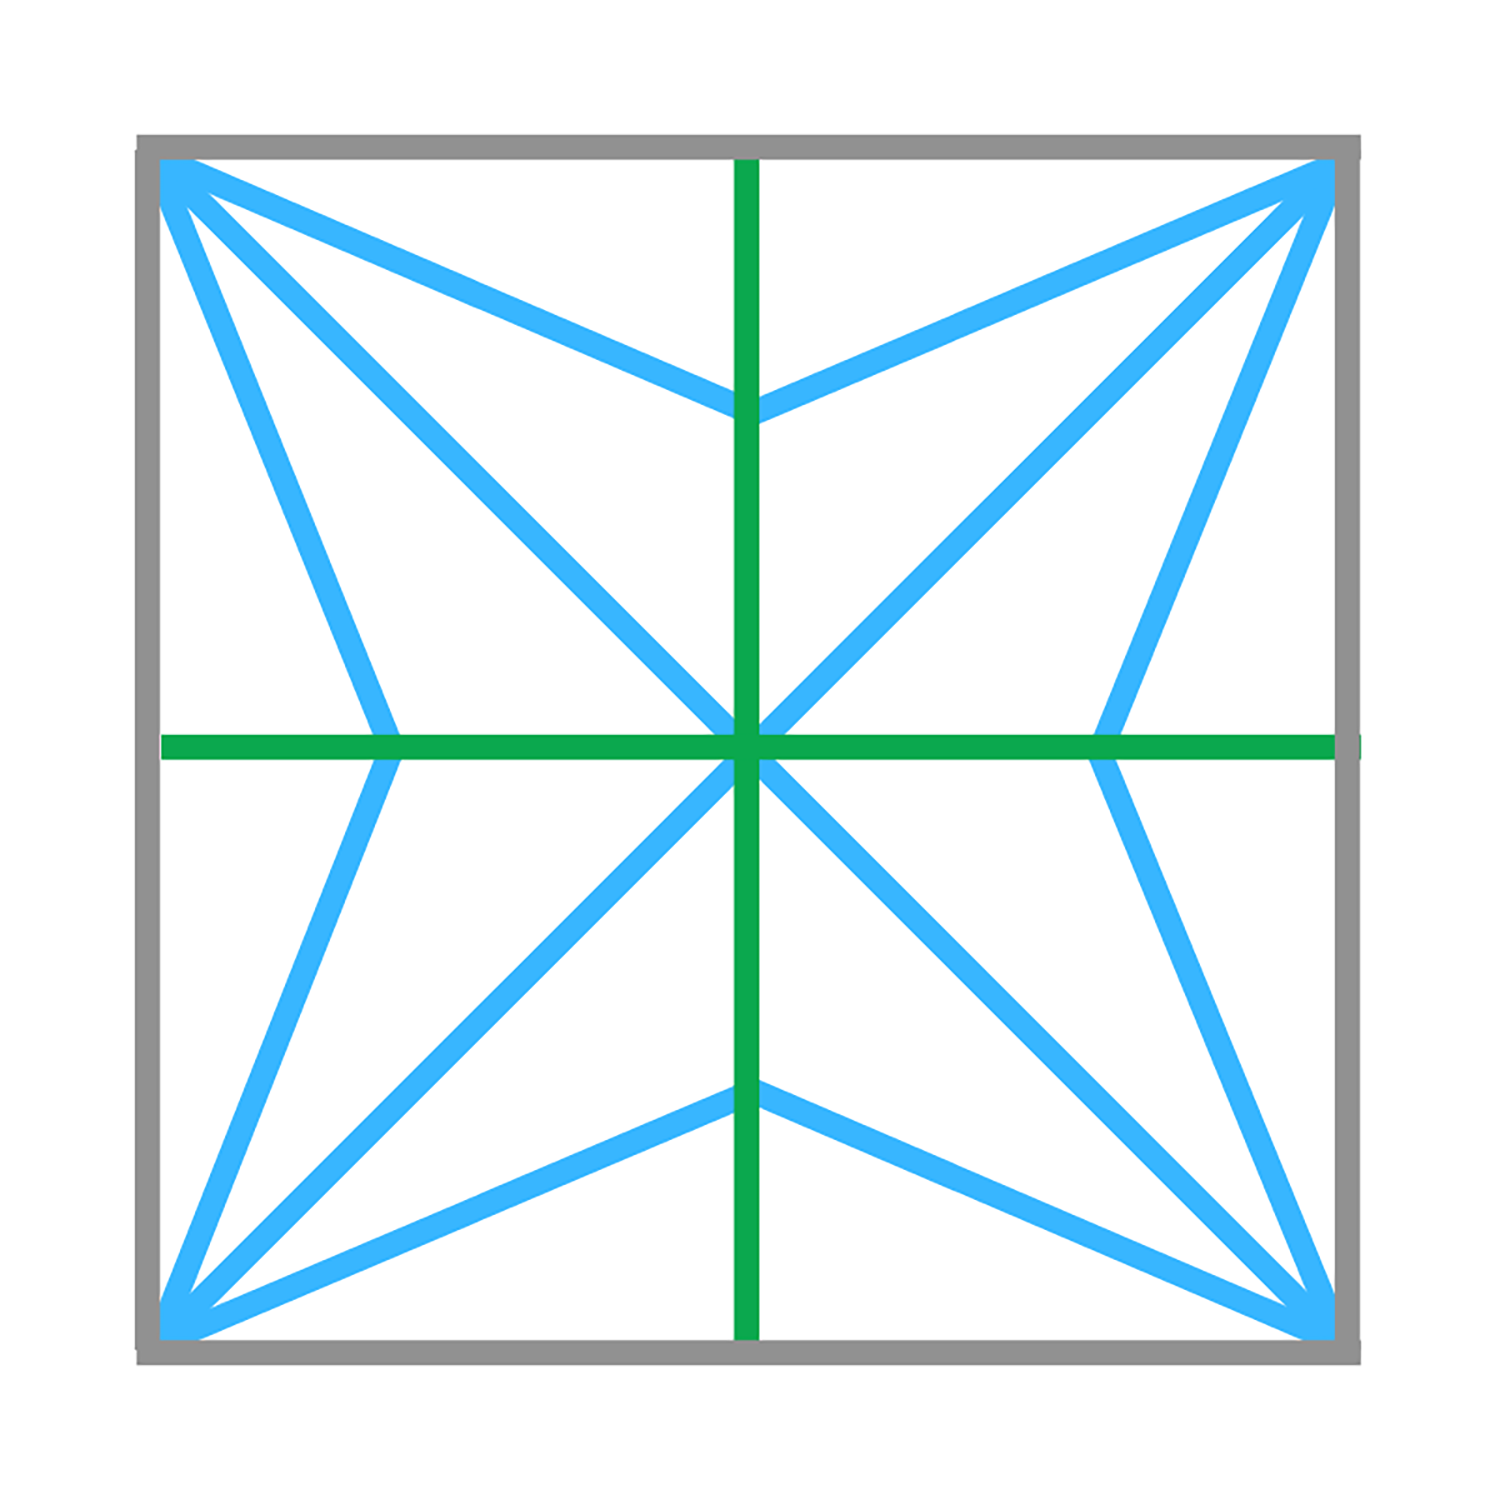
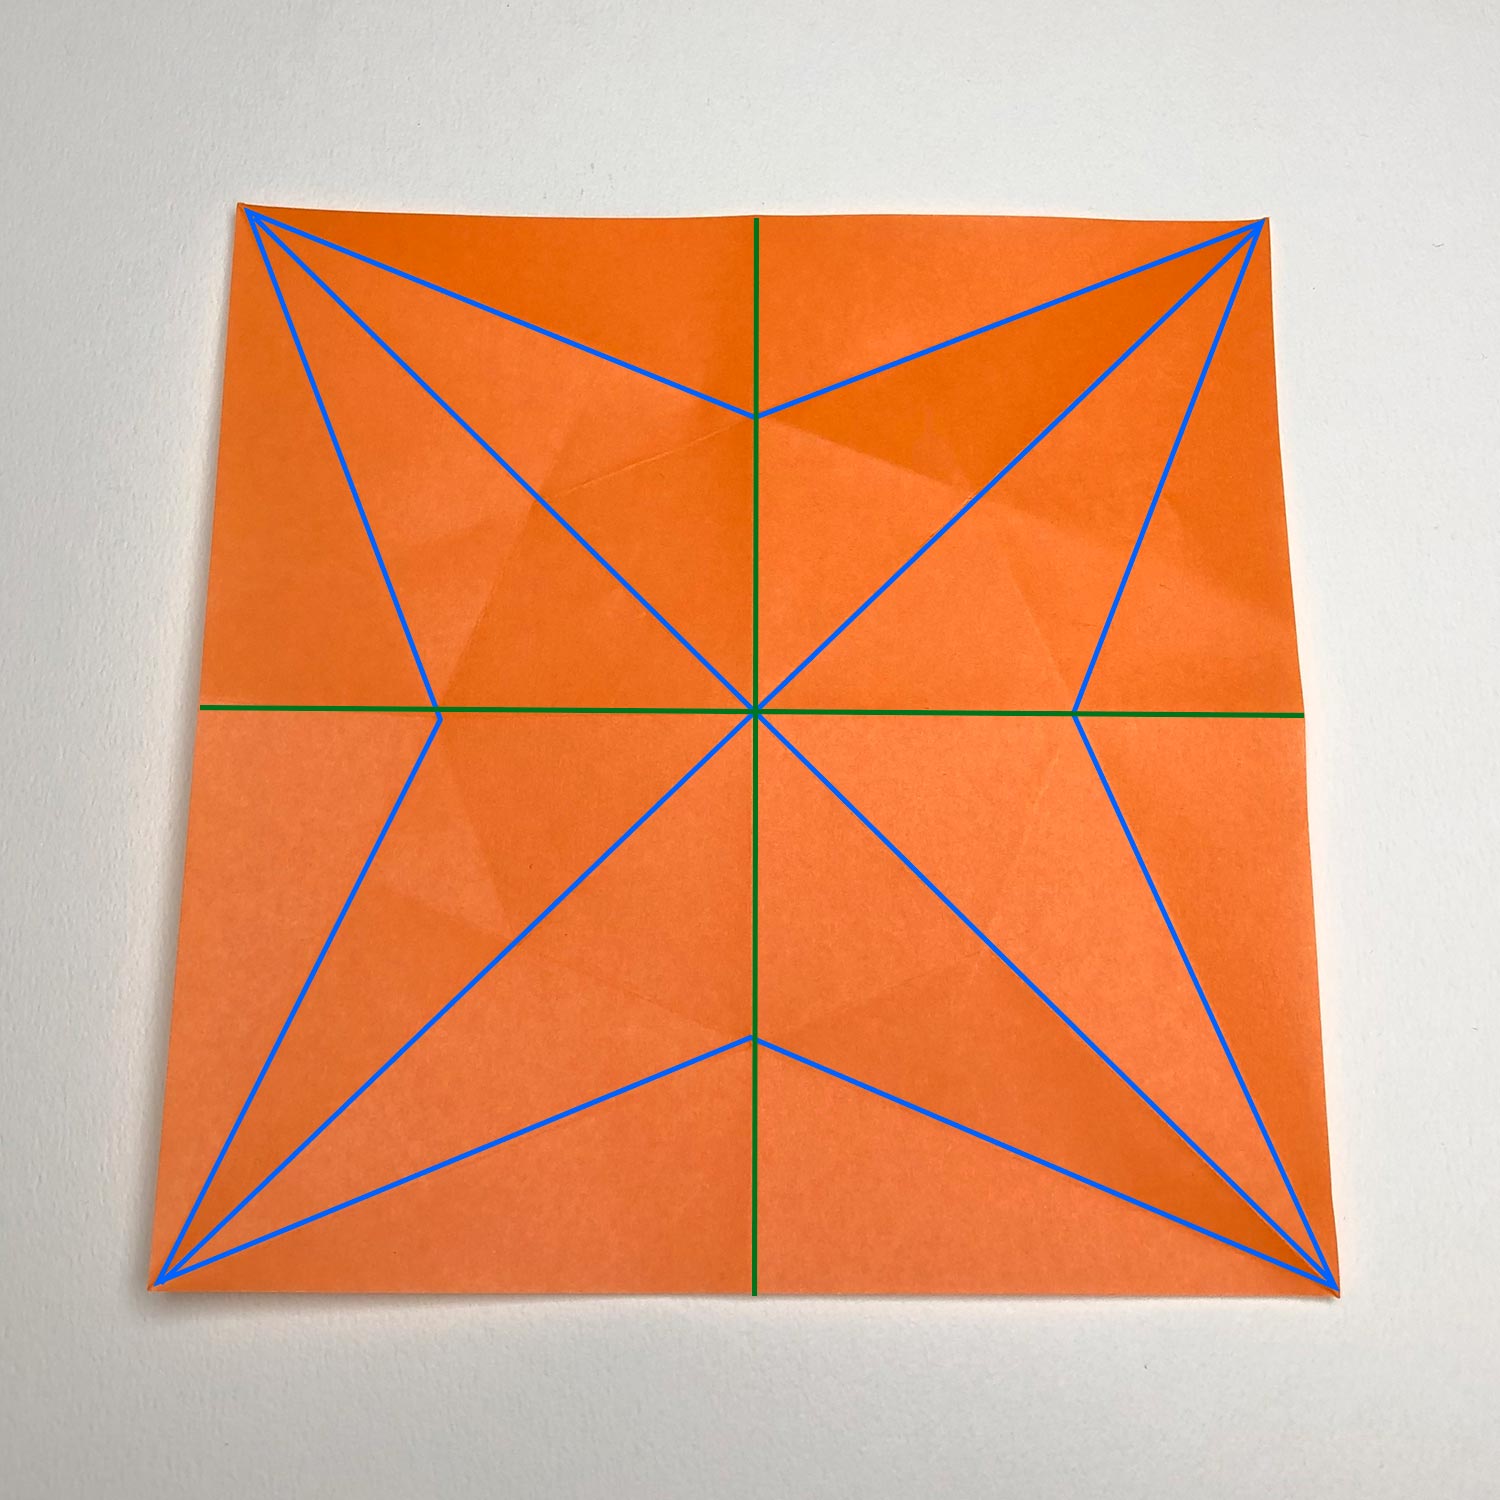
This steps are making creases at the green lines and the blue lines in this picture.
On this site, the creases is called “the basic creases”.
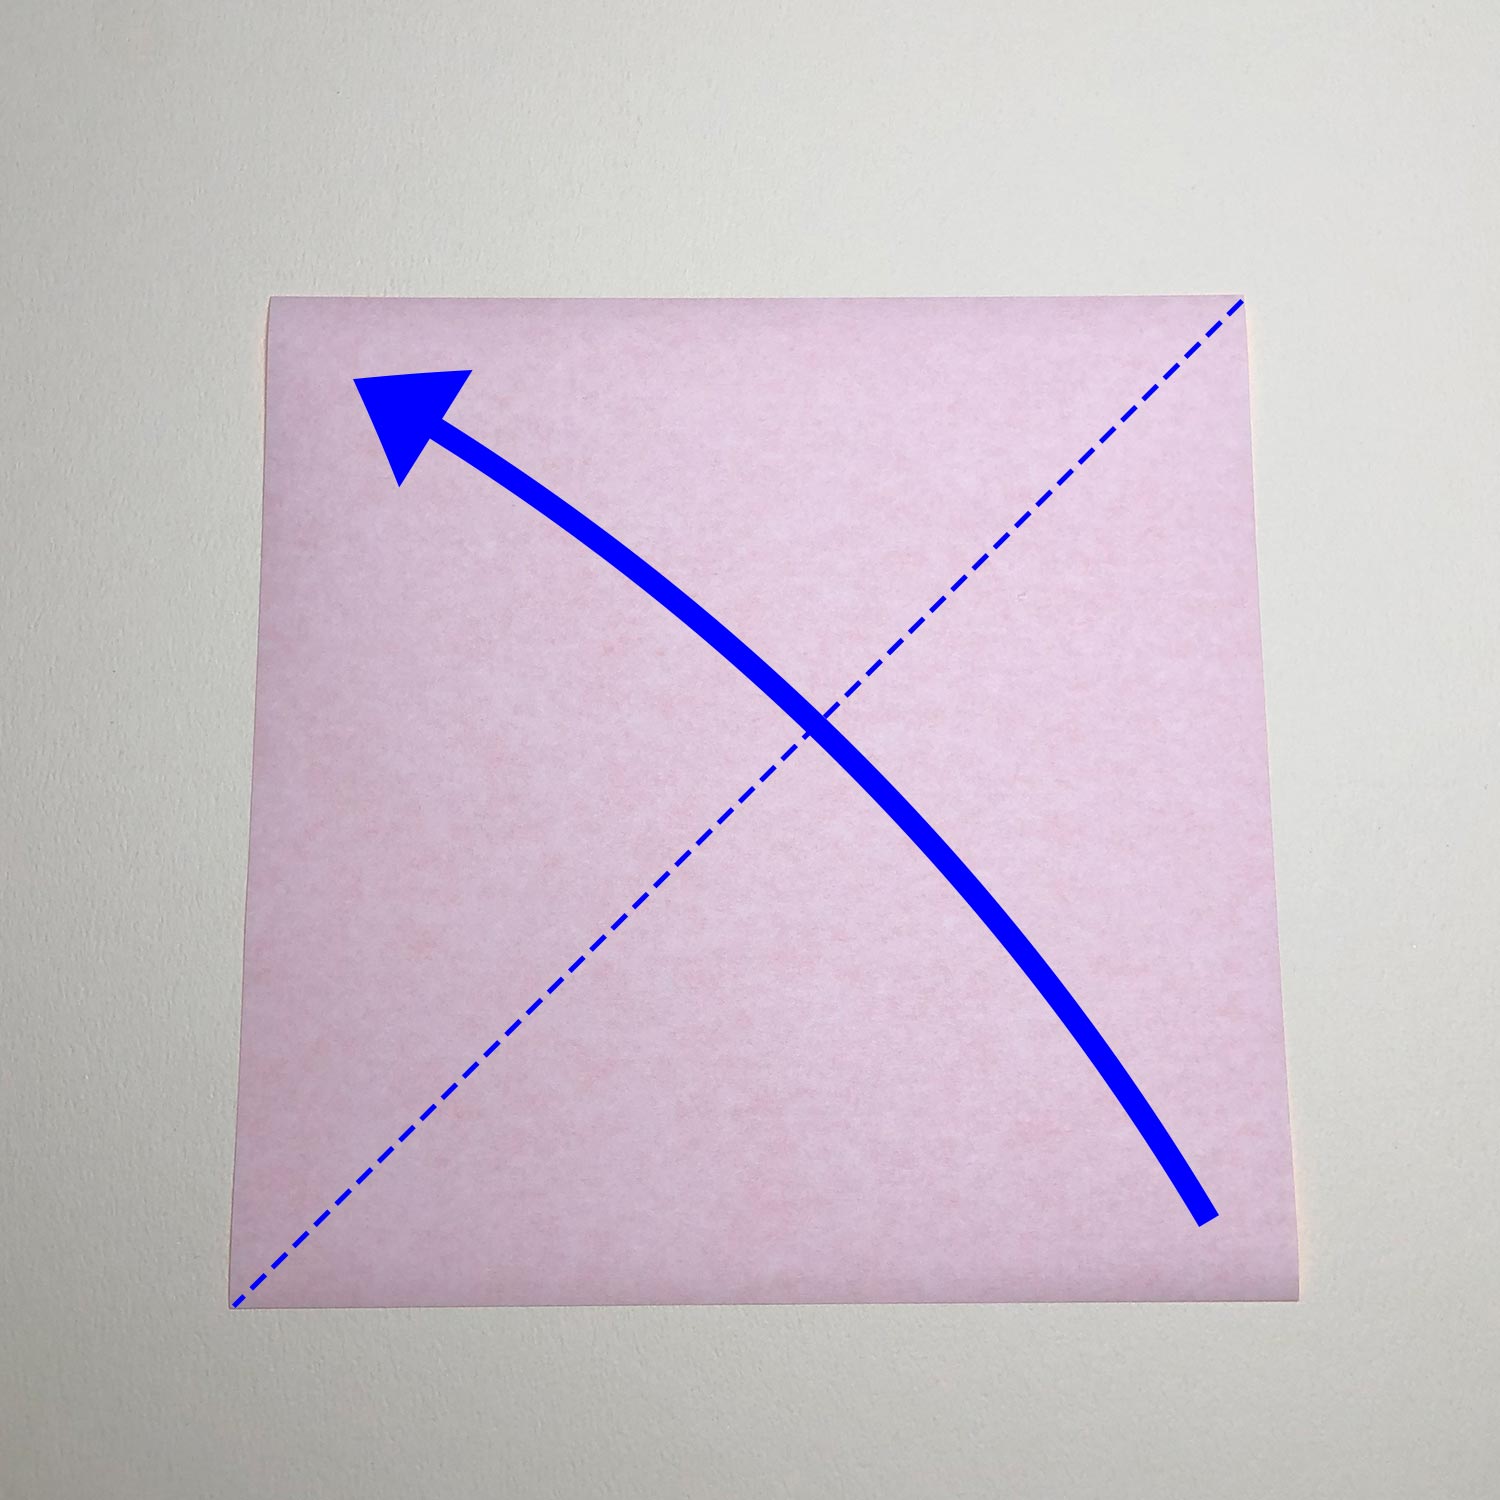
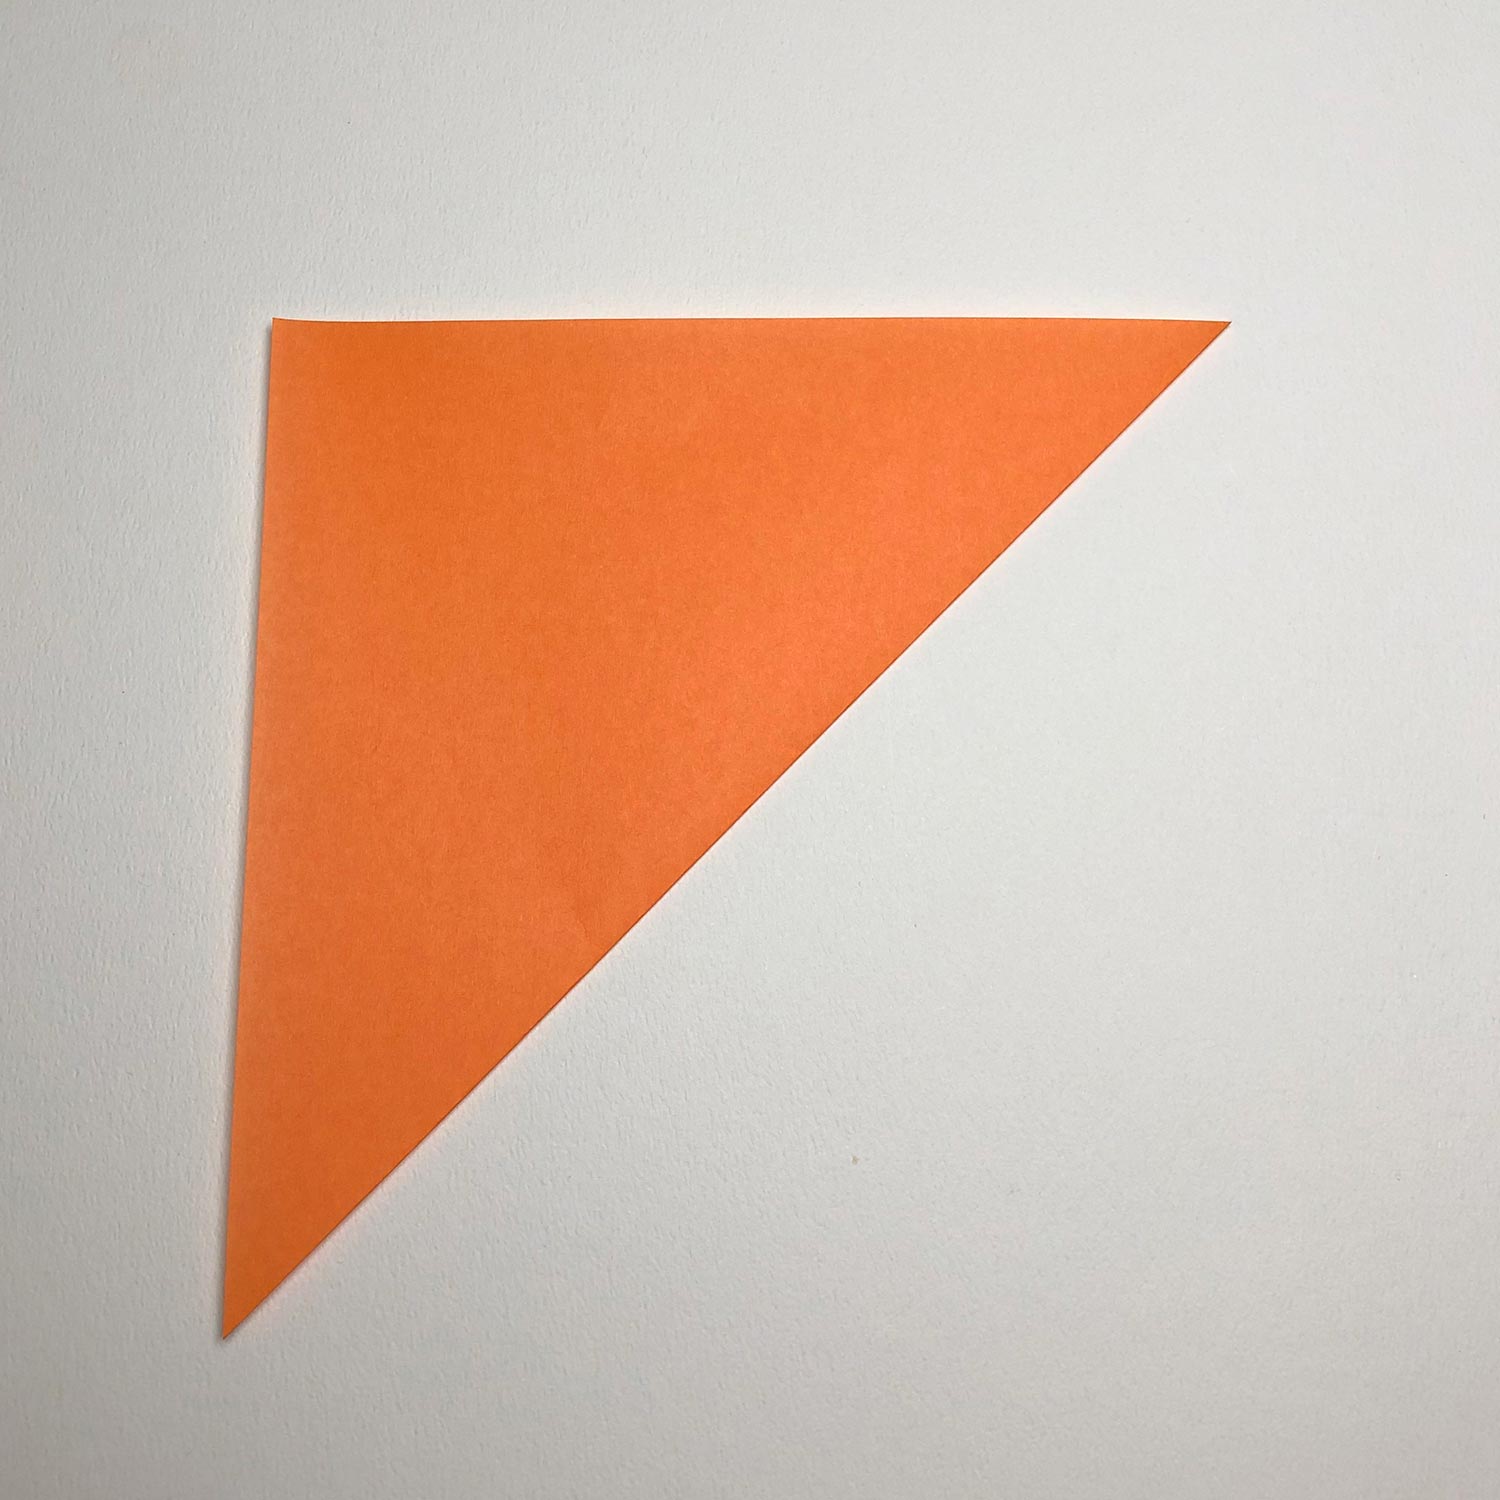
(1)
Fold the paper in half diagonally.
(2)
Fold the paper like this picture.

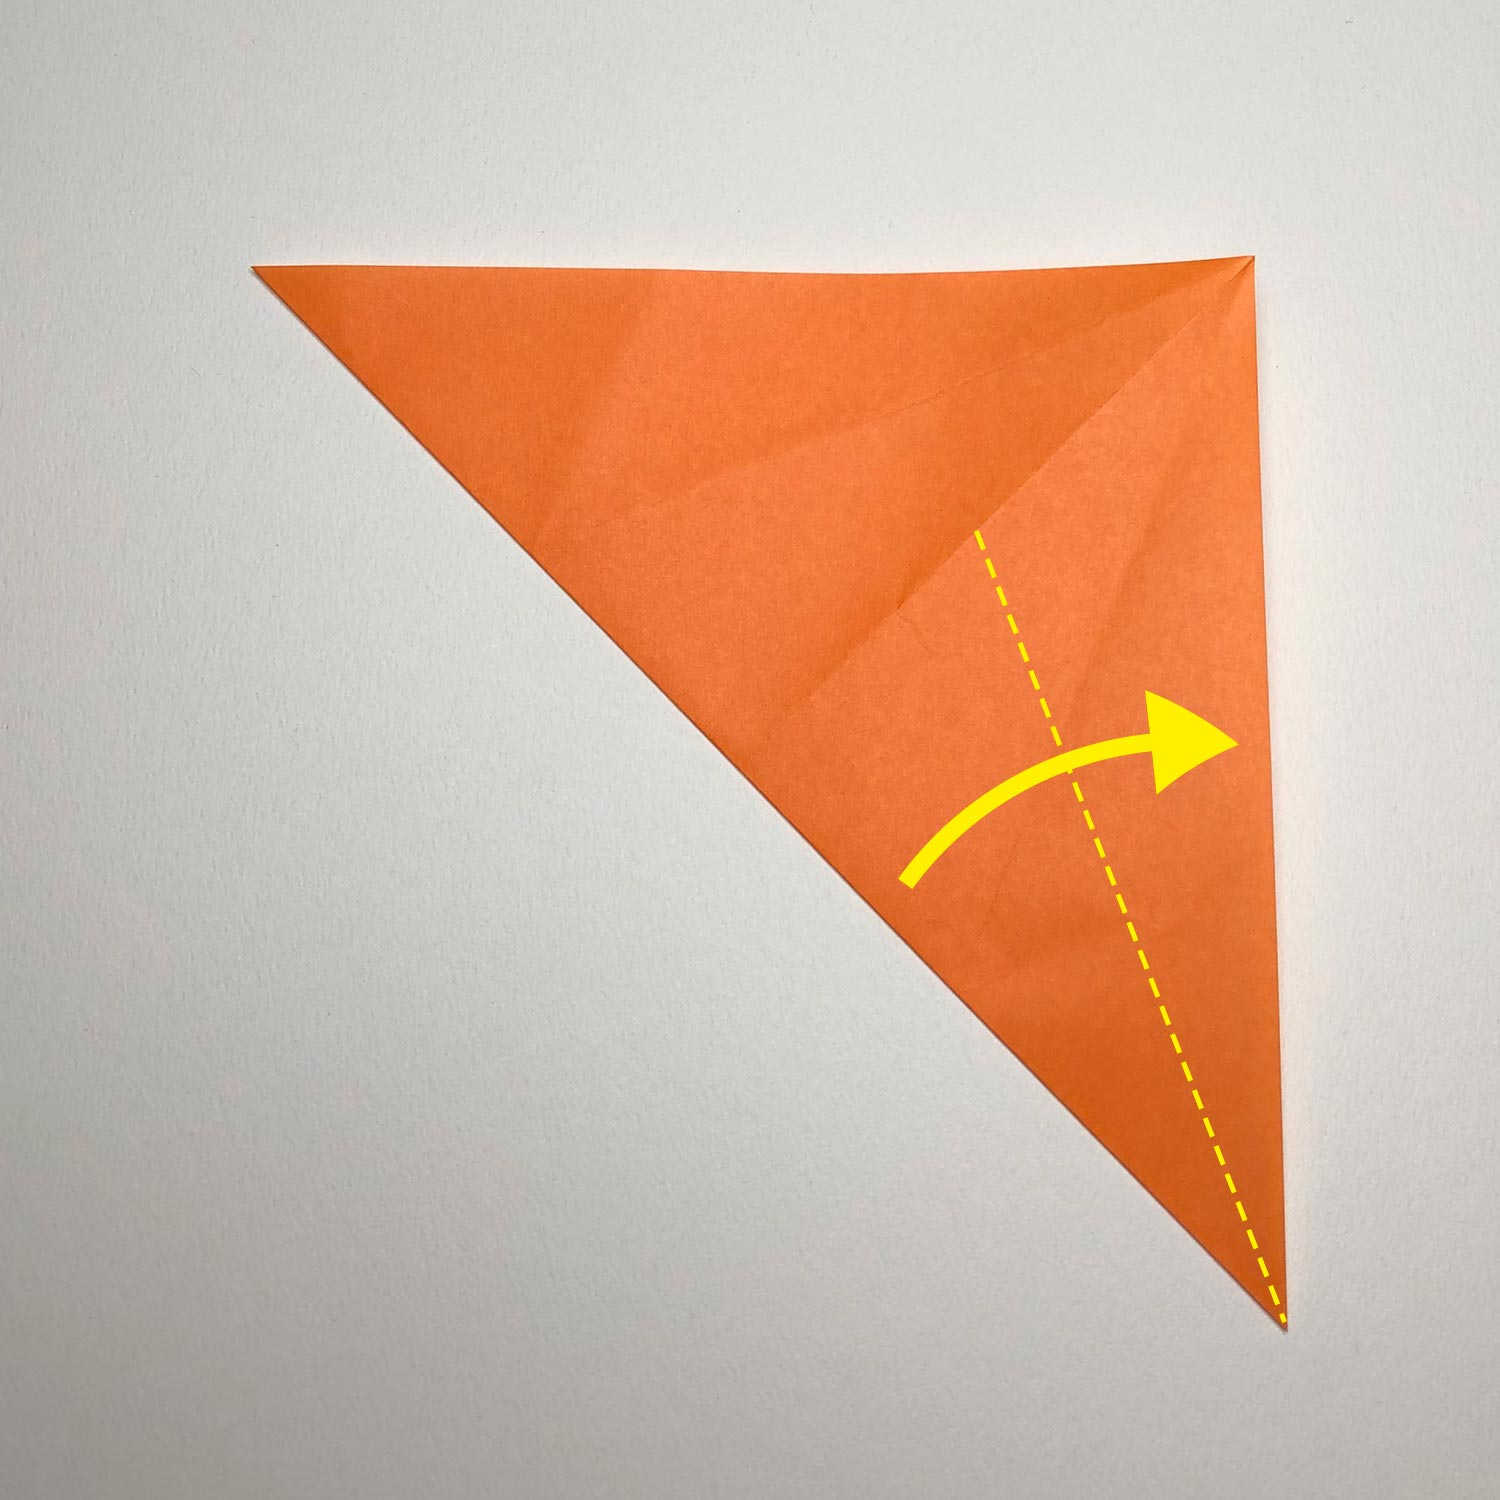
(3)
Fold the right edge to the left edge to make a crease at the dotted line.
(4)
Fold the paper like this picture.
After making a crease, unfold it.

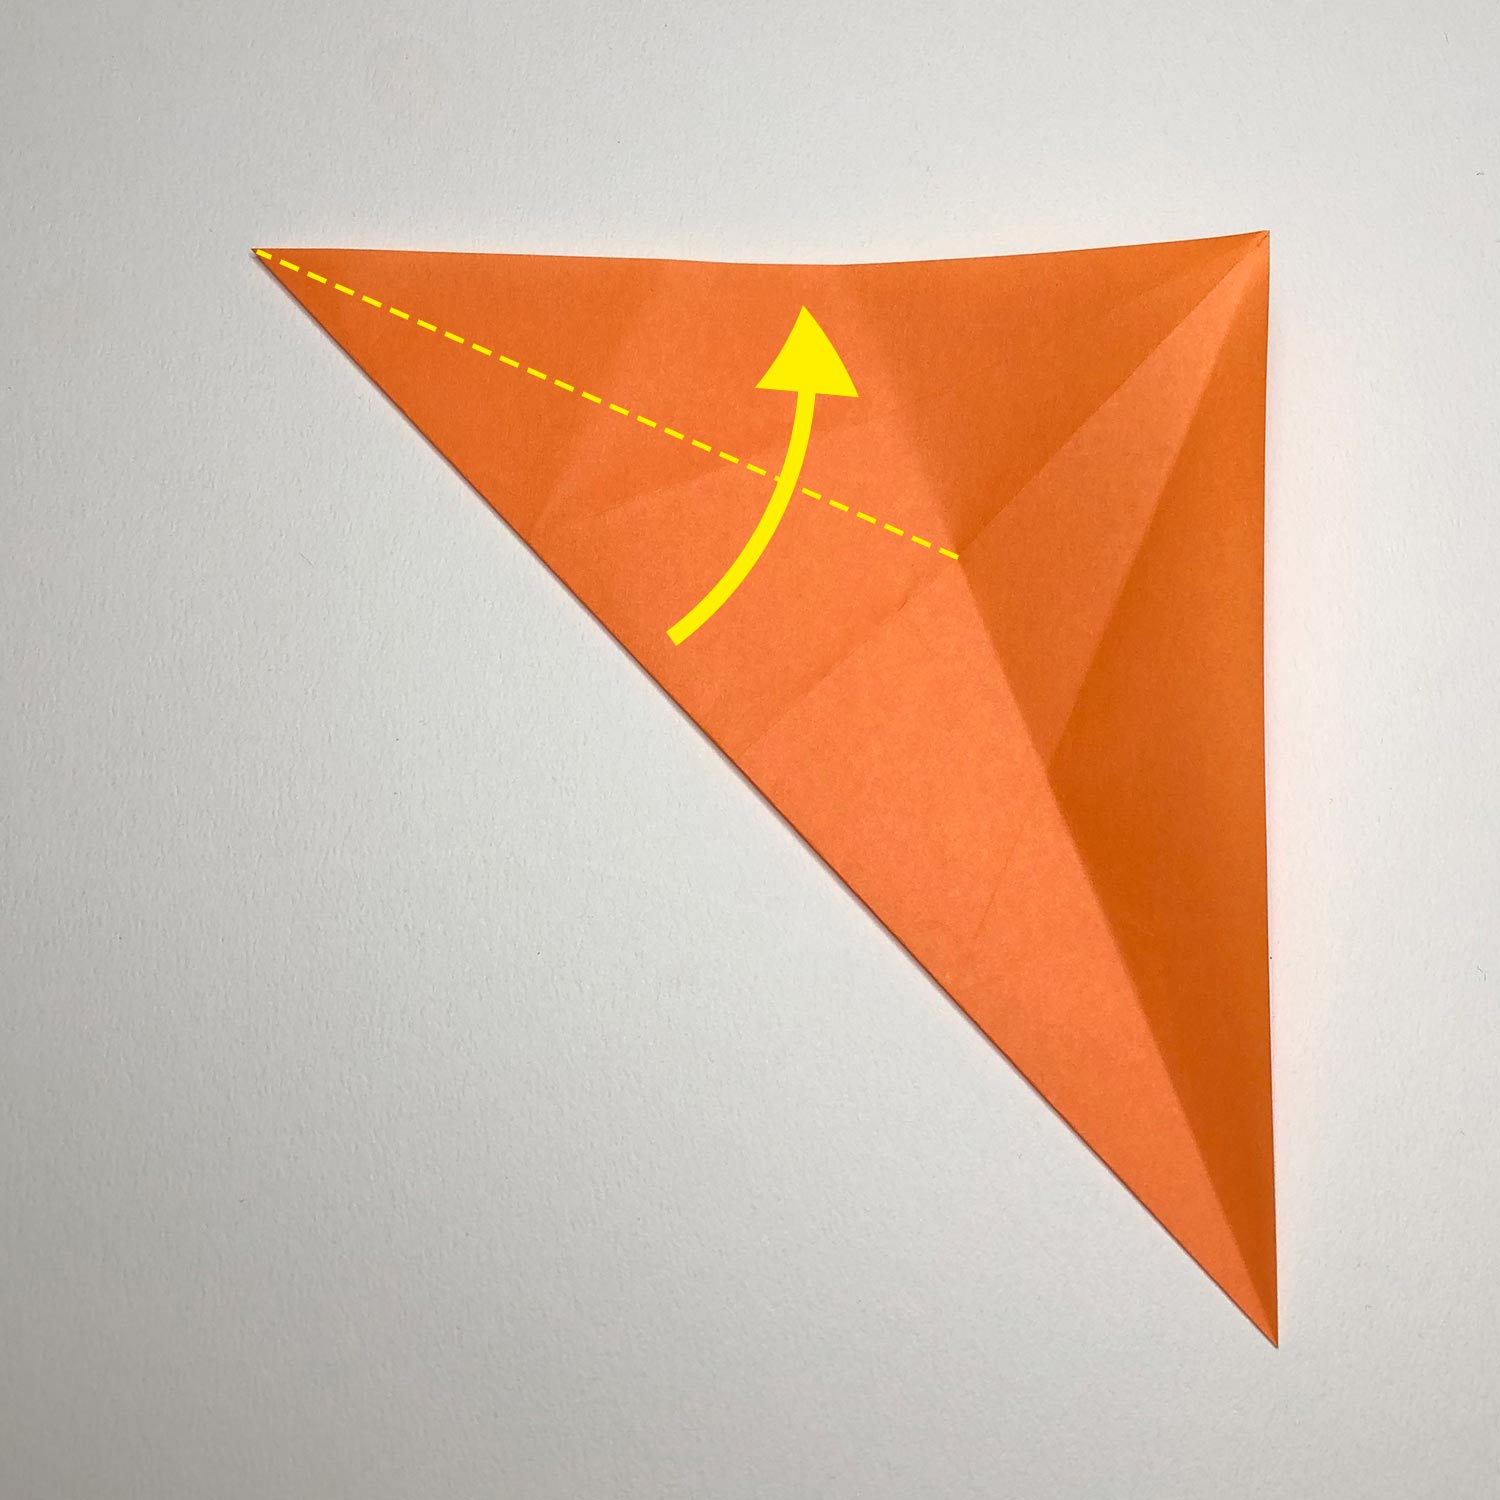
(5)
Fold the right edge to the top edge to make a crease at the dotted line.
(6)
Fold the paper like this picture.
After making a crease, unfold it.
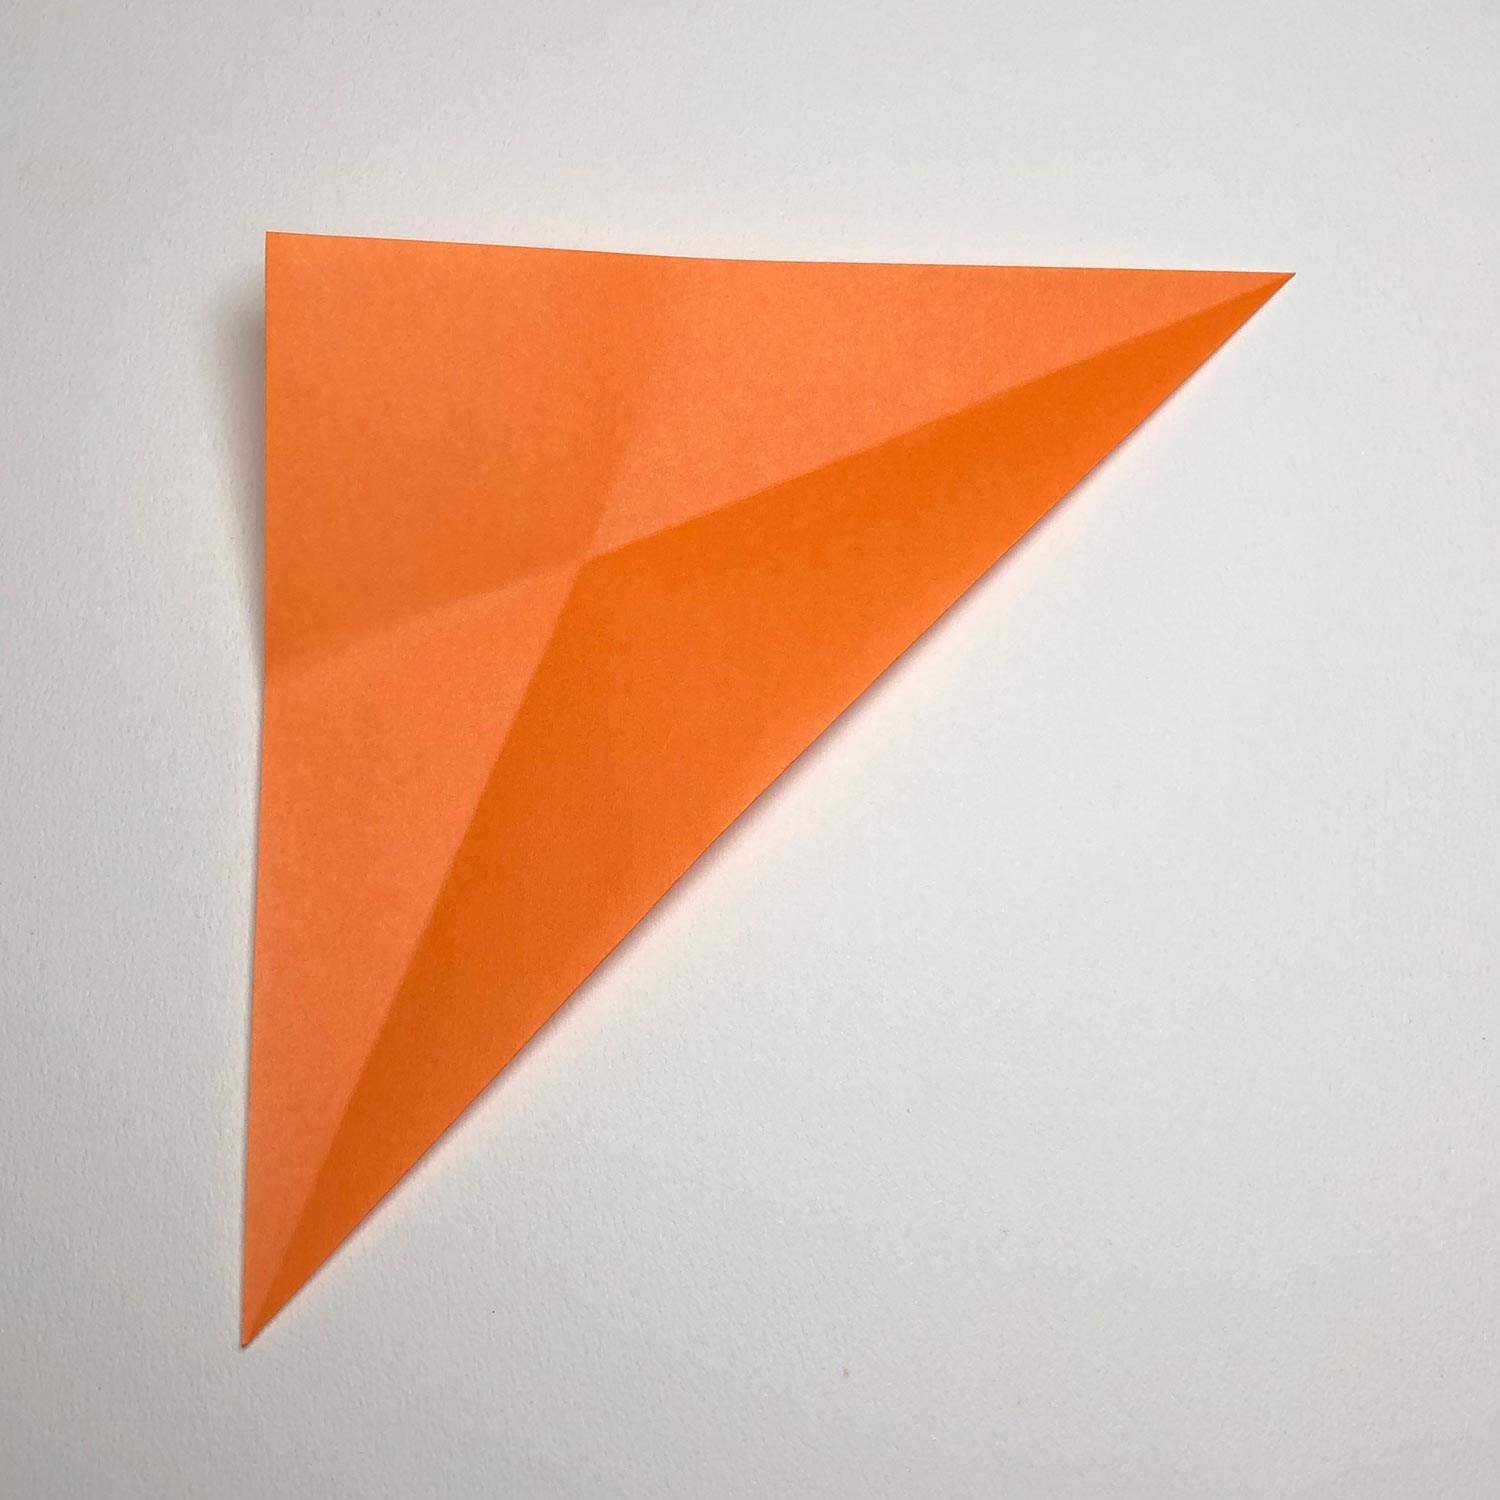
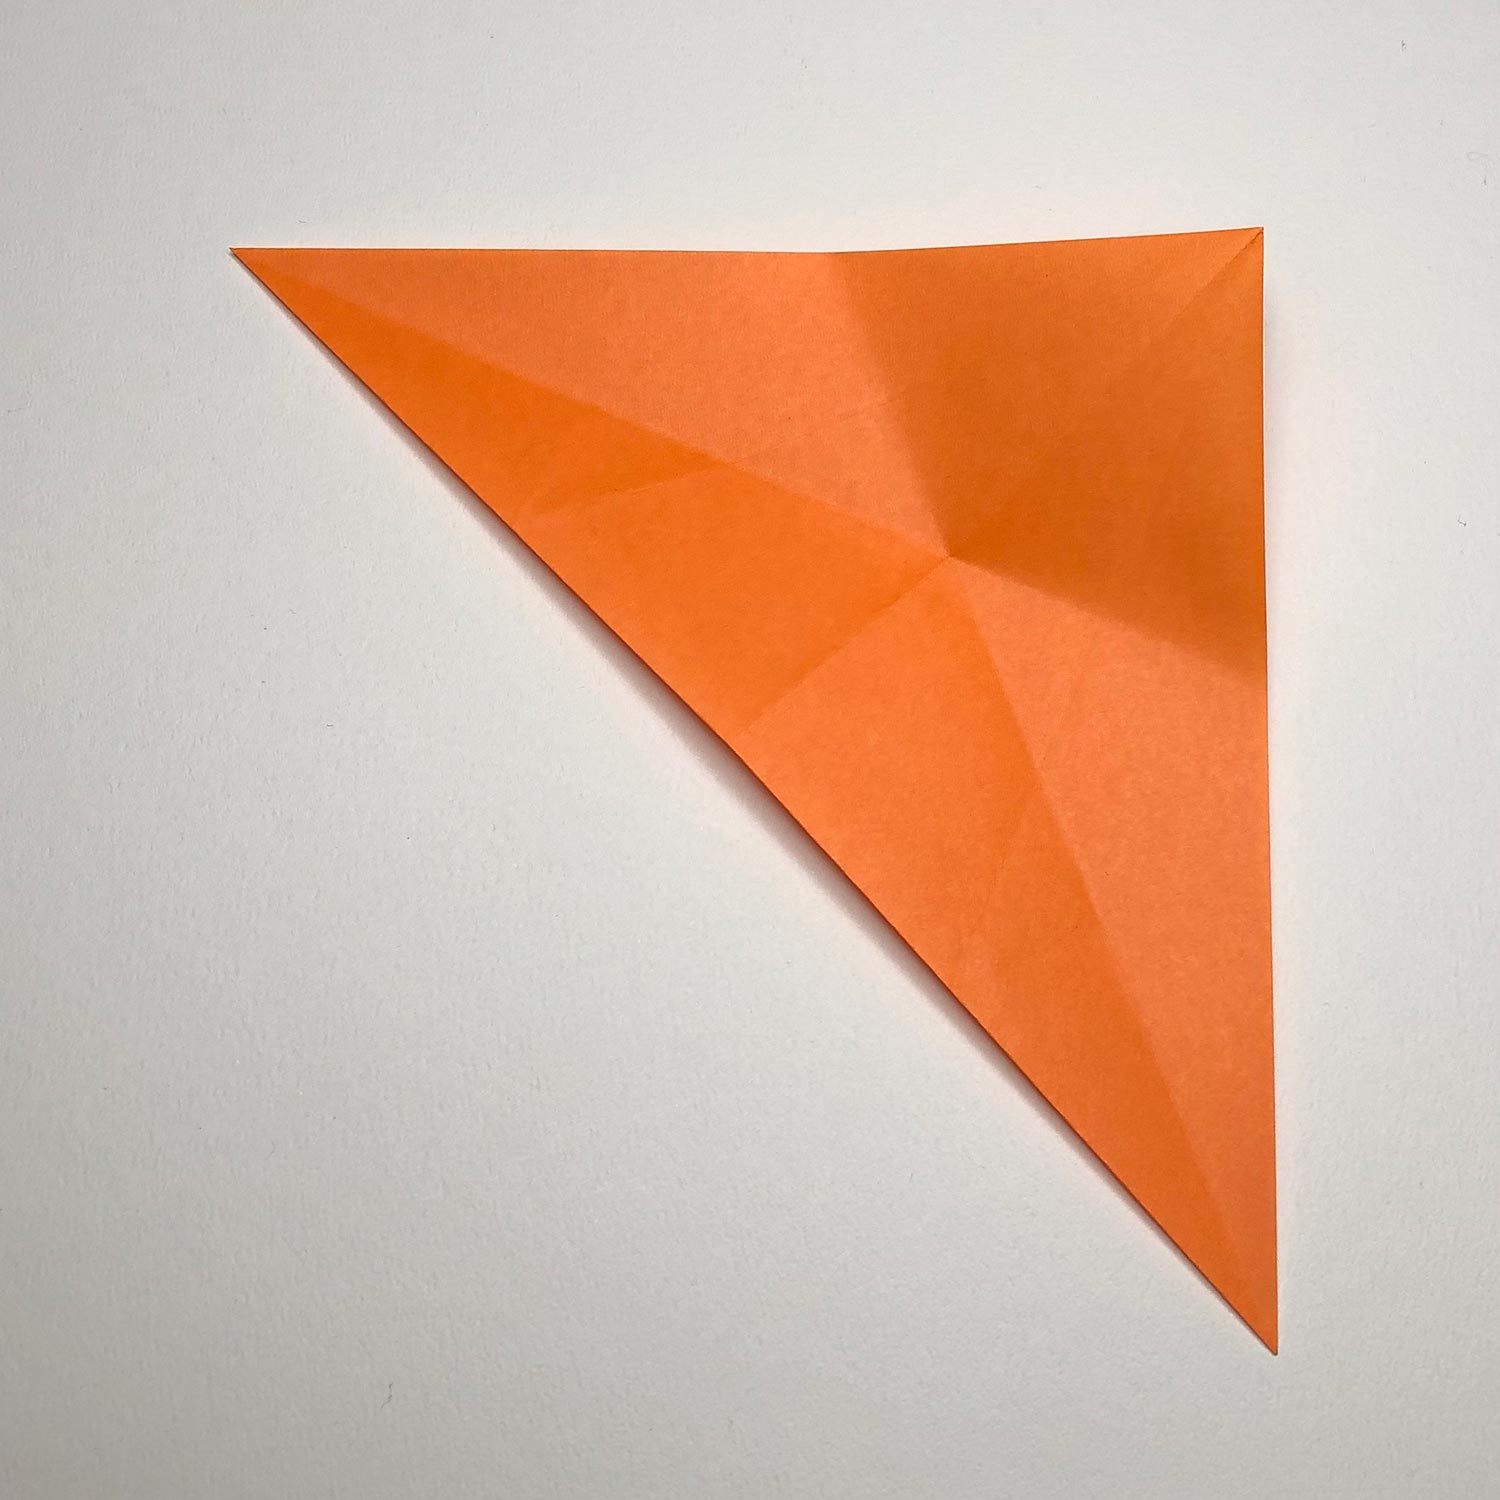
(7)
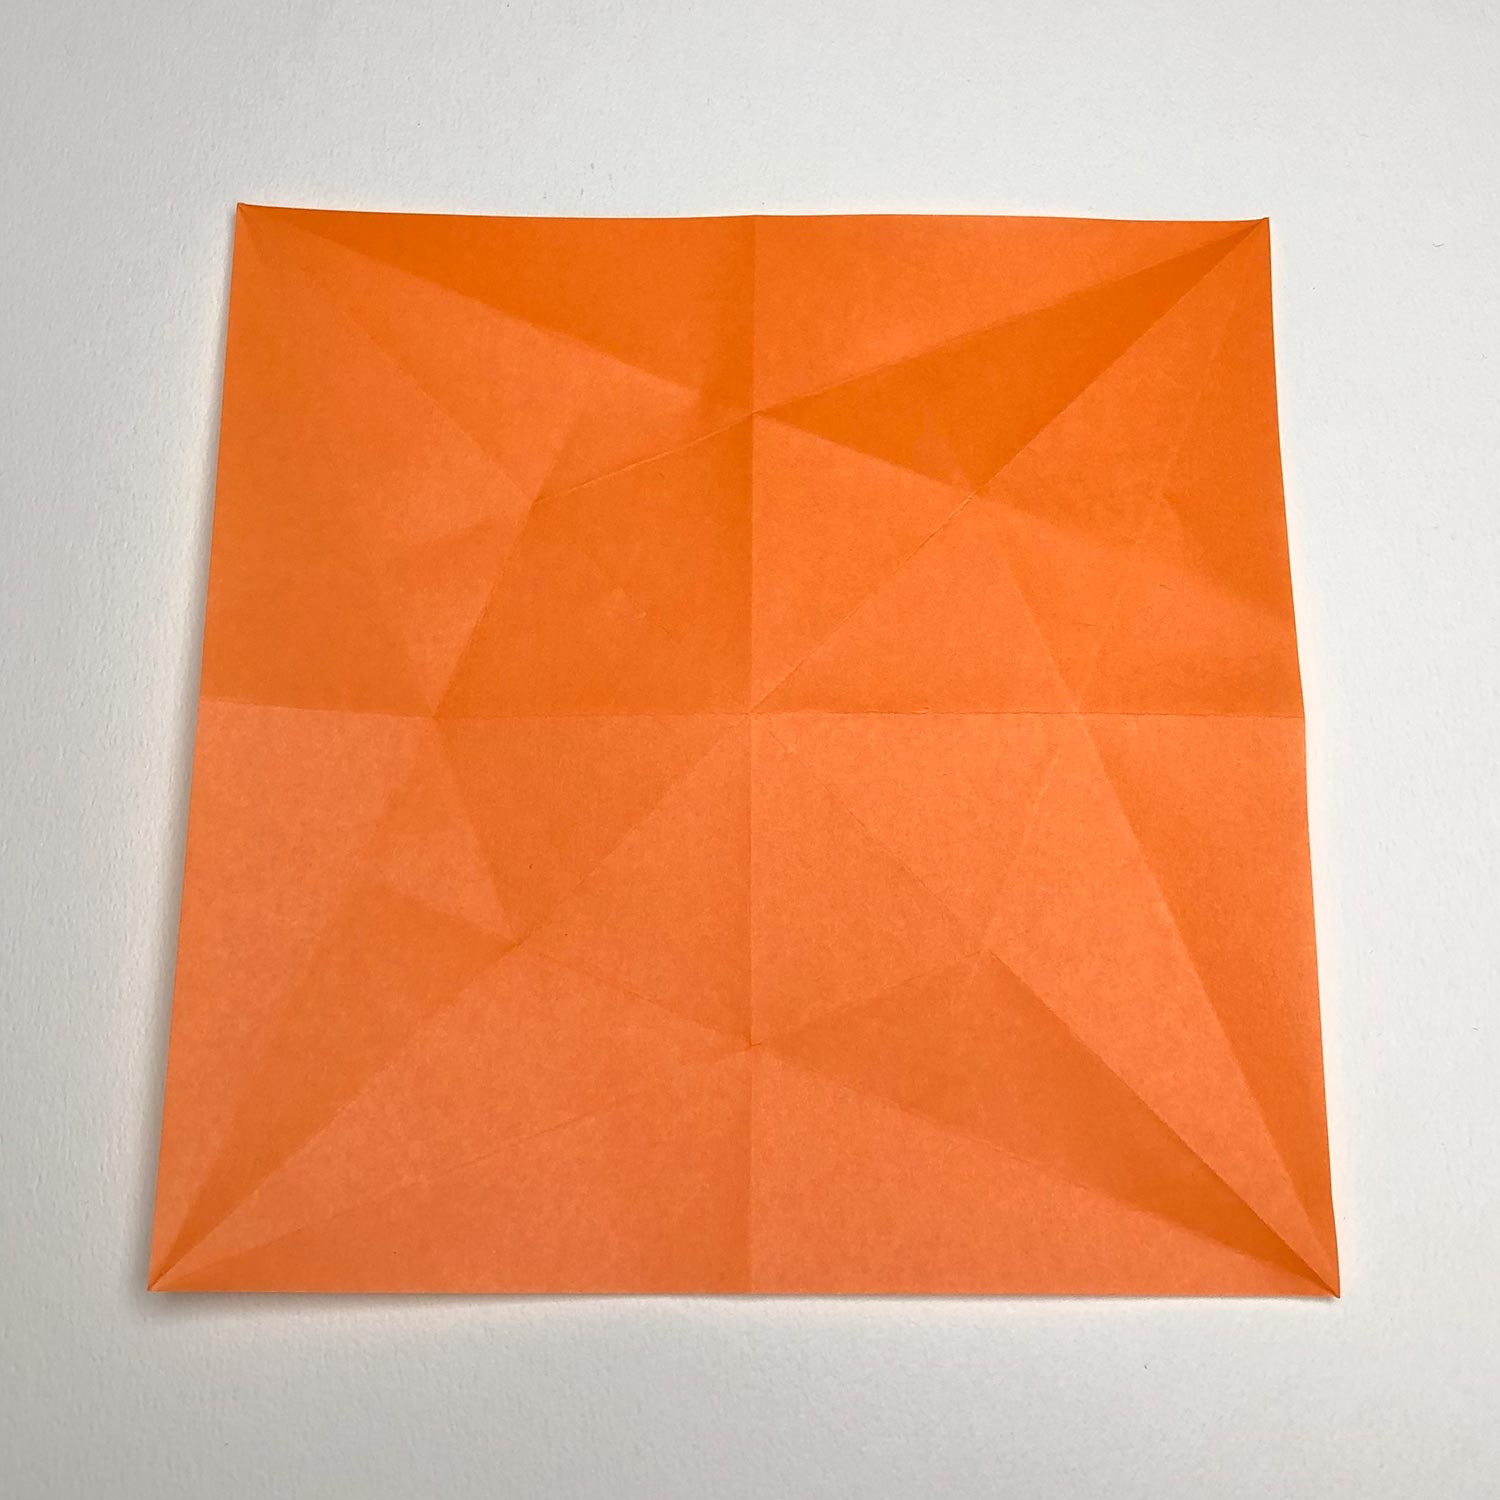
After making creases, it looks like this picture.
Then unfold the paper.

(8)
Fold the paper in half diagonally.
(9)
Fold the left edge to the right edge to make a crease at the dotted line.

(10)
Fold the paper like this picture.
After making a crease, unfold it.
(11)
Fold the left edge to the top edge to make a crease at the dotted line.
(12)
Fold the paper like this picture.
After making a crease, unfold it.
(13)
After making creases, it looks like this picture.
Then unfold the paper.
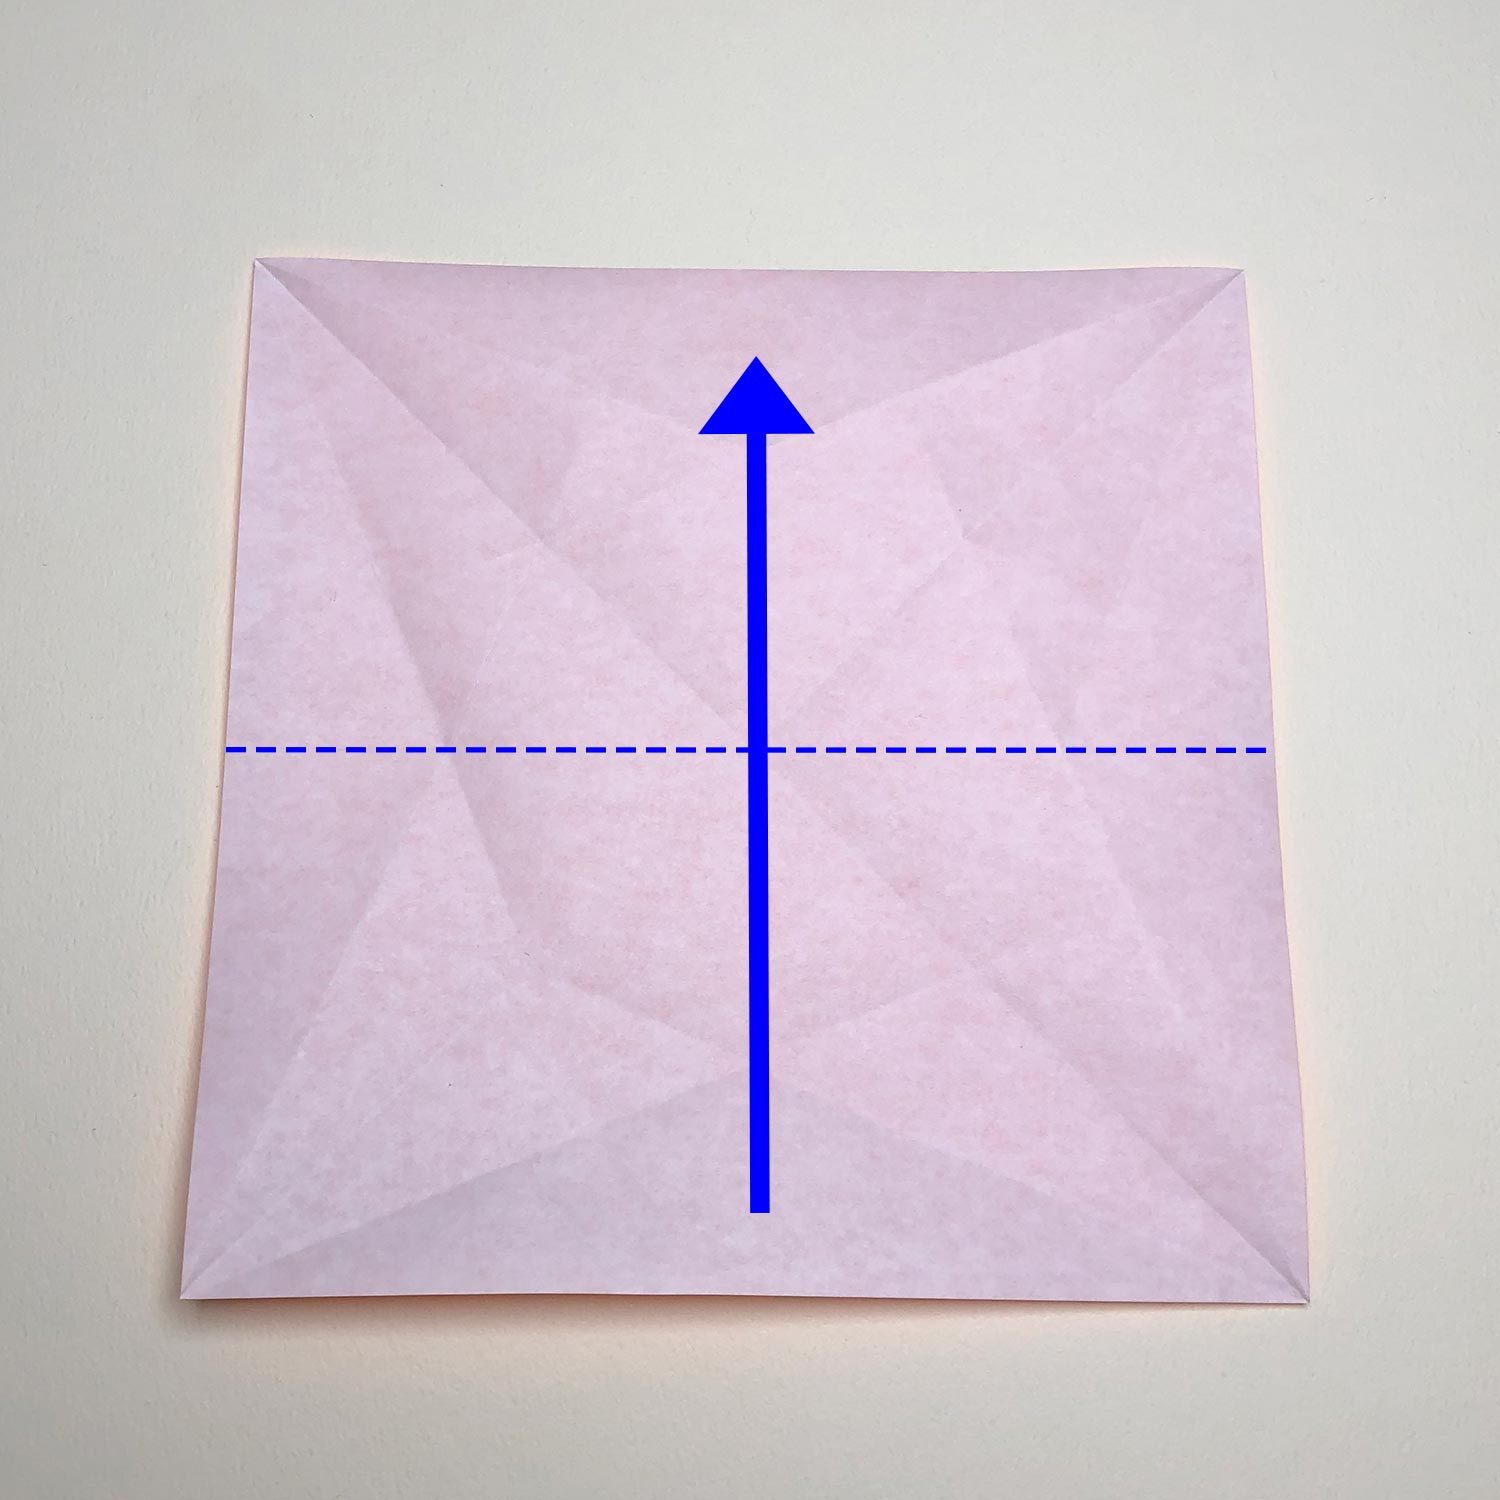
(14)
Fold the paper in half.
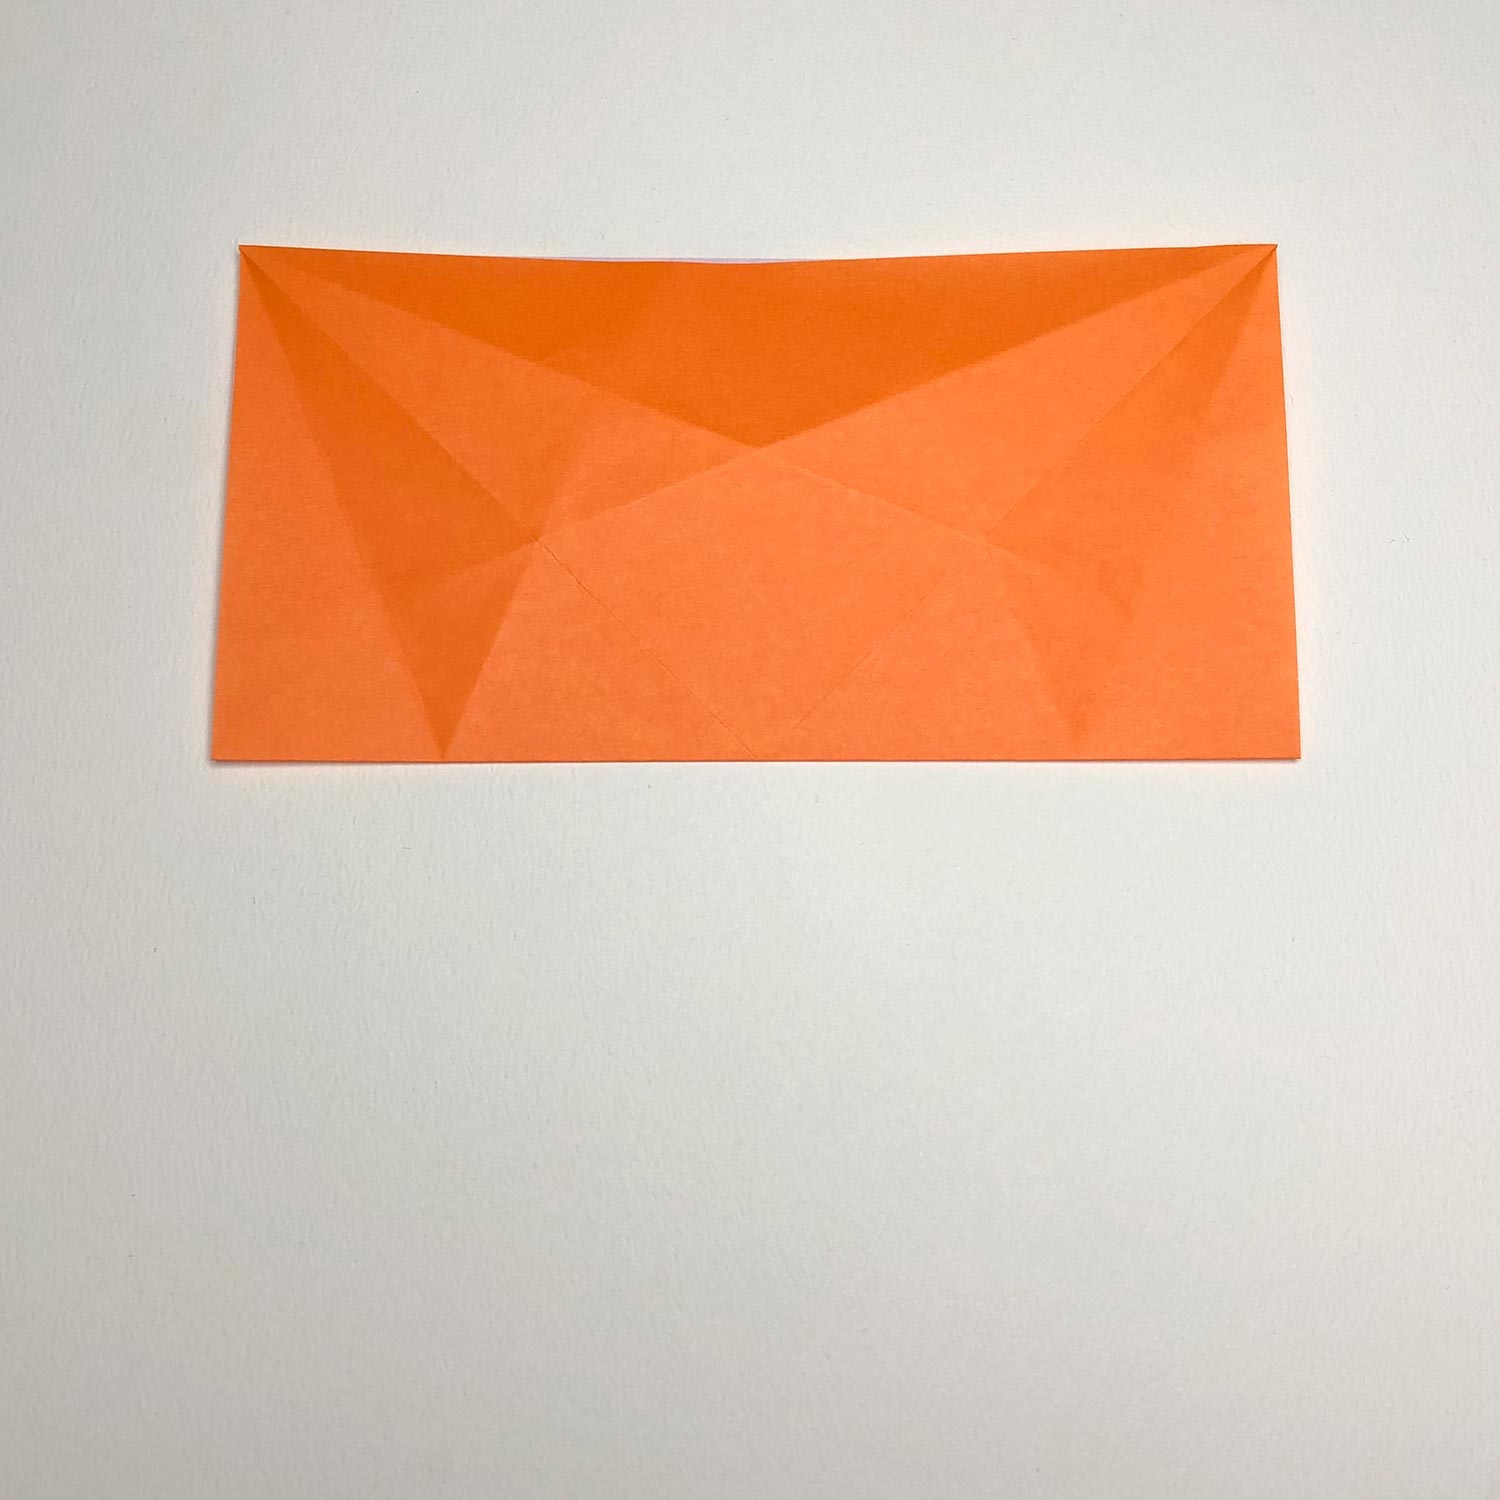
(15)
Fold the paper like this picture.
After making a crease, unfold it.
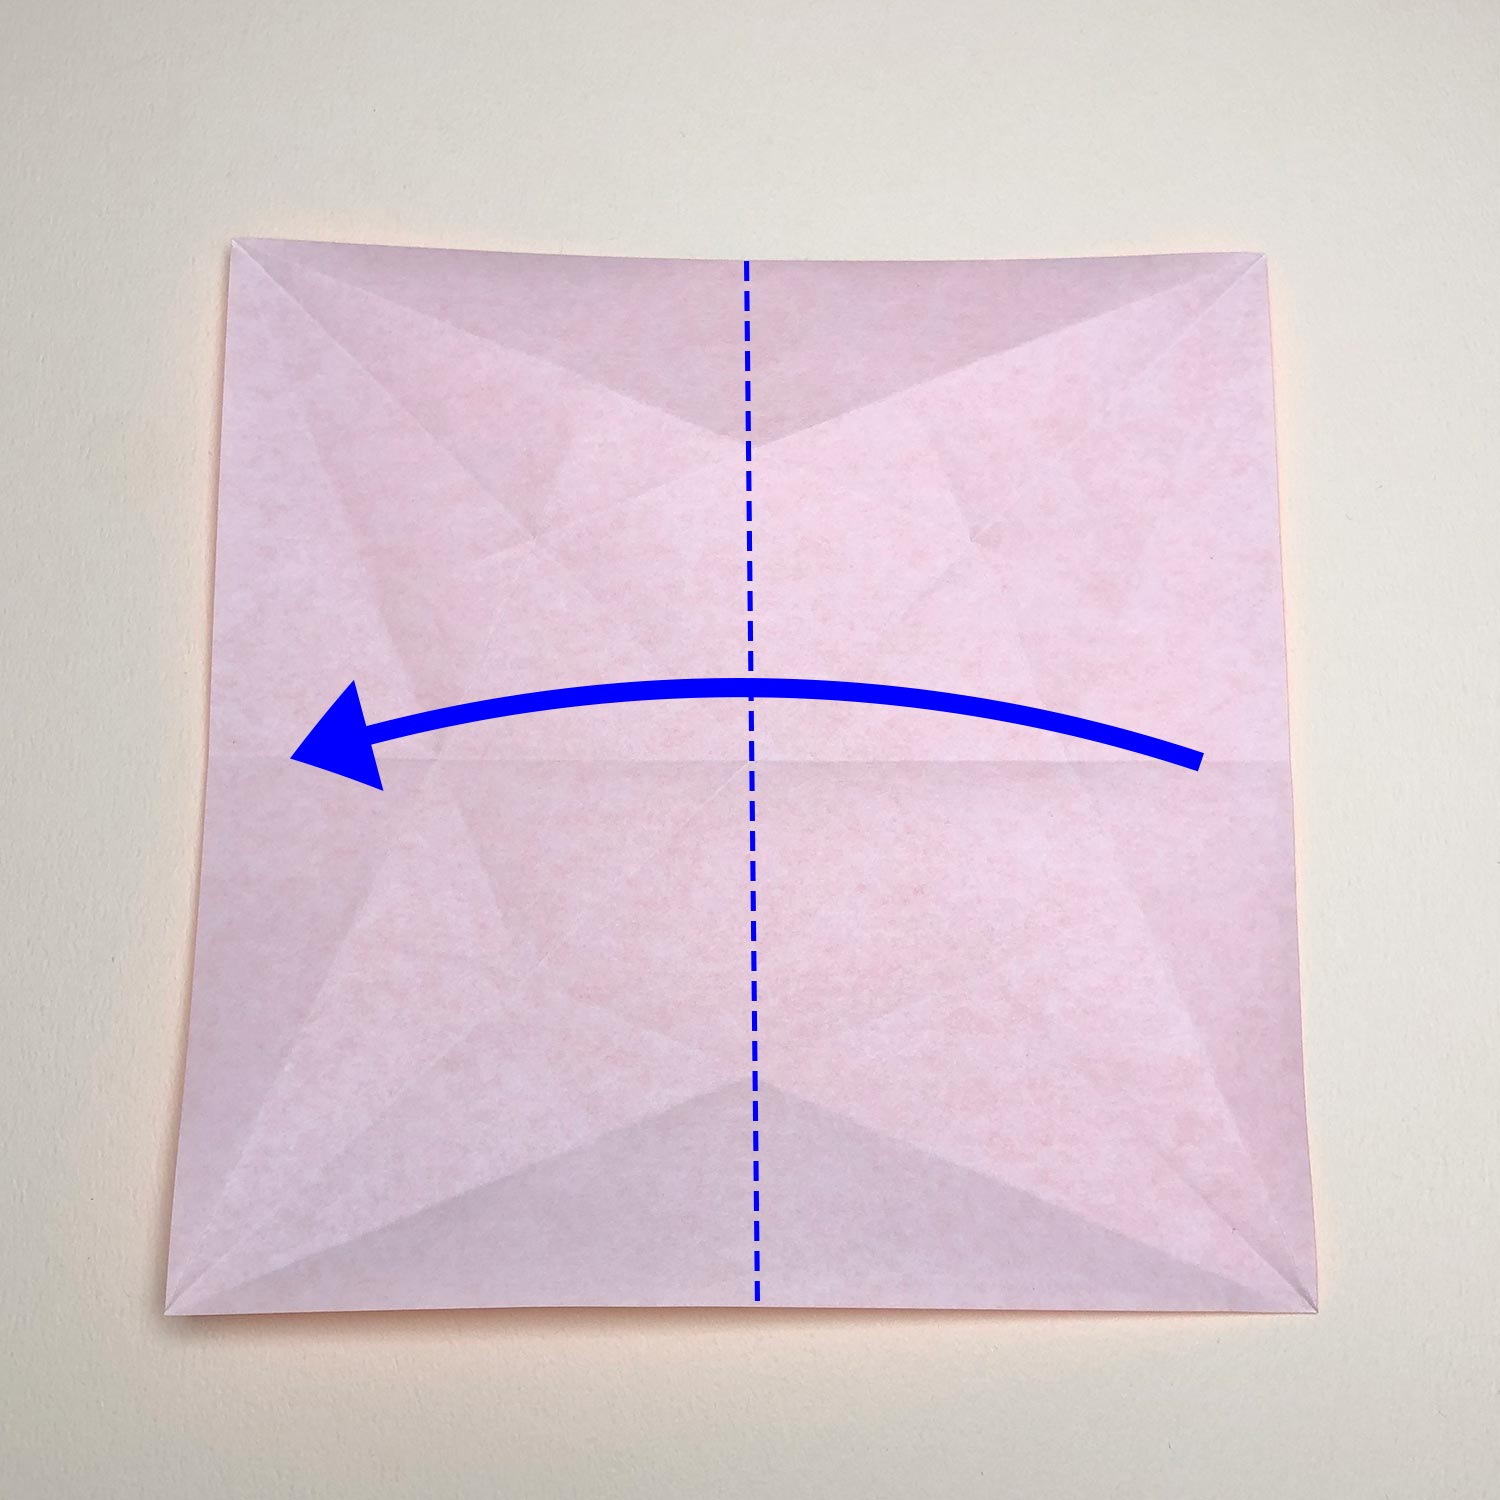
(16)
Fold the paper in half in the other direction.
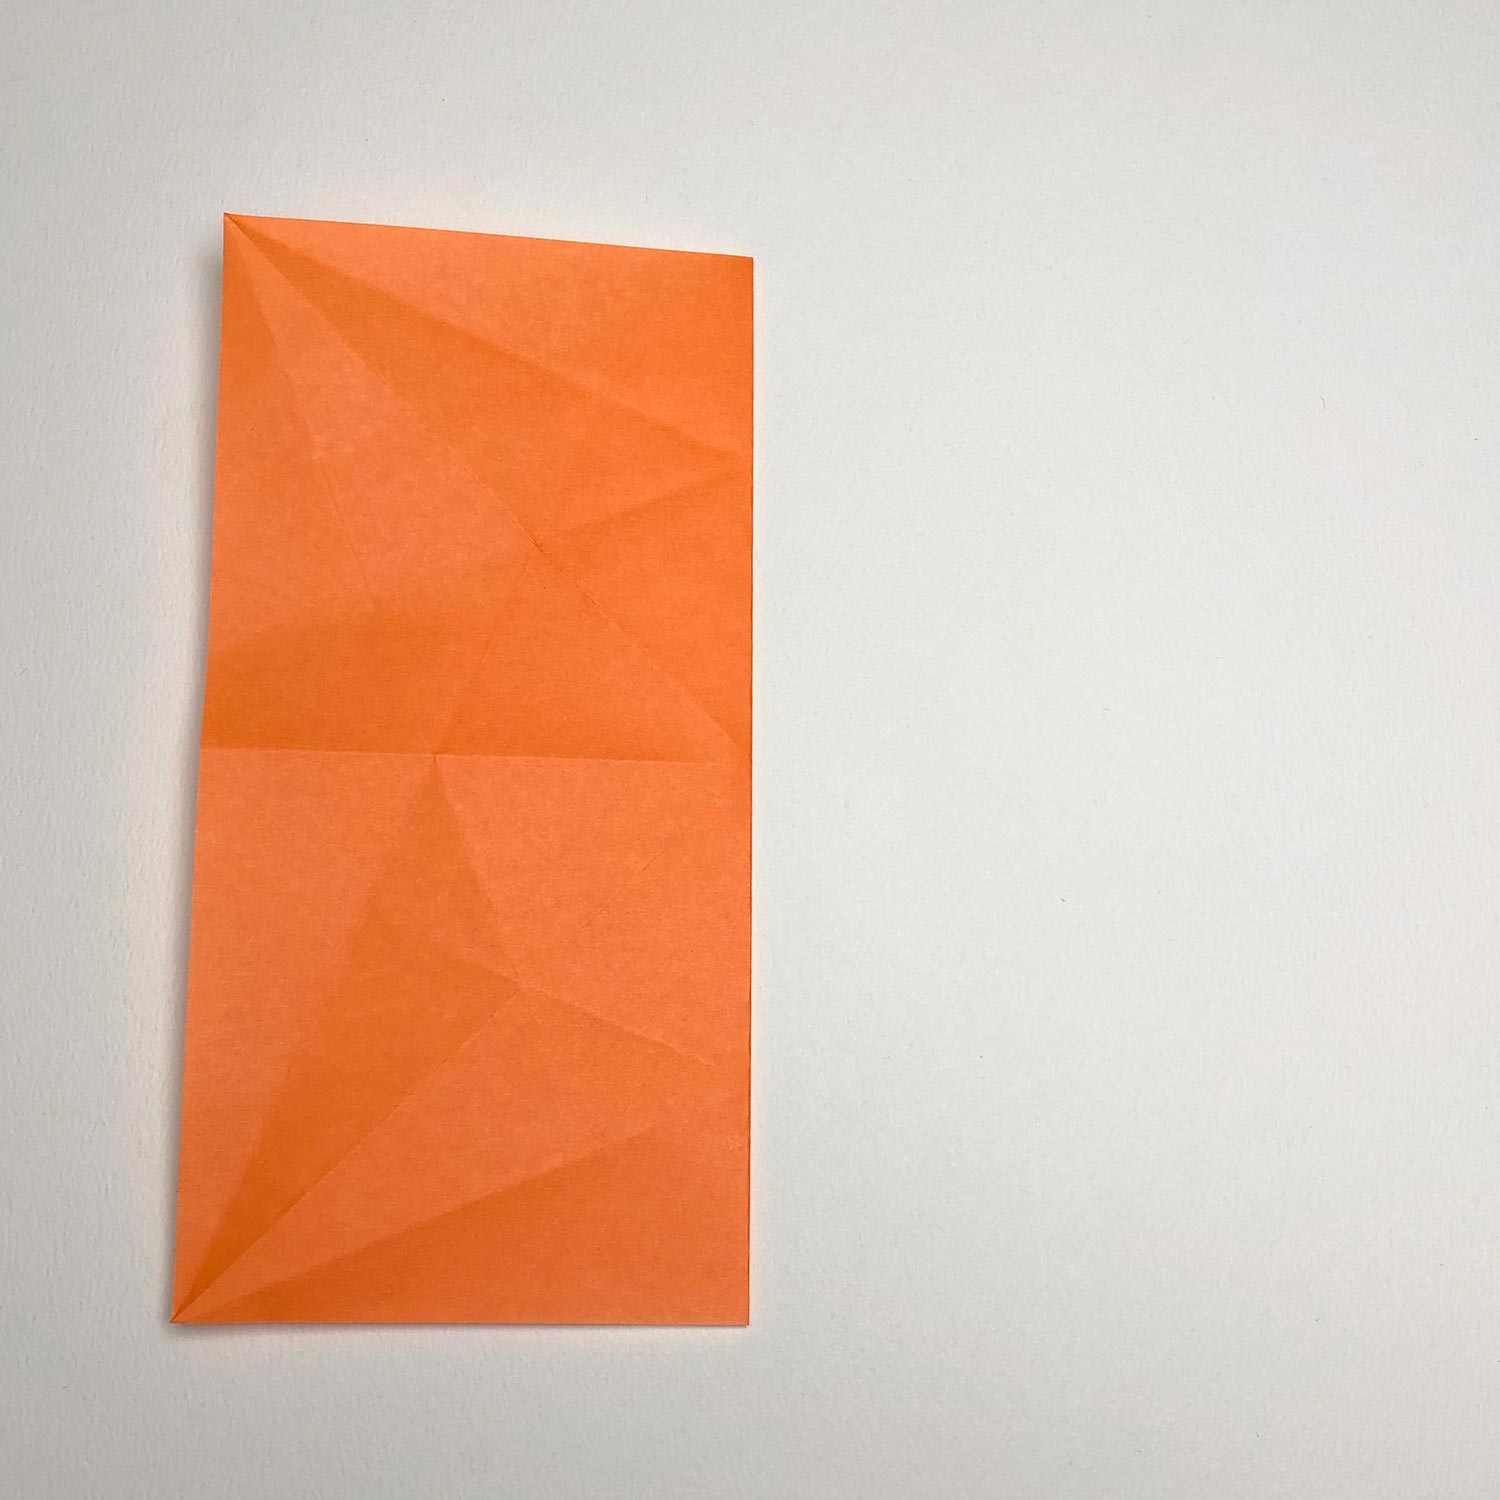
(17)
Fold the paper like this picture.
After making a crease, unfold it.
(18)
After making creases, it looks like this picture.
(19)
The green lines and the blue lines are that you have made.
When making Renzuru, make creases which are the green lines and the blue lines on each square first.