make a paper crane
Then make a paper crane!
Since you make creases first,
it is a little different from the way to fold a basic paper crane.
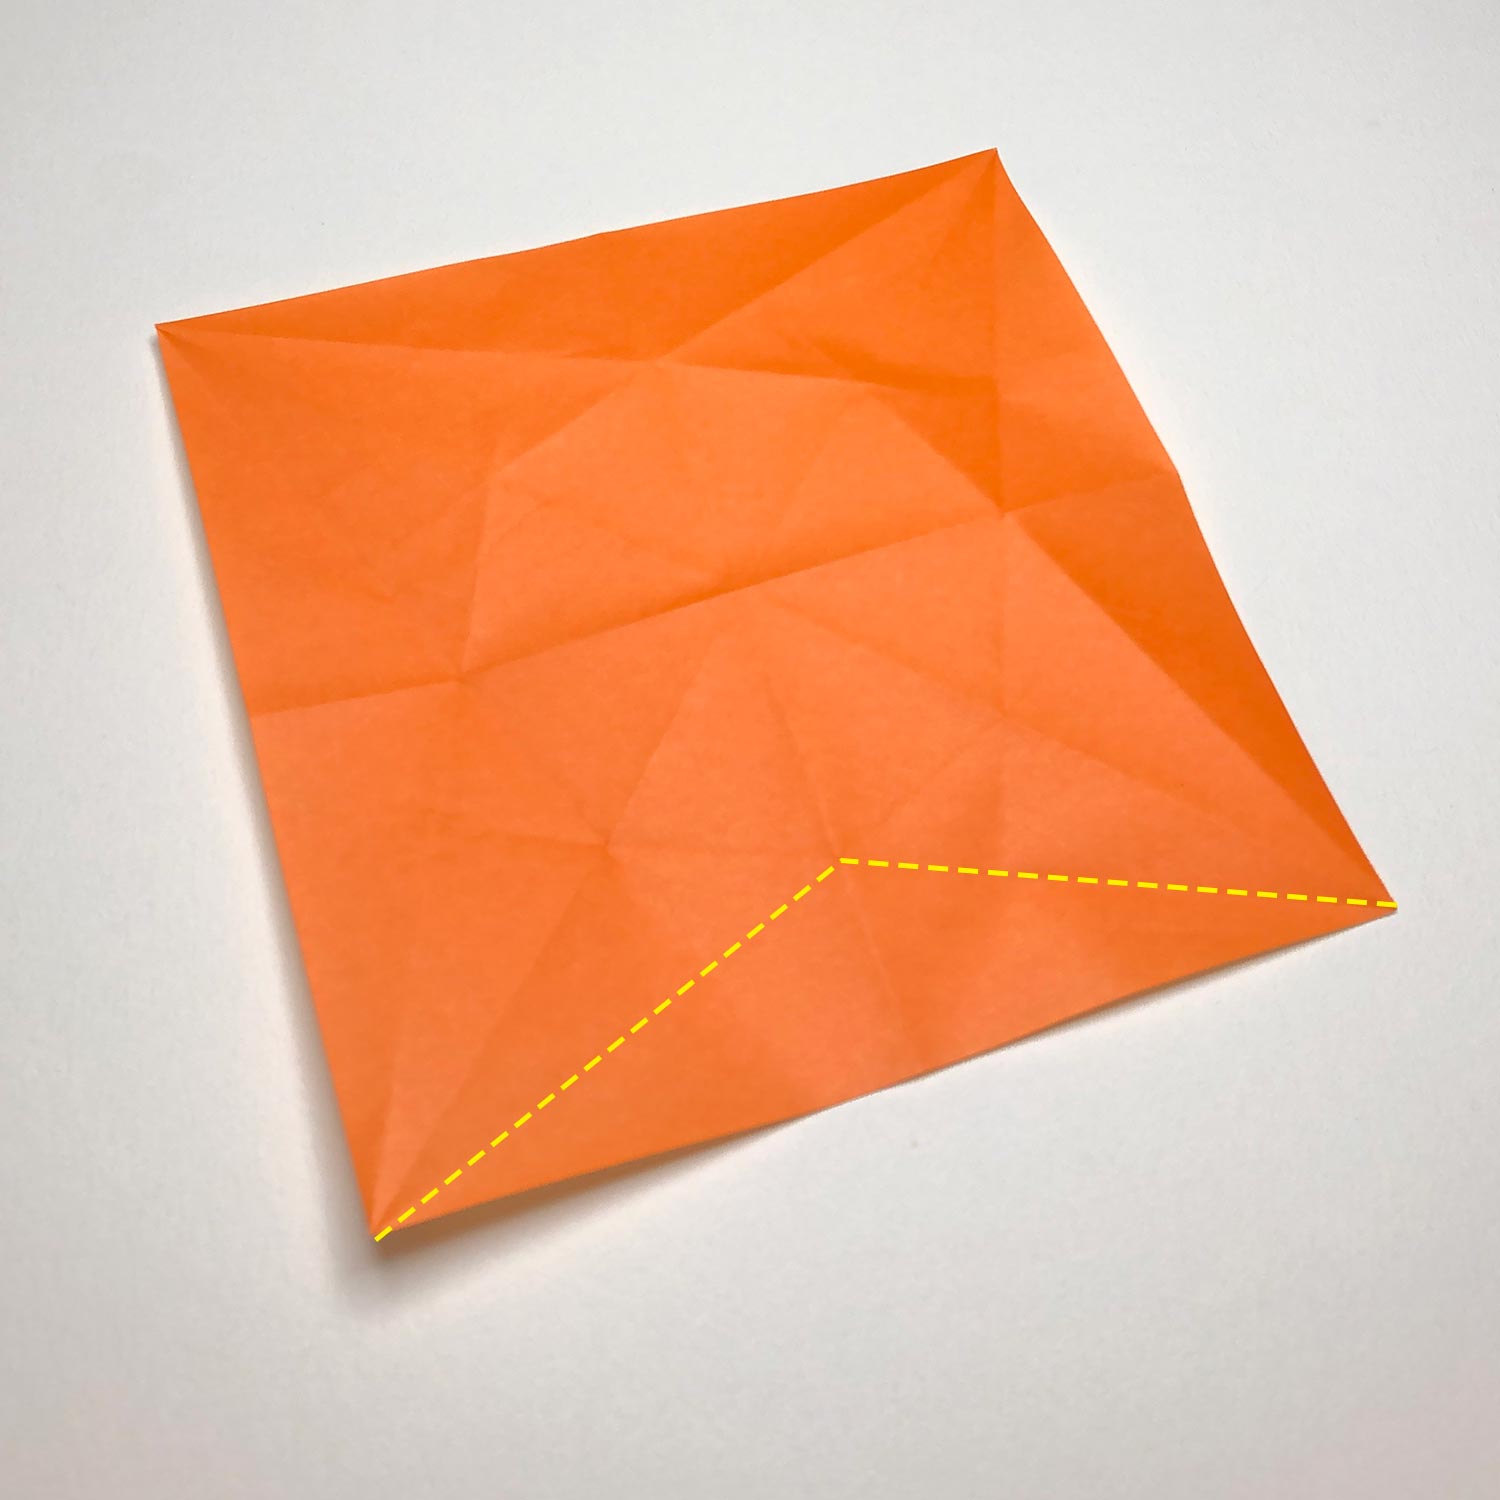
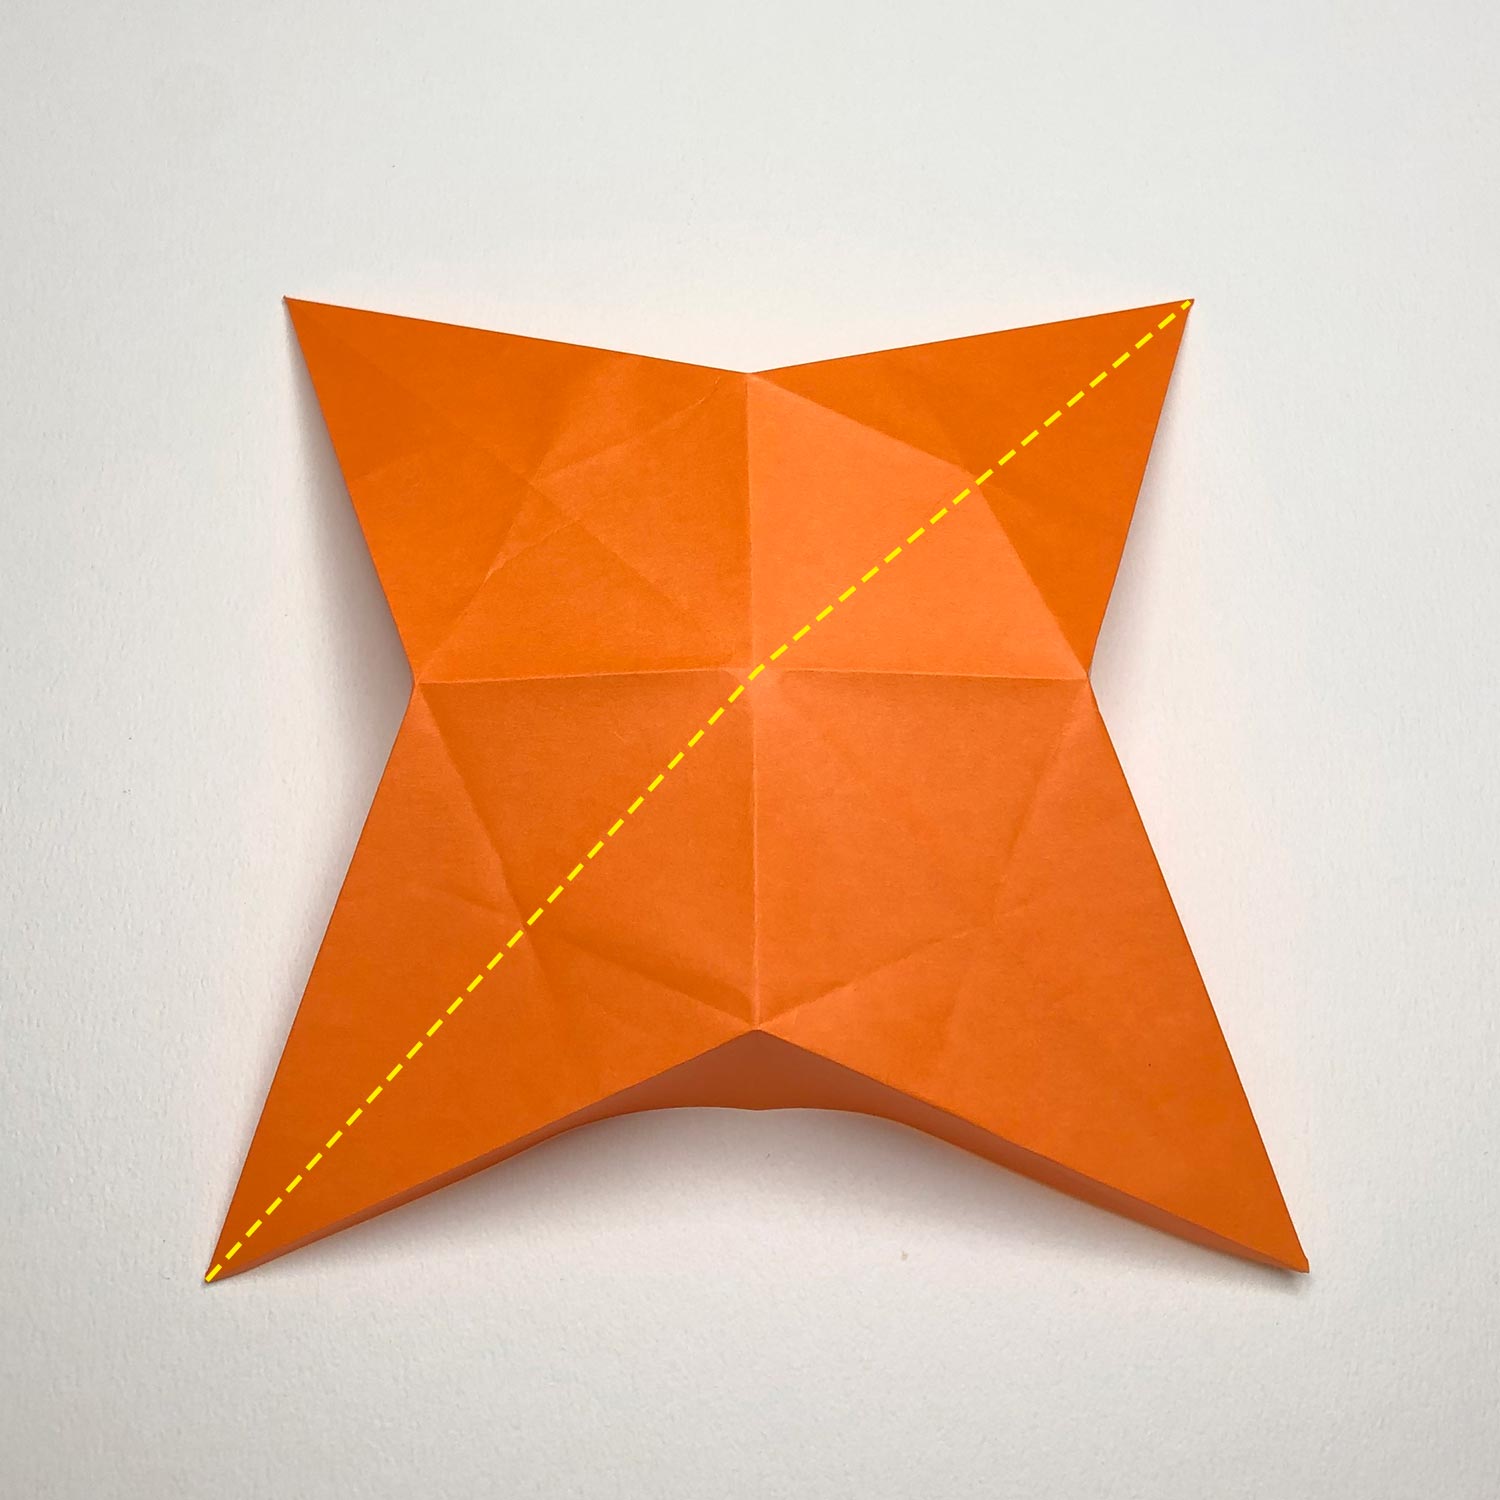
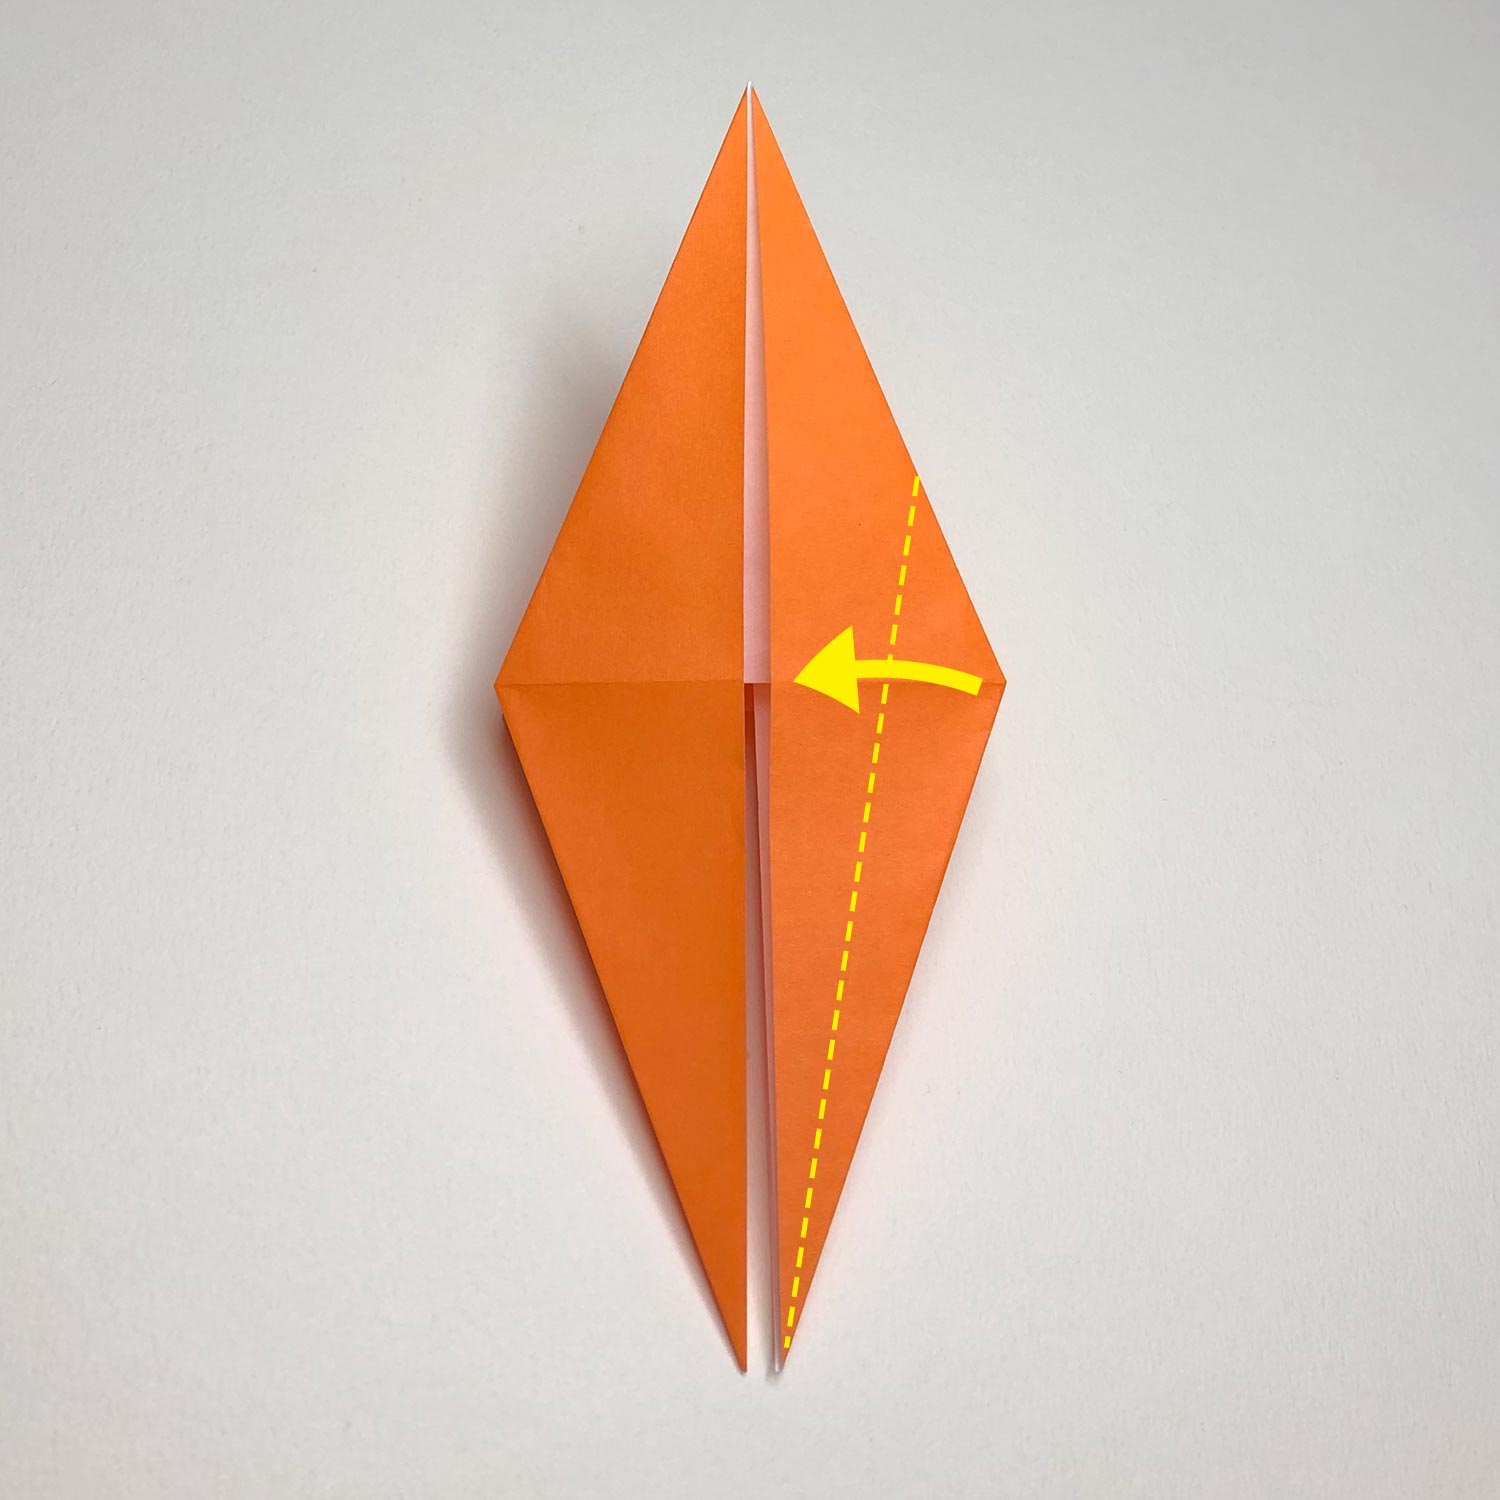
(1)
Fold the paper at the dotted line.
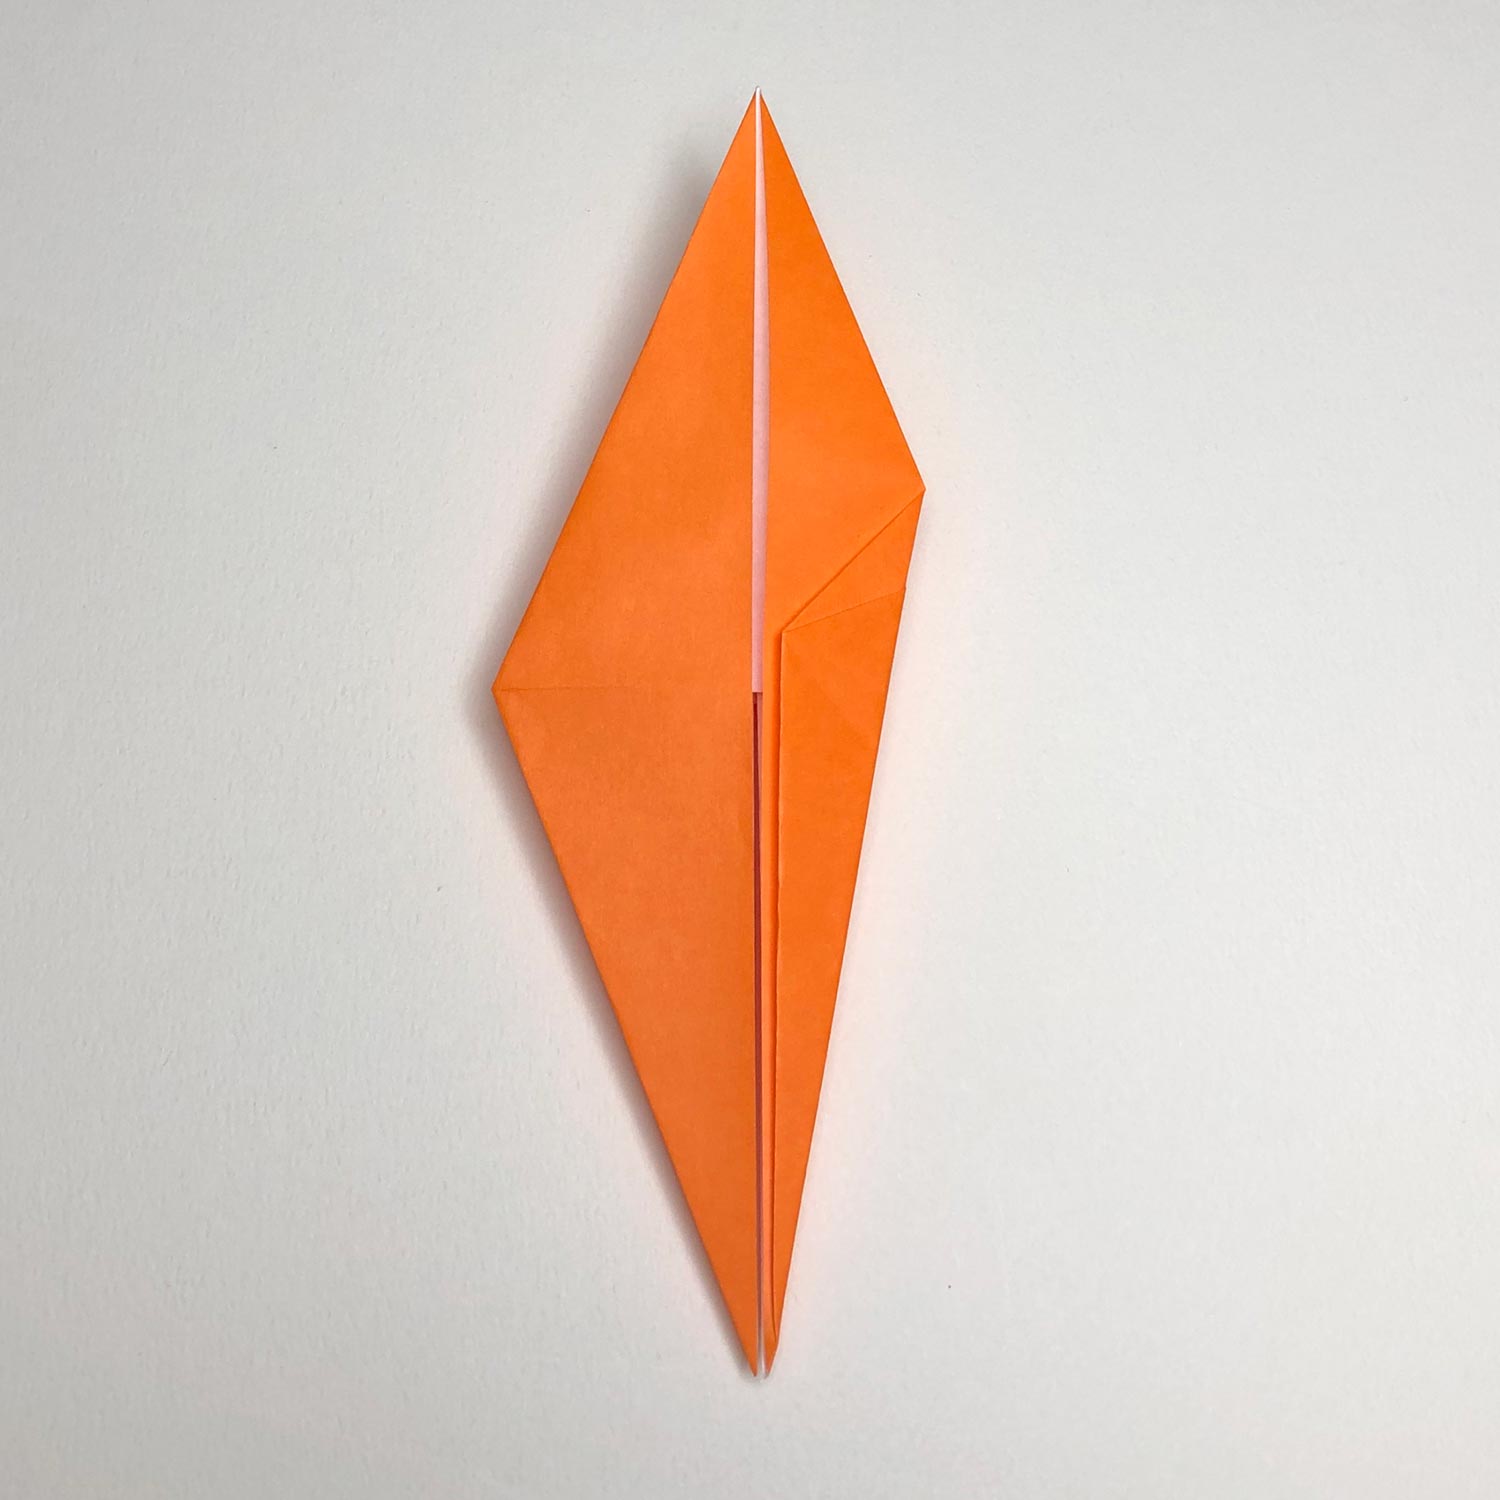
(2)
Fold the paper like this picture.
On this site, to make a crease like a mountain is called “make a mountain-fold”.

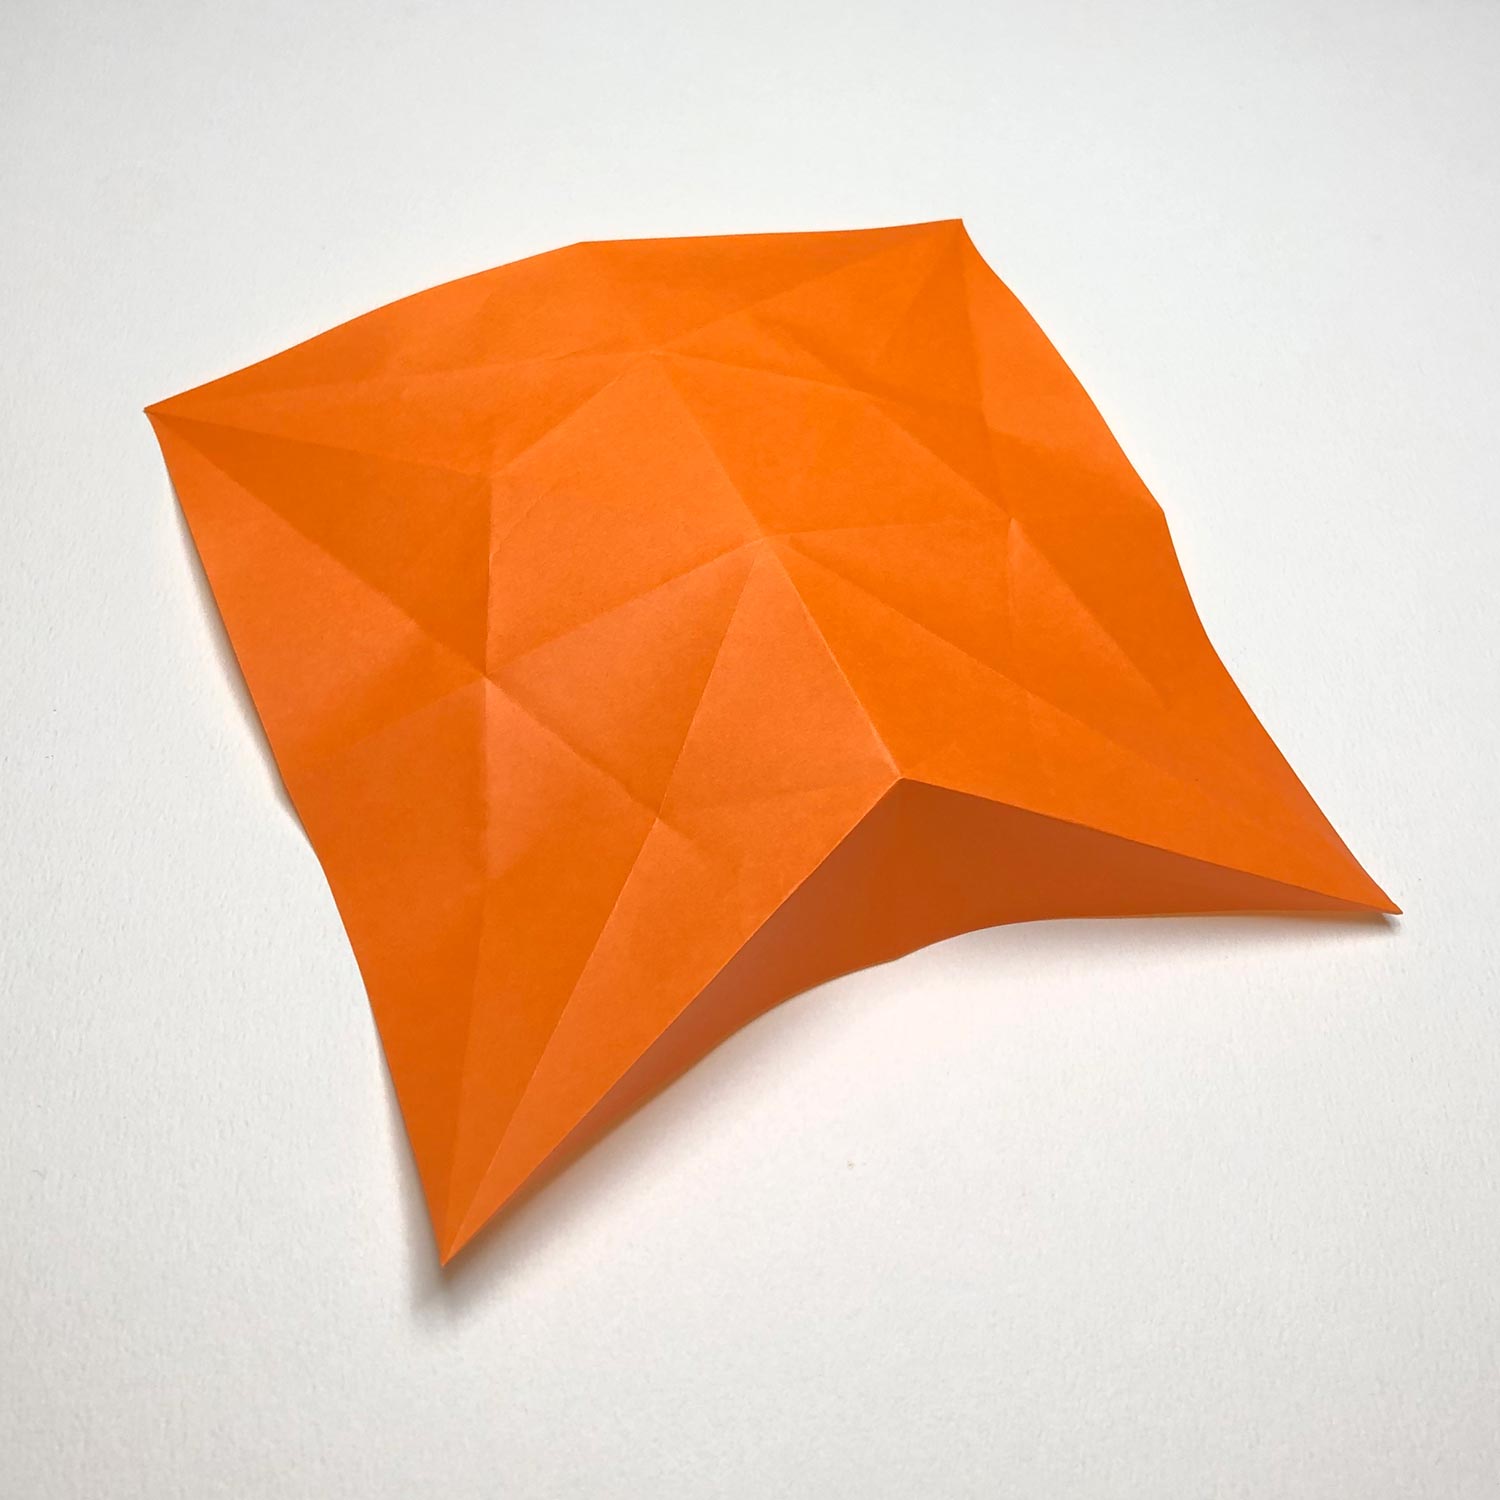
(3)
Make mountain-folds at the dotted lines as well.
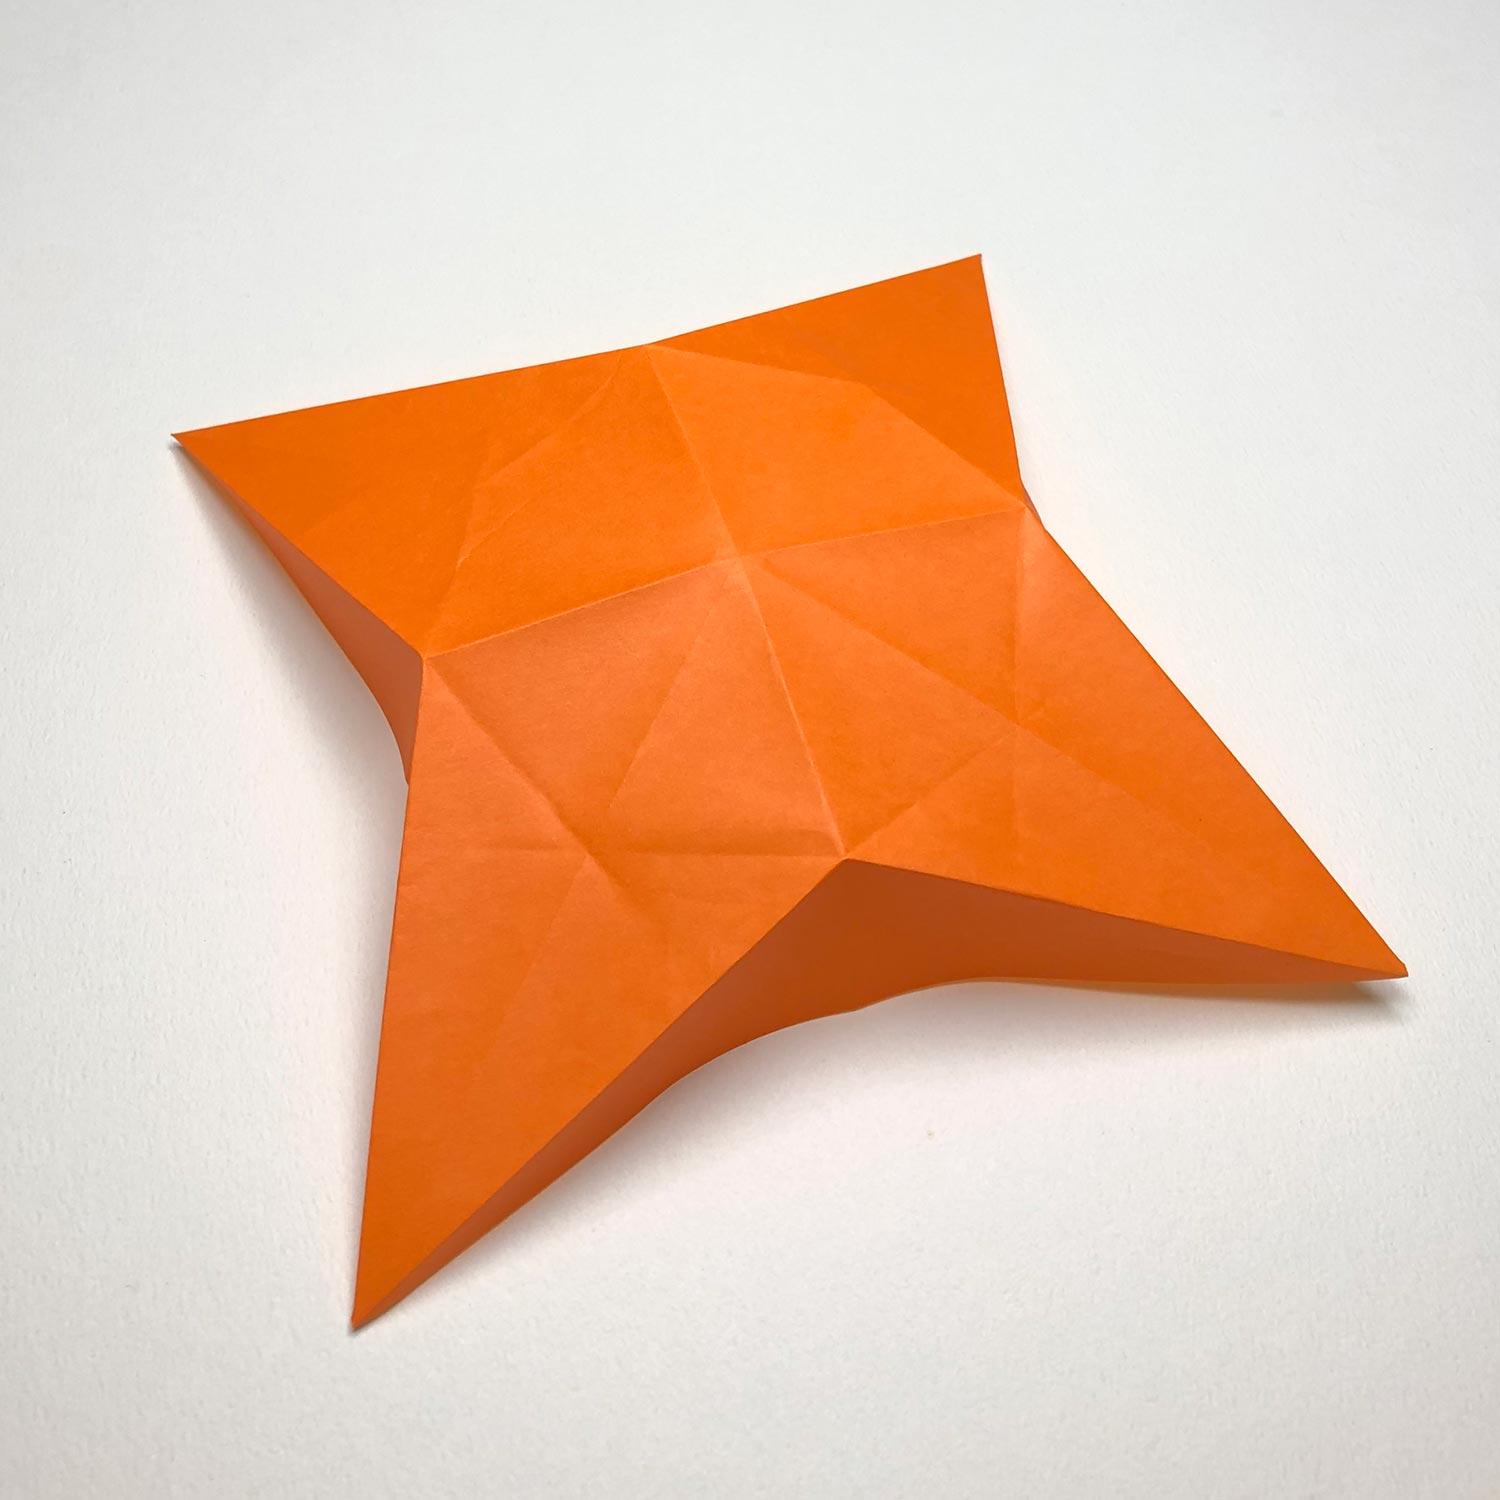
(4)
Make mountain-folds like this picture.
On this site, to make shape like this picture is called “make a star-shape”.
(5)
Fold the paper at the dotted lines in opposite way against a mountain-fold.
(6)
If you put the edges together, it will get easier to fold the paper.

(7)
Fold the paper like this picture.
On this site, to make a crease like a valley is called “make a valley-fold”.
(8)
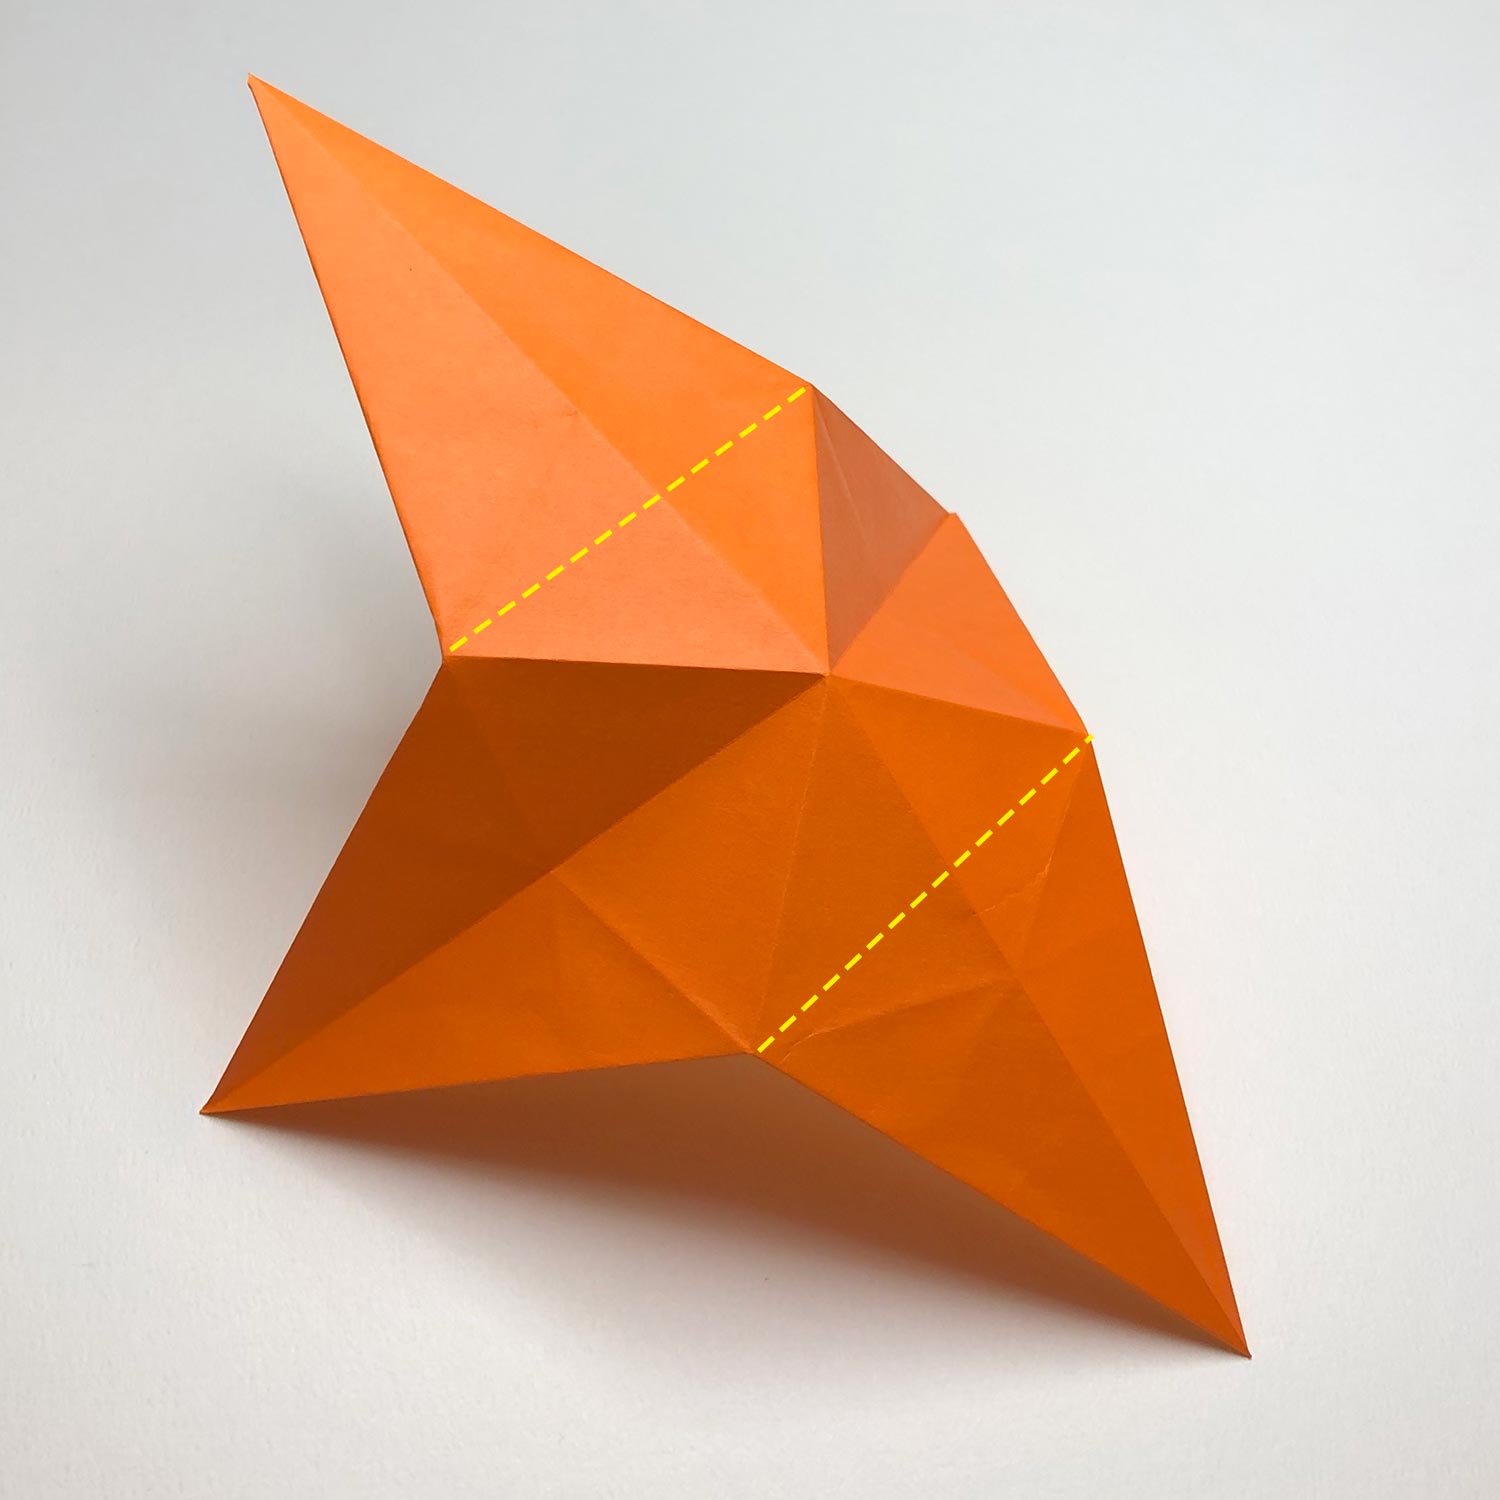
The next step is making valley-folds at the dotted lines.

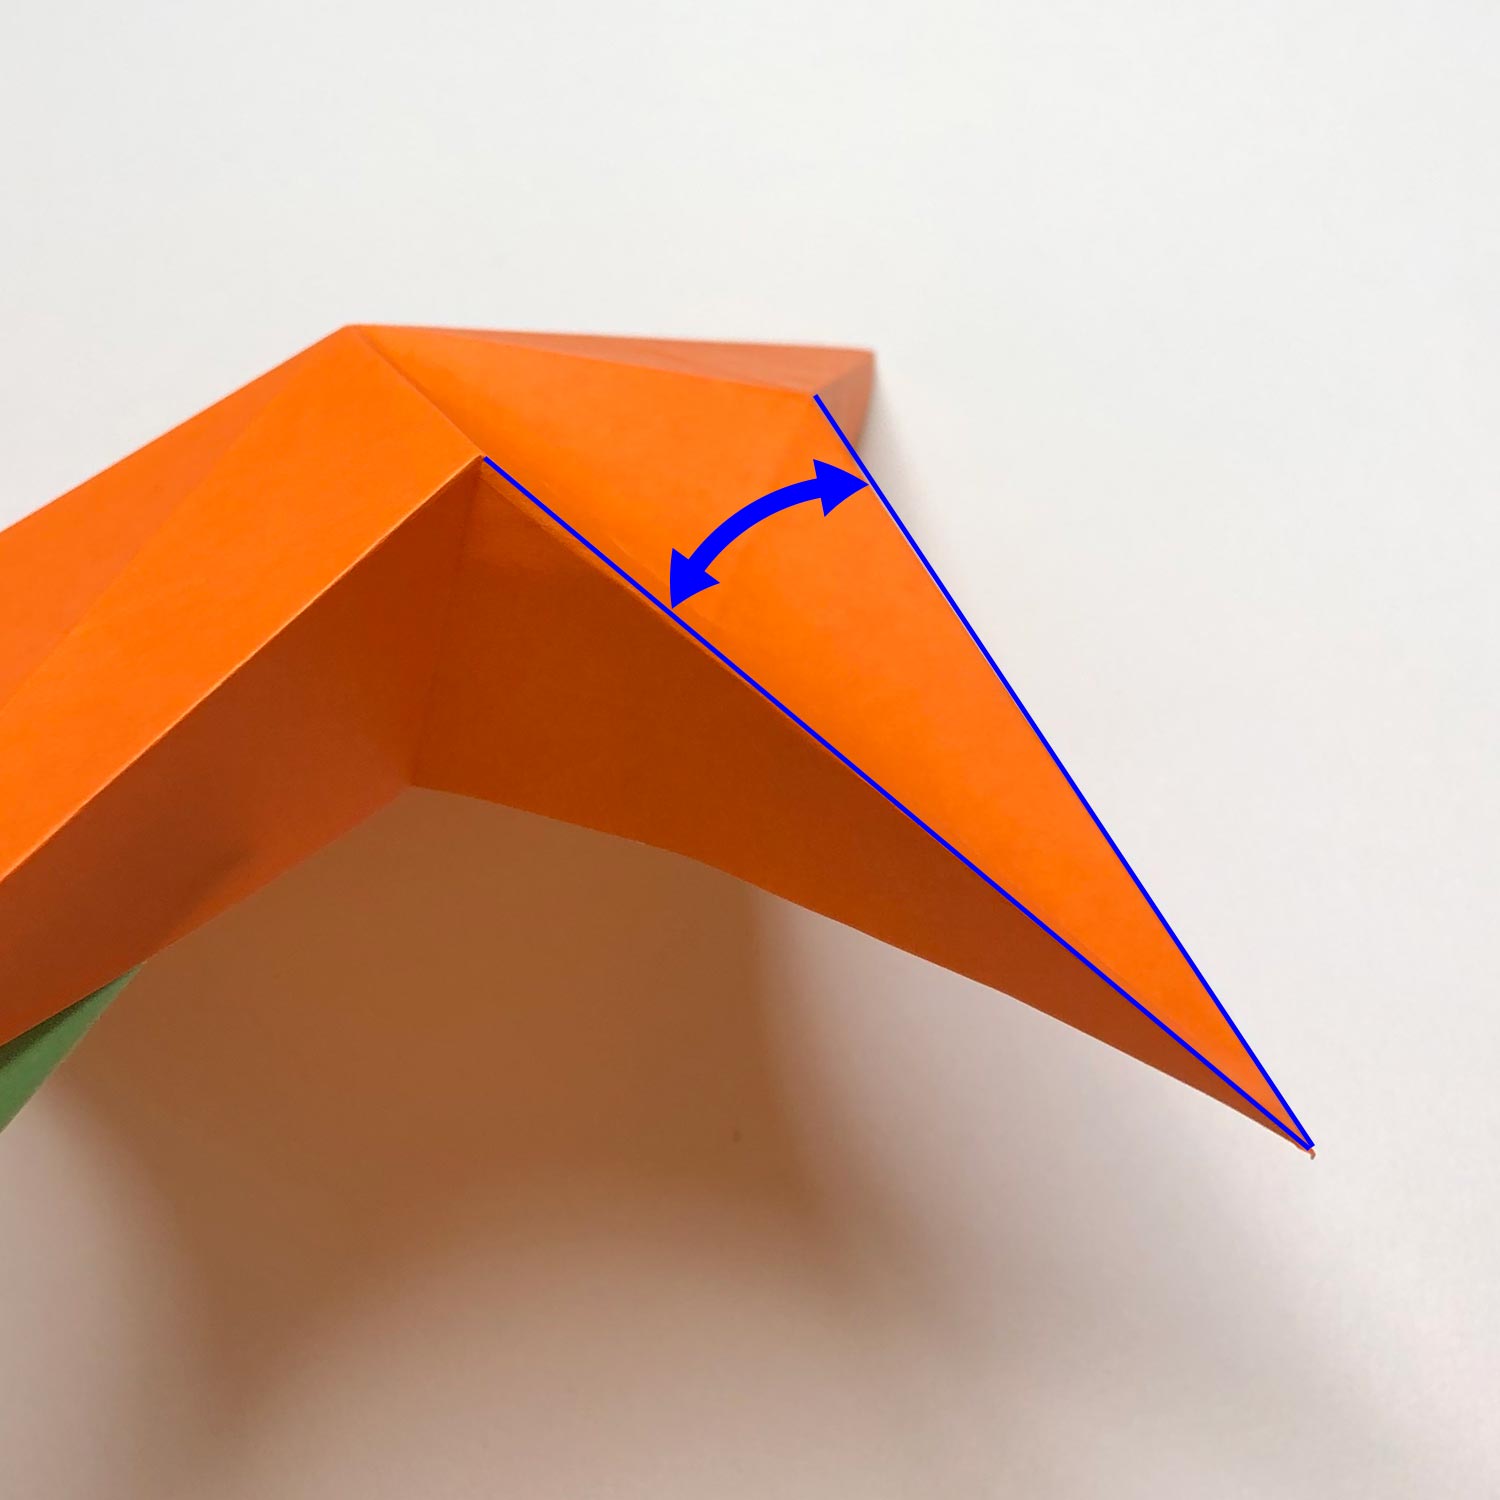
(9)
While moving both sides in the direction of the blue arrows, make a crease at the dotted line. (On the other side, make a crease at the dotted line as well.)
(10)
This picture is halfway through.

(11)
After making creases, it looks like this picture.
This shape is called “a bird-base”.
By making creases first before starting to make a paper crane, you reduced some steps and it would get easier to make a bird-base.
(12)
Fold the top of the right flap to the front center and the bottom of the right flap to the back center.
(13)
Fold them like this picture.
On this site, to fold one side to the center is called “fold the head/tail to the center”.

(14)
Move the right in the direction of the arrow to fold at the dotted line.
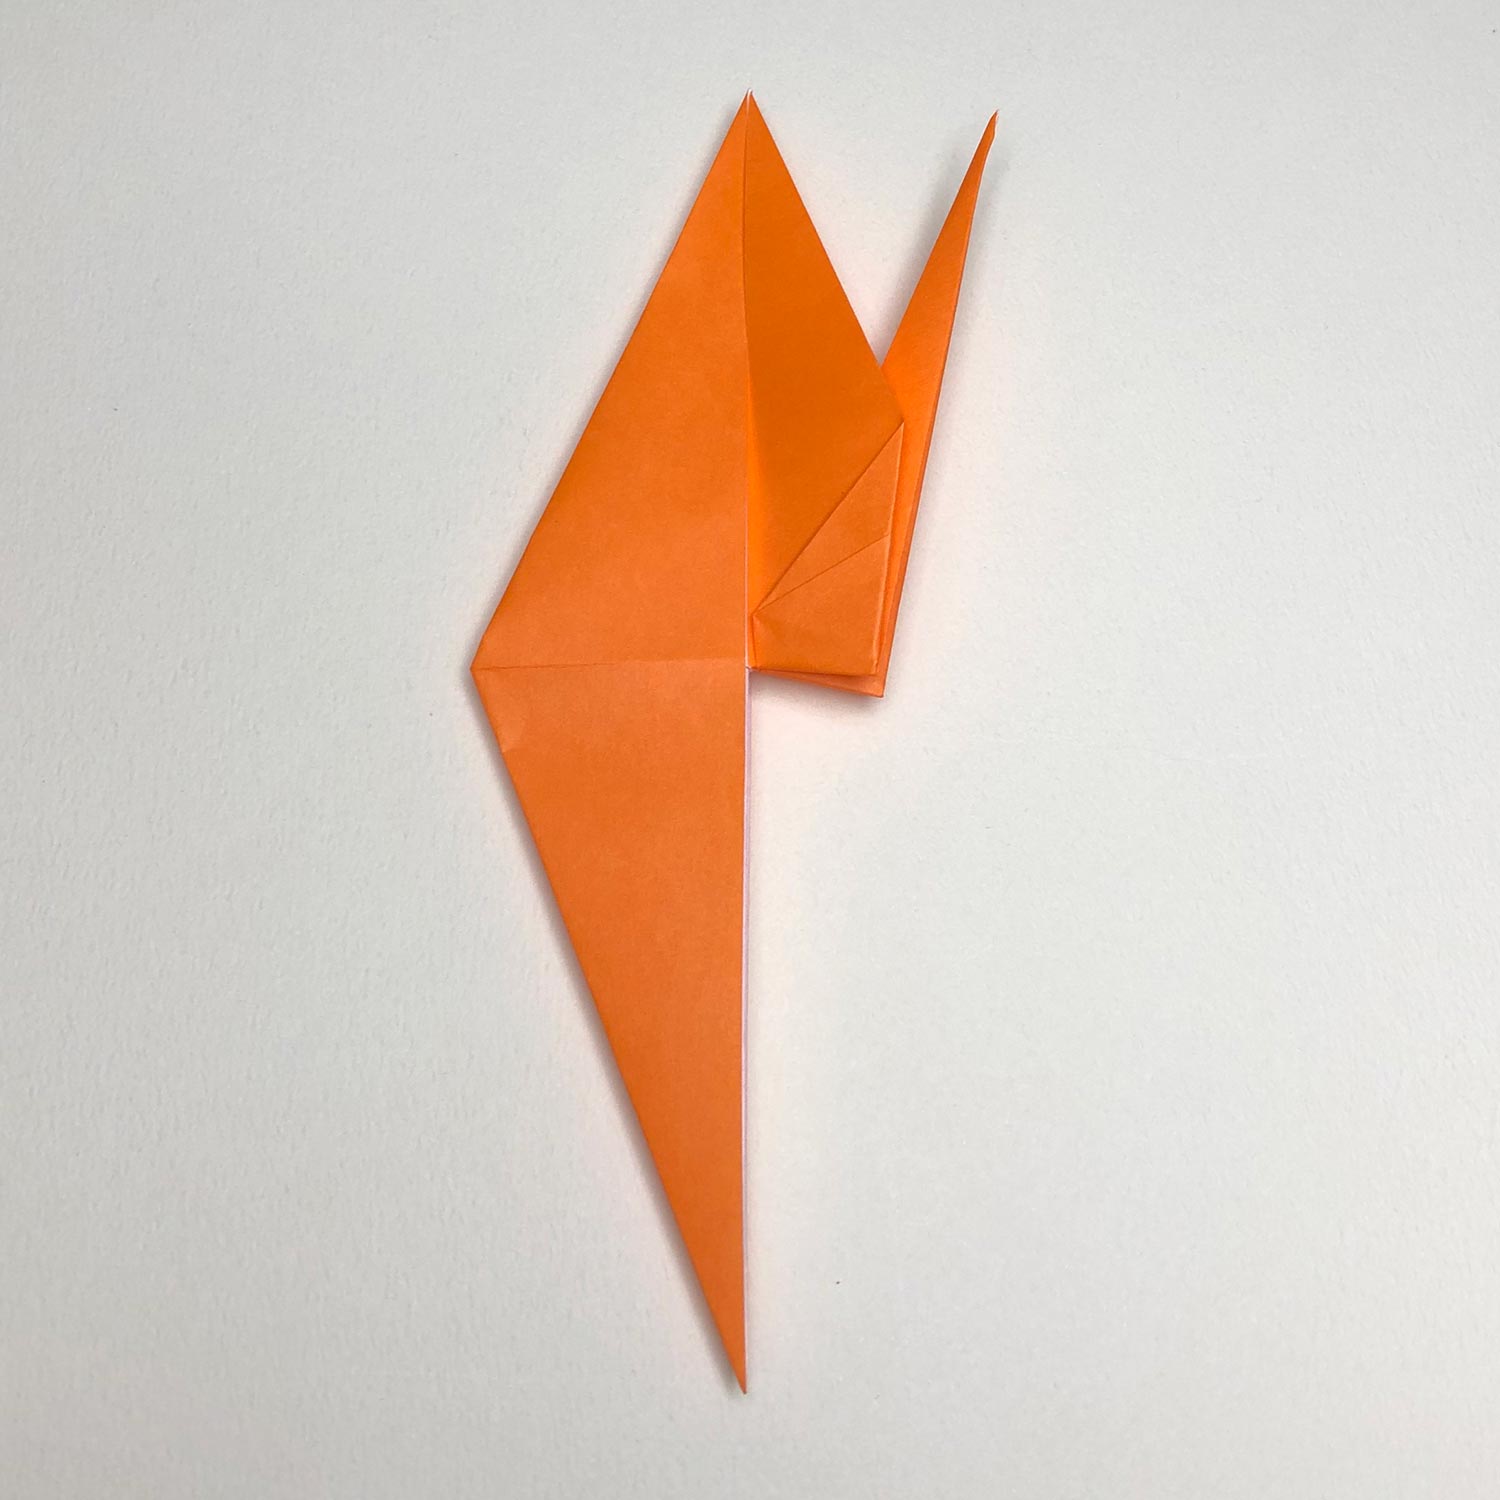
(15)
Fold it like this picture.
On this site, to move and fold in the 14th step is called “raise the head/tail”.
(16)
Fold the left head/tail to the center.
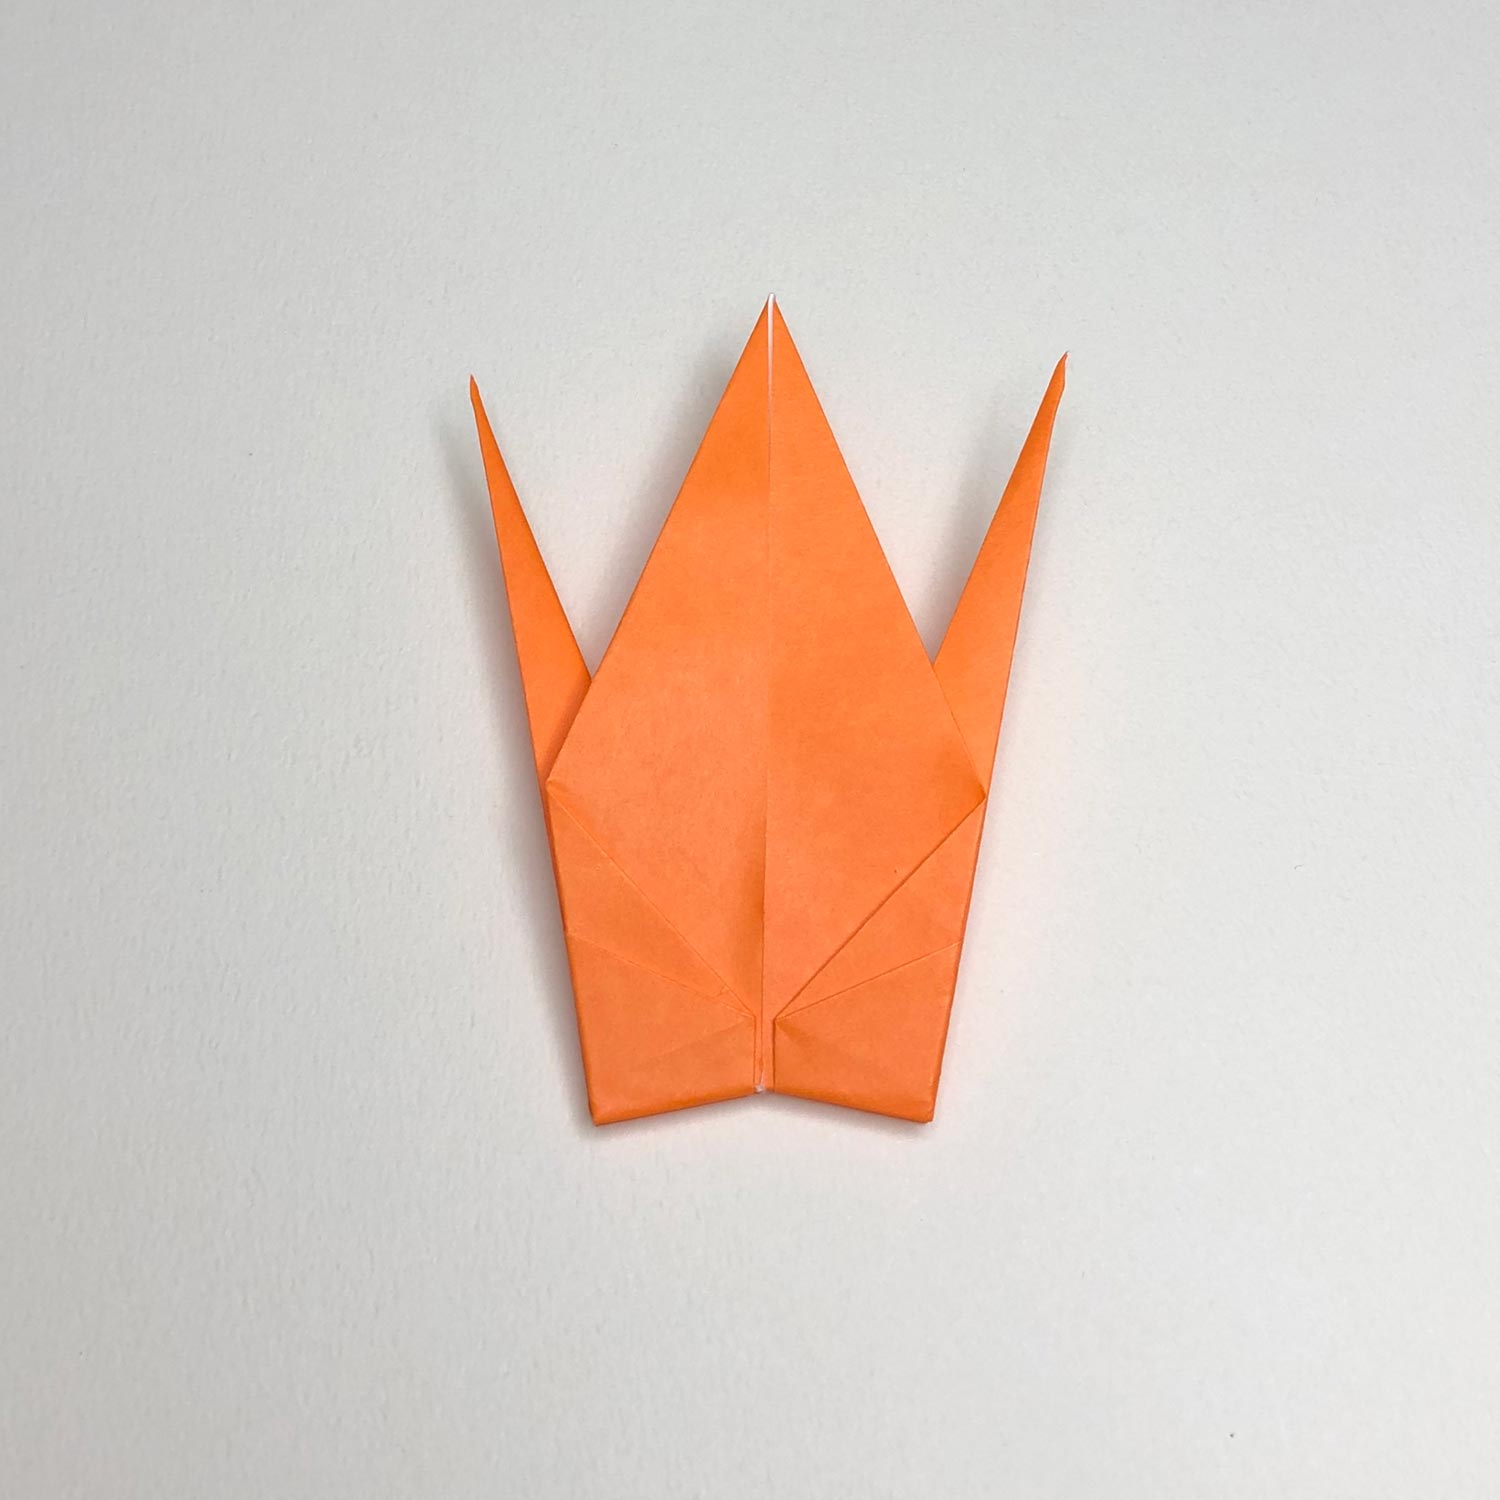
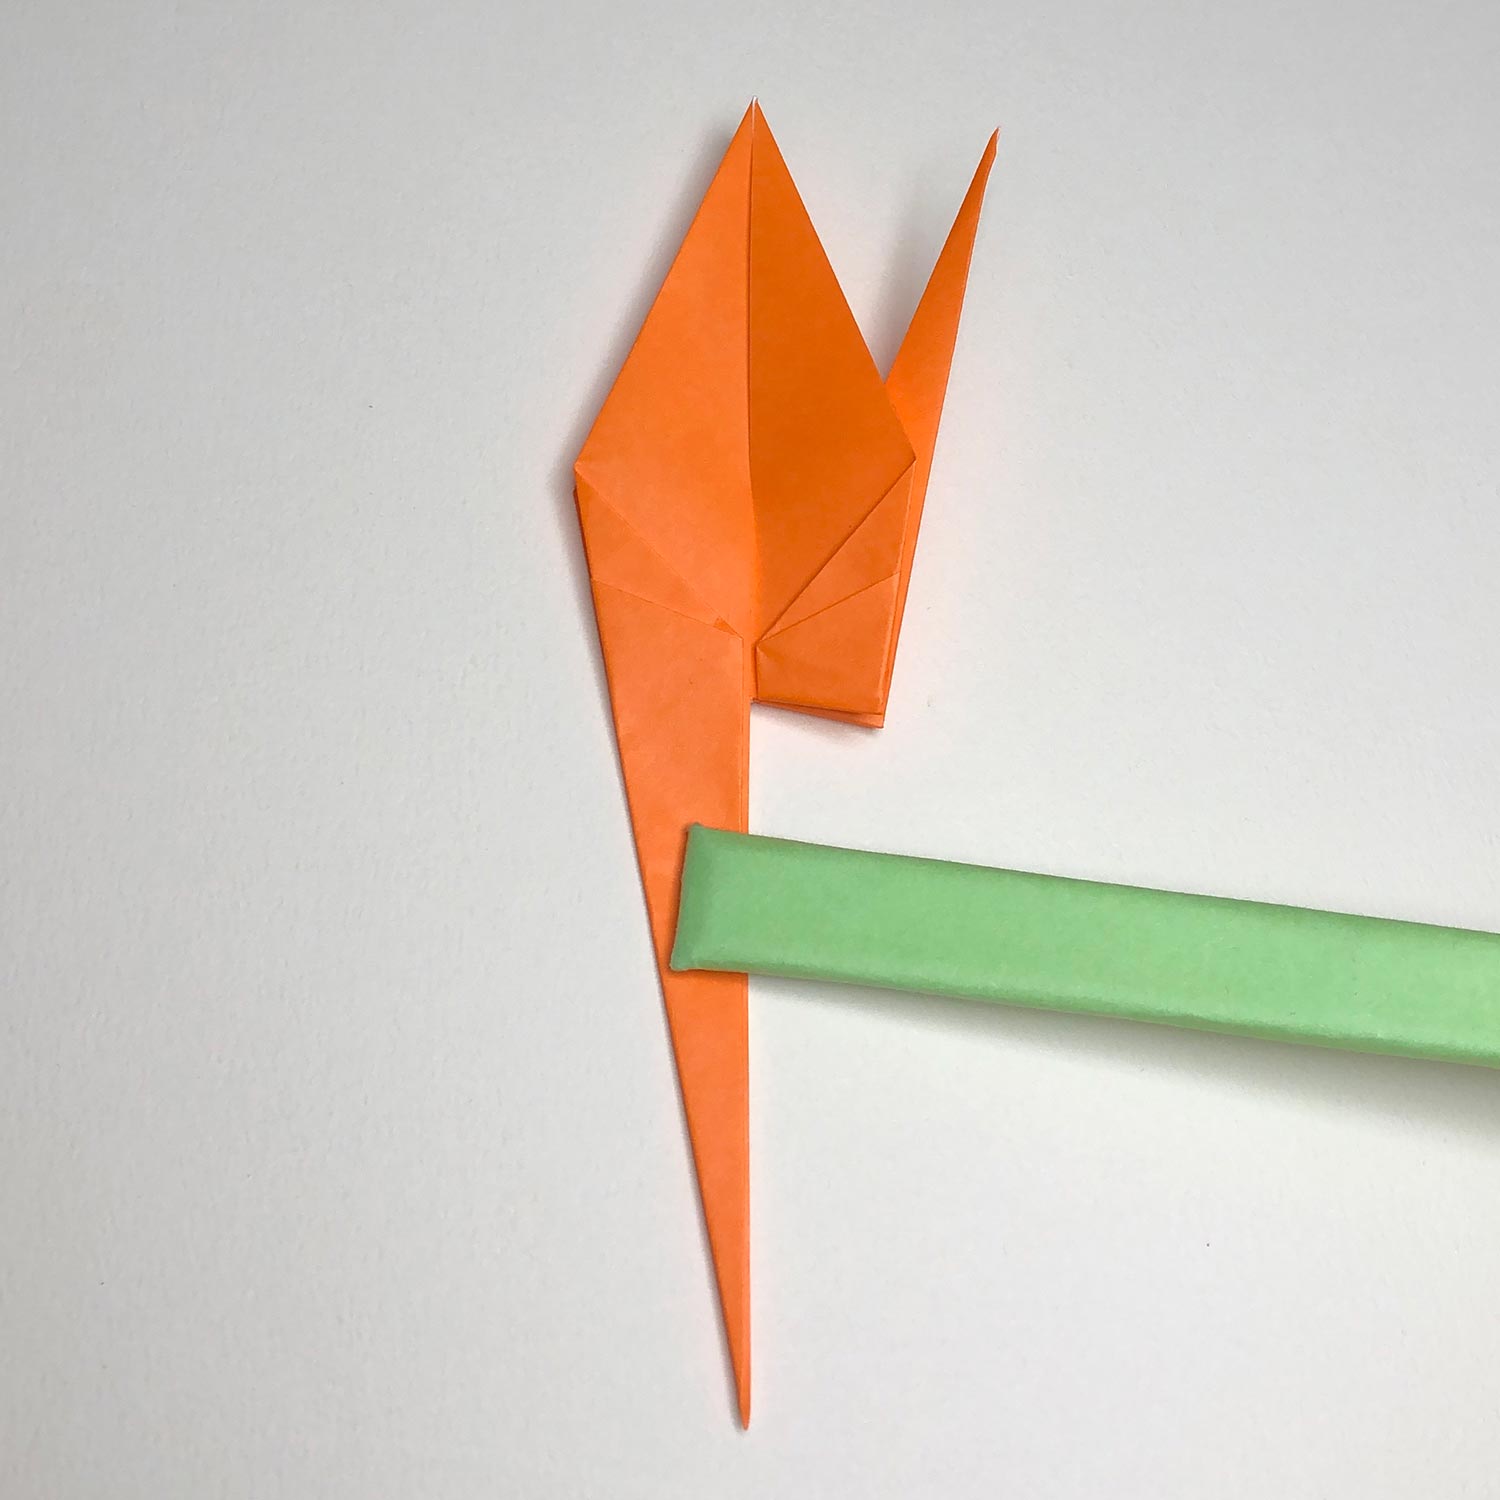
(17)
Raise the left head/tail.
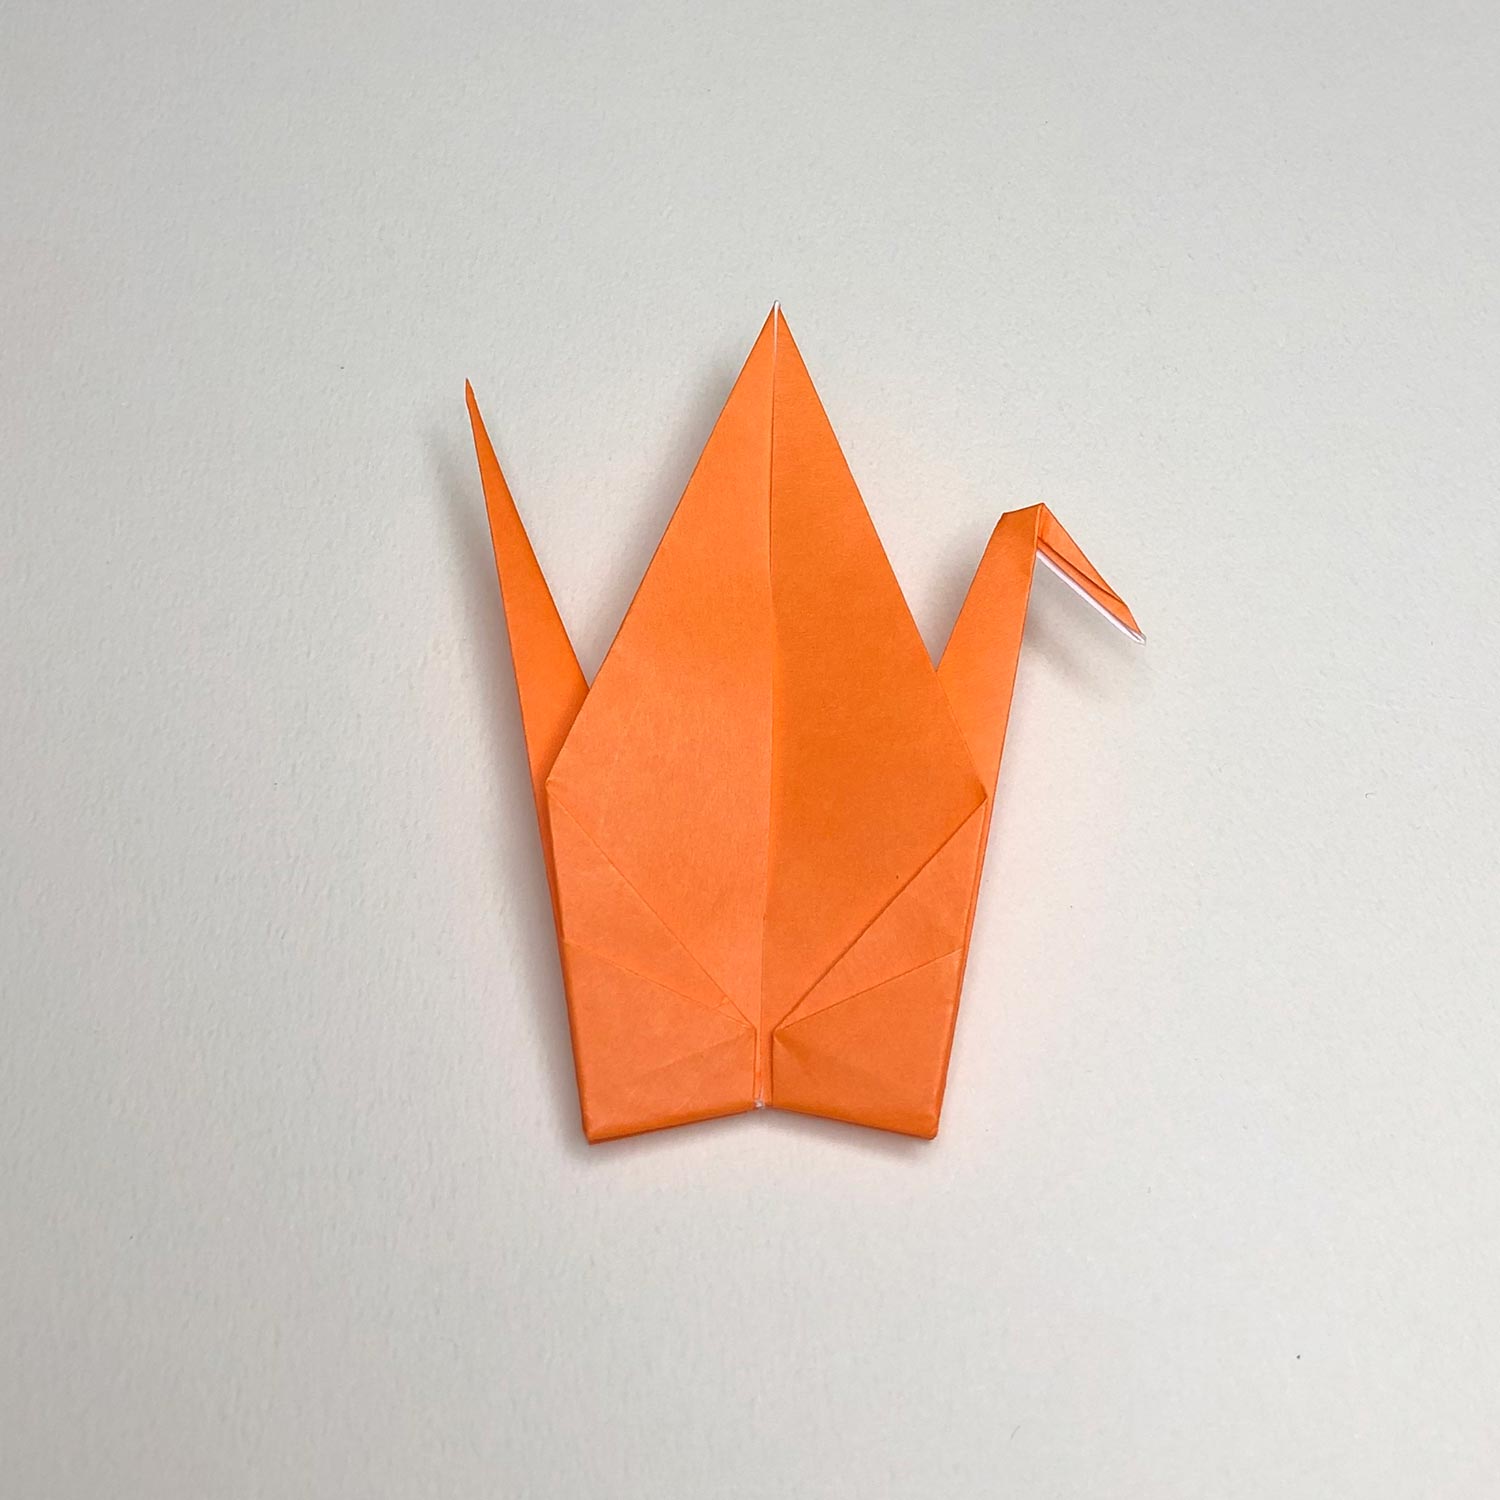
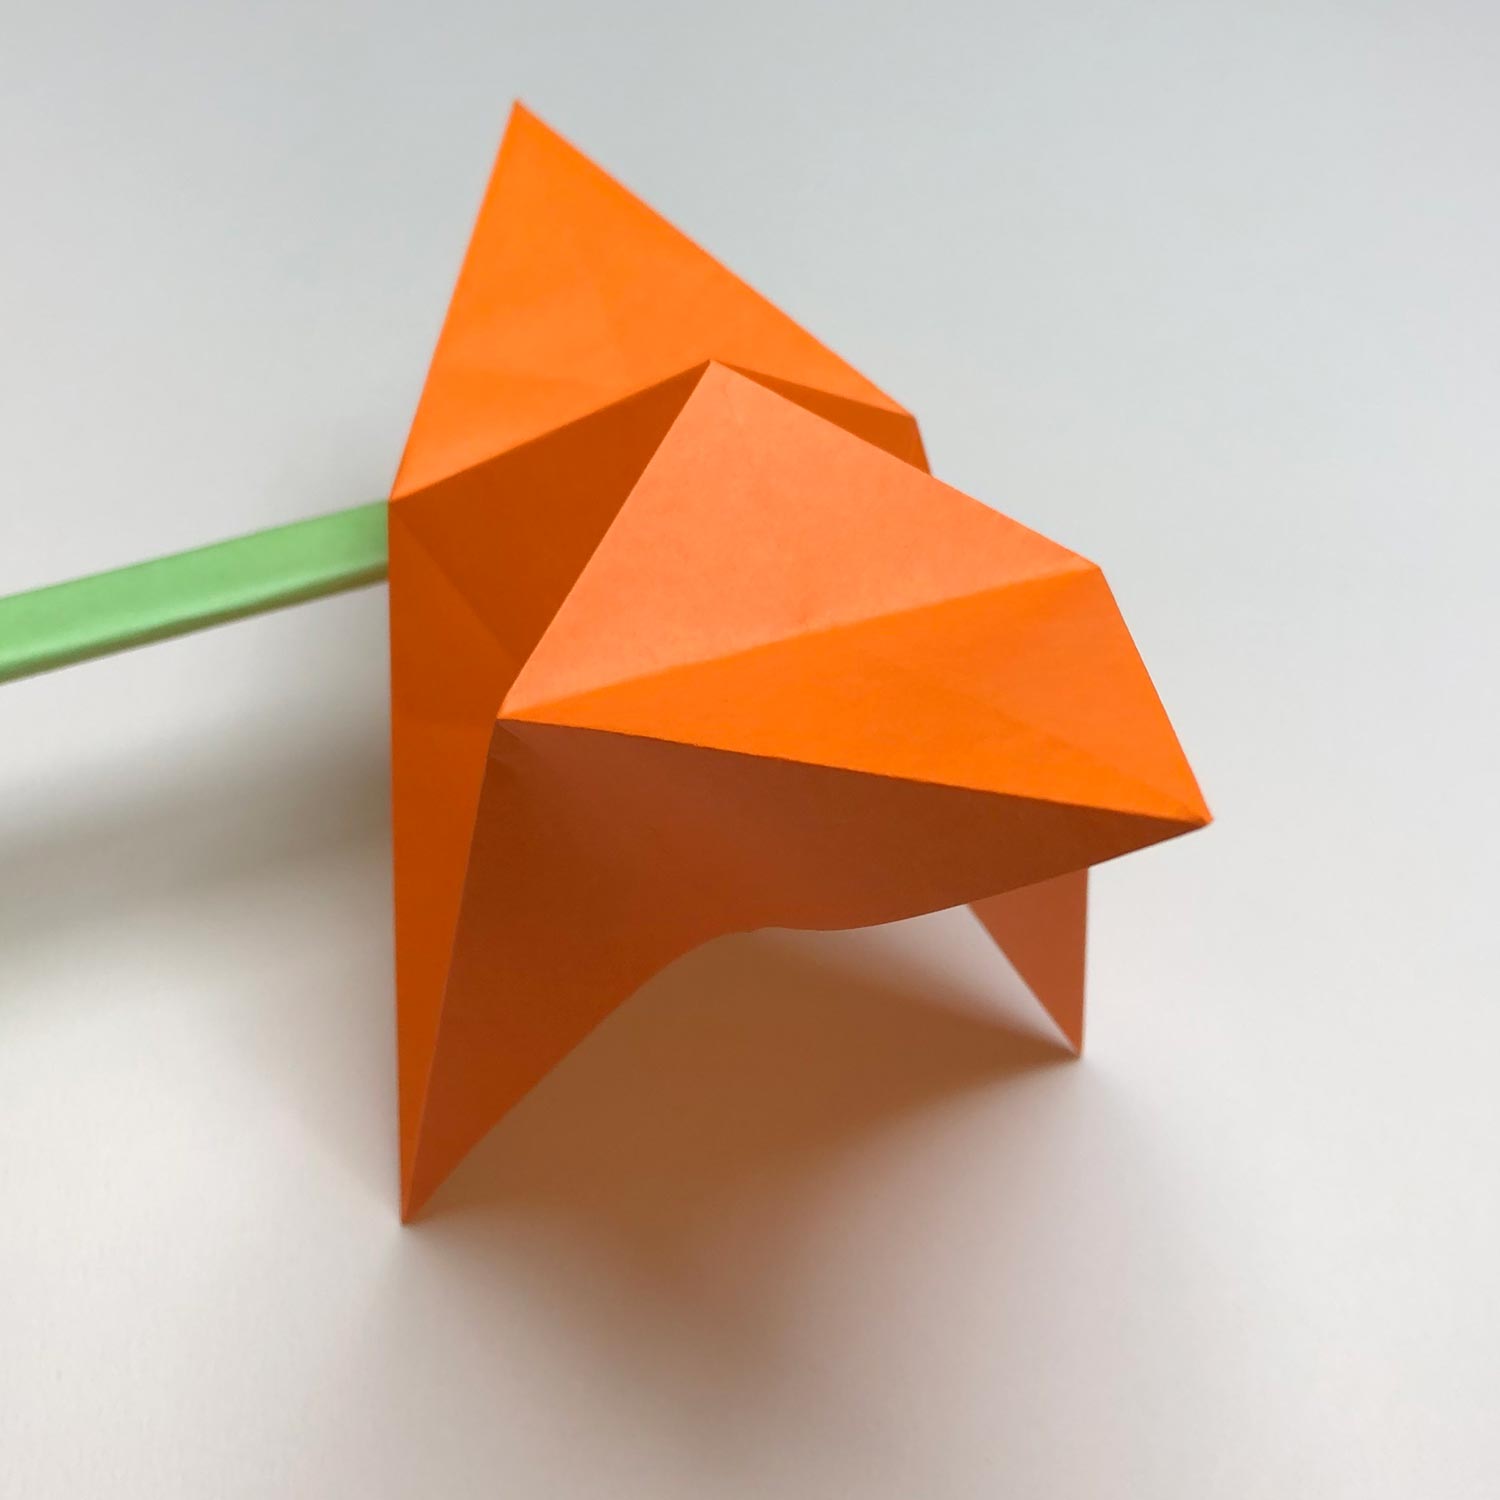
(18)
Make a beak and fold wings.
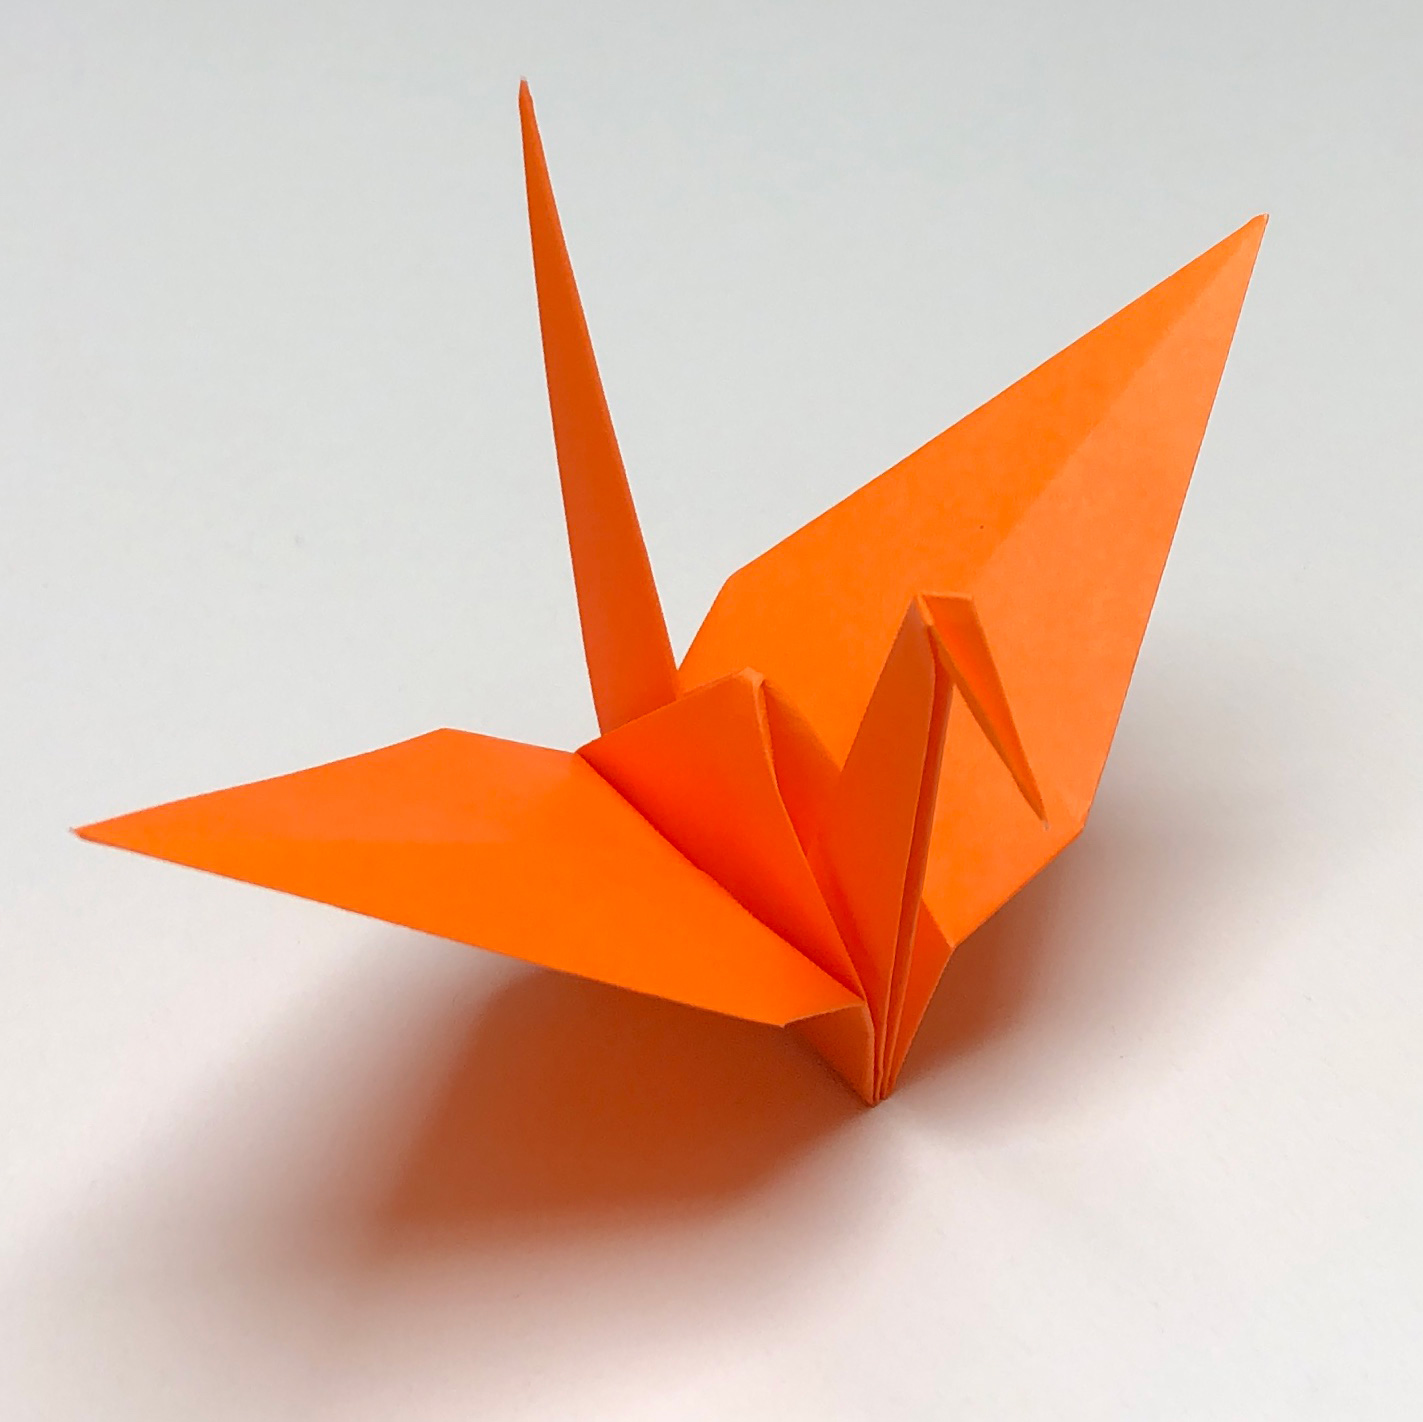
A paper crane is complete!