Make Yoshiwara-suzume
(1)
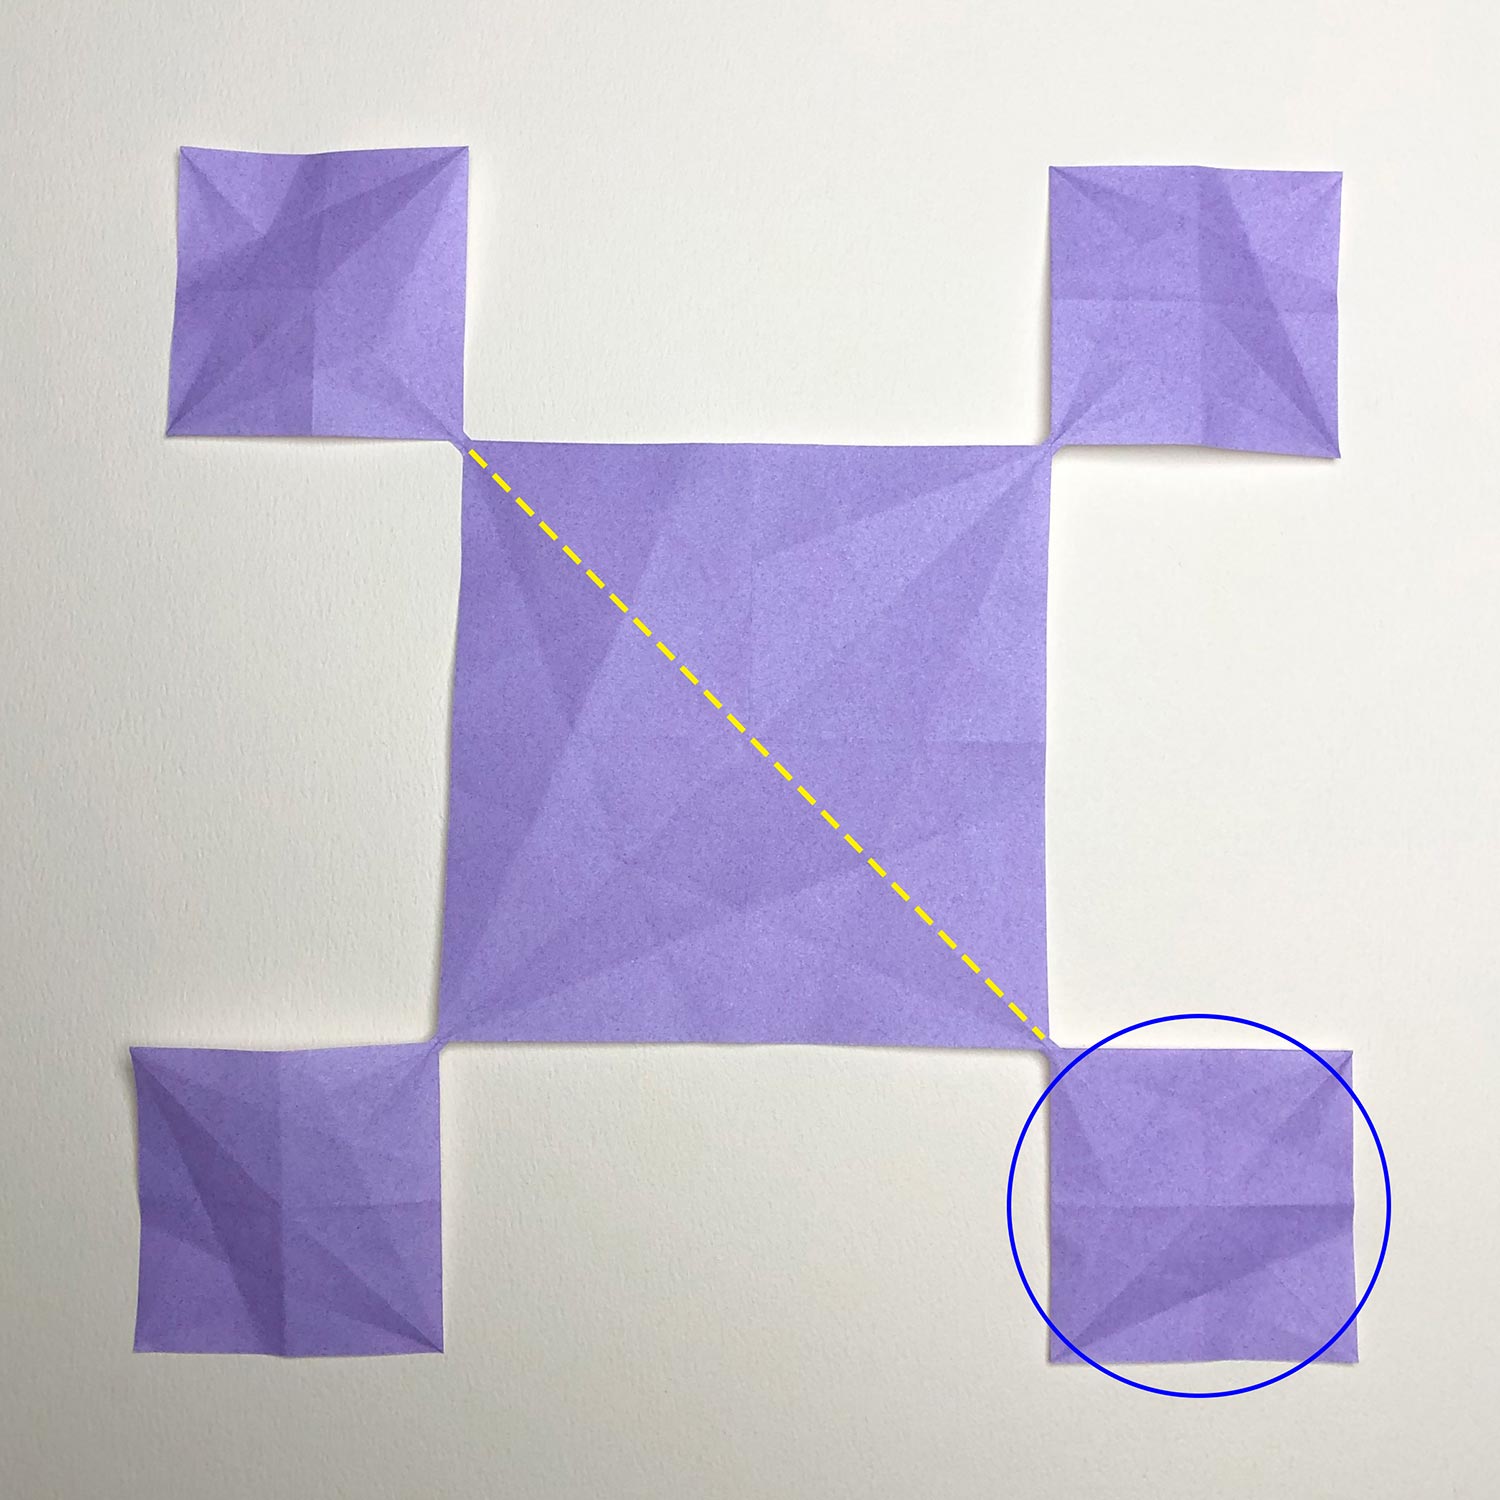
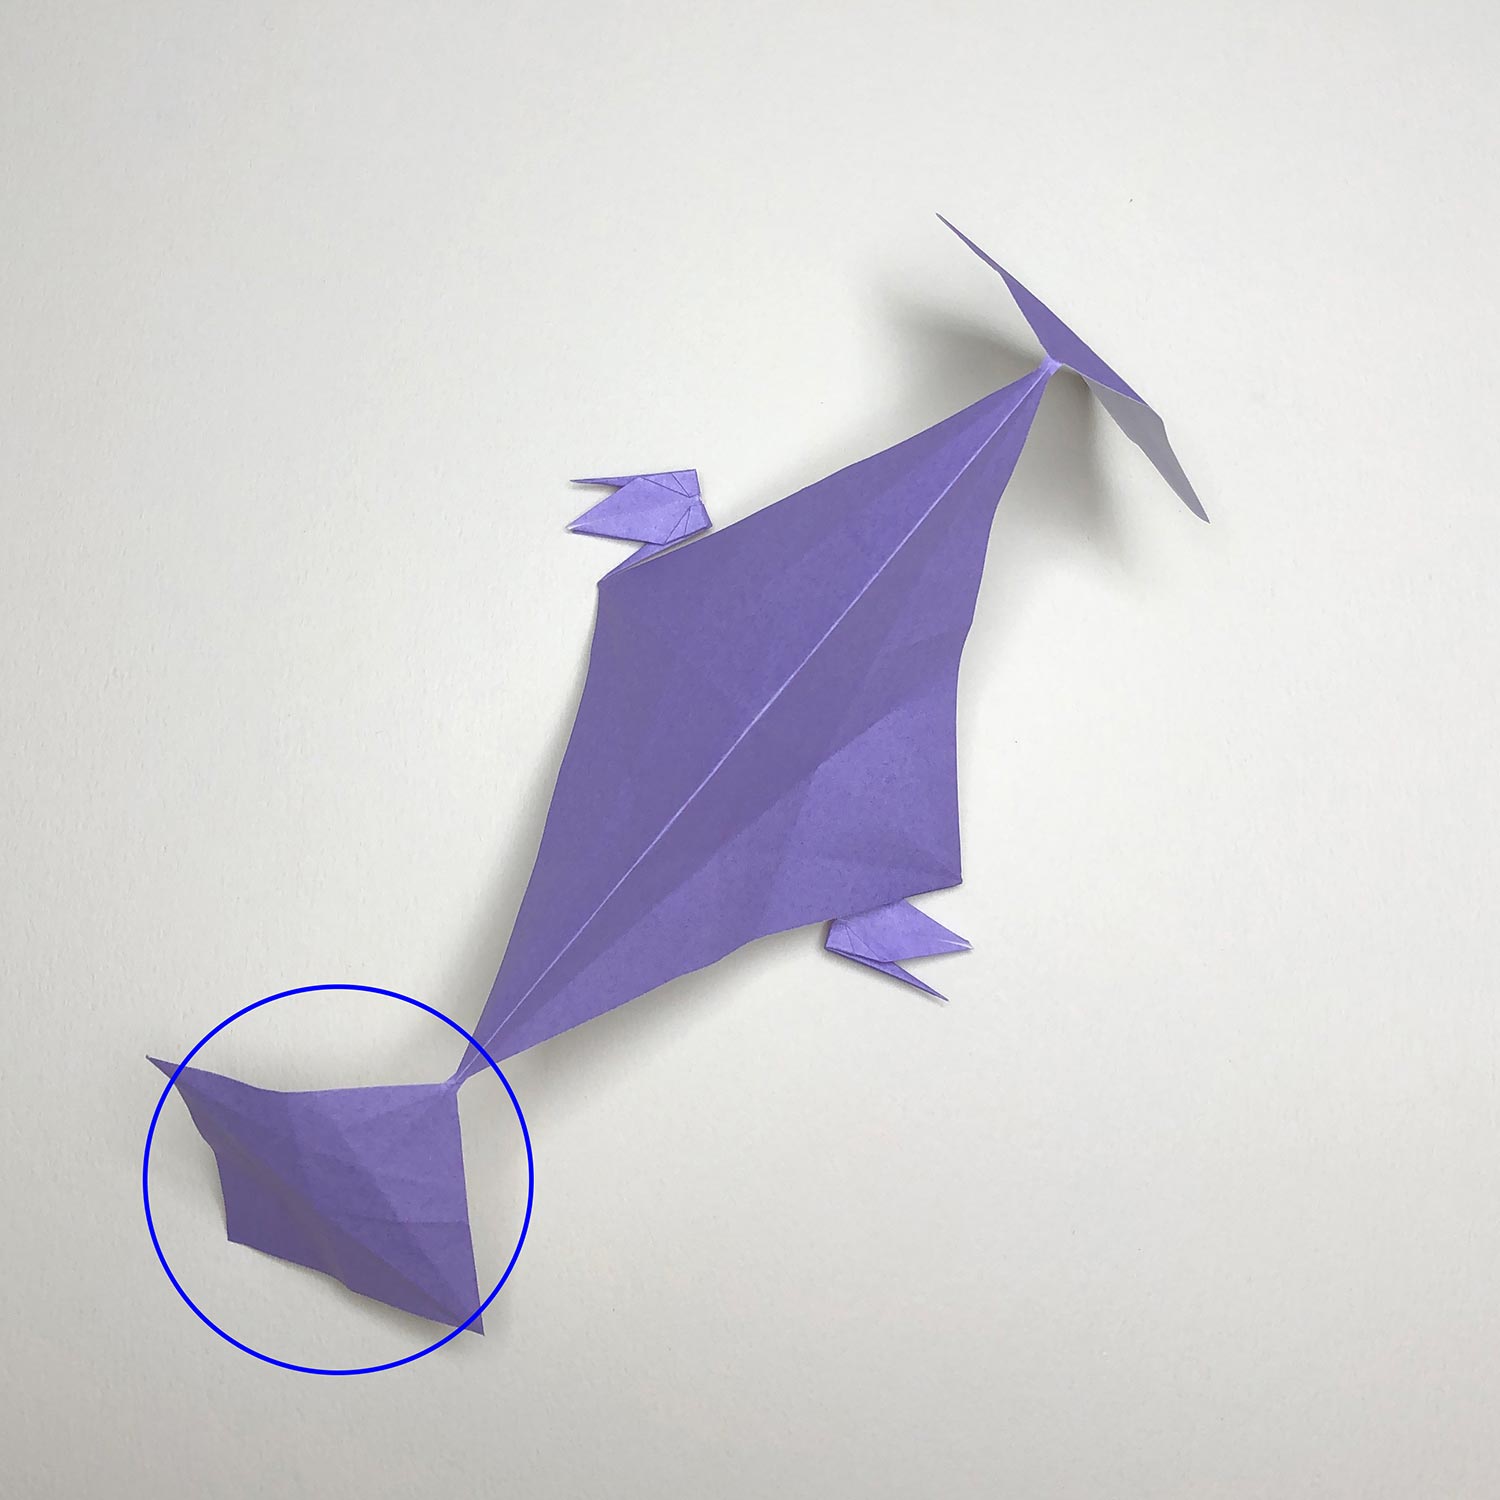
Start with folding the square that has been circled to make a crane.
Before that, fold the middle square on the dotted line in order to get easier to make a small crane.
(2)
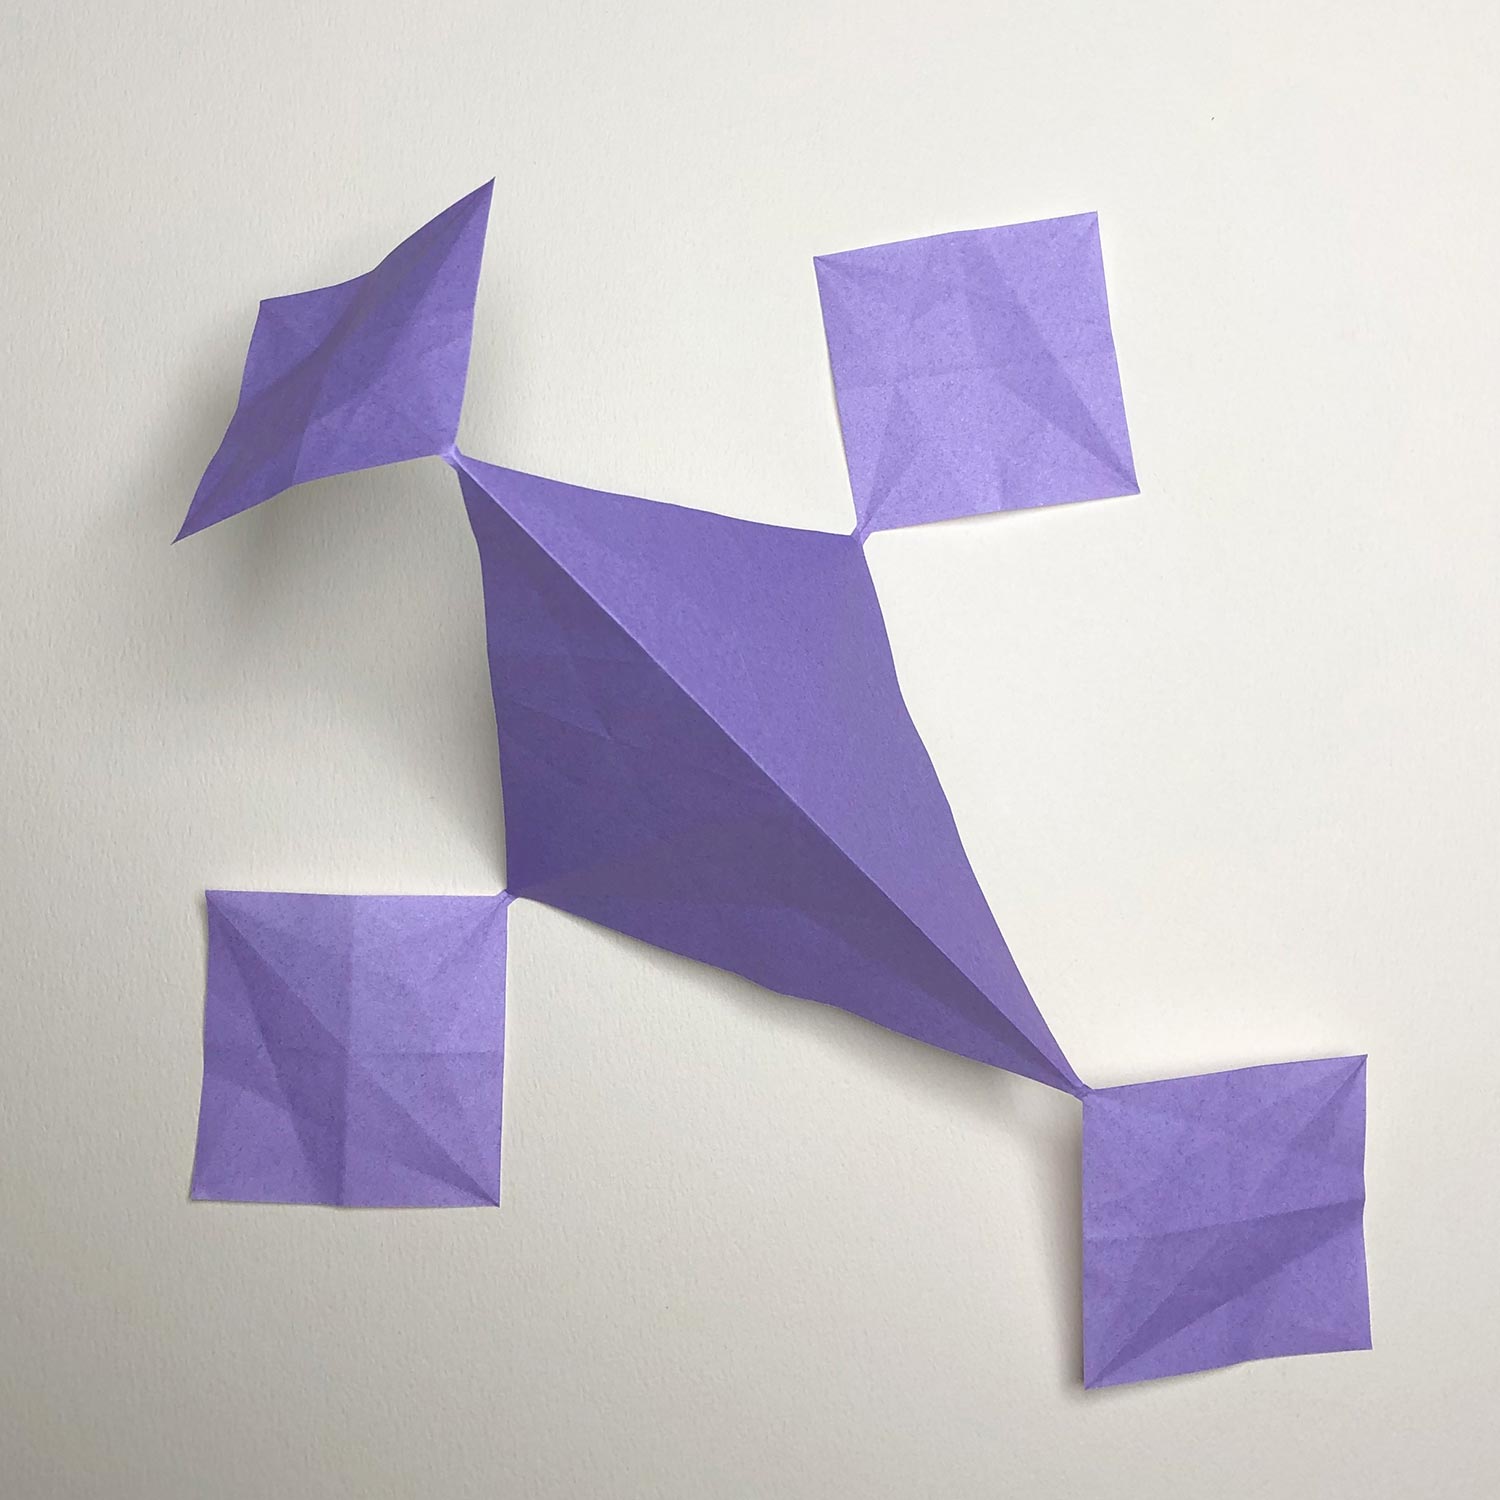
Fold the middle square like this picture.
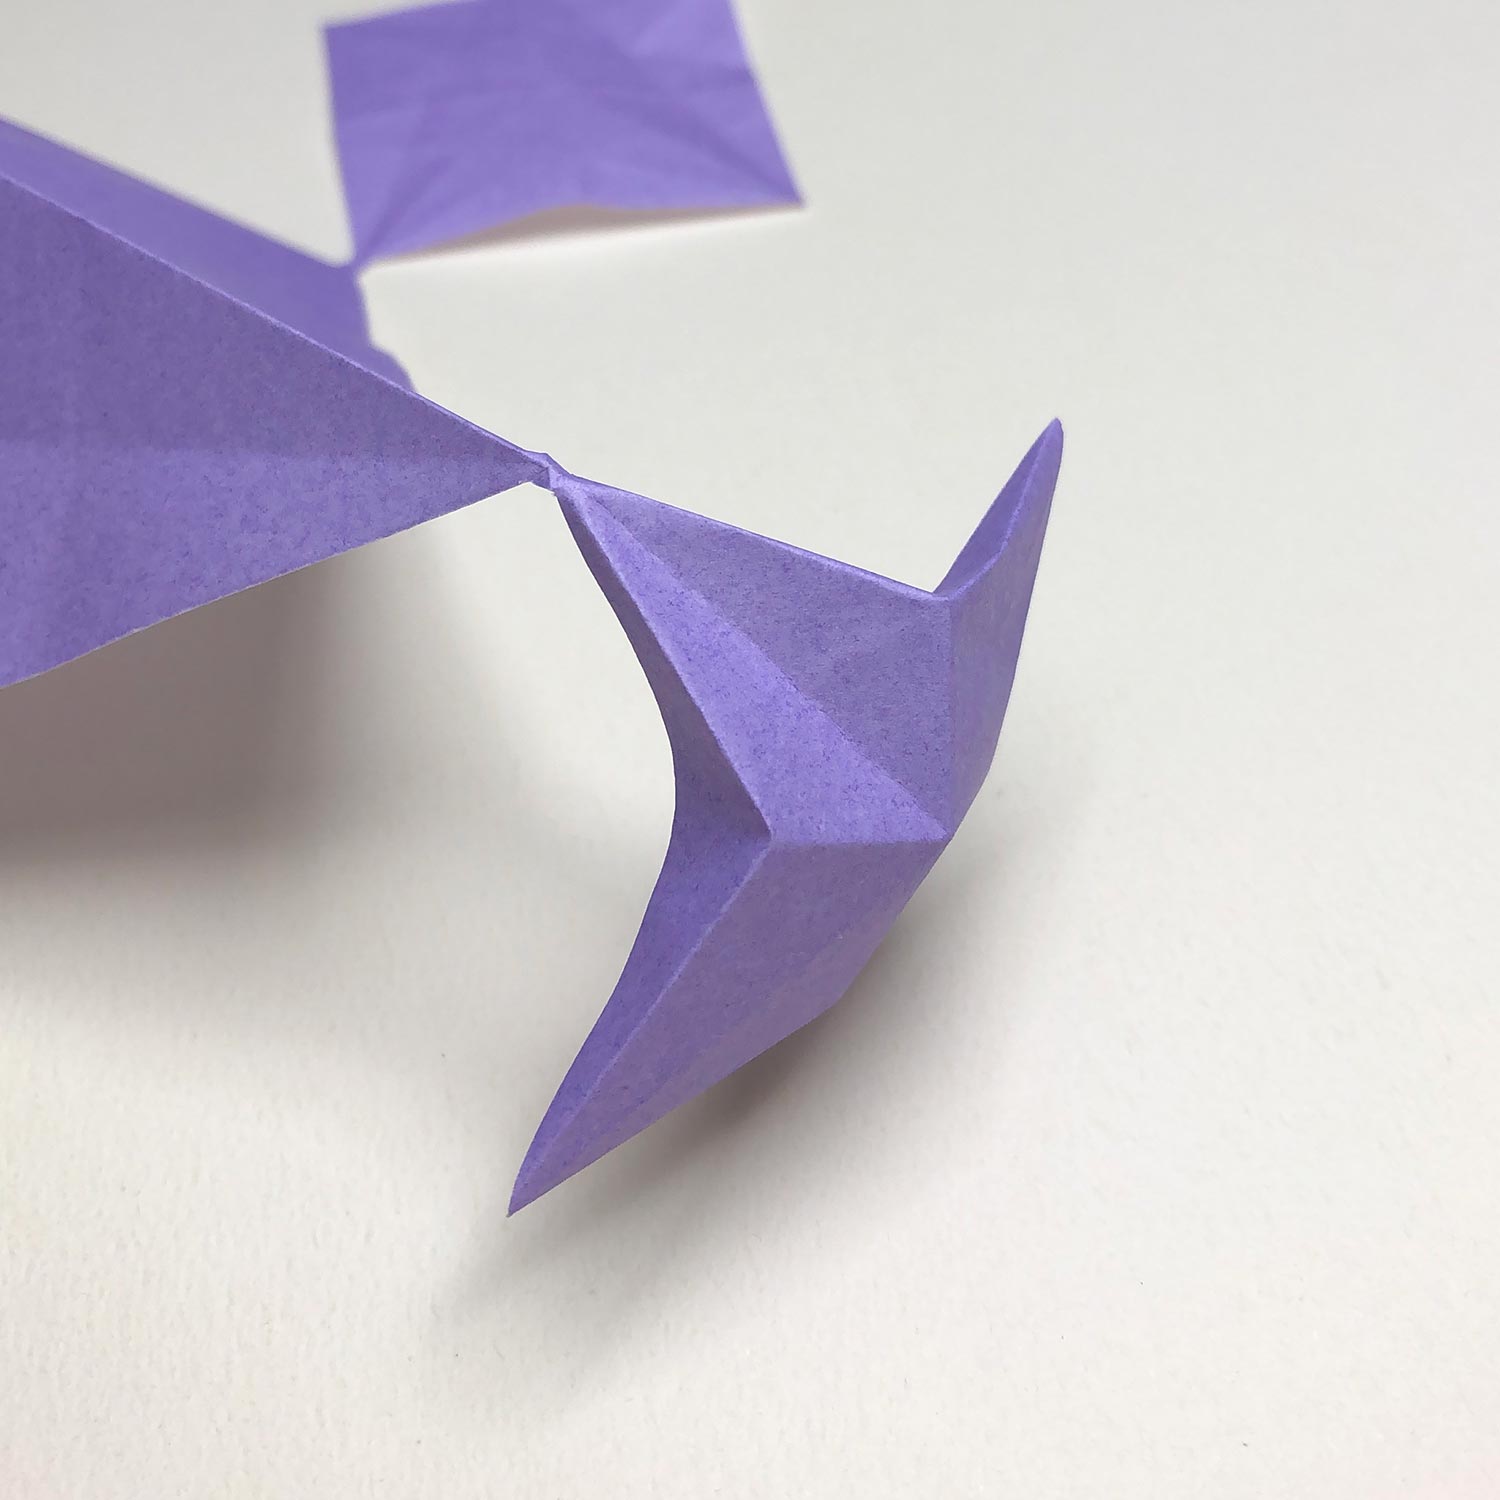
(3)
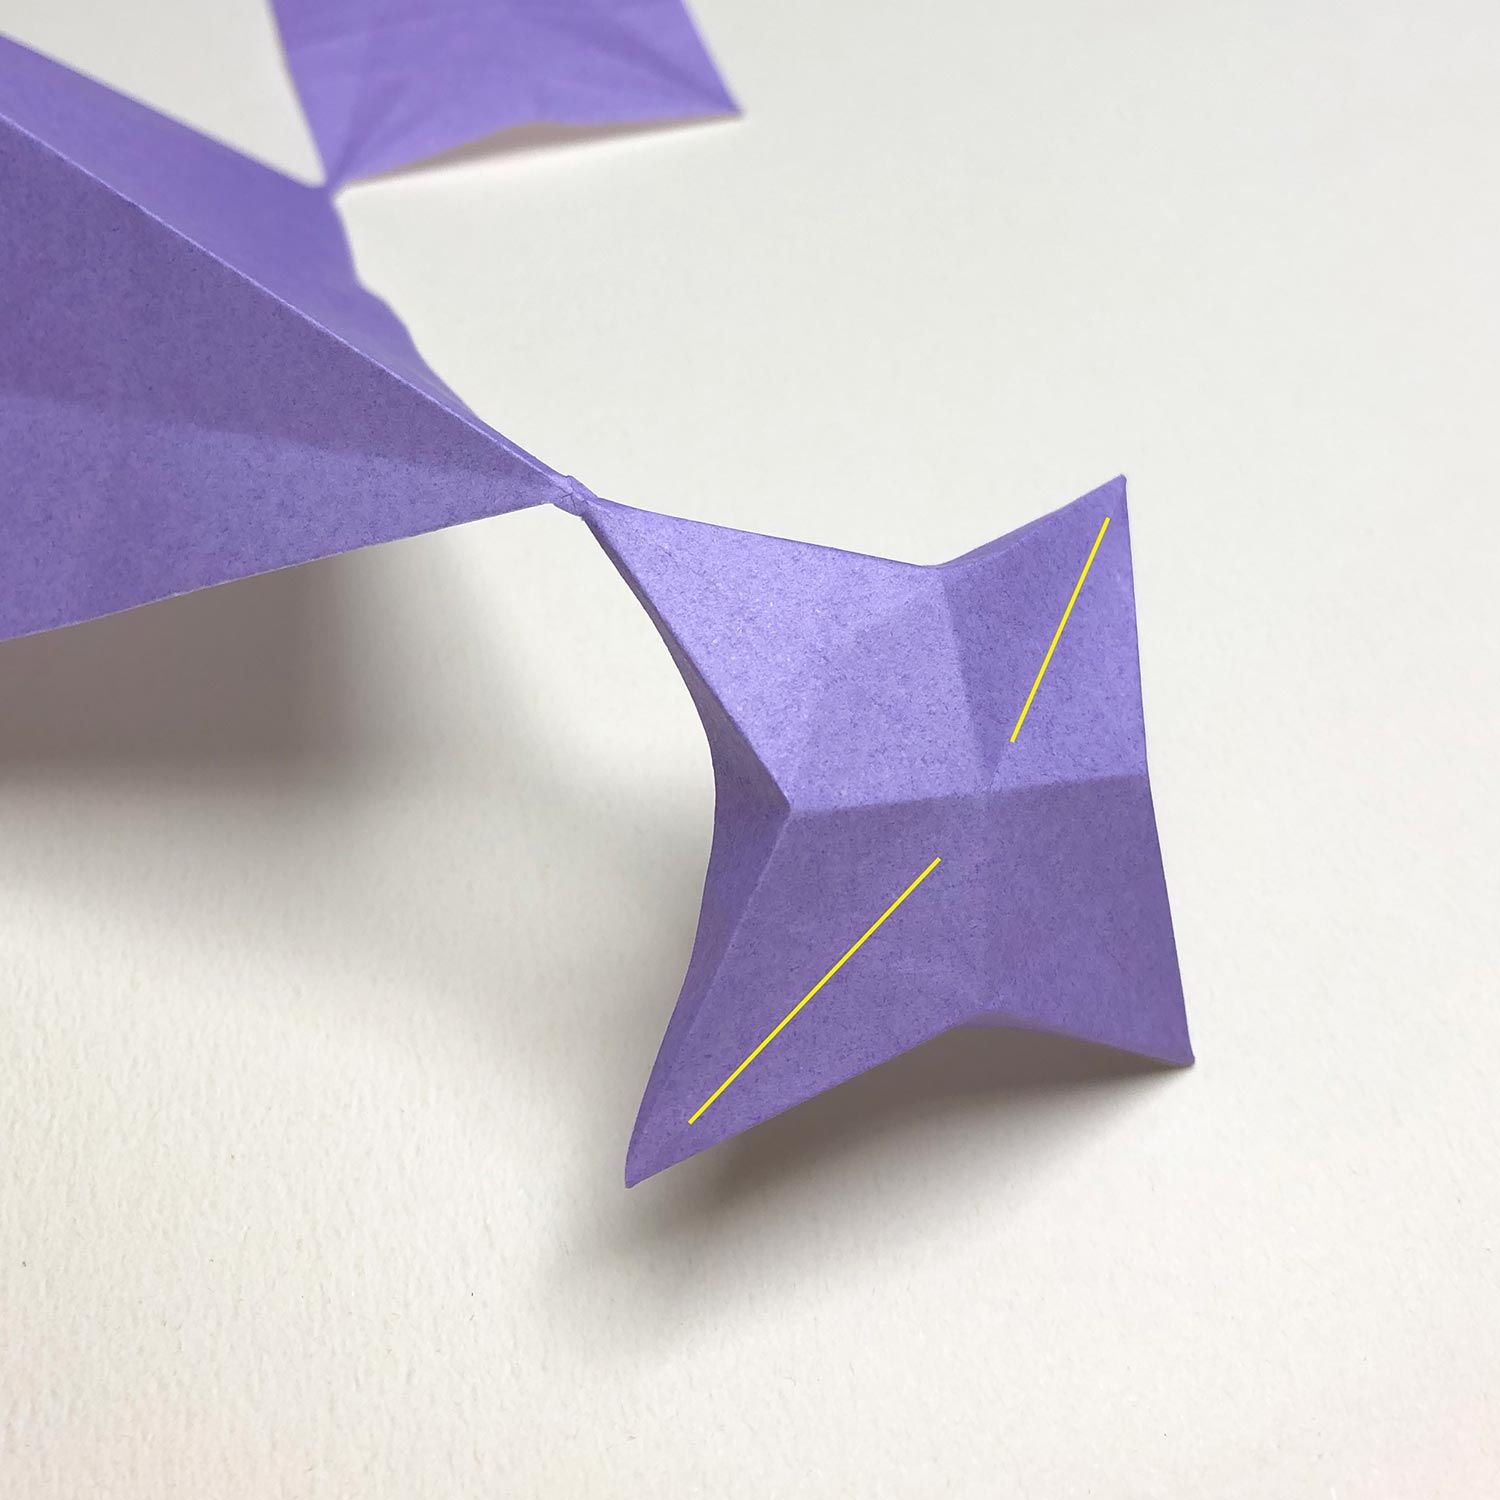
Make a star-shape like this picture.
Then make a bird-base so that the yellow lines are changed to wings.
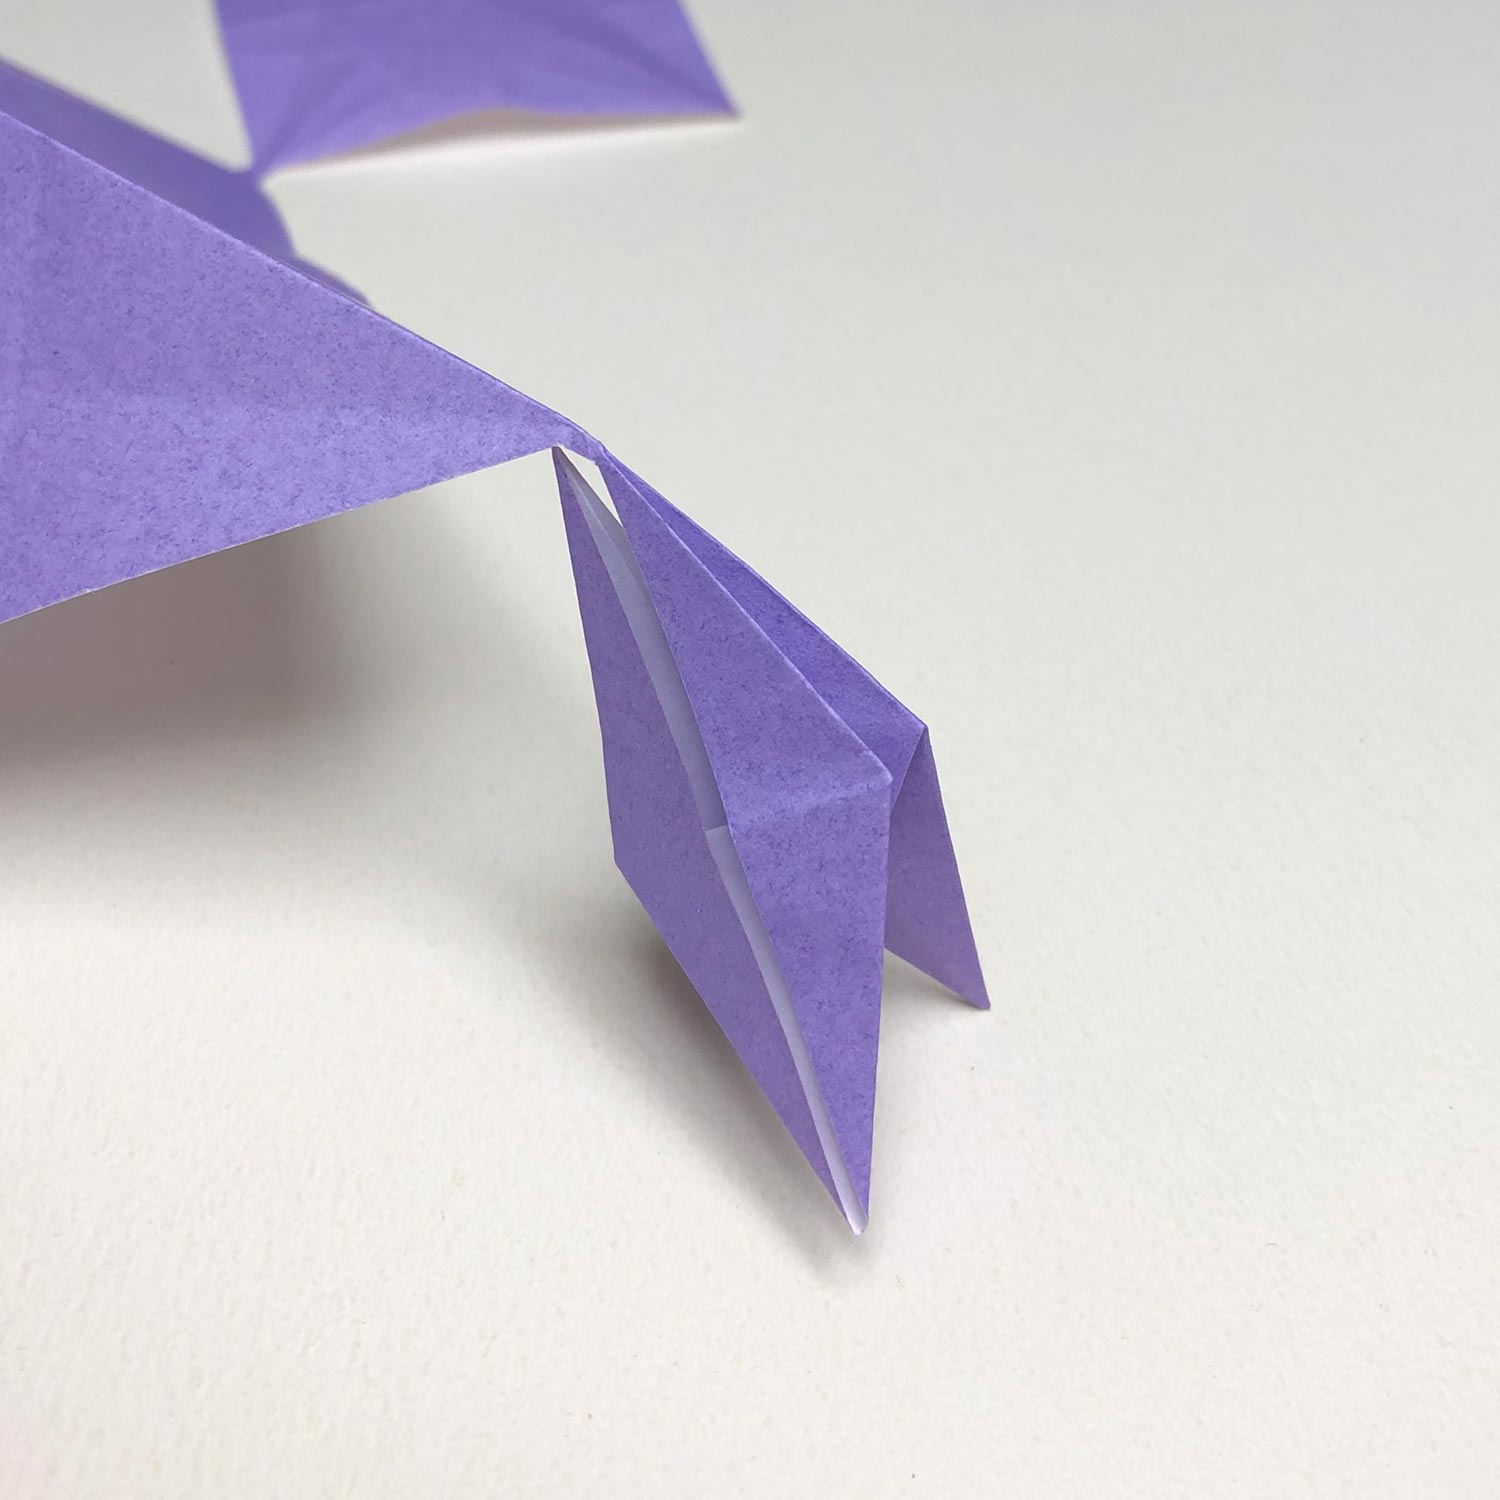
(4)
This picture is halfway through.
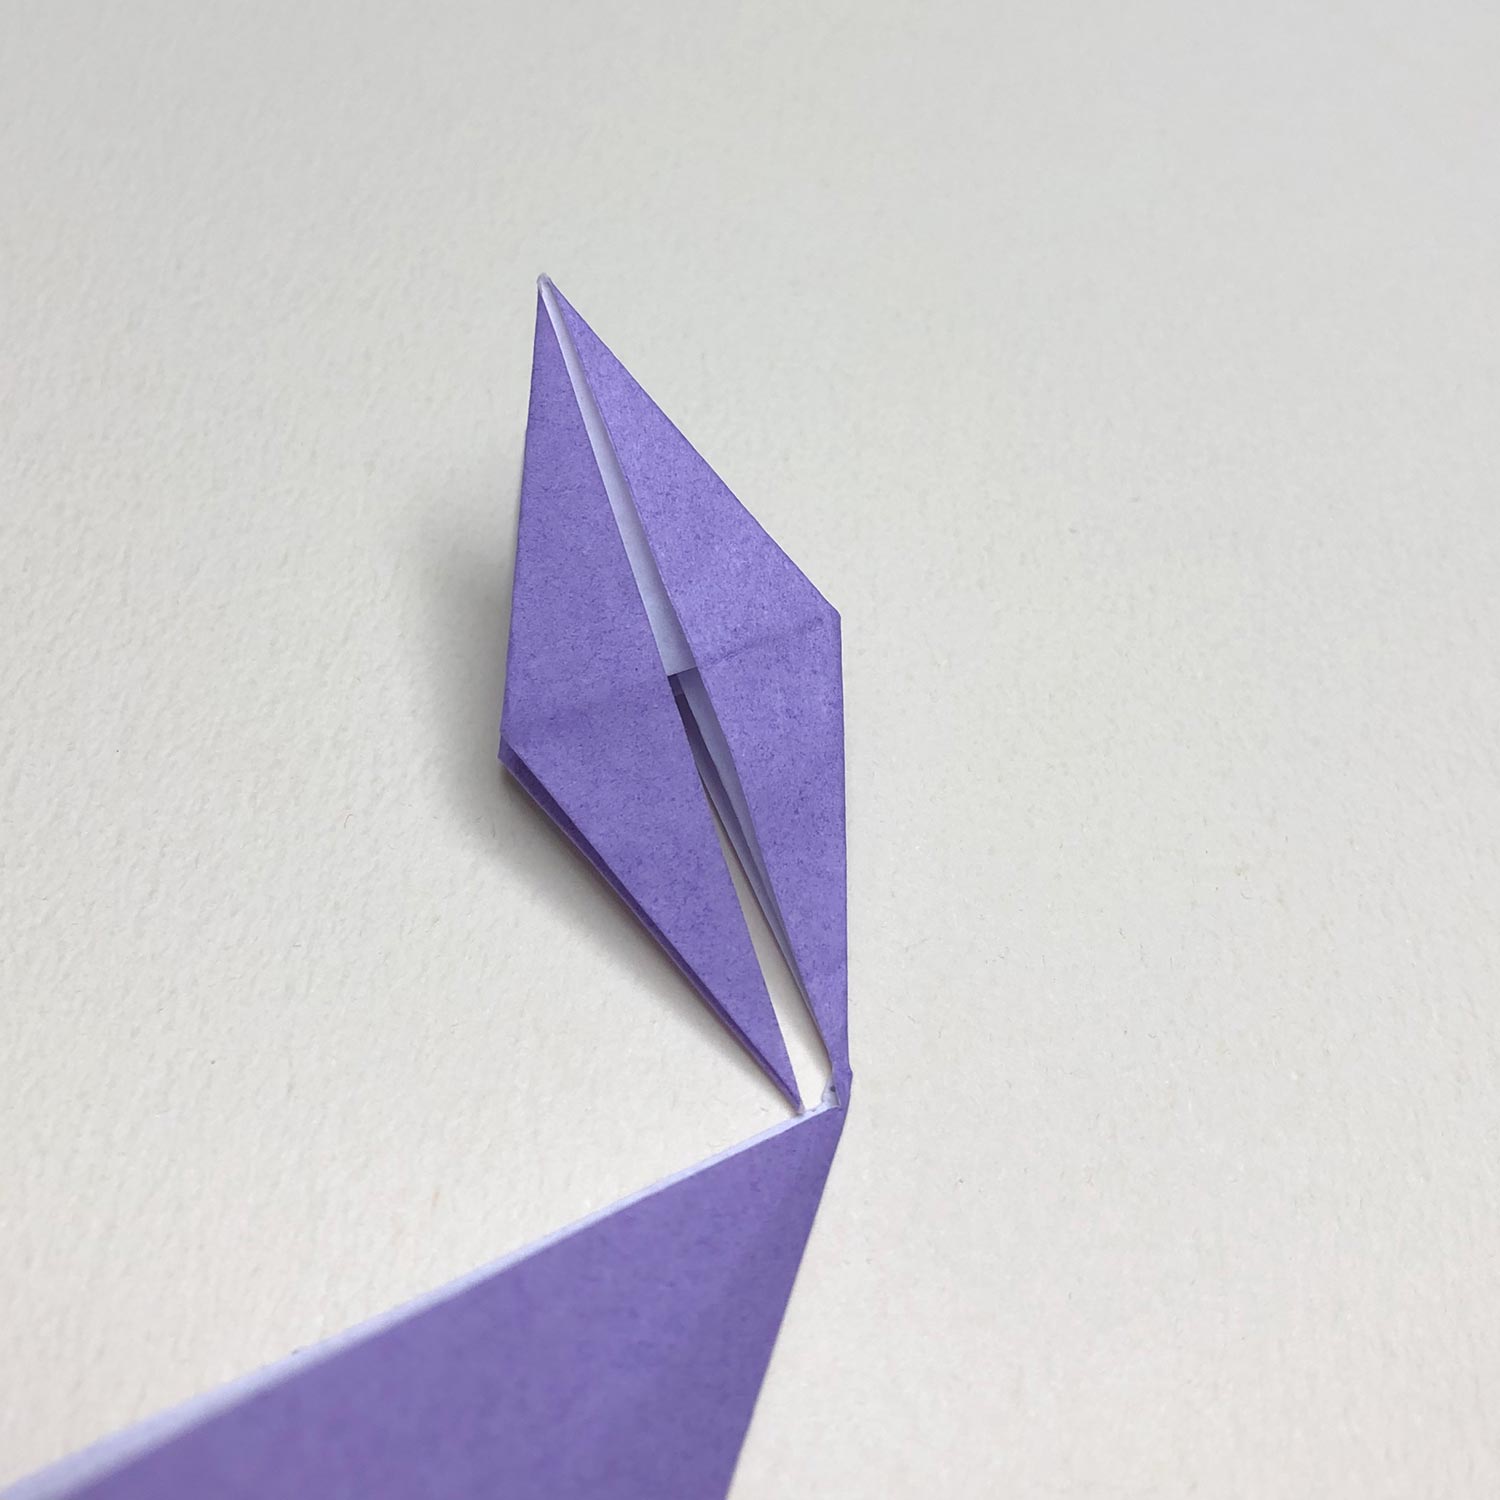
(5)
Fold neatly until the tip.
(6)
The bird-base is finished.
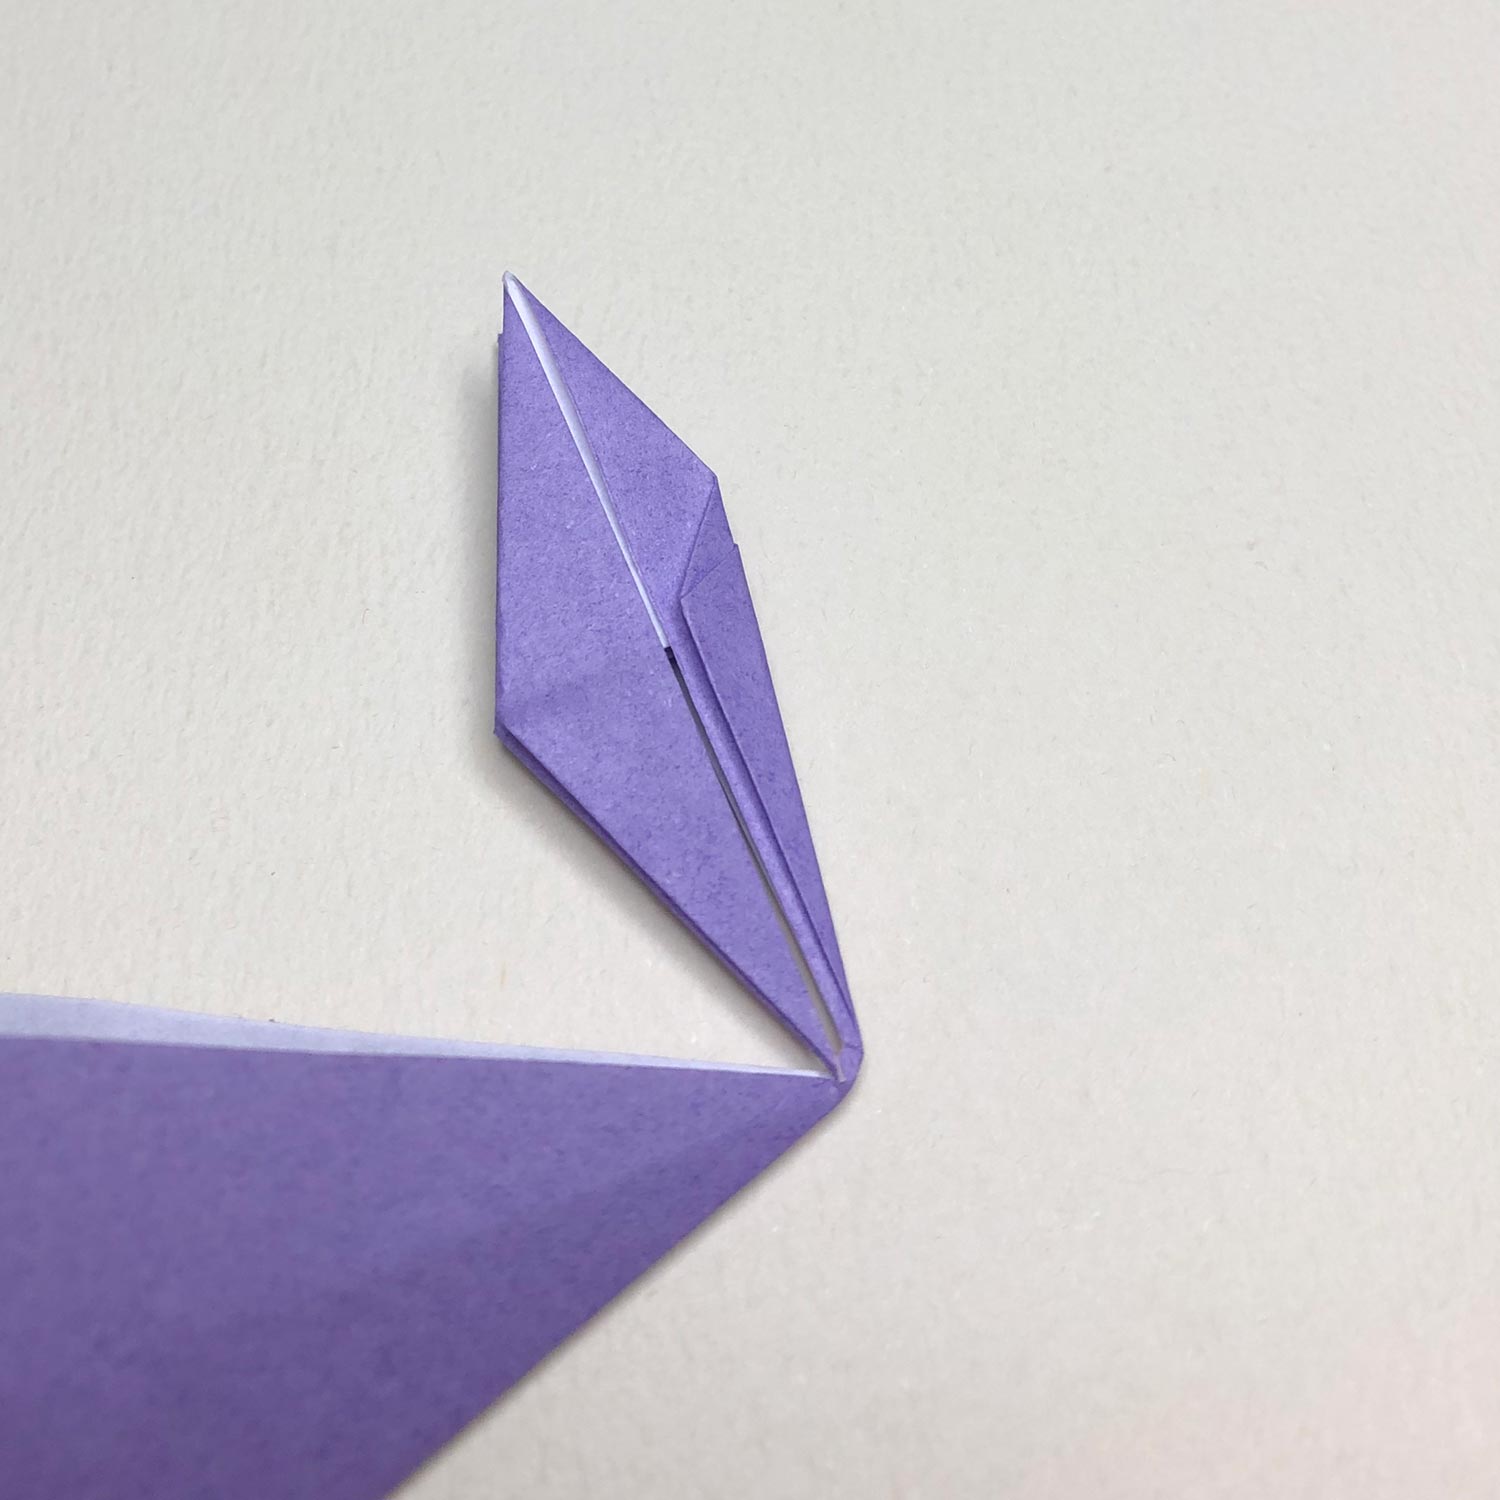
(7)
First, fold the head/tail, which is connected, to the center.
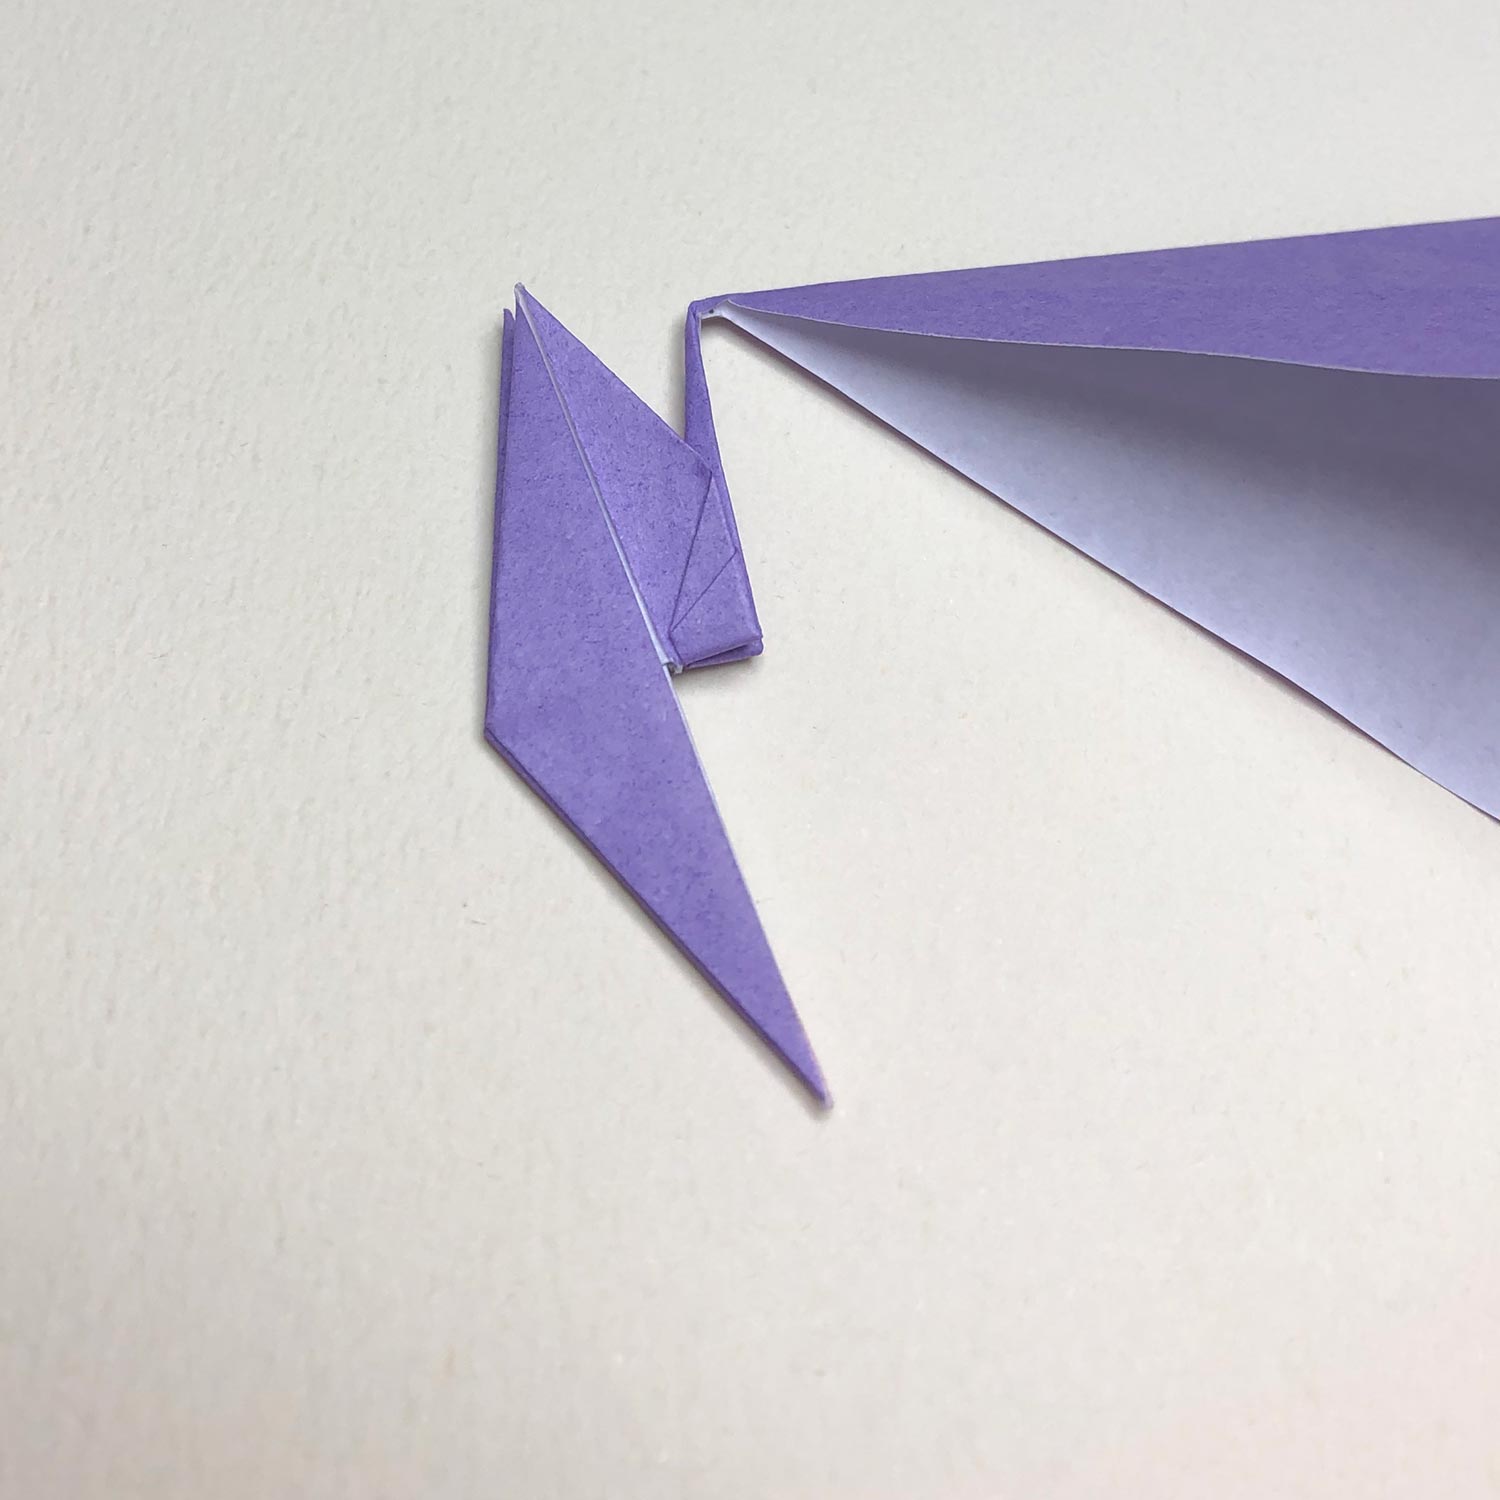
(8)
After folding the head/tail, raise it.
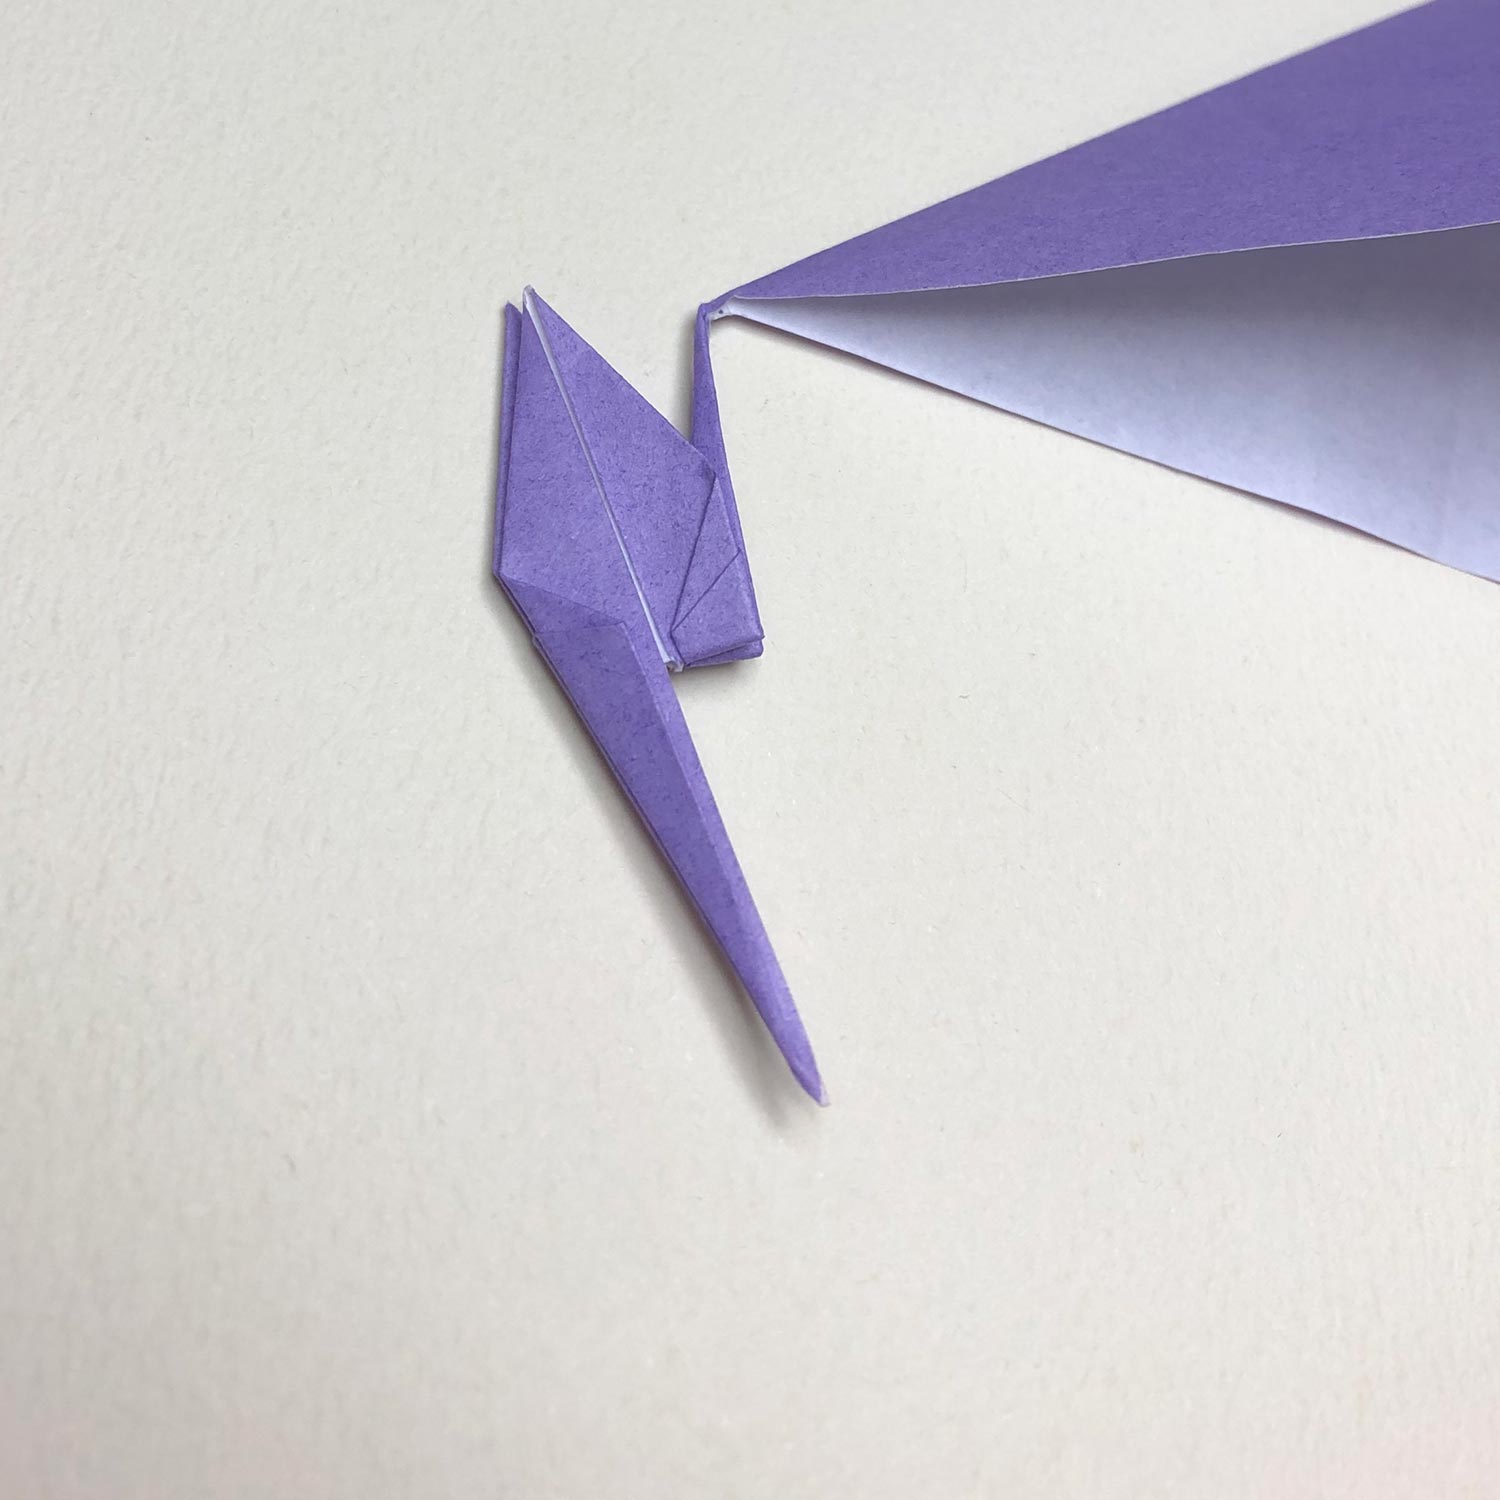
(9)
Raise it like this picture.
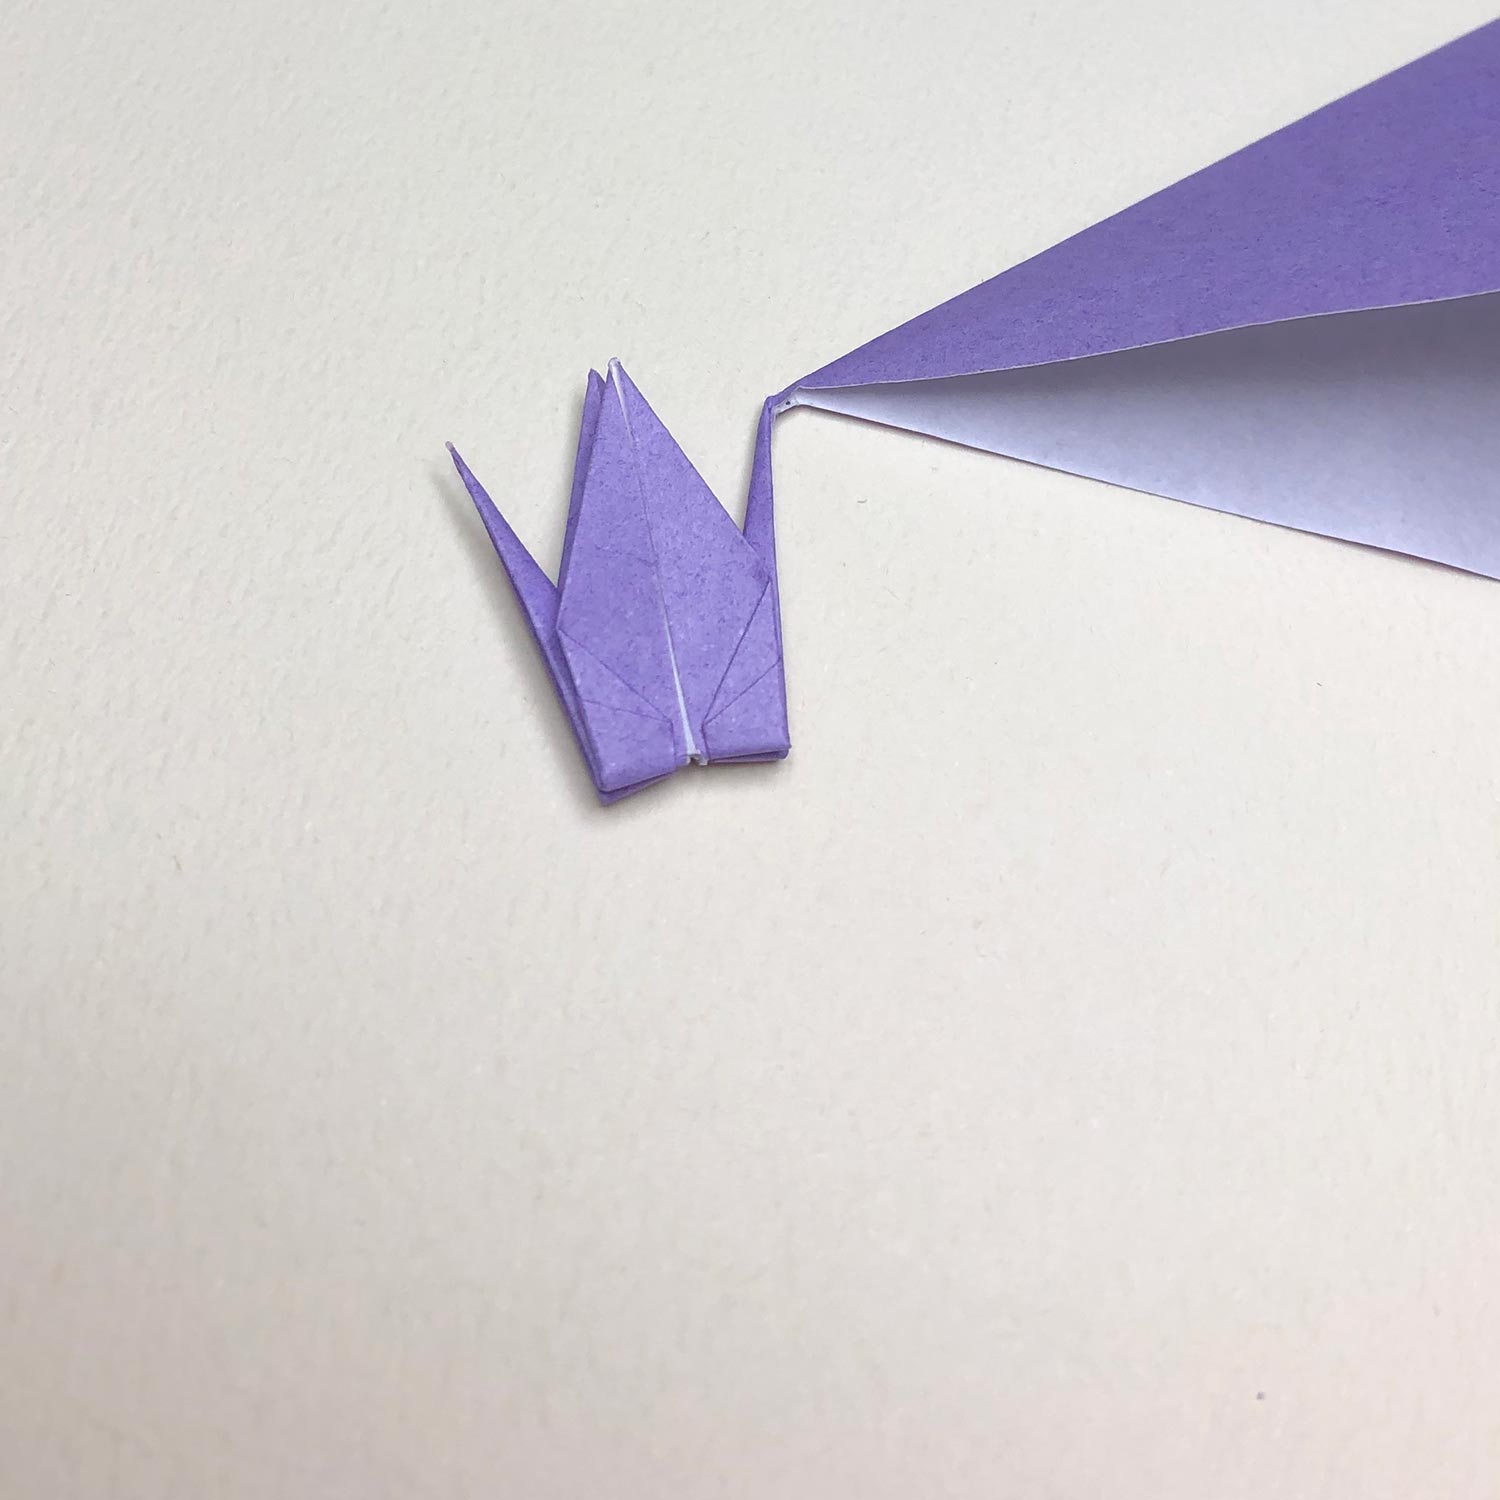
(10)
Fold the other head/tail to the center.
(11)
Raise it like this picture.
The first small crane is finished.
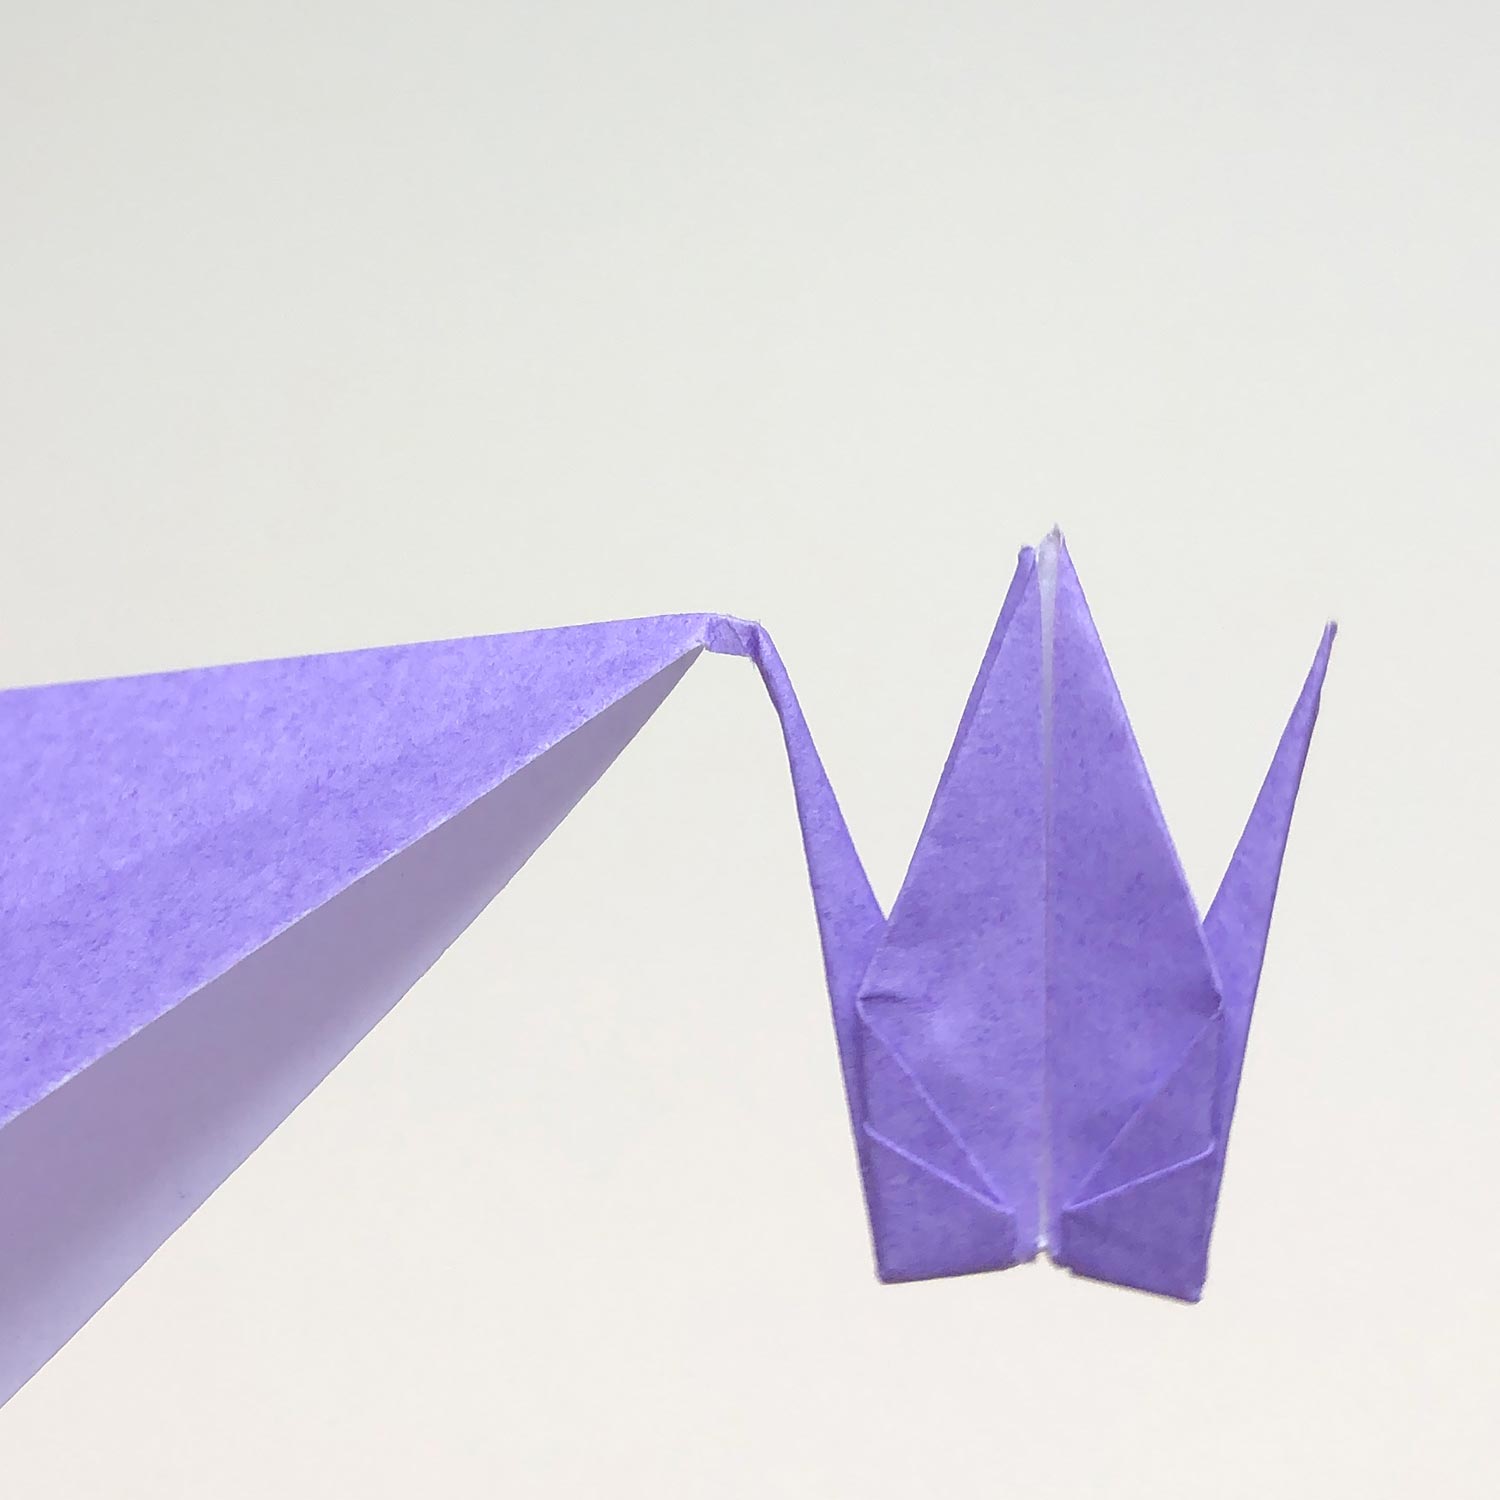
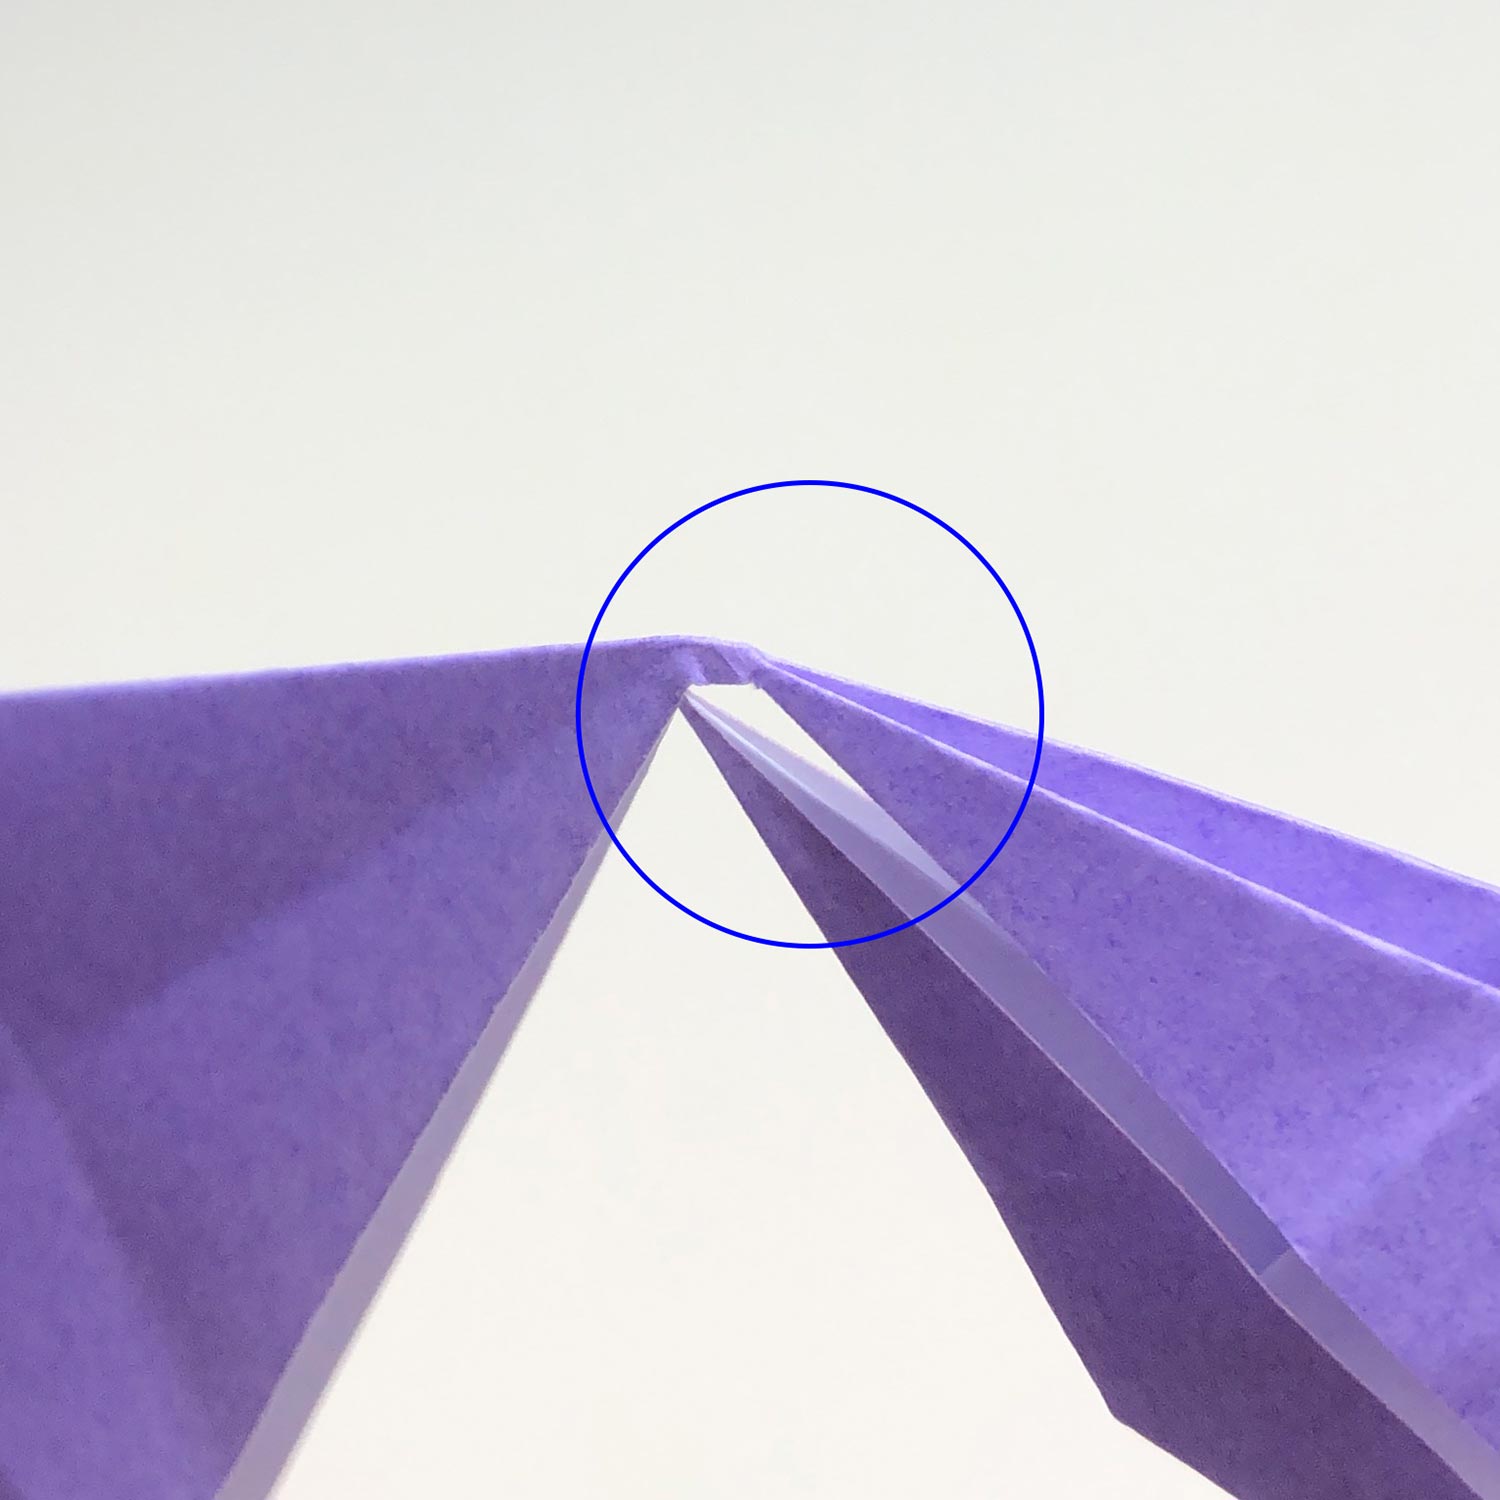
(12)
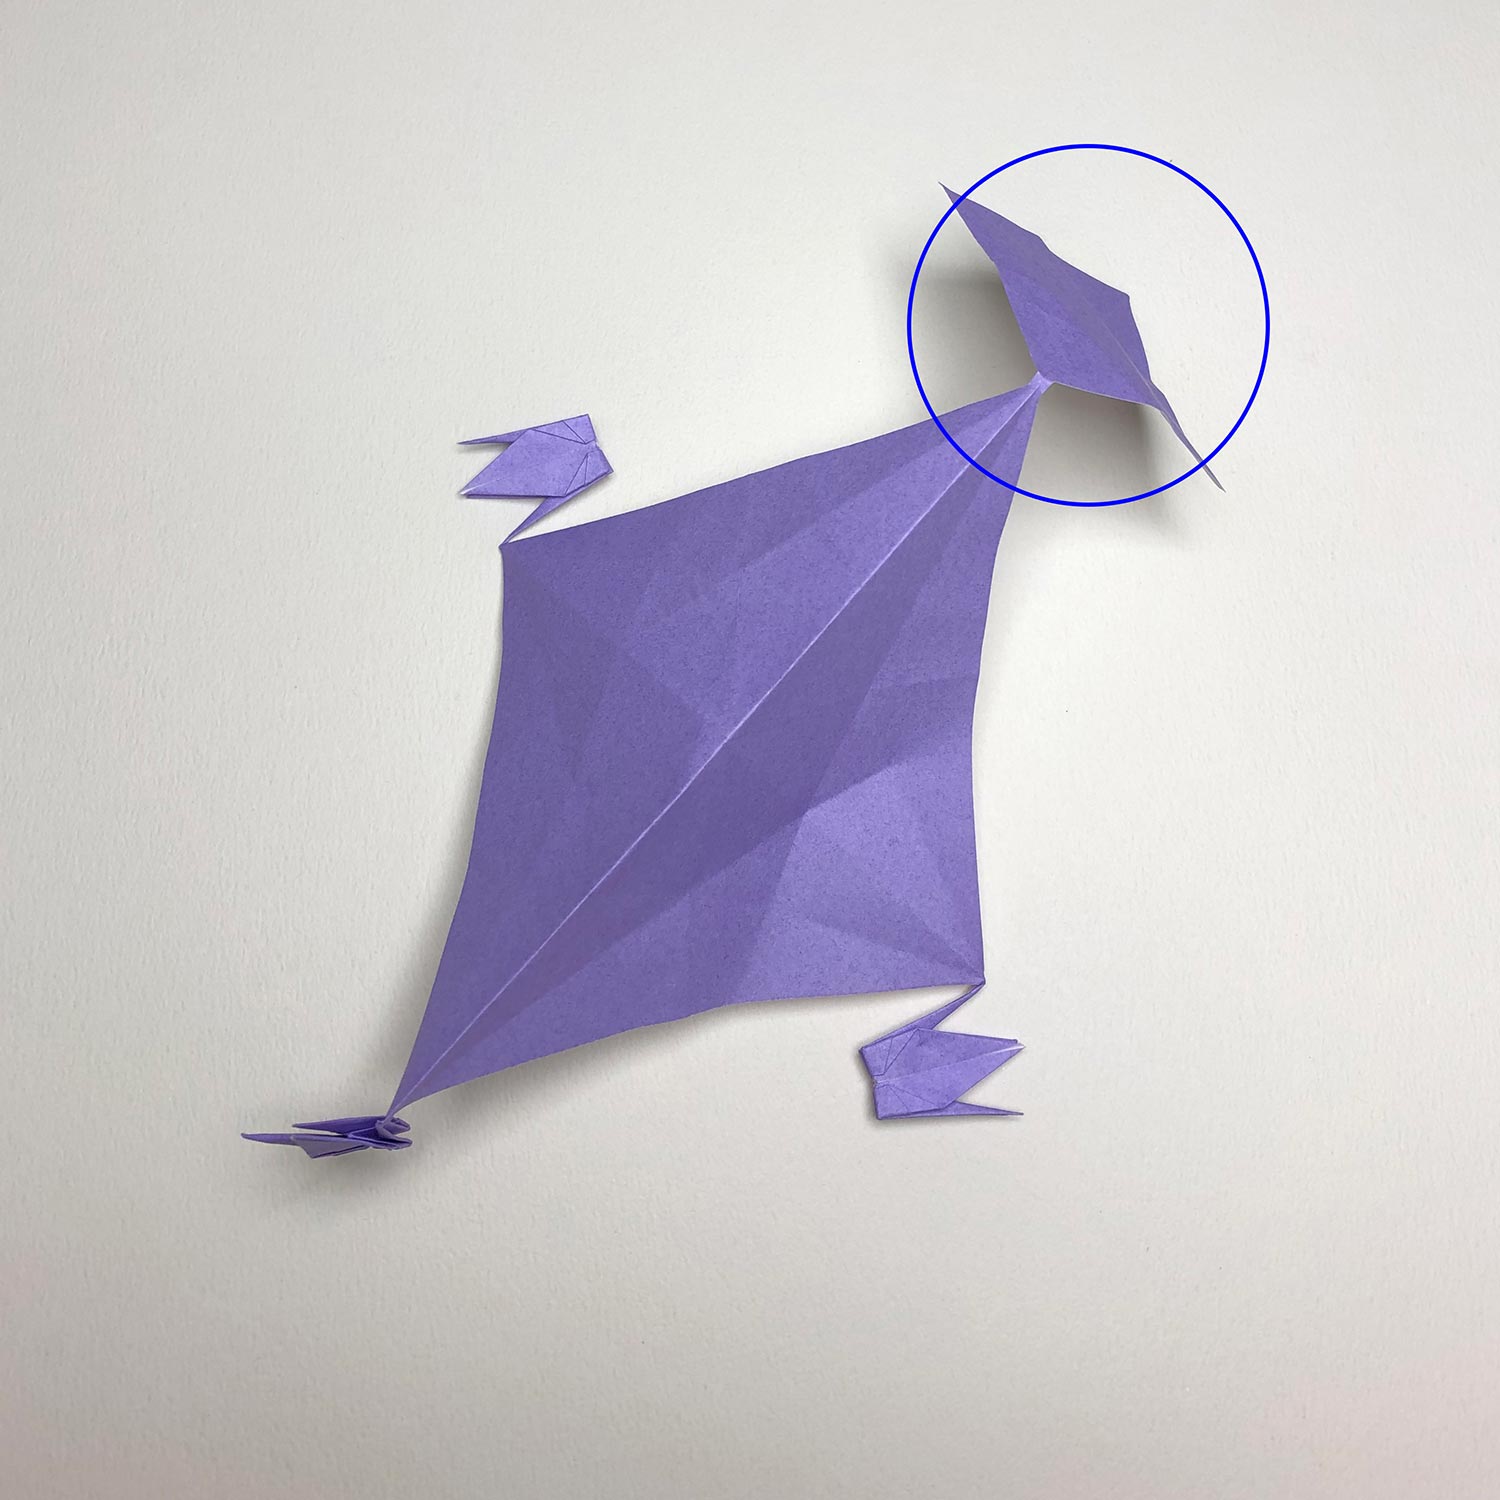
This is an enlarged picture of the connecting part.
(13)
Then fold the square that has been circled to make a crane in the same way as the 3rd step to the 12th step.
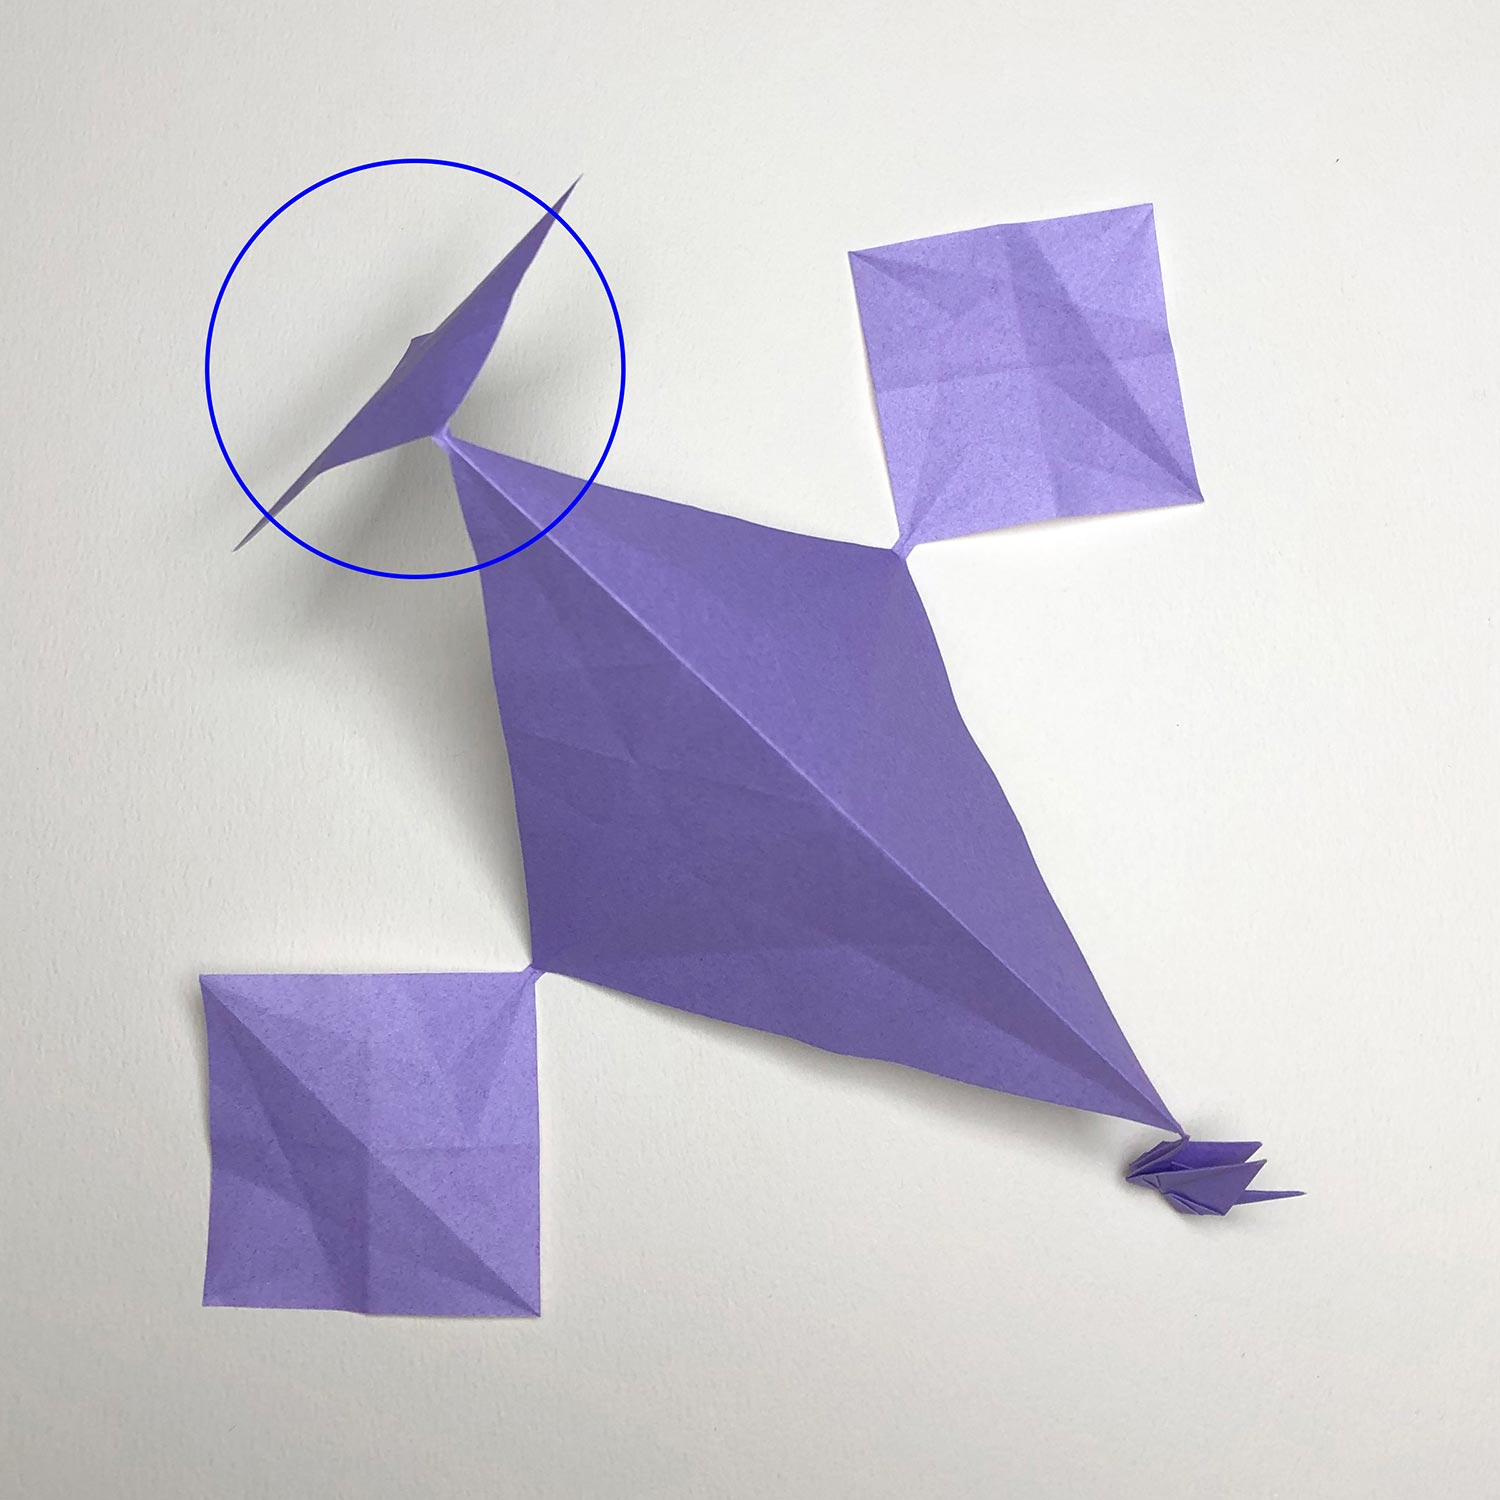
(14)
The second small crane is finished.
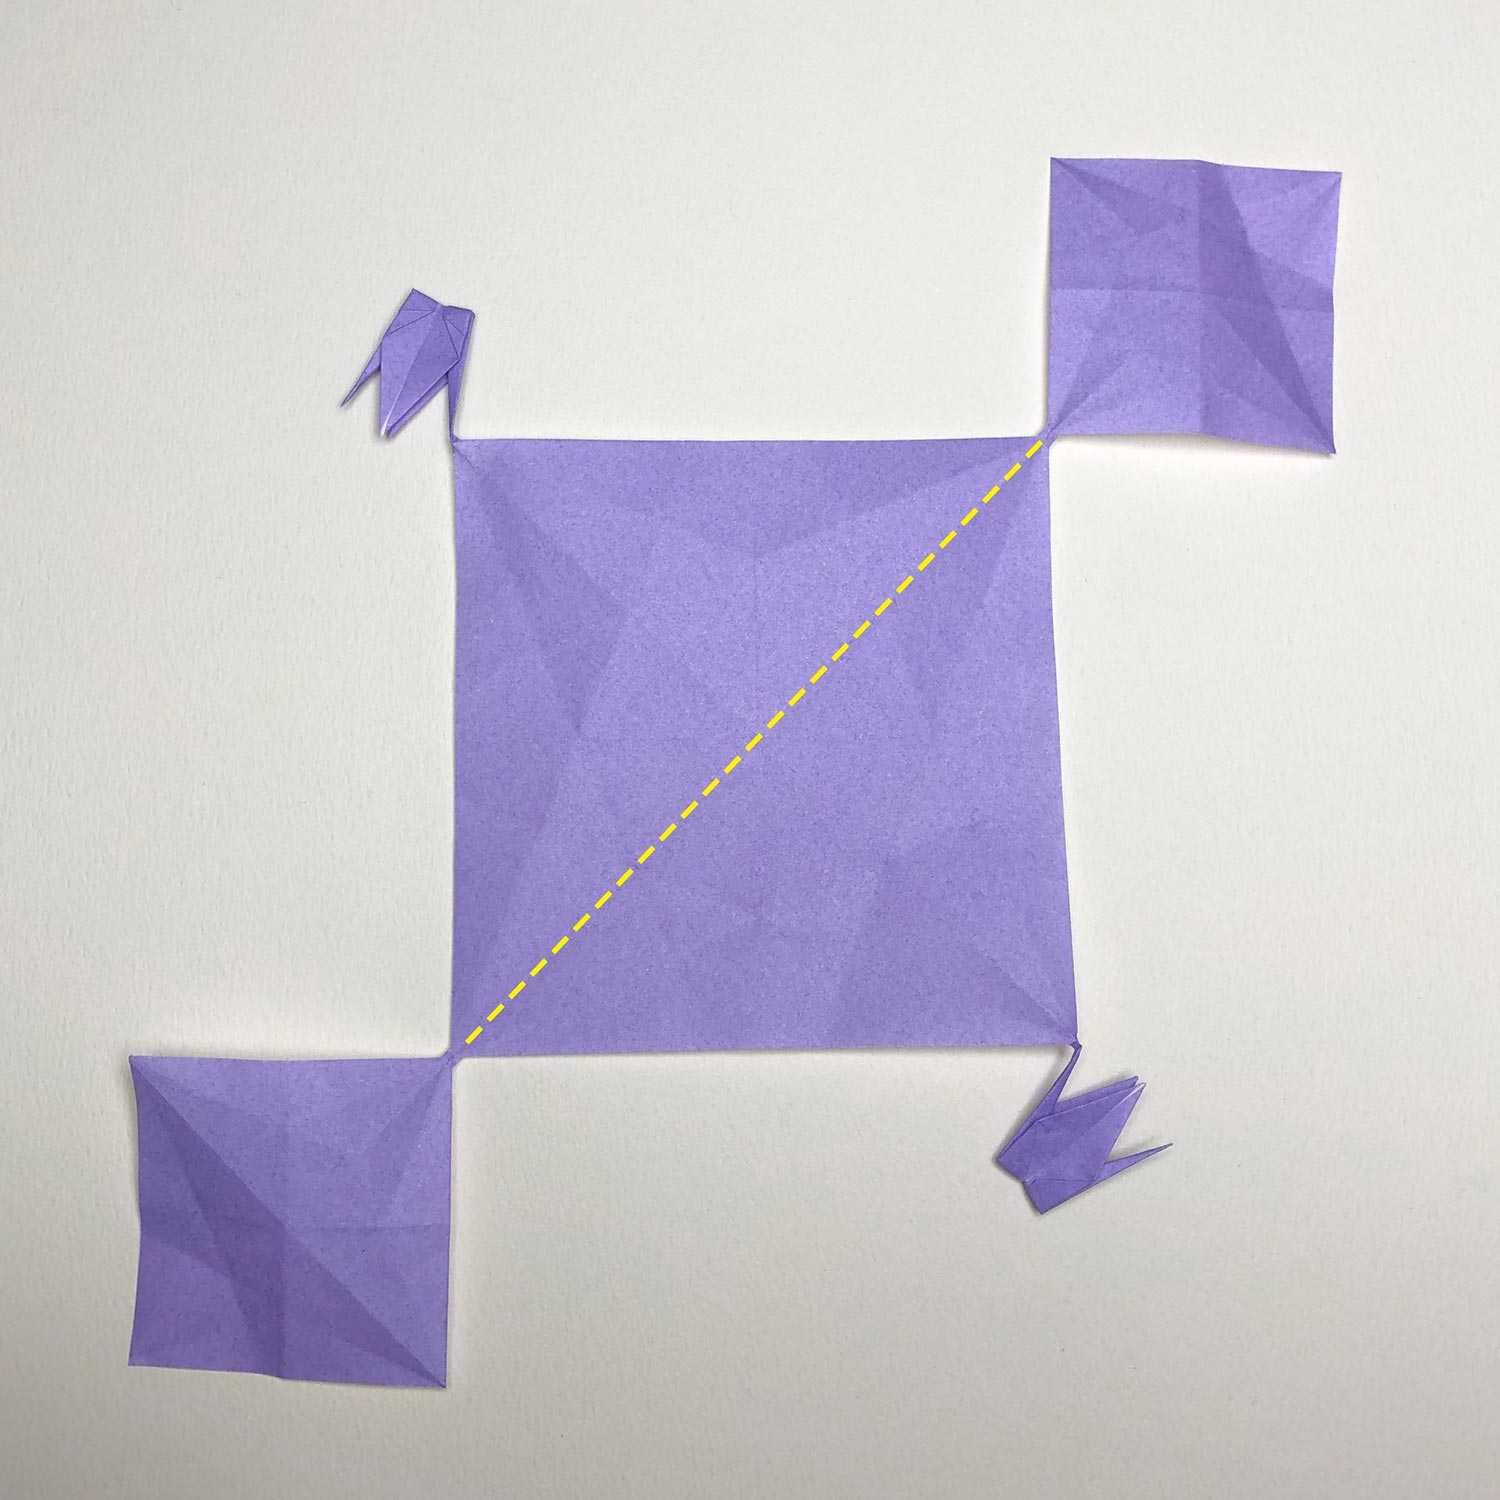
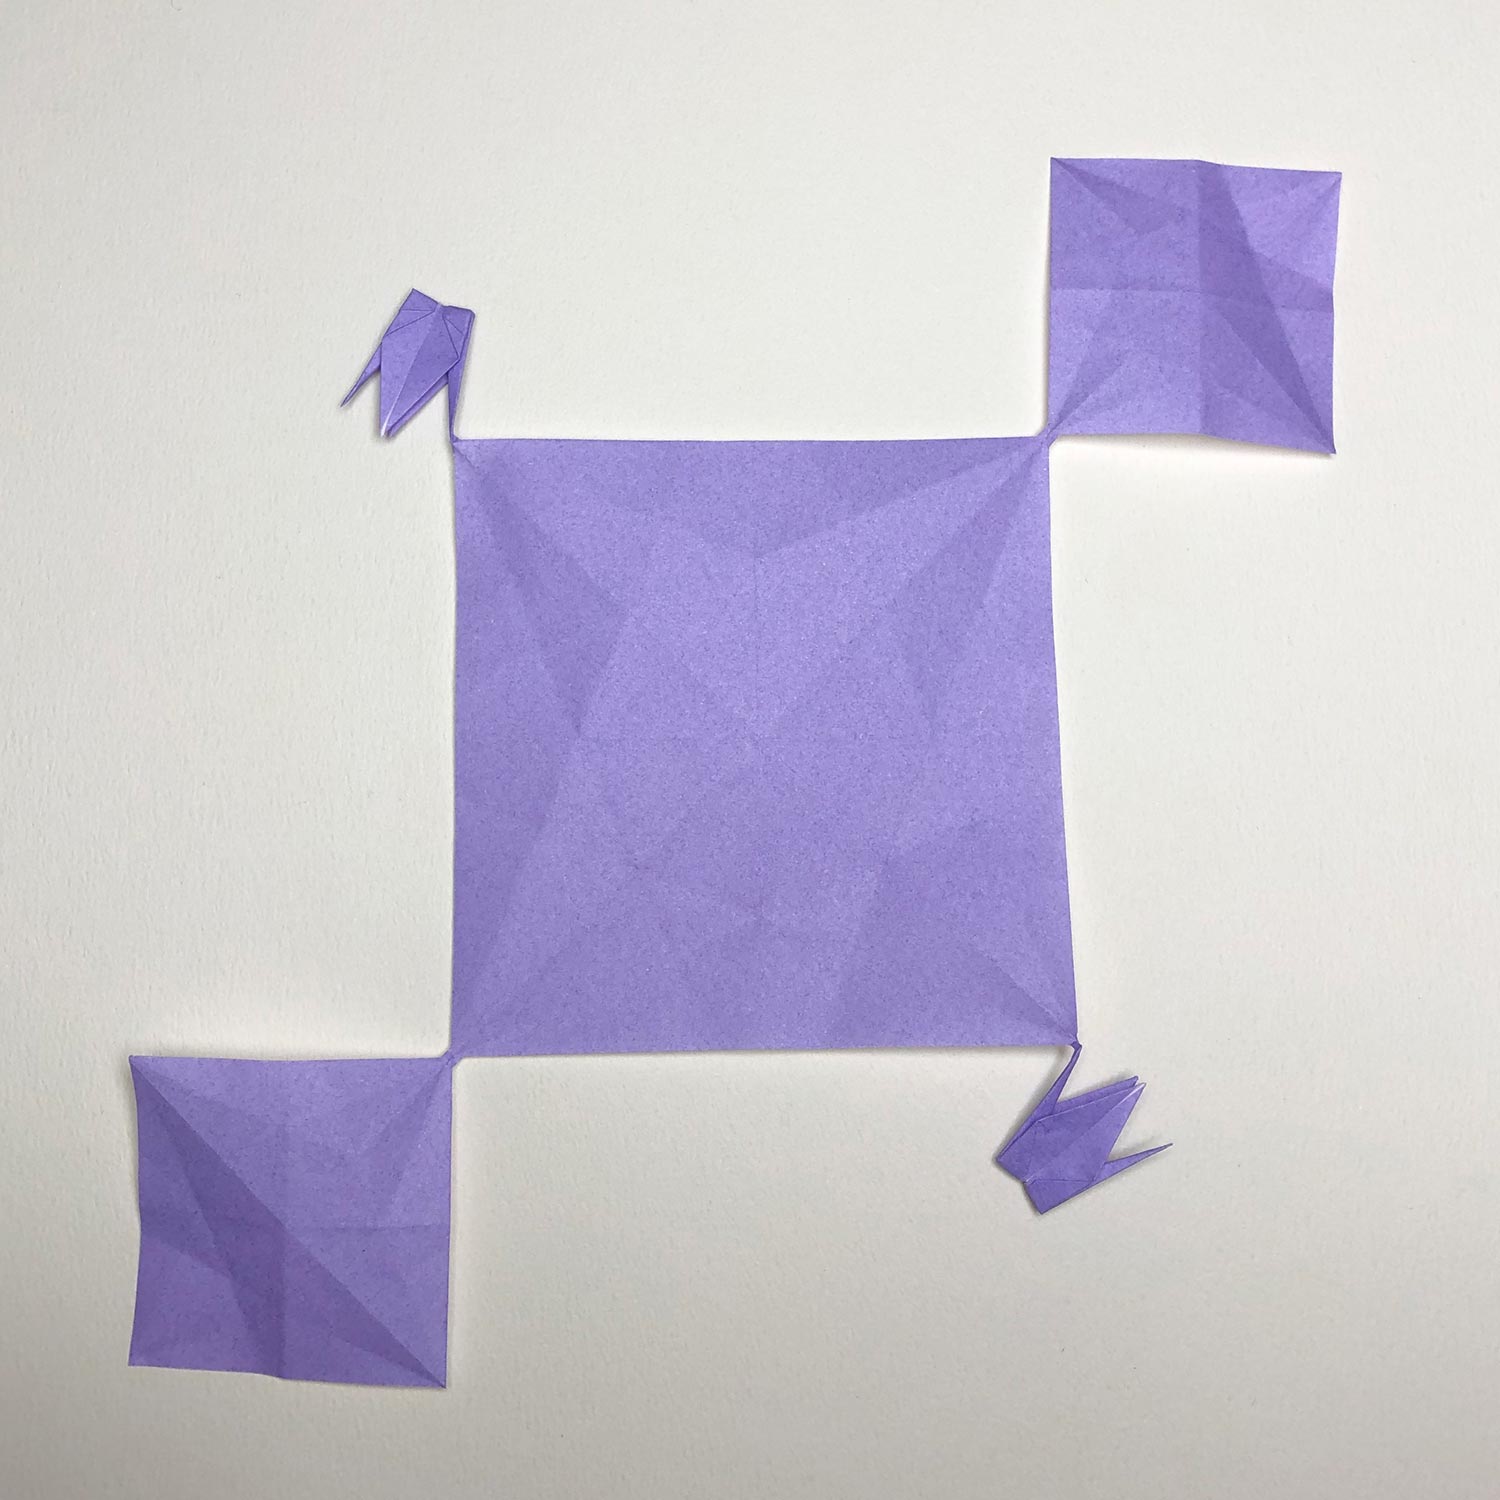
(15)
In order to get easier to make the other small cranes, fold the middle square on the dotted line.
(16)
Fold the middle square like this picture.
Then fold the square that has been circled to make a crane so that a head/tail is connected to the big square.
(17)
The third small crane is finished.
Then fold the square that has been circled to make a crane so that a head/tail is connected to the big square as well.
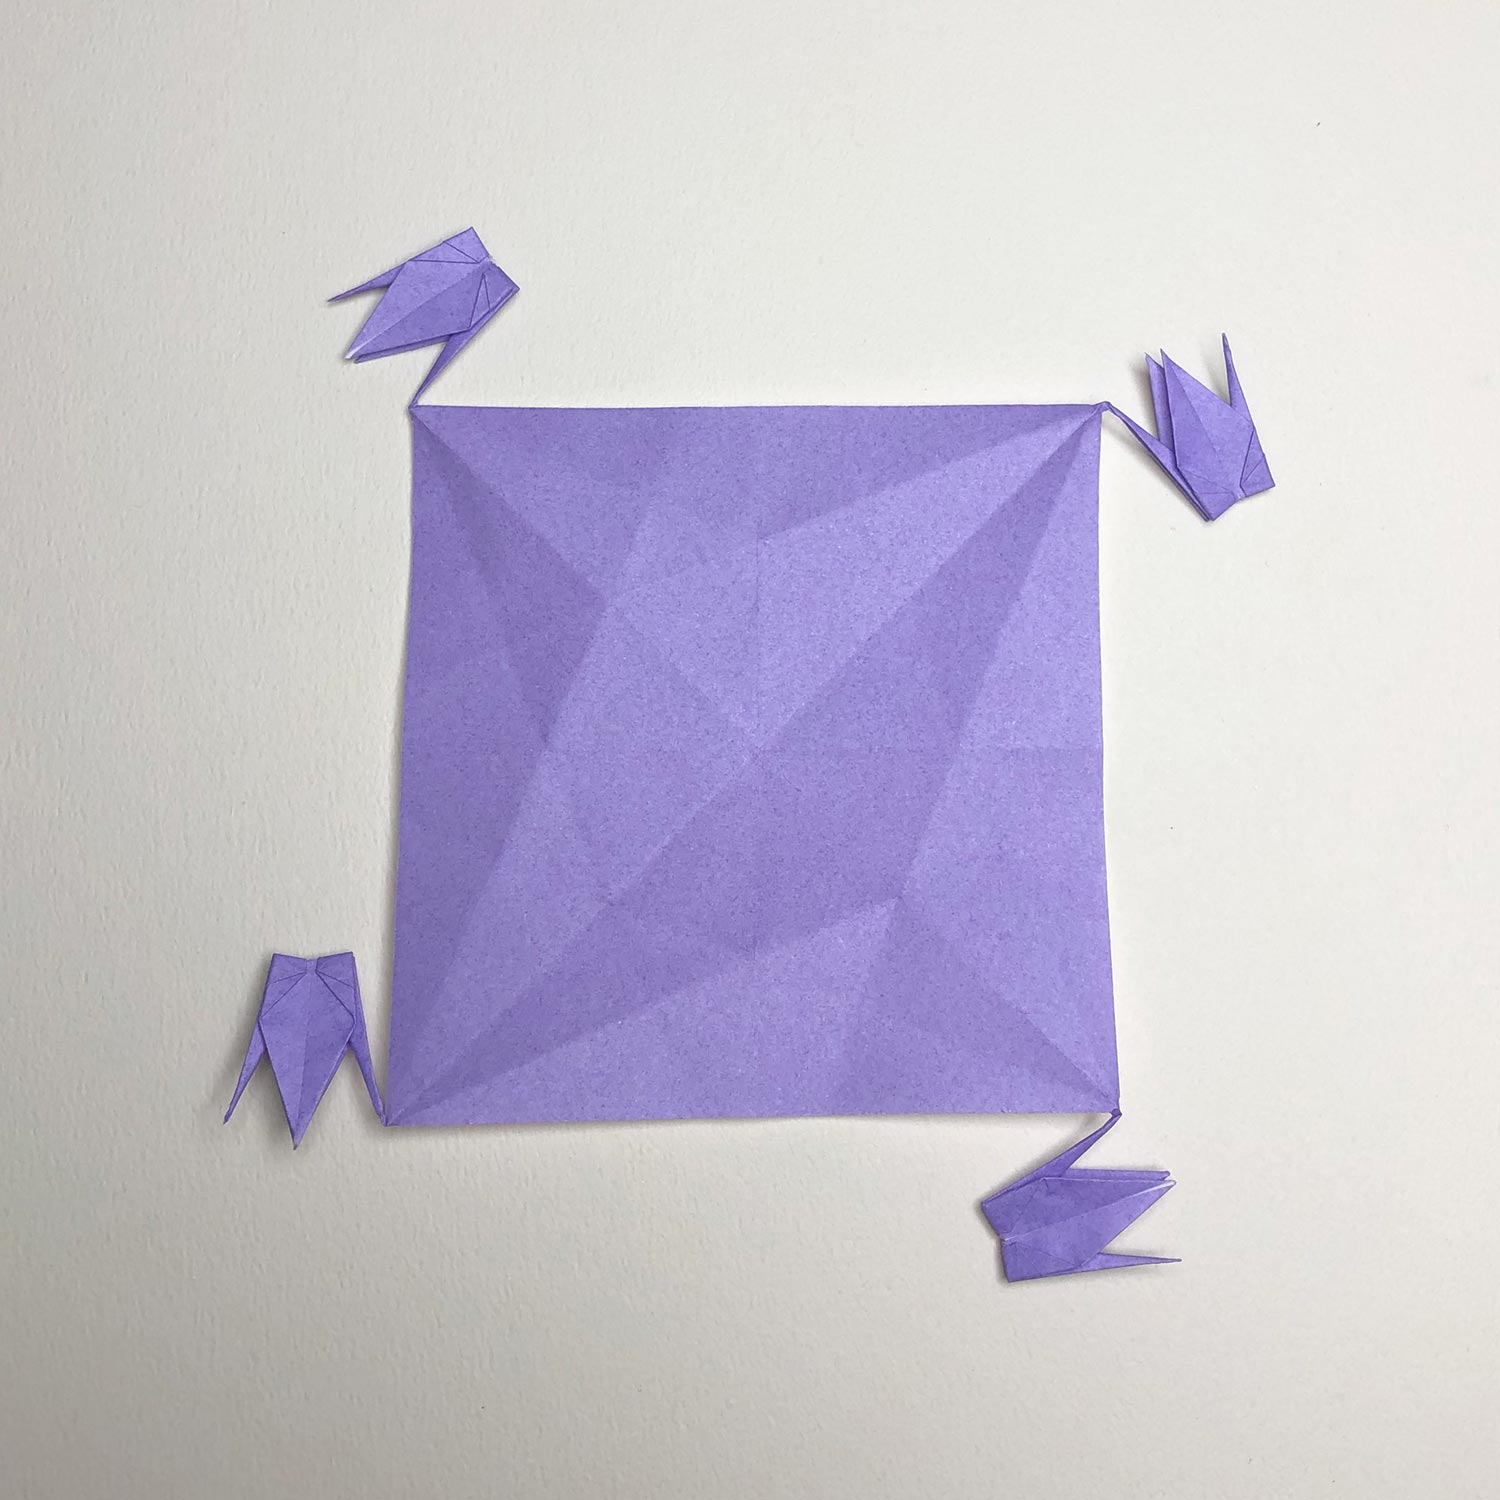
(18)
The fourth small crane is finished.