(20)
This picture is taken from the back side.
Make a crane in the state of that four corners are folded to the center point like this picture.
once make a bird-base so that it is connected to a small crane with a wing
This model is a model that a big crane is connected to a small crane with a head.
However, if you make the big crane so that the big crane is connected to a small crane with a head from the beginning,
it will get harder to make a bird-base.
Therefore, once make a bird-base so that it is connected to a small crane with a wing.
After making creases neatly, remake the bird-base so that it is connected to a small crane with a head/tail.
(21)
Once make a bird-base so that it is connected to a small crane with a wing.
(so that the yellow lines are changed to wings)
(22)
This picture is halfway through.
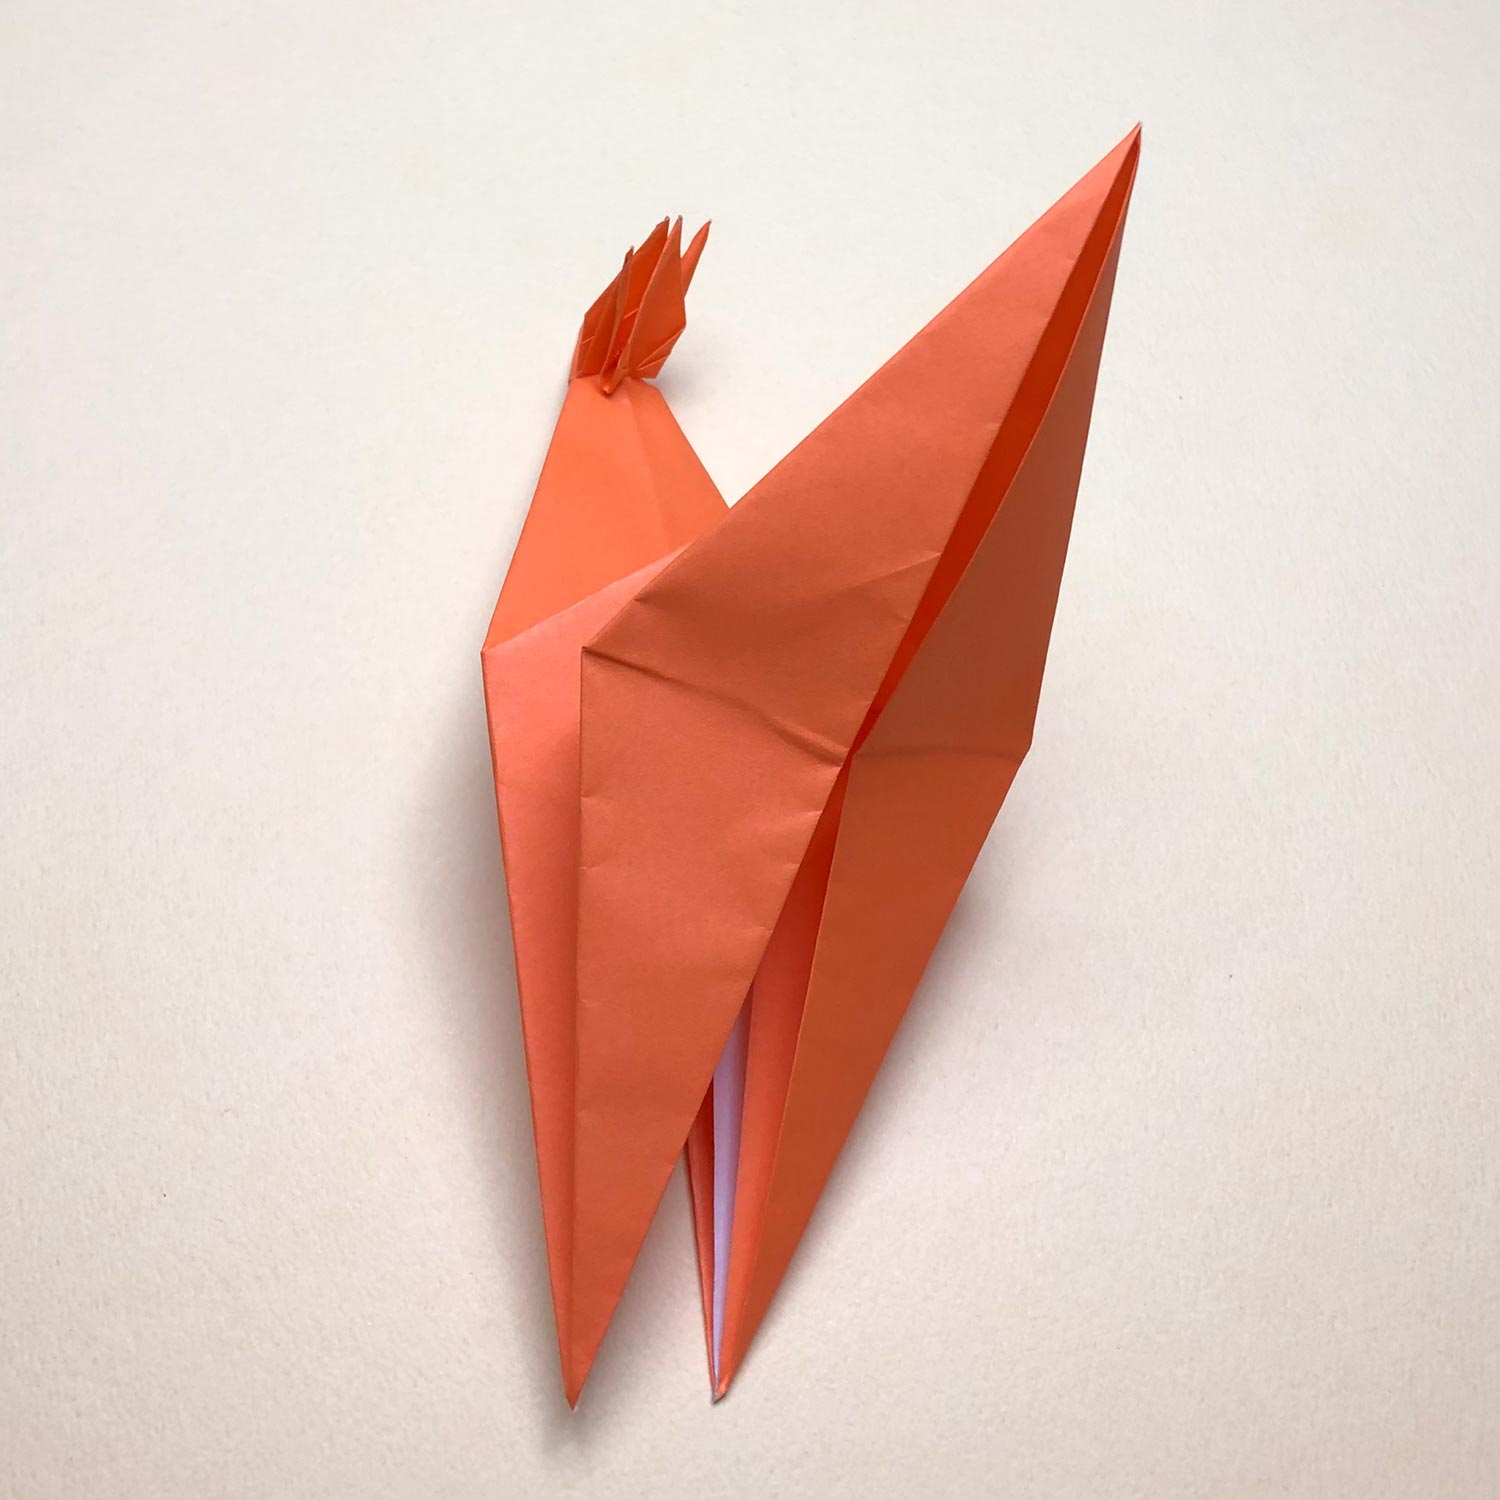
(23)
The bird-base is finished.
Make creases neatly in this step.
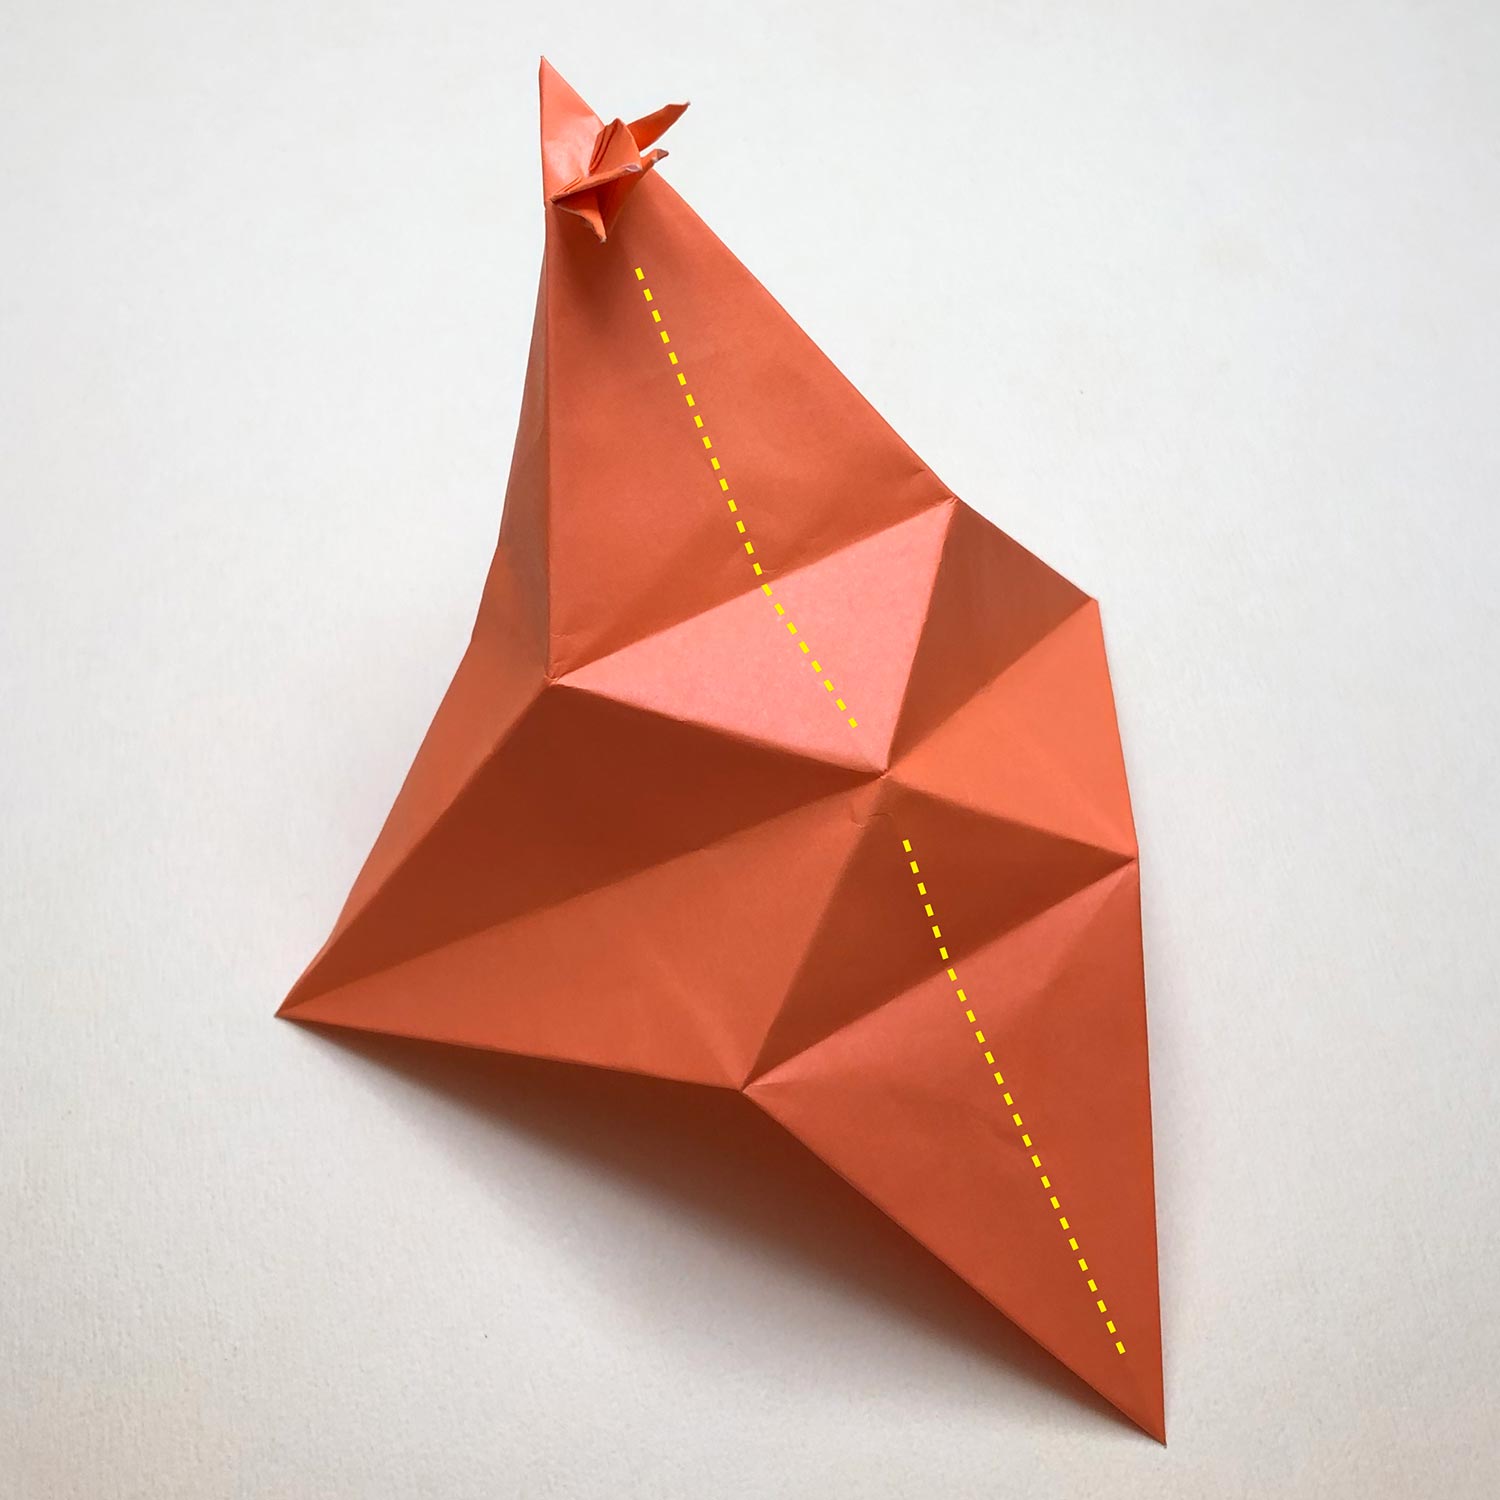
(24)
Then remake the bird-base so that it is connected to the small crane with a head/tail.
Spread the bird-base a little like this picture and make valley-folds on the dotted lines while referencing the next steps.
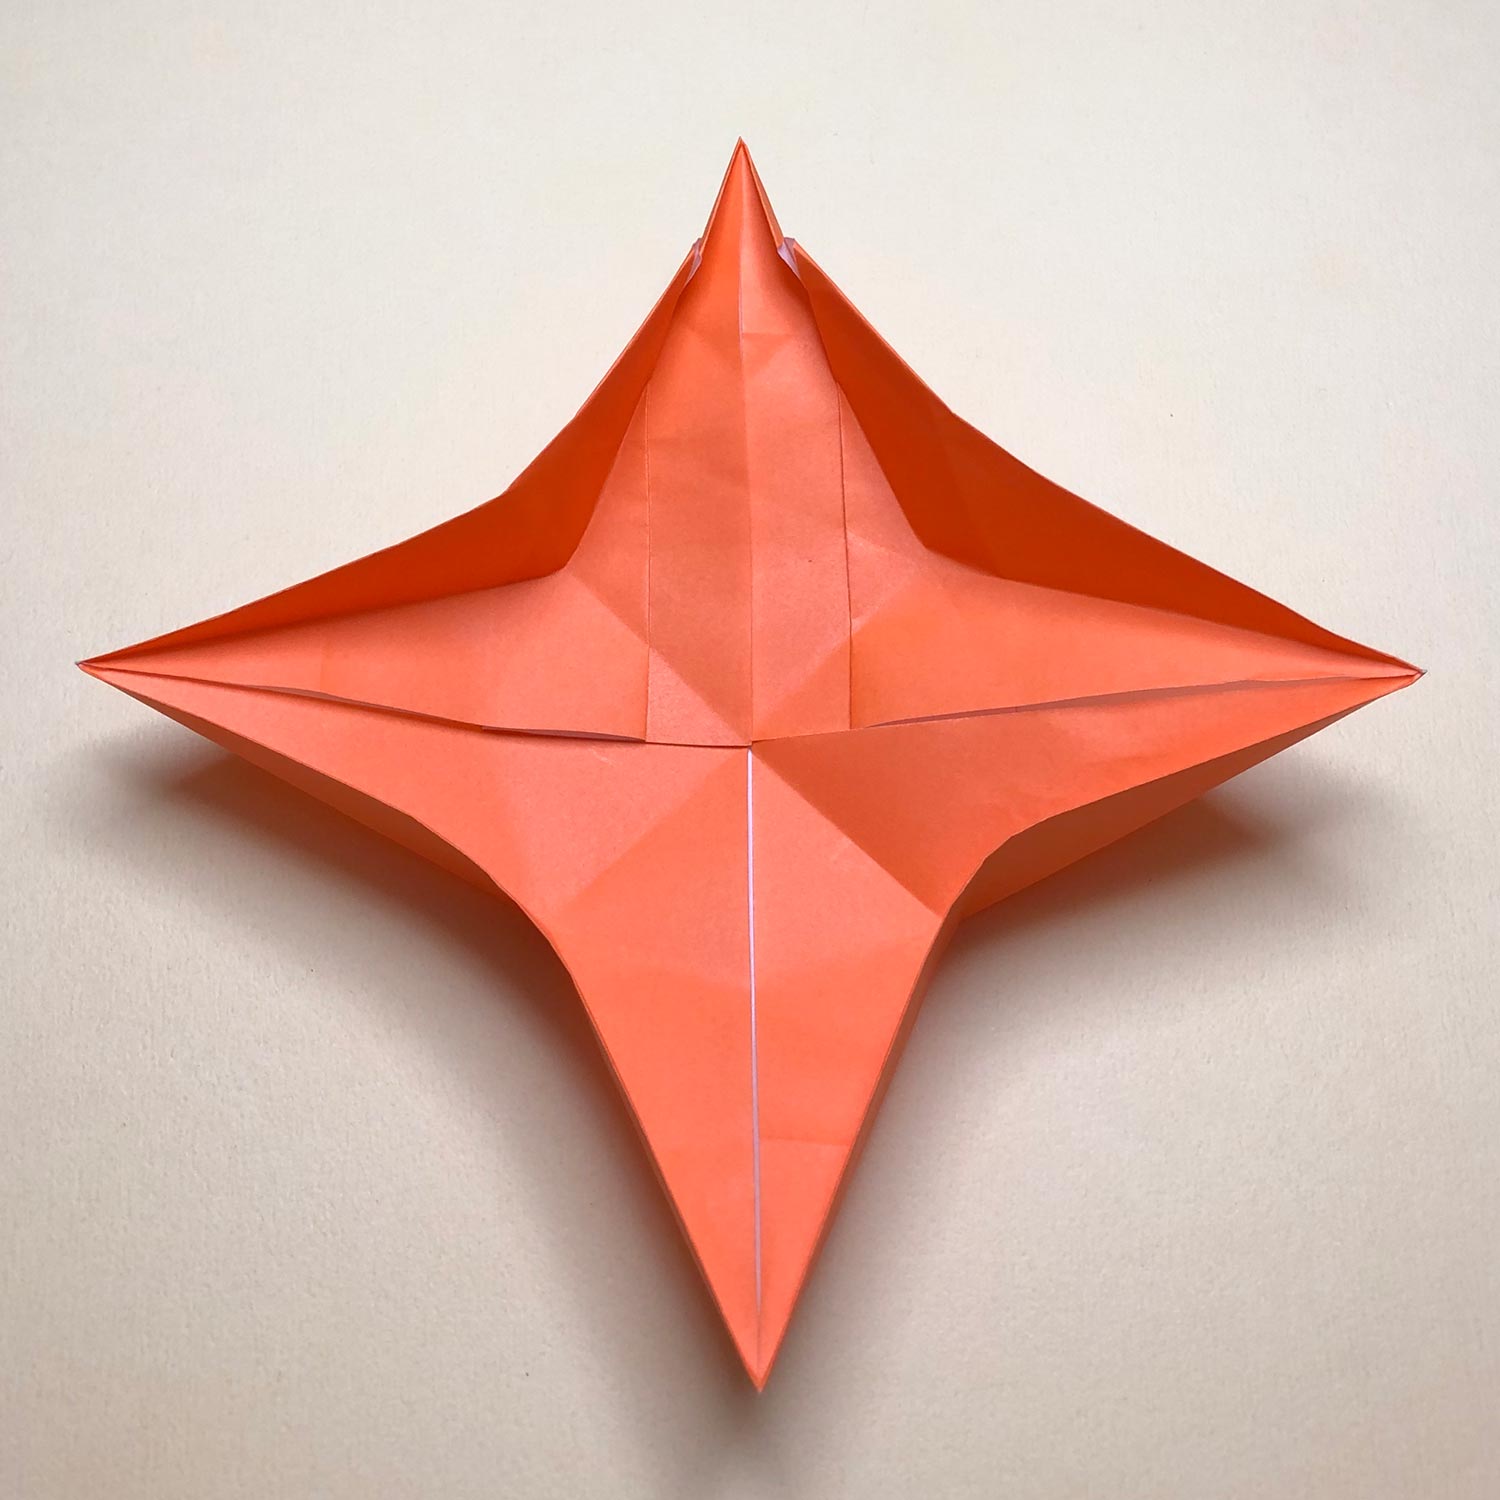
(25)
Make a valley-fold on the part which is not connected first.

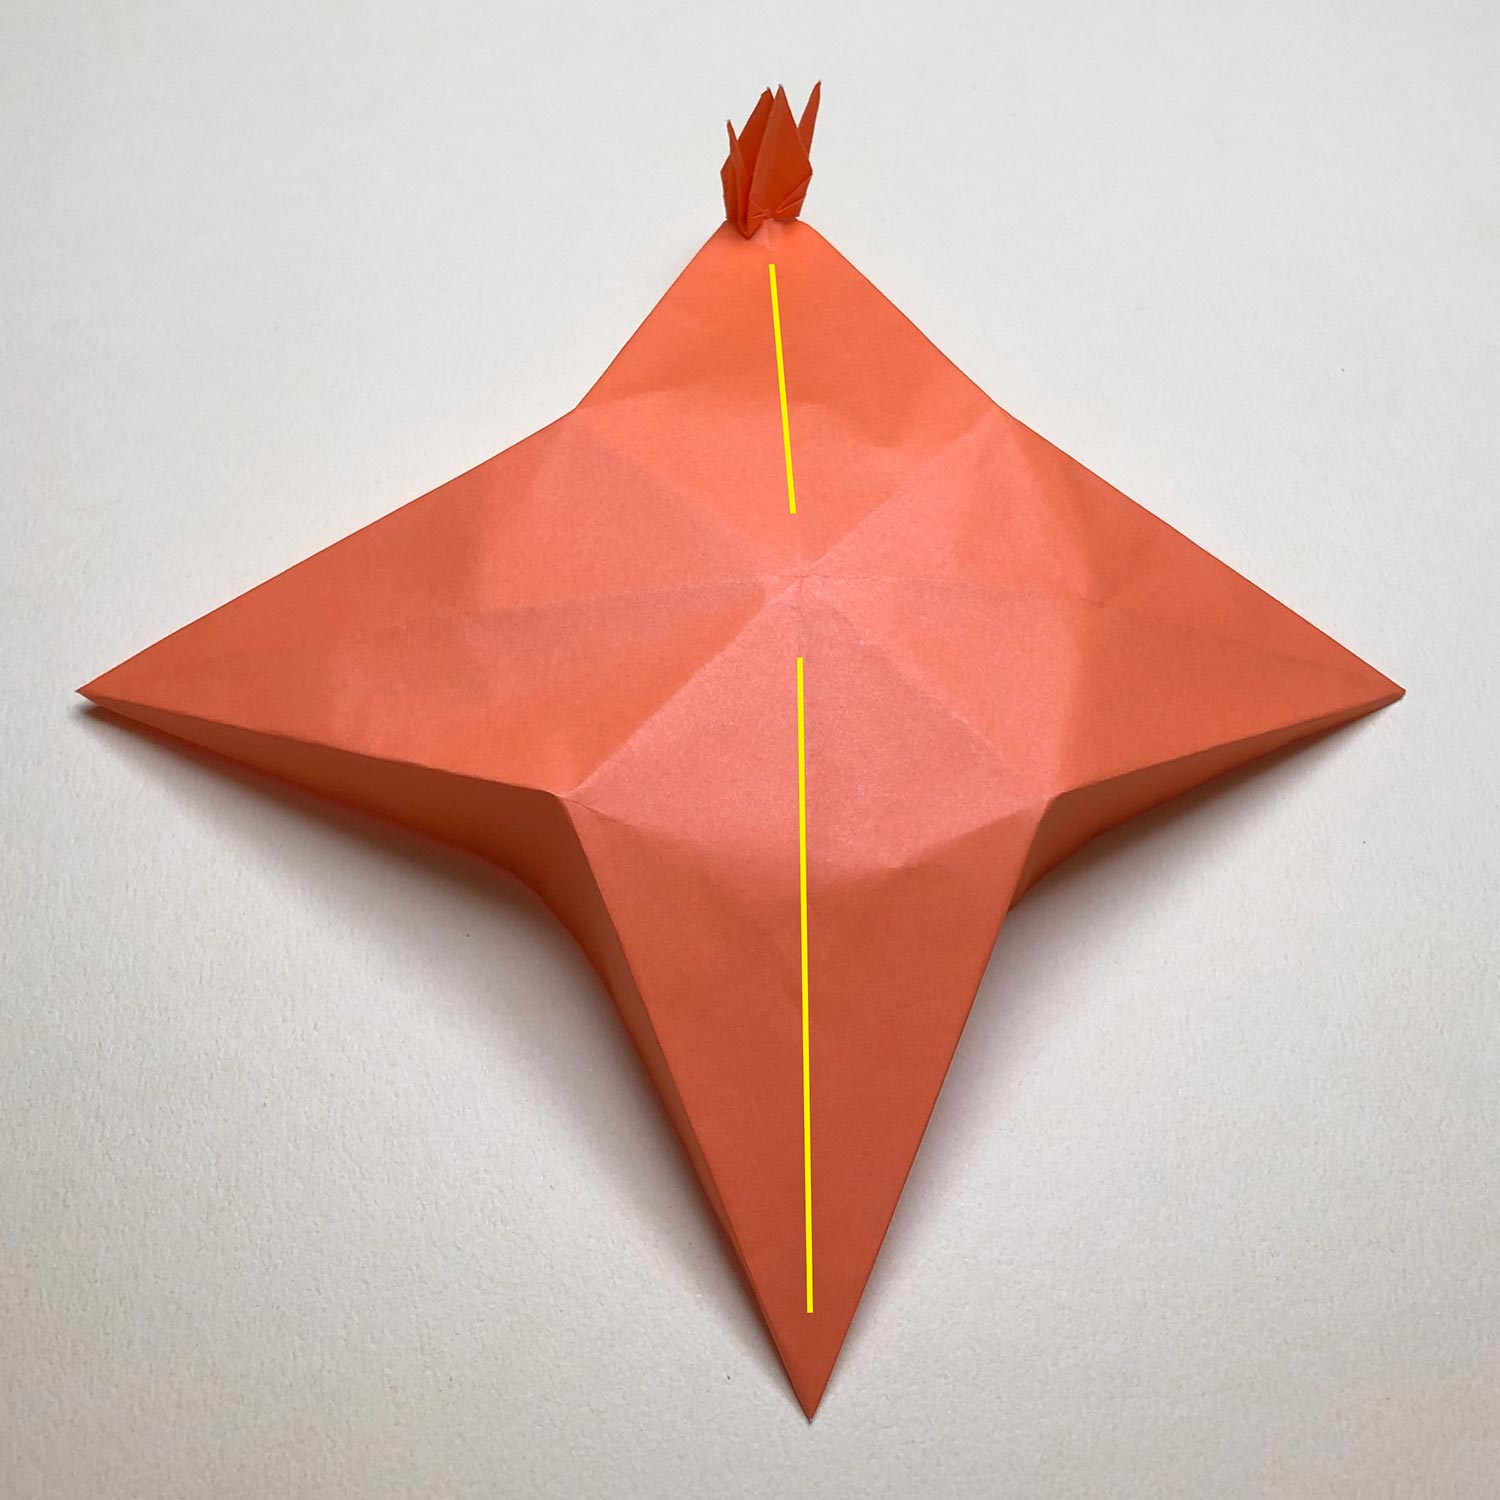
(26)
I rotated the paper a little.
Then make a valley-fold on the other part.
Make a valley-fold only on the dotted line without making a valley-fold near the small crane.

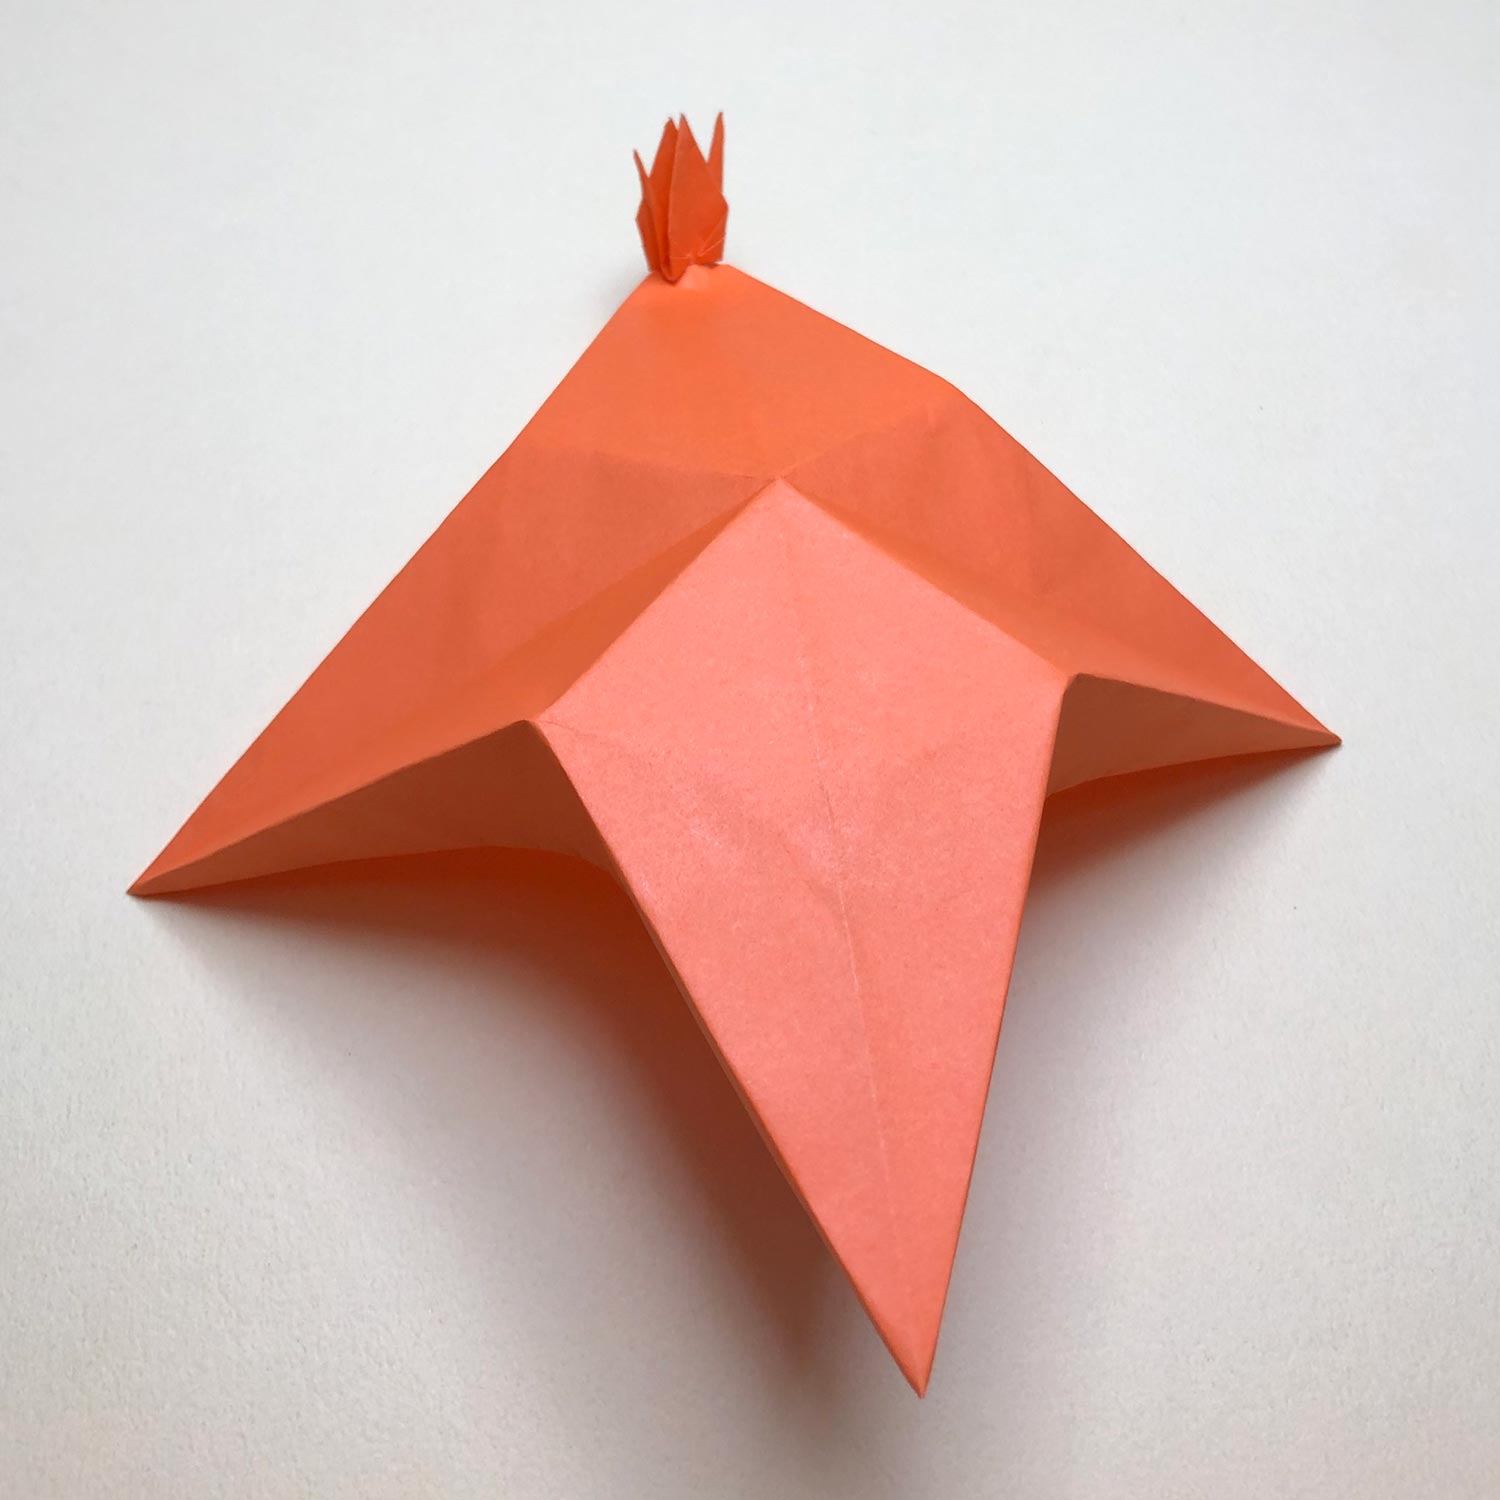
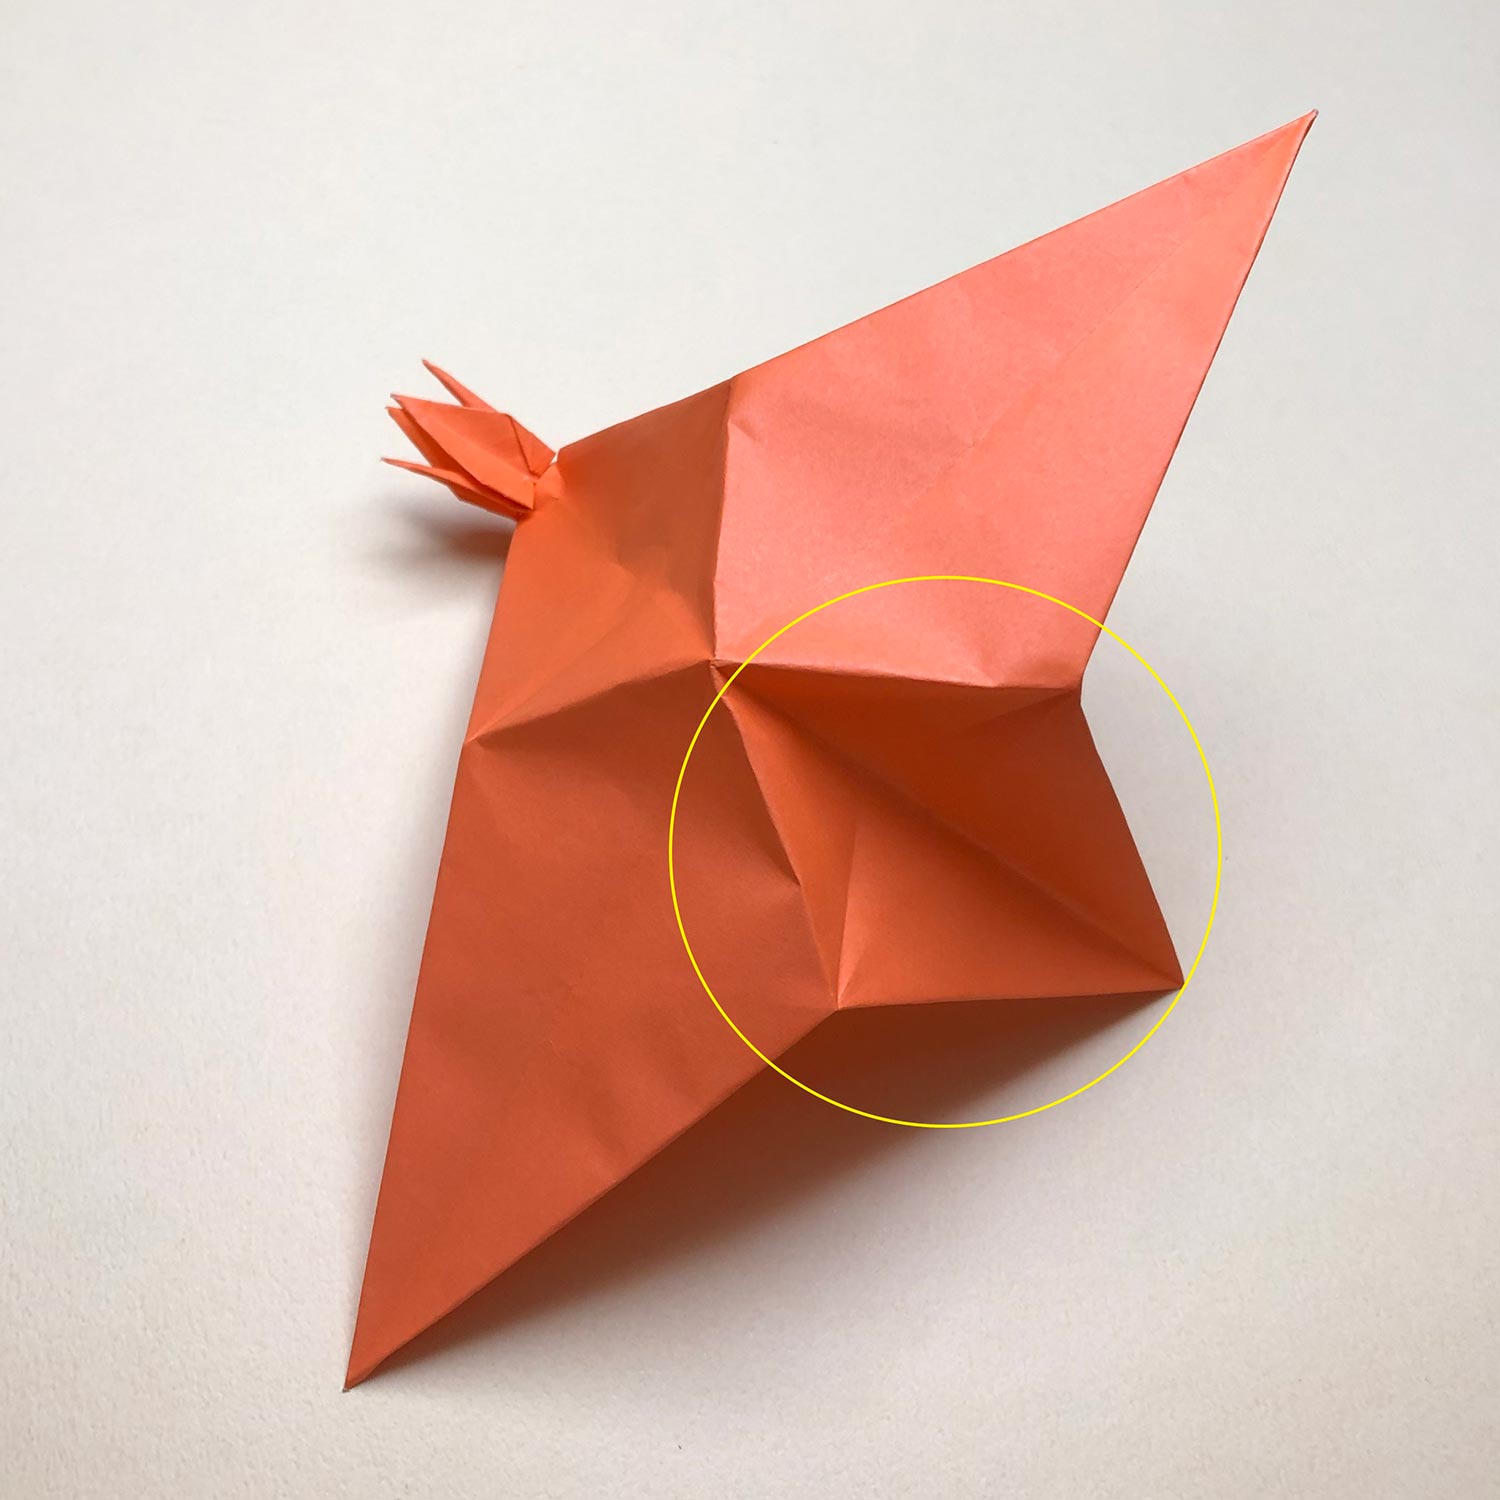
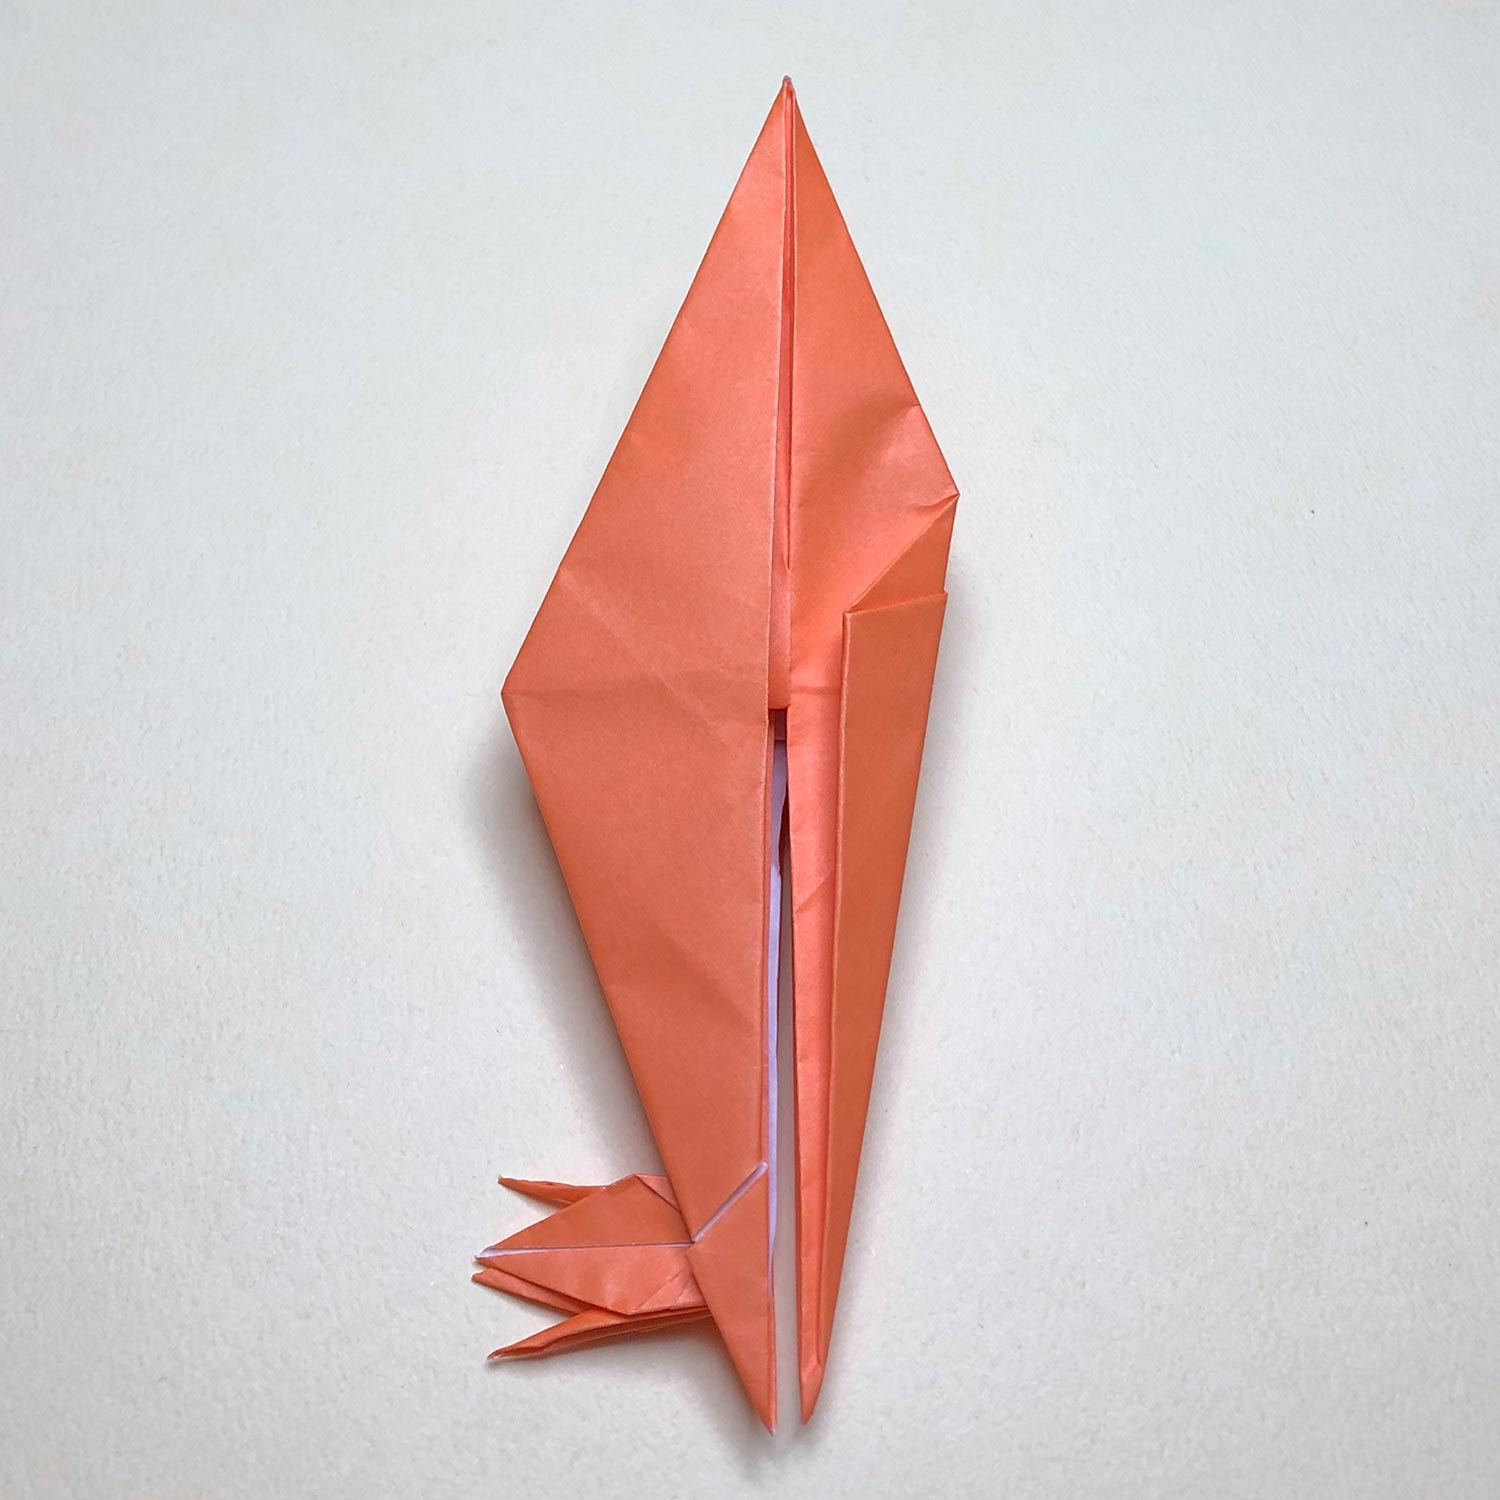
(27)
Make a valley-fold like this picture.
(28)
Then make a valley-fold near the small crane.
Rotate the small crane so that the small crane face in the same direction as the big crane.
Connecting parts tear very easily.
Therefore, move the small crane very carefully.
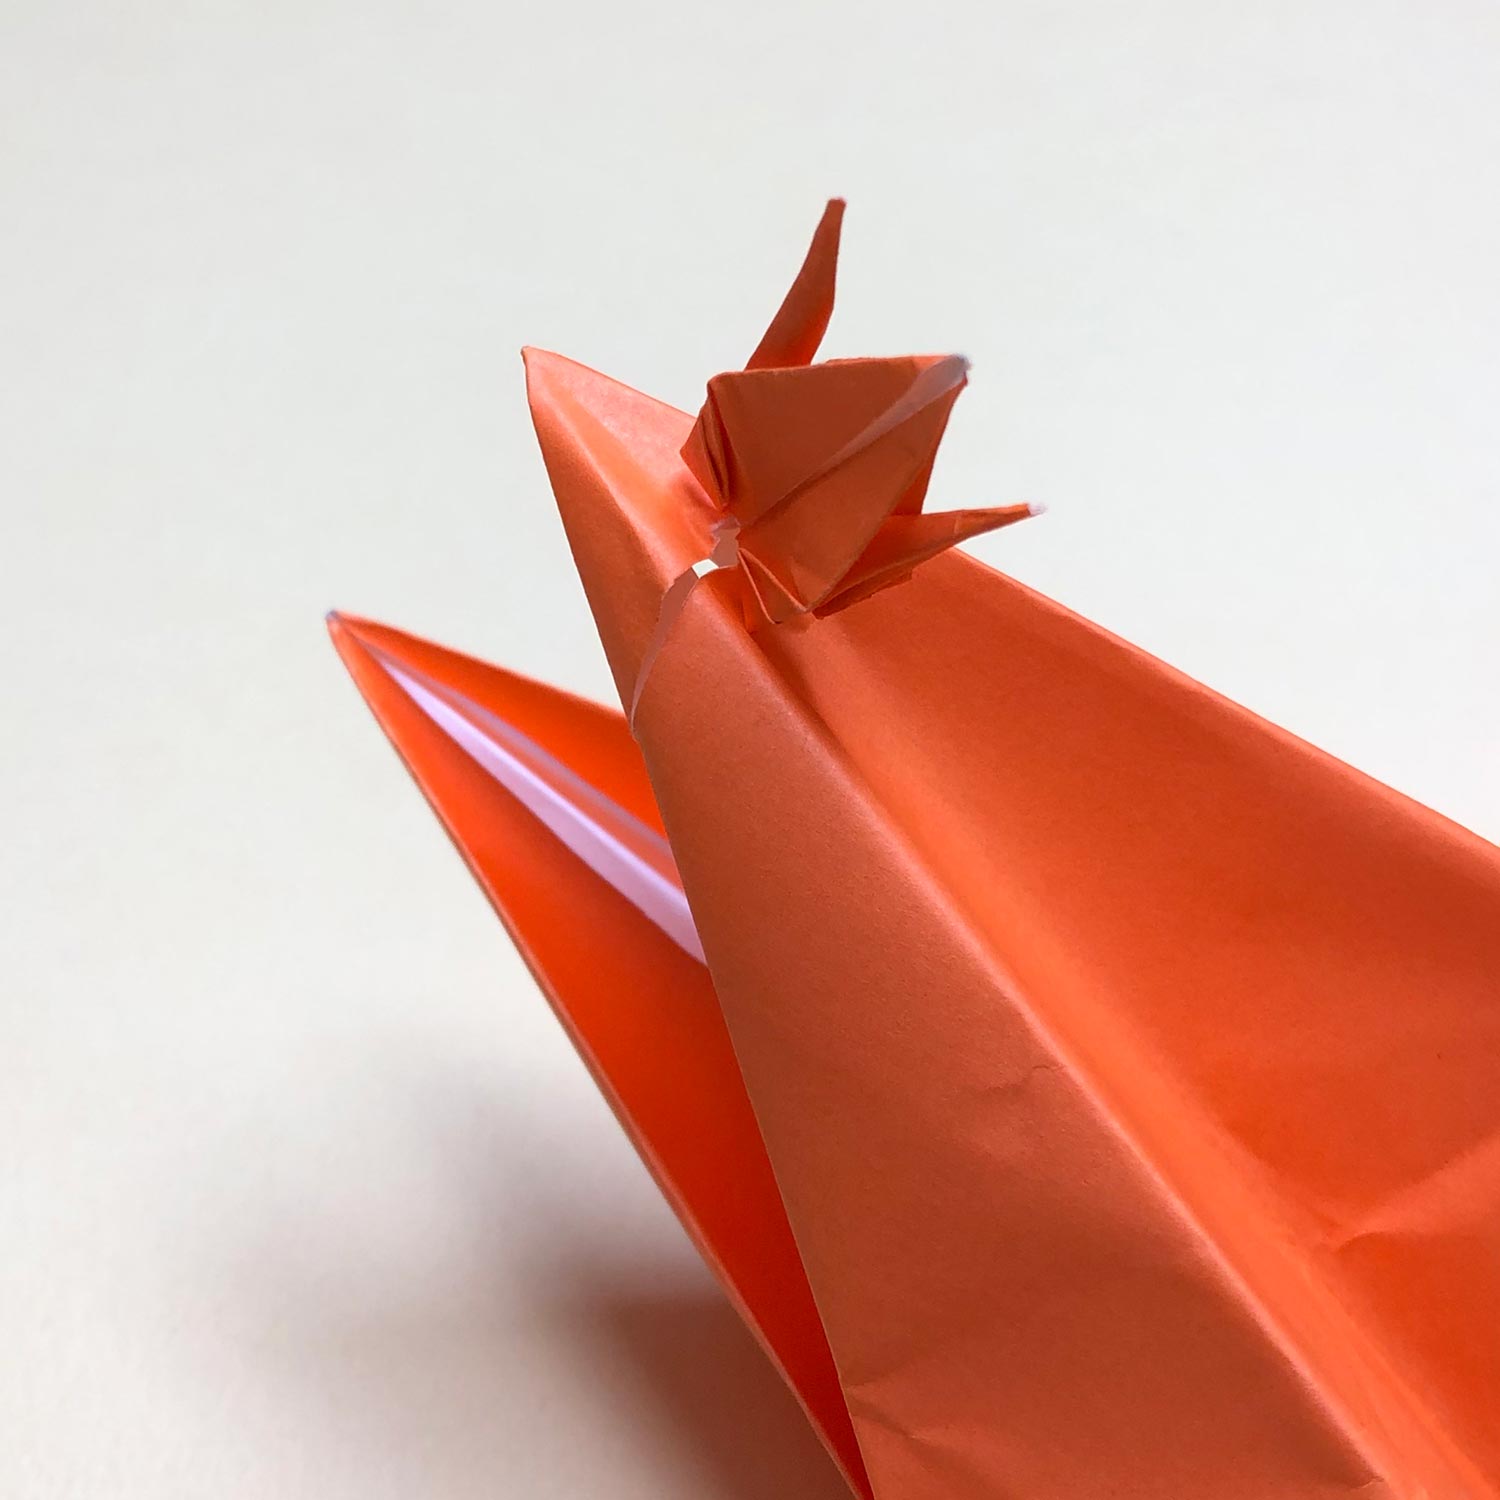
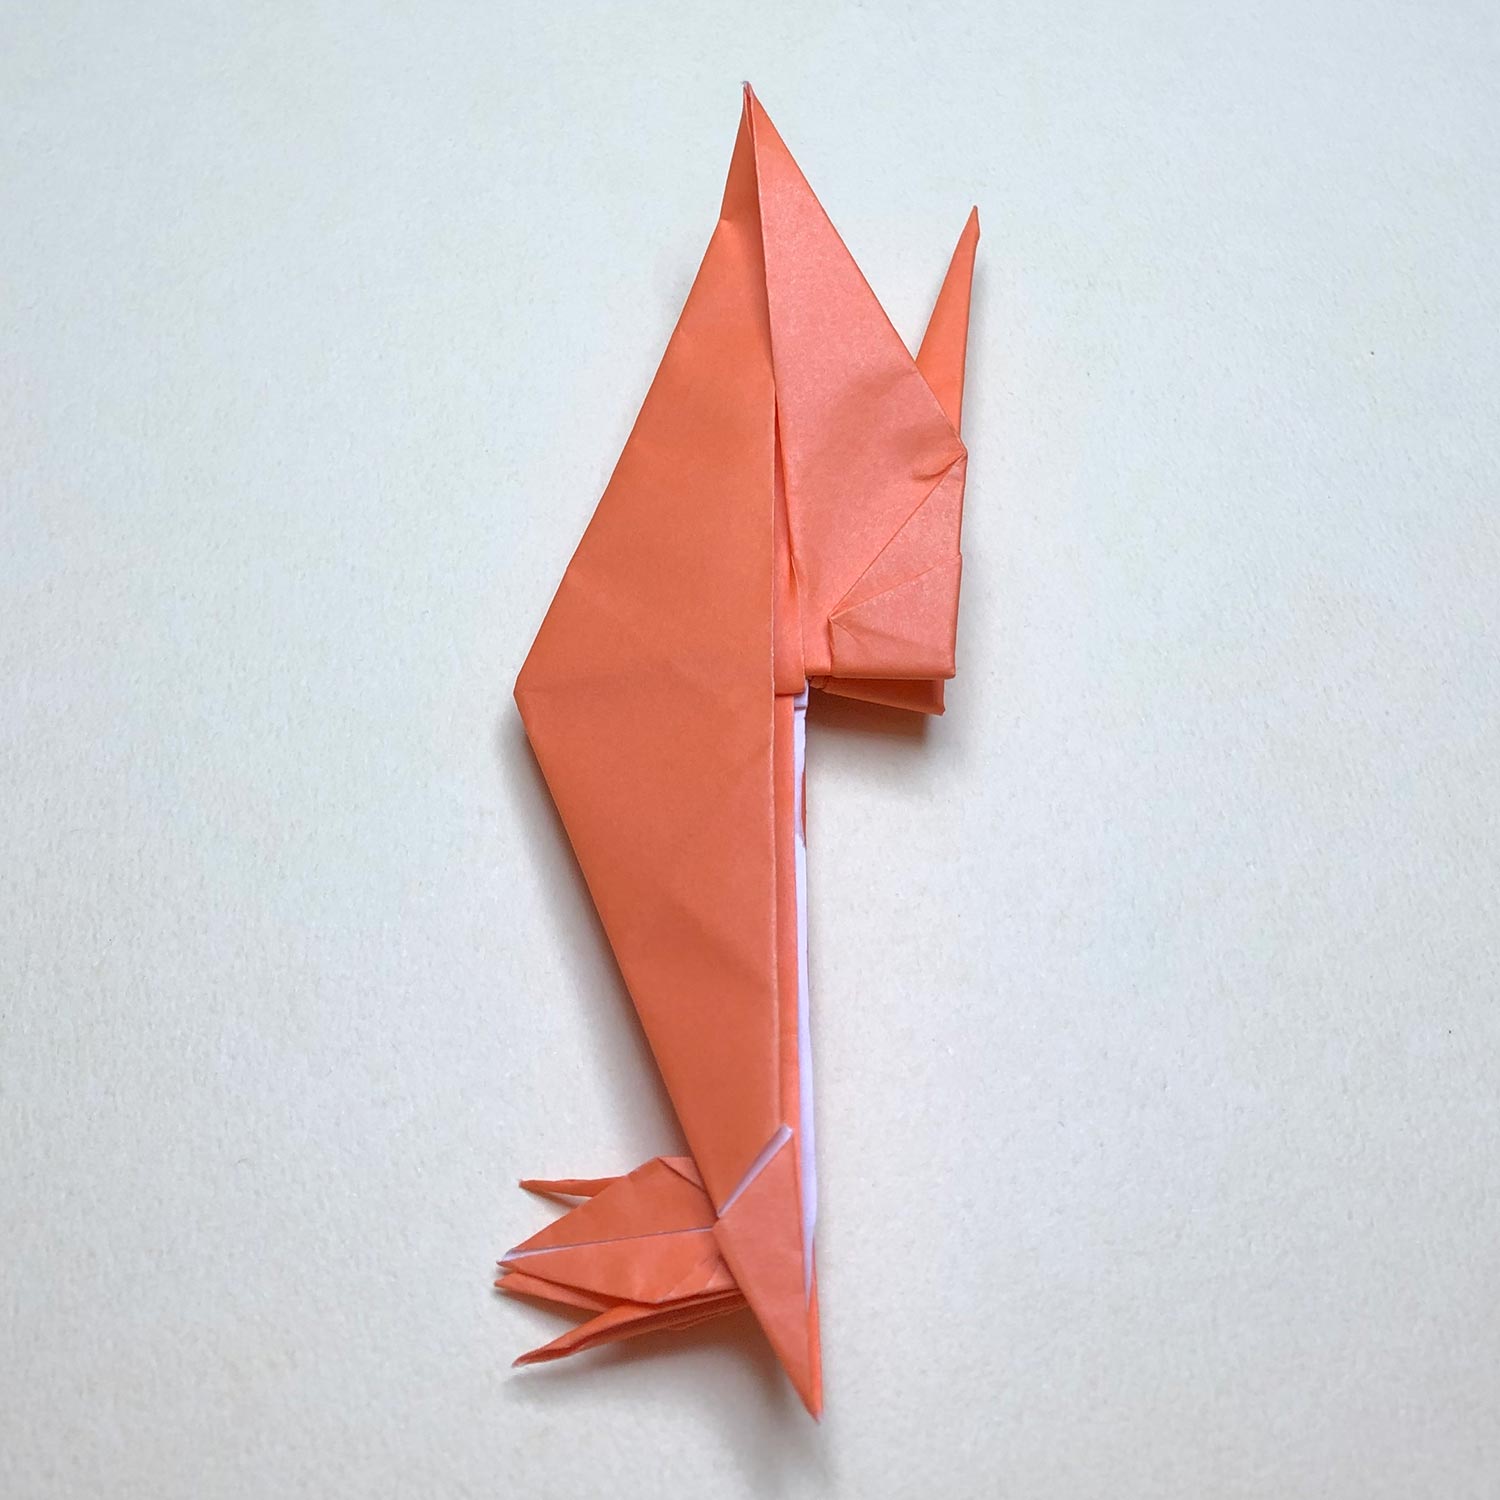
(29)
Rotate the small crane like this picture.
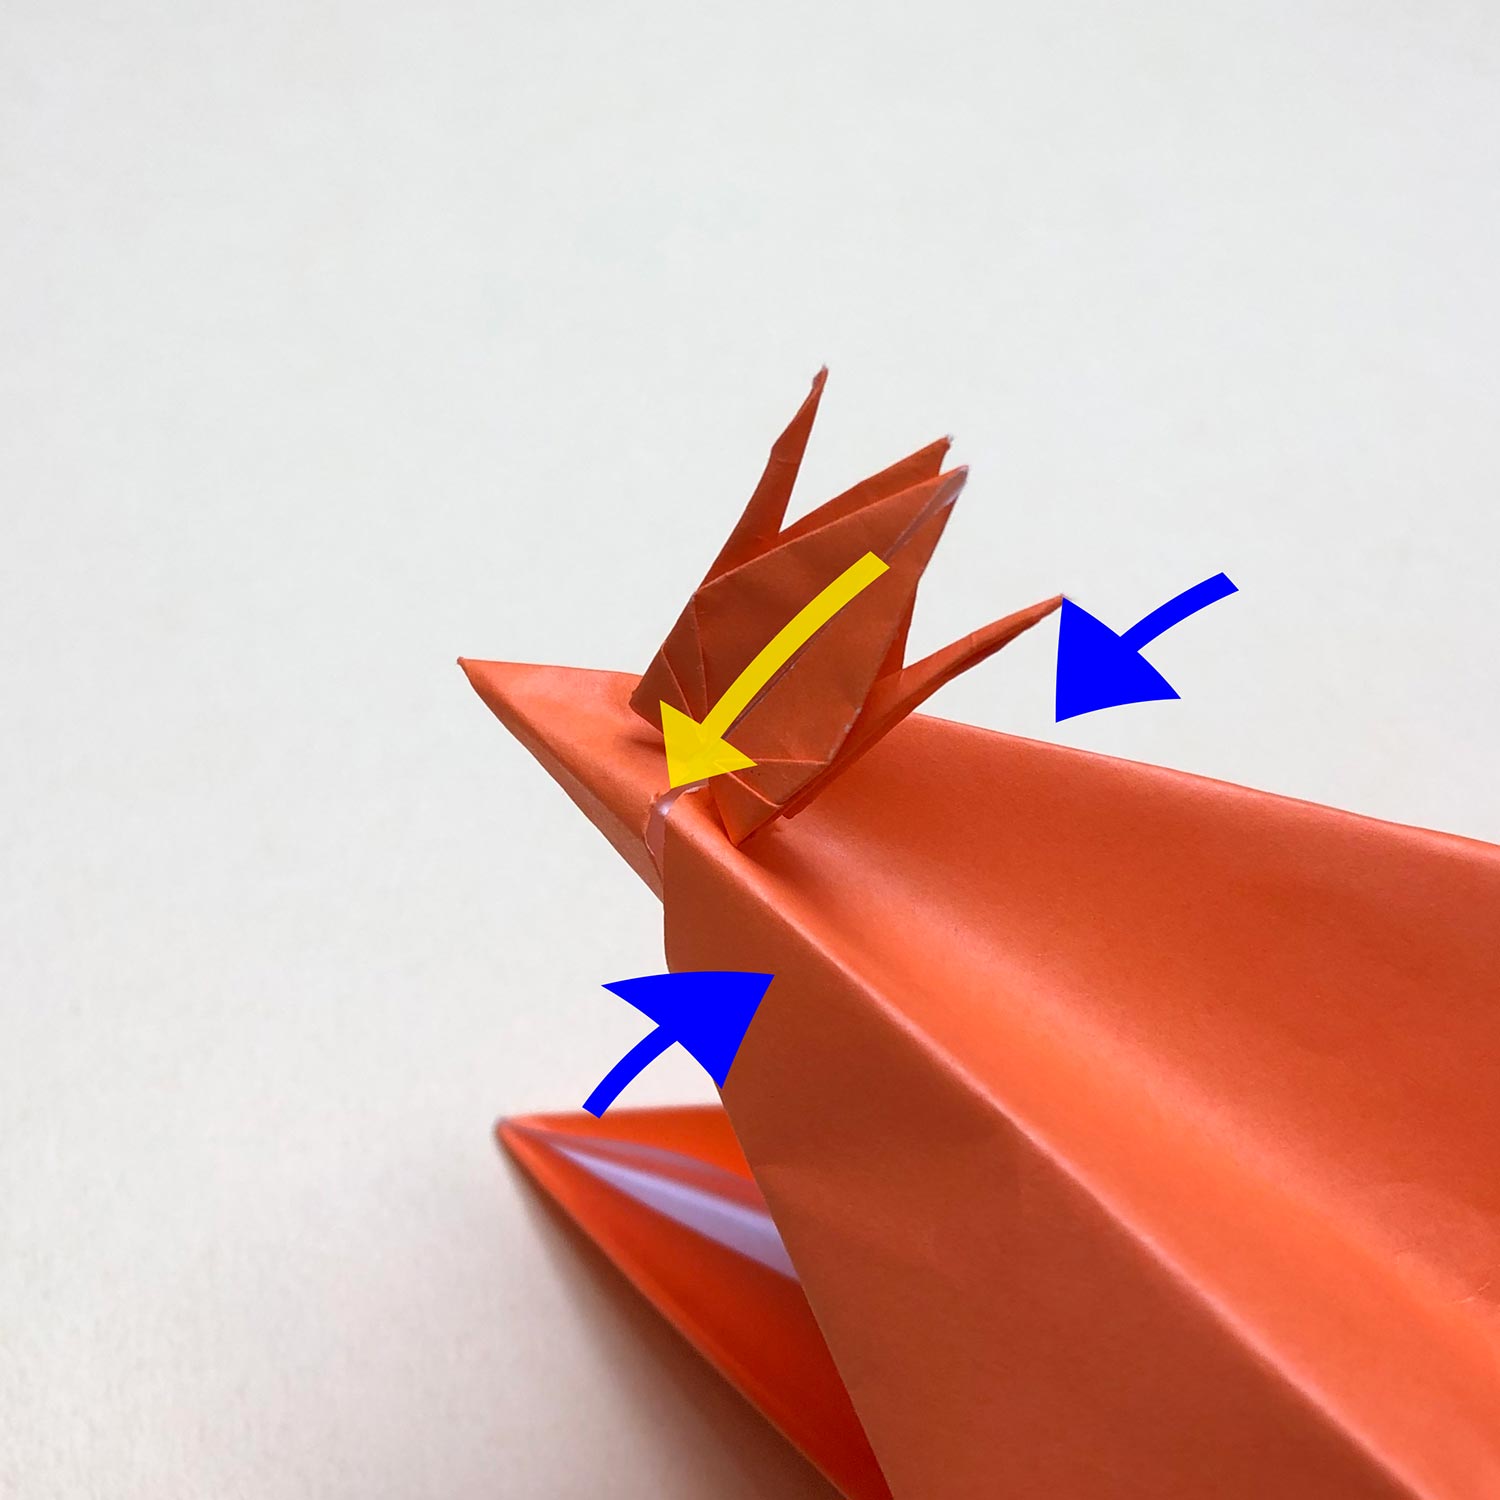
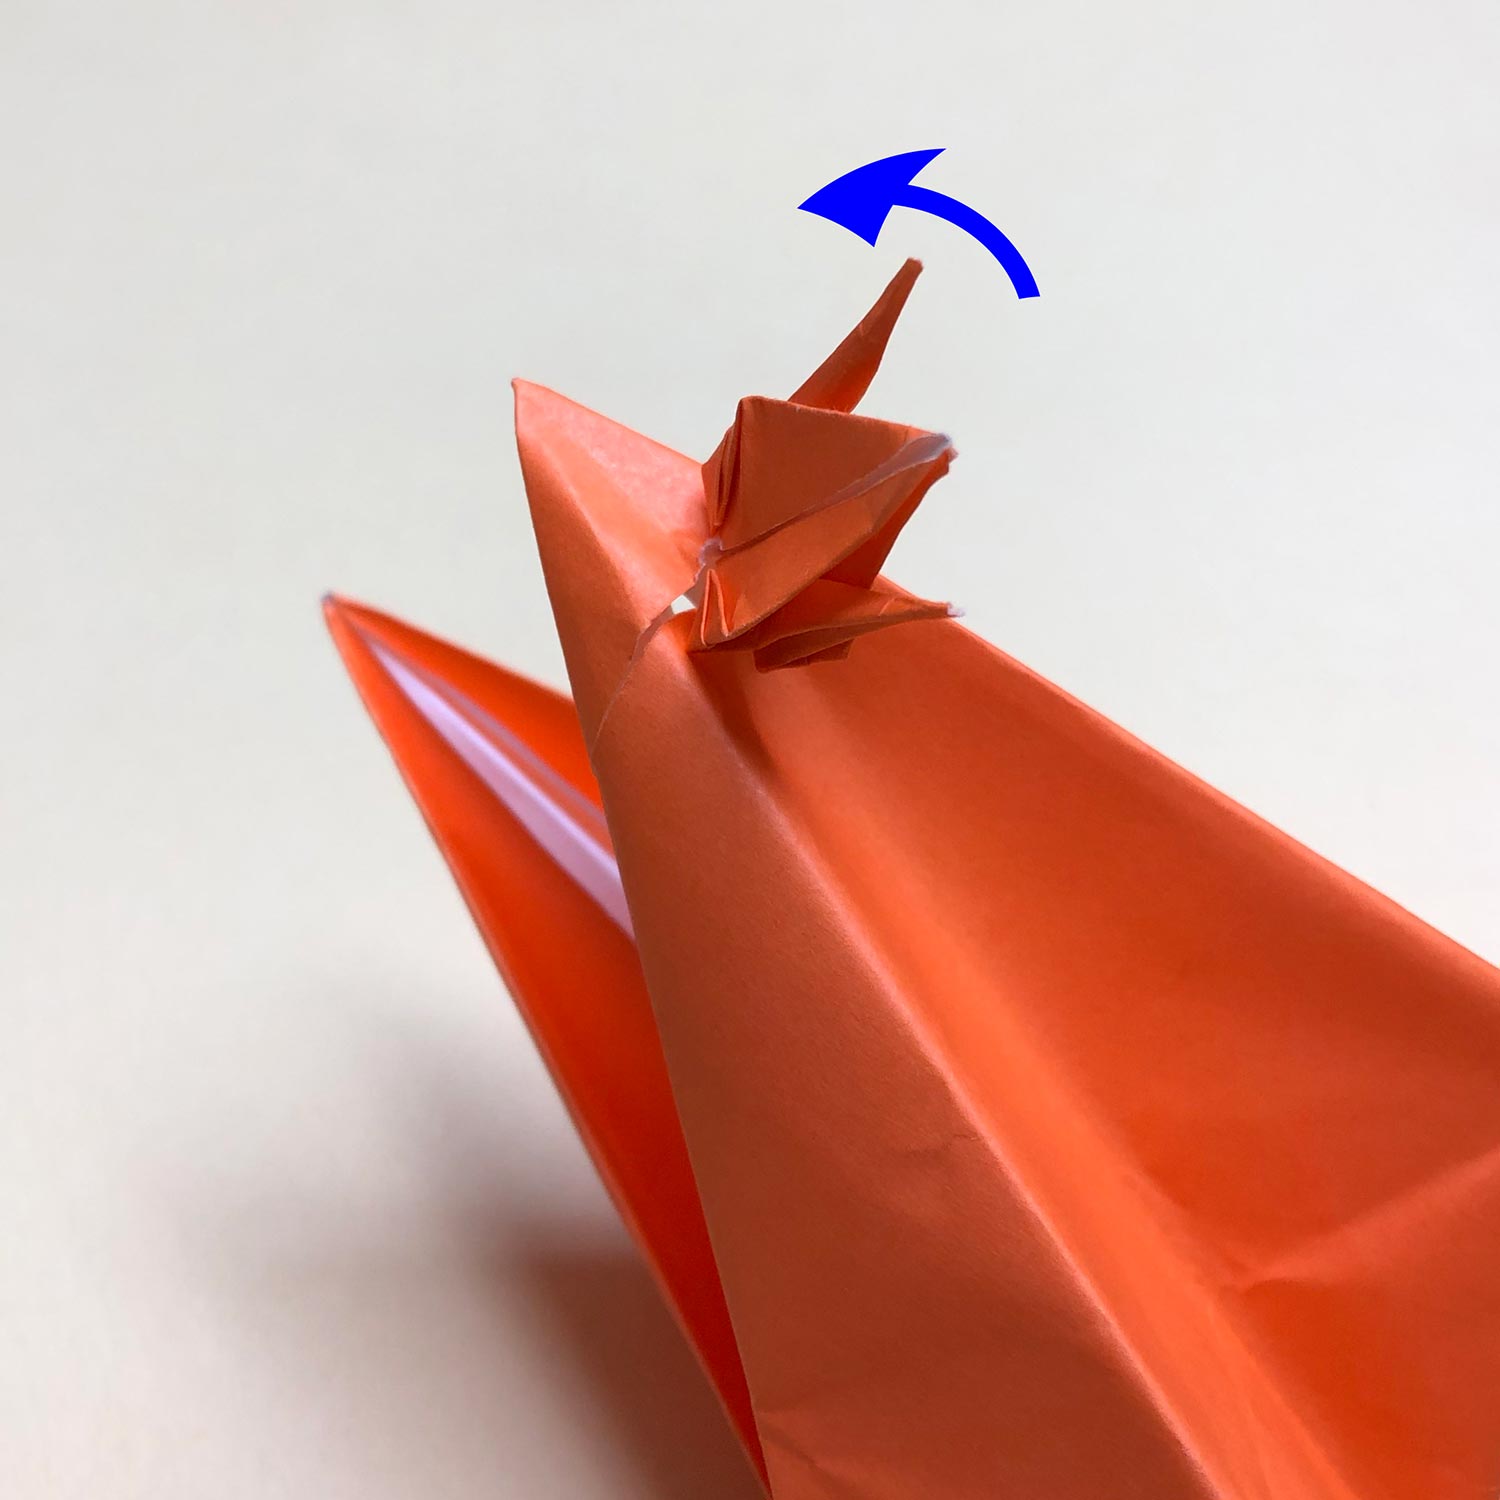
(30)
Then fold both sides of the head/tail in the direction of the blue arrows while moving the small crane in the direction of the yellow arrow.
(31)
Fold both sides like this picture.

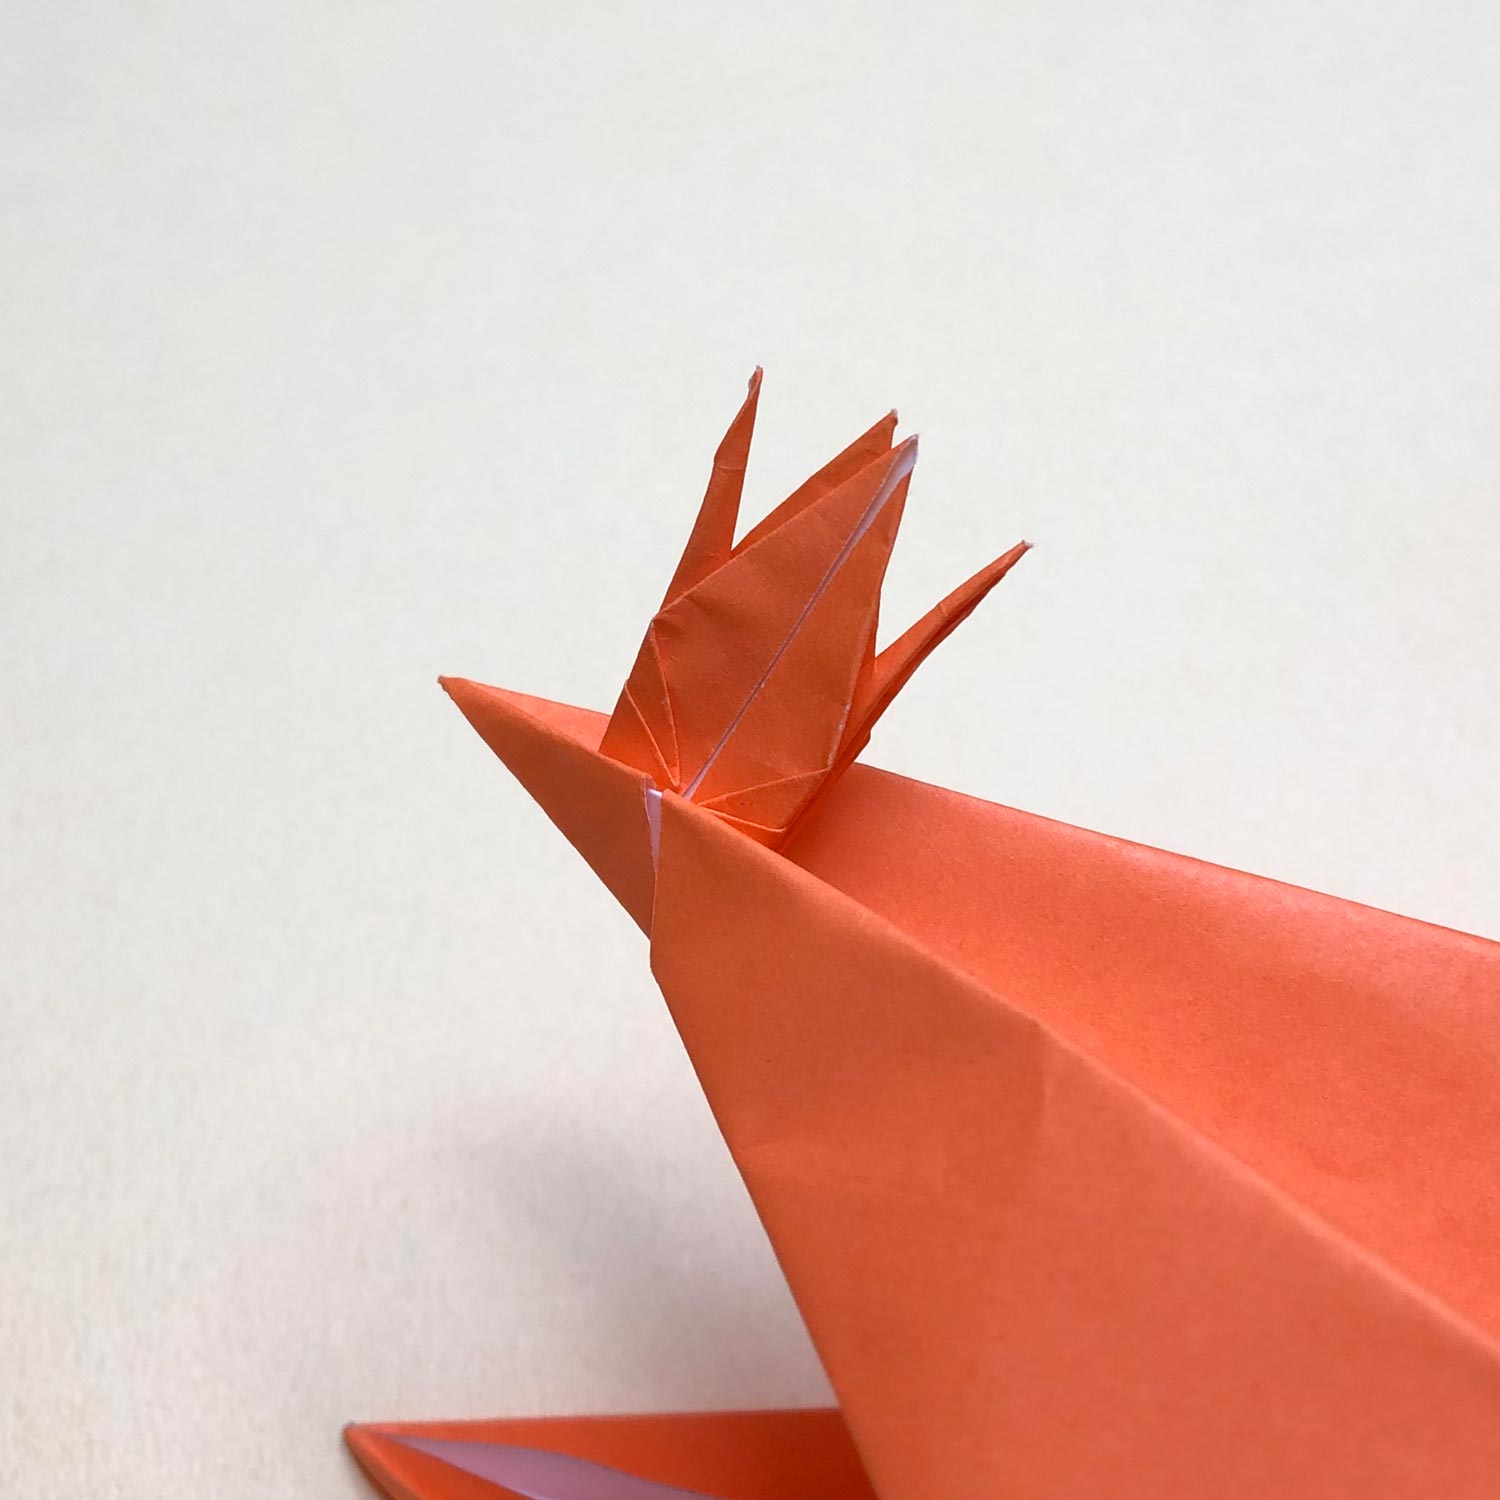
(32)
Then make a bird-base.
(33)
The bird-base is finished.
First, fold the head/tail, which is not connected, to the center.
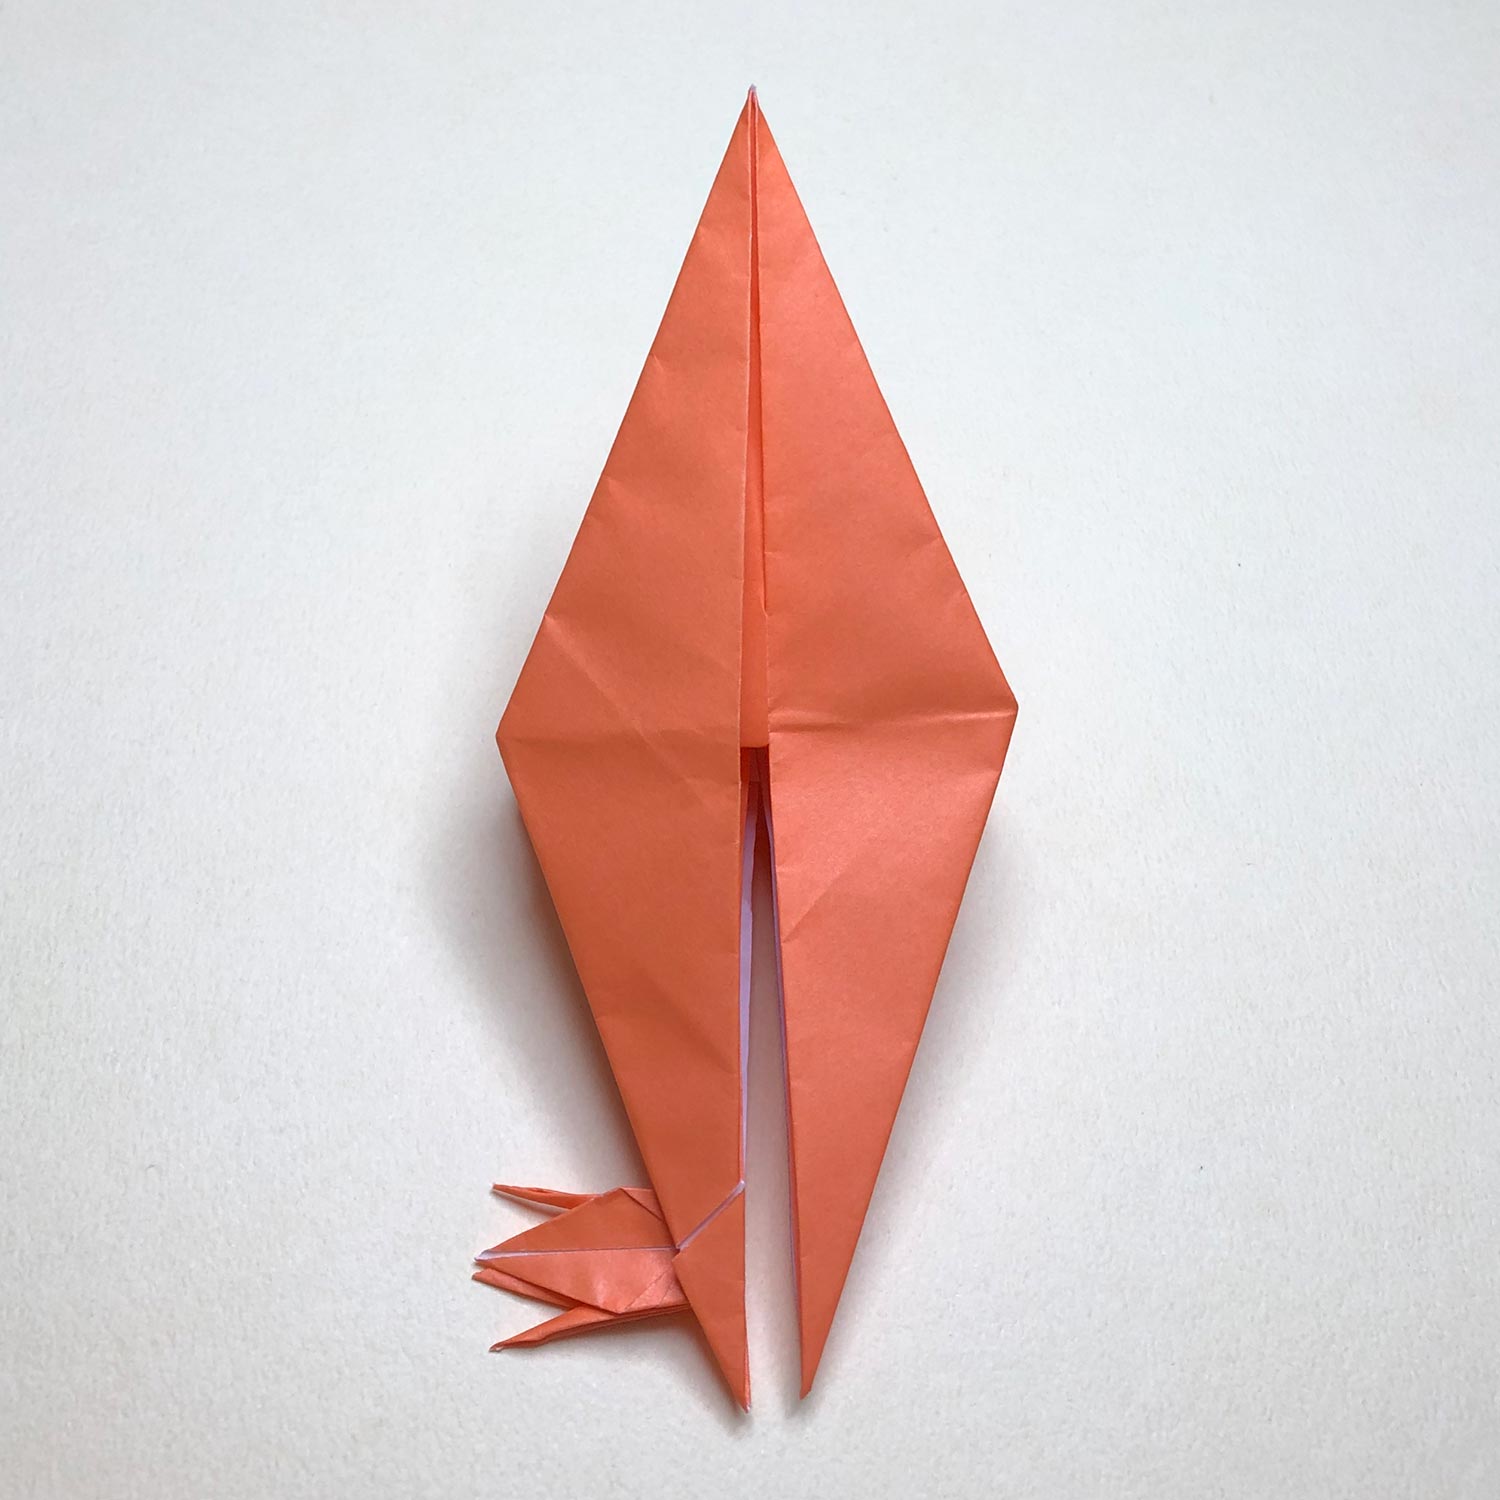
(34)
After folding the head/tail, raise it.
(35)
Raise it like this picture.