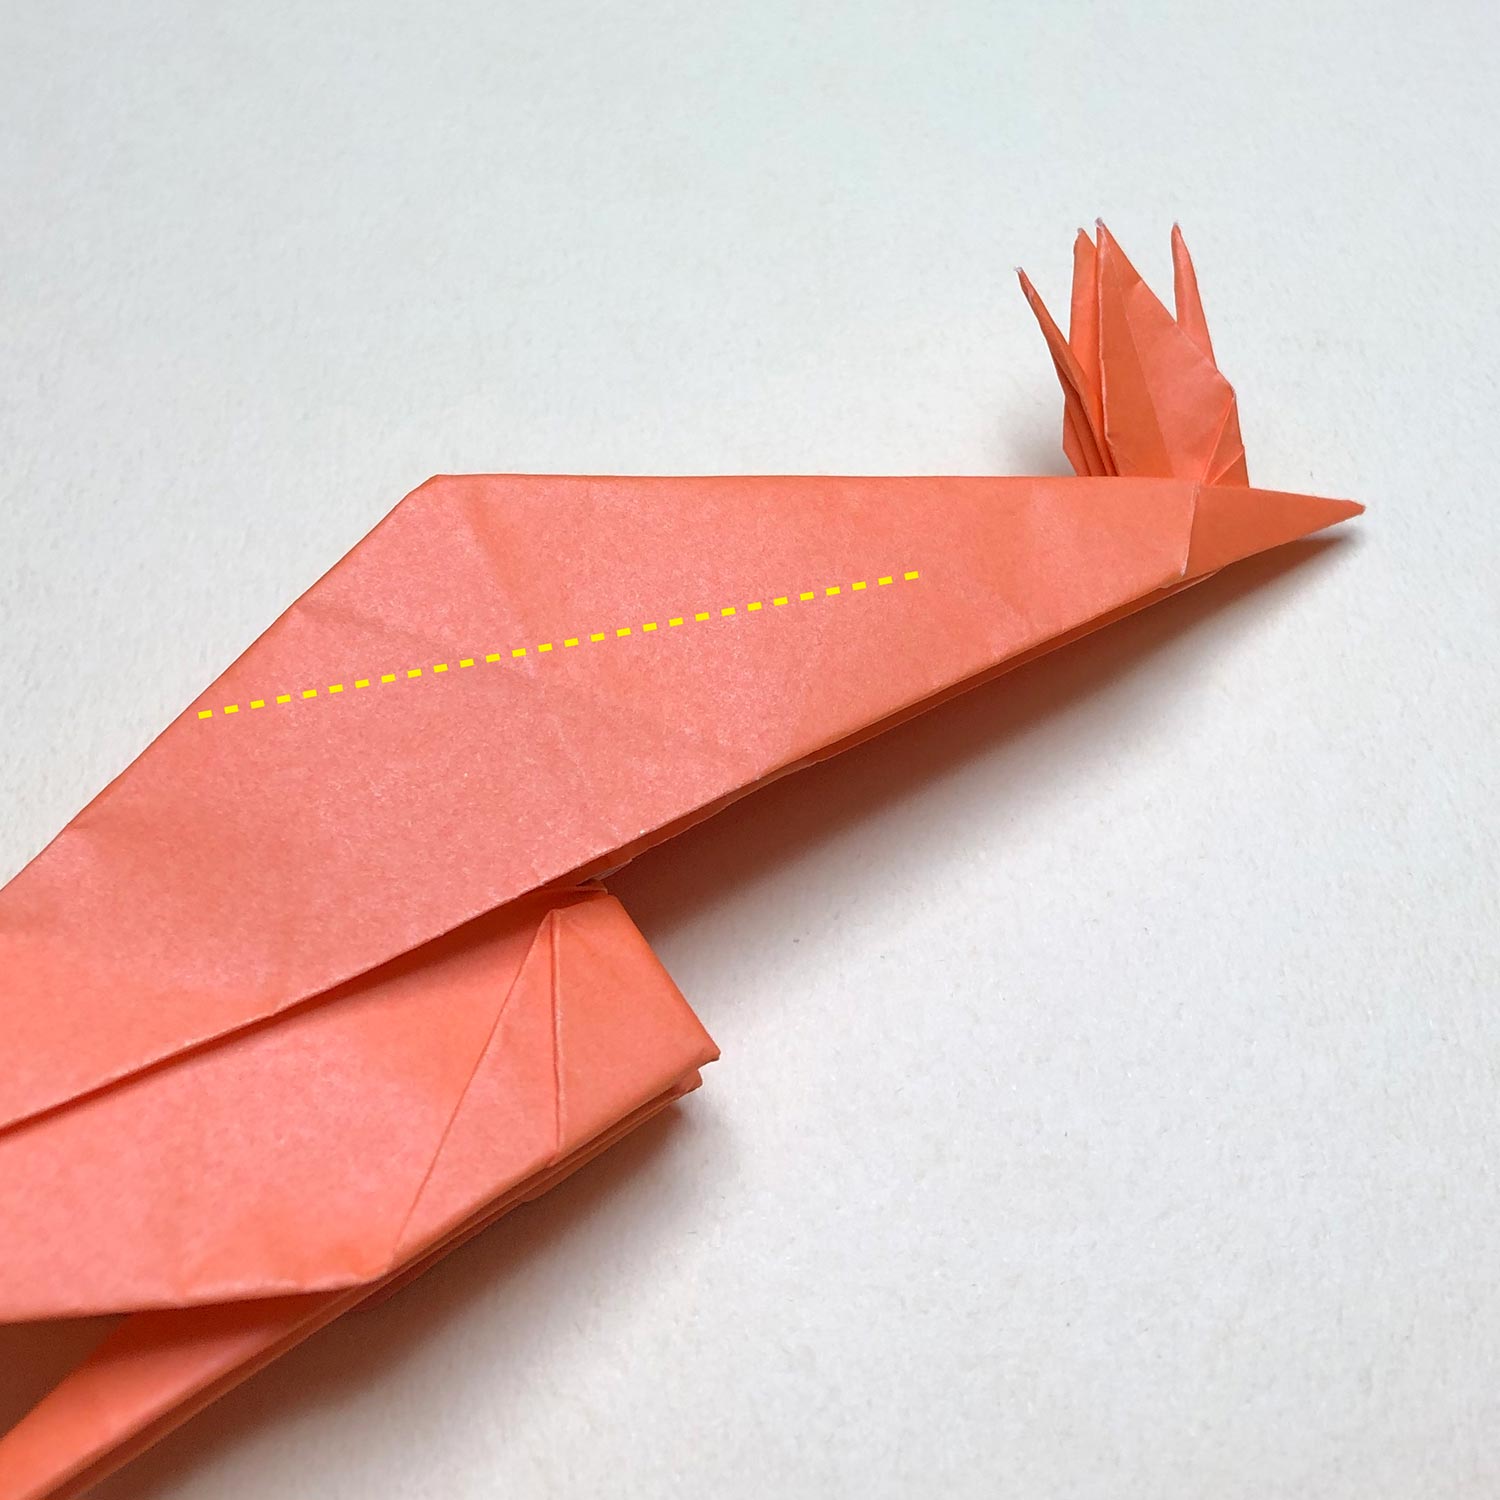
(36)
Then fold the other head/tail to the center.
First, make a crease only on the dotted line.
(37)
Make a crease like this picture.
(38)
It is hard to make a crease on the tip because there is the small crane on the tip.
Therefore, push the paper with your nail to make a mark at the dotted line.
(39)
Make a mark like this picture.
Then make a crease on the mark.
Connecting parts tear easily.
Therefore, make a crease carefully.

(40)
Make a crease like this picture.
(41)
On the opposite side too, make a crease in the same way.
(first, make a mark with your nail and then make a crease on the mark.)
(42)
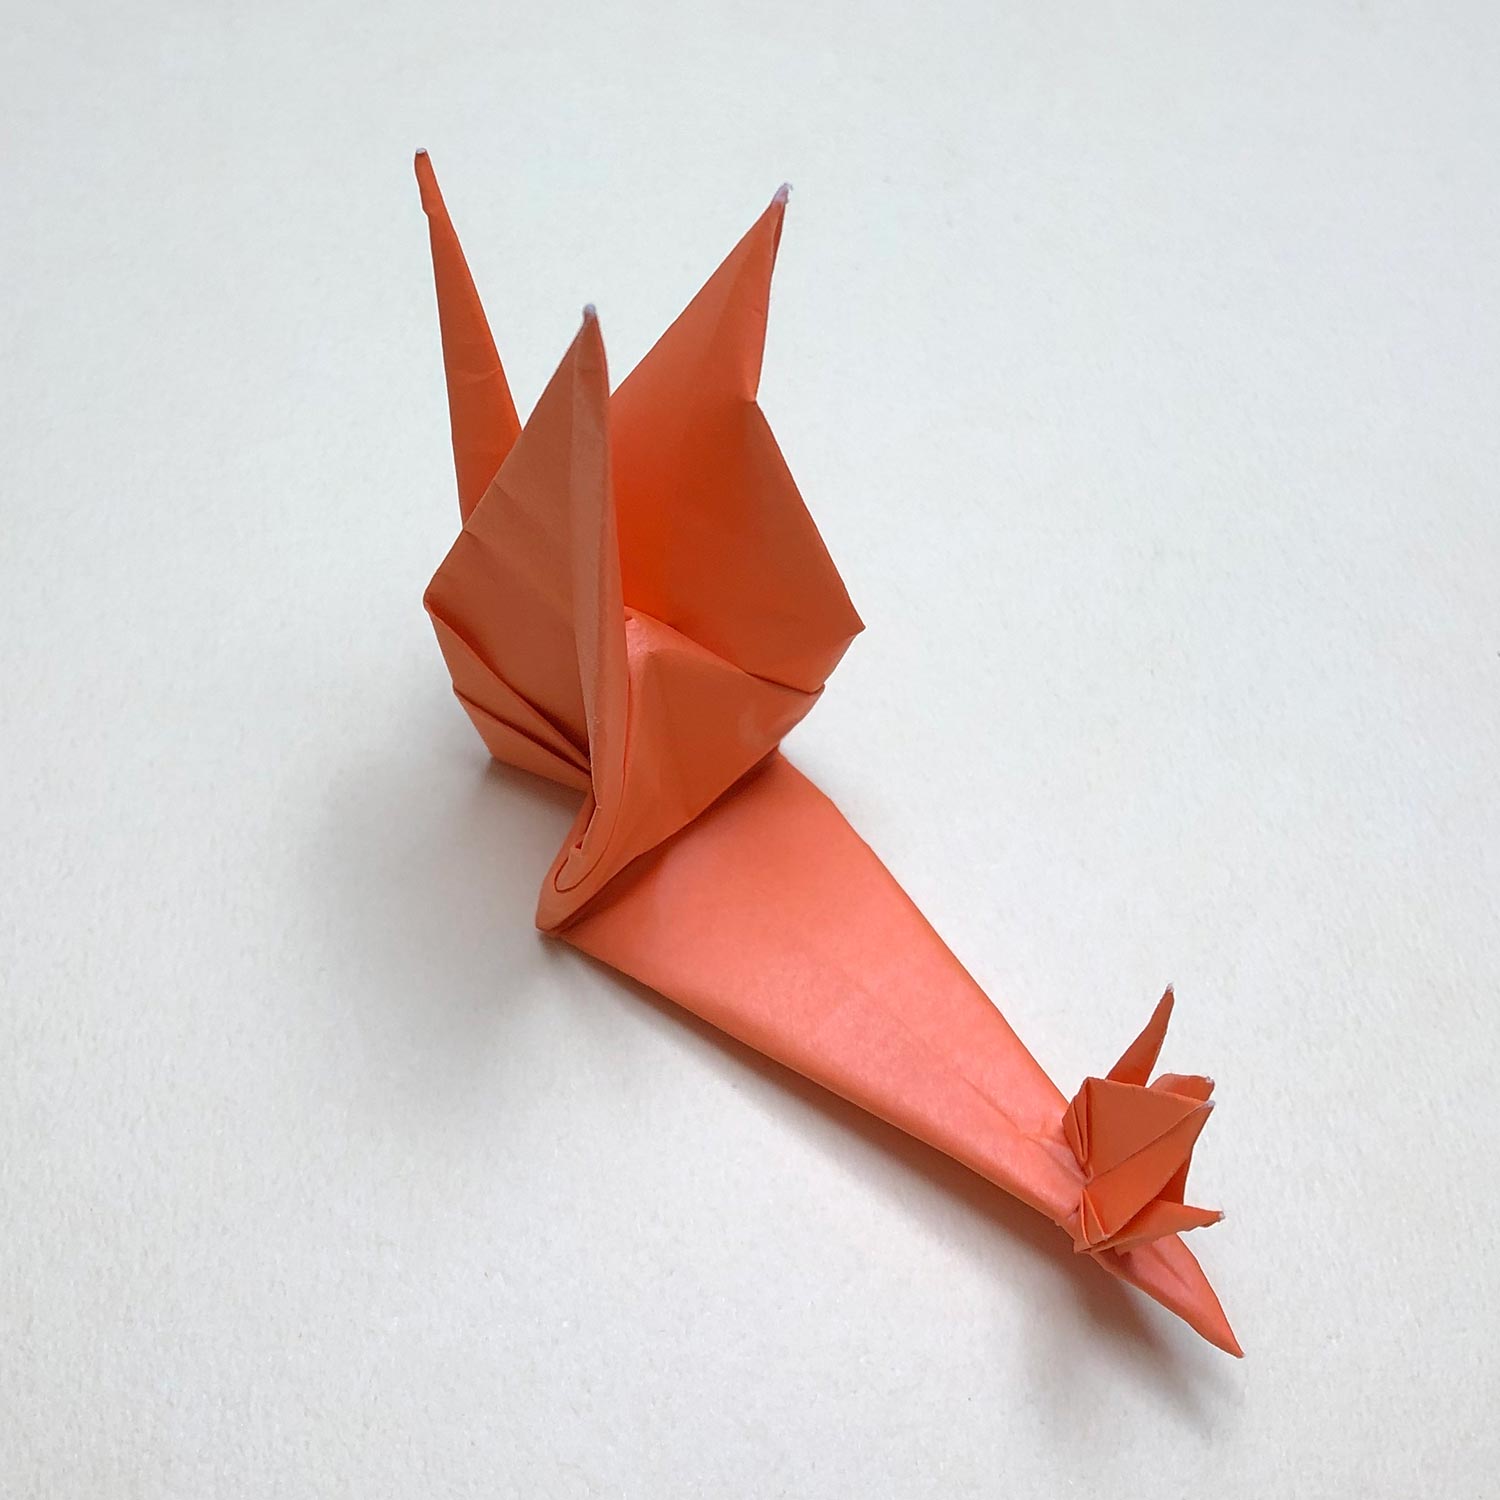
After folding the head/tail, it looks like this picture.
(43)
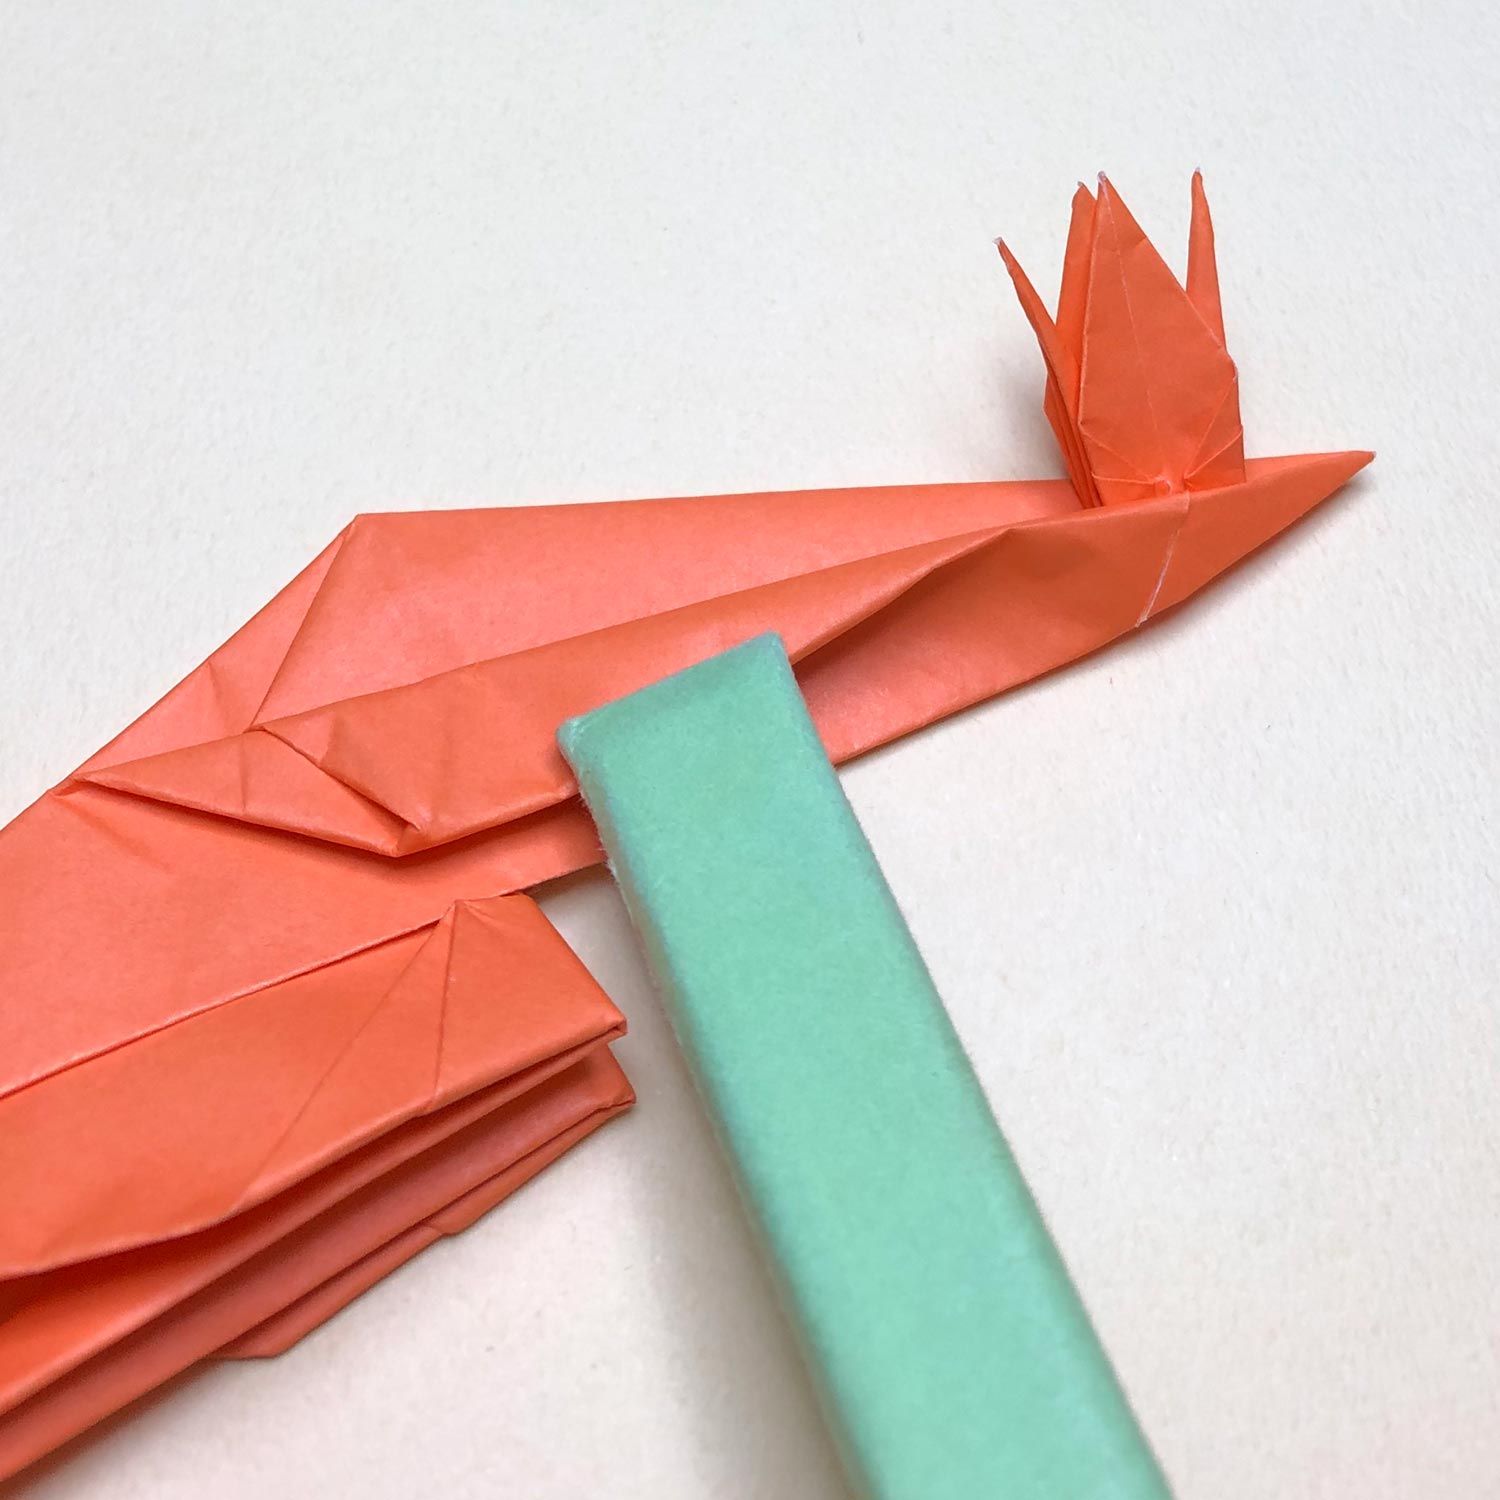
Then raise the head/tail while referencing the next steps.
(44)
Raise the head/tail a little and make it flat like this picture.
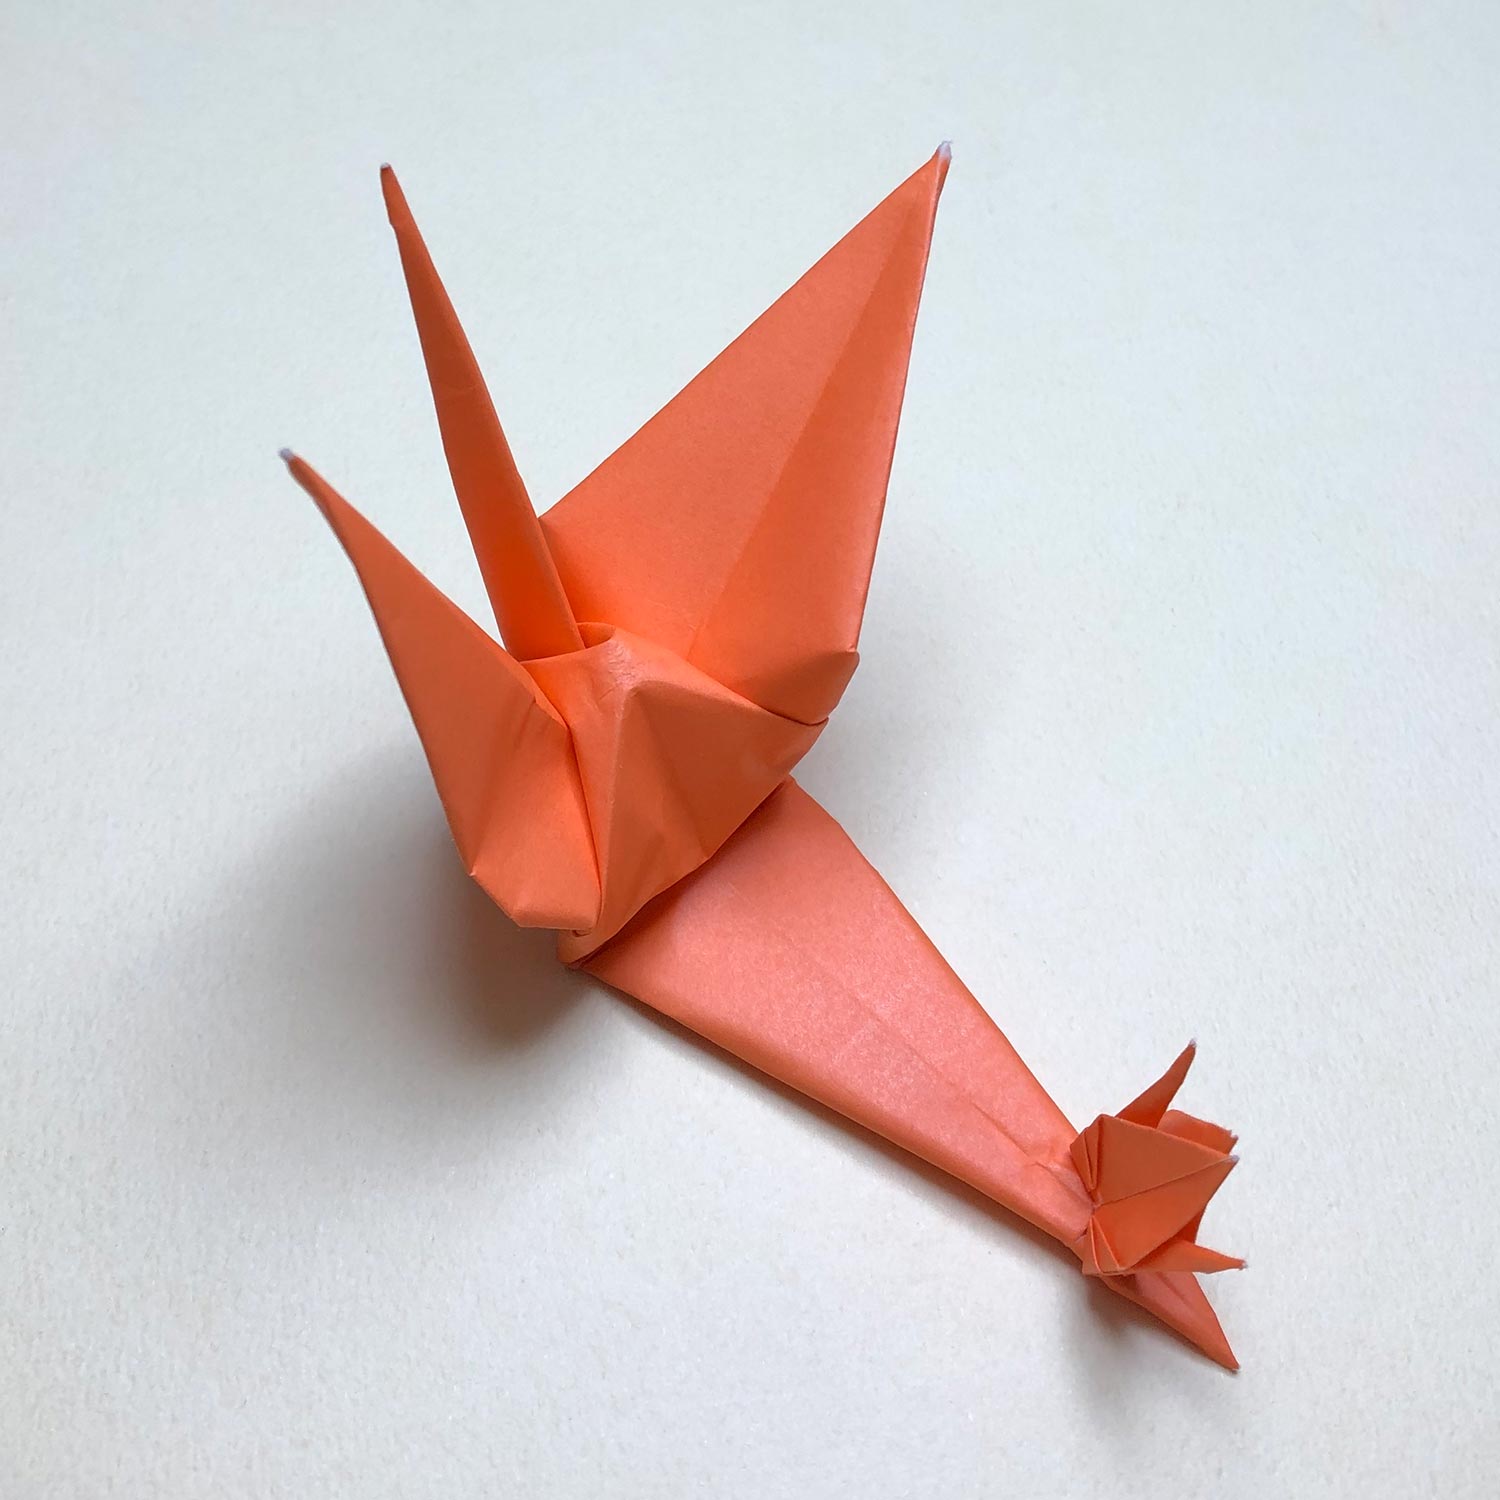
(45)
If you raise the head/tail as it is, the small crane will hit wings of the big crane.
Therefore, spread the wings of the big crane a little like this picture.
After spreading the wings, raise the head/tail.
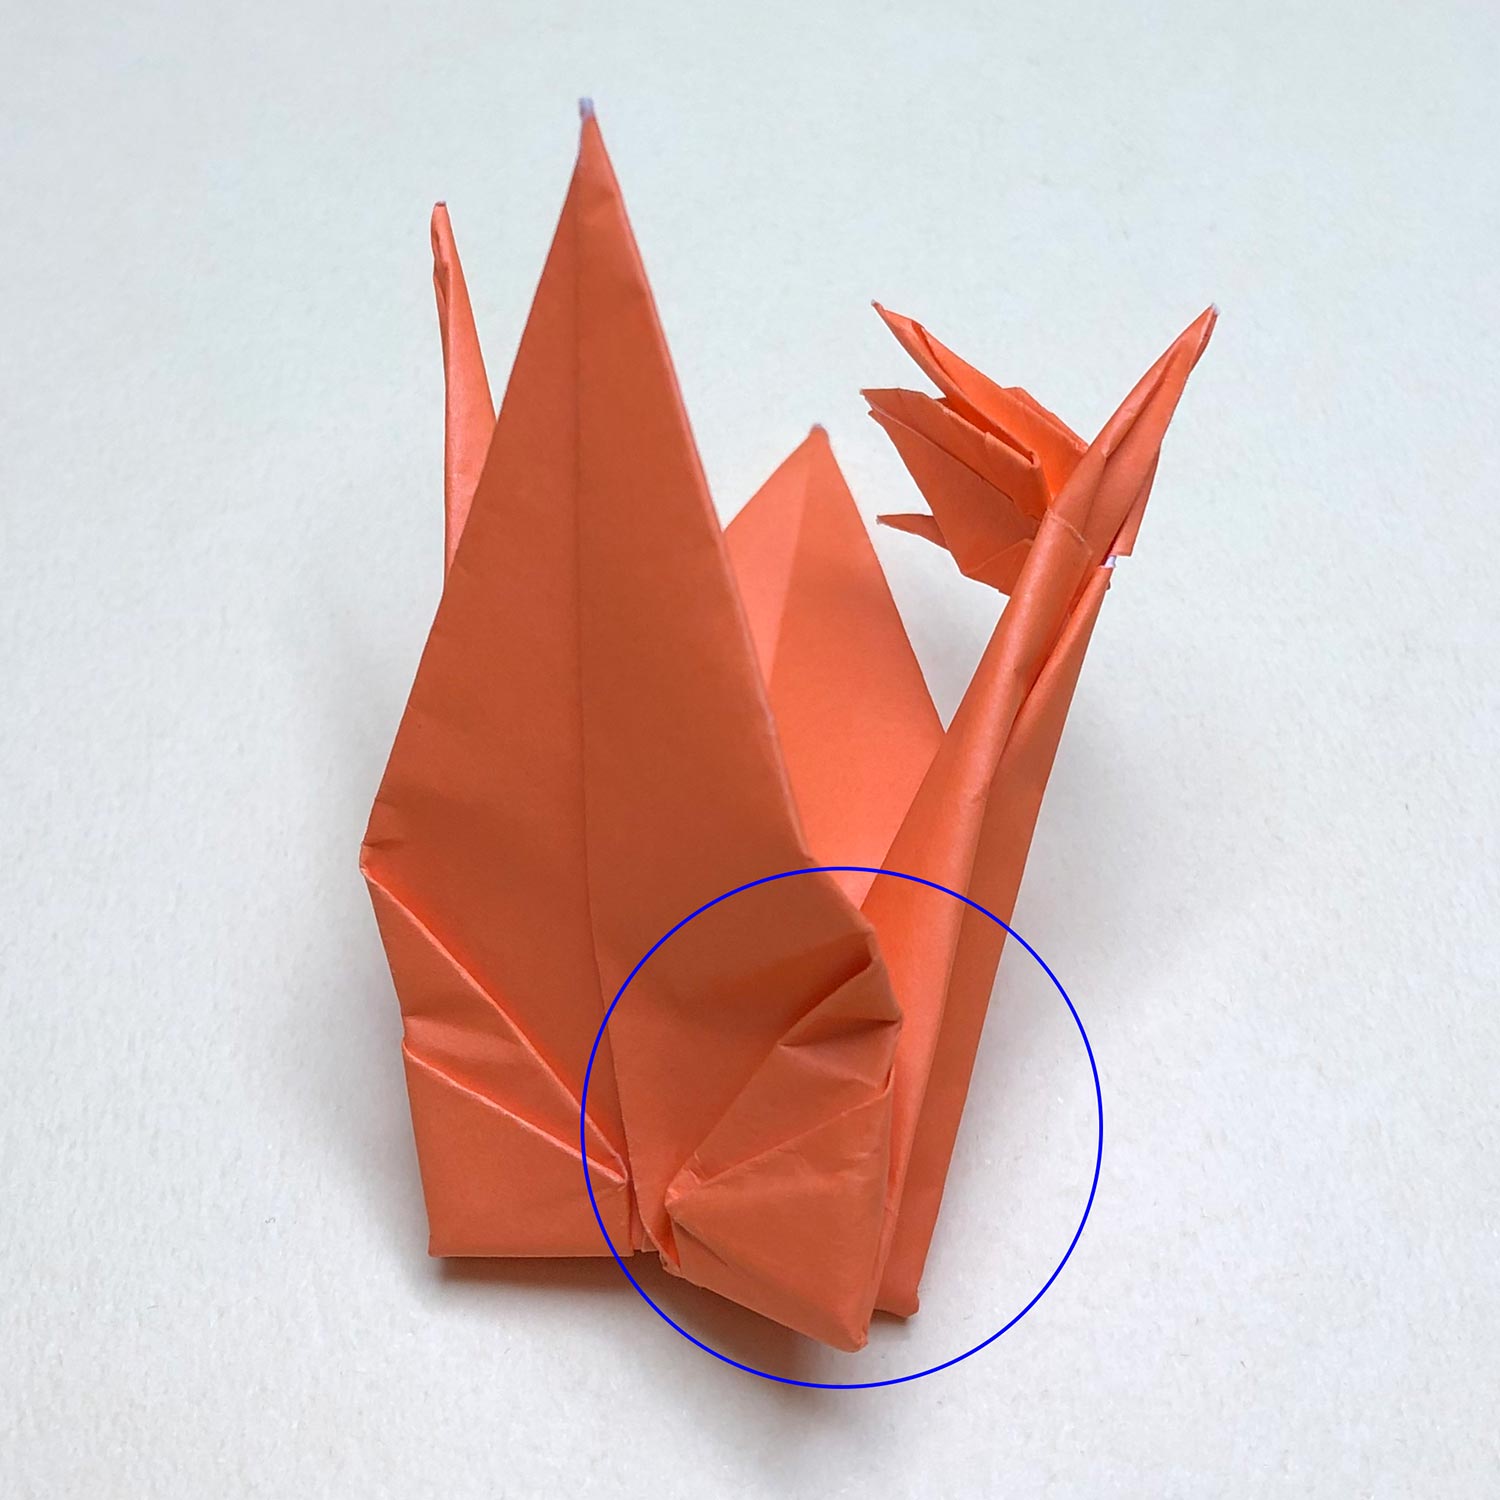
(46)
After raising the head/tail, make creases only at the parts which have been circled first.

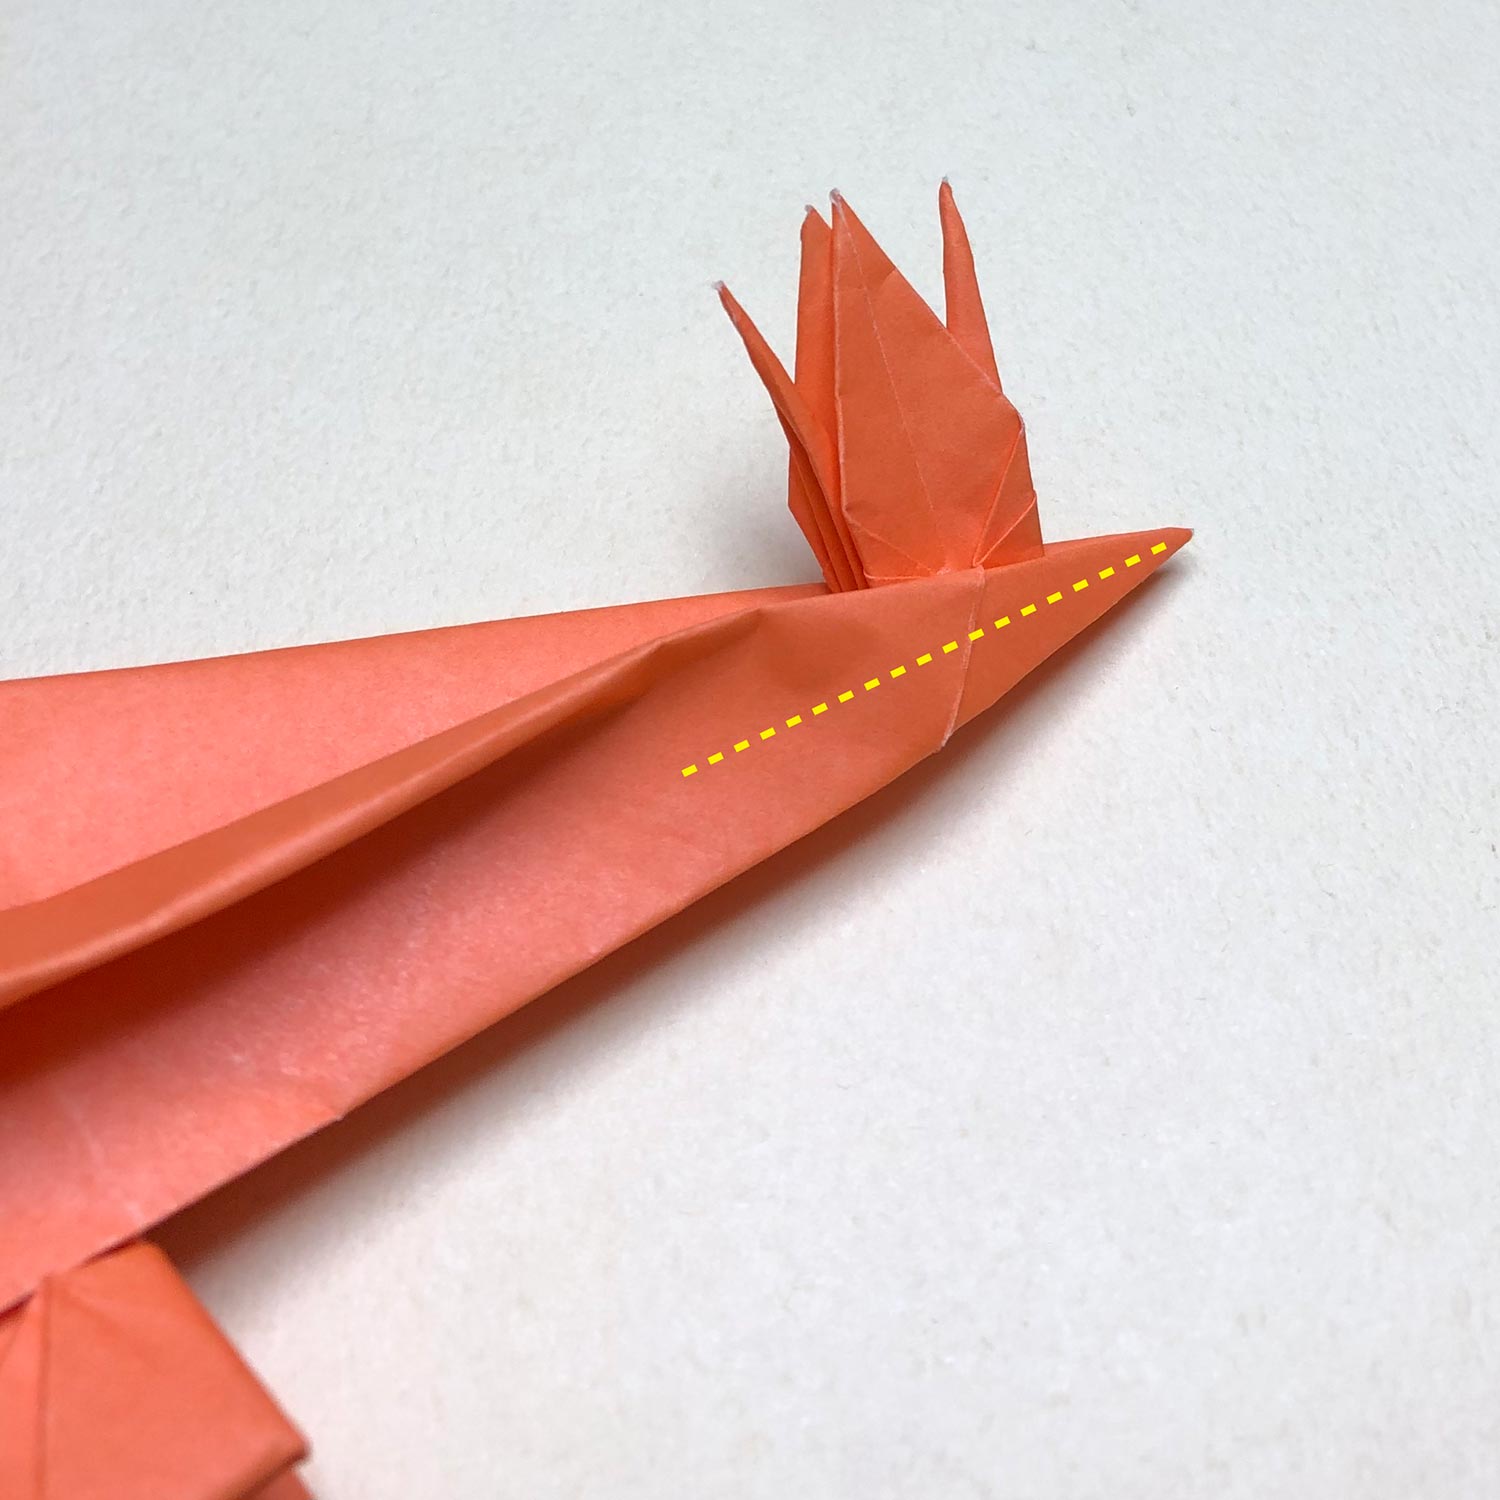
(47)
Then remake two creases on the tip.
(48)
Remake two creases on the tip like this picture.
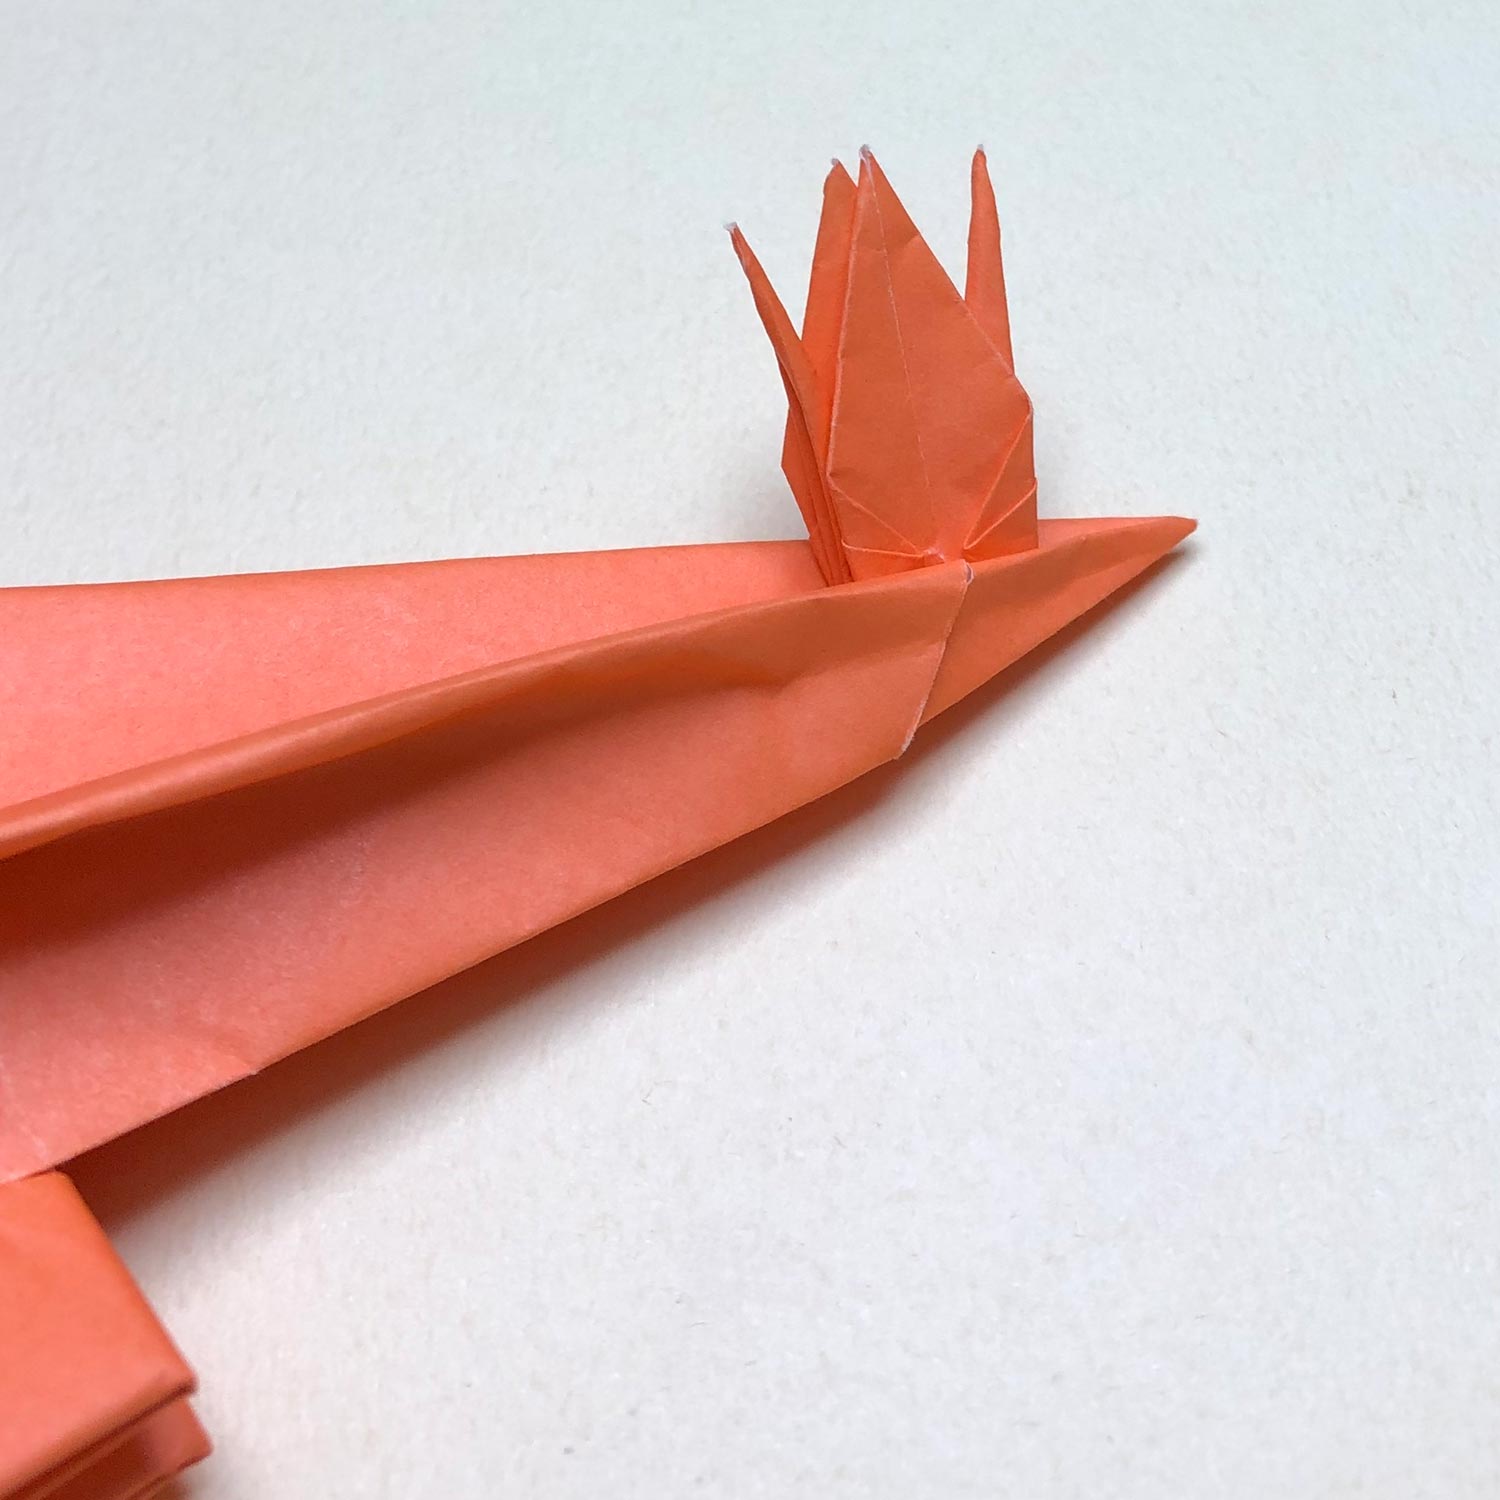
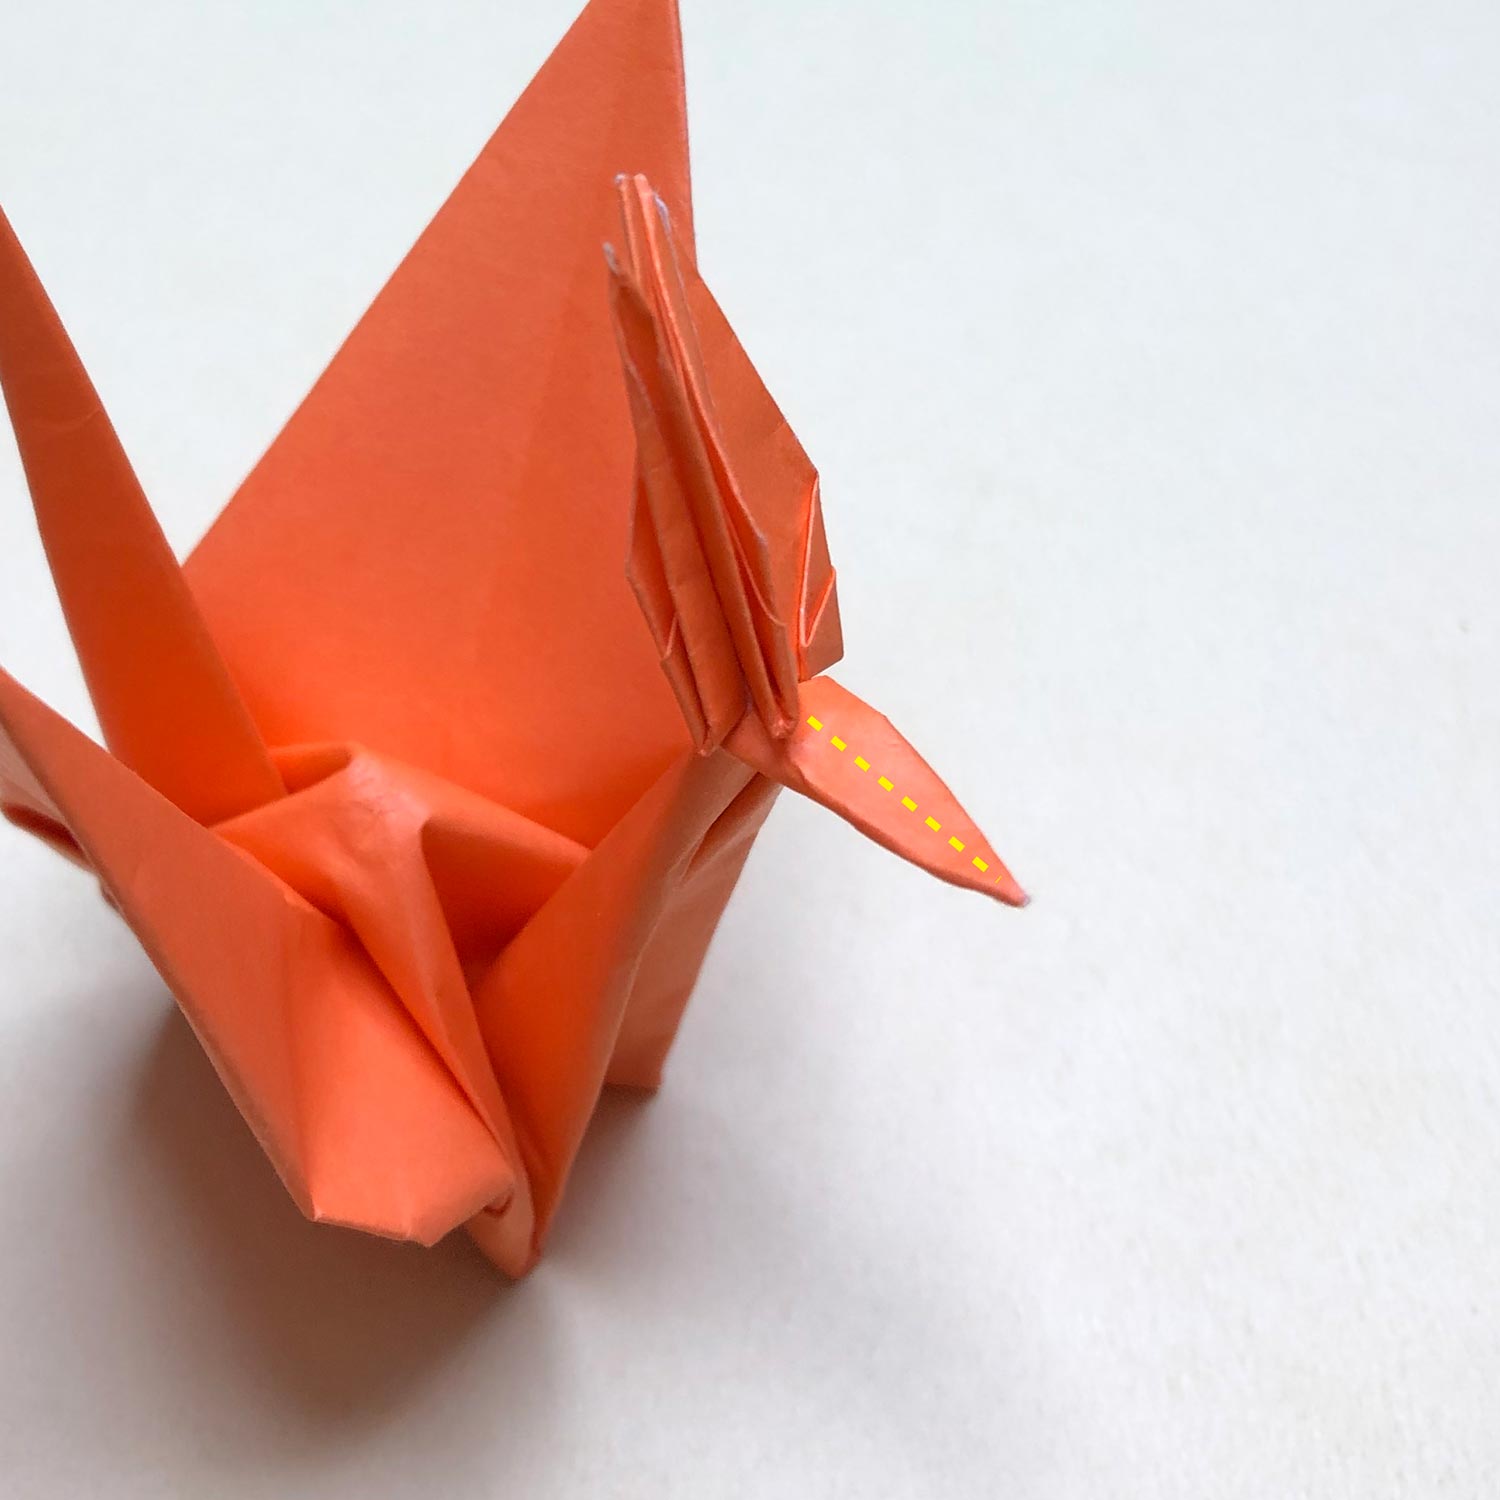
(49)
Then fold the tip along connecting parts to make a beak.
(50)
Fold the tip like this picture.
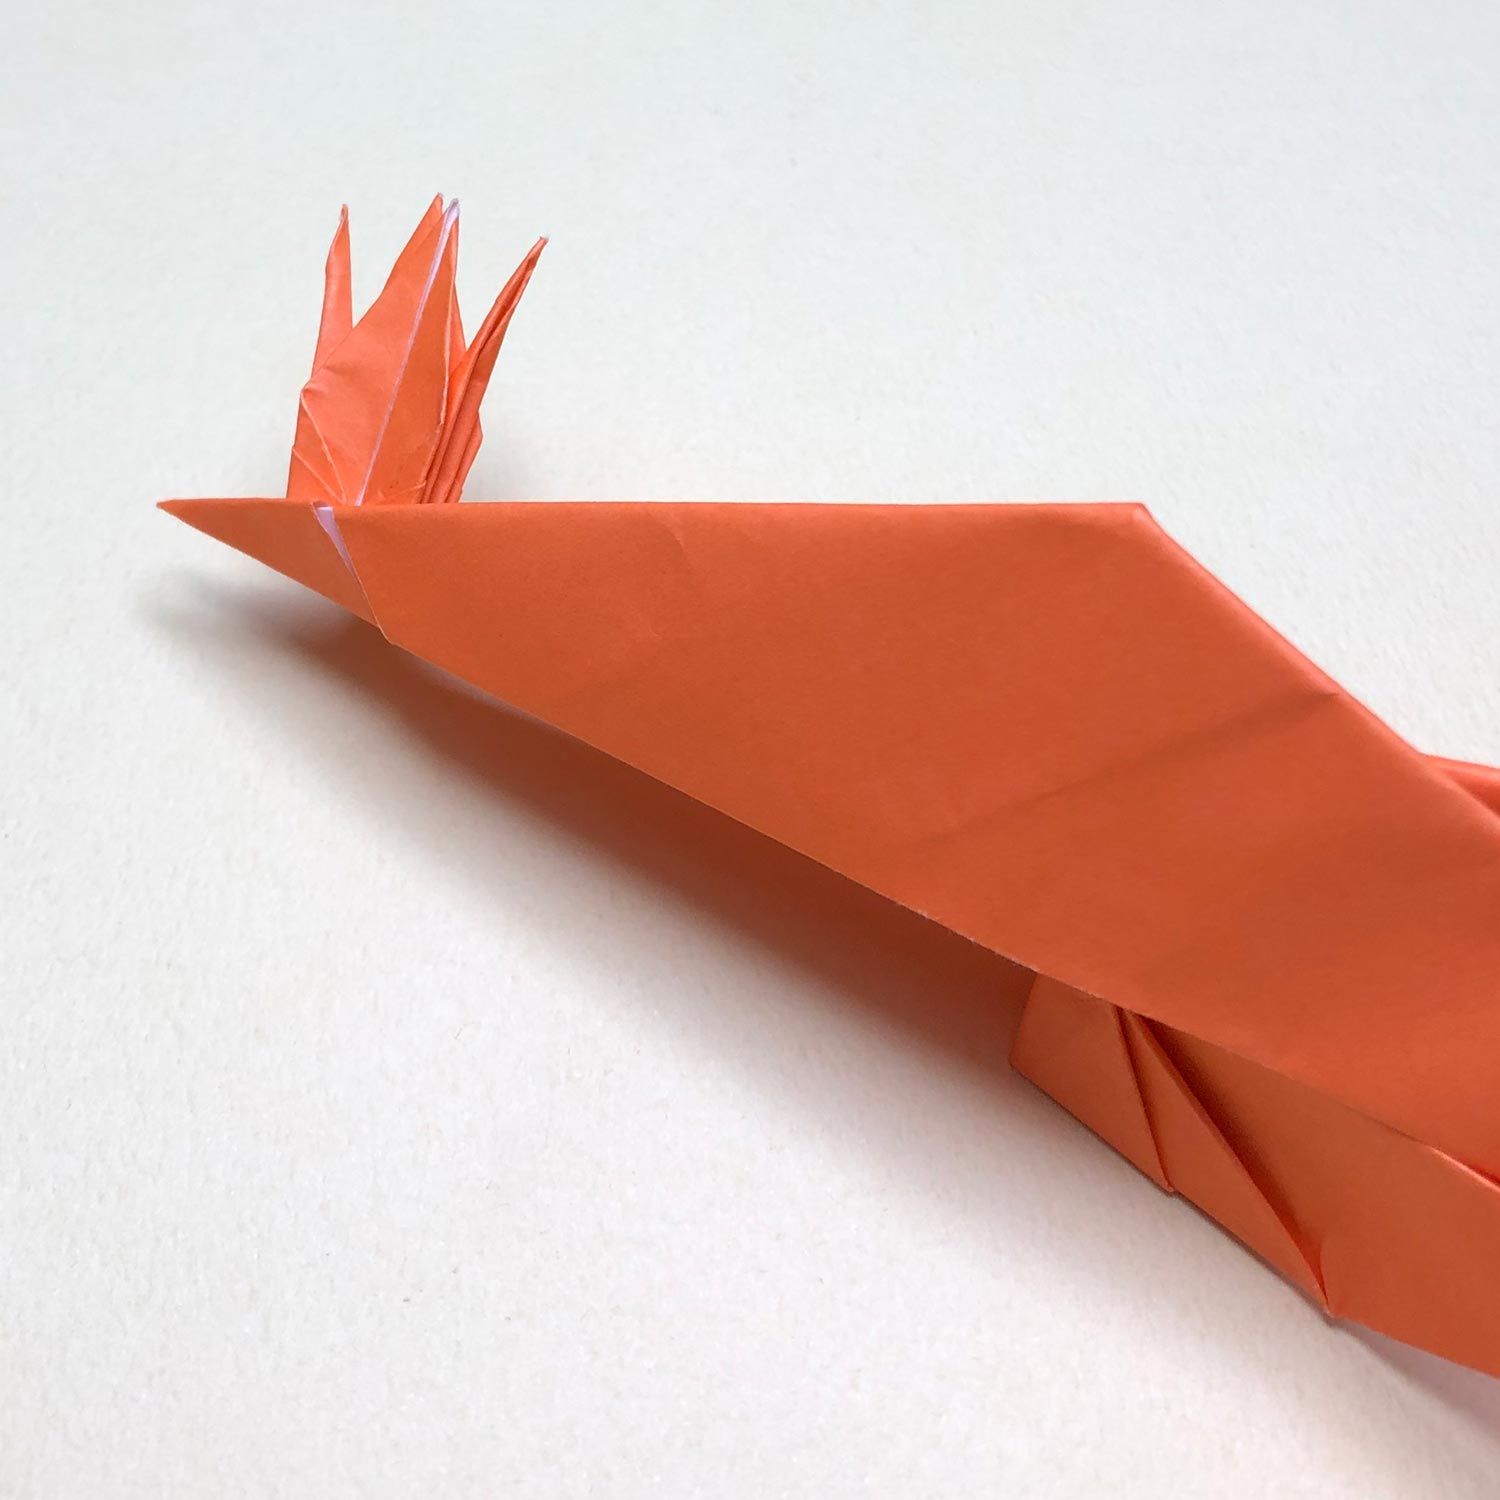
(51)
Then make a valley-fold on the dotted line to make a beak.
Connecting parts tear easily.
Therefore, make a valley-fold carefully.
(52)
Make a valley-fold like this picture.
(53)
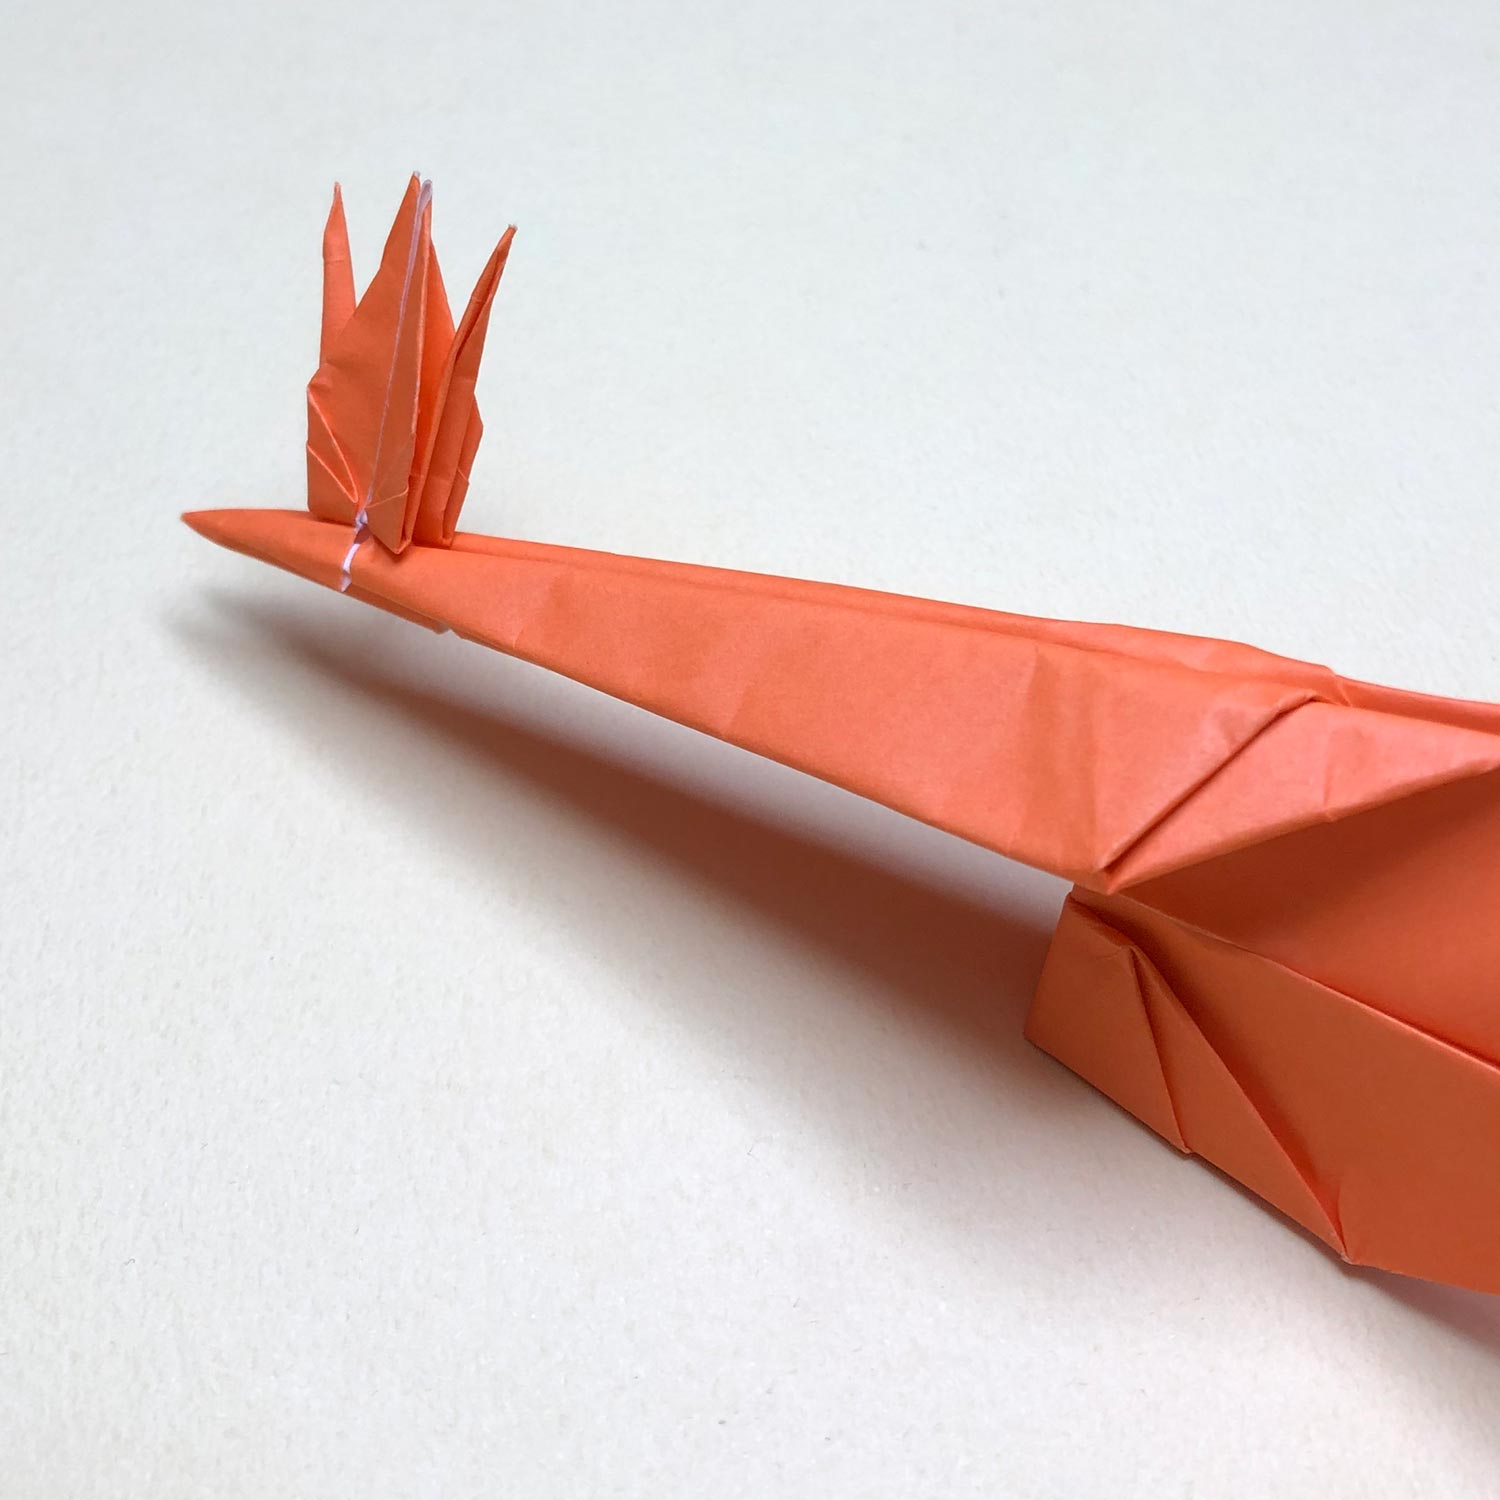
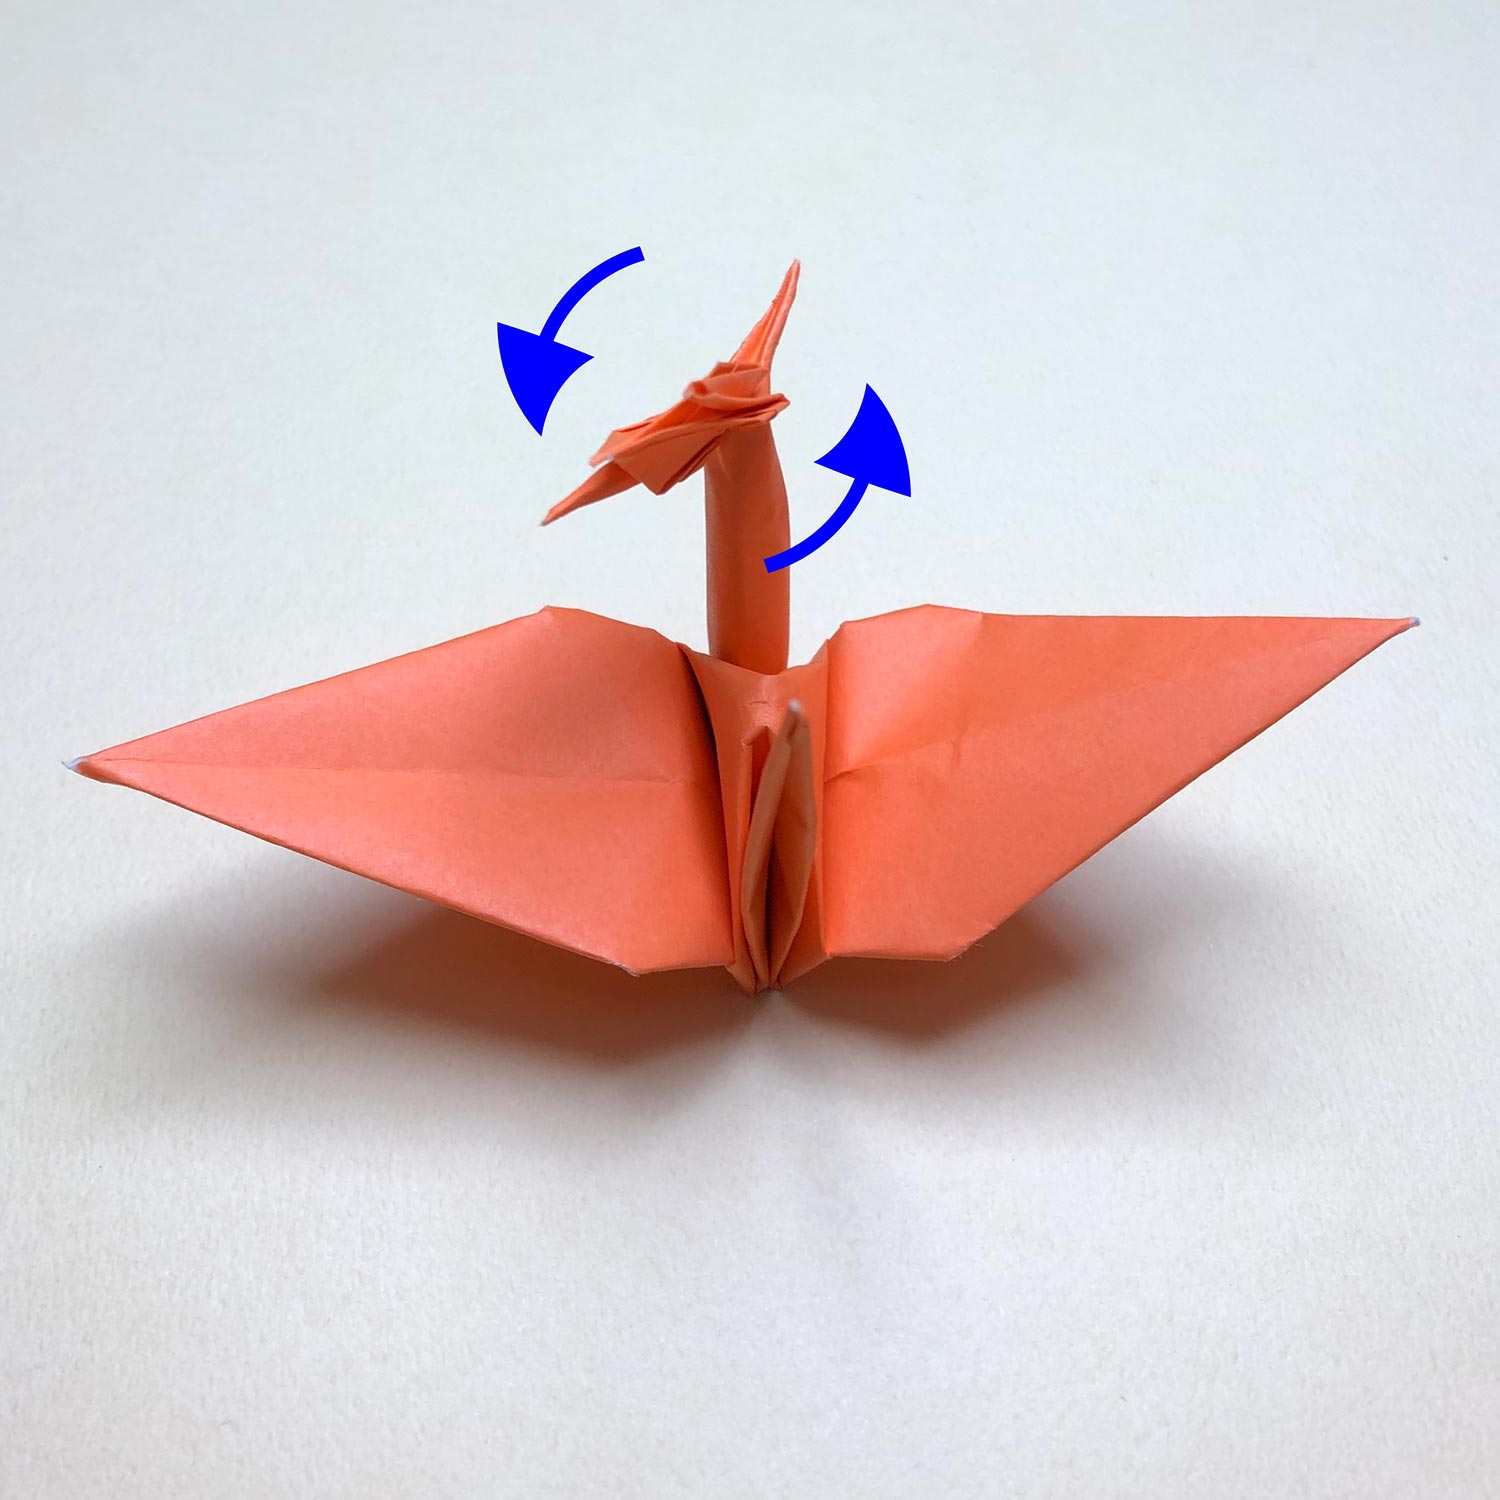
Then spread wings of the big crane.
Also, rotate the small crane so that the small crane face in the same direction as the big crane.
Connecting parts tear easily.
Therefore, move the small crane carefully.
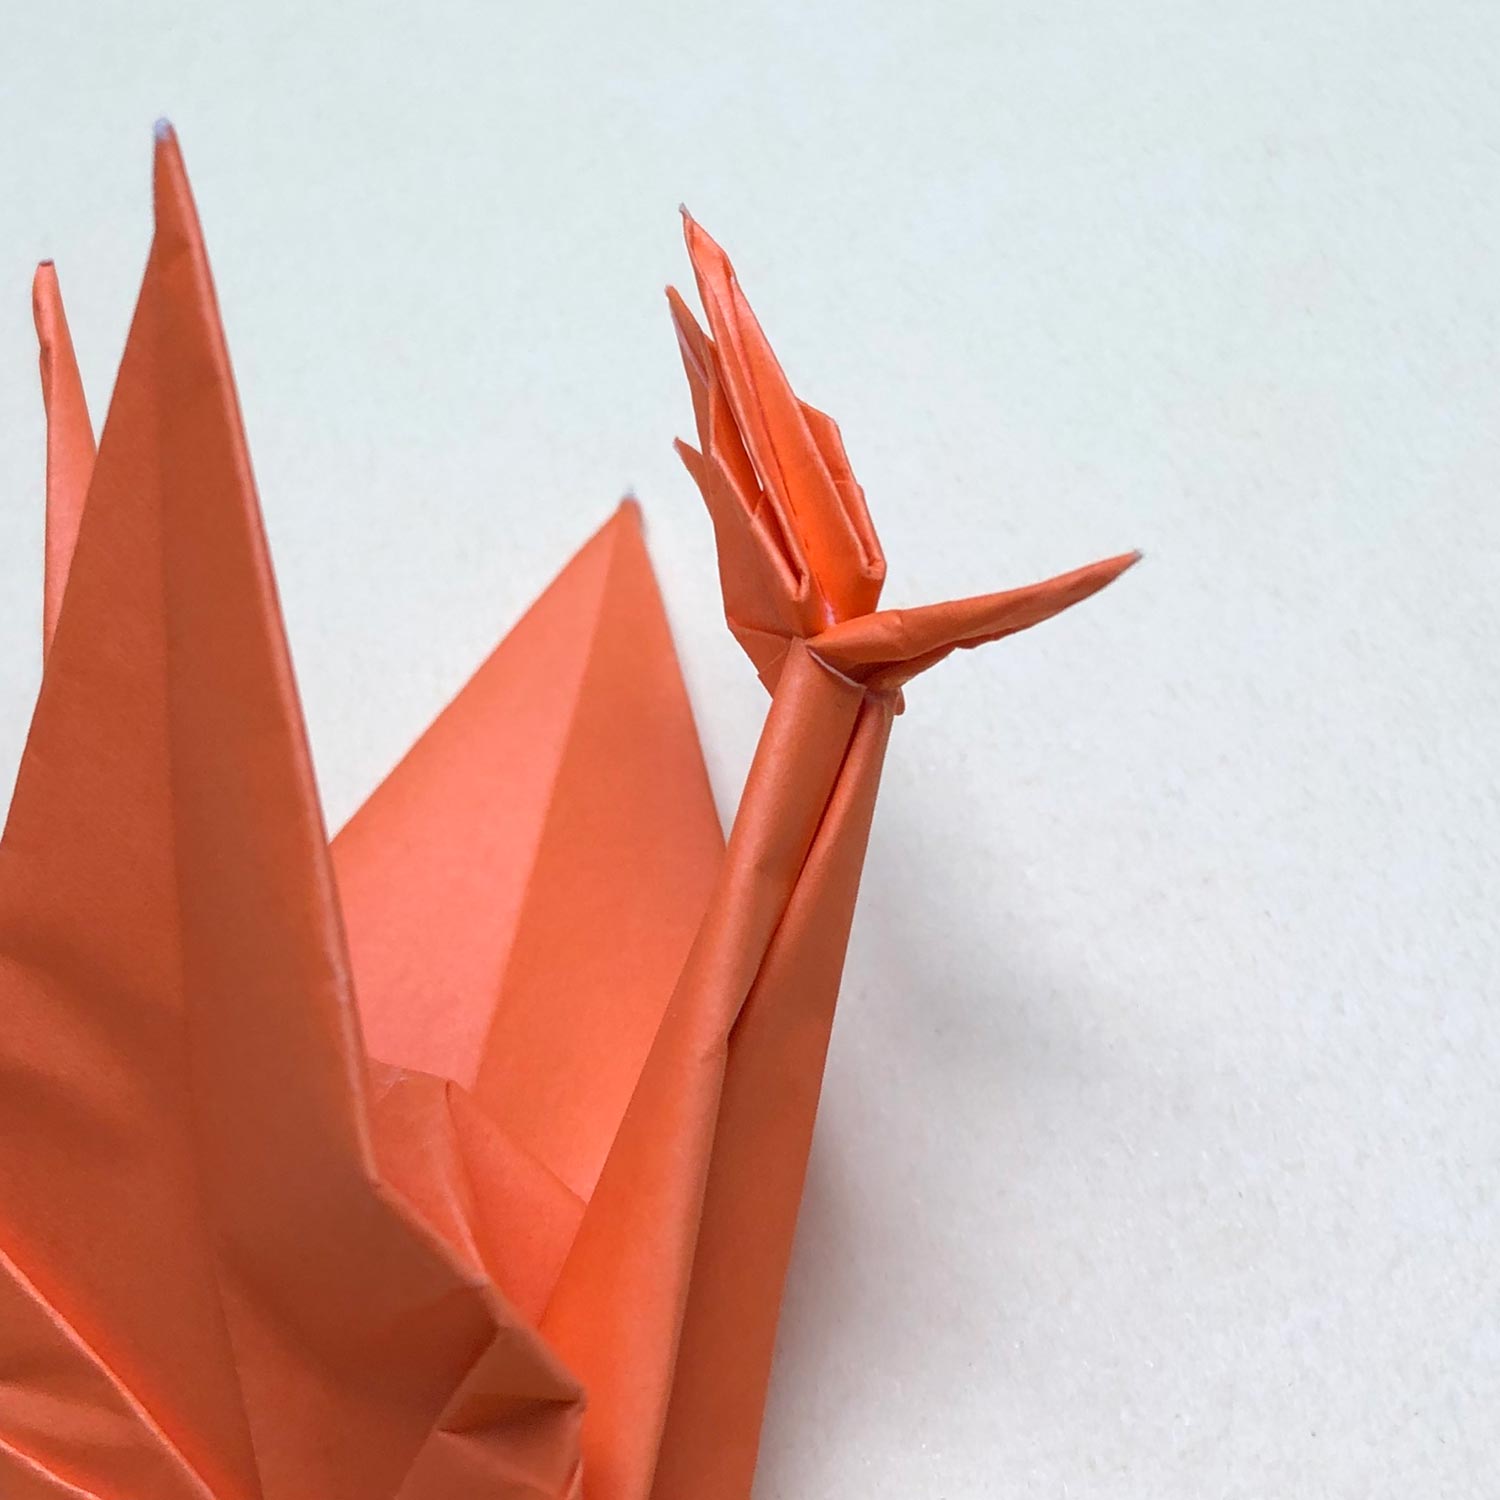
(54)
Rotate the small crane like this picture.
Finally, make a beak and spread wings of a small crane.
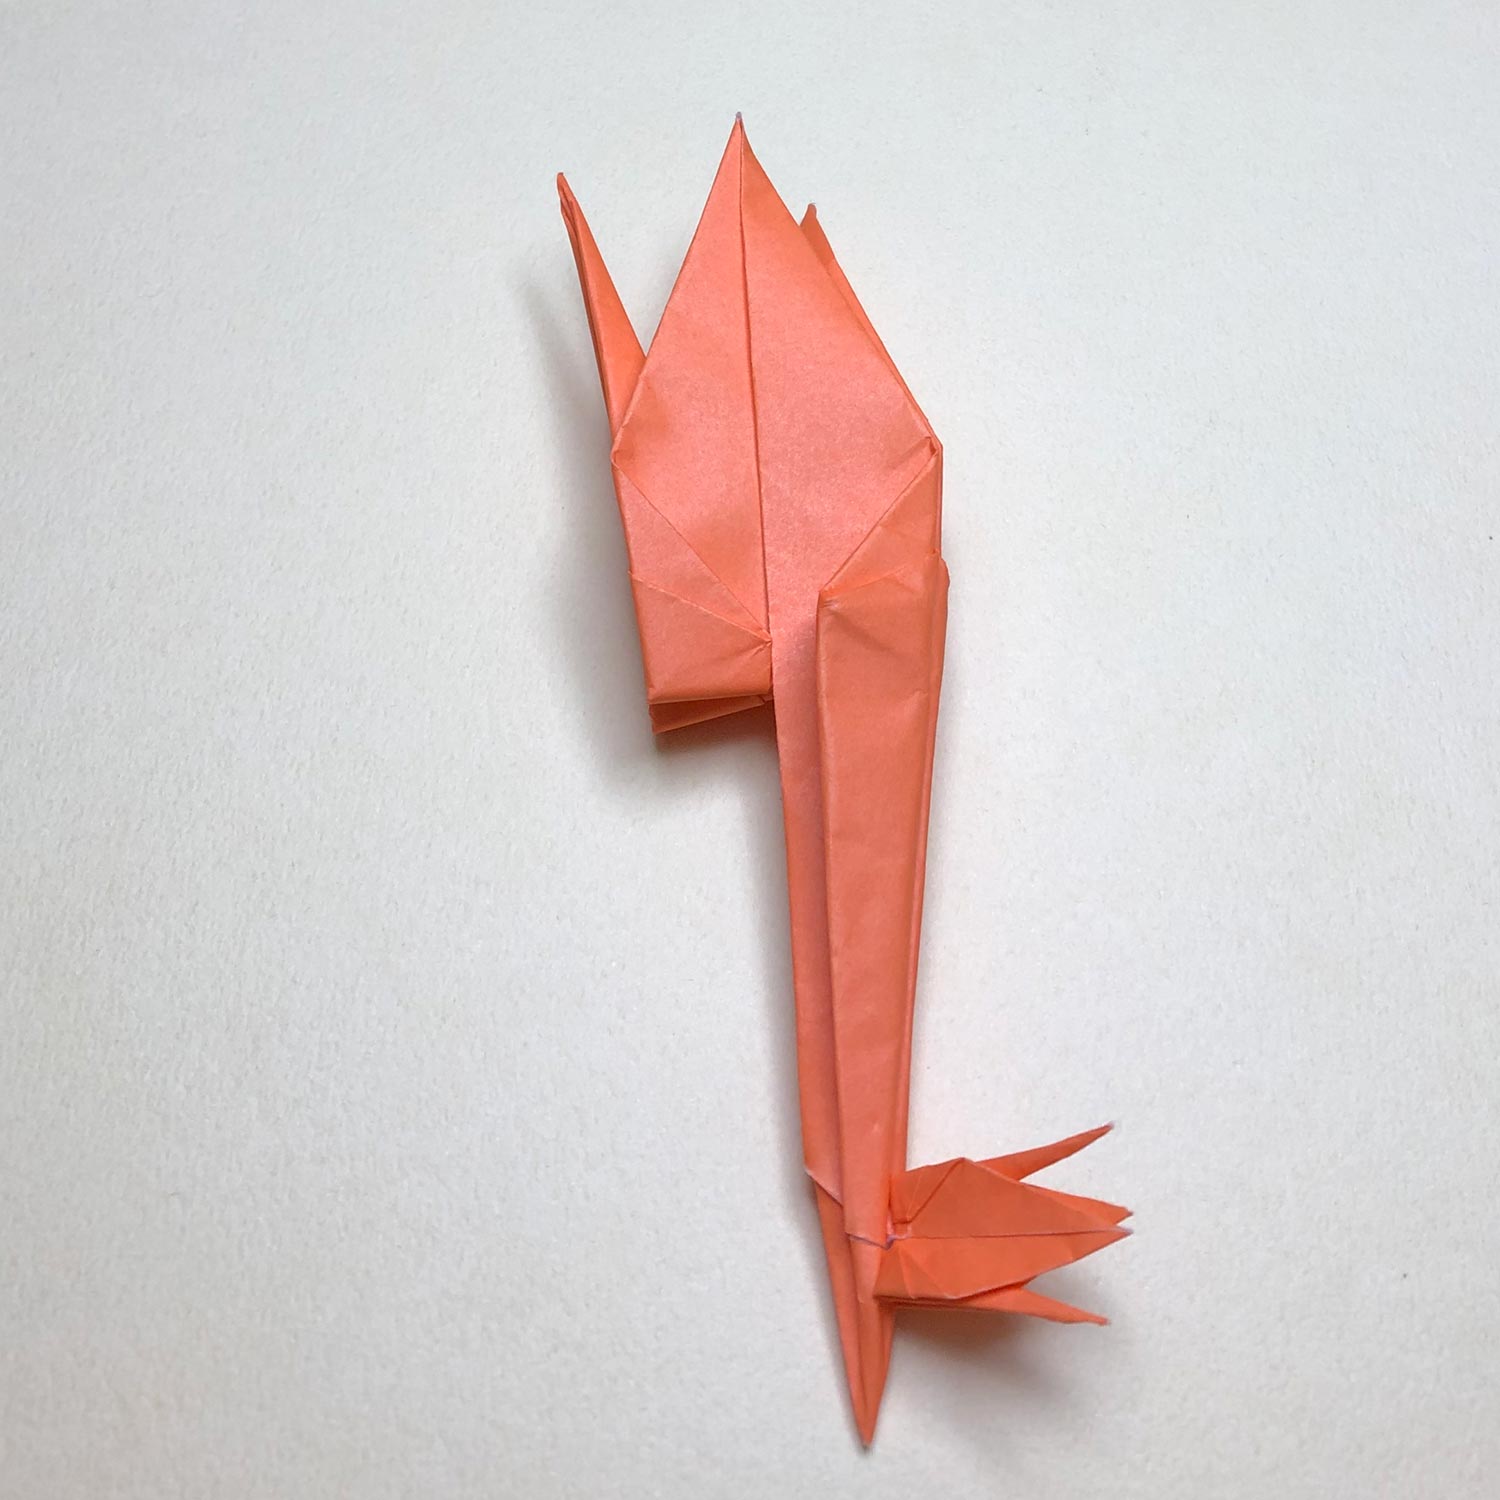
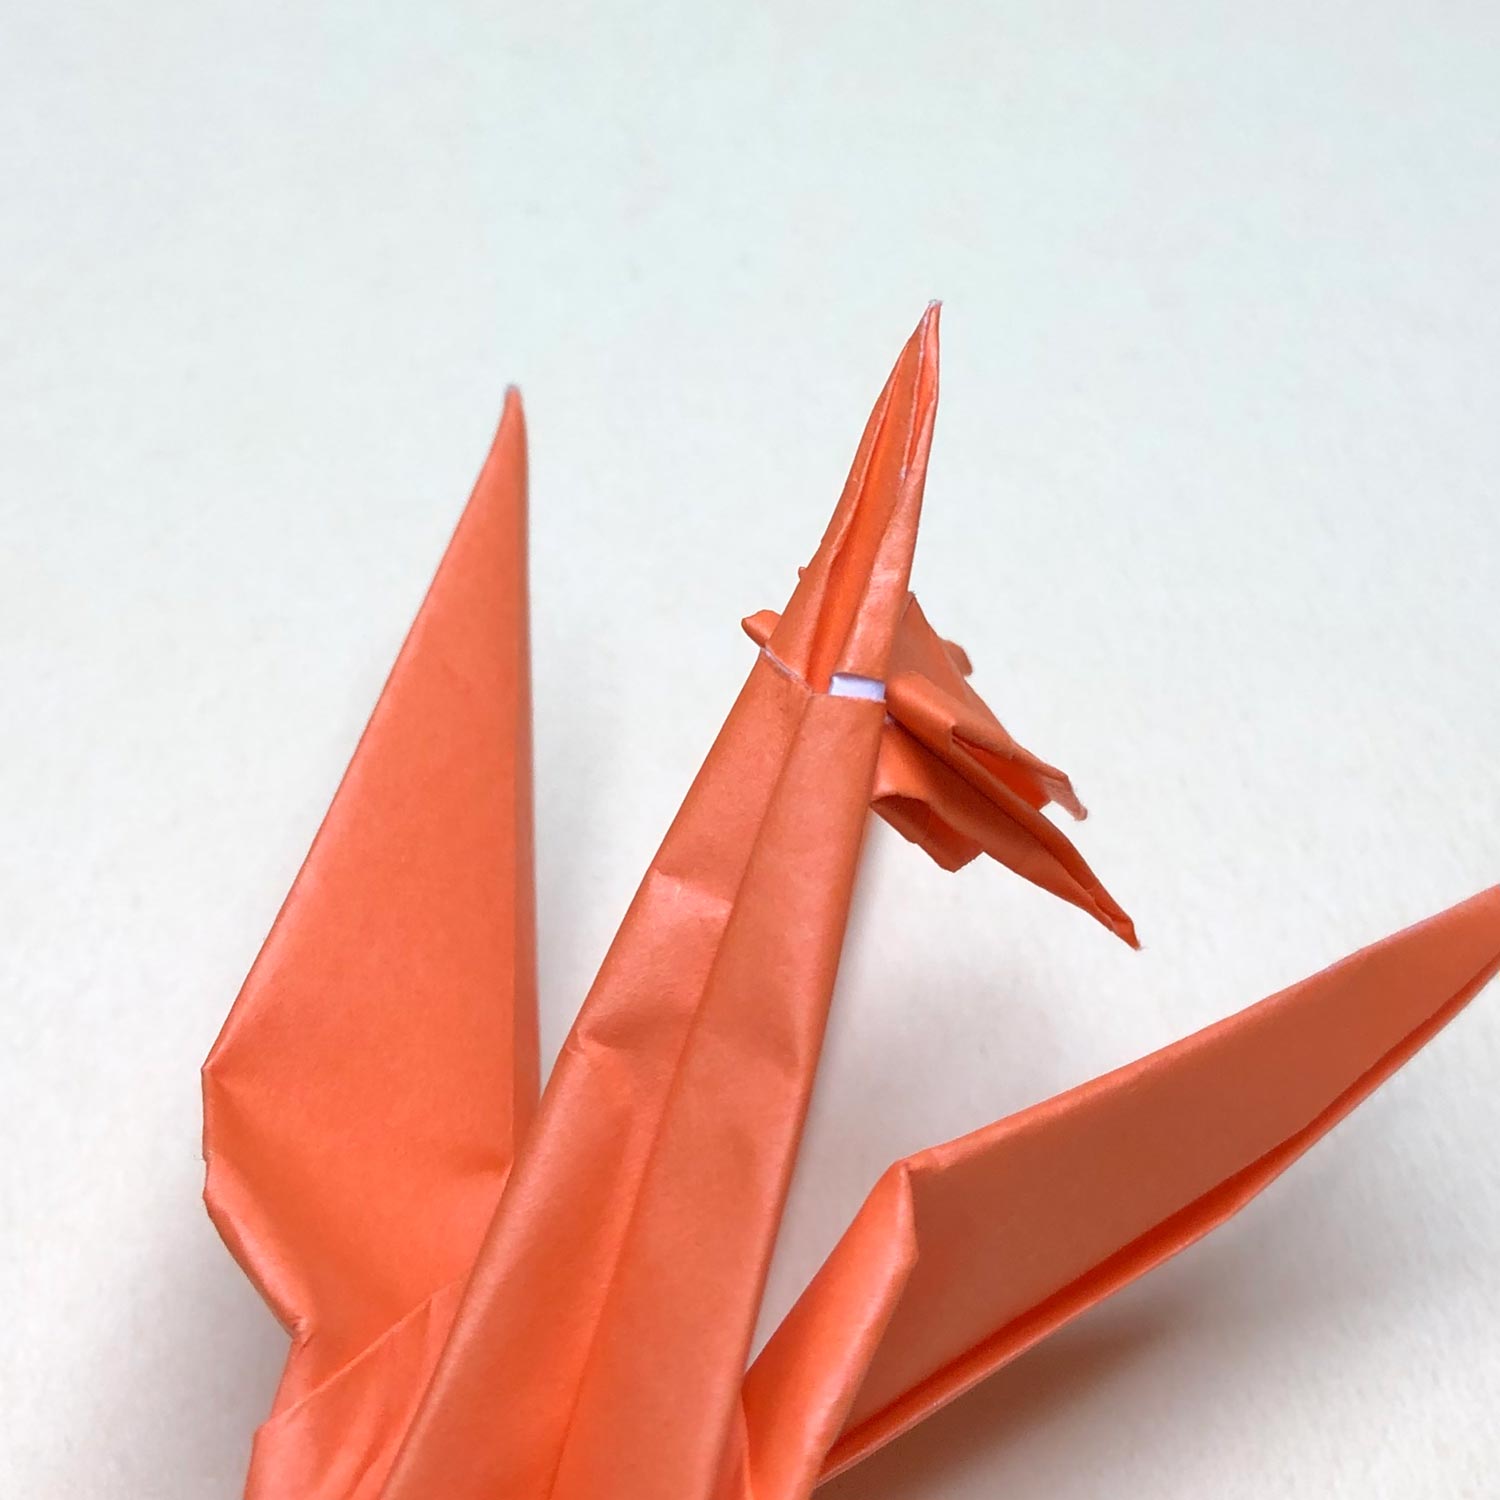
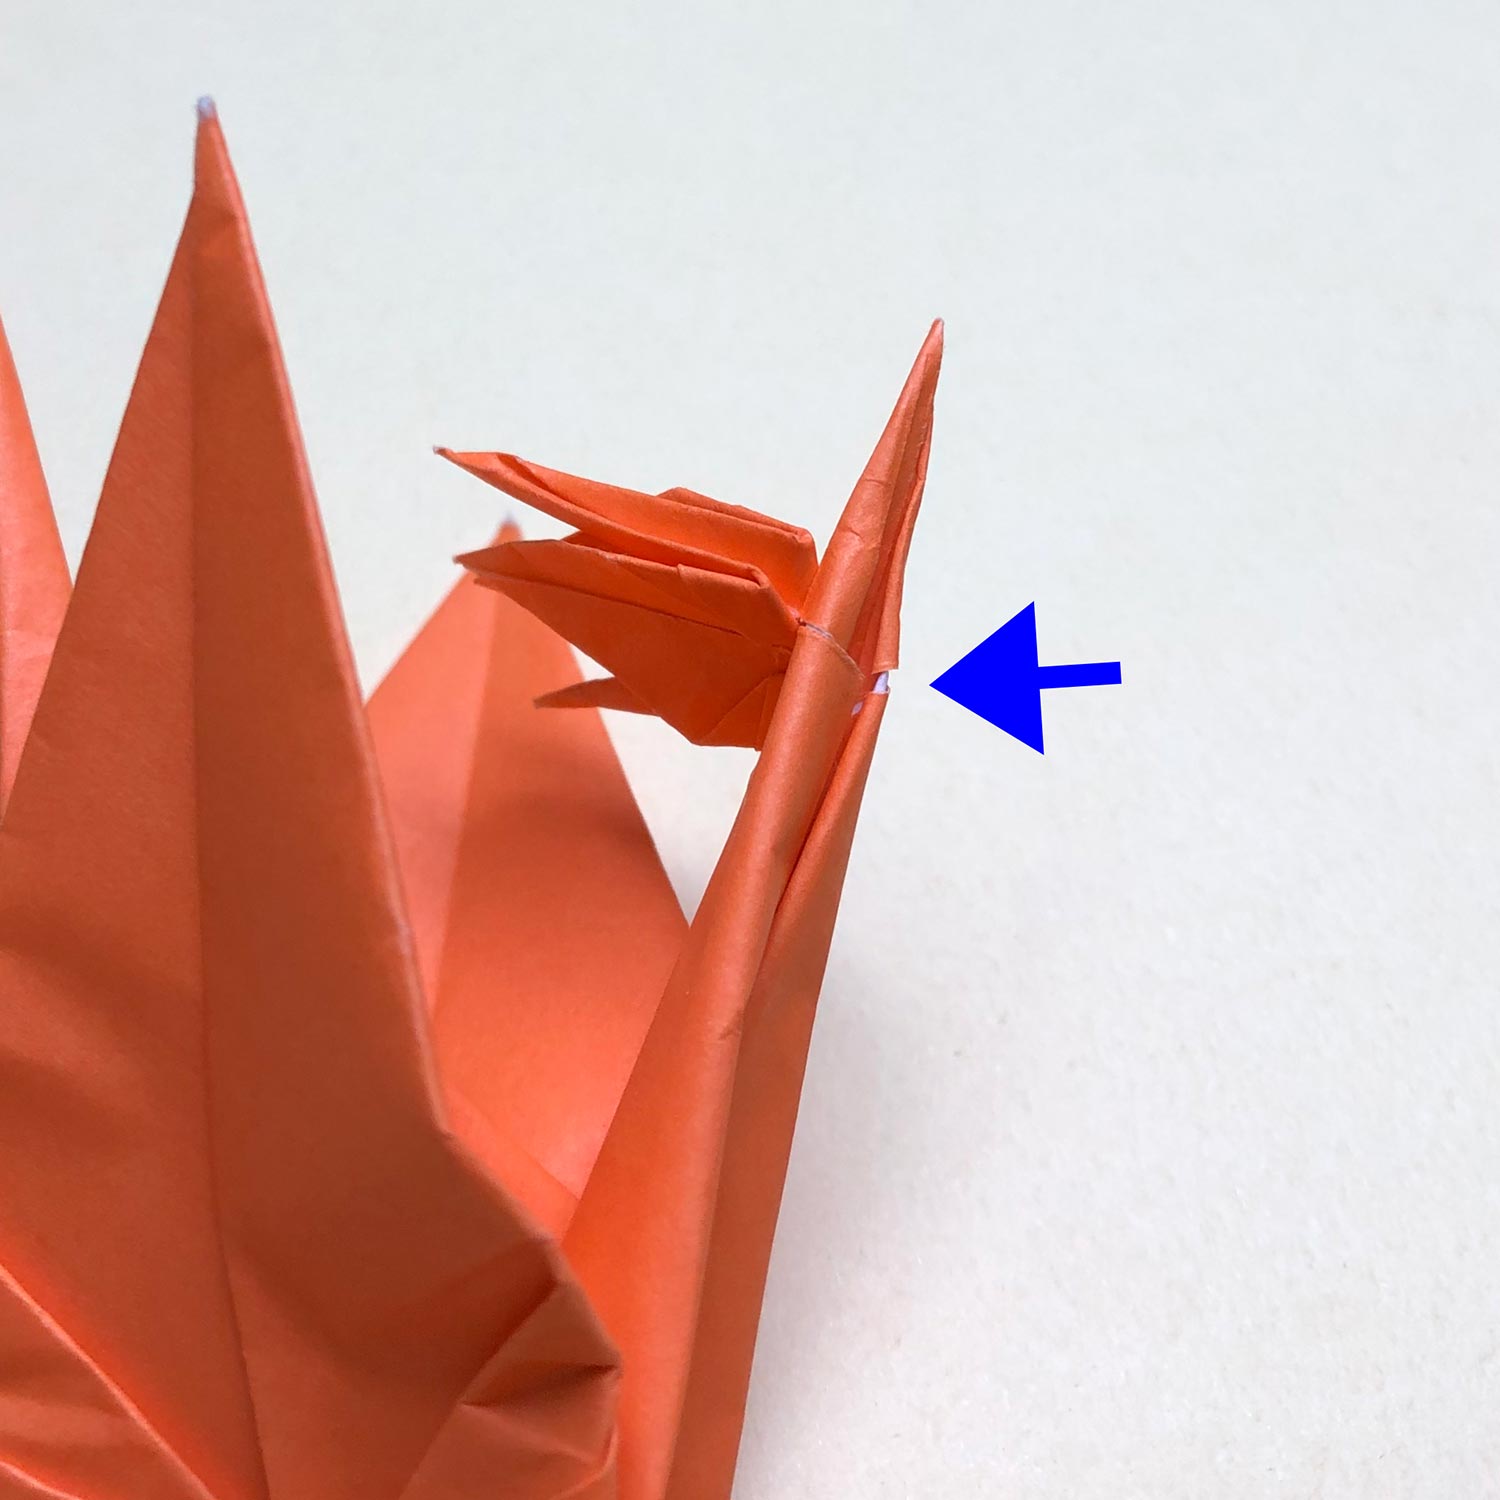
(55)
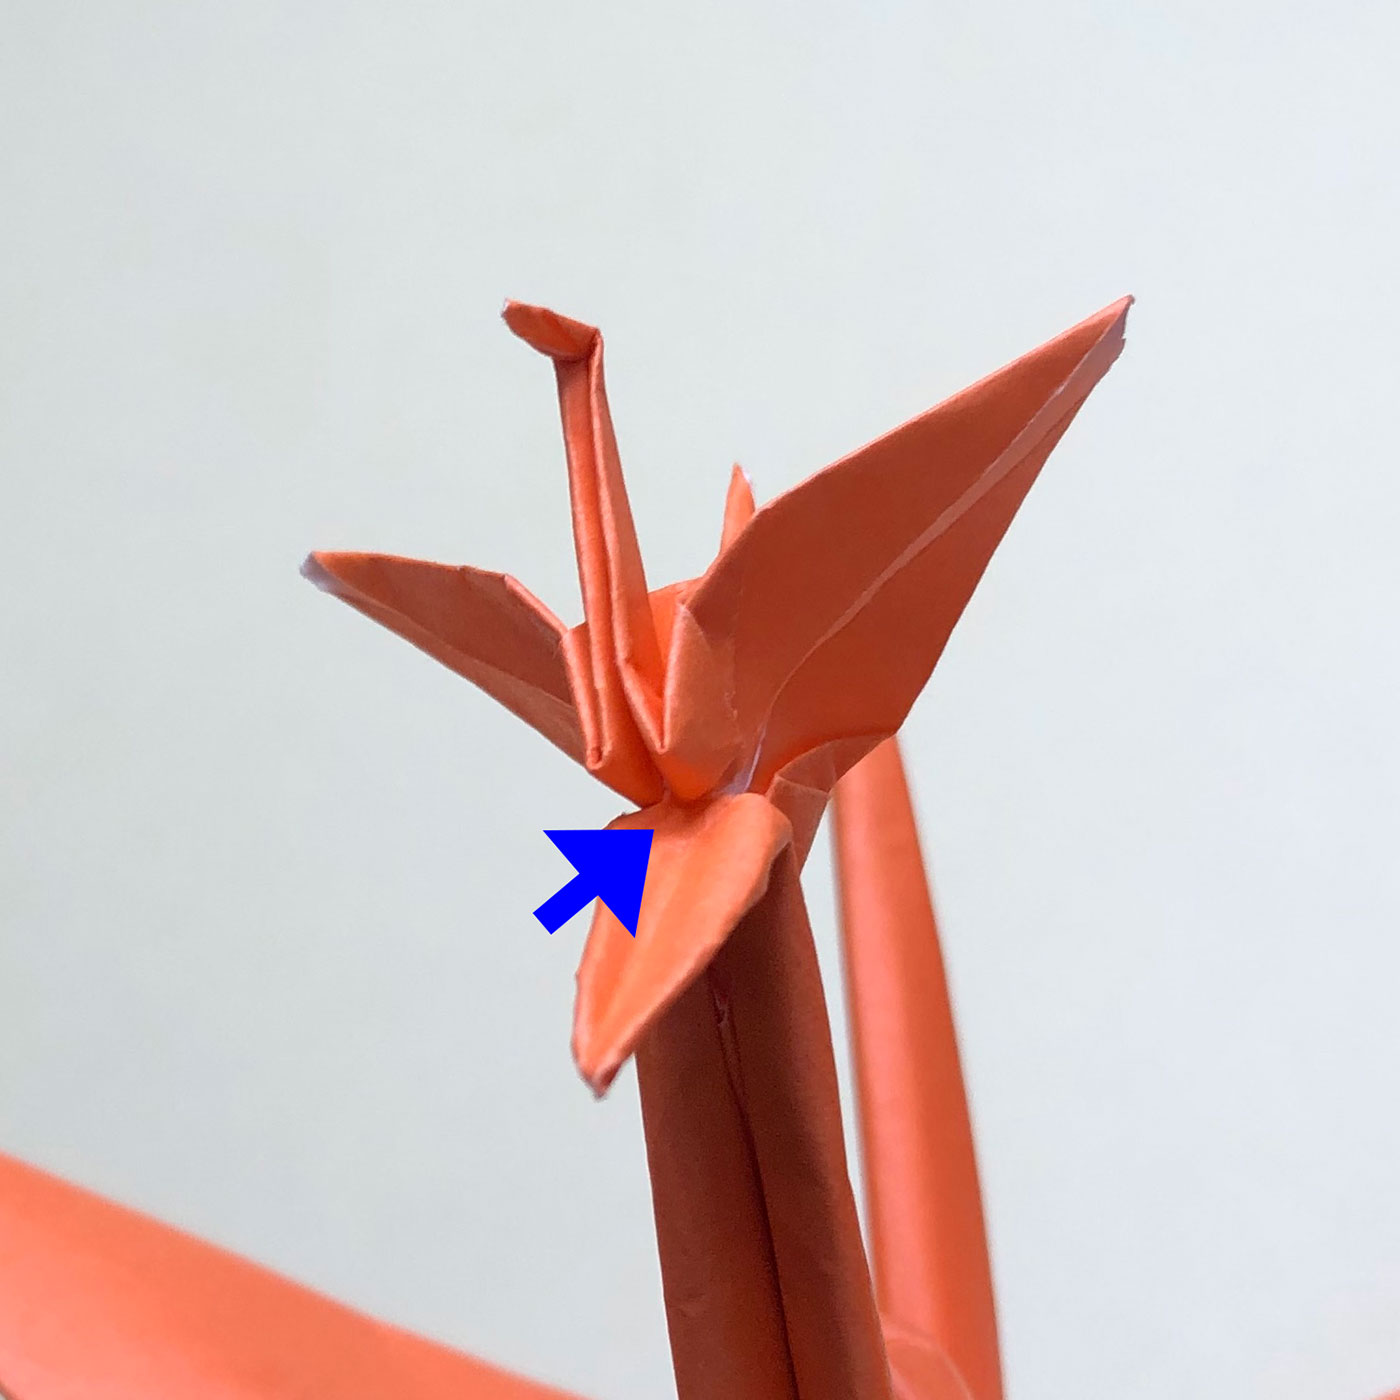
This is an enlarged picture of connecting parts.
There are connecting parts at the part which is shown by the arrow.
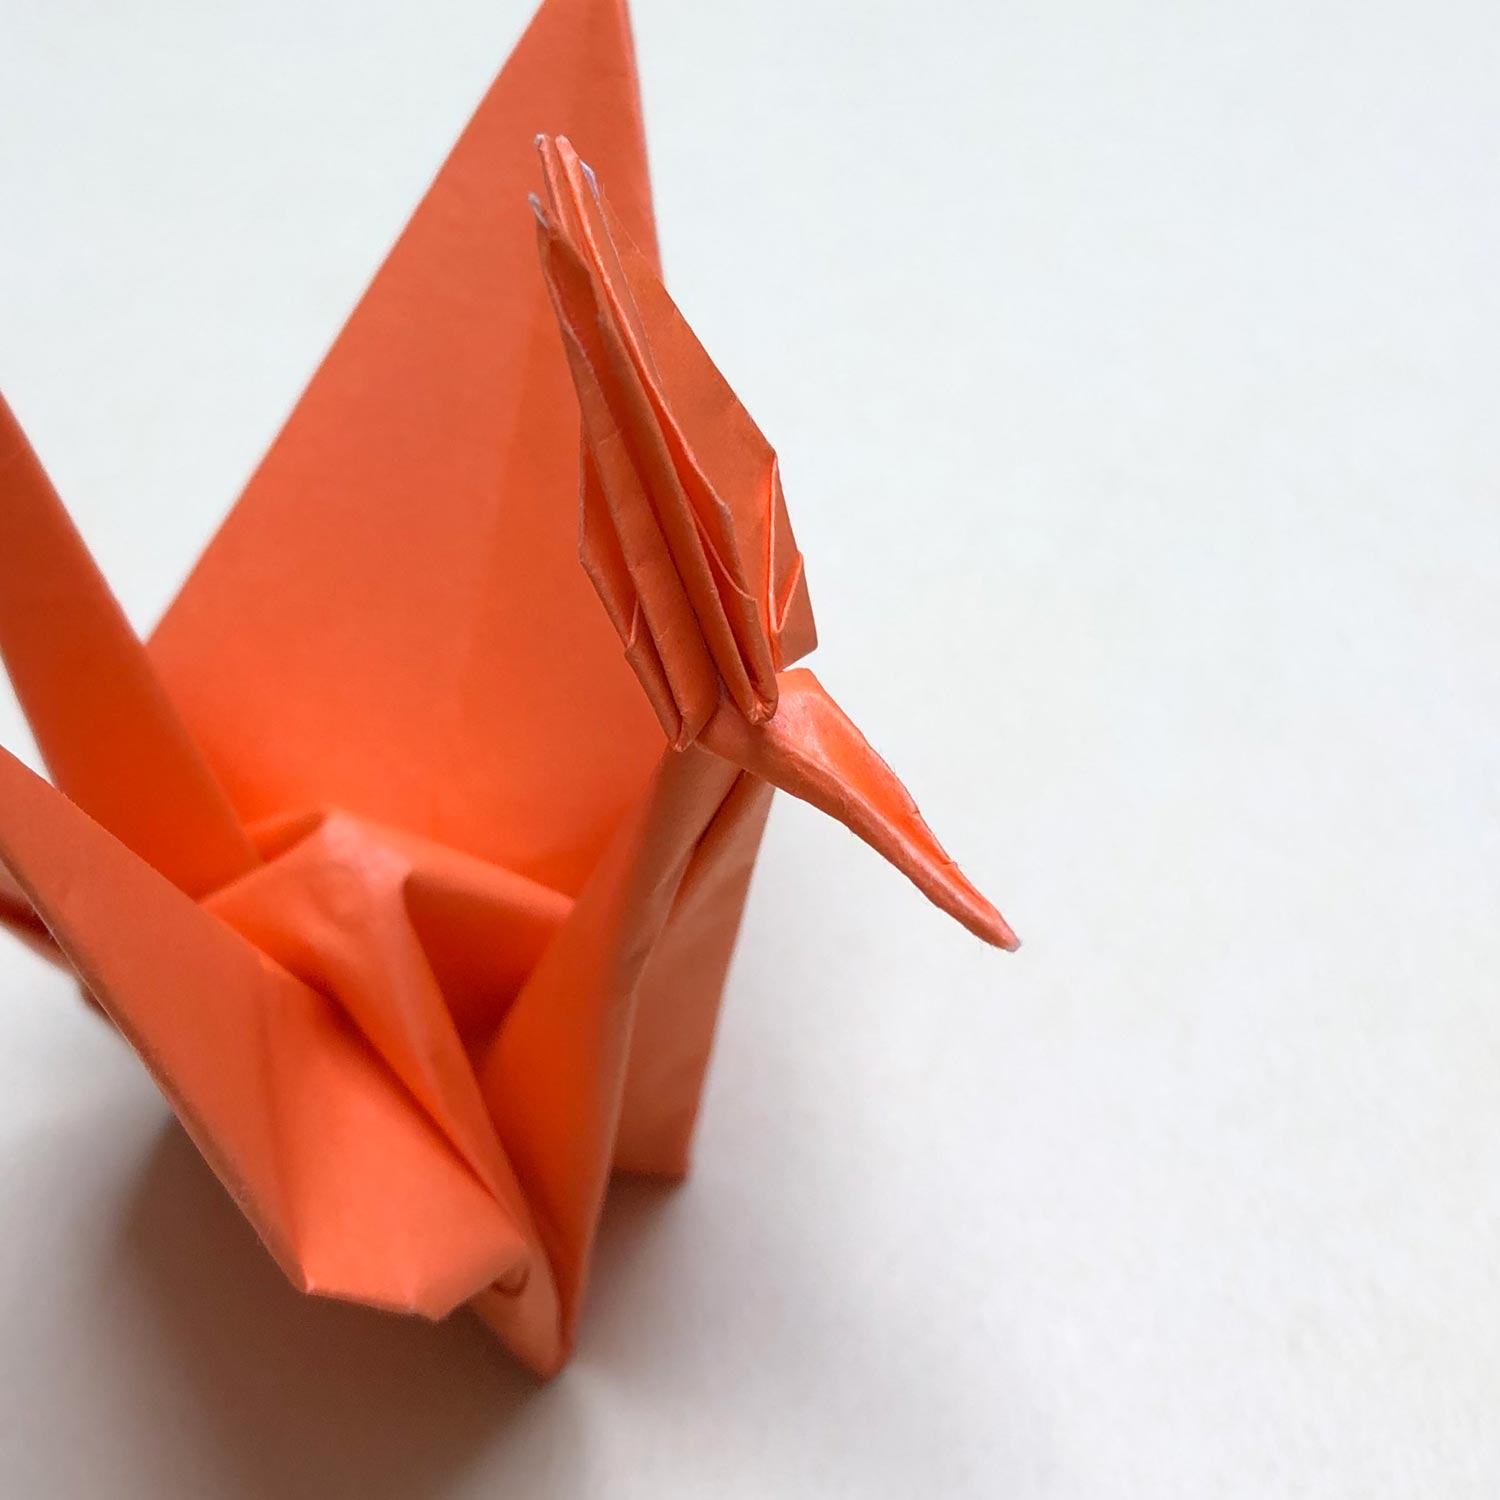
(56)
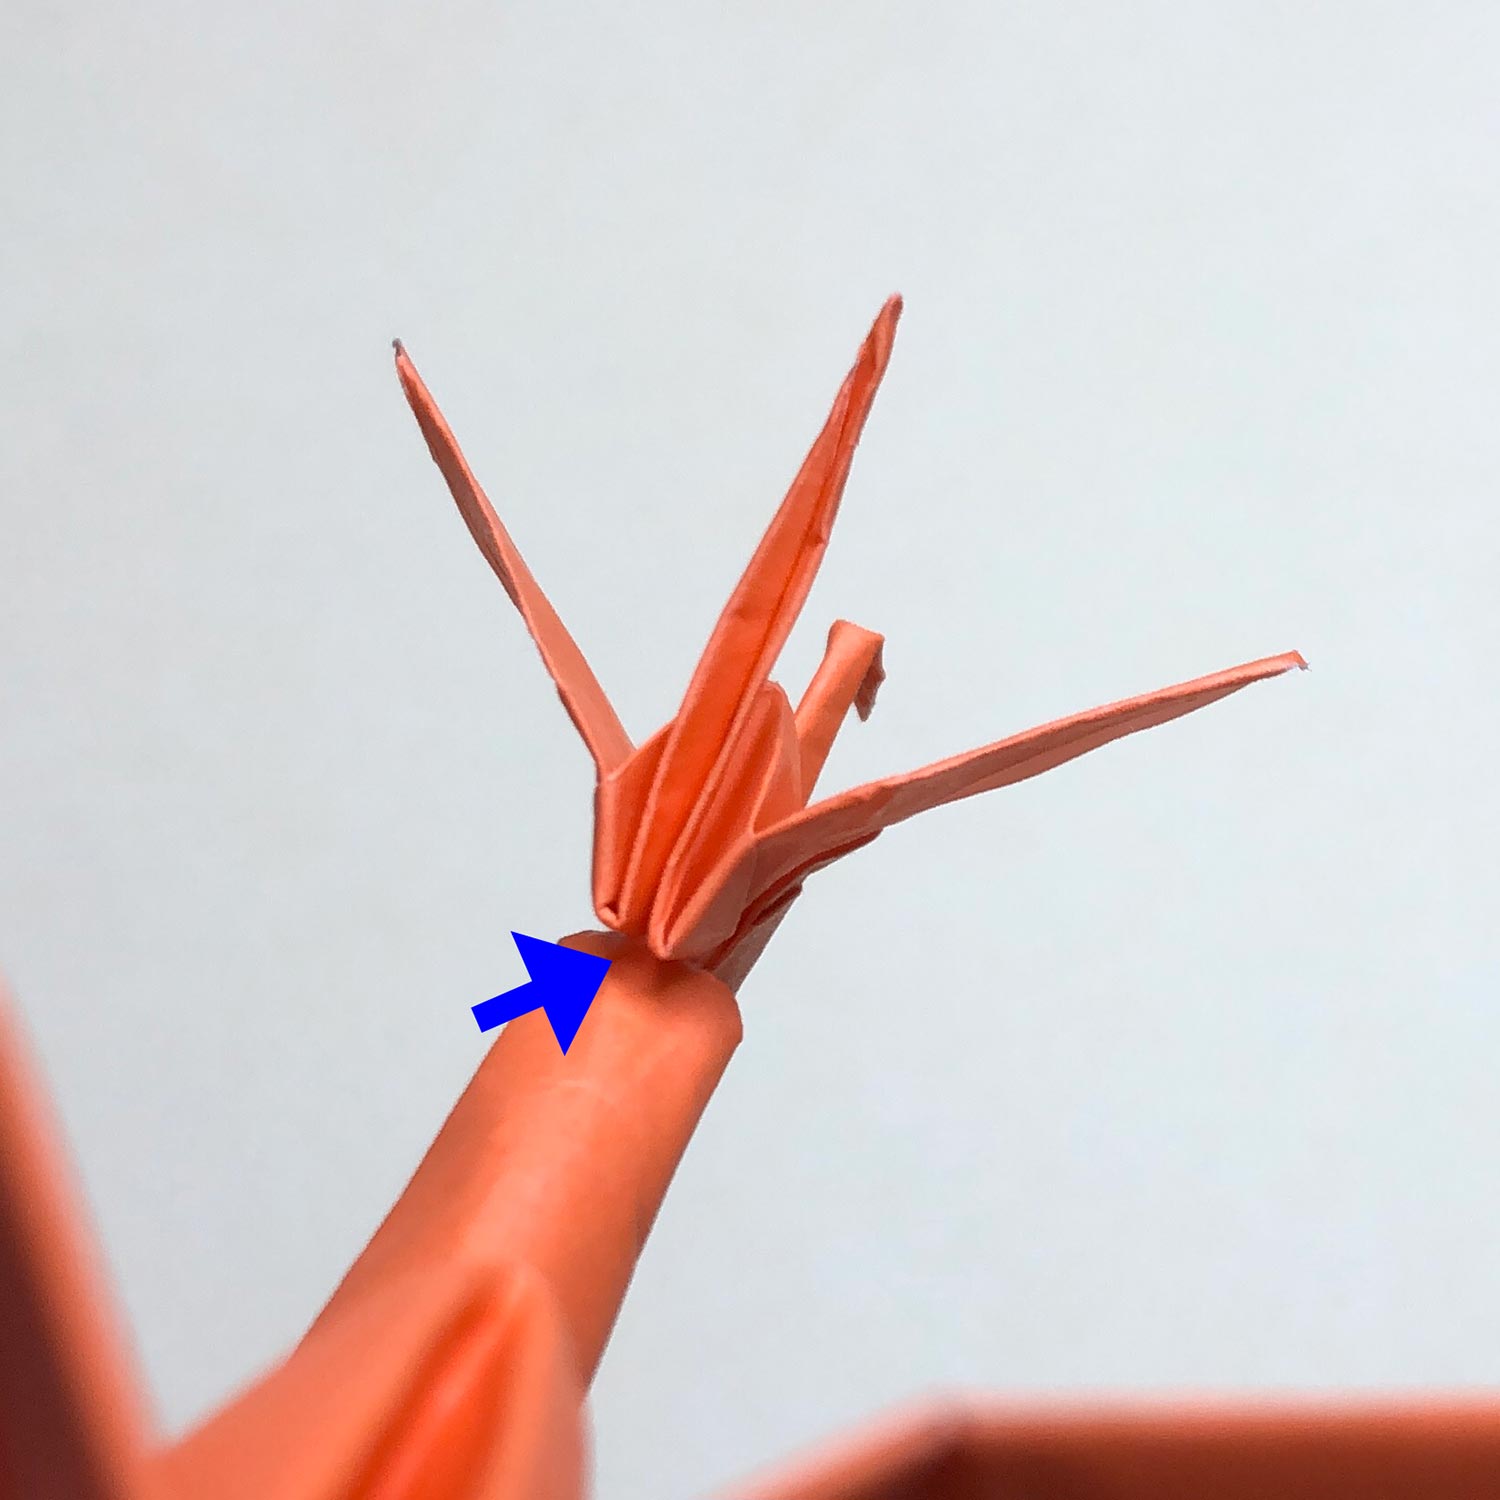
This picture is taken from the other side.
There are connecting parts at the part which is shown by the arrow.
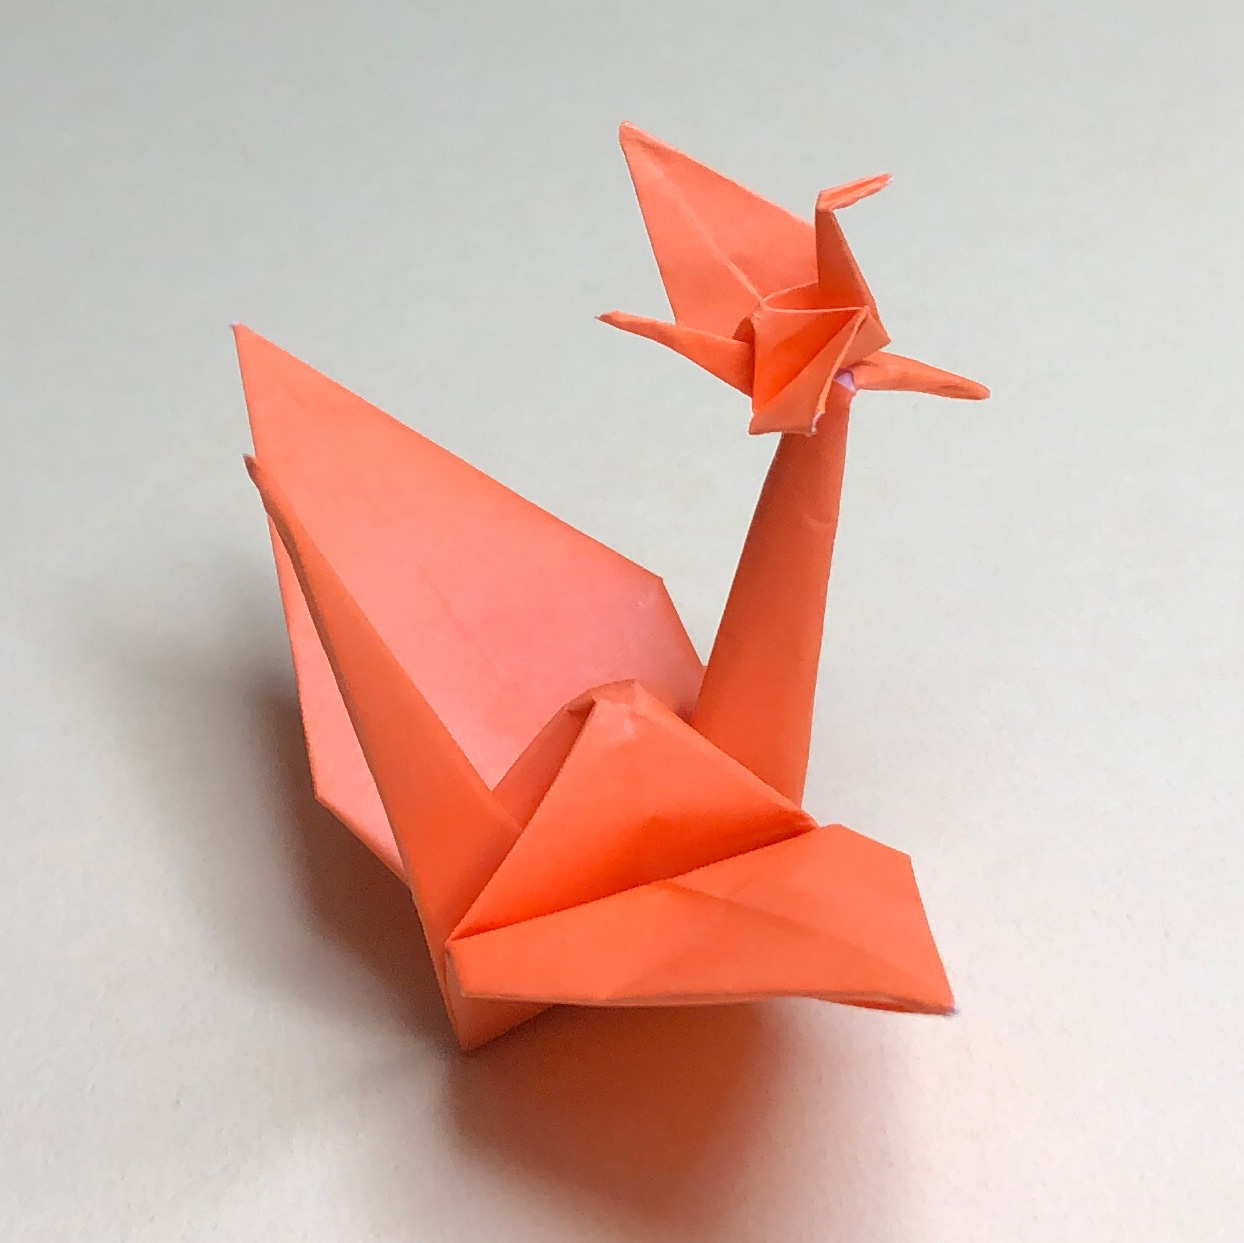
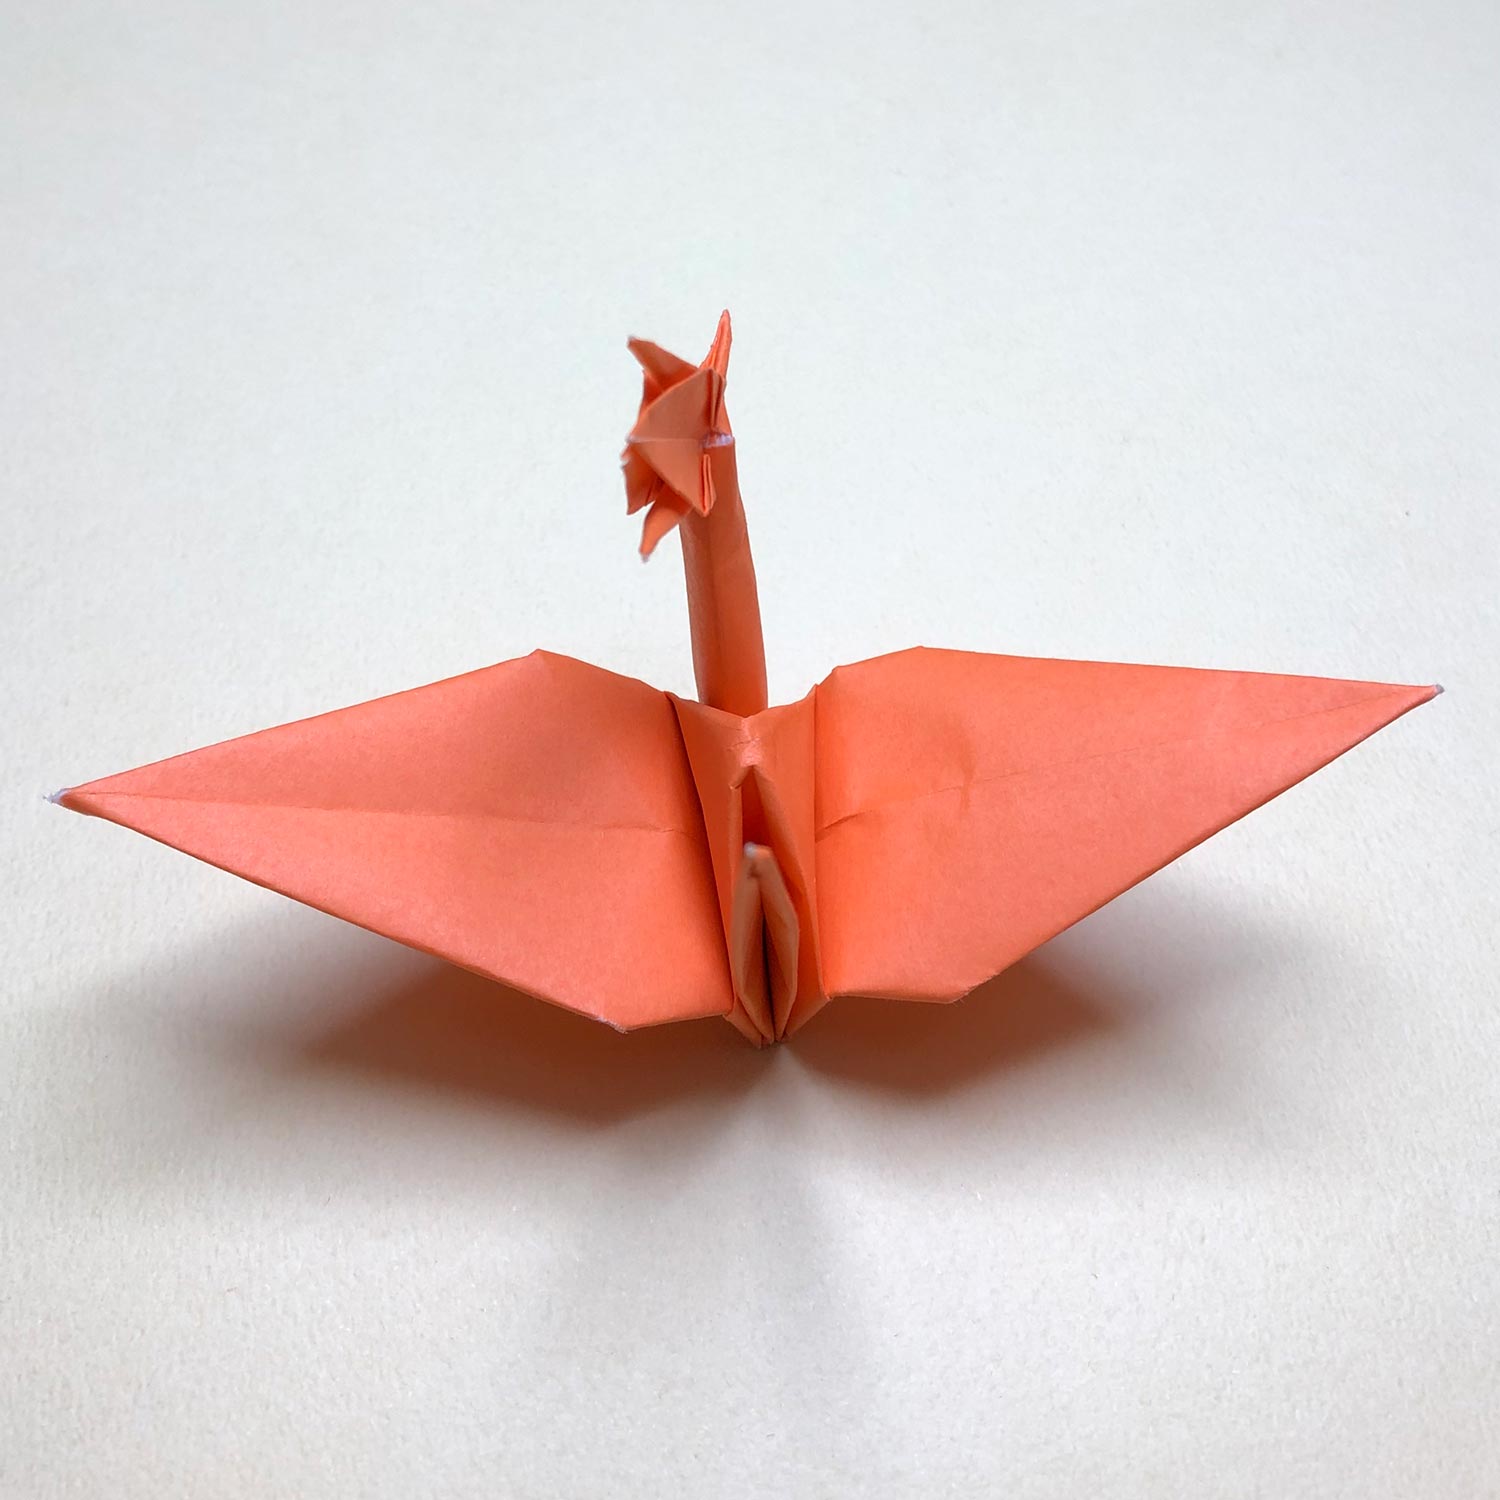
Arino-to is complete!
When you post pictures of your completed Renzuru works on social media,
please write my website’s name – “Tsuru-no-Goshiki” or paste the link!
On Instagram, if you write “@ritsu_cranes”,
I will be able to see your works and glad!😀
If you liked this Renzuru model,
please click the button below and share this pages on Twitter!