Make Hiyoku
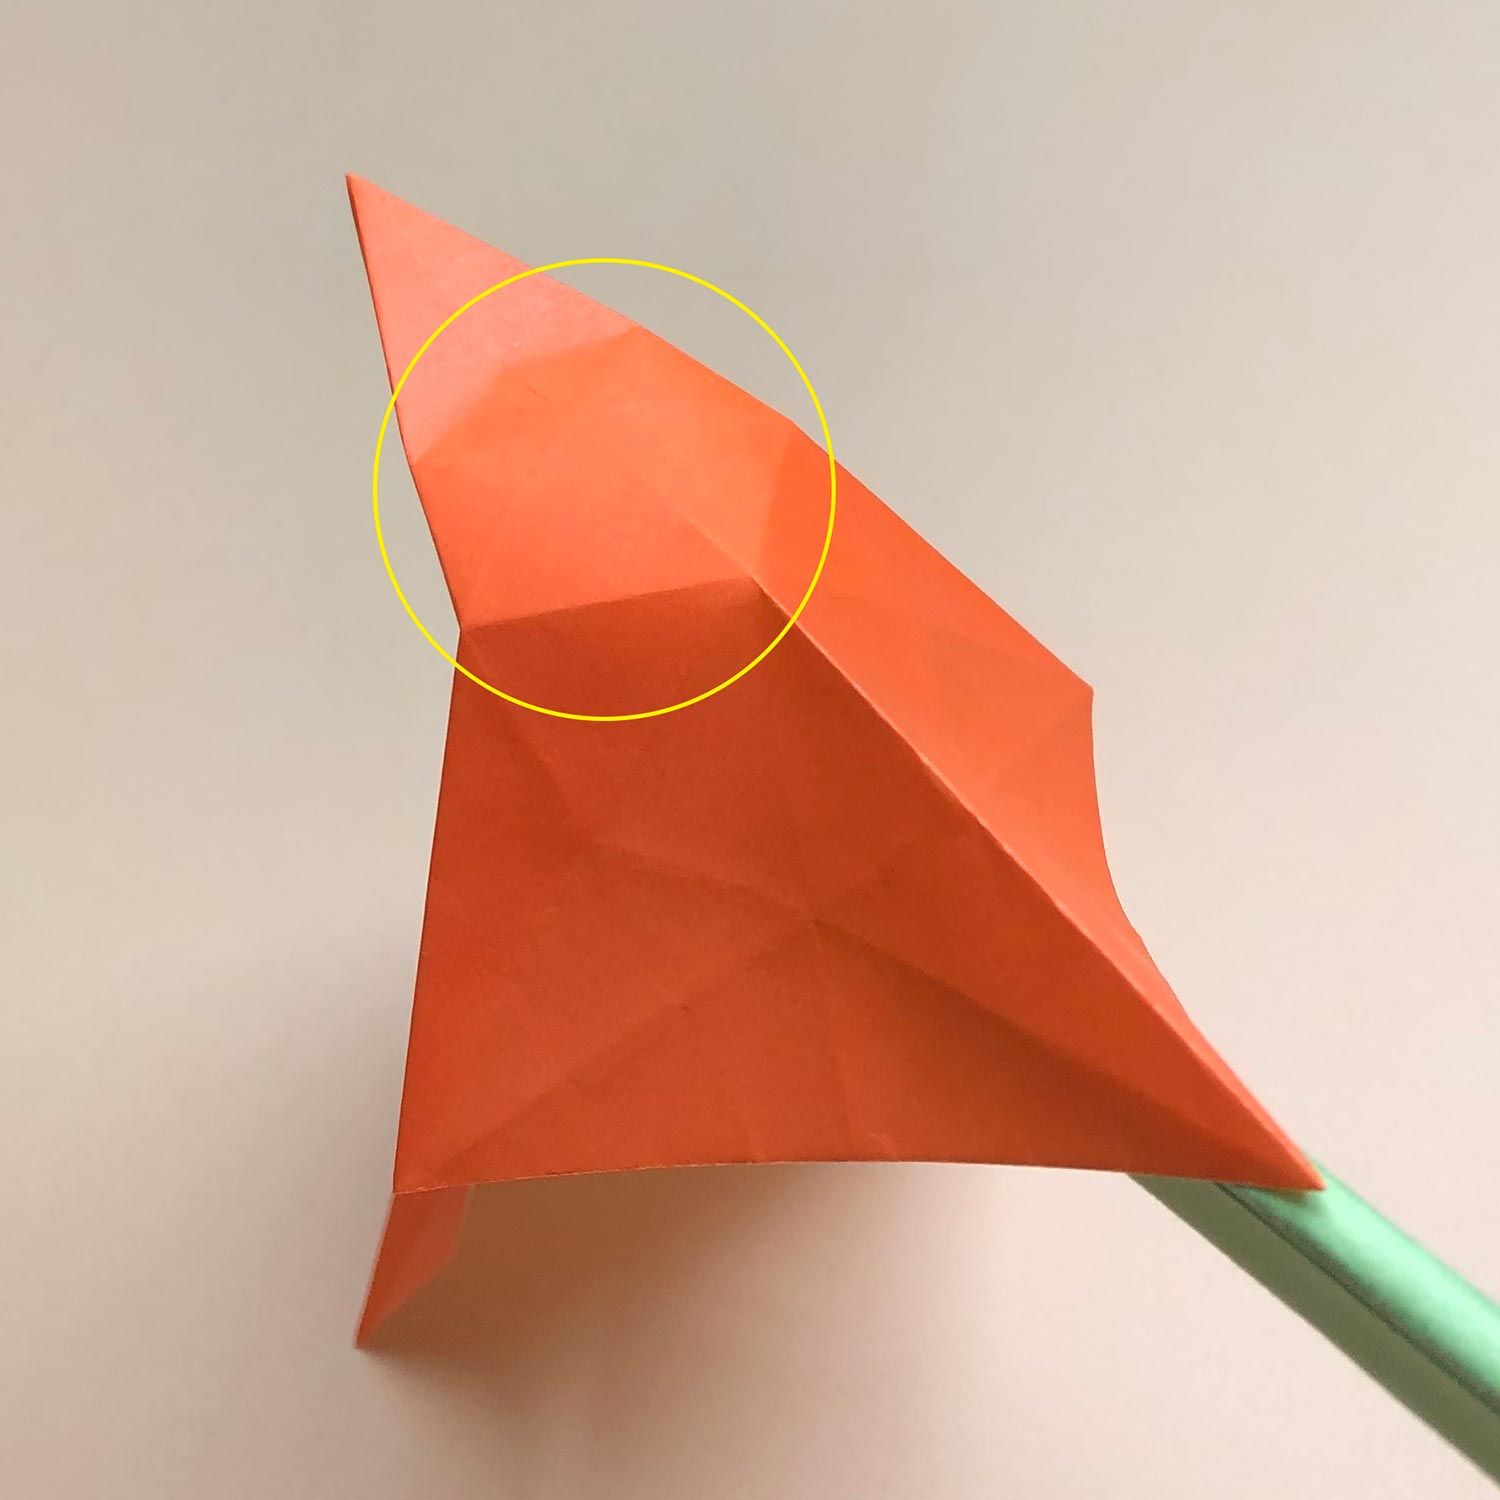
(1)
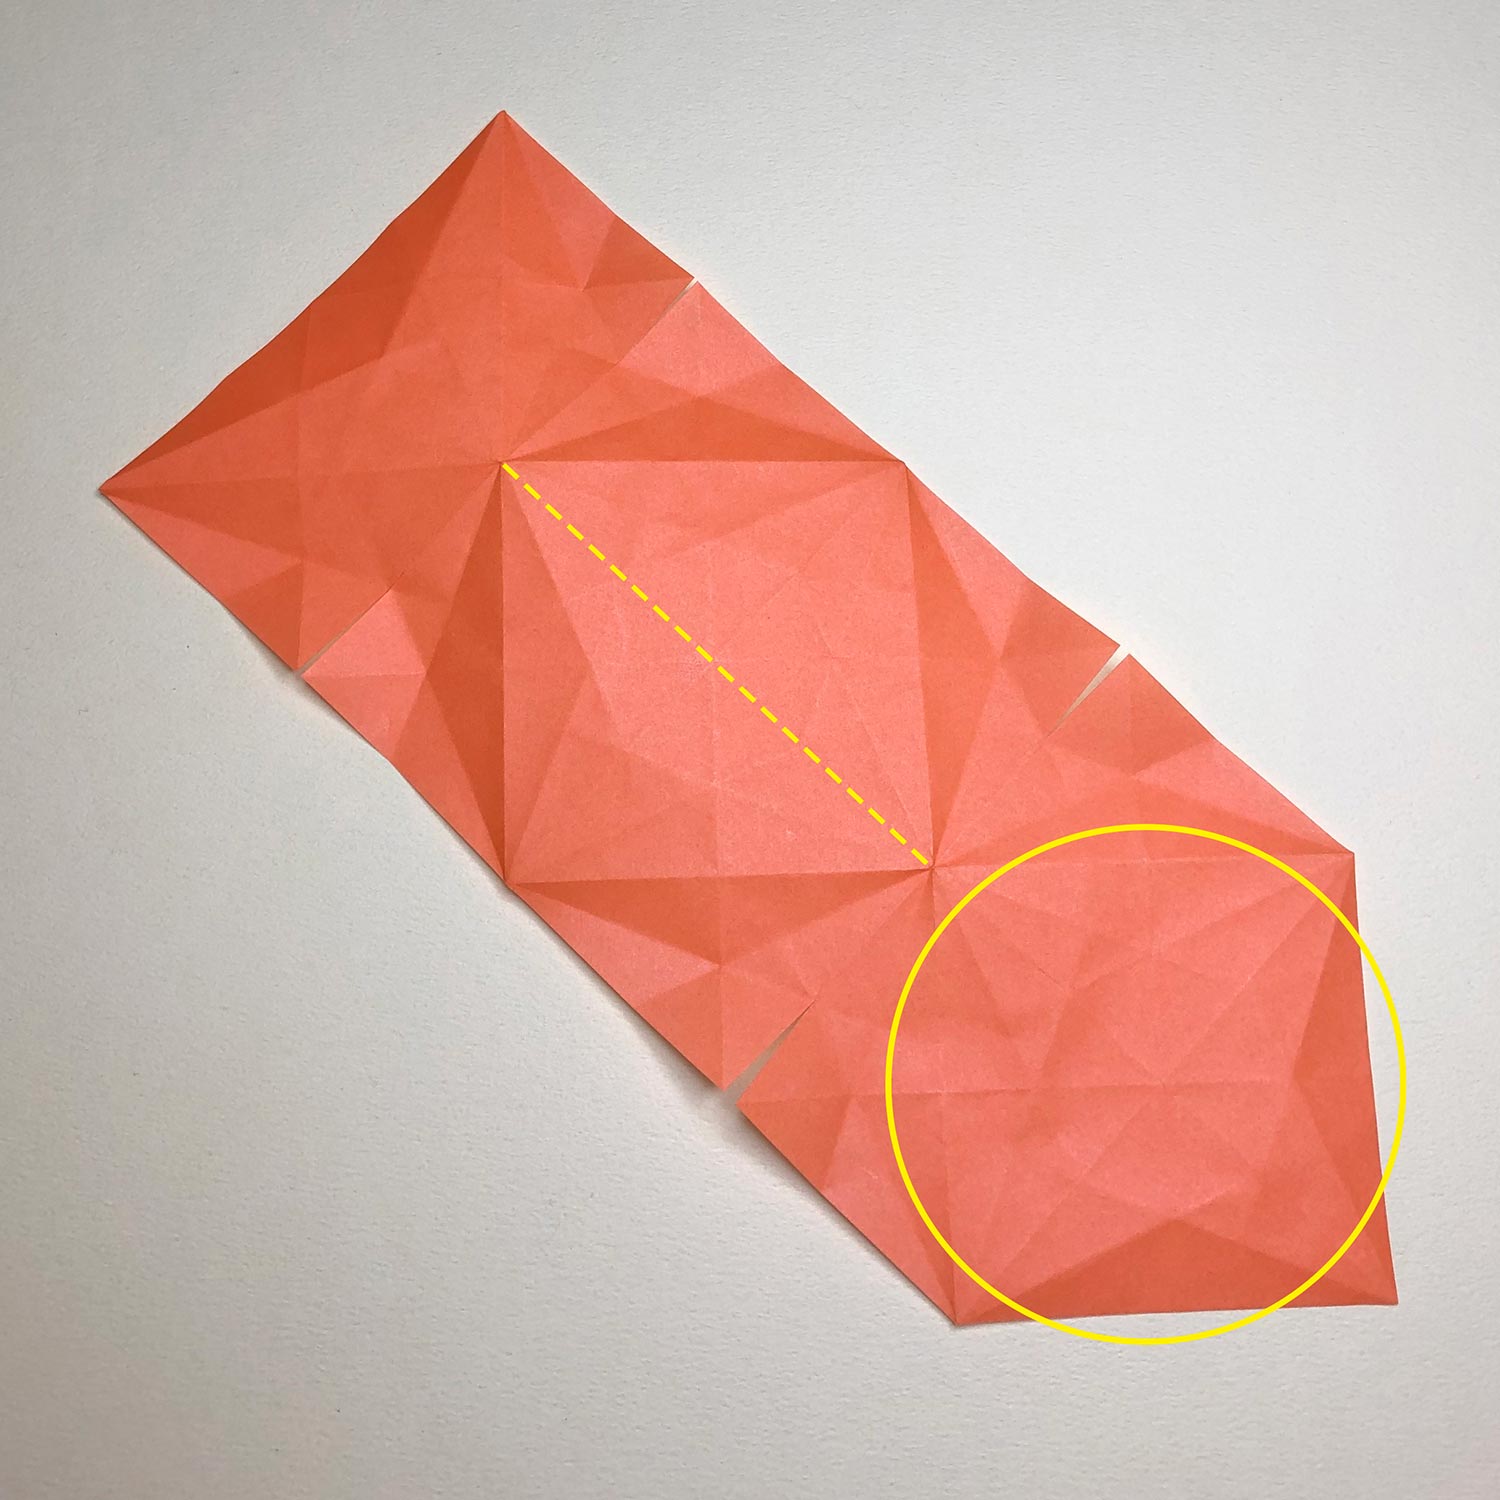
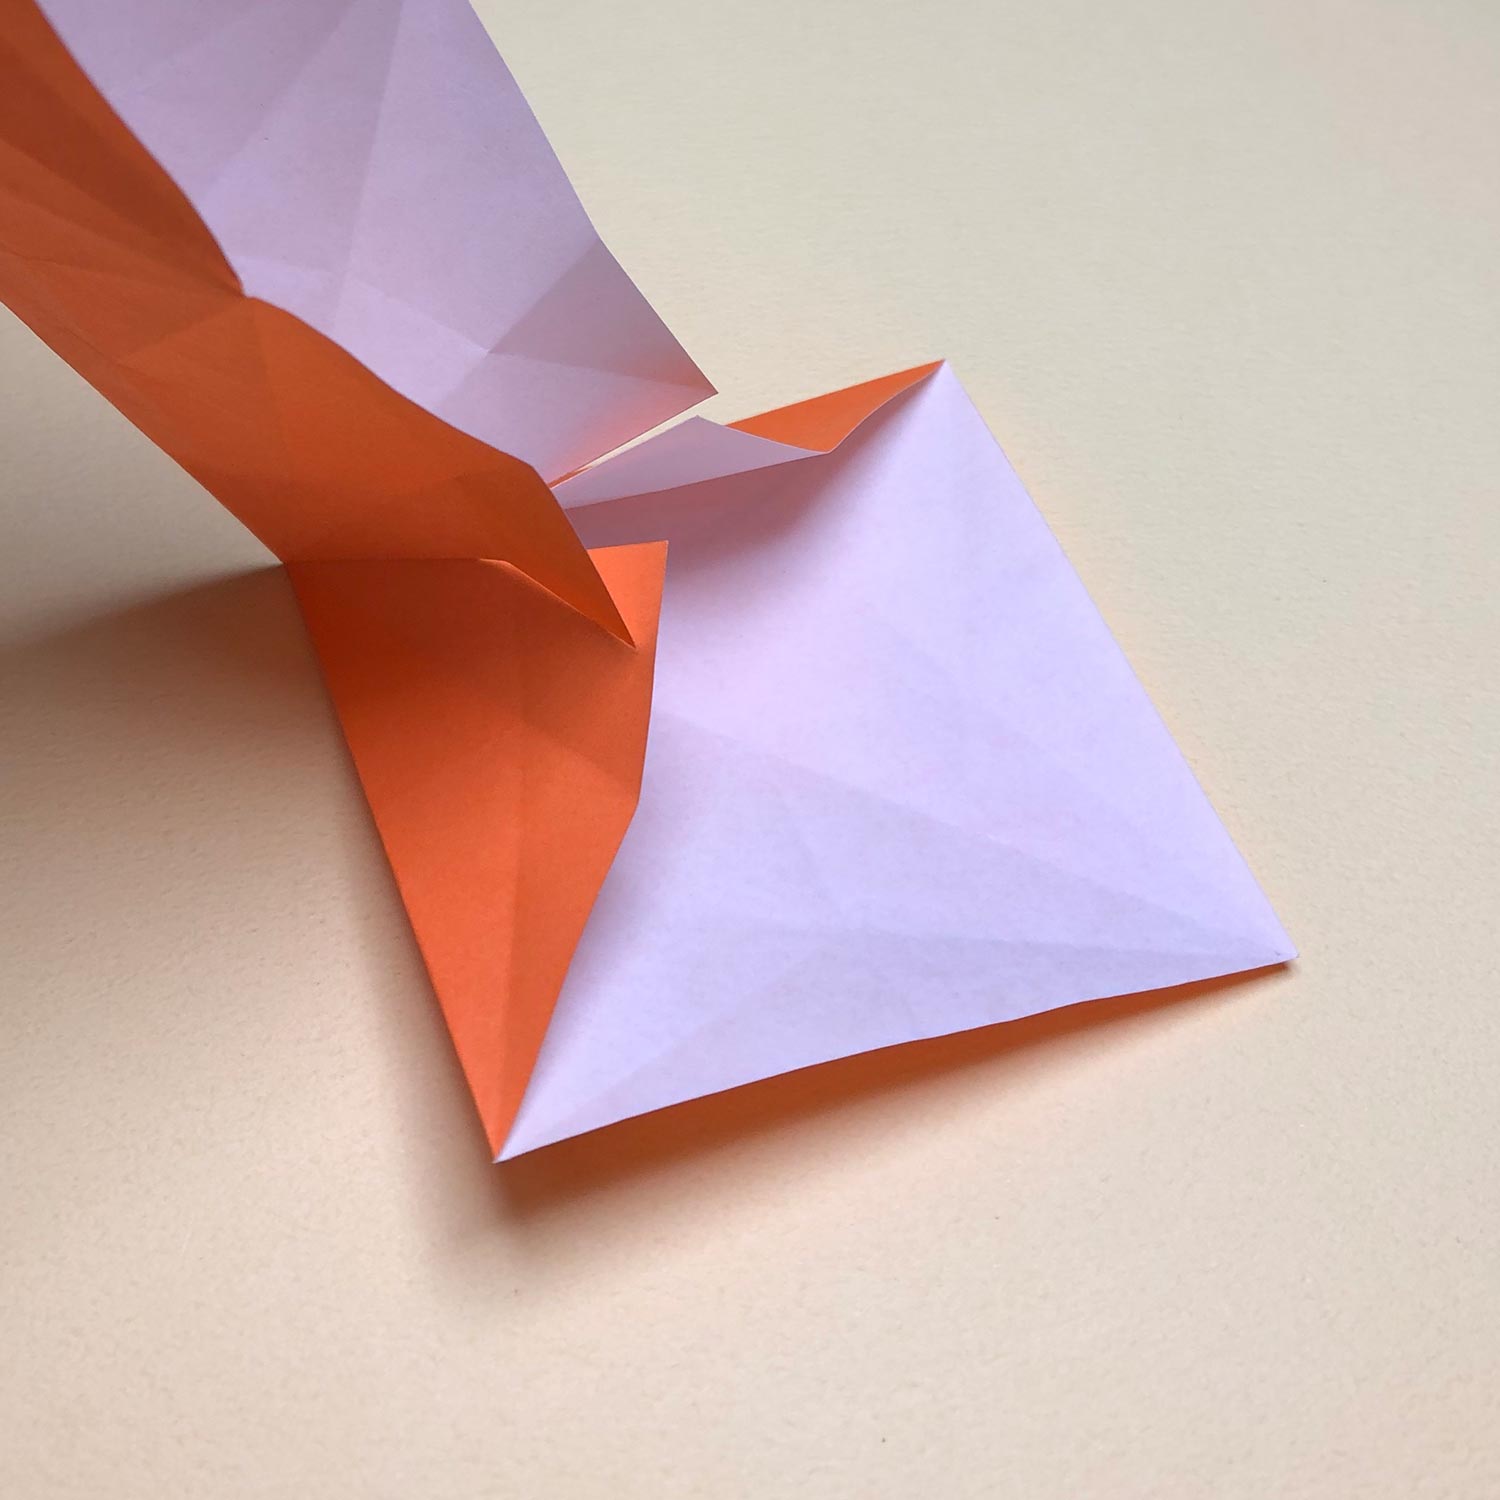
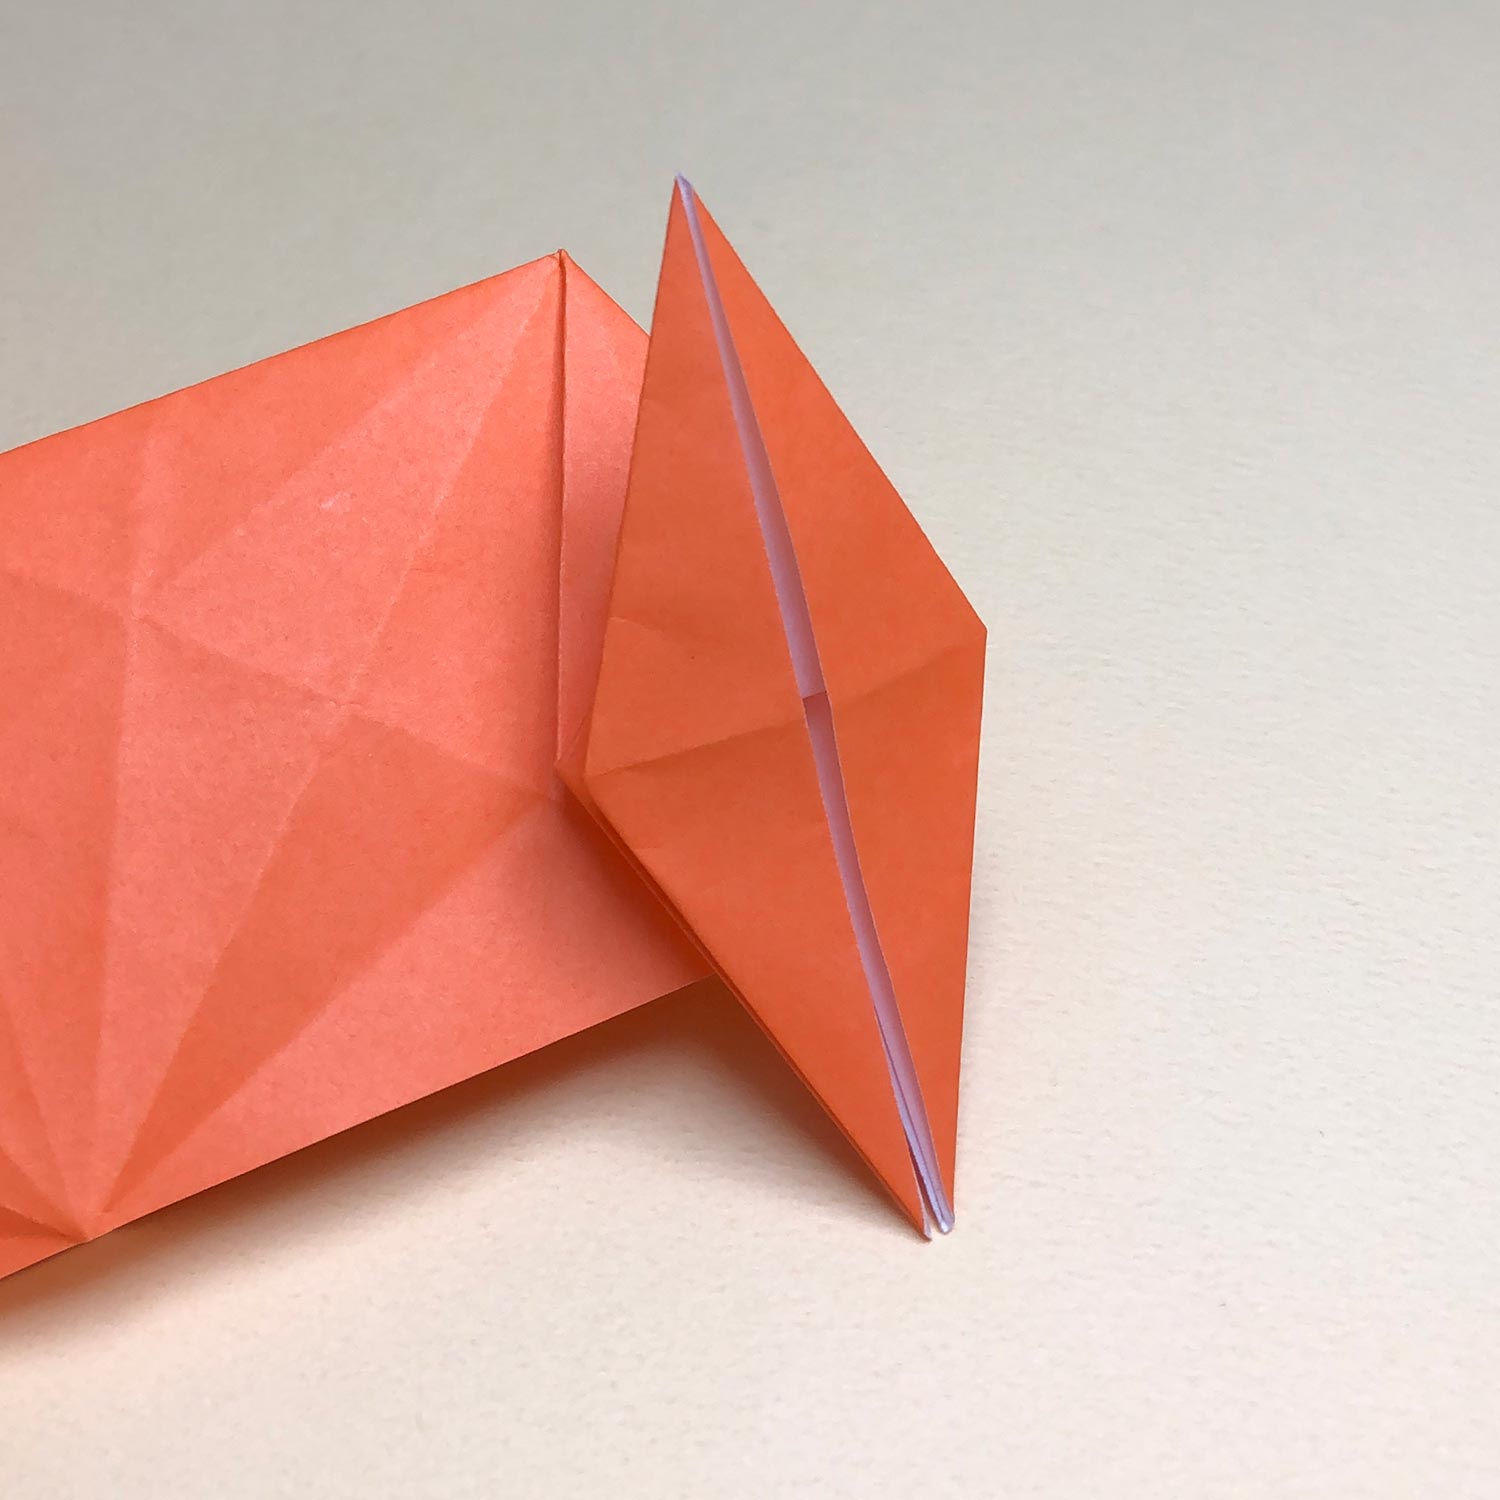
Start with folding the square which has been circled.
In order to get easier to fold a bird-base, make a mountain-fold on the dotted line.
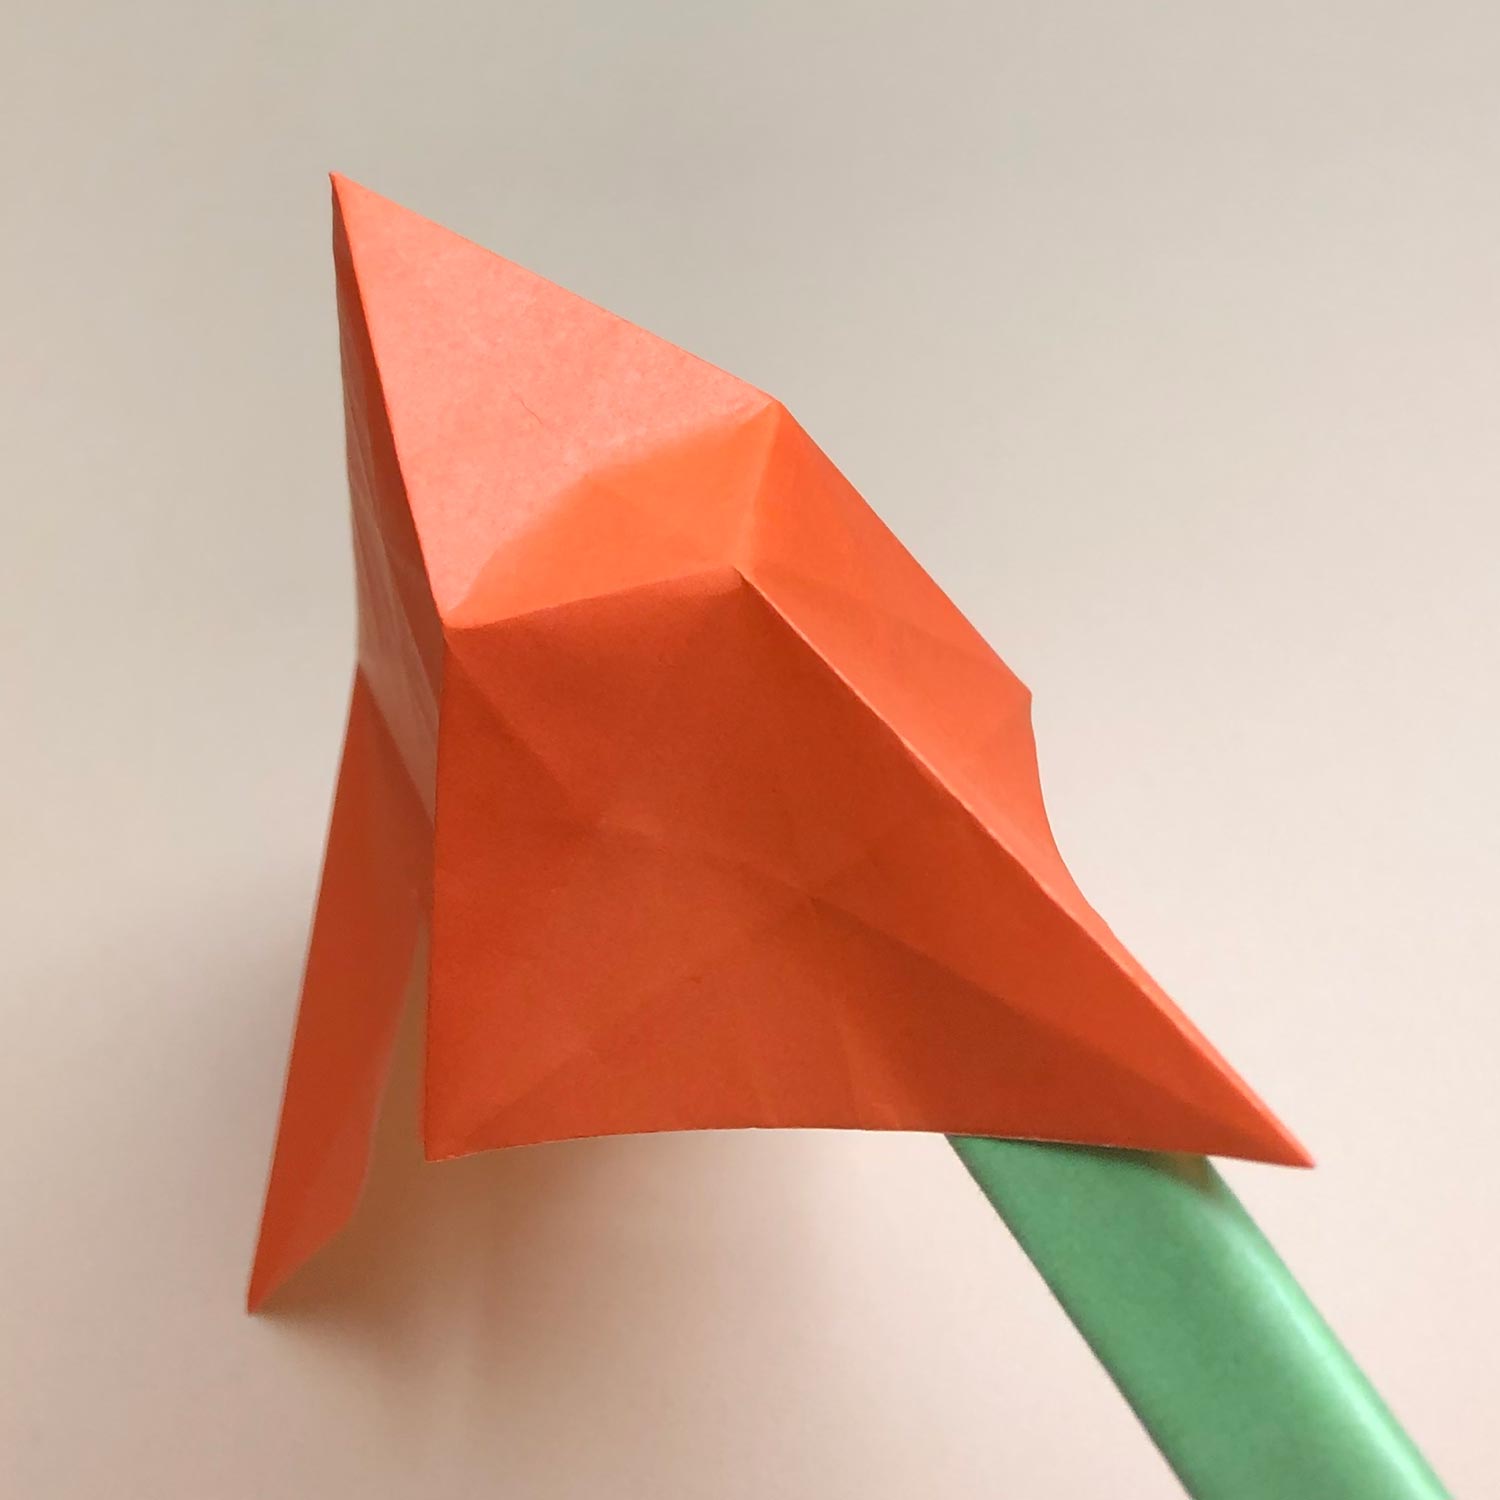
(2)
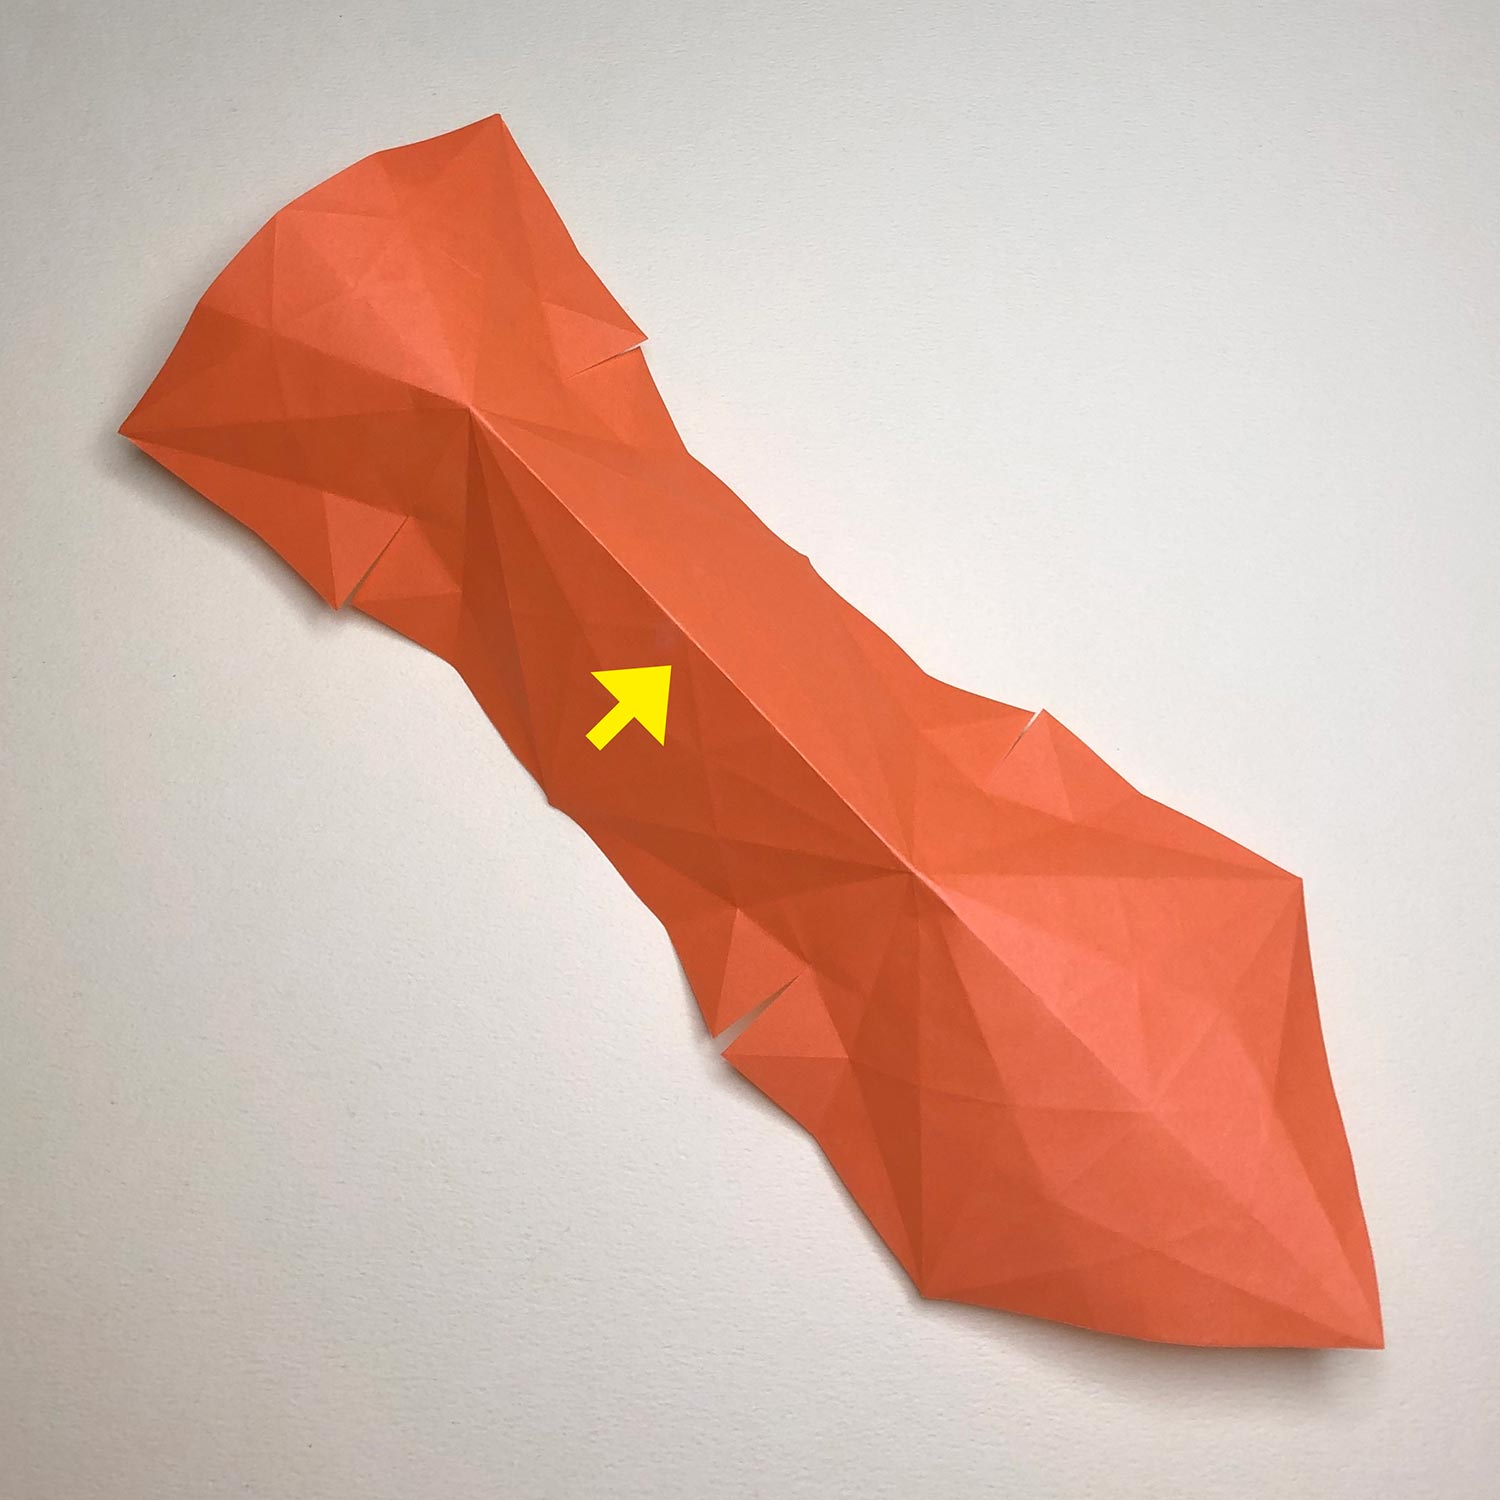
Make a mountain-fold like this picture.
Then turn the paper over as it is.
(3)
After turning the paper over, fold two corners to the center point in the circled part.
(4)
Fold two corners to the center point like this picture.
Then turn the paper over as it is.
(5)
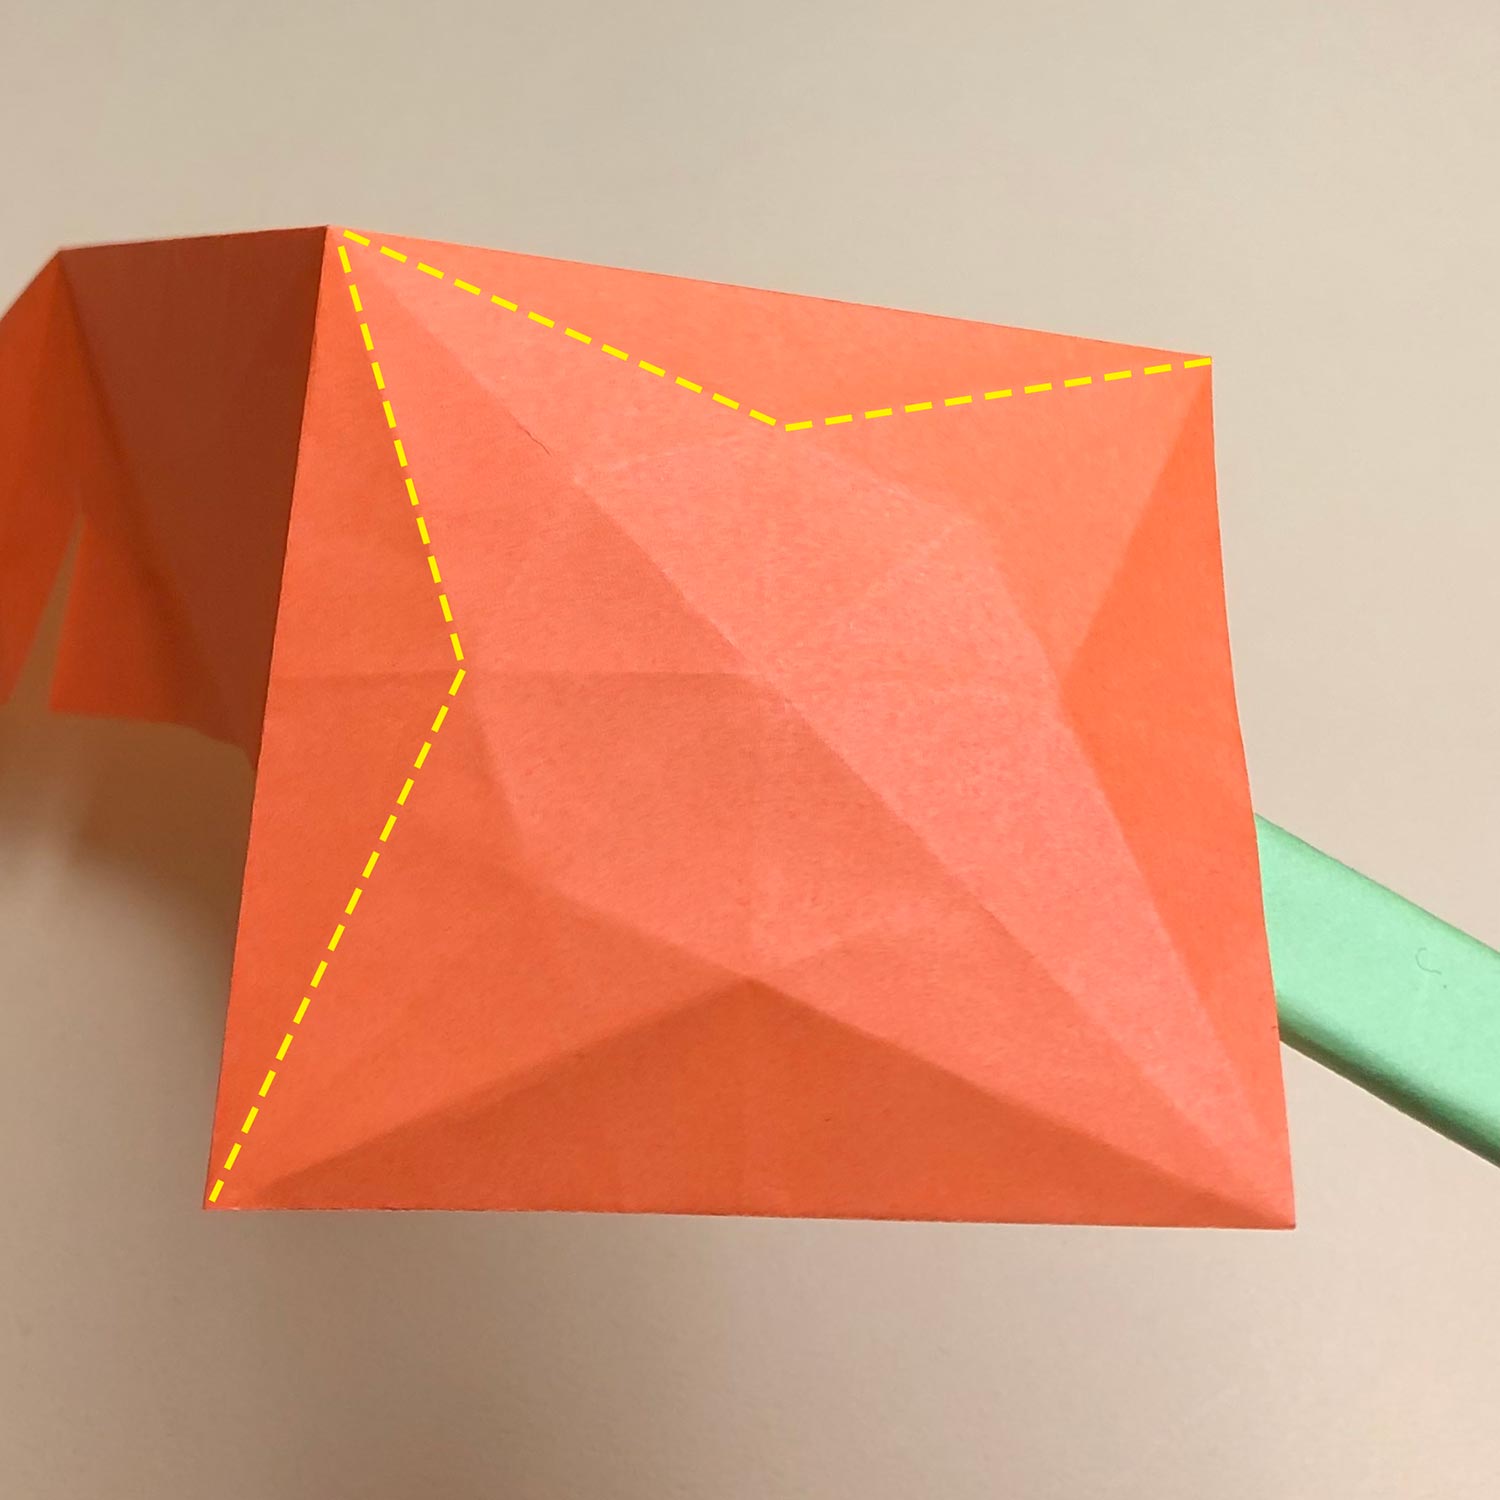
After turning the paper over, make mountain-folds on the dotted lines.
(6)
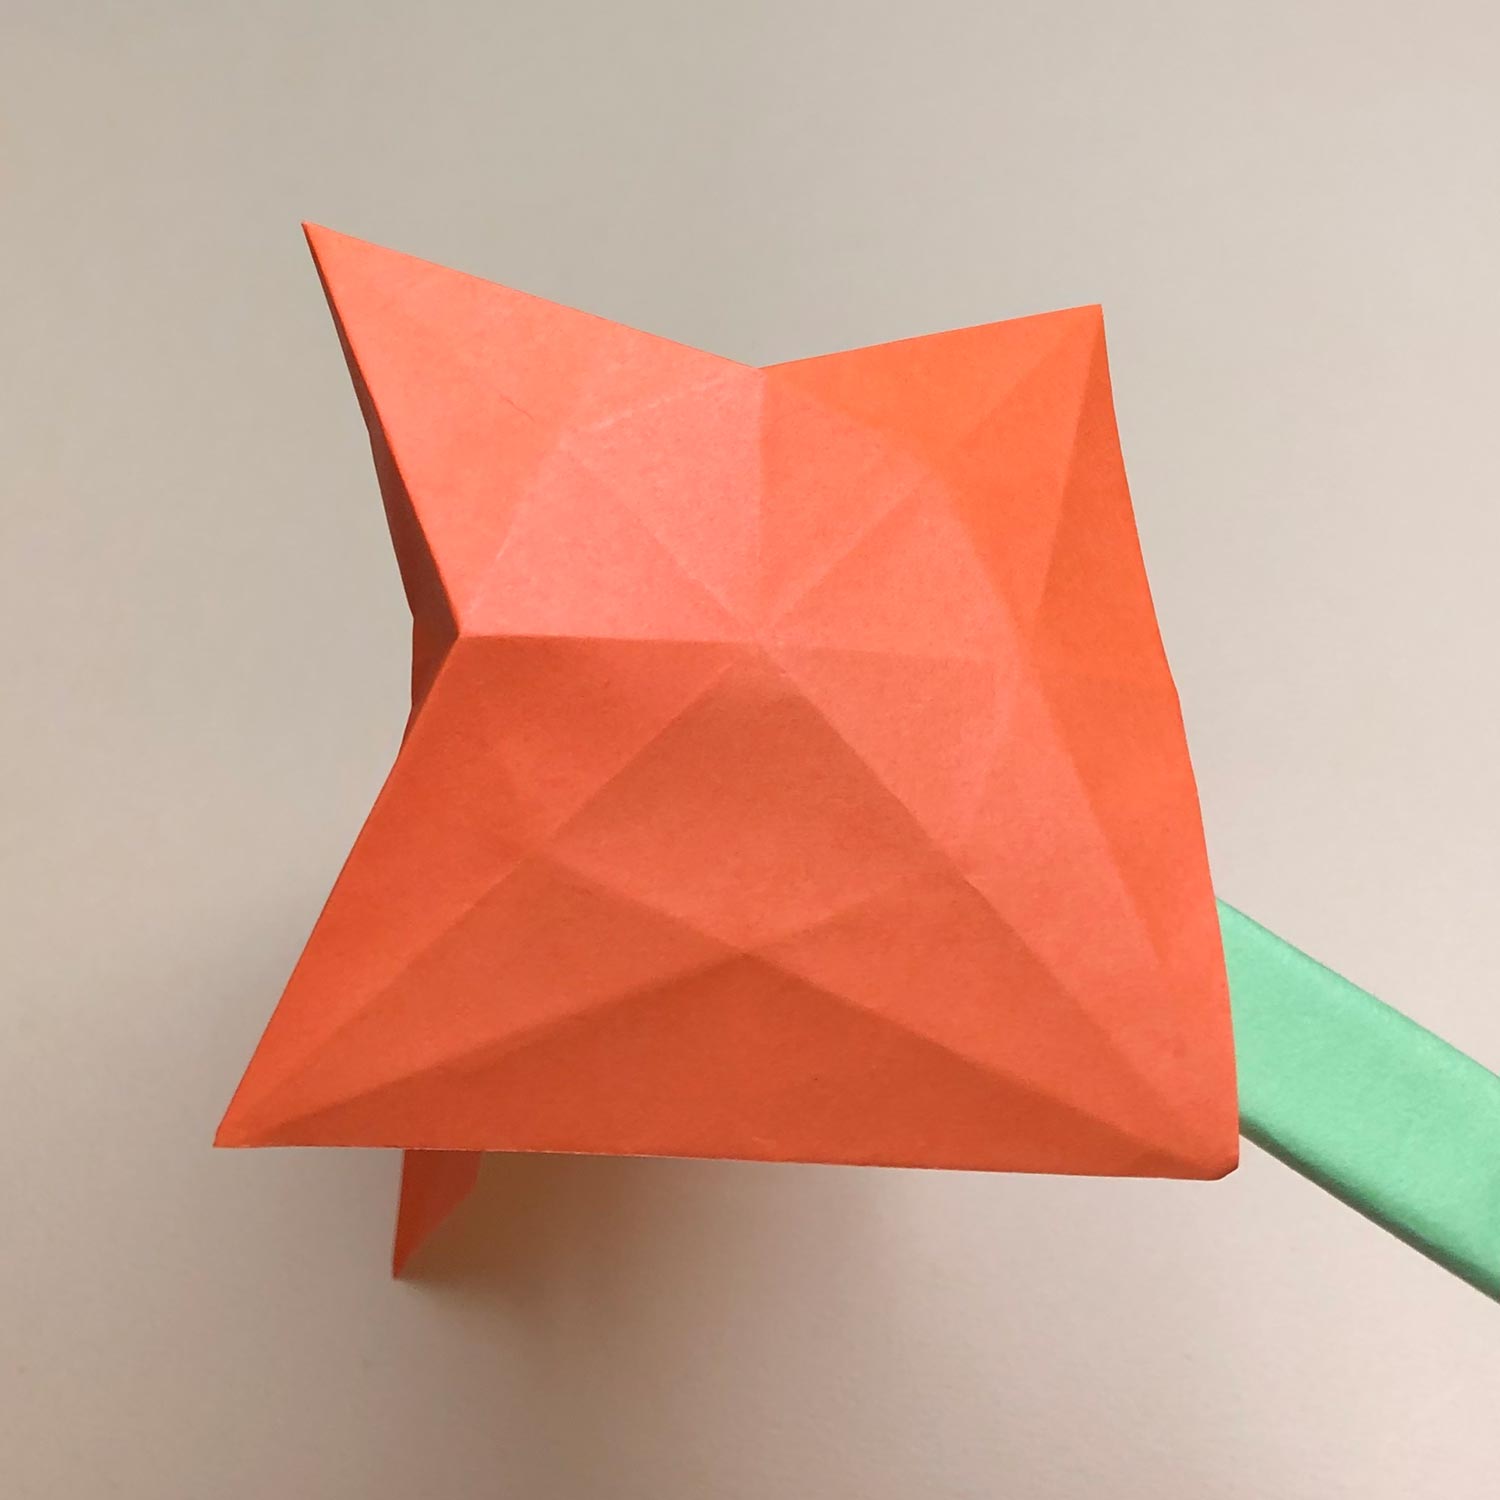
Make mountain-folds like this picture.
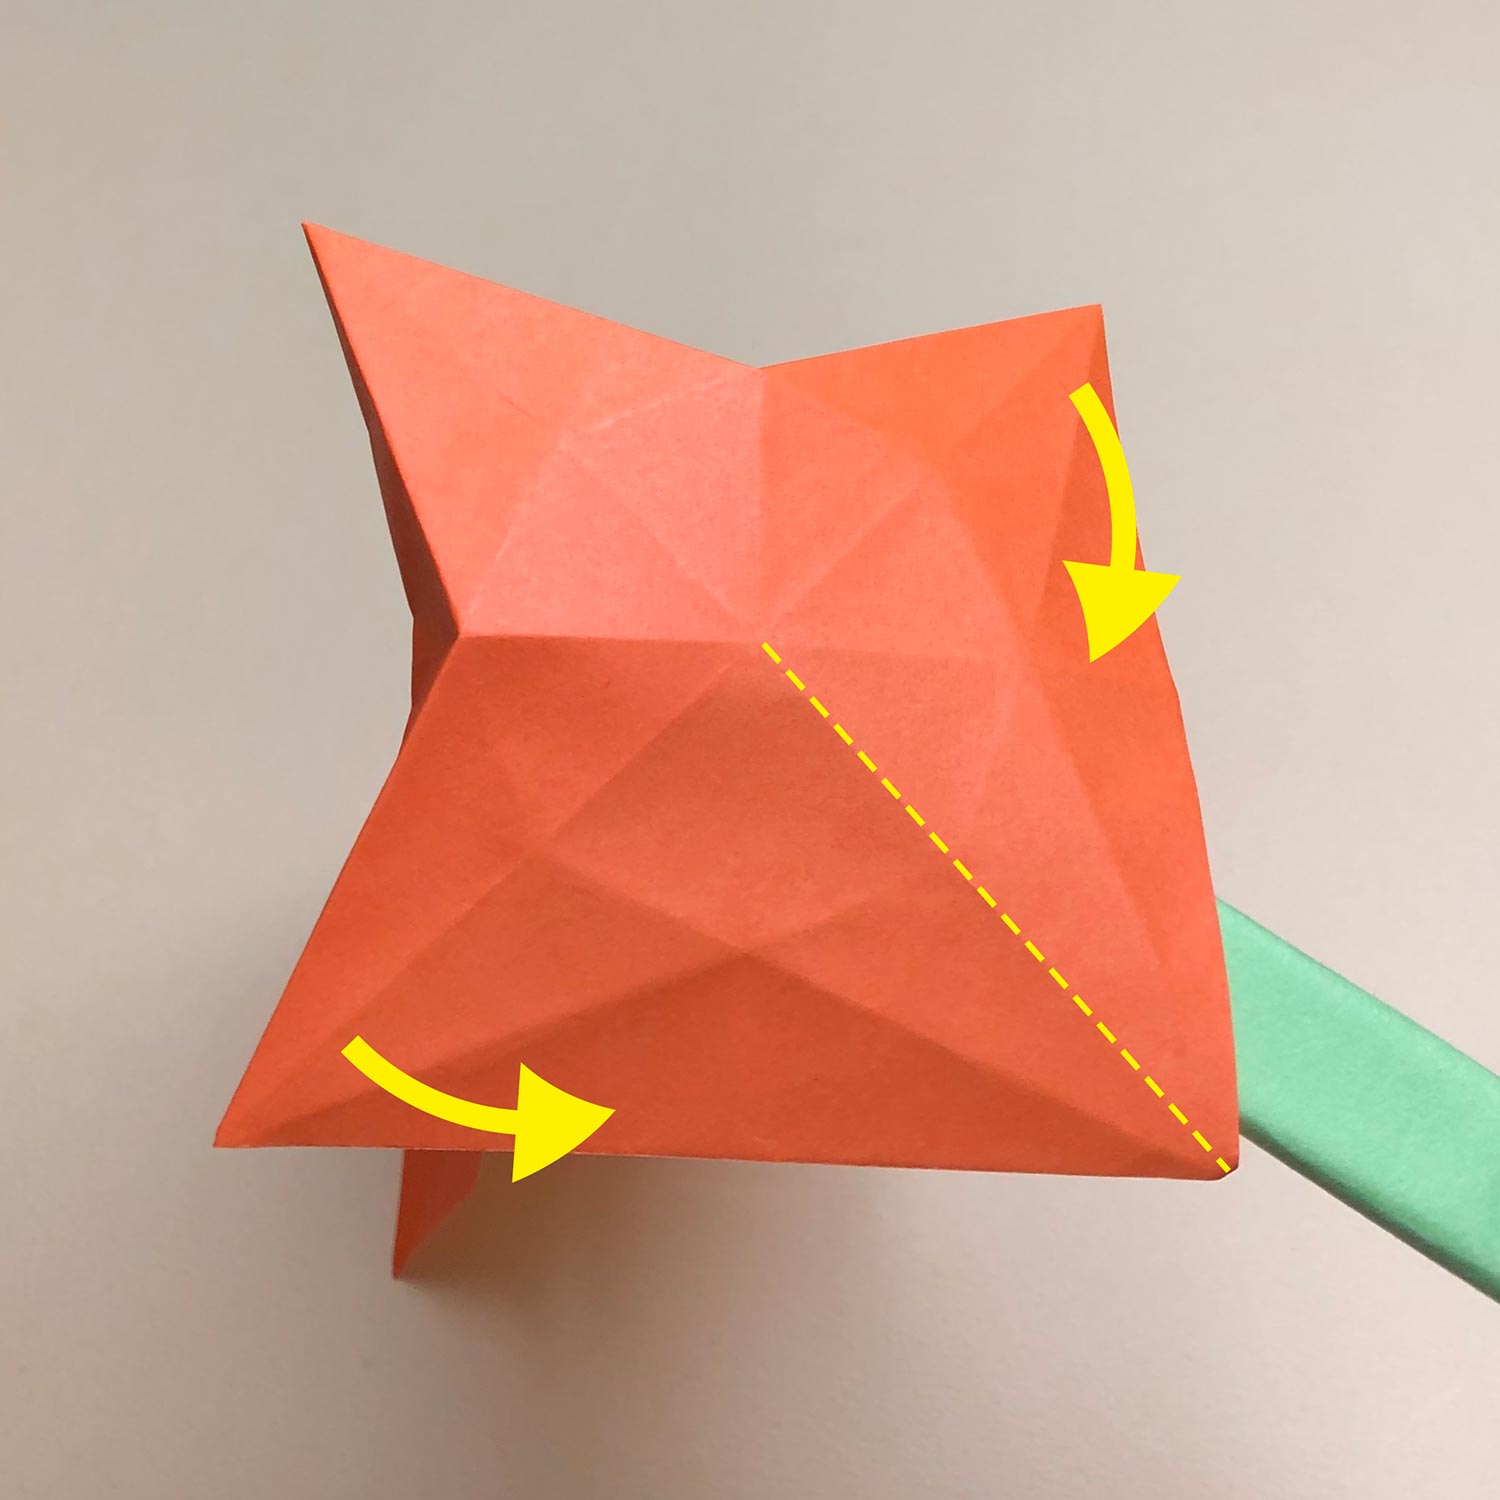
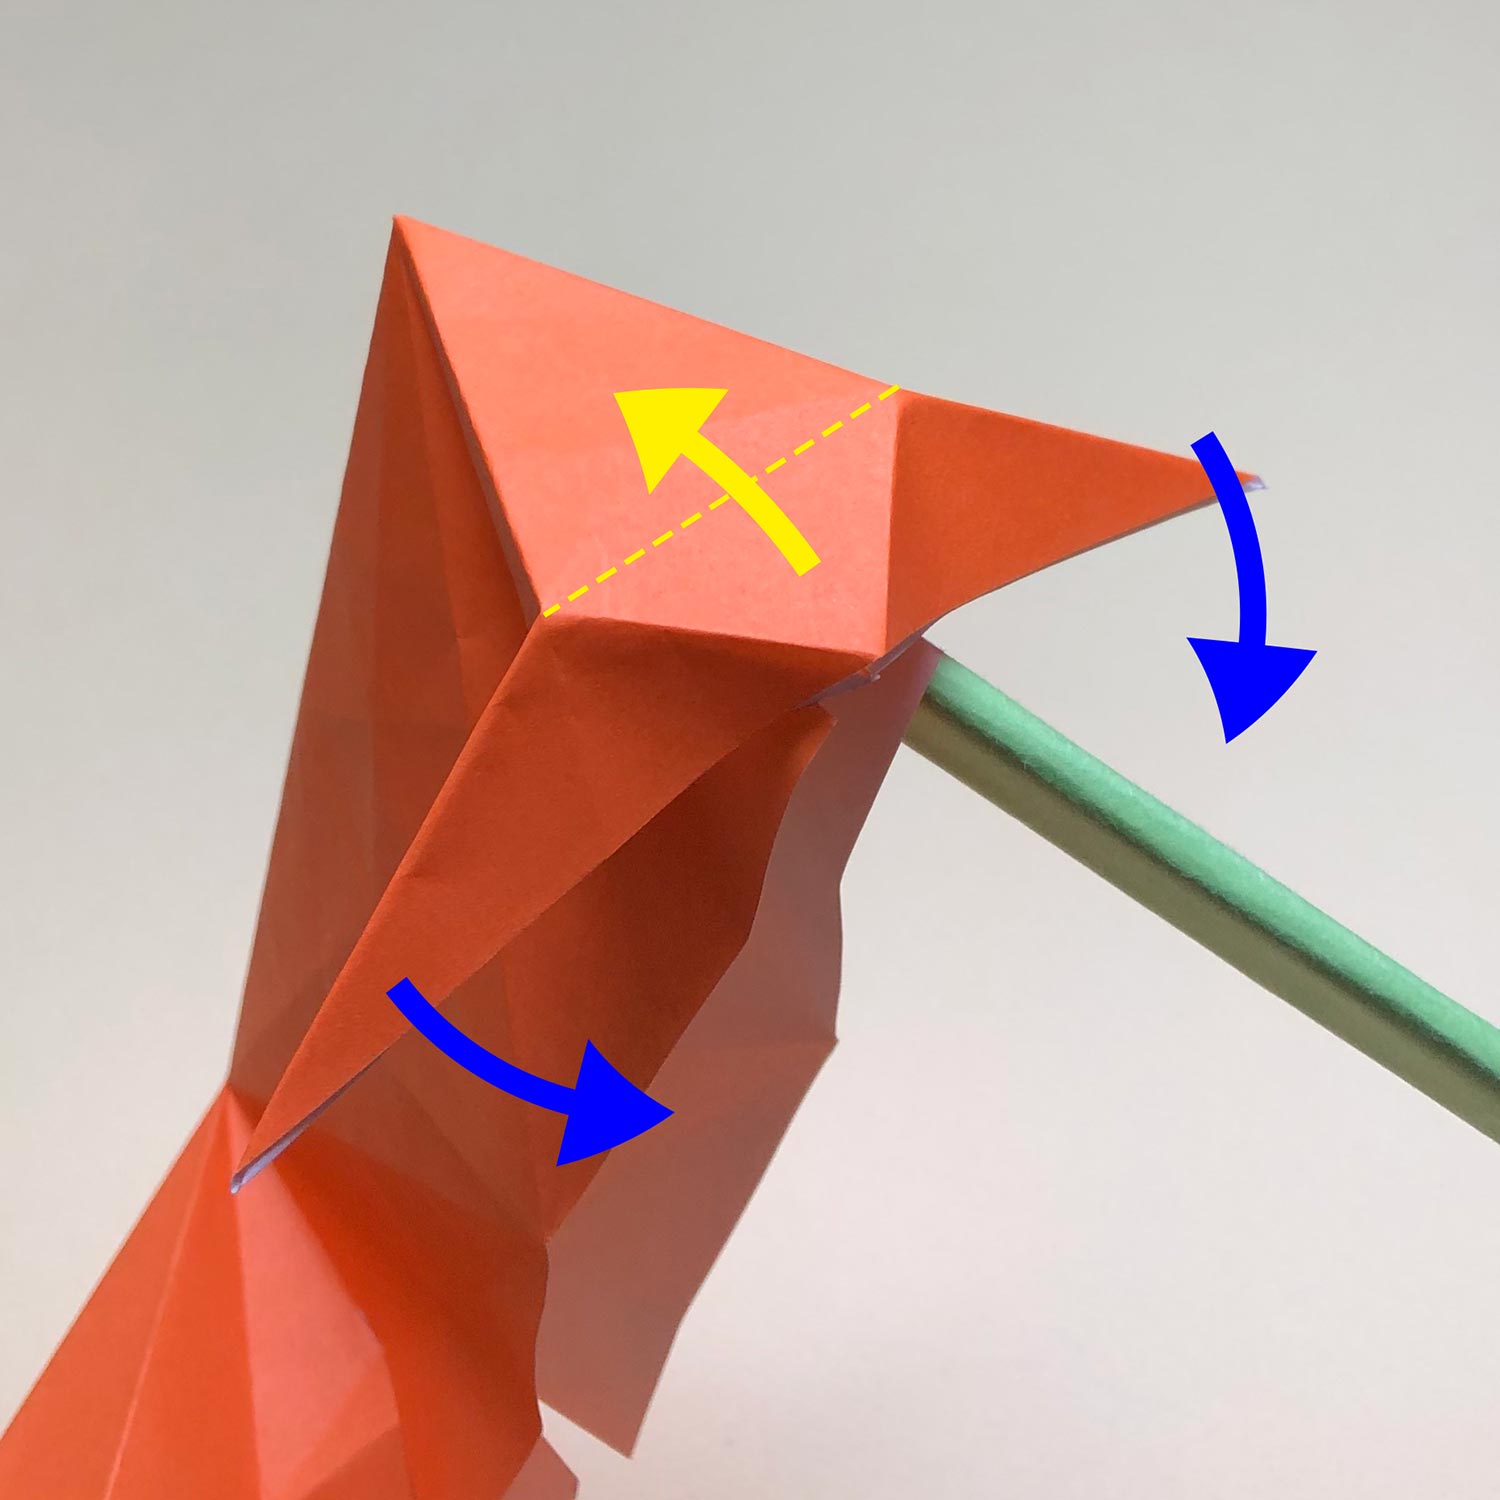
(7)
Then make a mountain-fold on the dotted line and move both sides in the direction of the arrows.
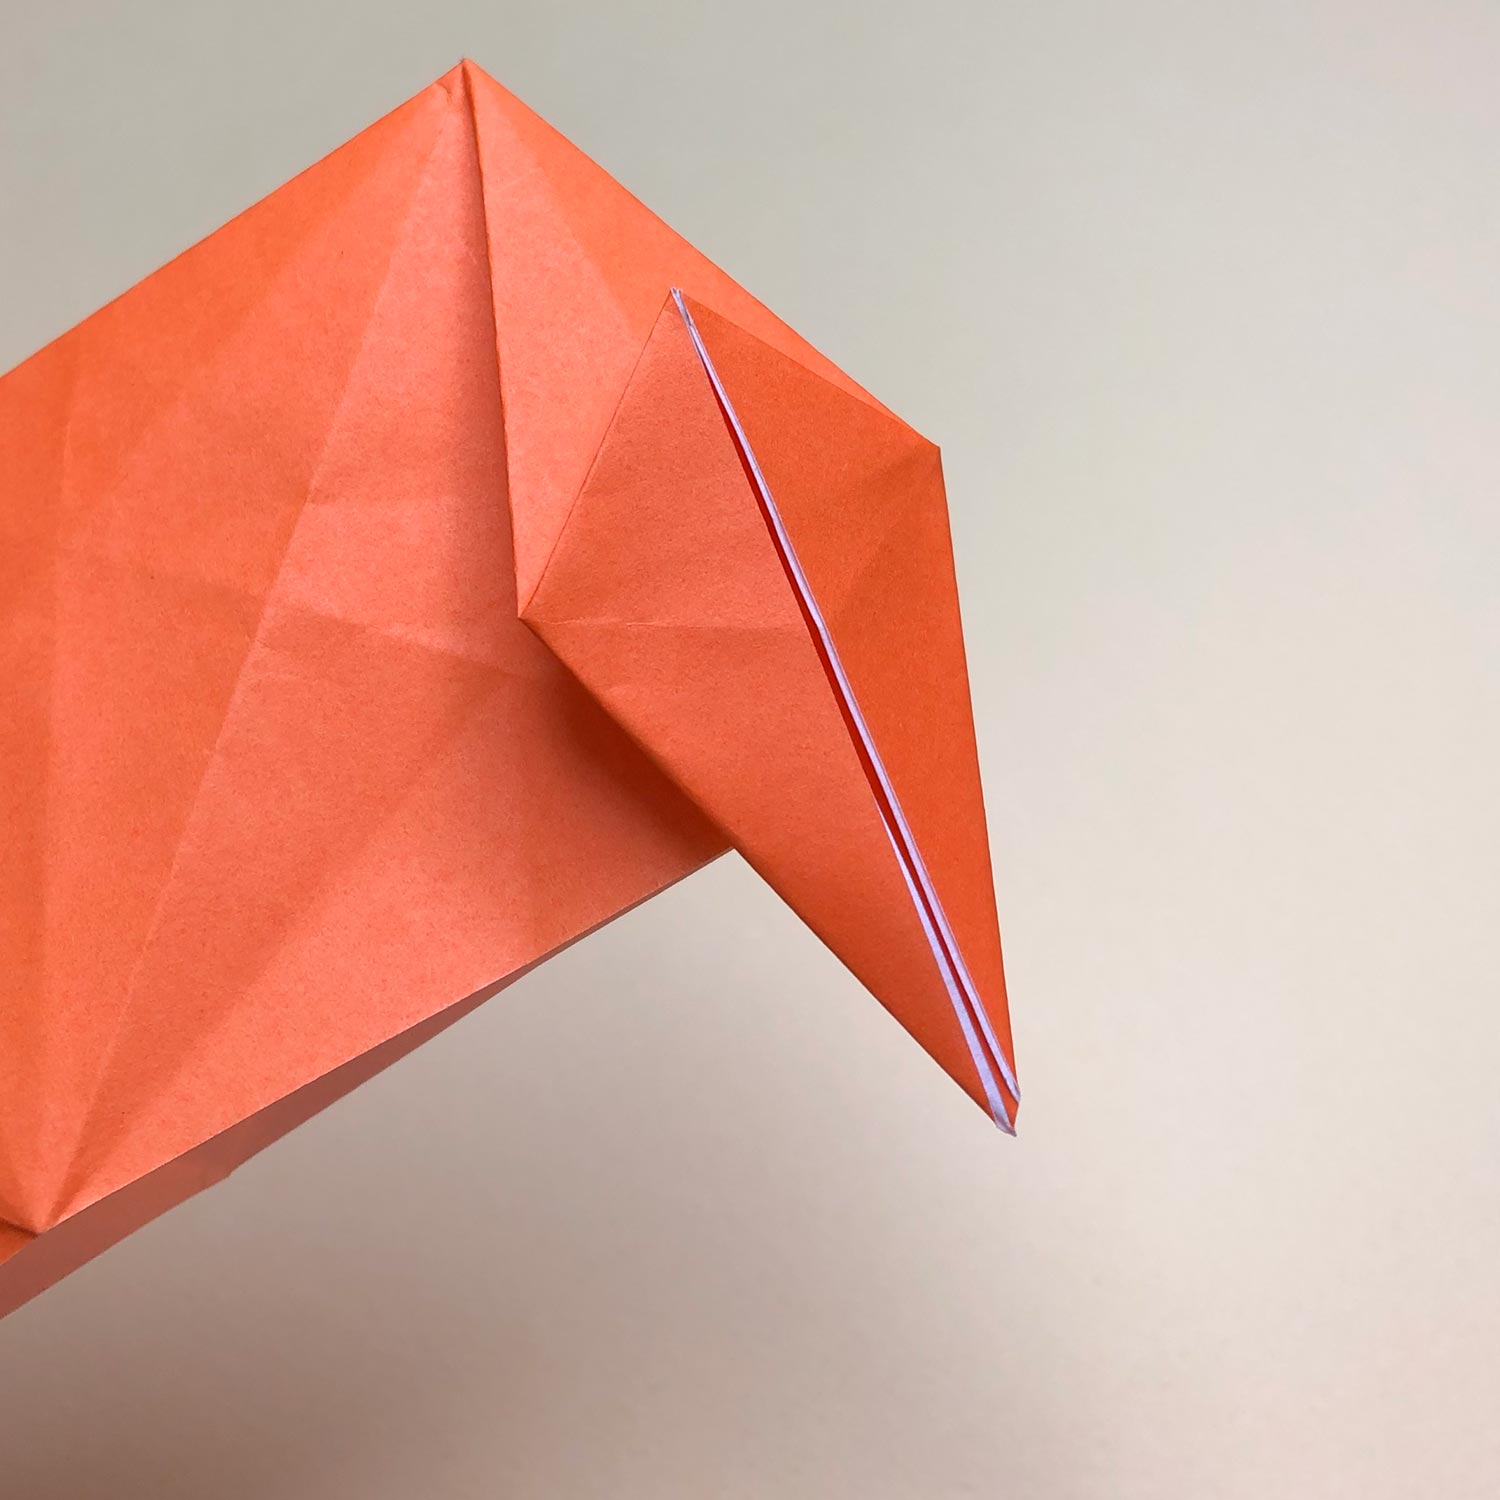
(8)
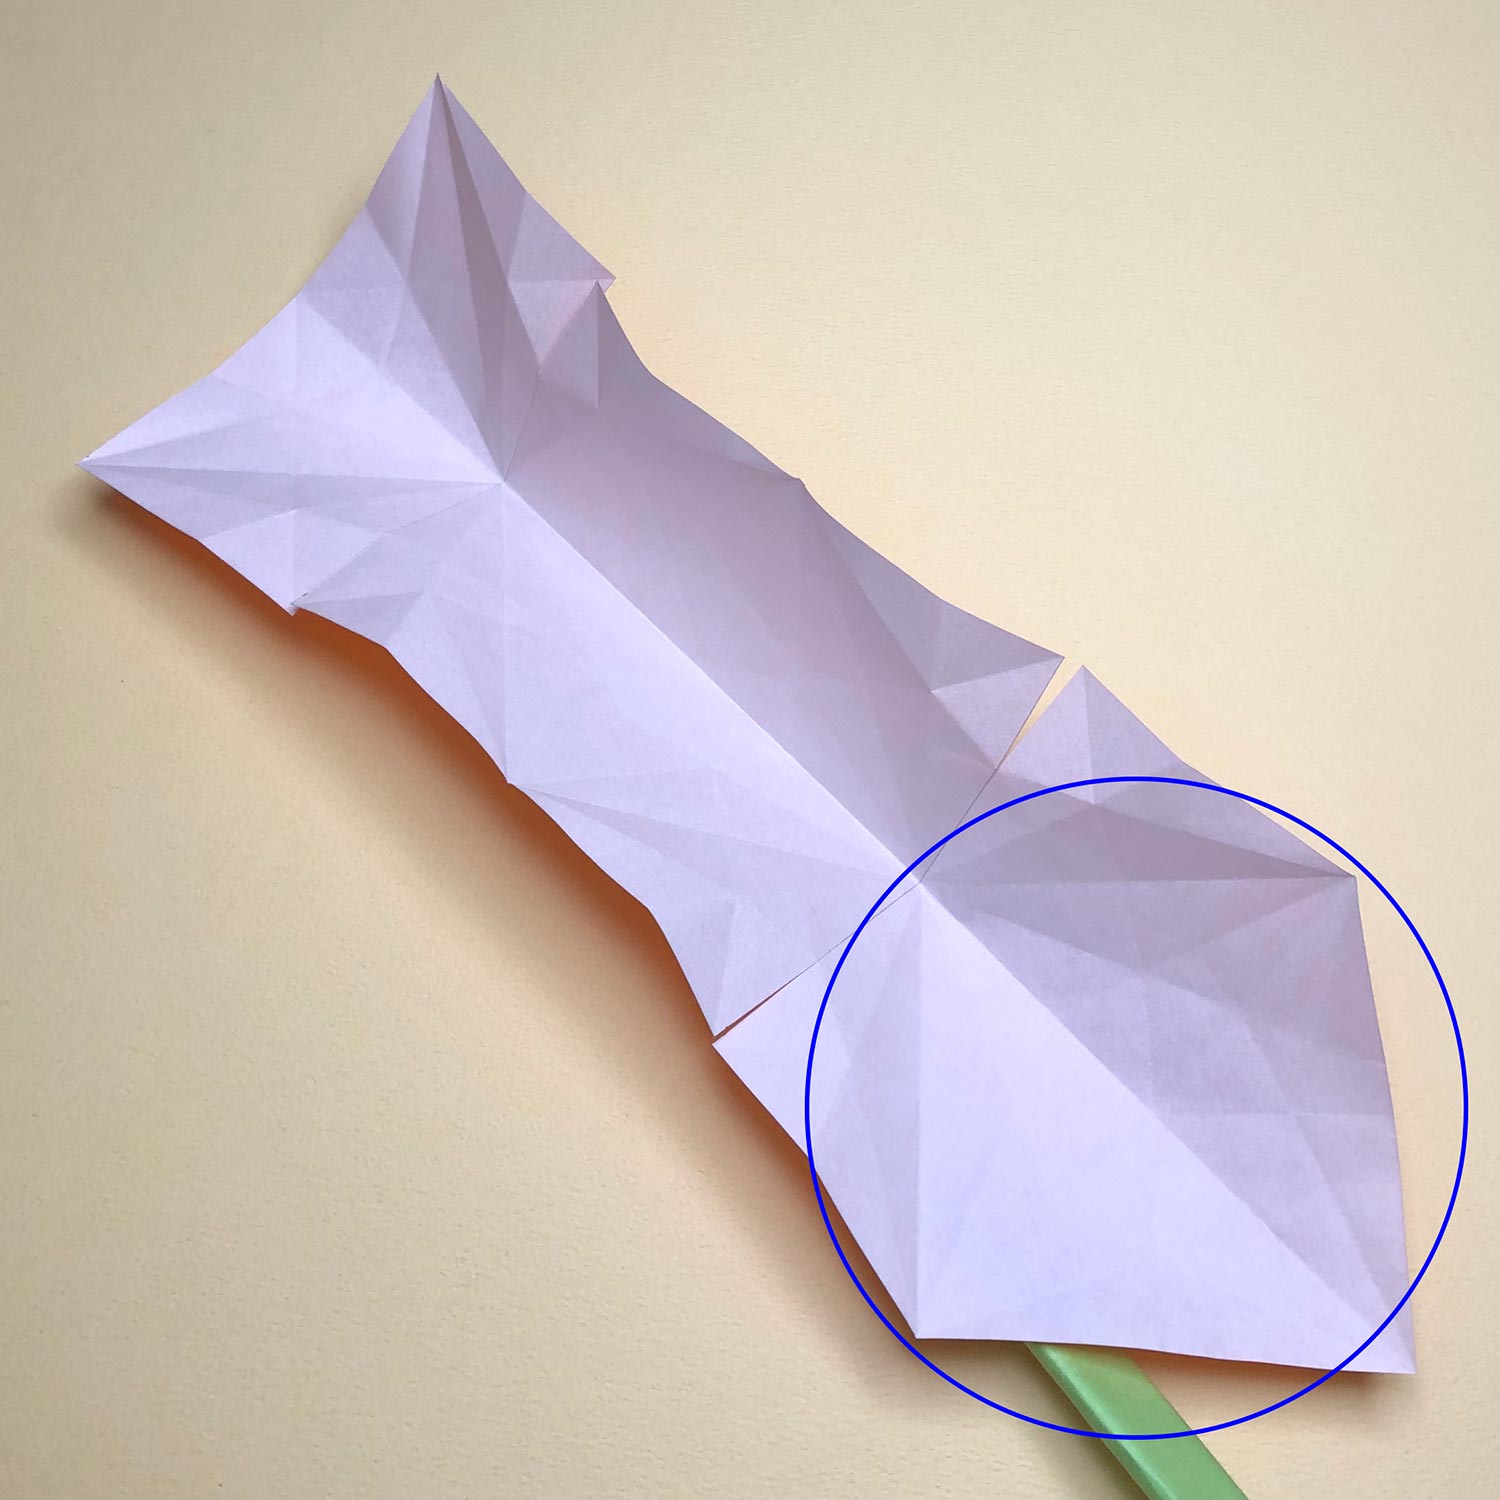
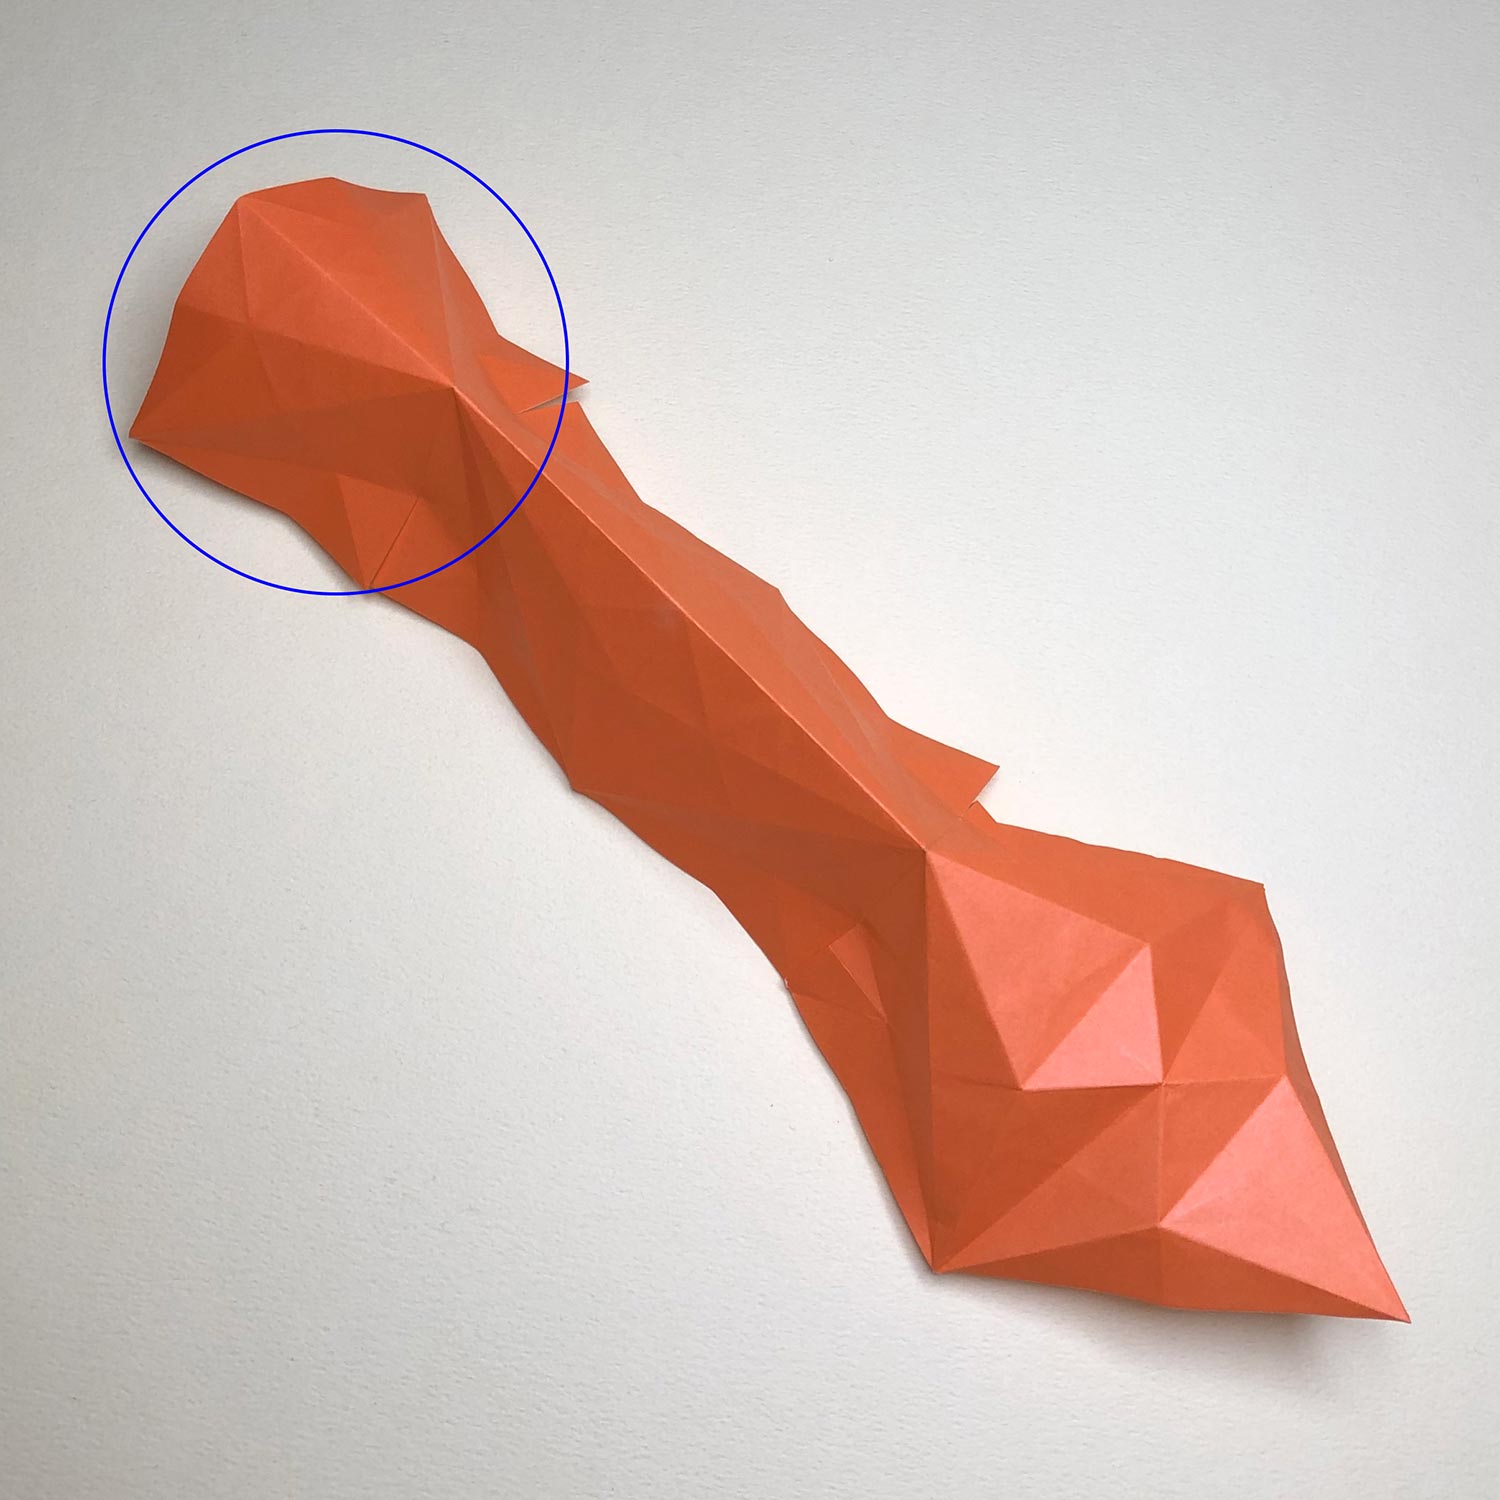
After moving both sides, the part that has been circled would be swollen.
Push the part from top to make creases.
(9)
Make creases like this picture.

(10)
Then move the center in the direction of the arrow to make a crease at the dotted line.
(11)
Move the center and make a crease like this picture.
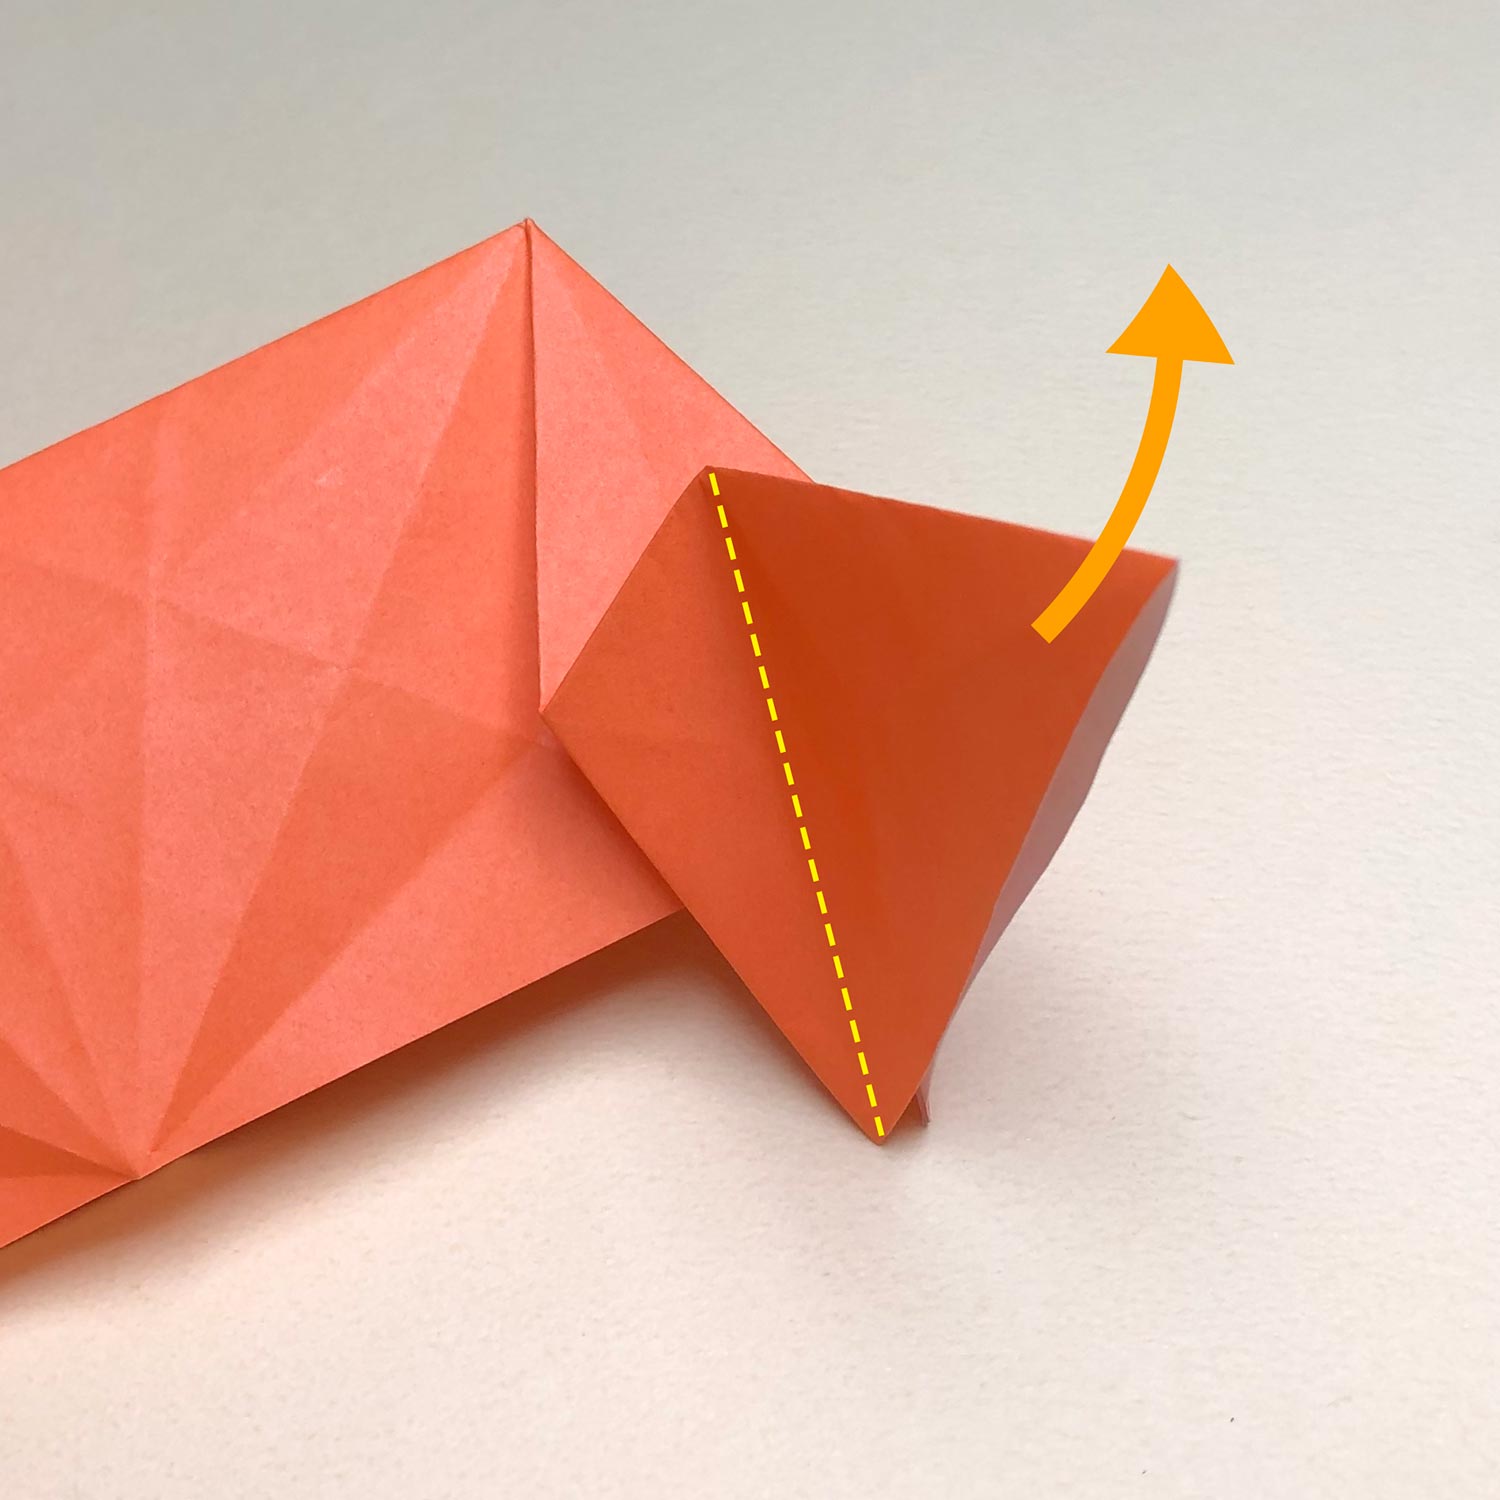
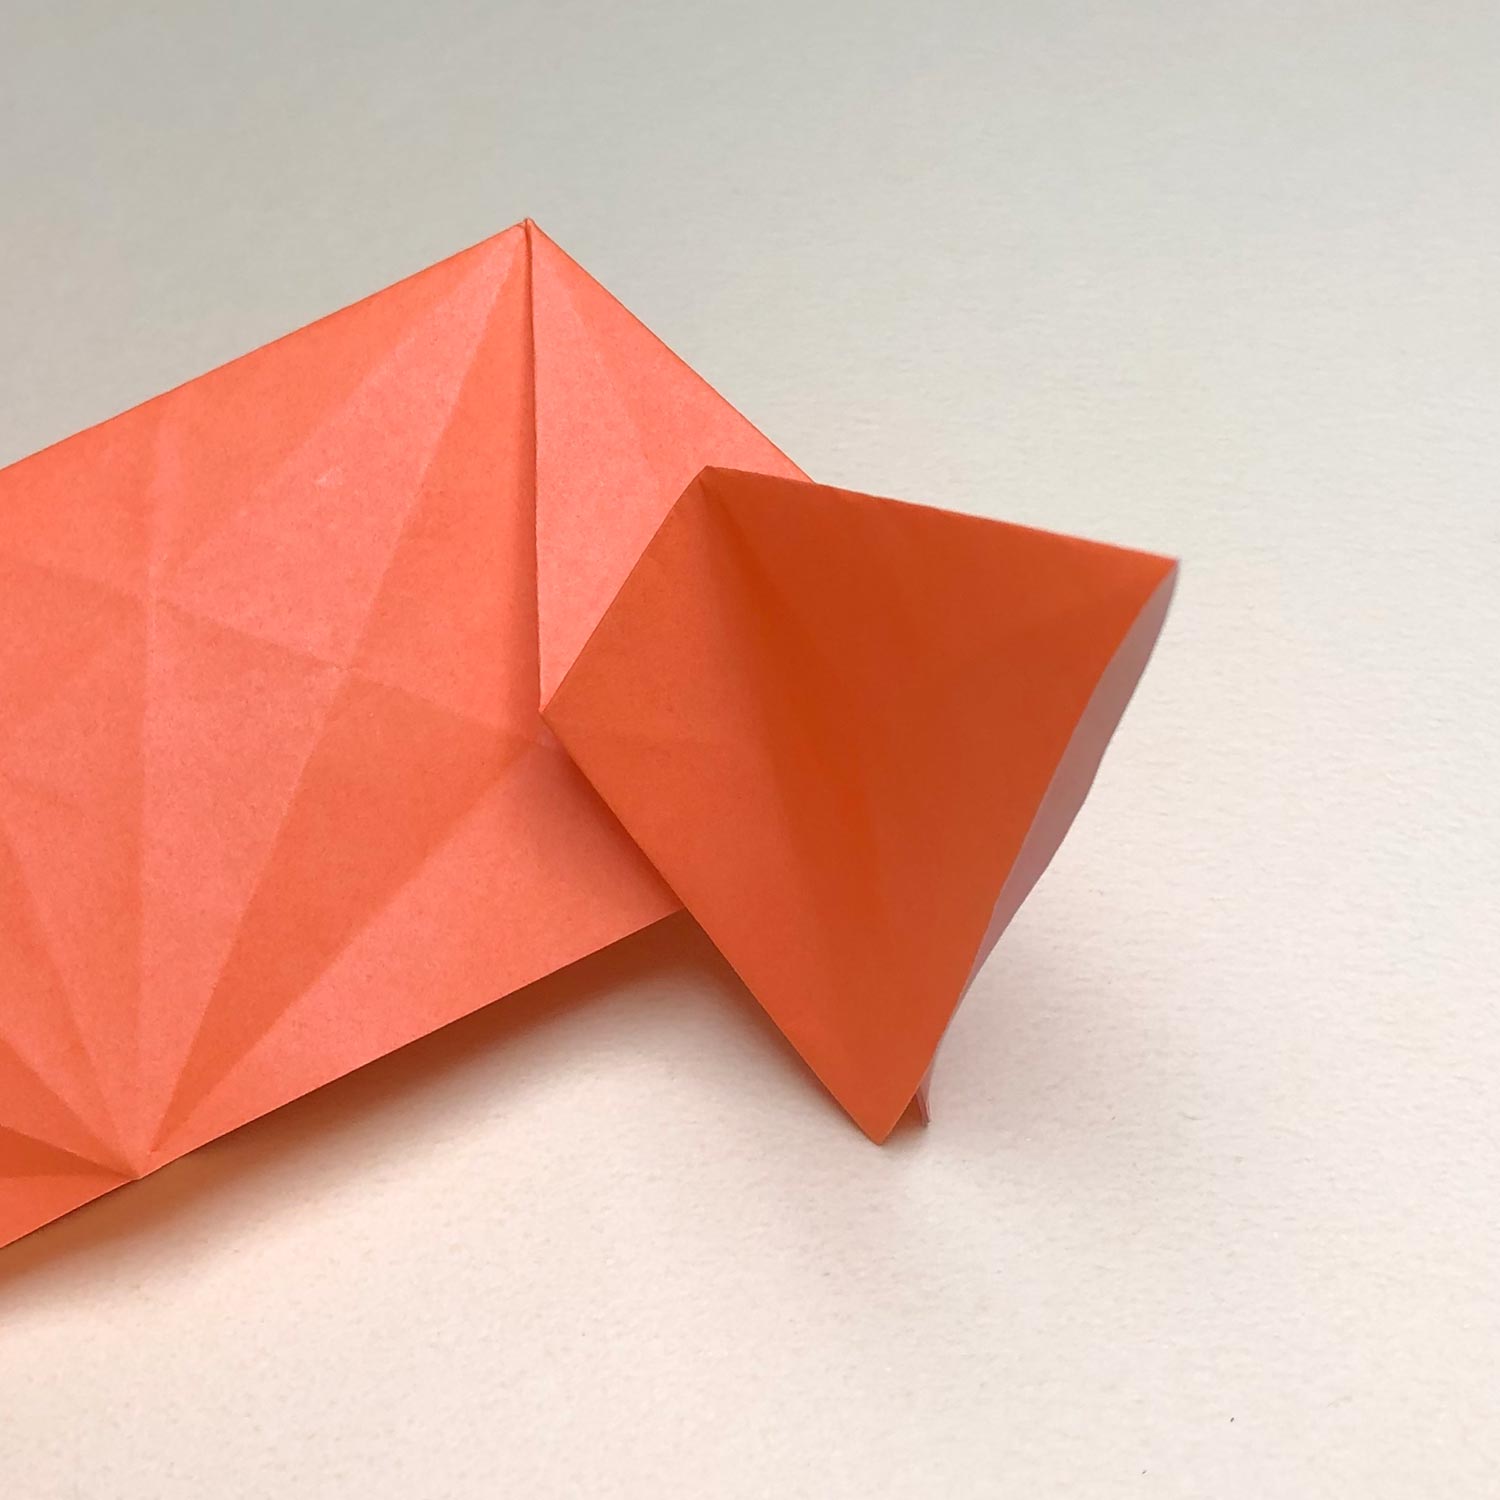
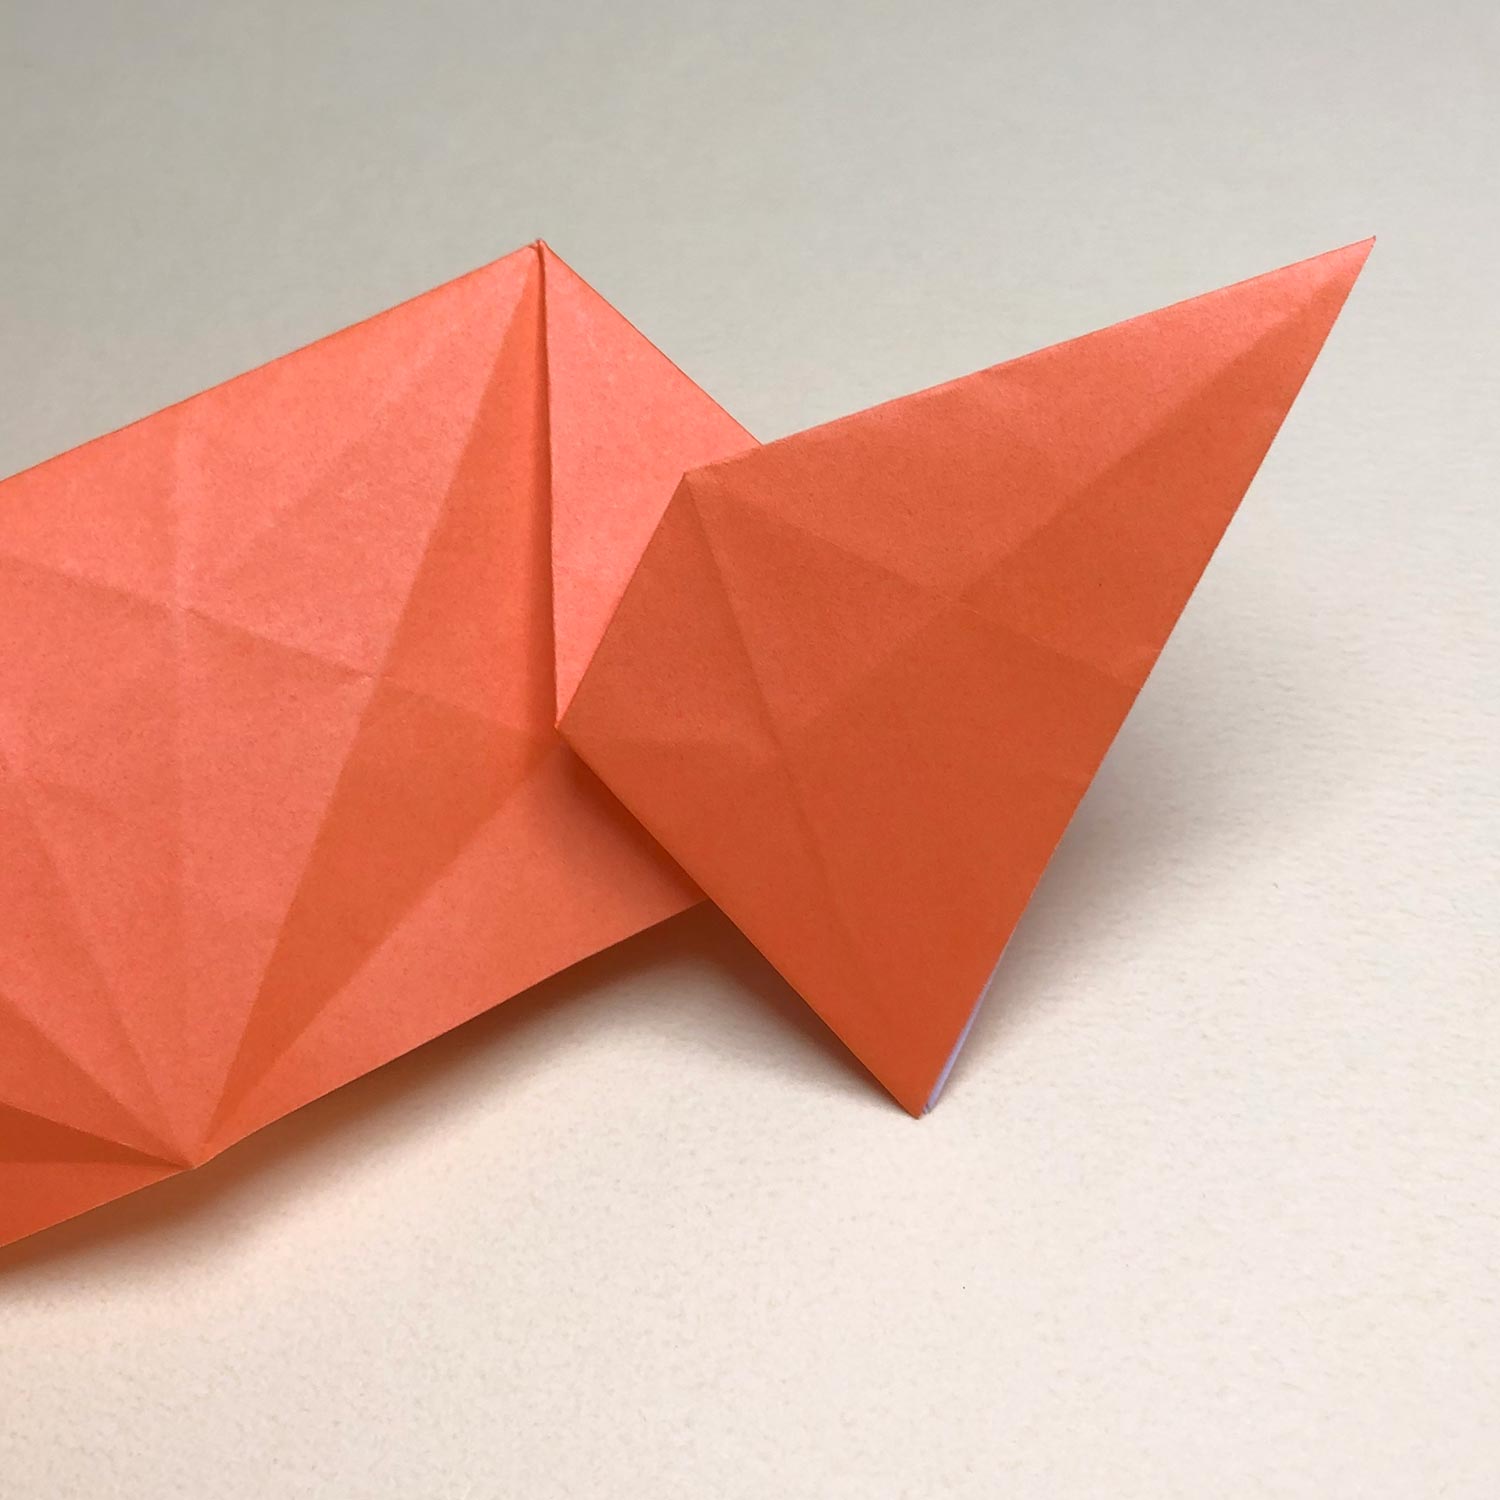
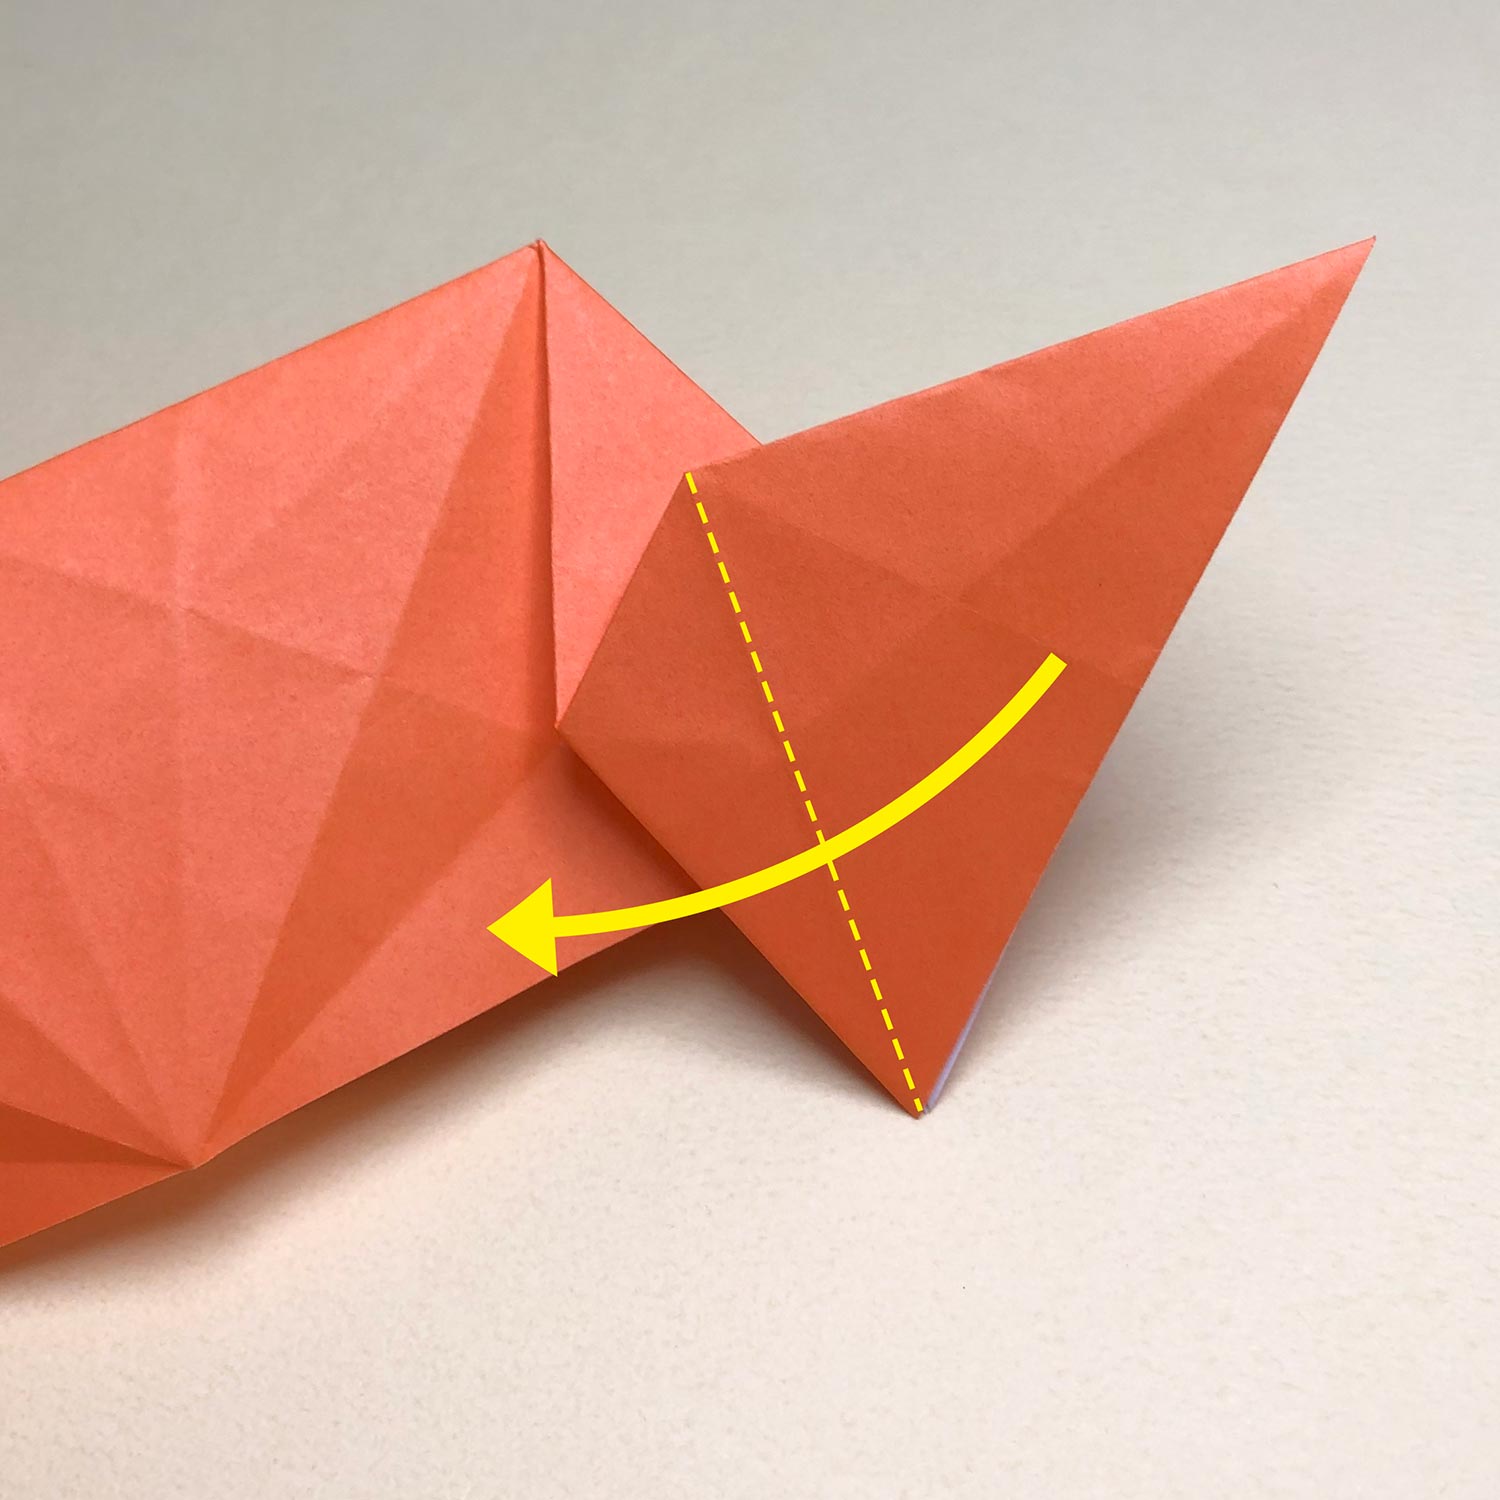
(12)
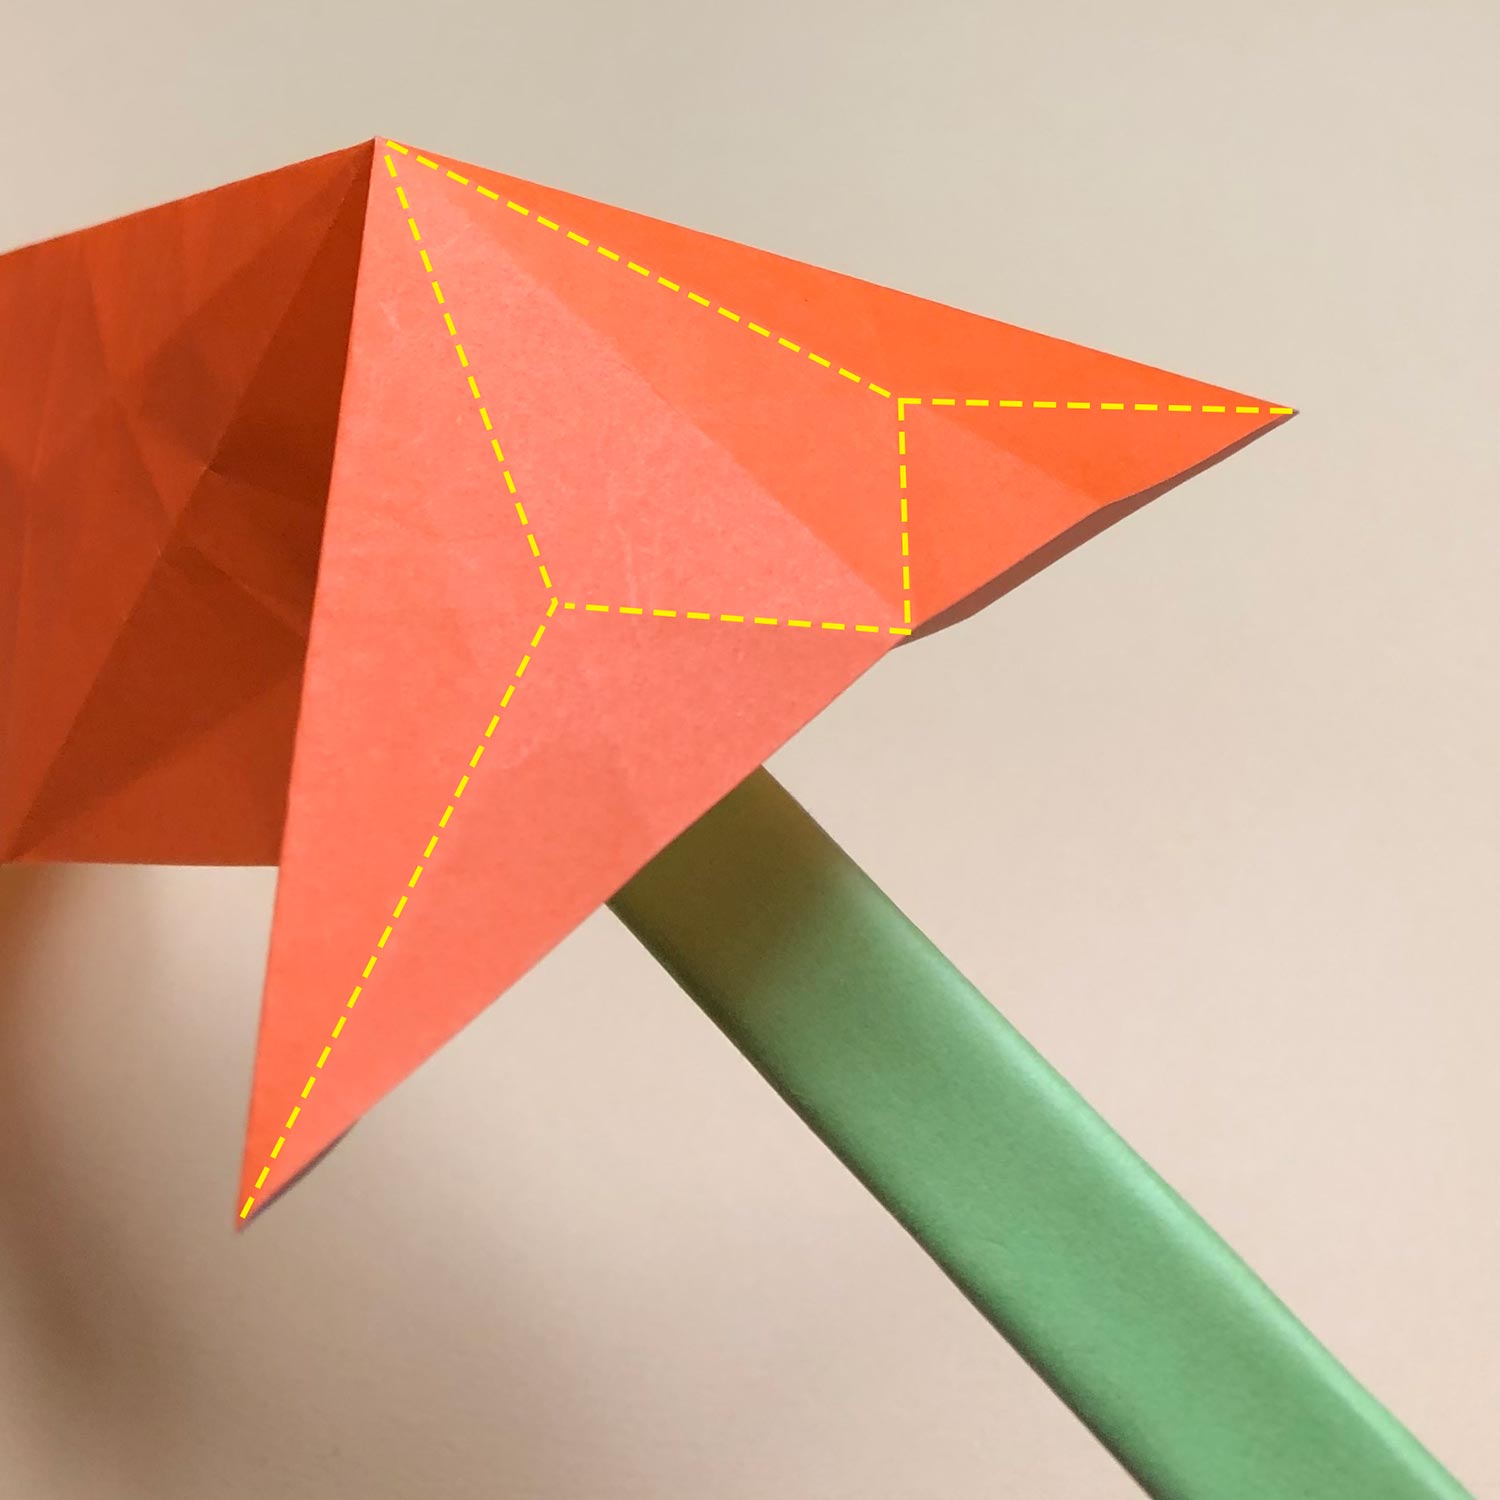
In order to get easier to make a bird-base, move the flap in the direction of the arrow to make a crease on the dotted line.
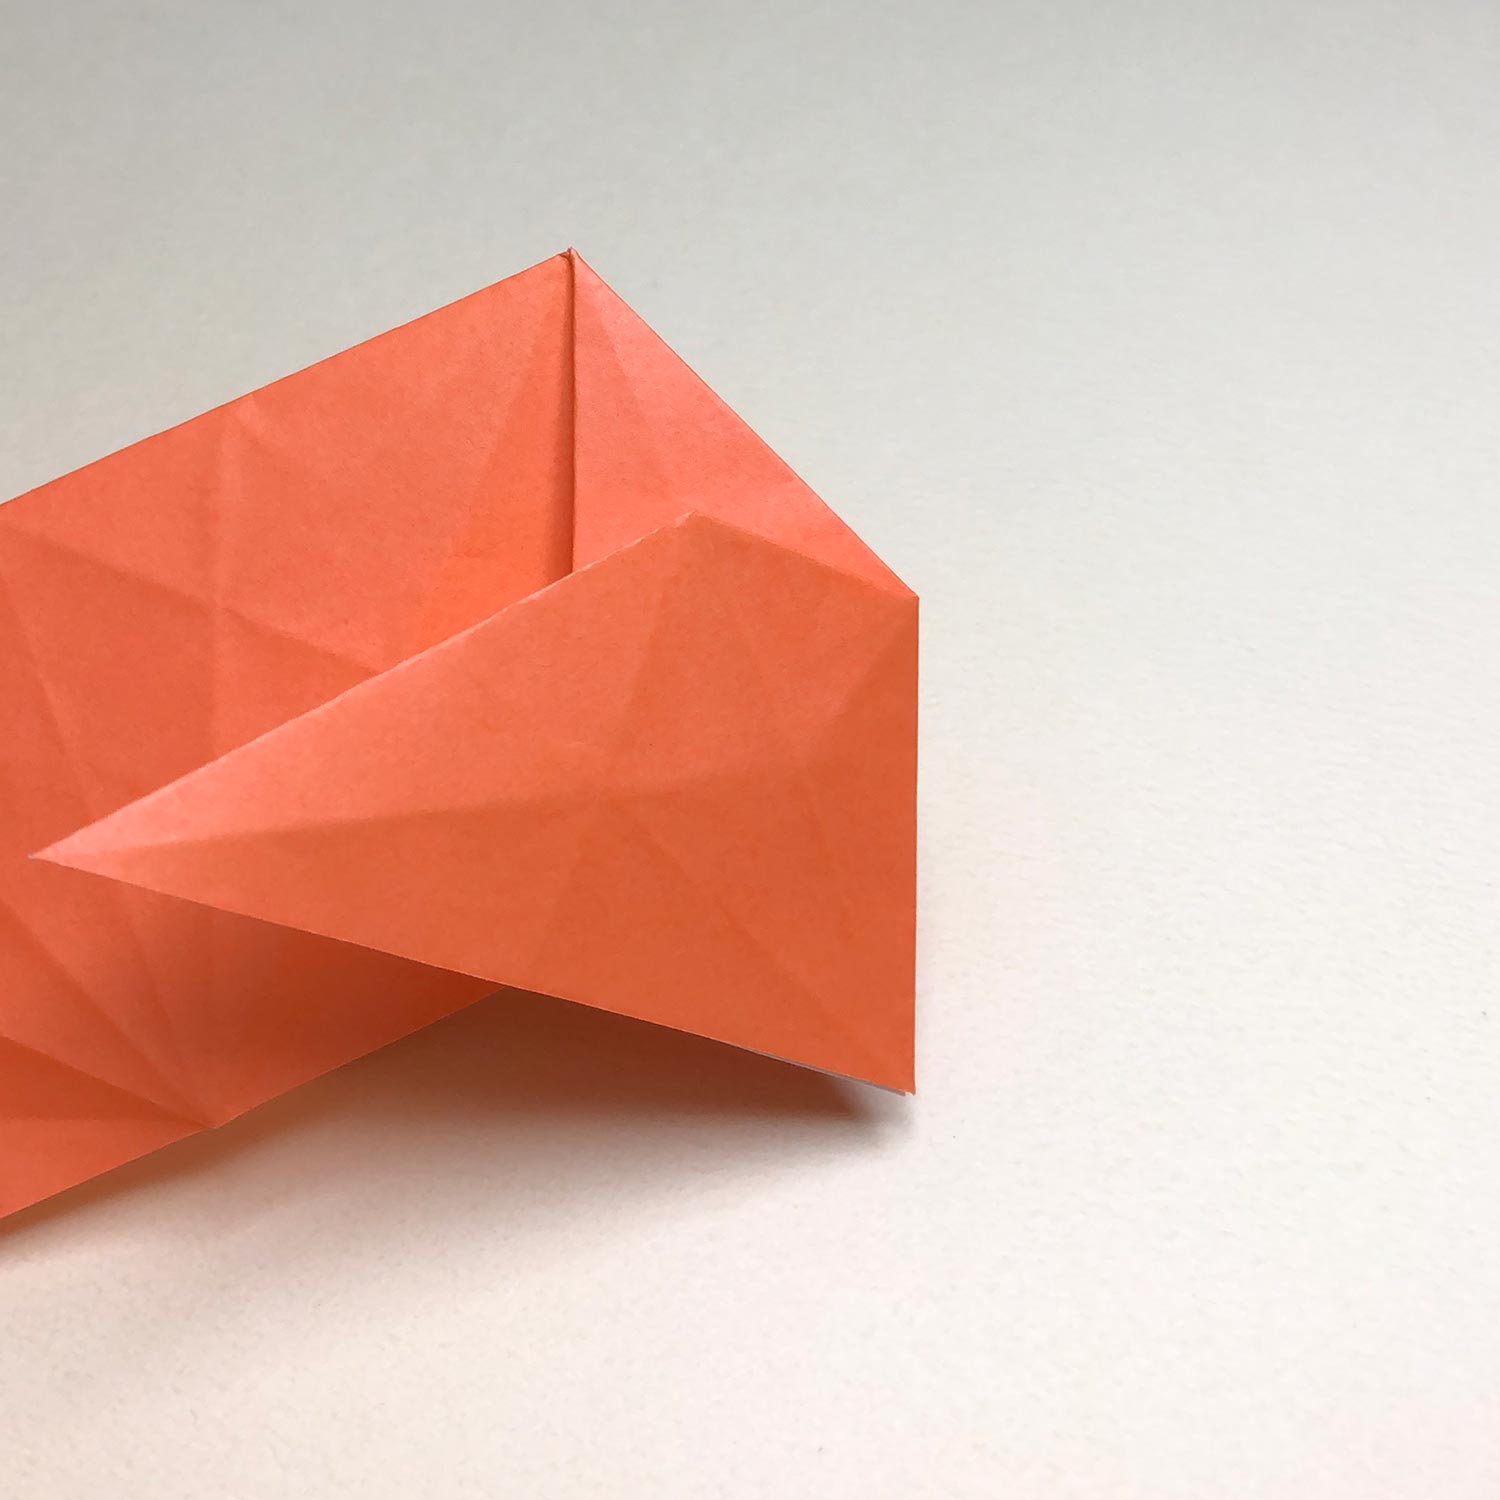
(13)
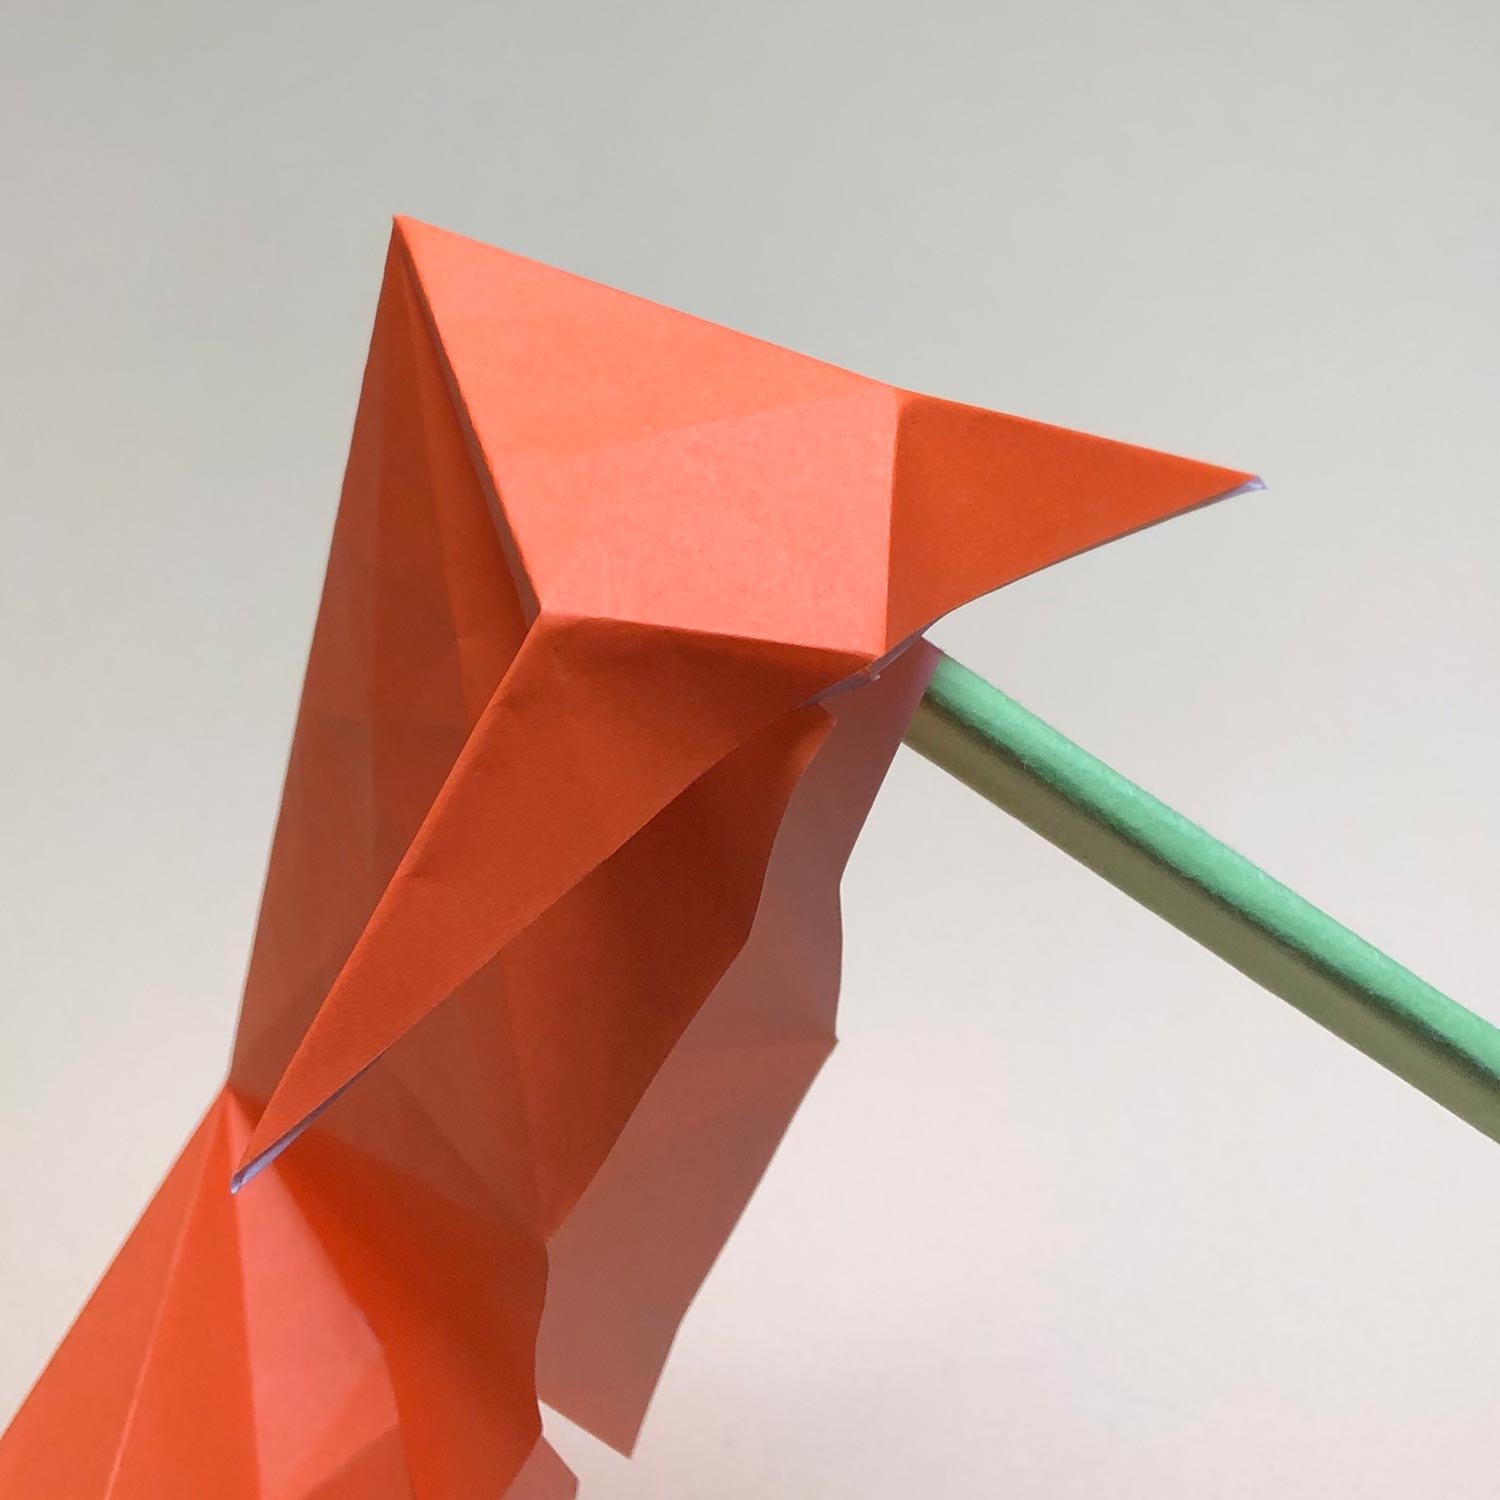
Move the flap like this picture.
(14)
Then move the flap in the direction of the arrow to make a crease on the dotted line as well.
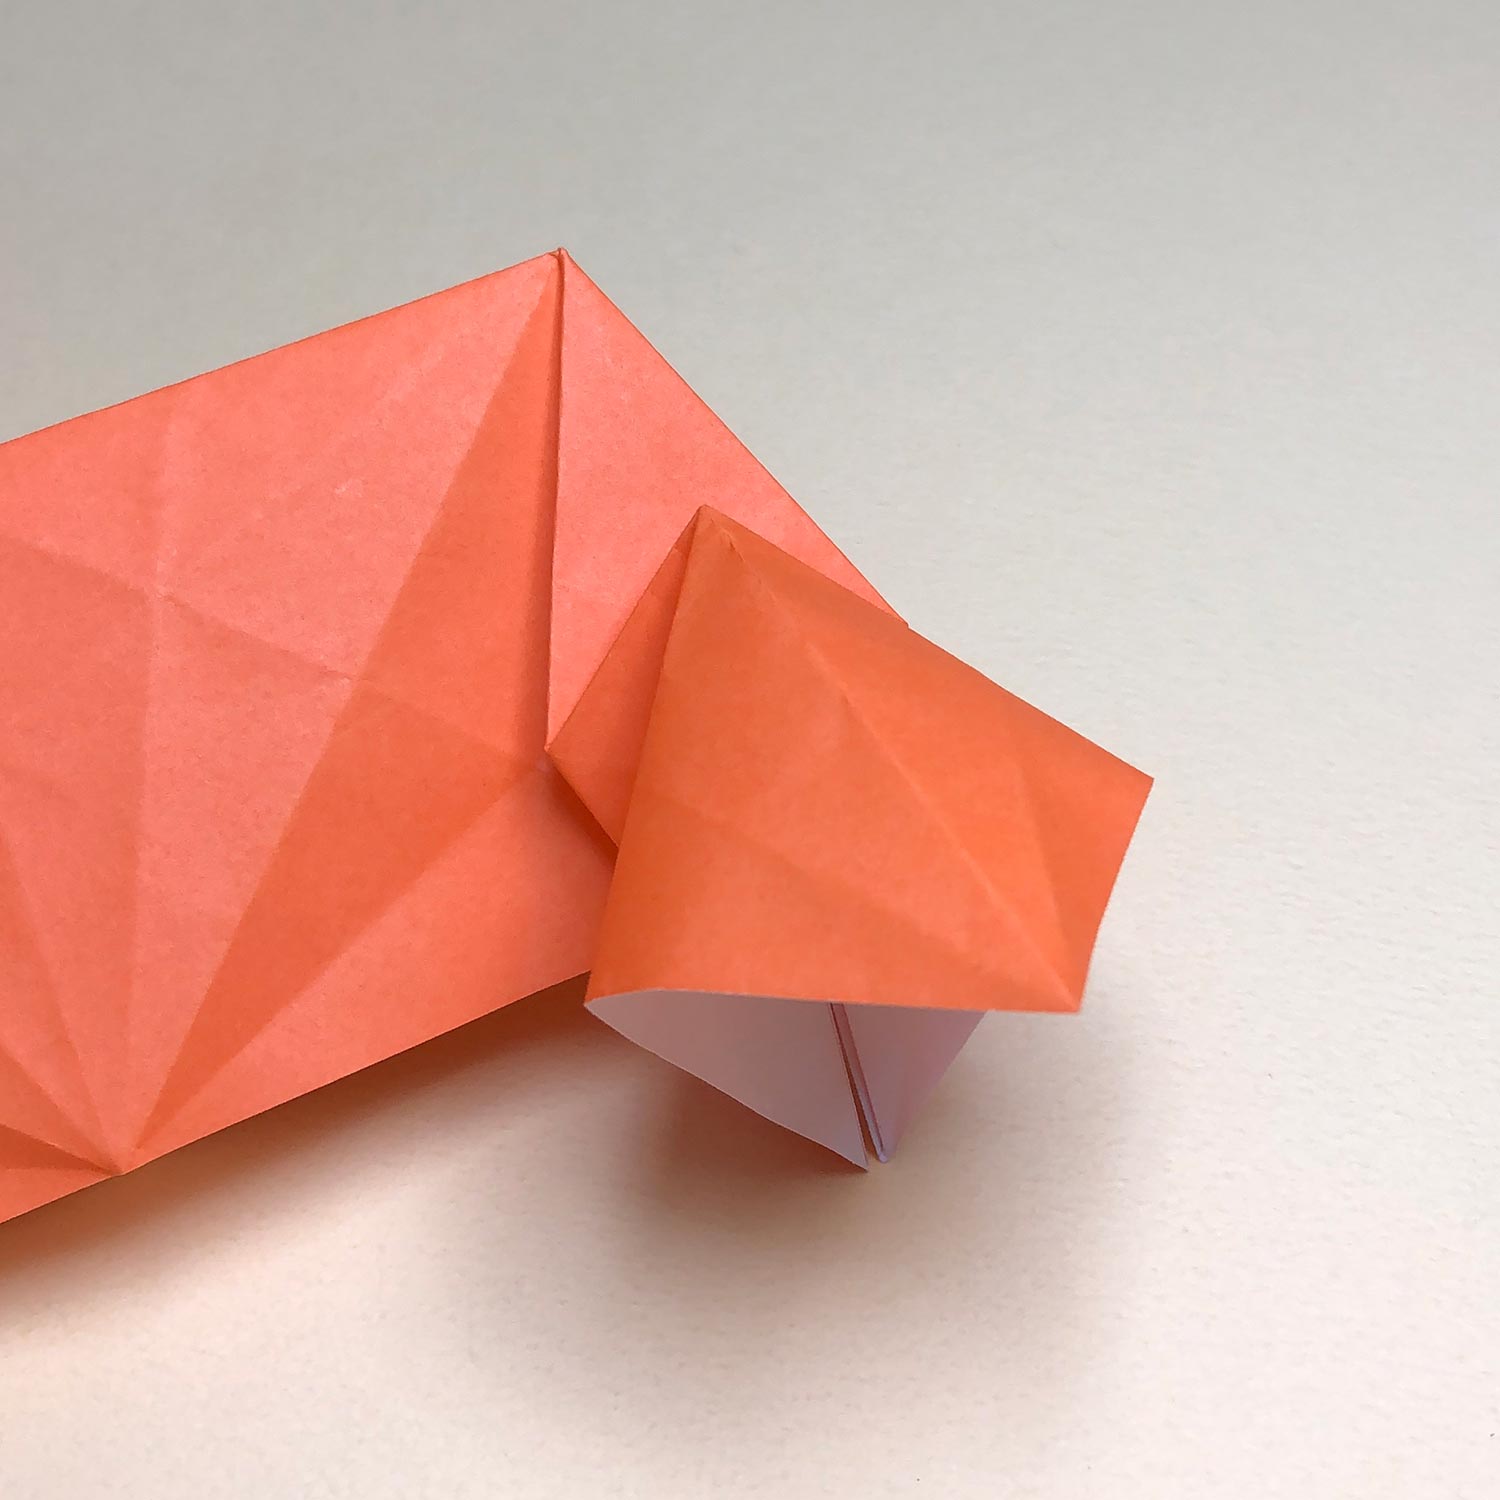
(15)
Move the flap like this picture.
Then put the flap back.

(16)
After putting the flap back like this picture, make a bird-base.
(17)
This picture is halfway through.
(18)
The bird-base is finished.
After making creases, spread the paper.
(19)
Then fold the part which has been circled.

(20)
First, fold two corners like this picture.
Then turn the paper over as it is.
(21)
After turning the paper over, make mountain-folds on the dotted lines.
(22)
Make mountain-folds like this picture.
(23)
Then make a crease at the dotted line while moving both sides in the direction of the arrows.
(24)
After moving both sides and making a crease, it looks like this picture.
Then spread the paper.