(103)
Take one flap and move it in the direction of the arrow.
(104)
Move the flap like this picture.
(105)
On the opposite side too, take one flap and move it in the direction of the arrow.
(106)
Move the flap like this picture.

(107)
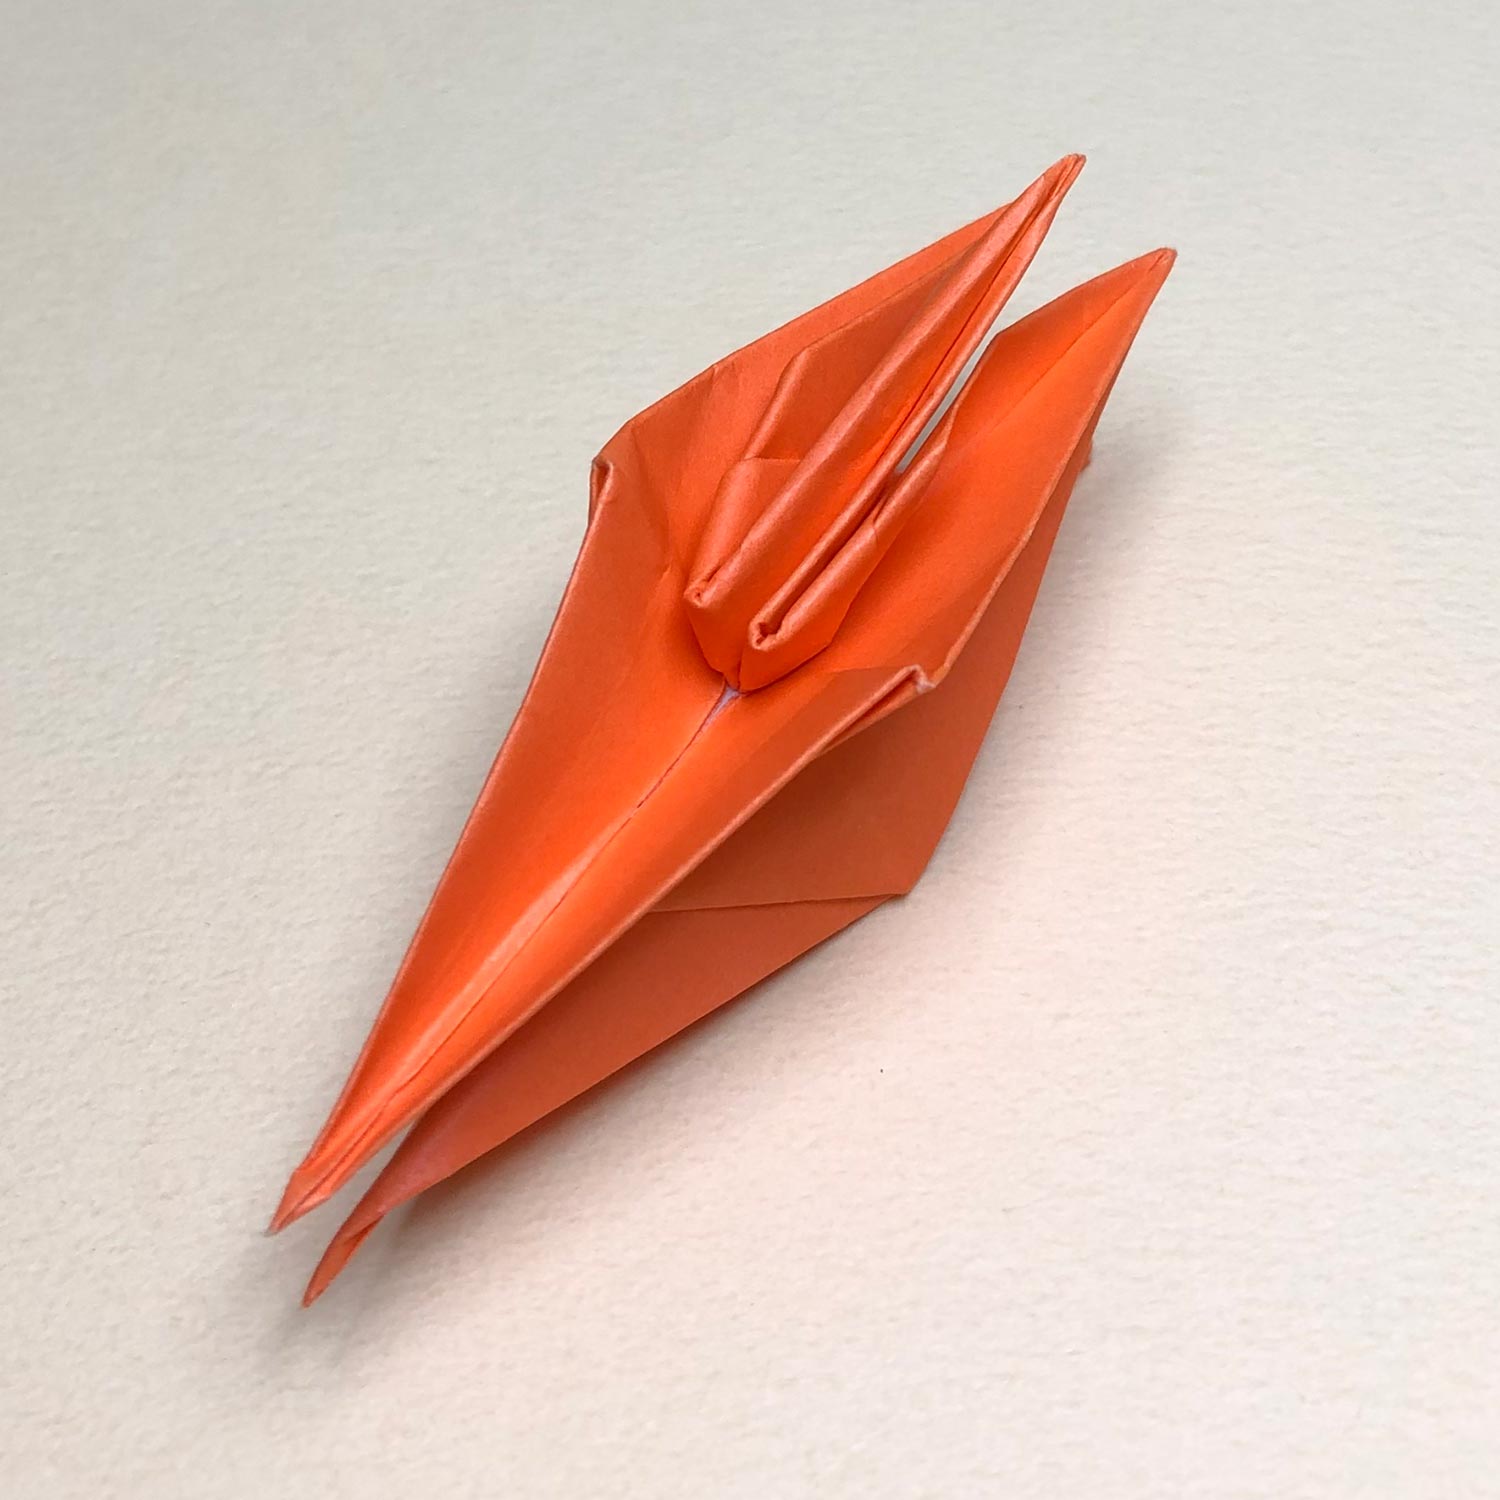
Spread wings of the completed crane.
(108)
Spread wings like this picture.
(109)
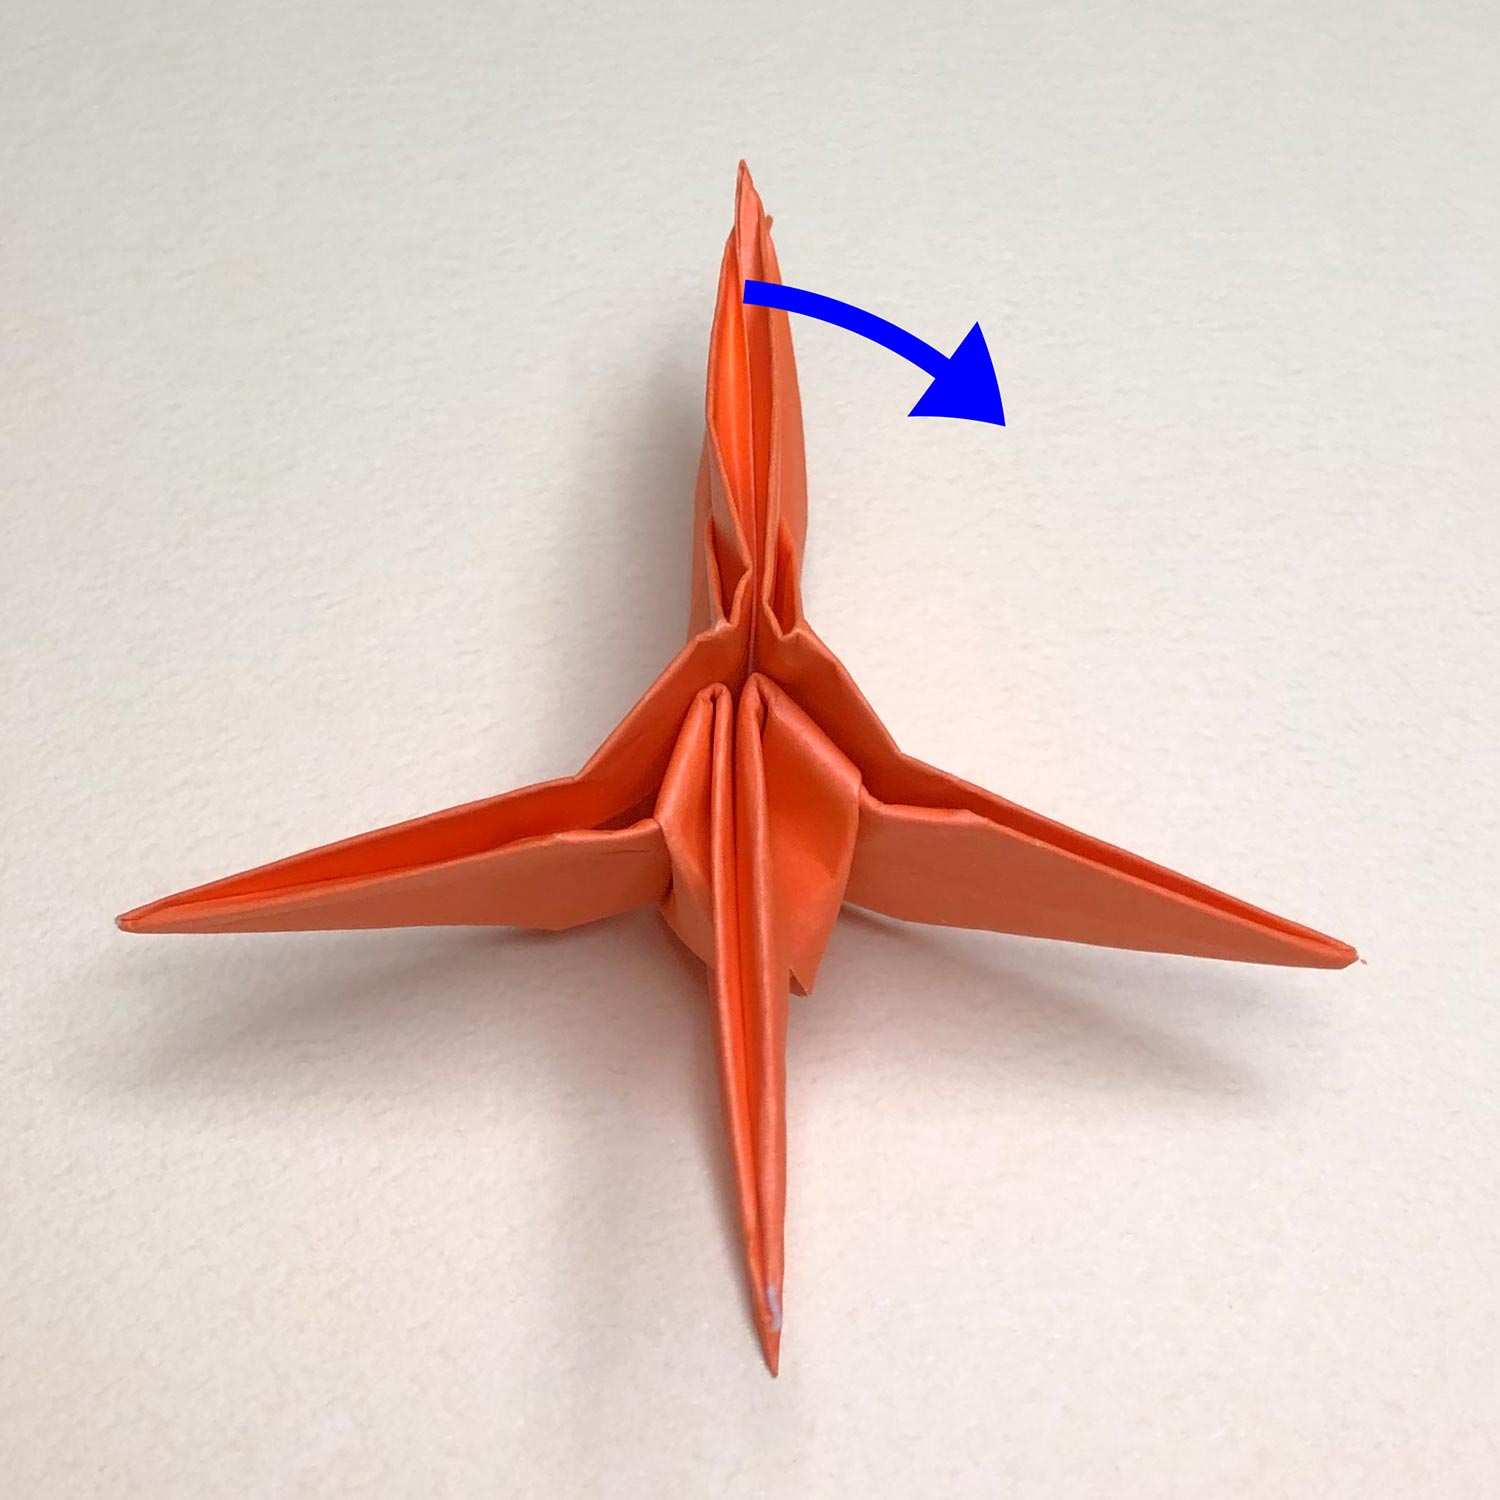
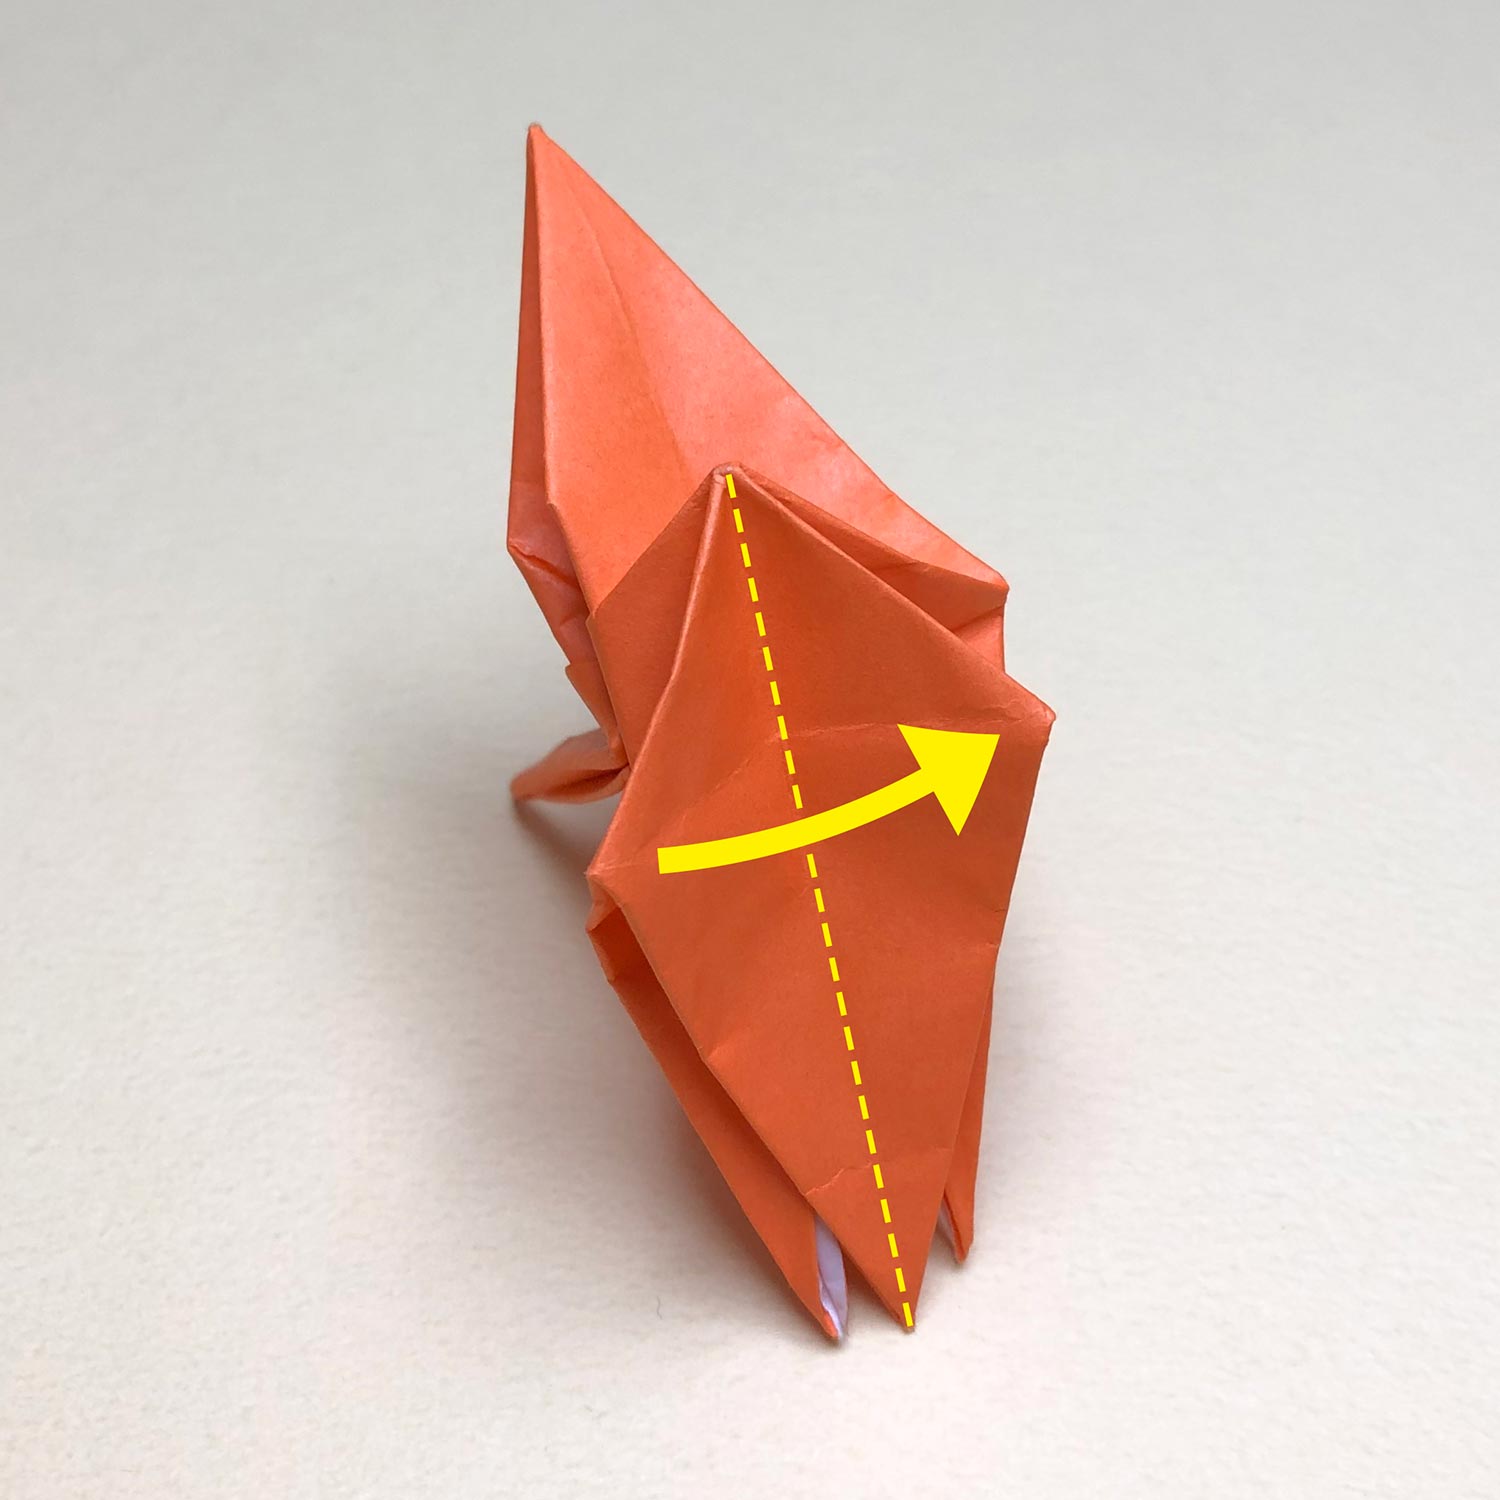
I rotated the paper so that the completed crane is in the bottom.
Move the top a little in the direction of the arrow.
(110)
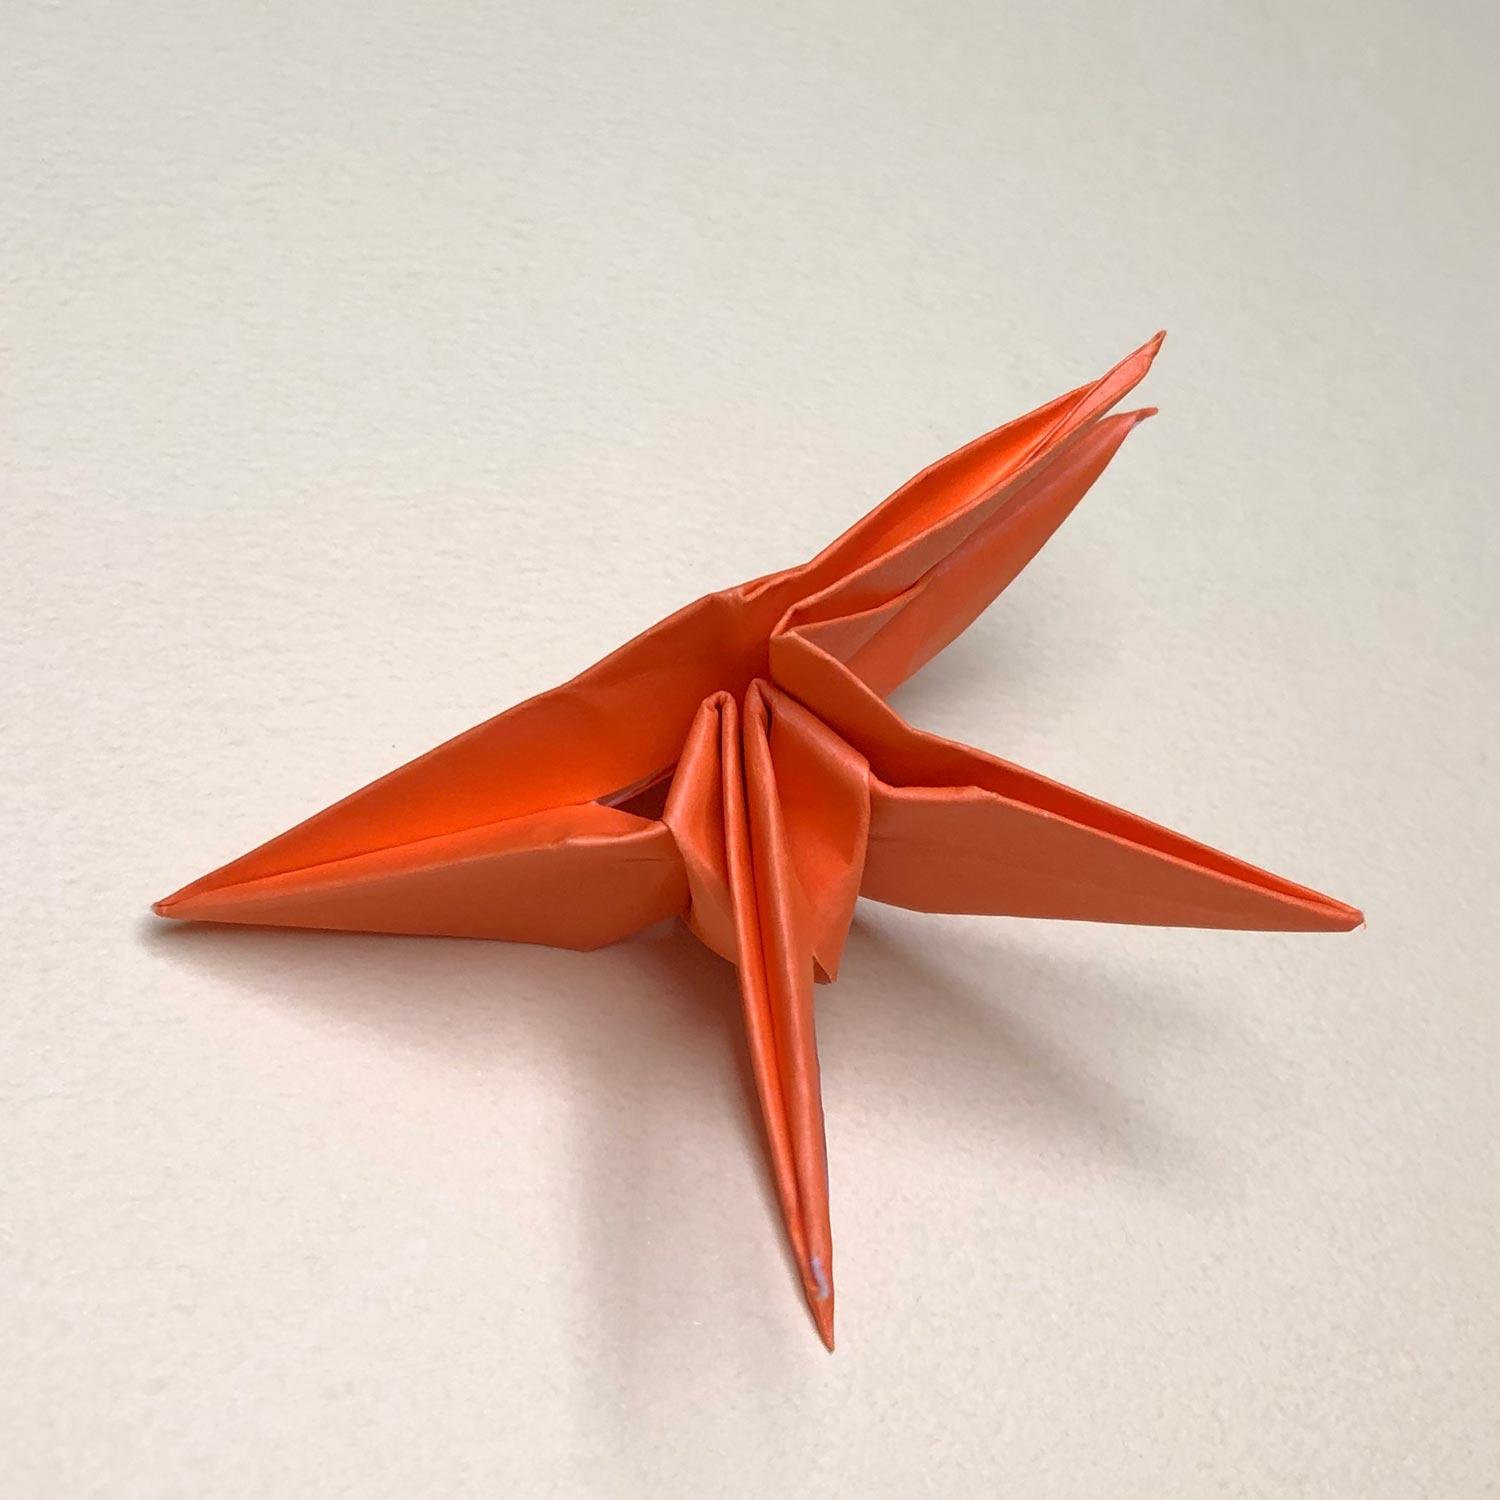
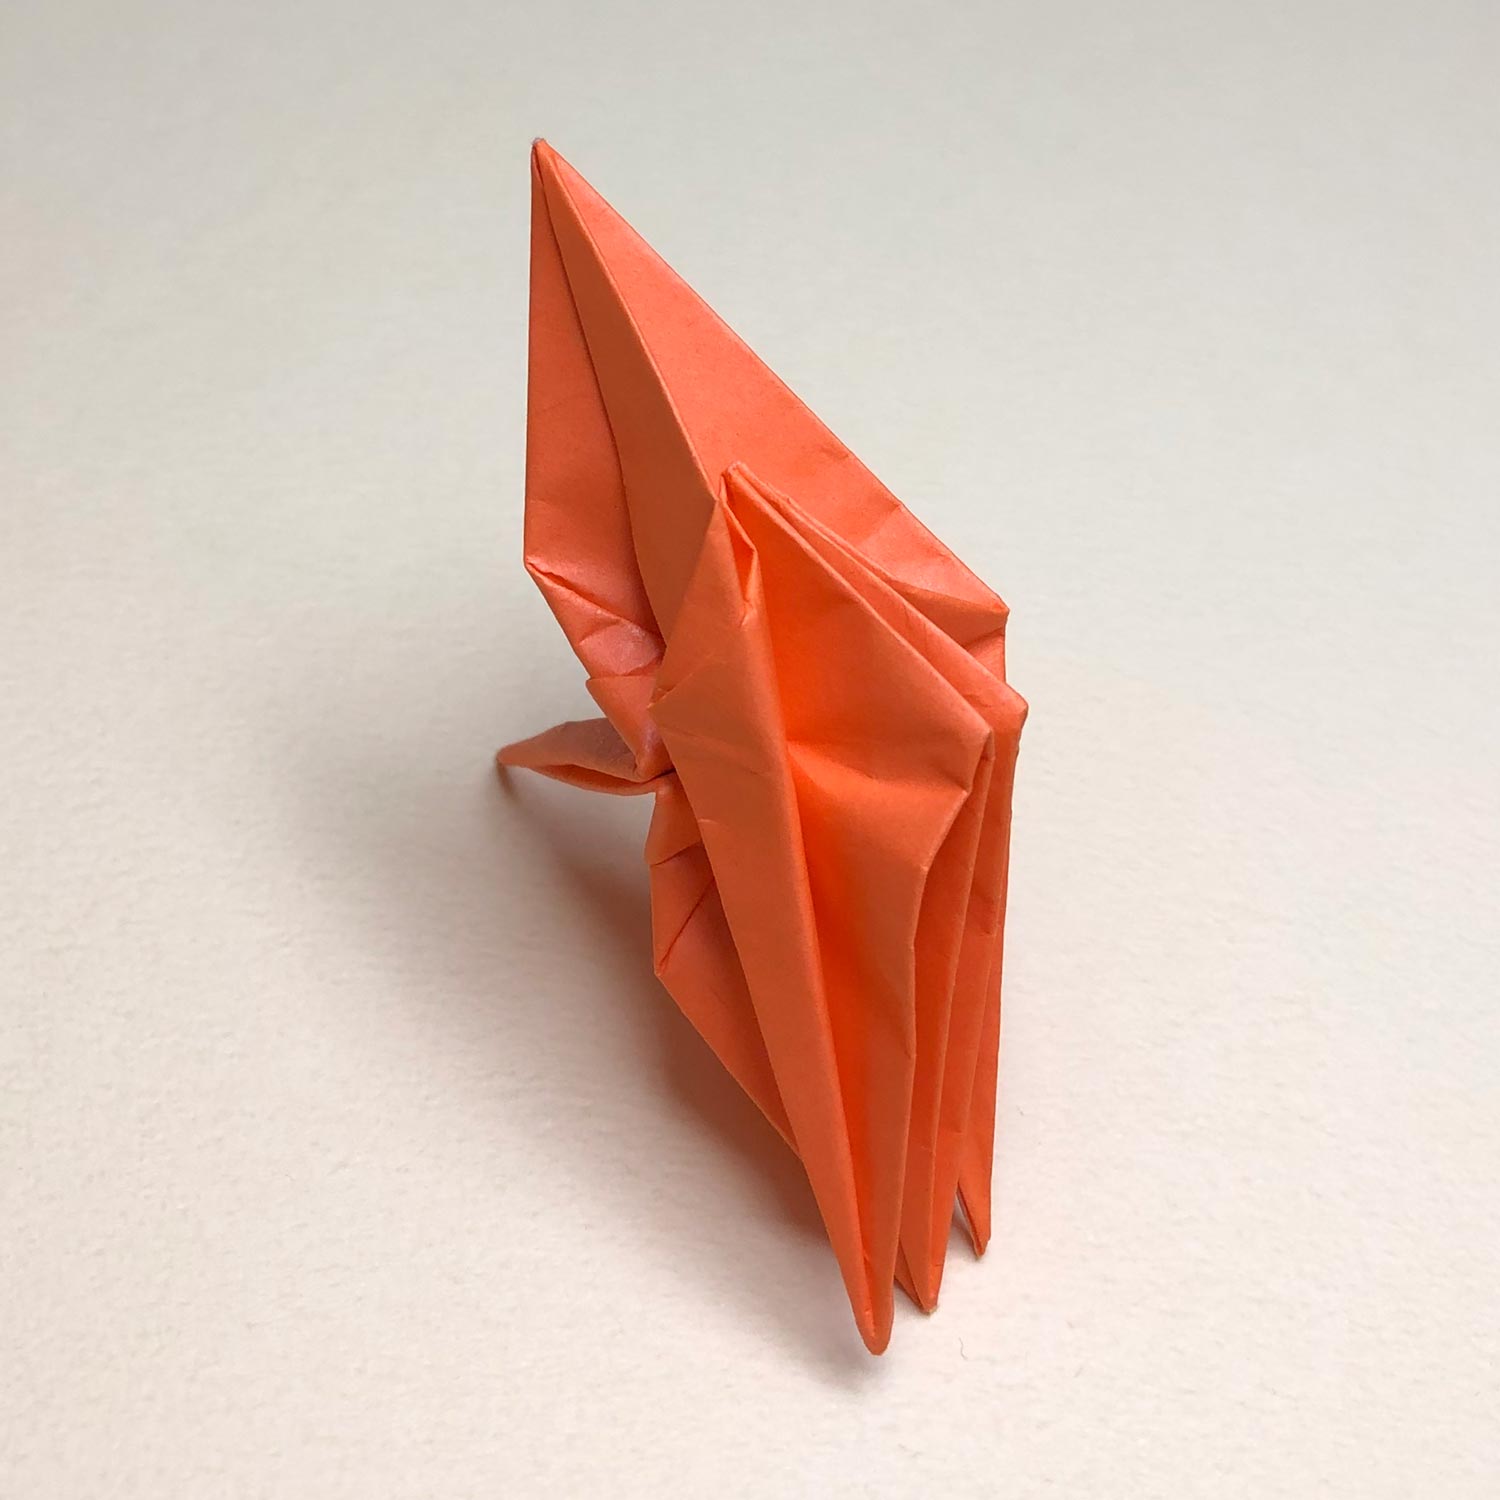
Move the top like this picture.

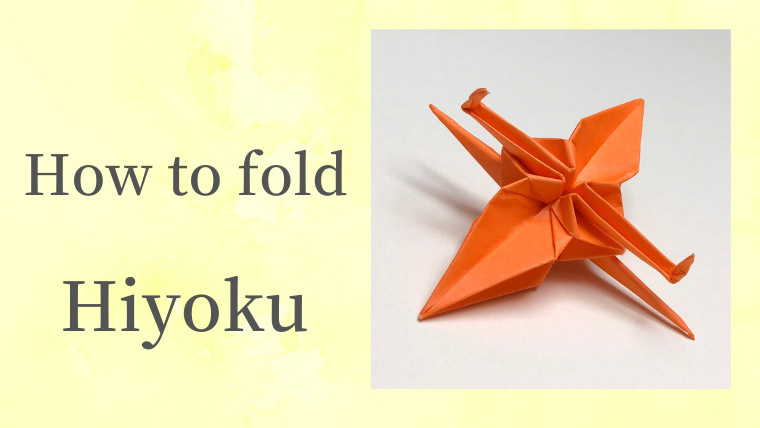
(111)
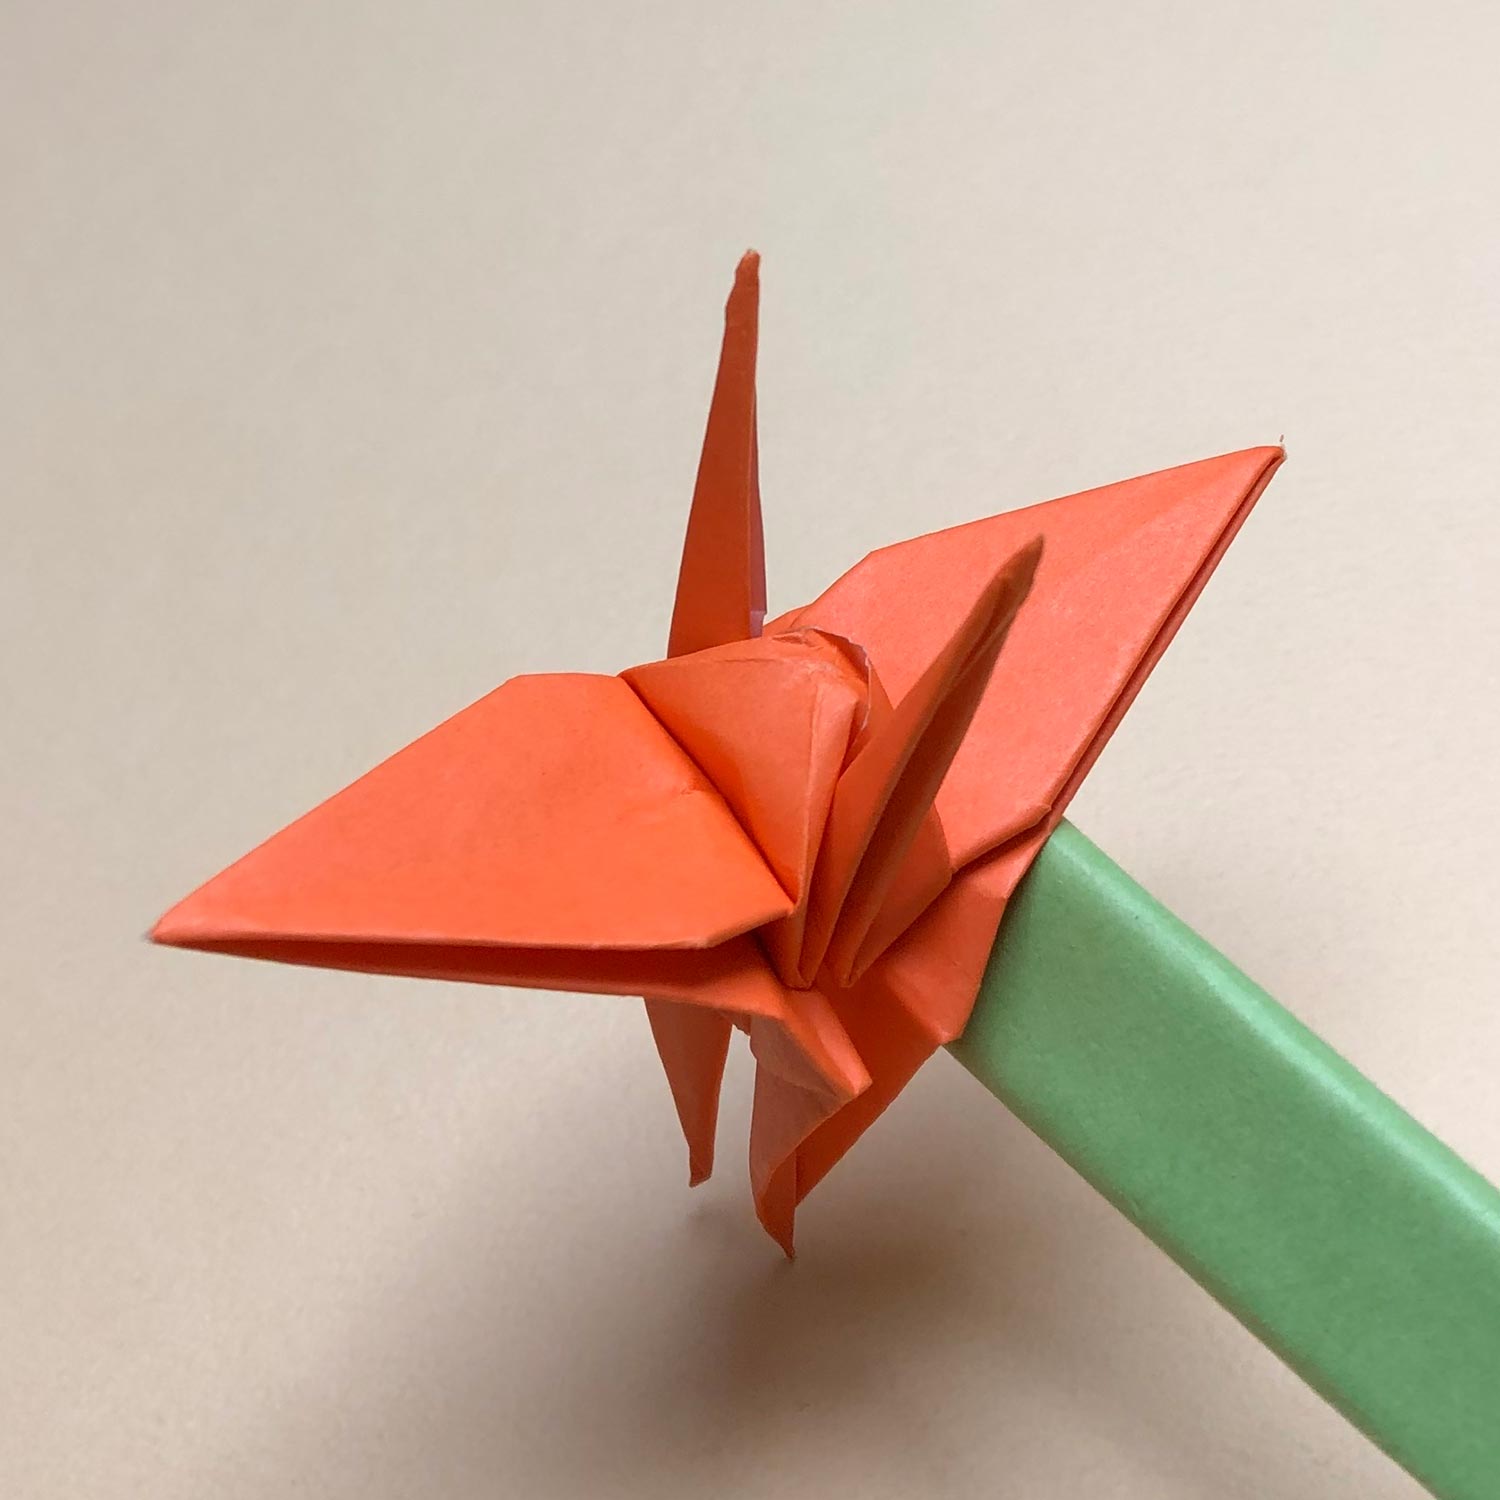
Next steps are moving the head/tail between wings.
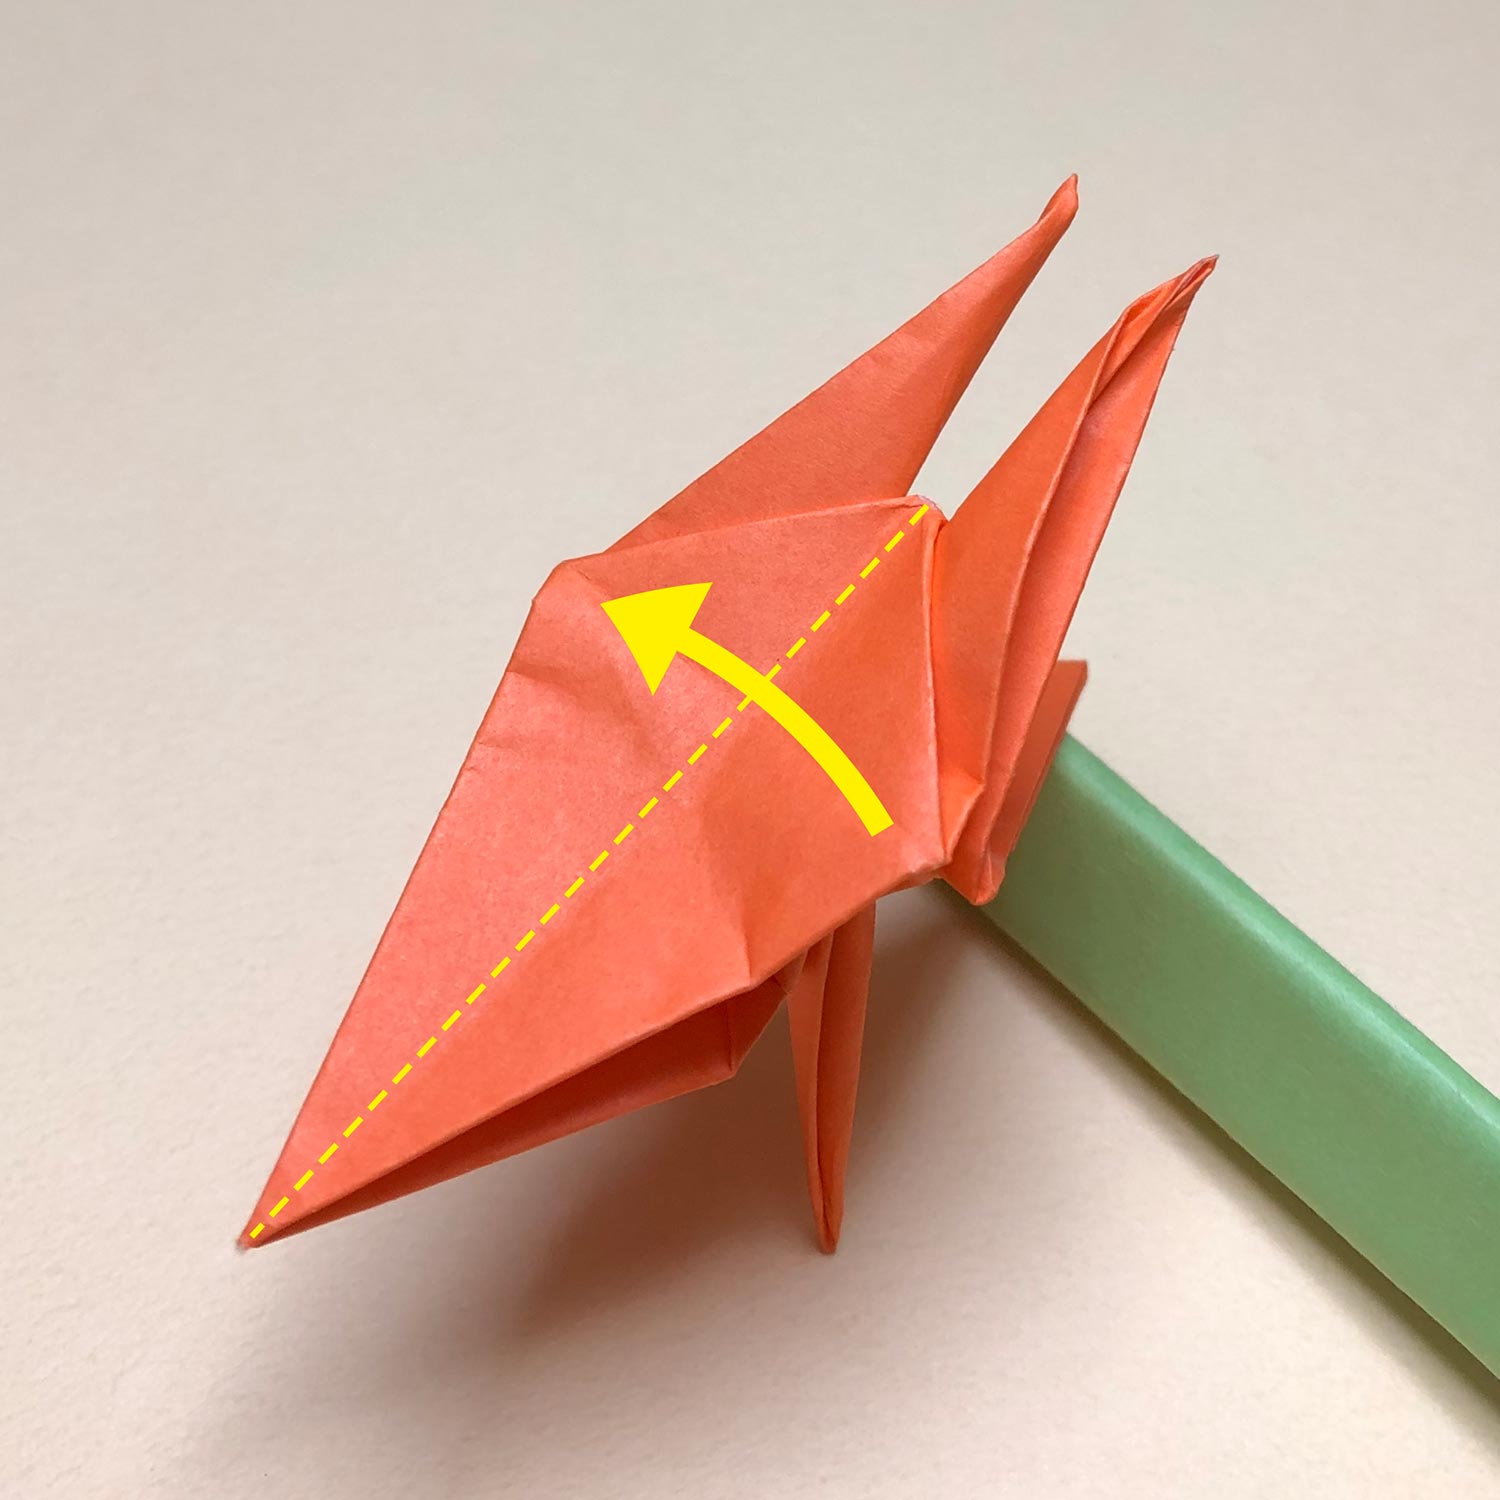
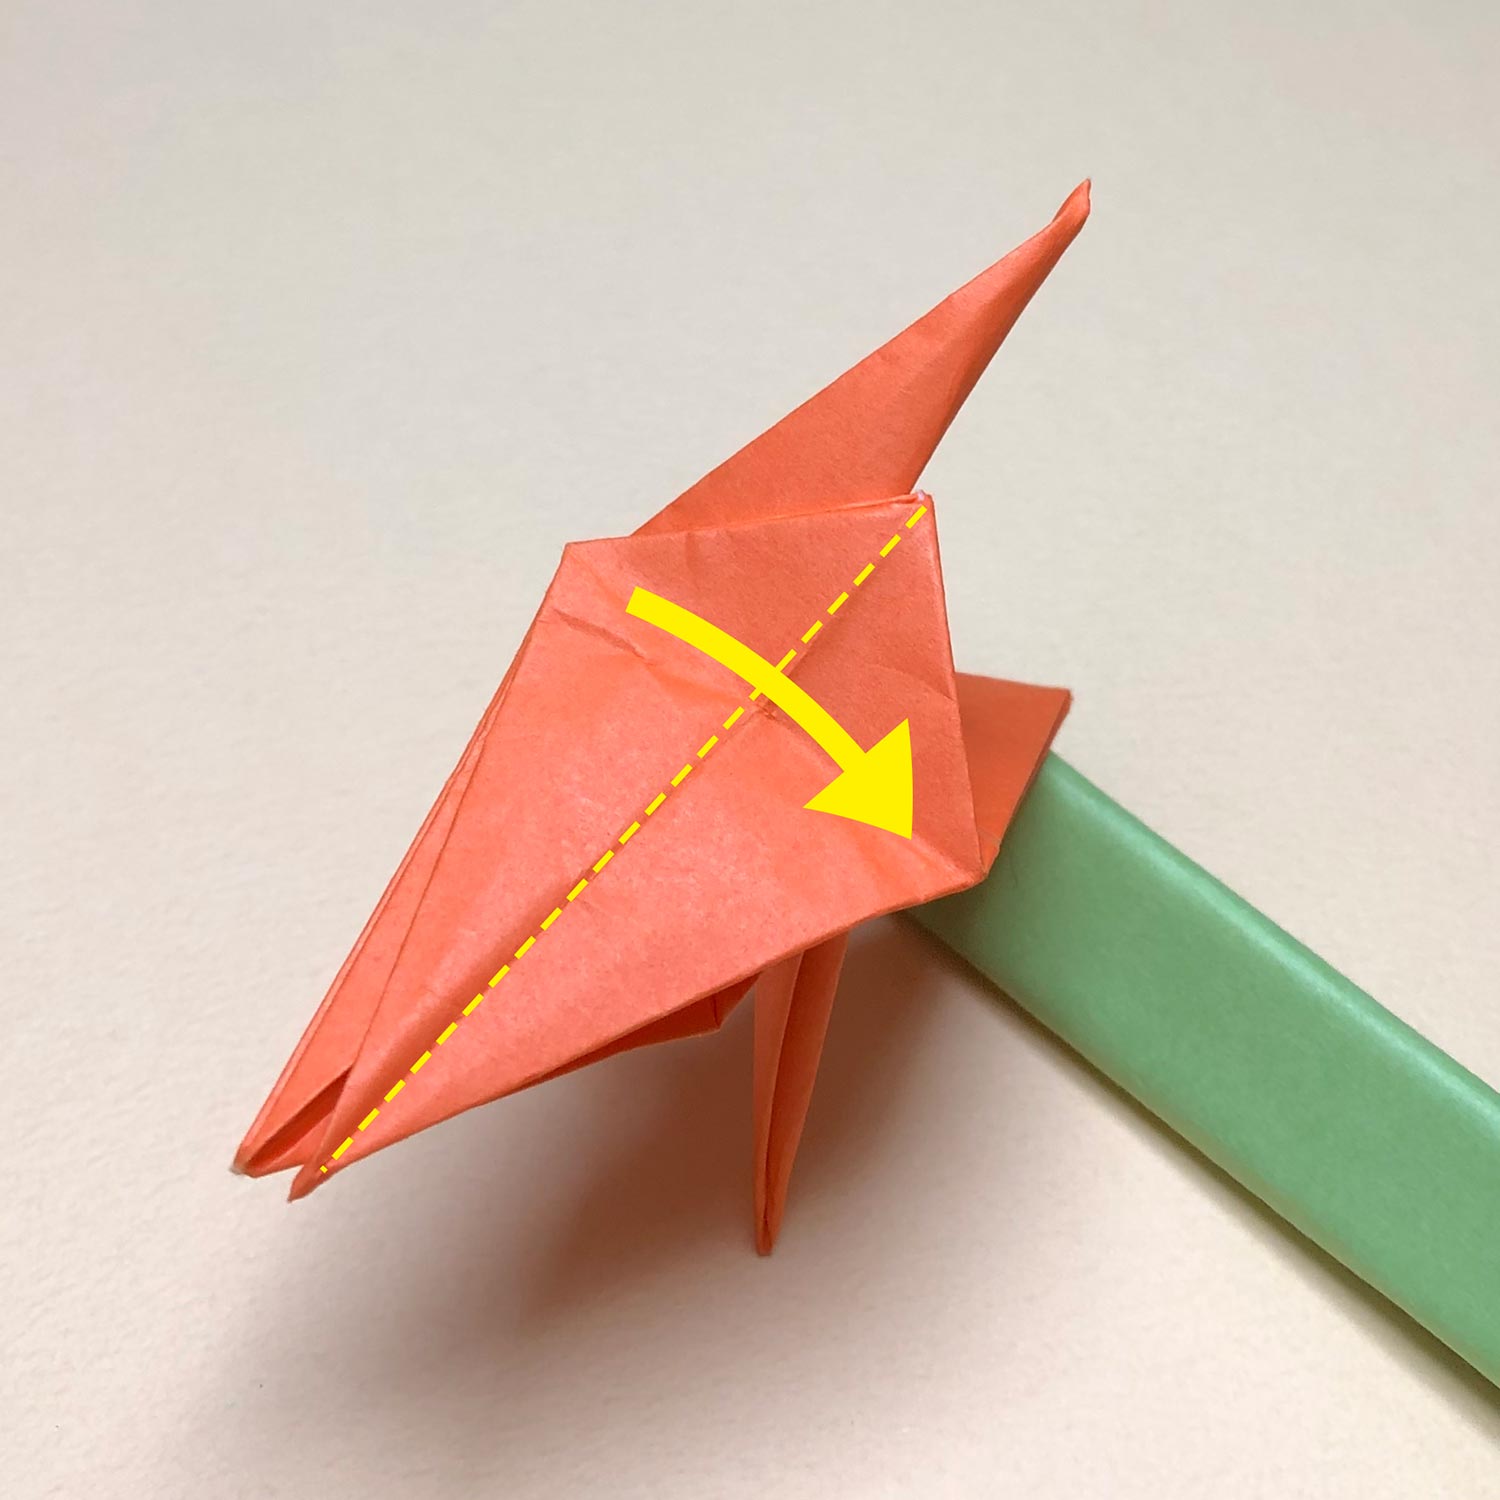
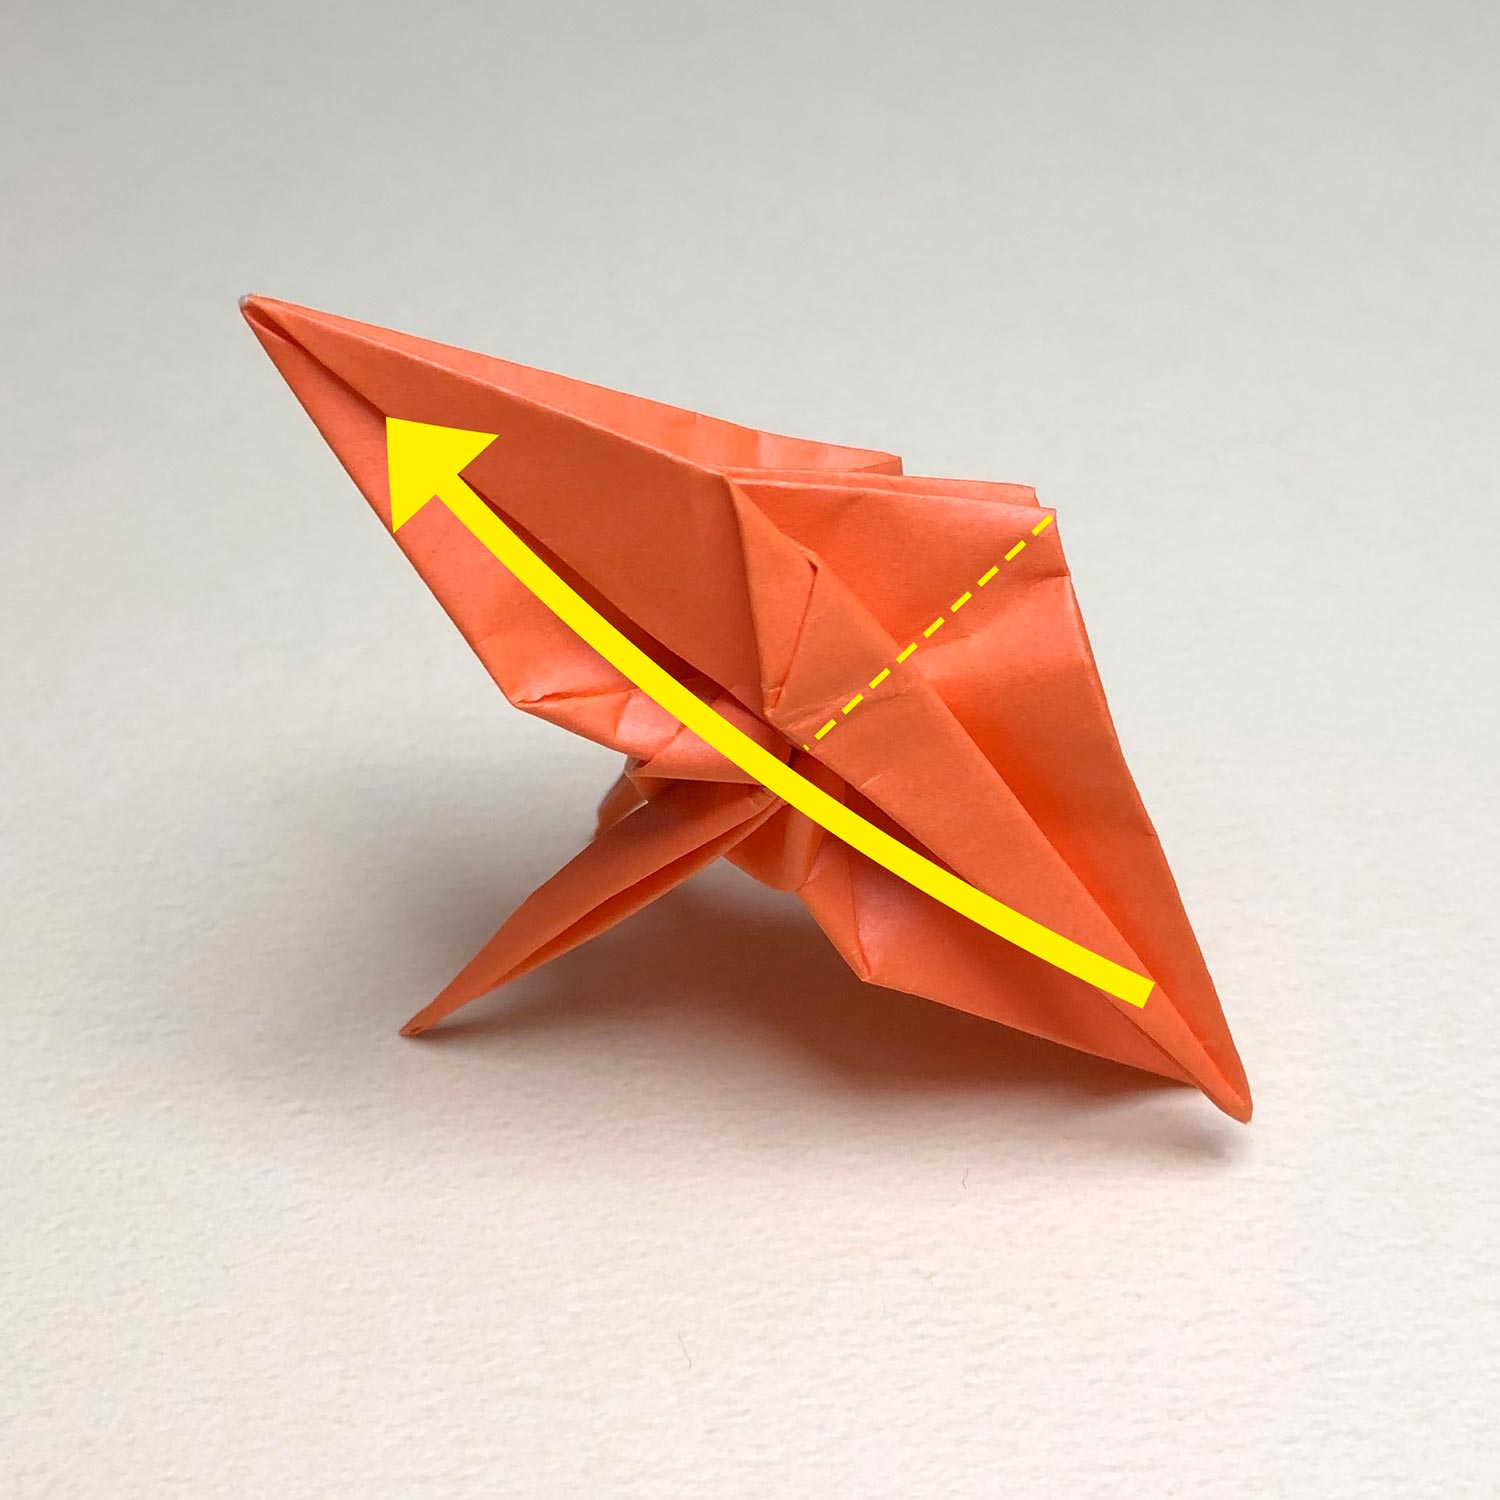
(112)
First, take one flap and fold it on the dotted line.
(113)
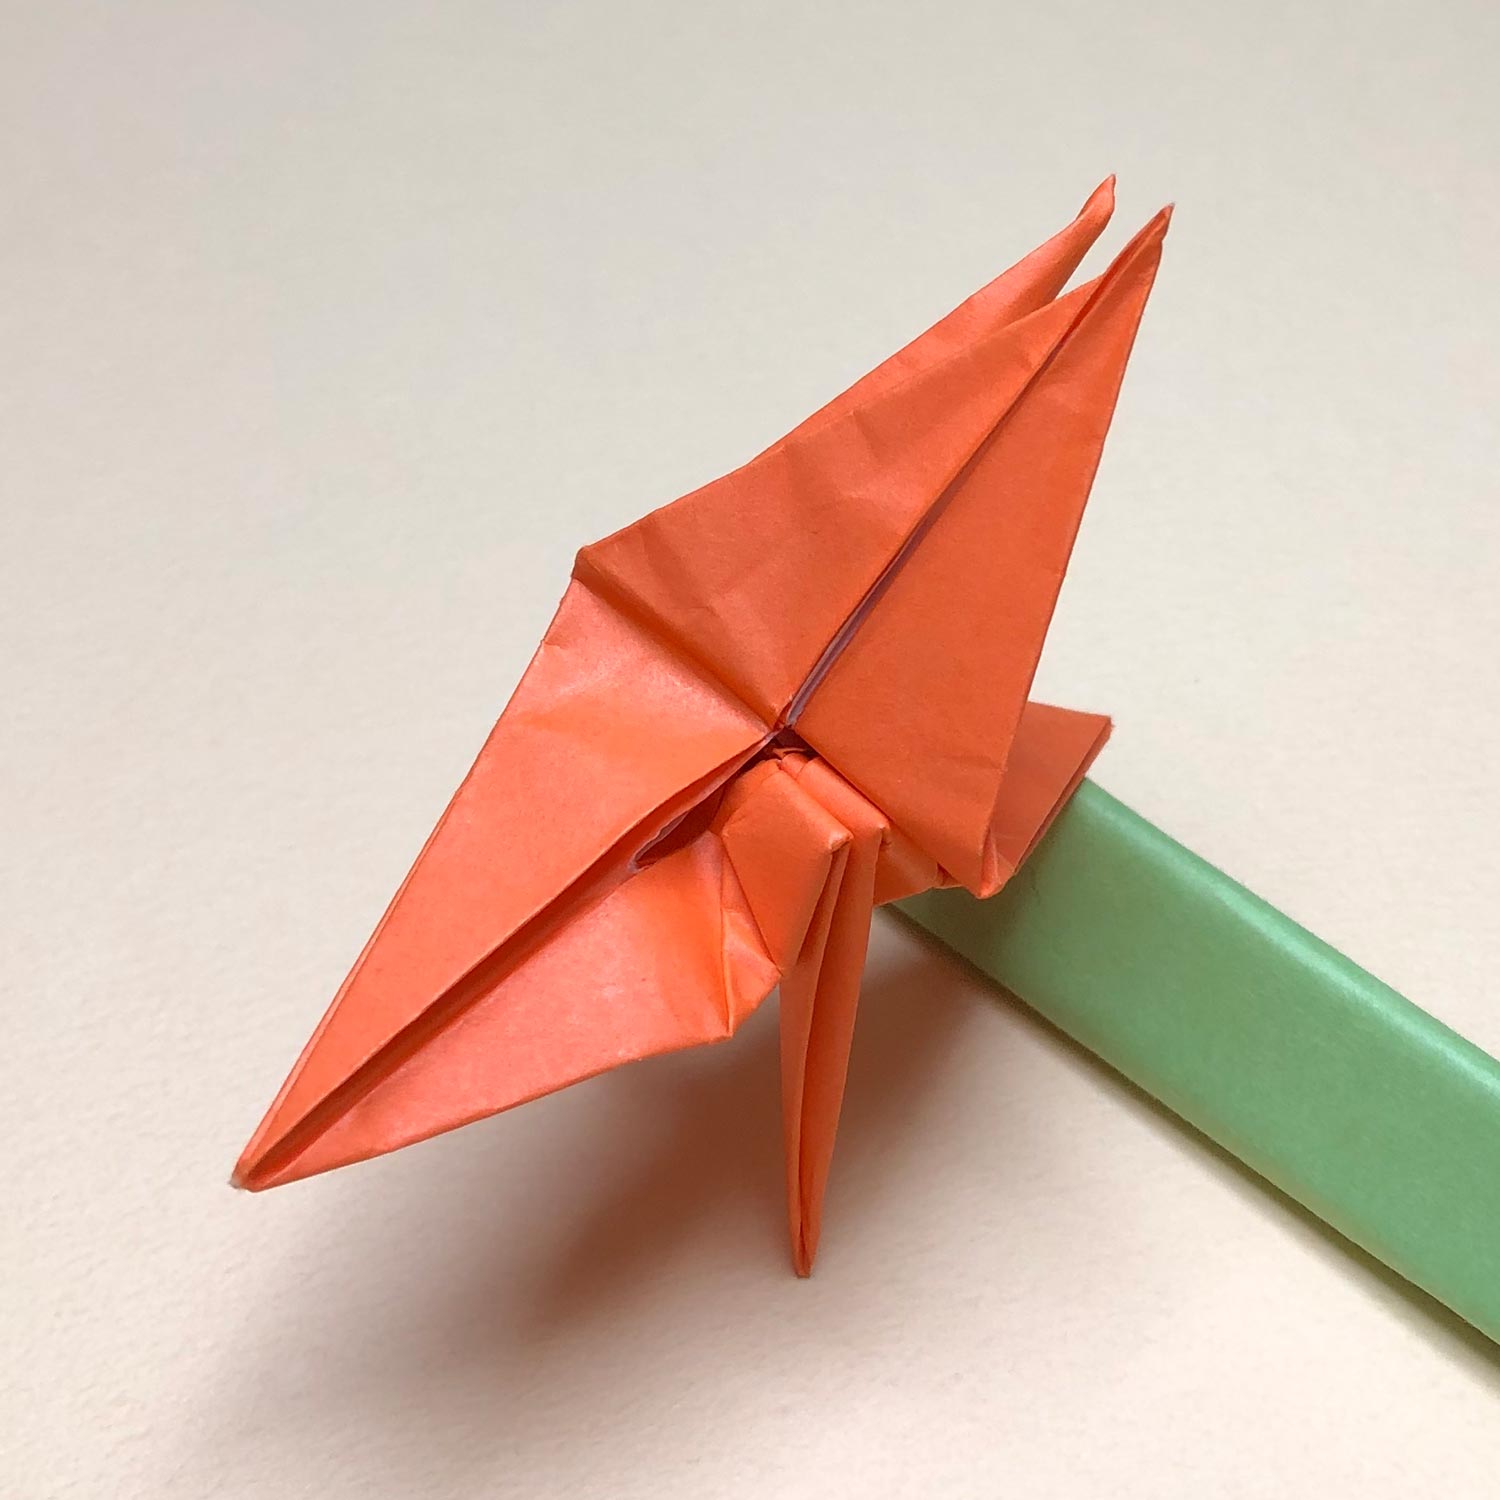
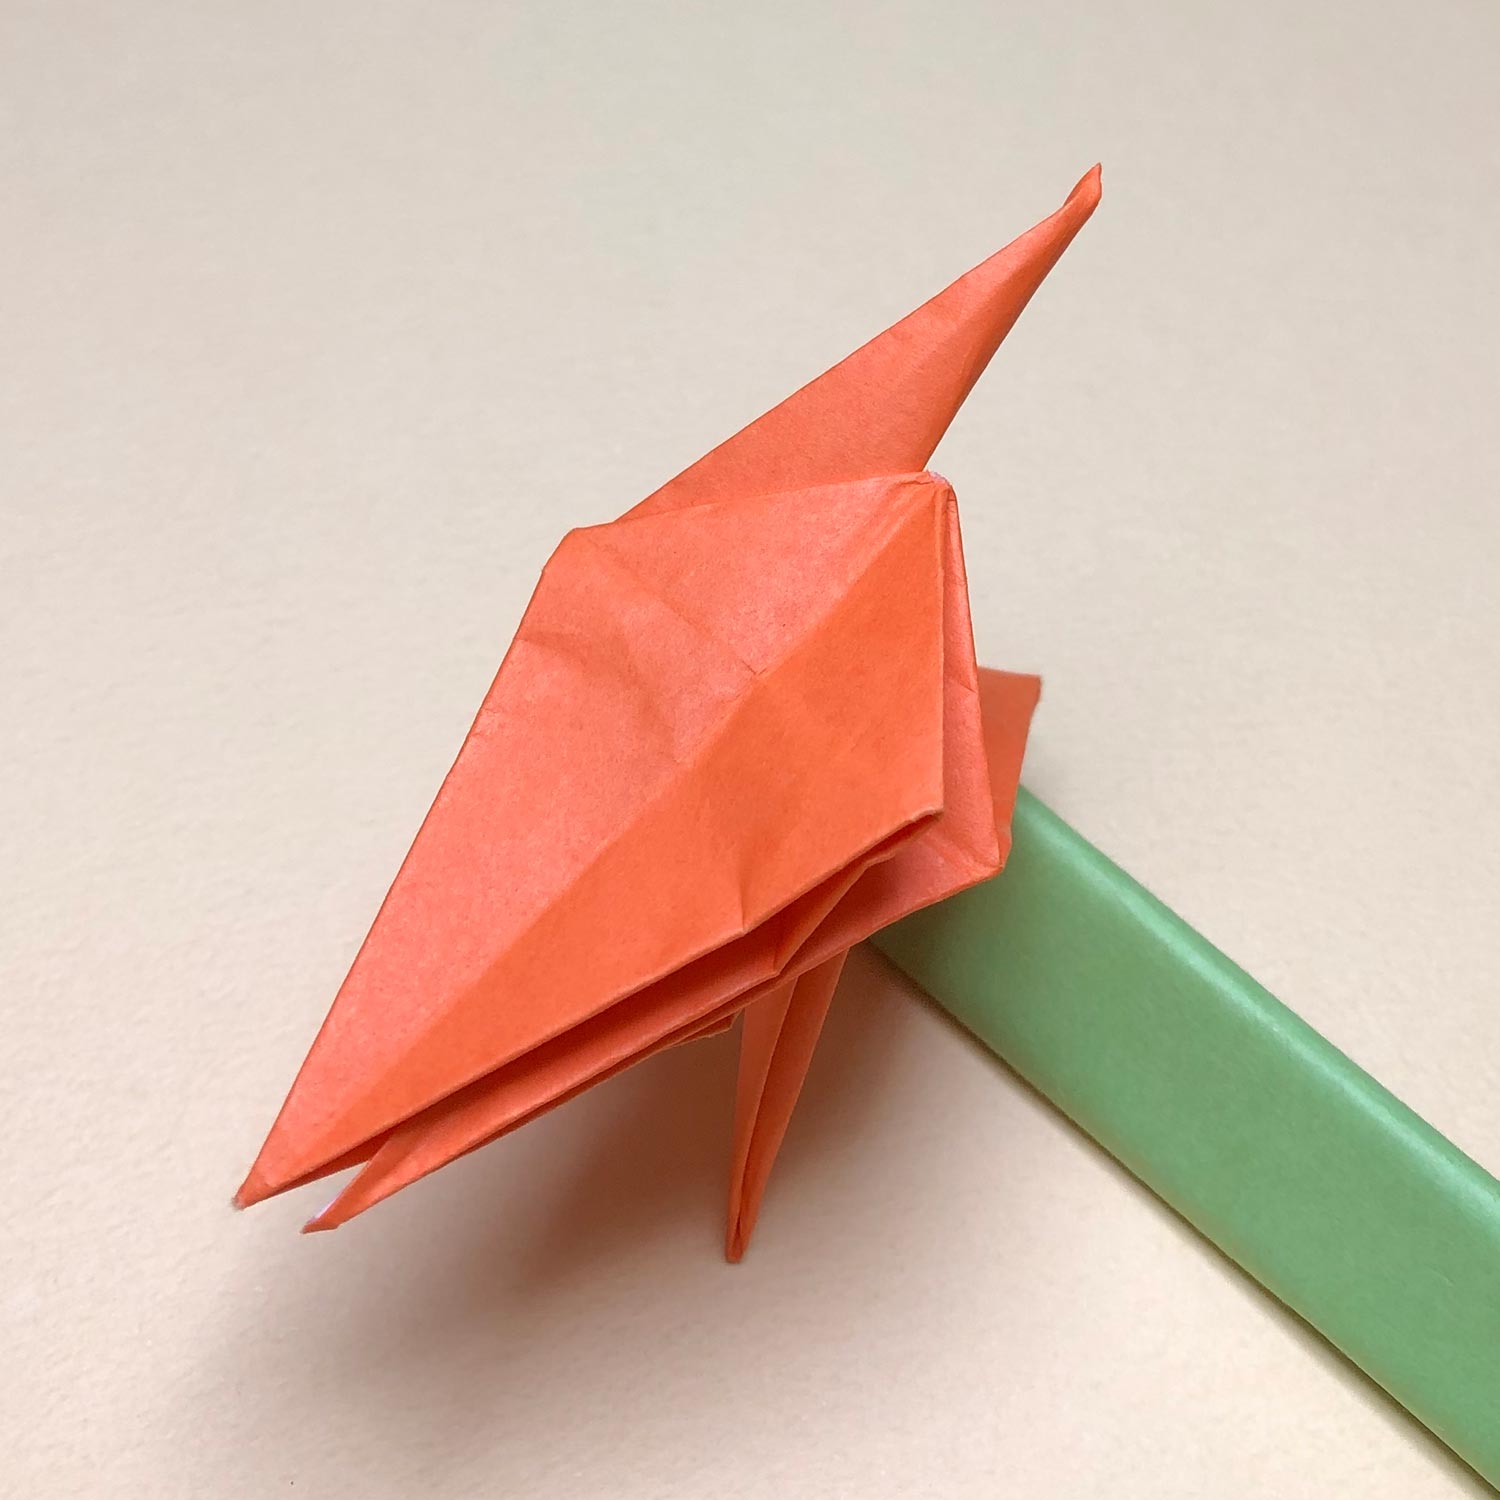
Fold it like this picture.
(114)
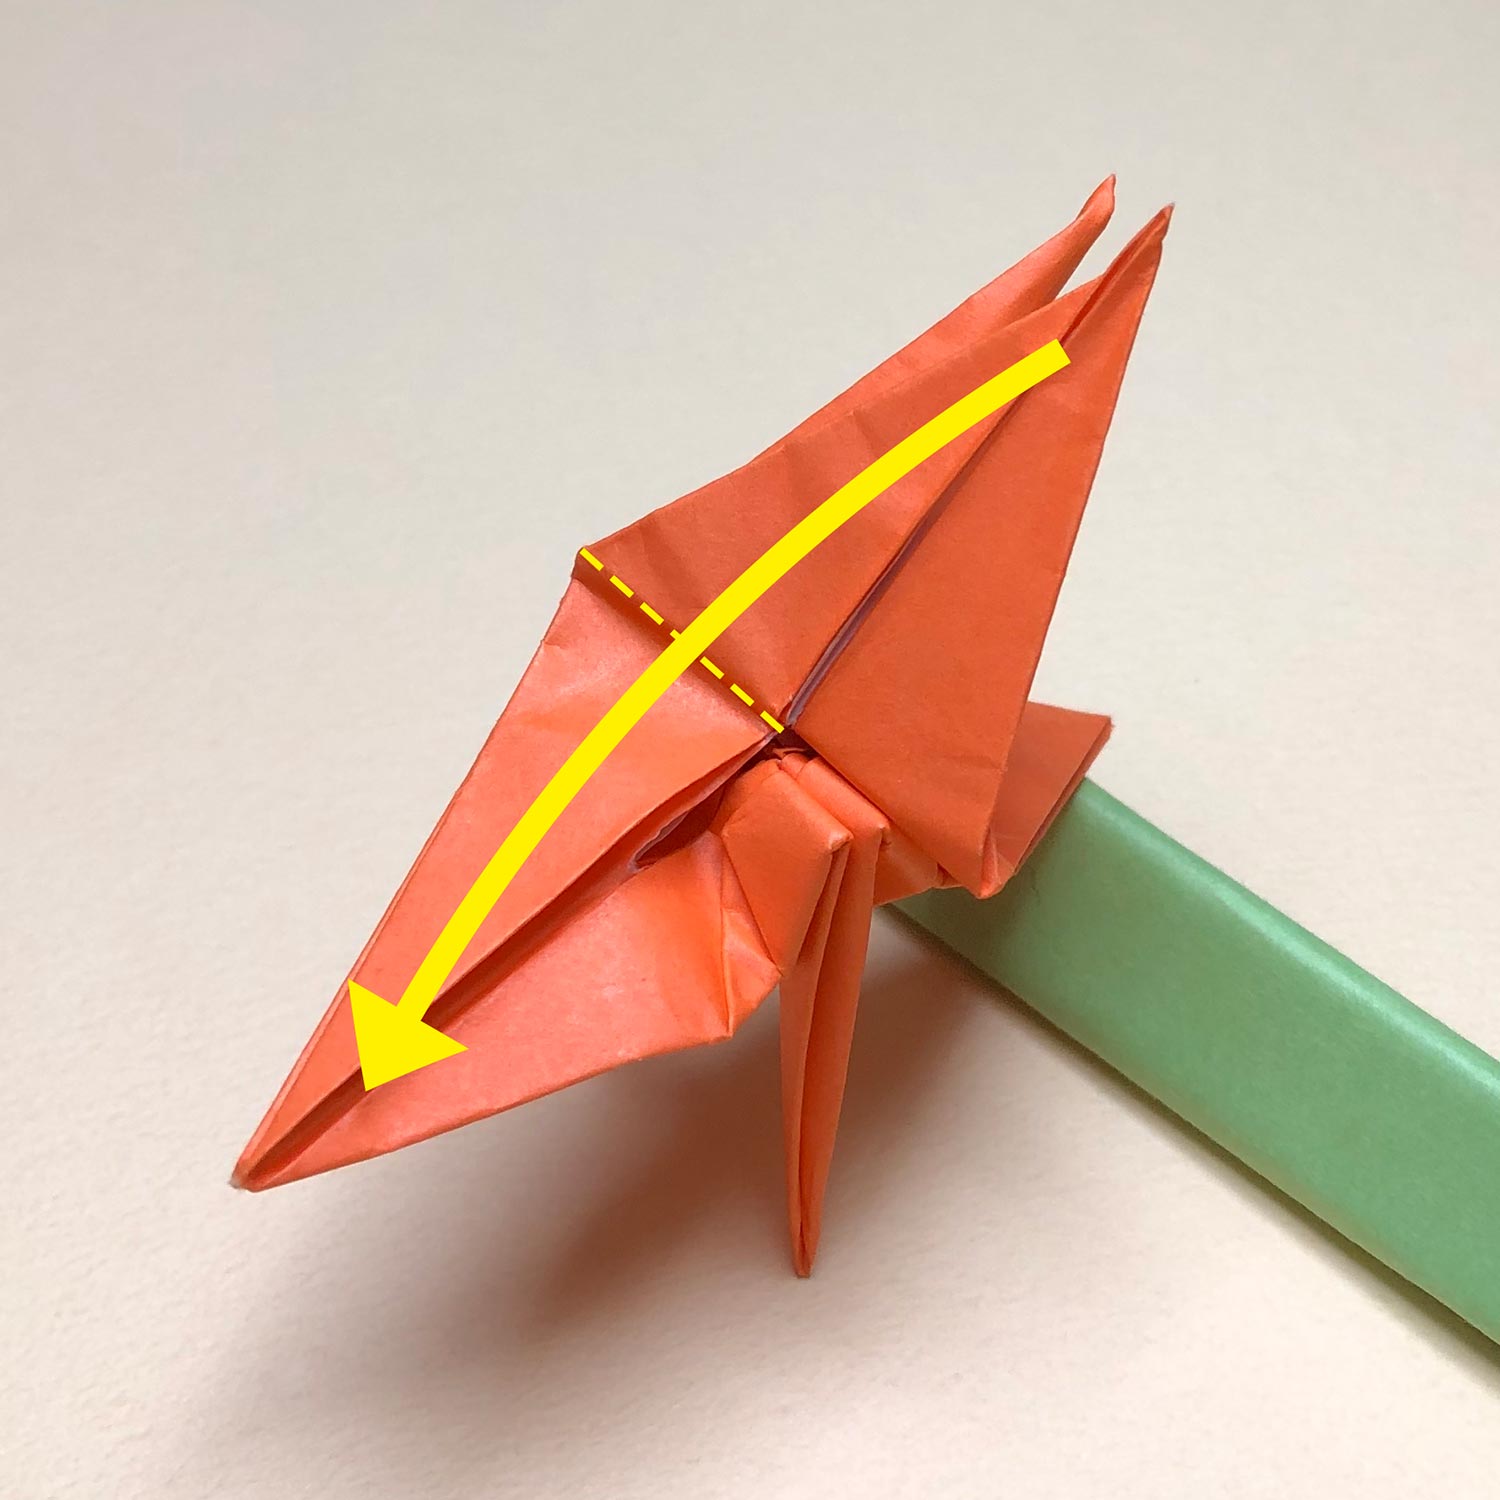
Then take one flap and move it in the direction of the arrow.
(115)
Move it like this picture.
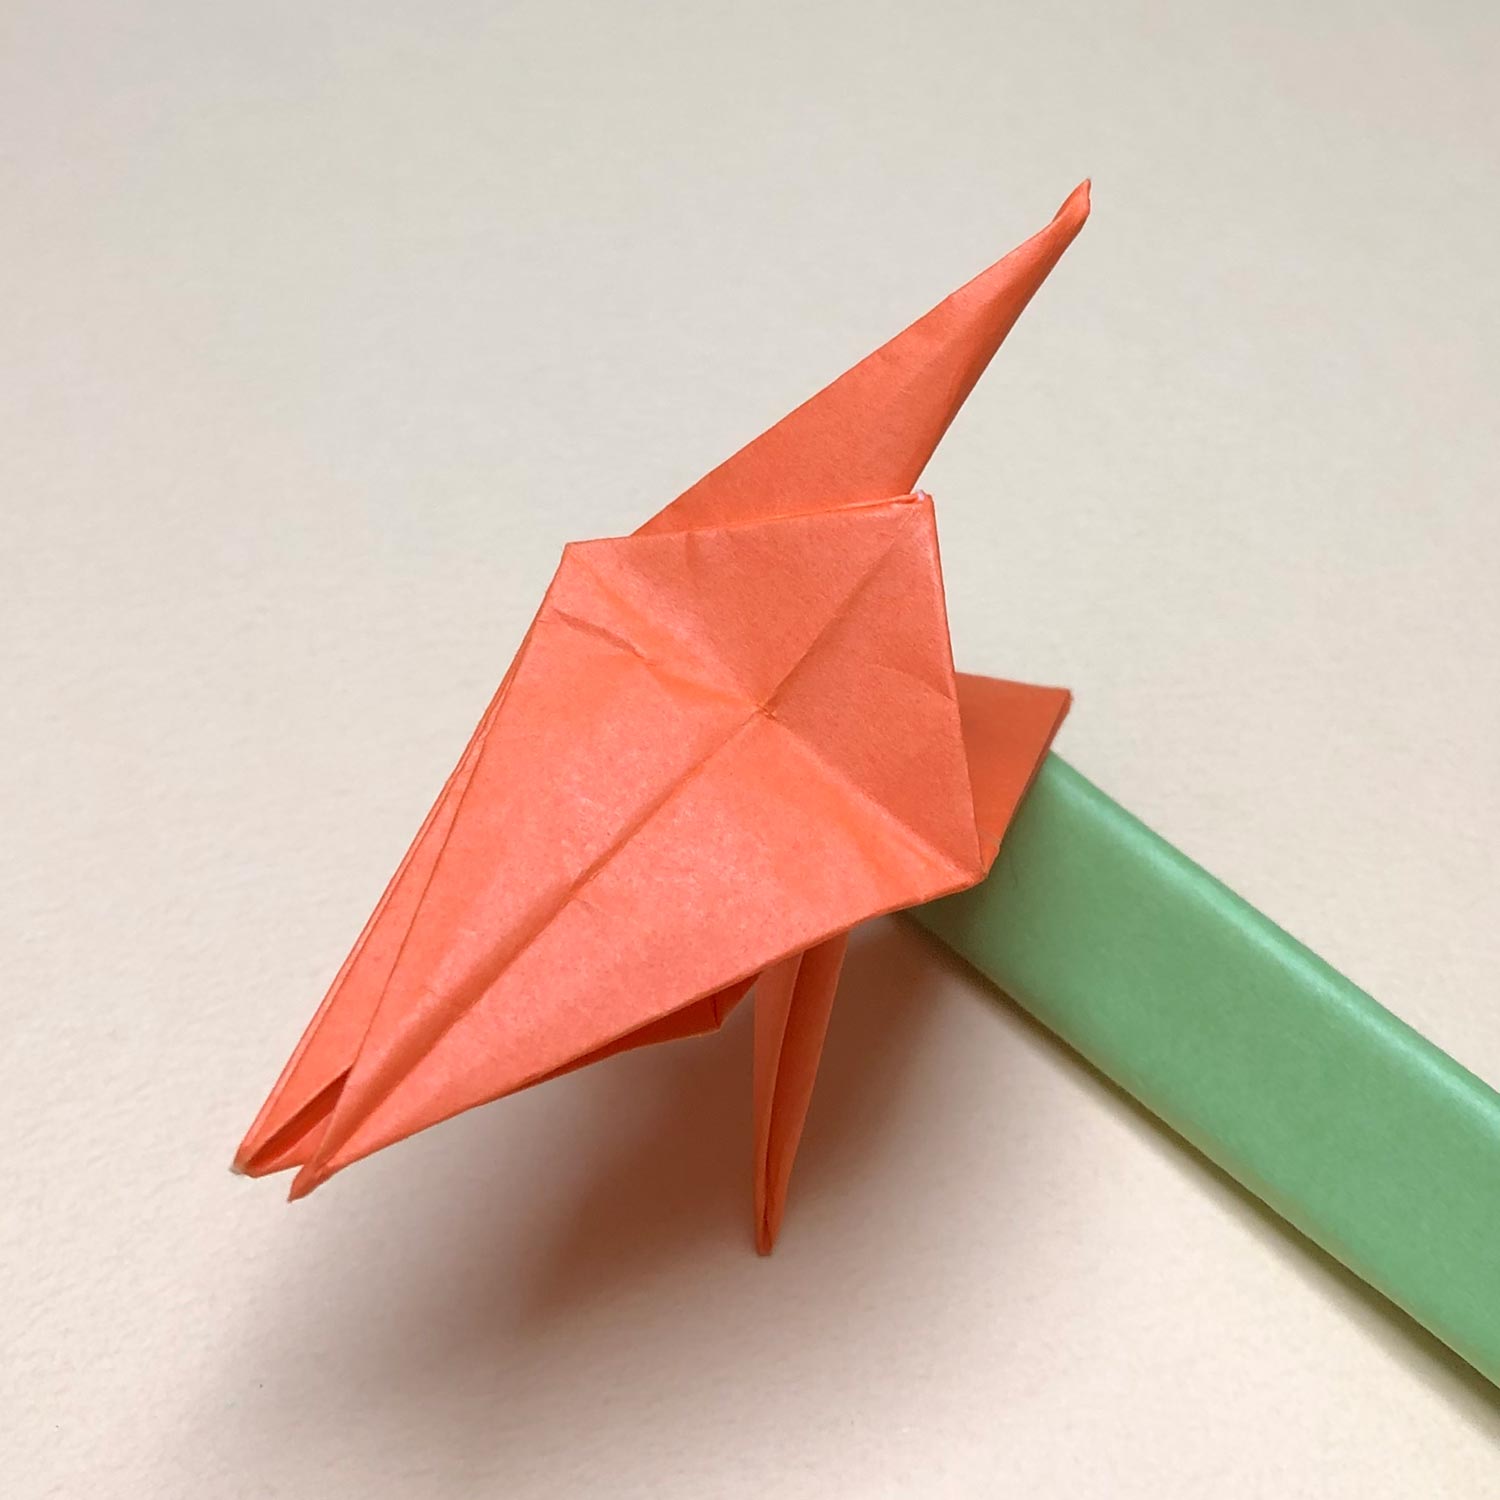
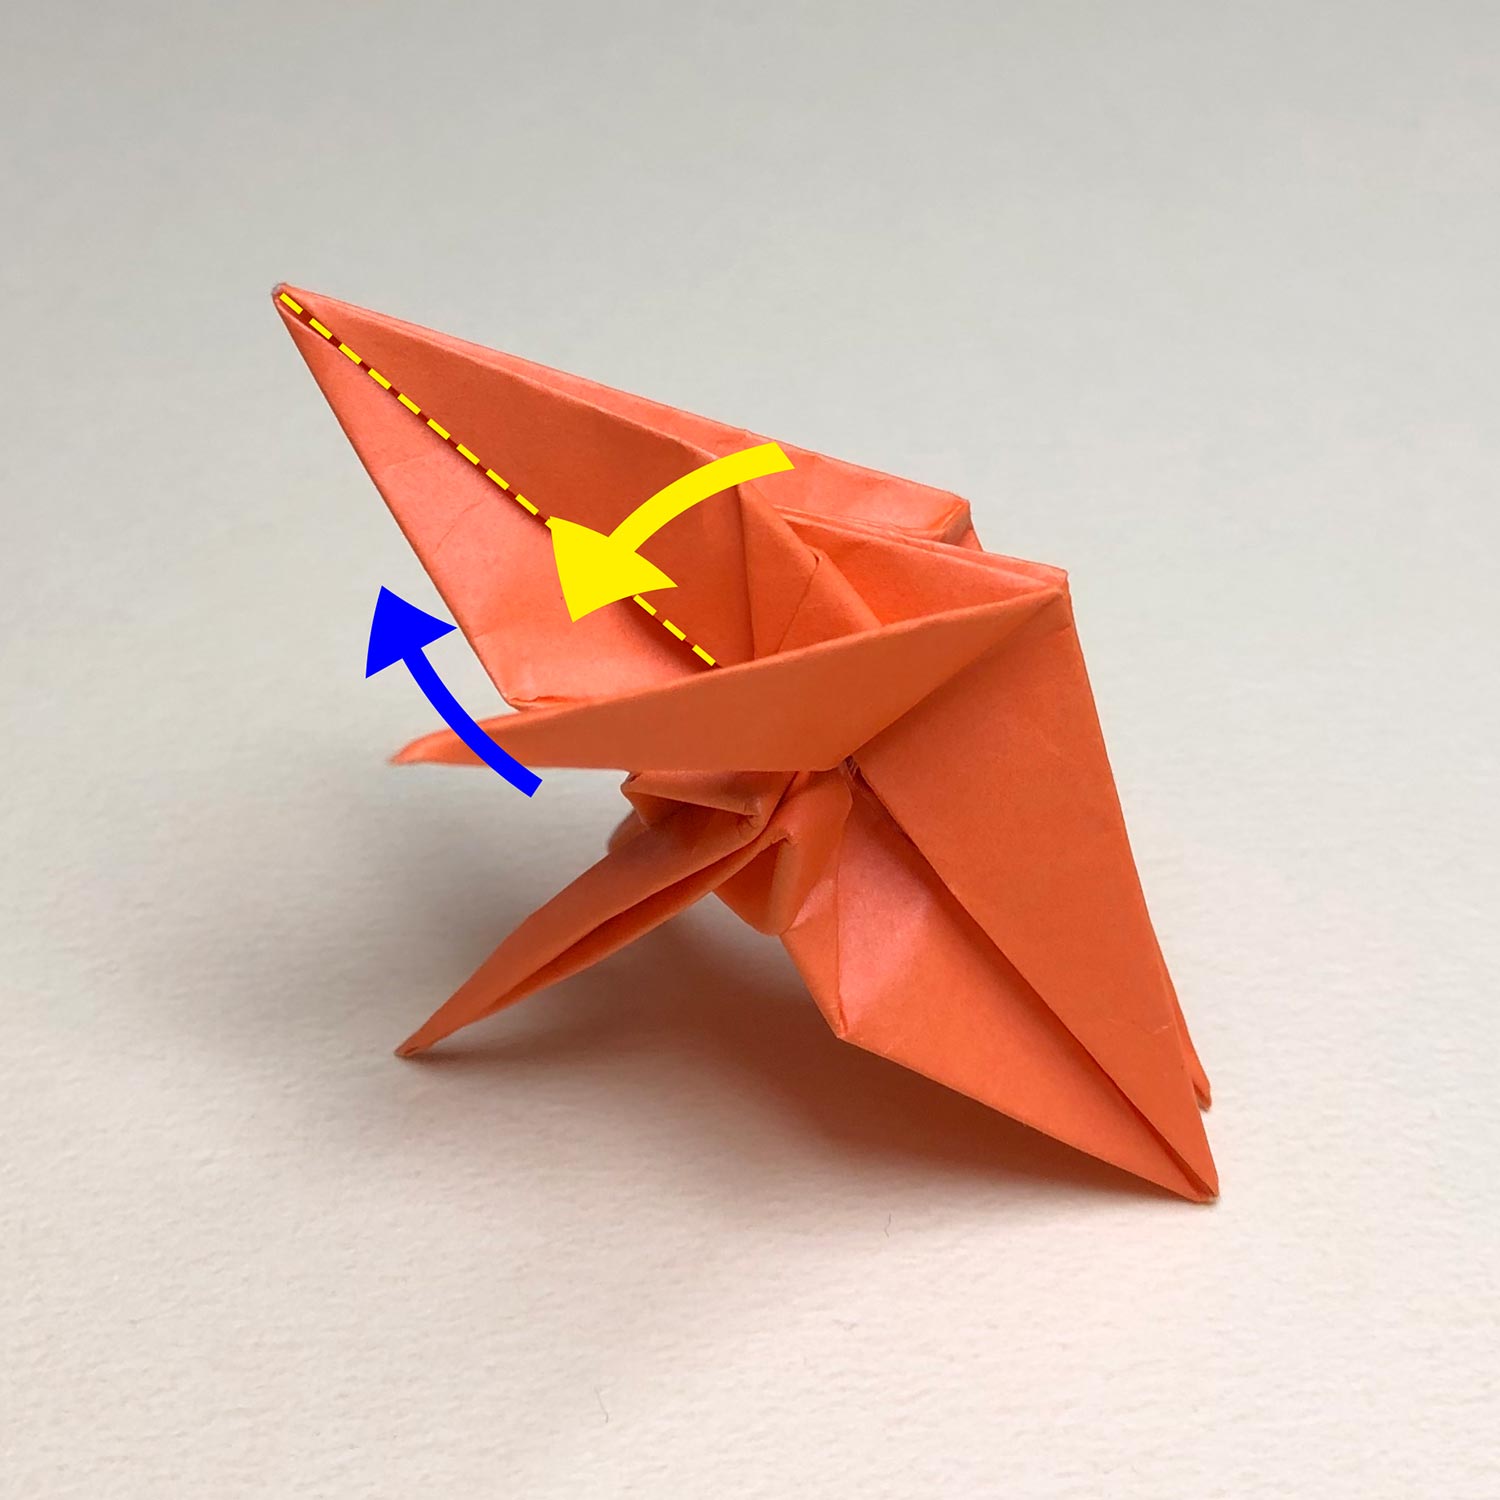
(116)
Then take one flap and fold it on the dotted line.
(117)
Fold it like this picture.

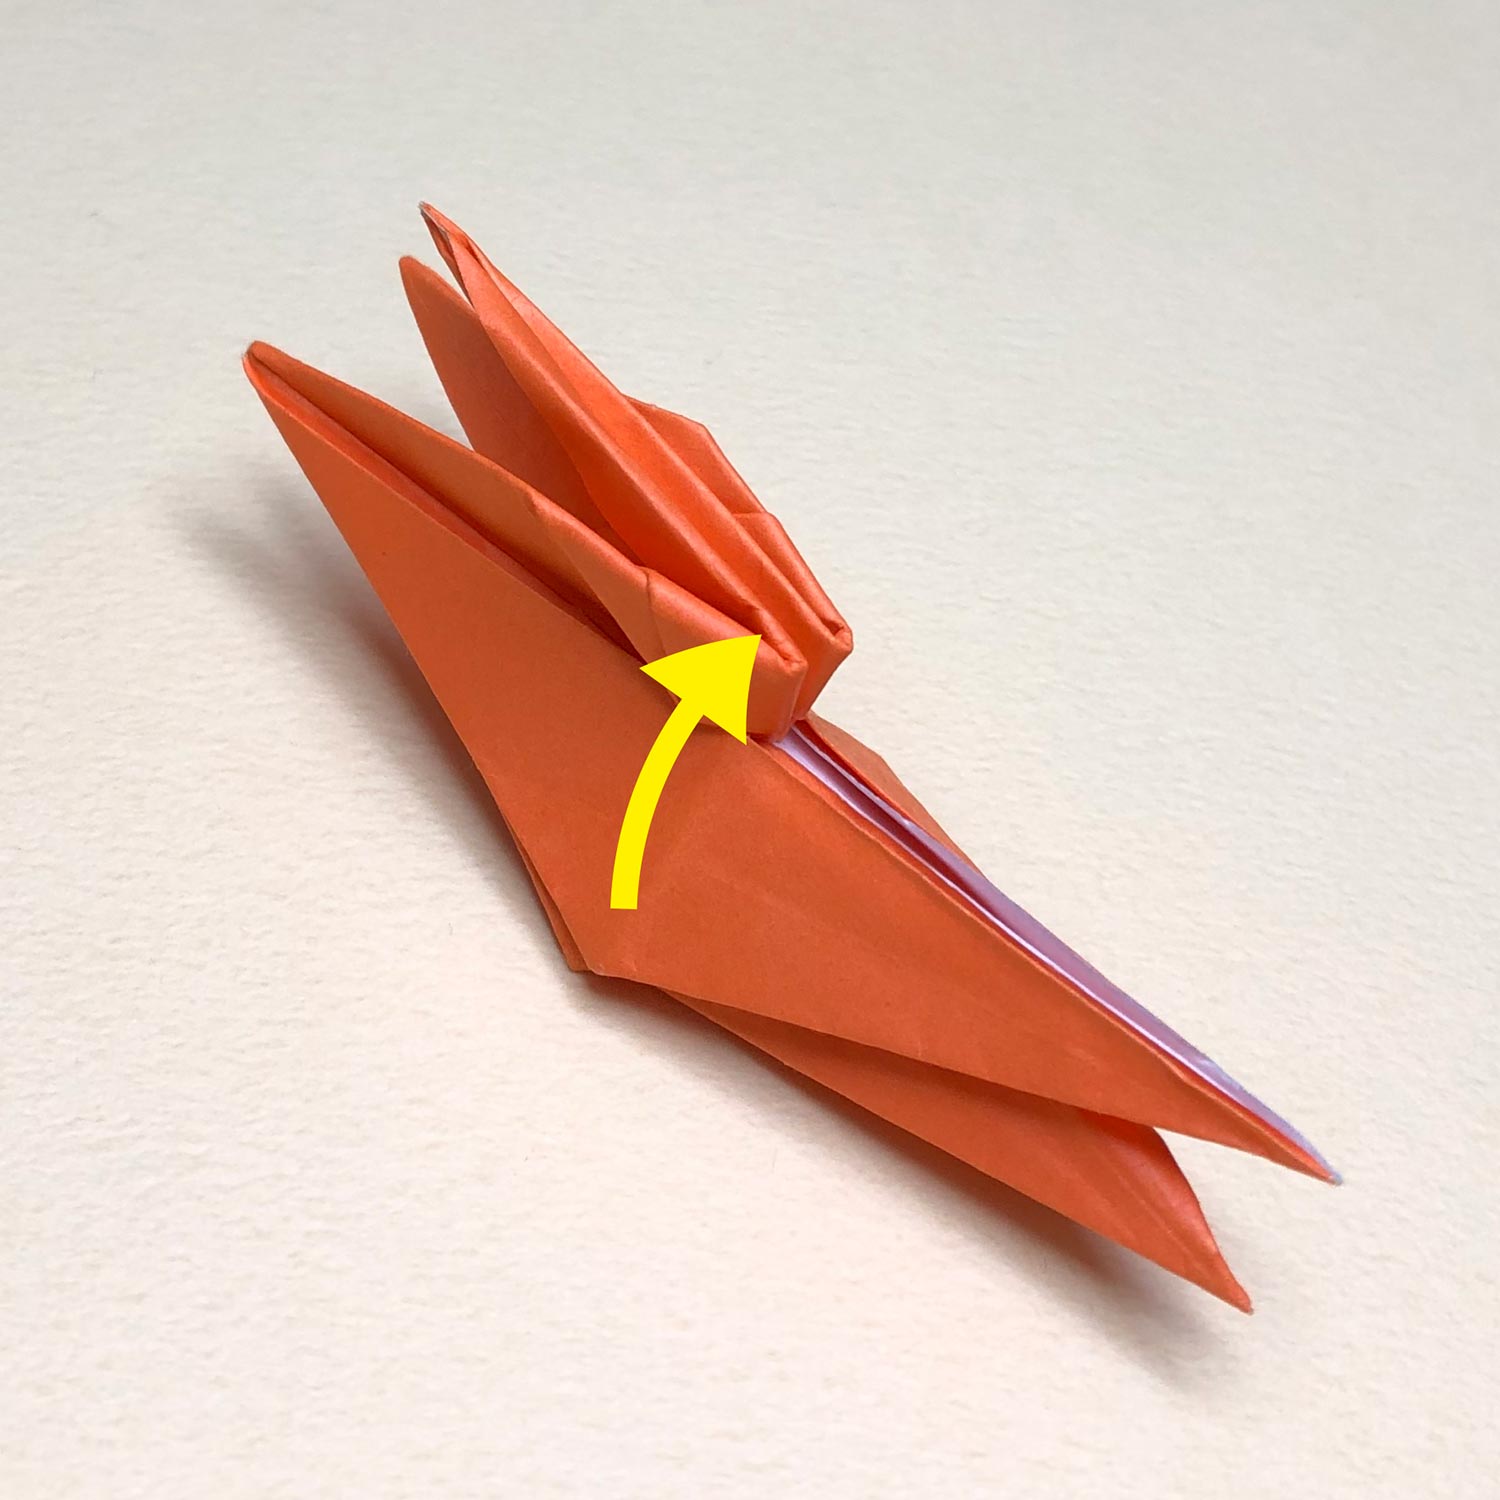
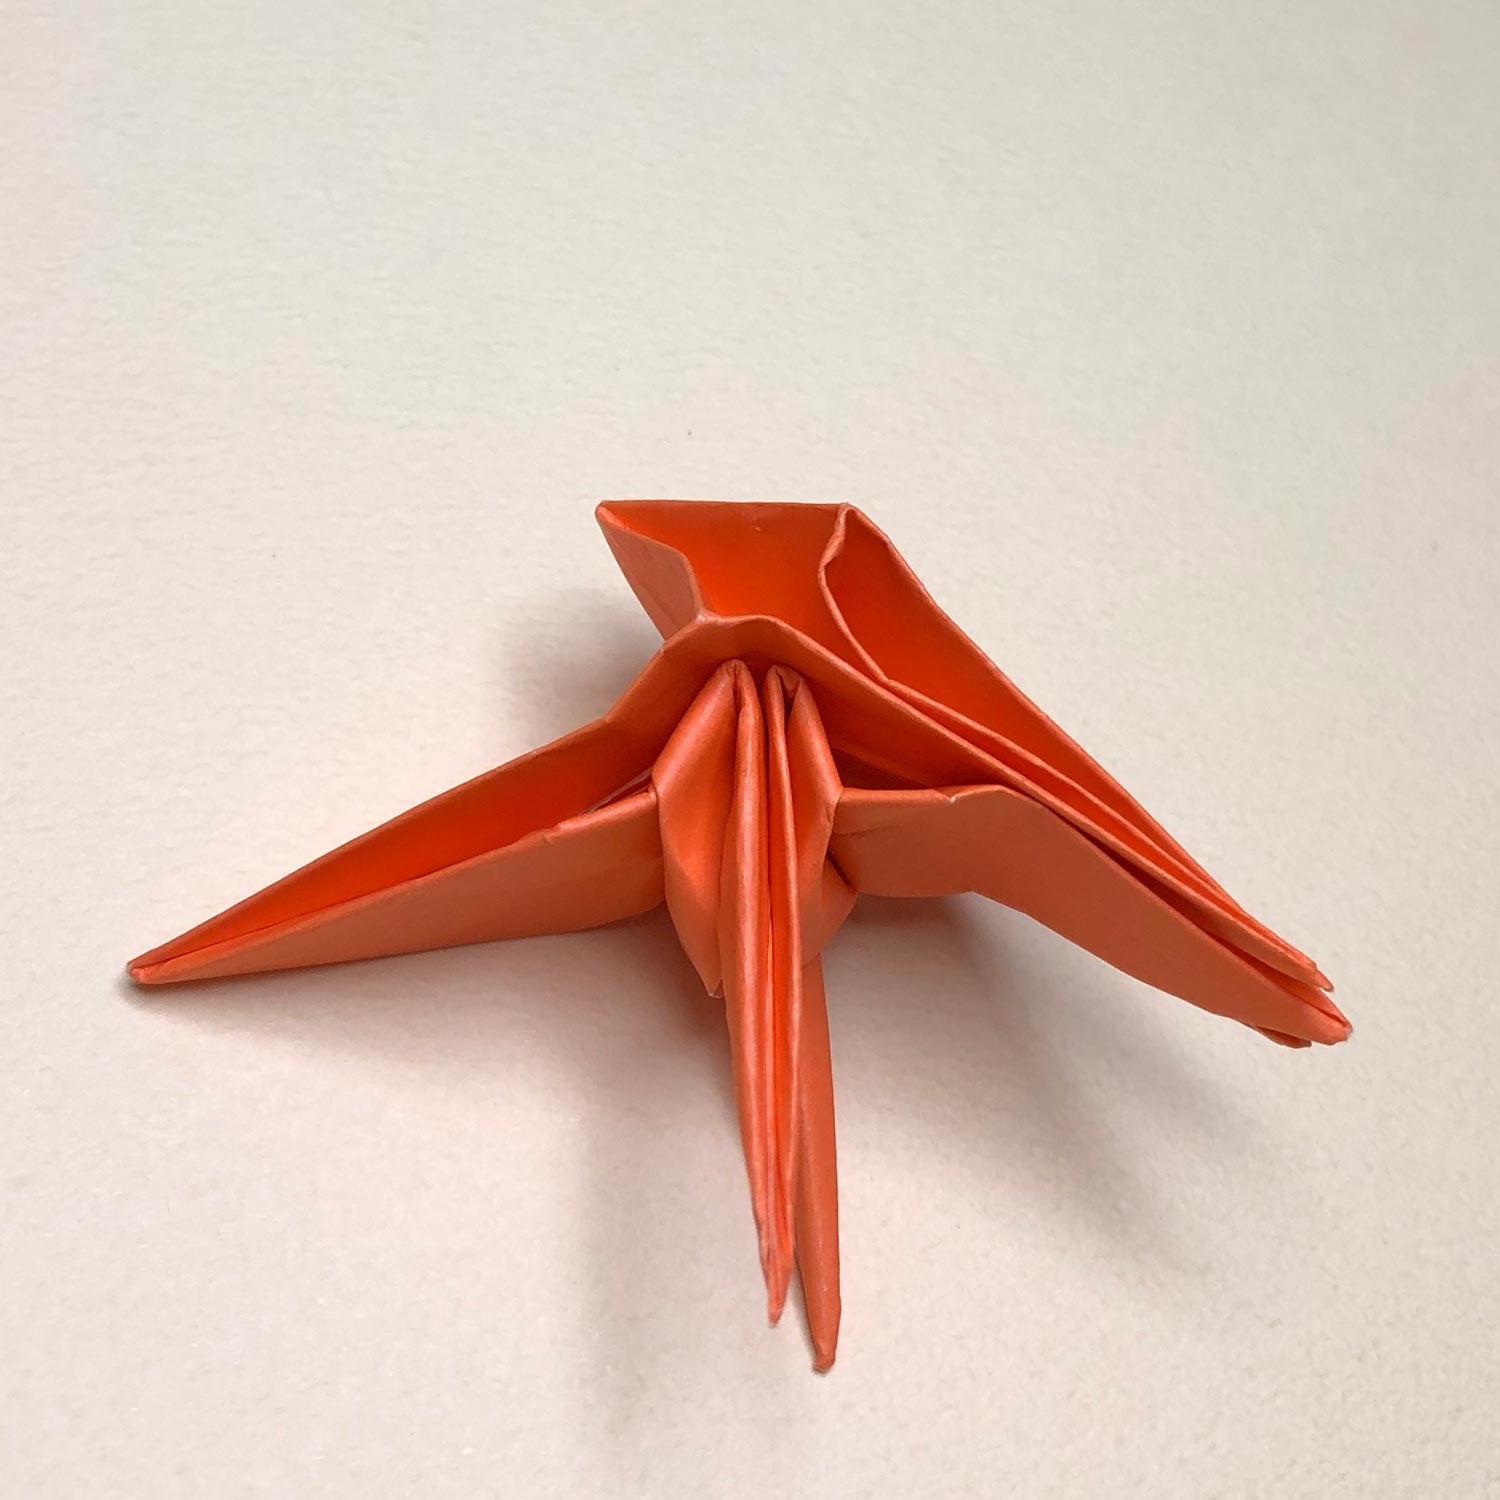
(118)
Moving the head/tail between wings is finished.
Then turn the paper over as it is.

(119)
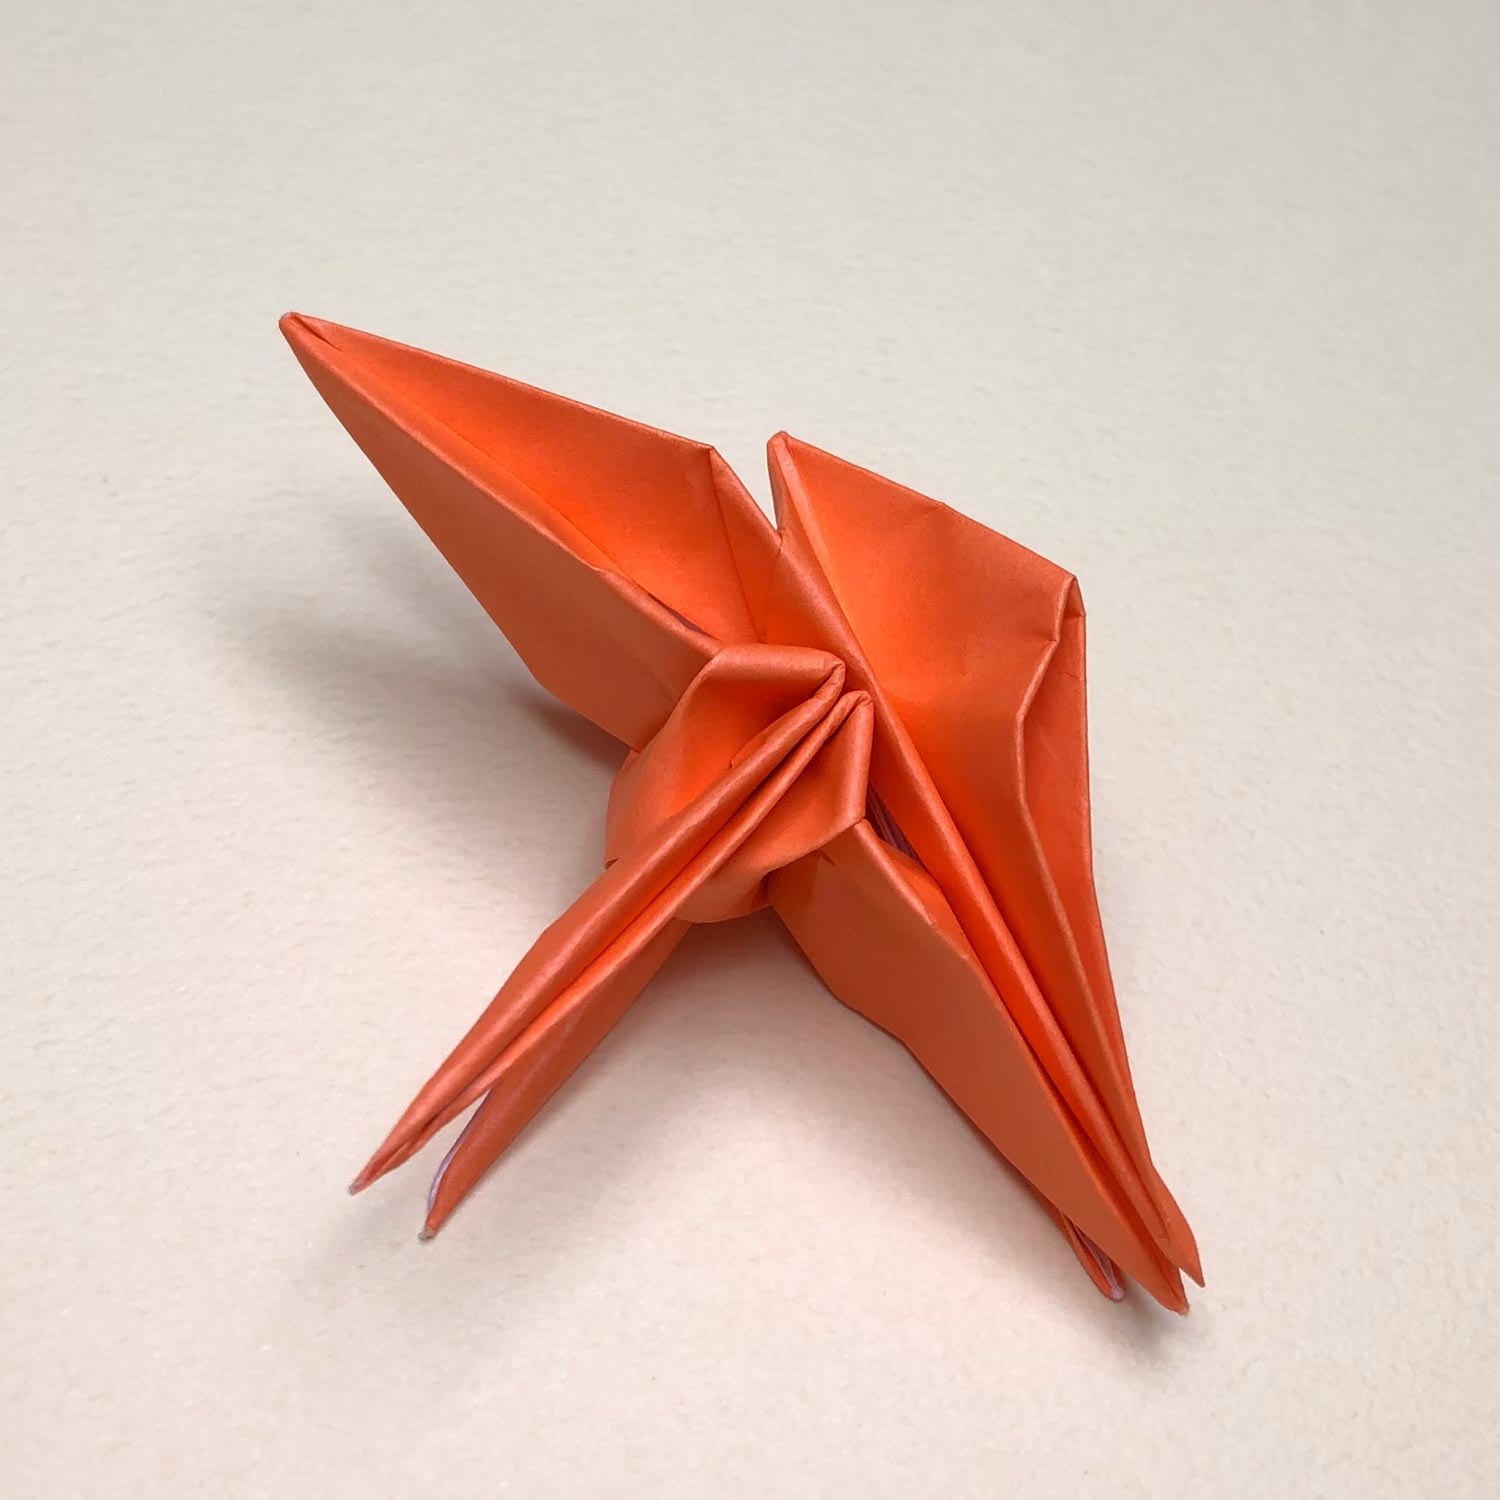
After turning the paper over, move the head/tail between wings in the same way.
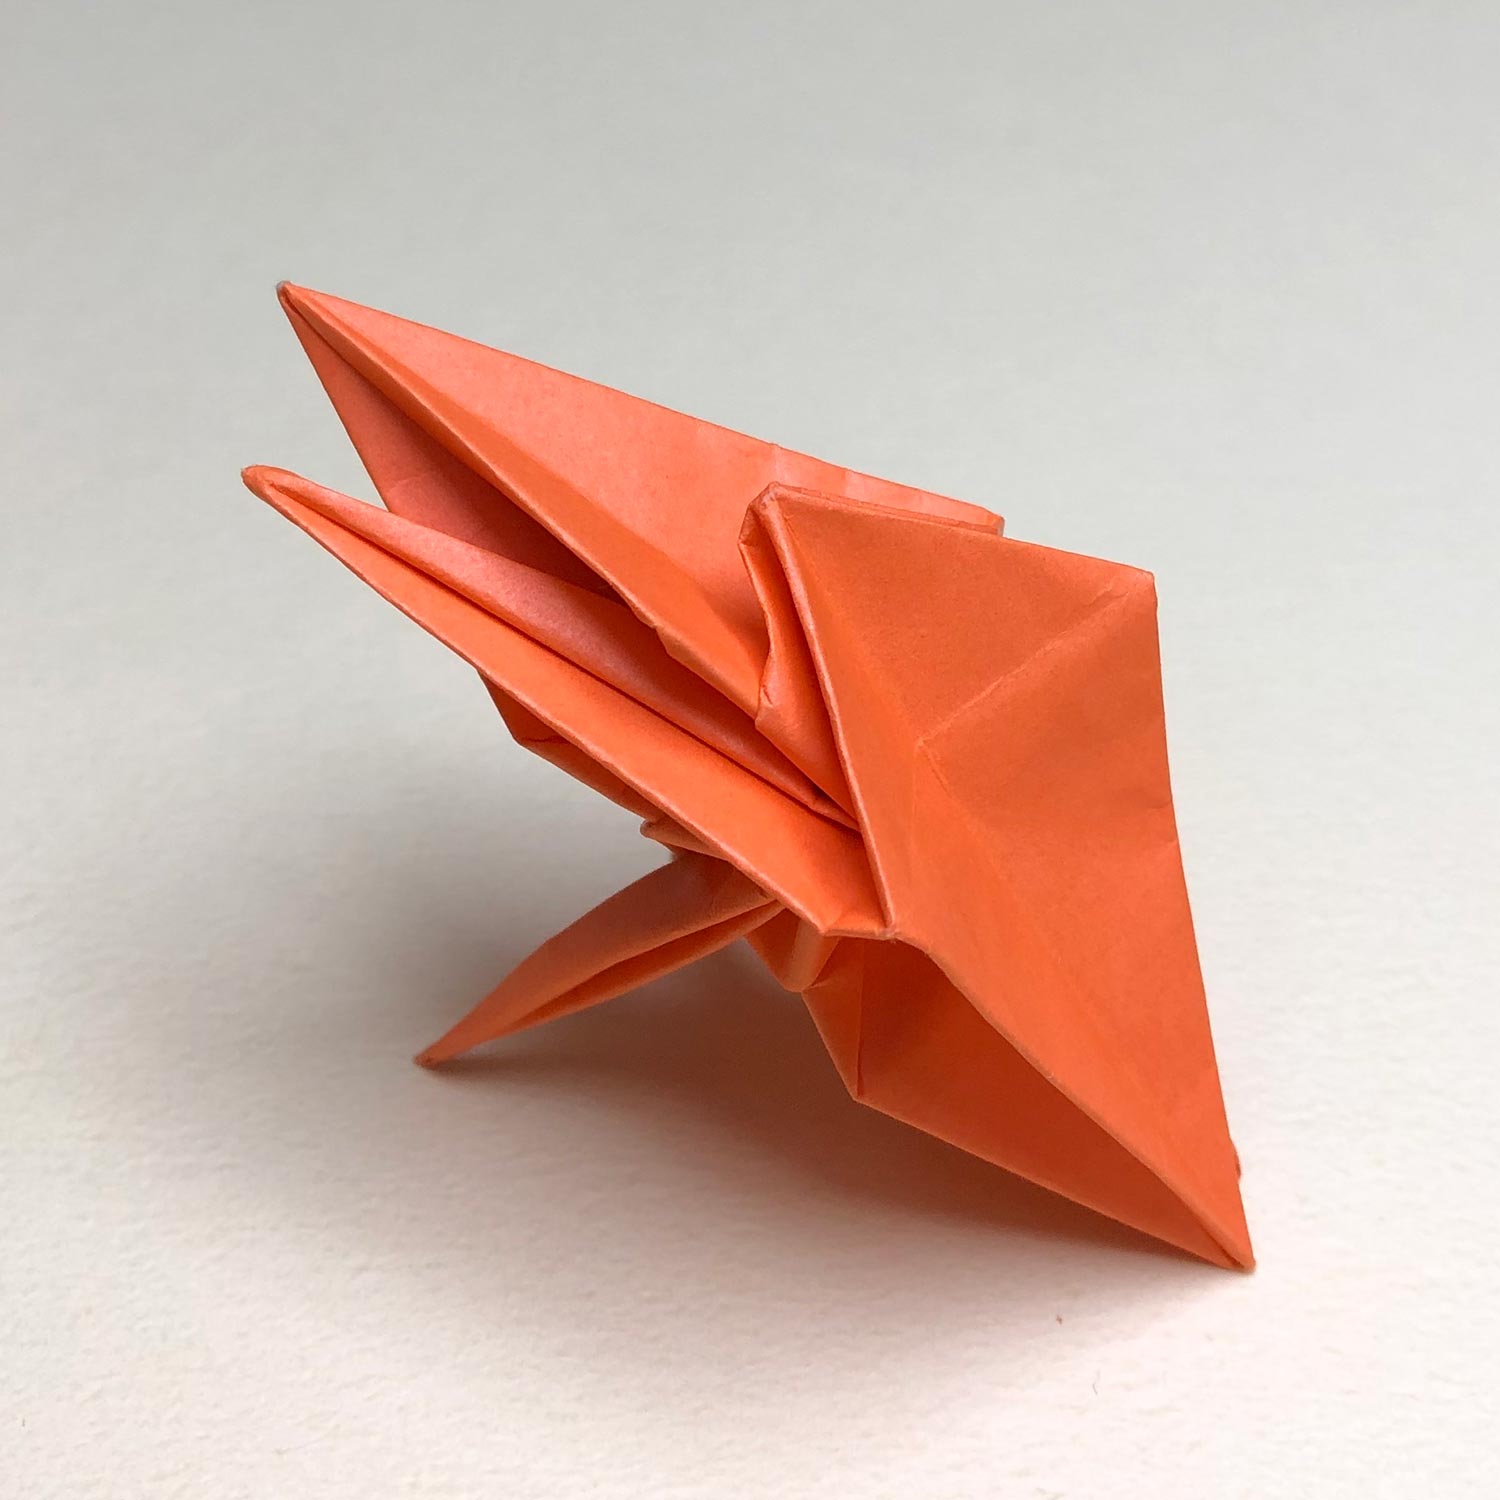
(120)
After moving the head/tail, it looks like this picture.

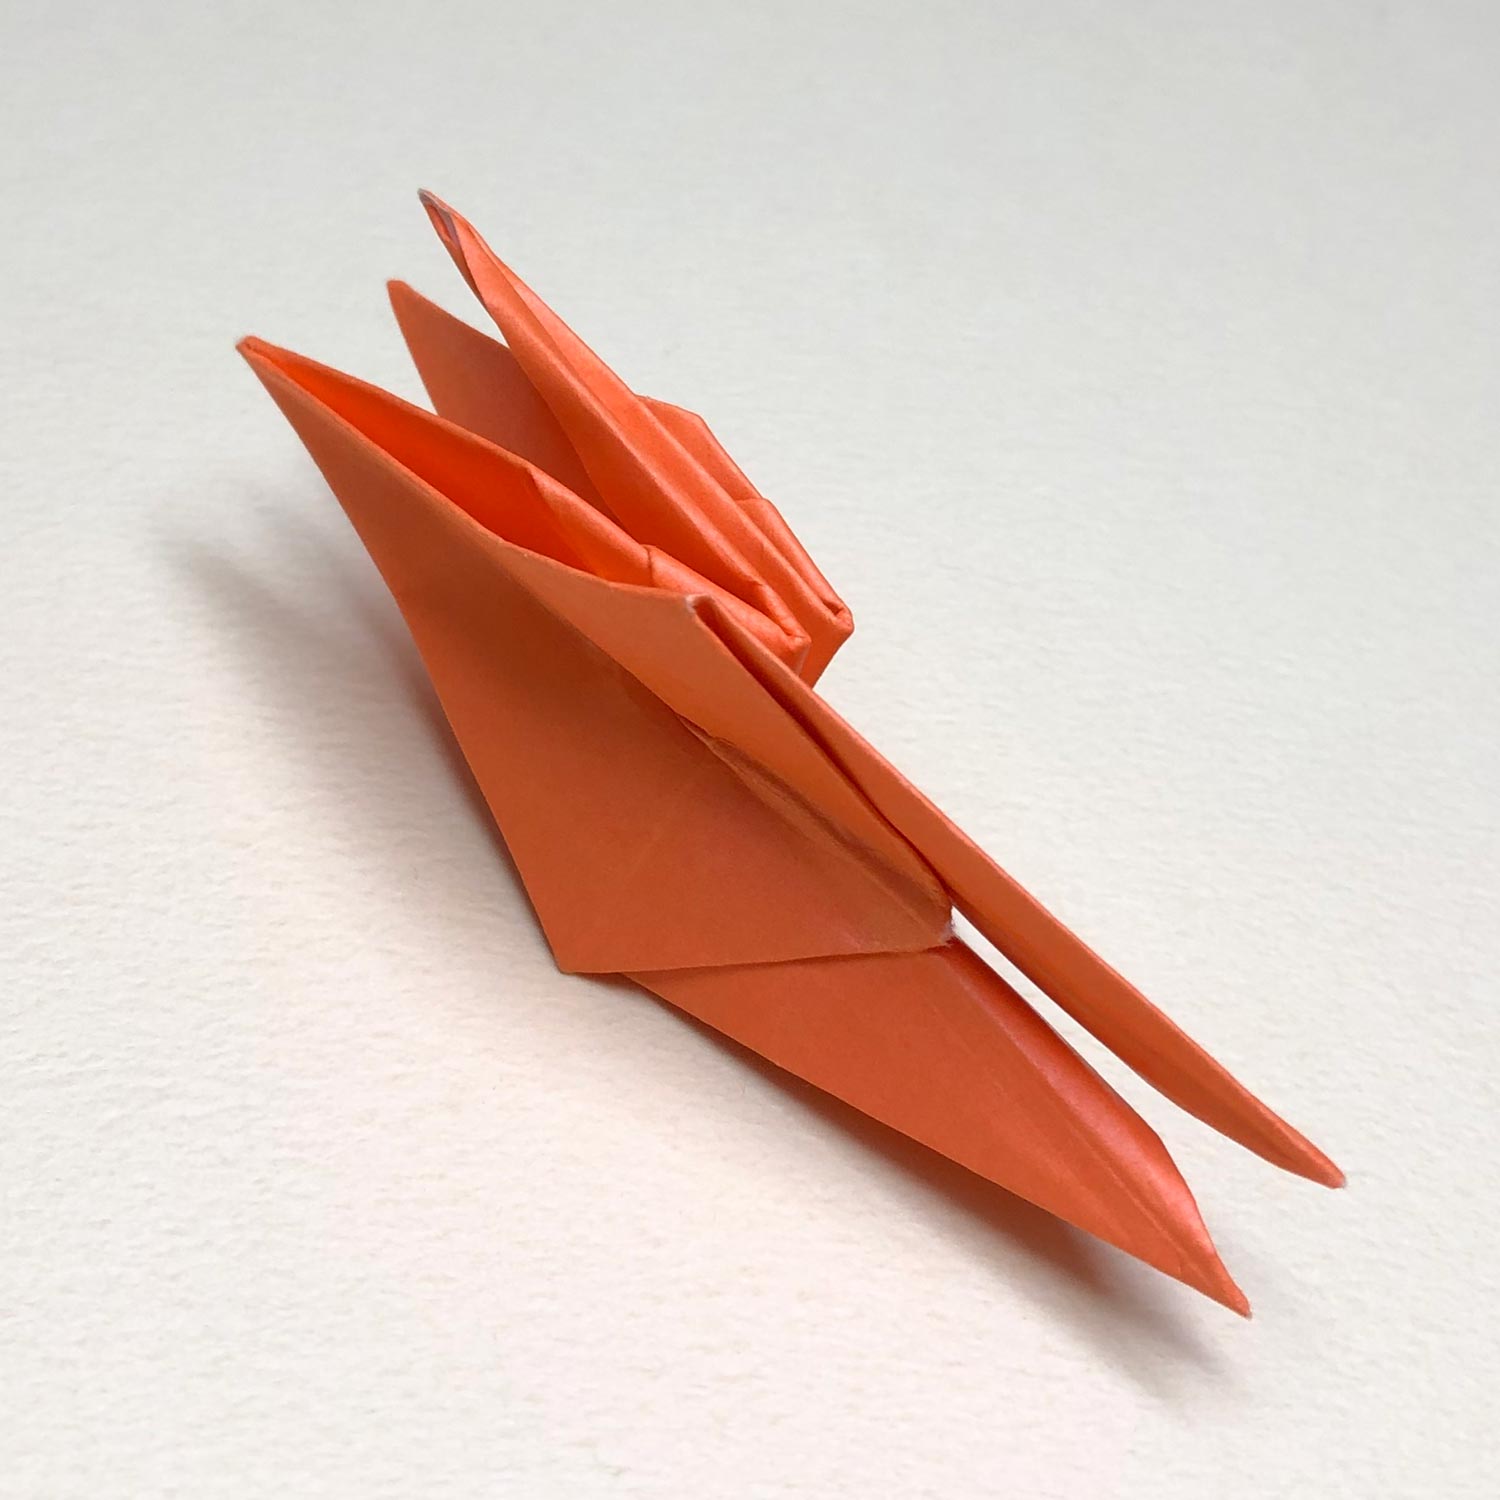
(121)
Then fold one side of the head/tail to the center.
(The one side of the head/tail is shown by the arrow.)
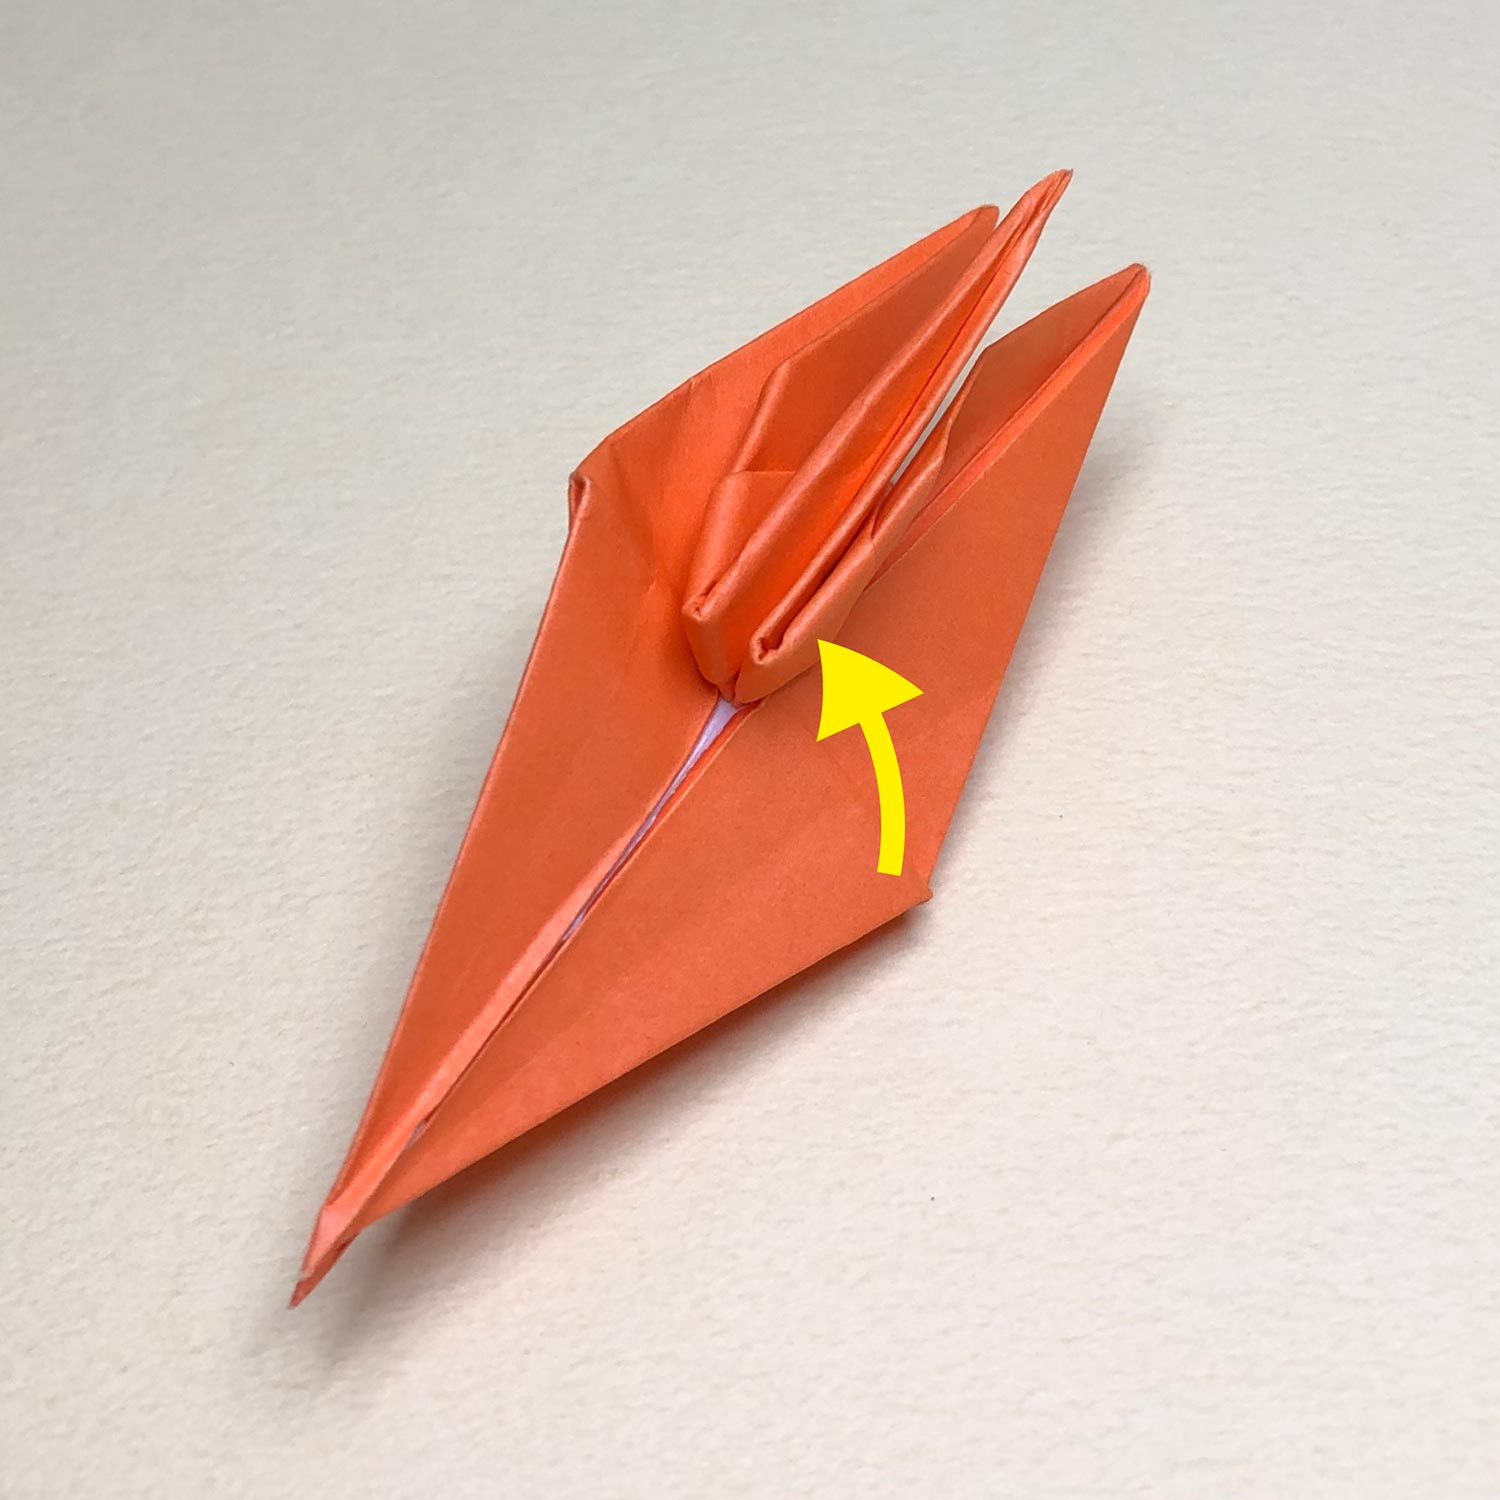
(122)
Fold the one side of the head/tail like this picture.
(123)
Then move the flap together with the one side of the head/tail, which you have folded in the previous step, in the direction of the arrow.
(124)
Move them like this picture.
(125)
Then move the bottom of the head/tail in the direction of the arrow while making a crease at the dotted line.
(126)
This picture is halfway through.
After moving the bottom of the head/tail, fold it together with flaps in the direction of the yellow arrow.
(127)
Fold them like this picture.