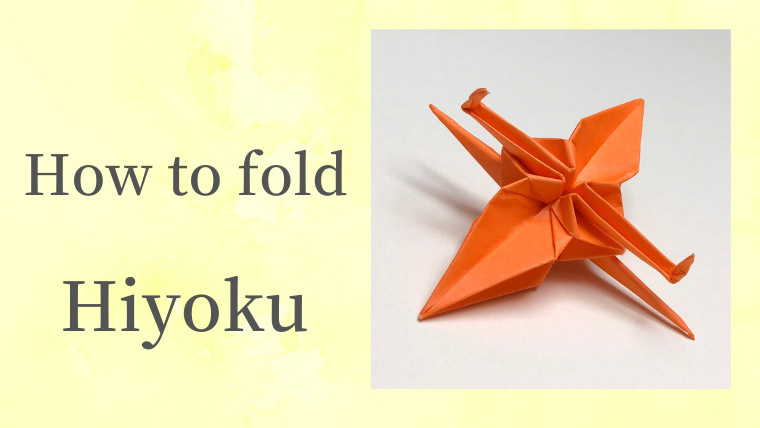
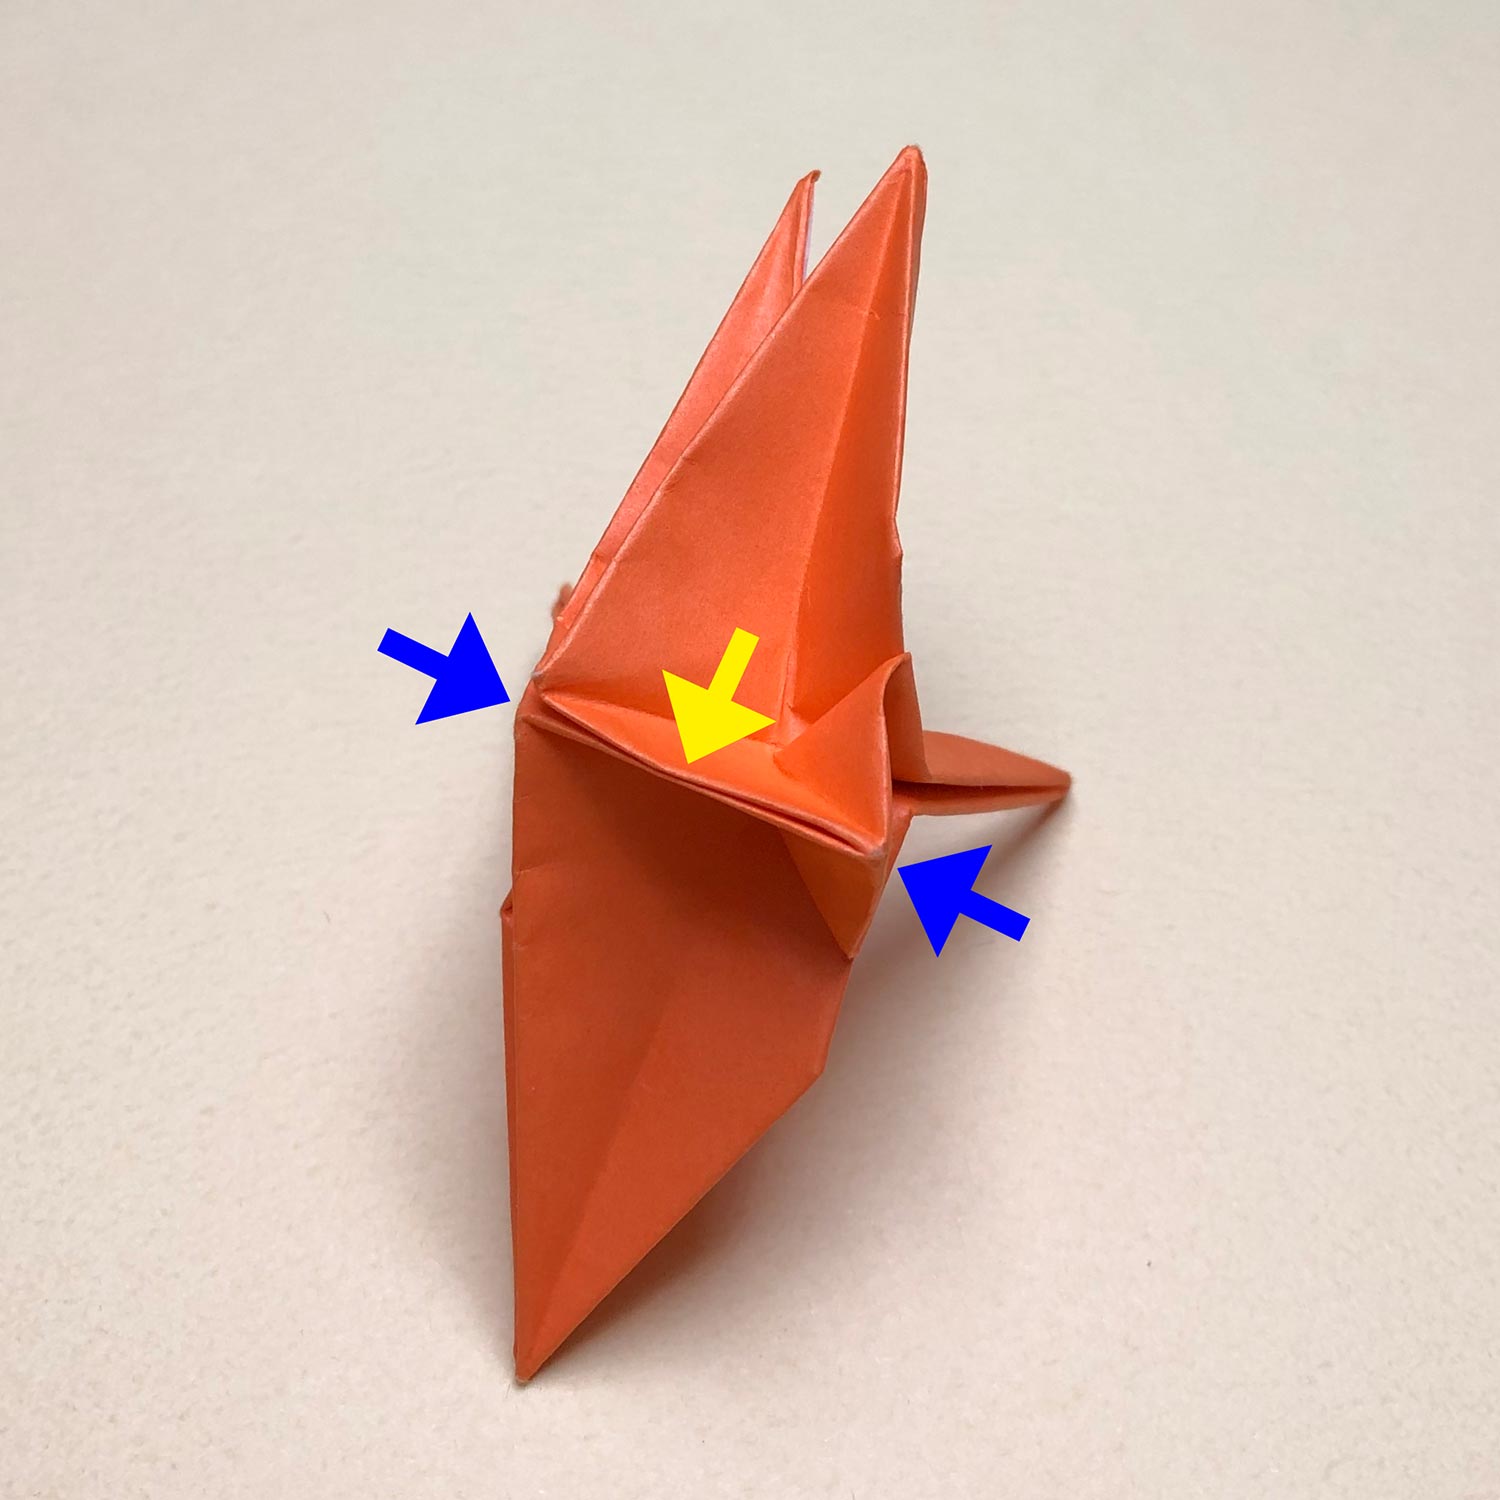
(128)
Push the part, which is shown by the blue arrow, to change shape while pushing the part a little which is shown by the yellow arrow.
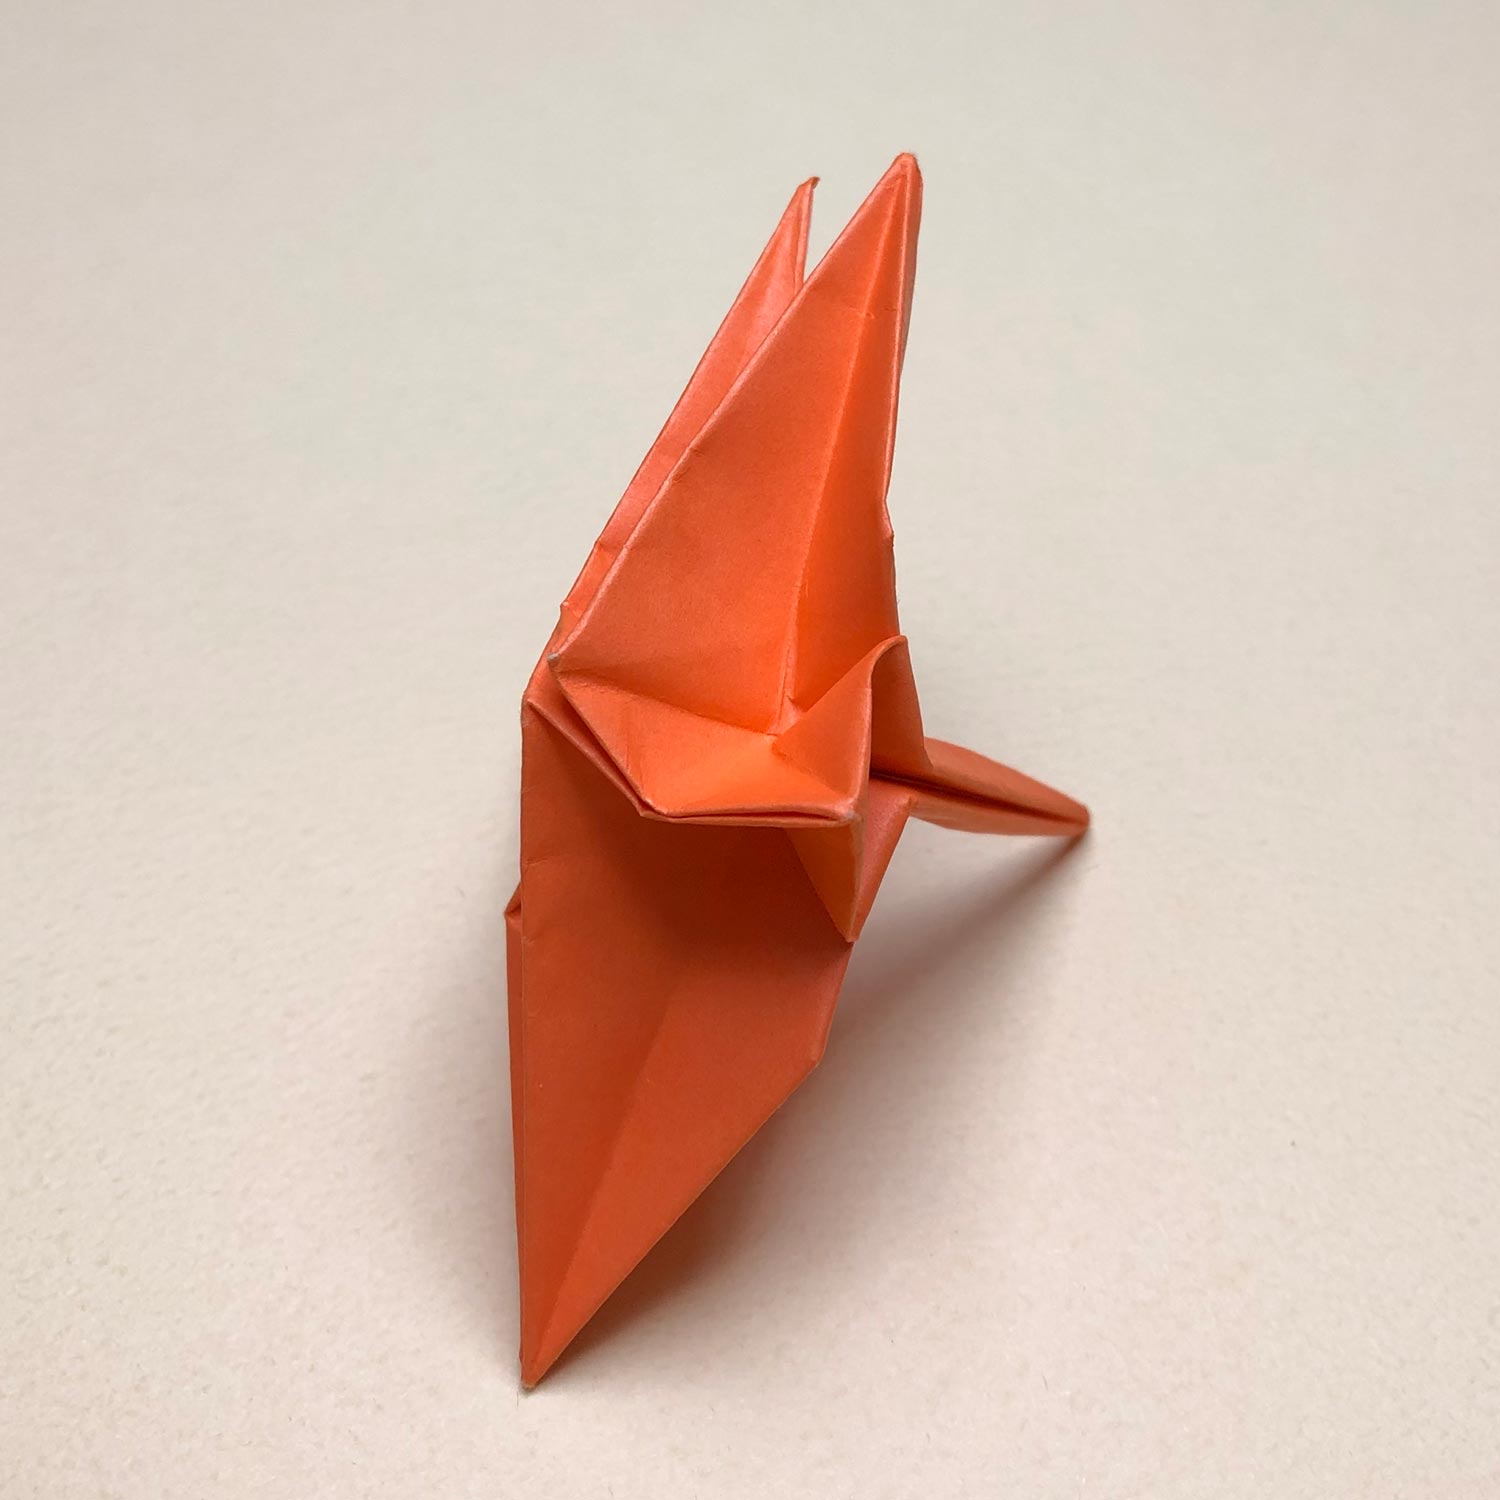
(129)
Change shape like this picture.
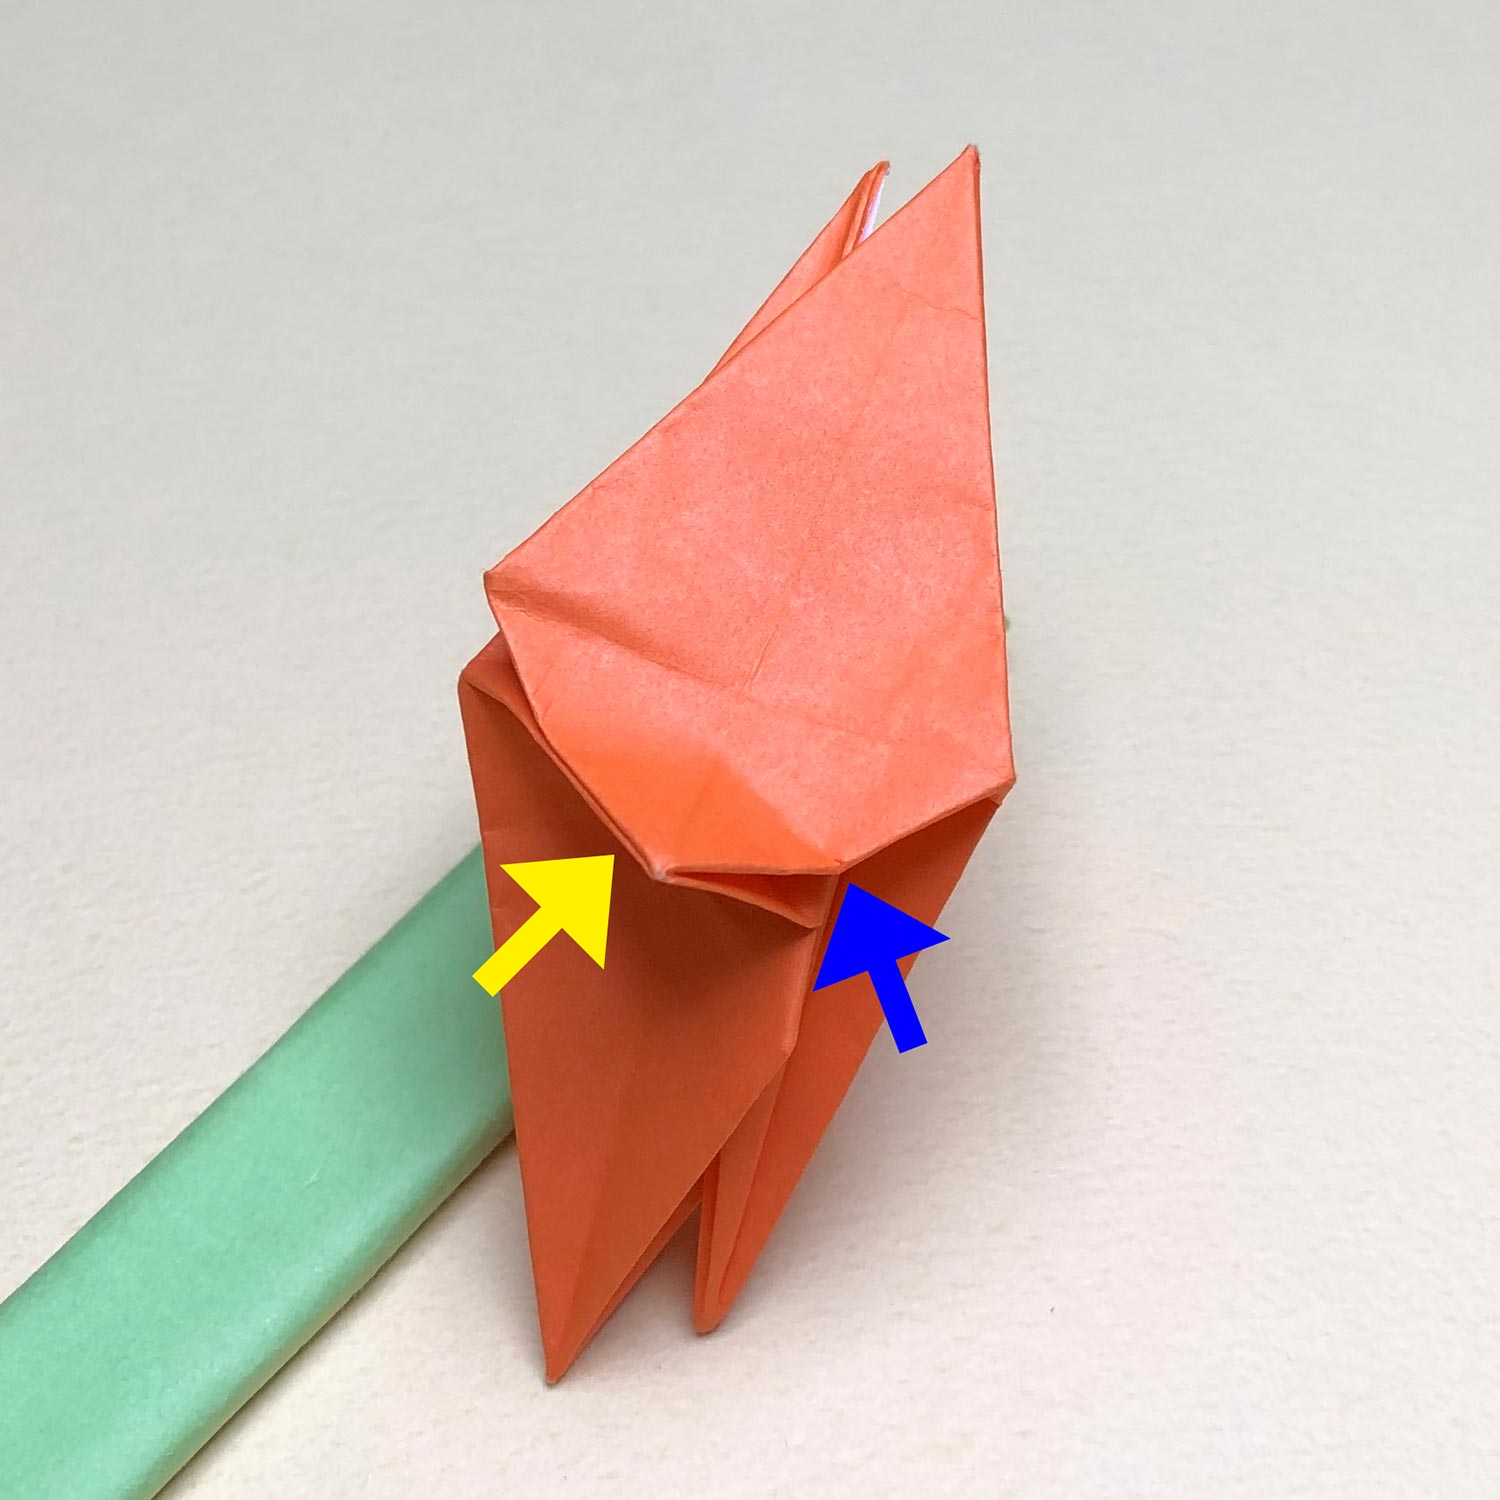
(130)
Pinch the parts, which are shown by the blue arrows, to put one on top of another.
Then push the part which is shown by the yellow arrow so that the parts, which you have put on top of each other, don’t move.
In the state of that, fold one side of the head/tail to the center.
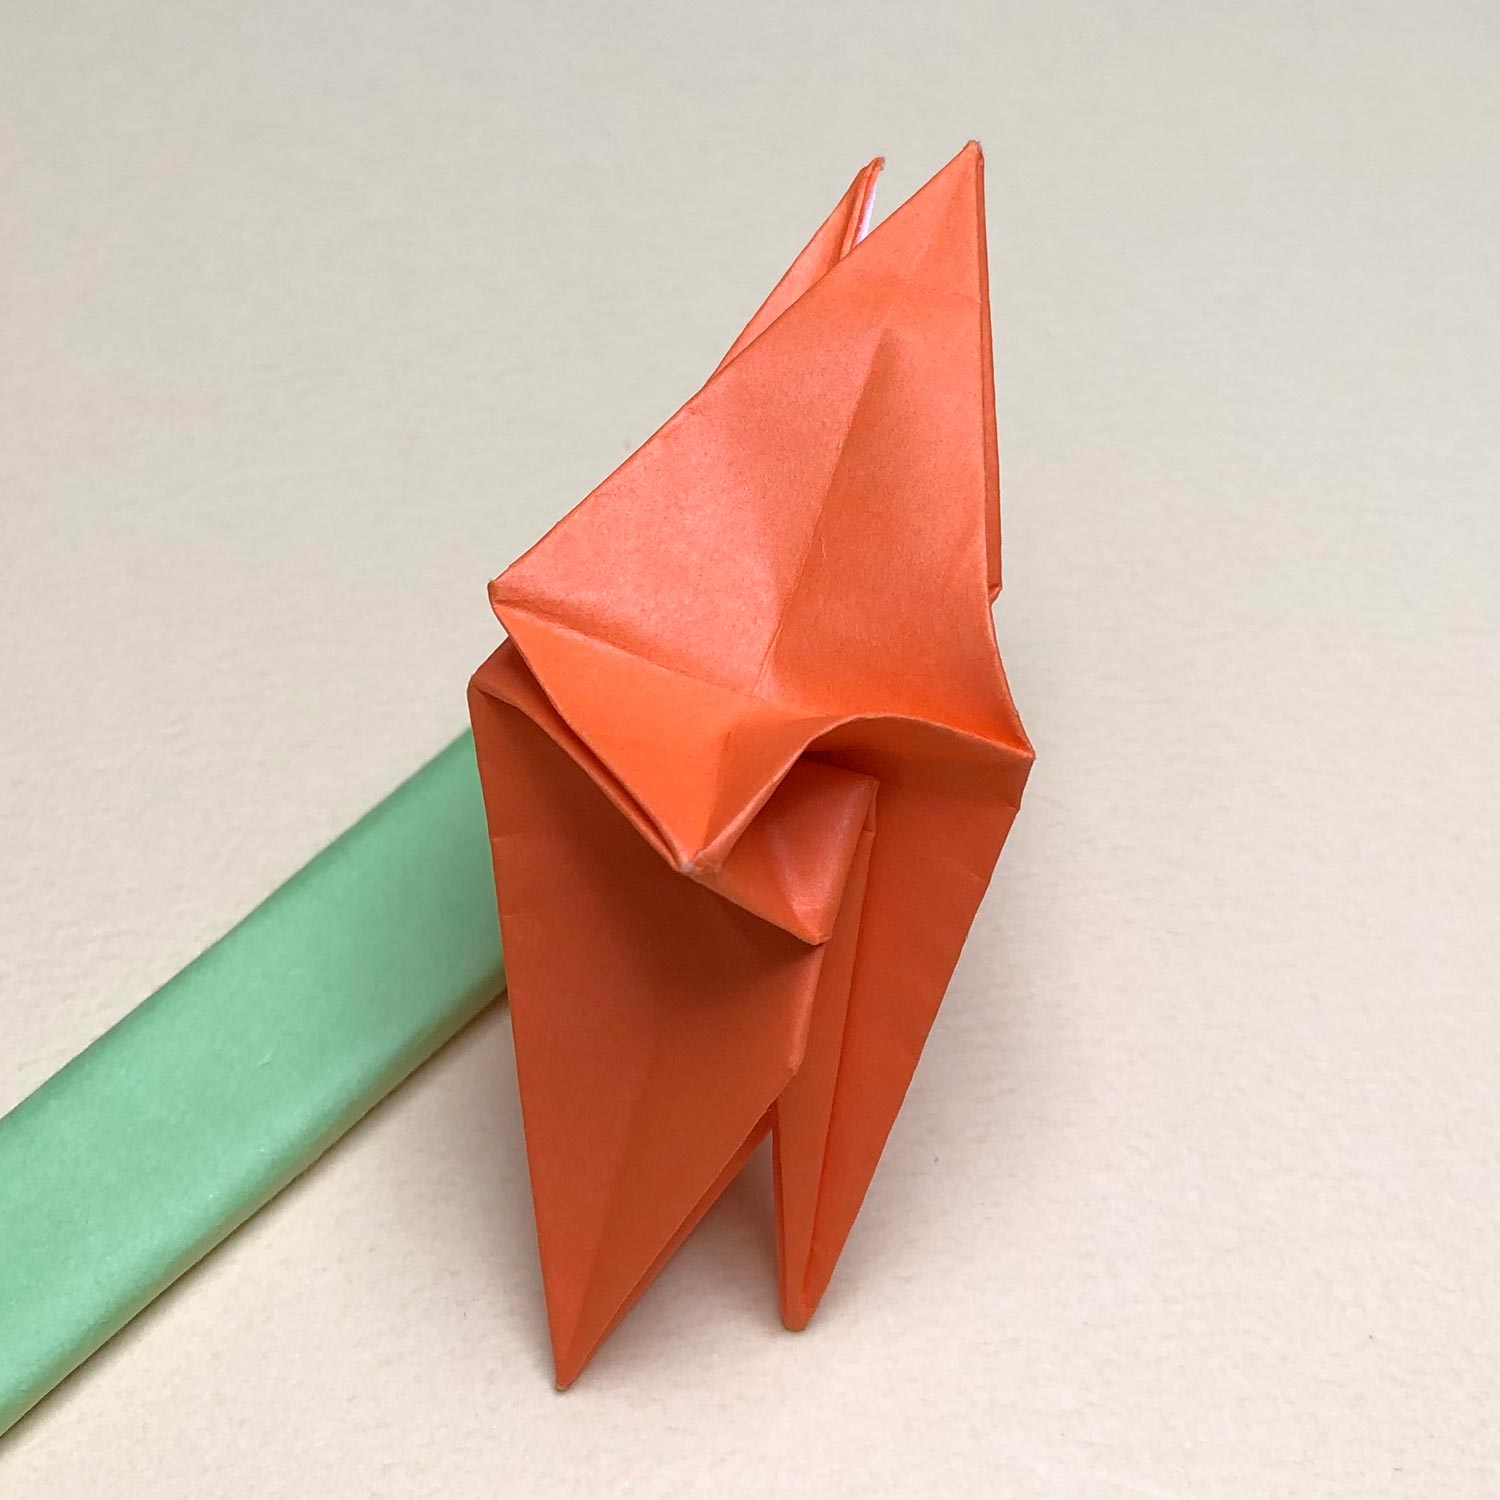
(131)
After folding the one side of the head/tail to the center, it looks like this picture.
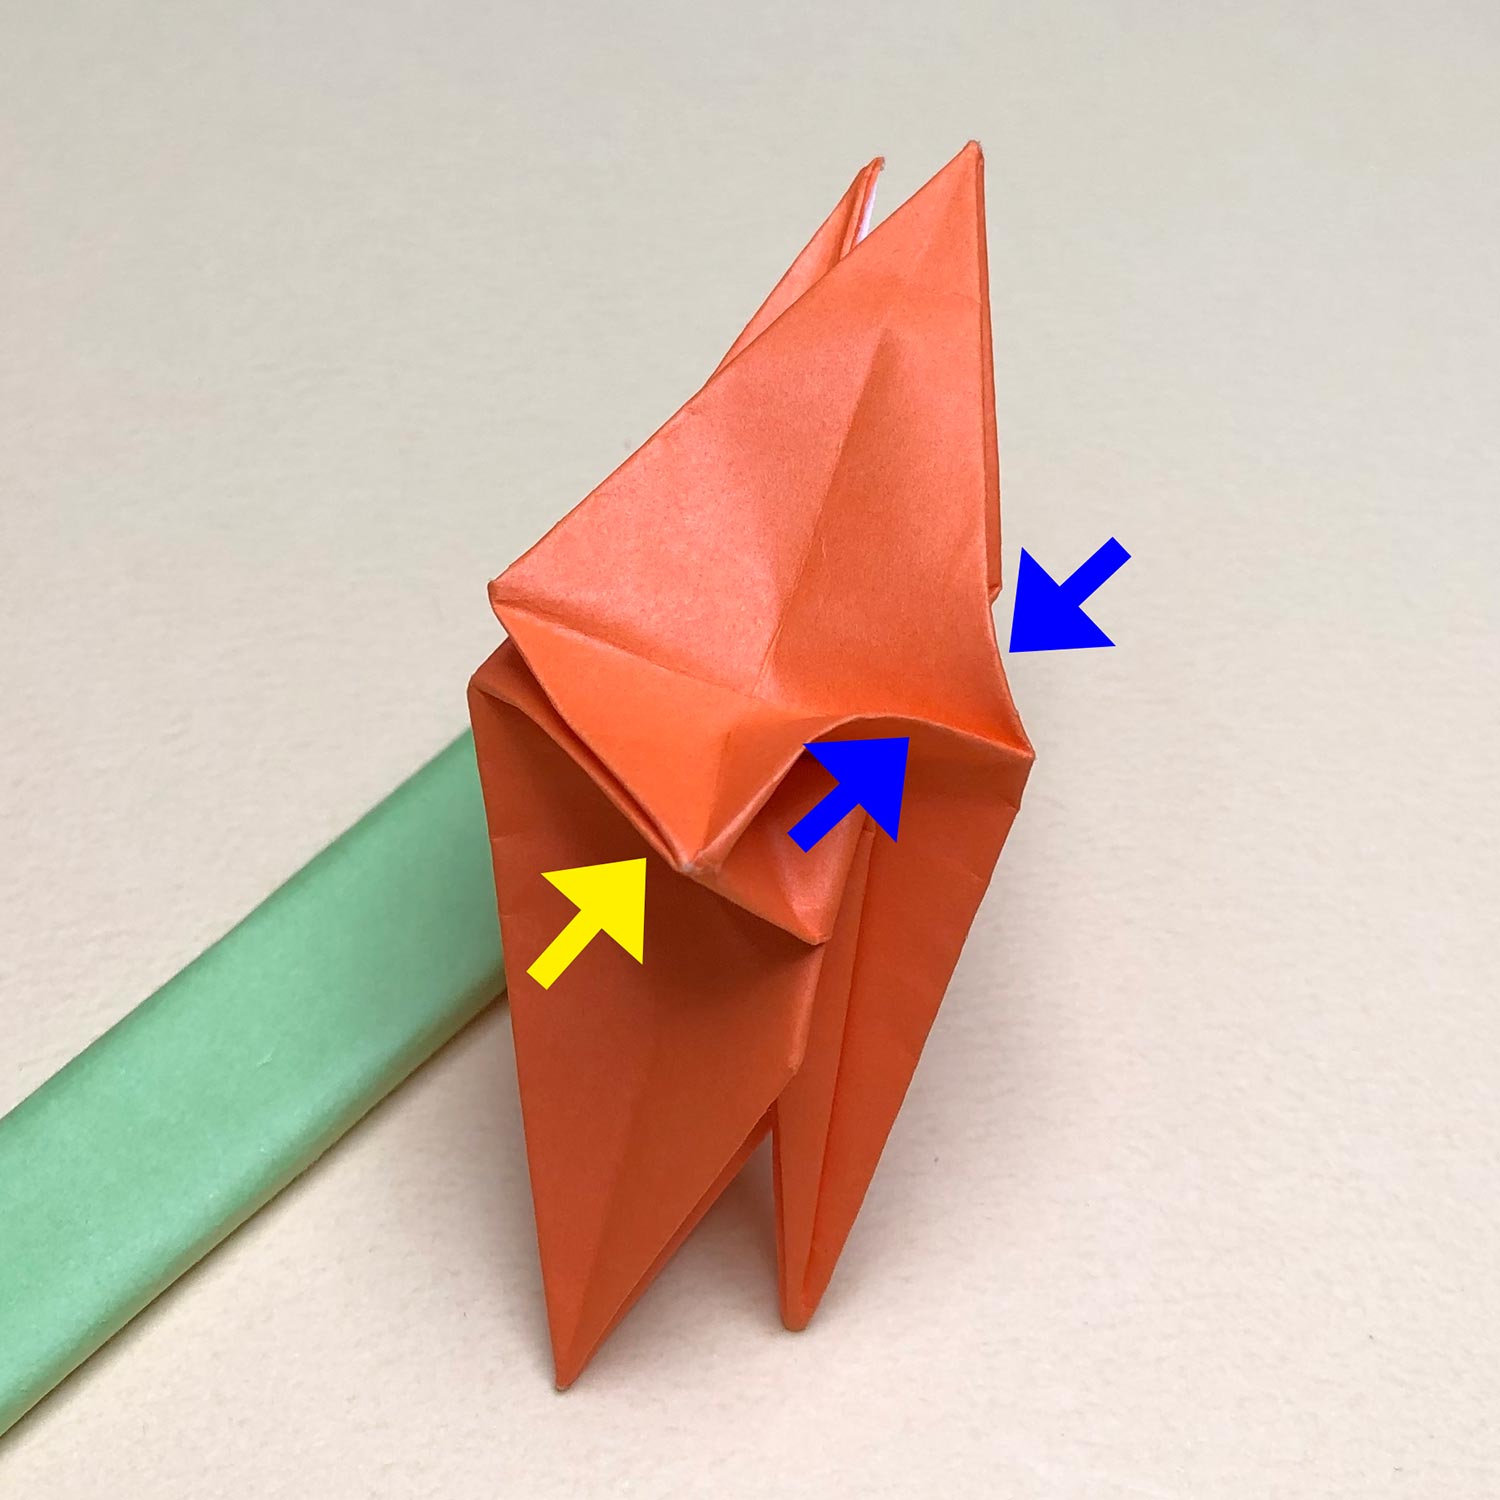
(132)
This picture is taken from the other side.
Then prepare to raise the head/tail.
(133)
Push a back of the completed crane in the direction of the arrows to make a dent.
(134)
Make a dent like this picture.
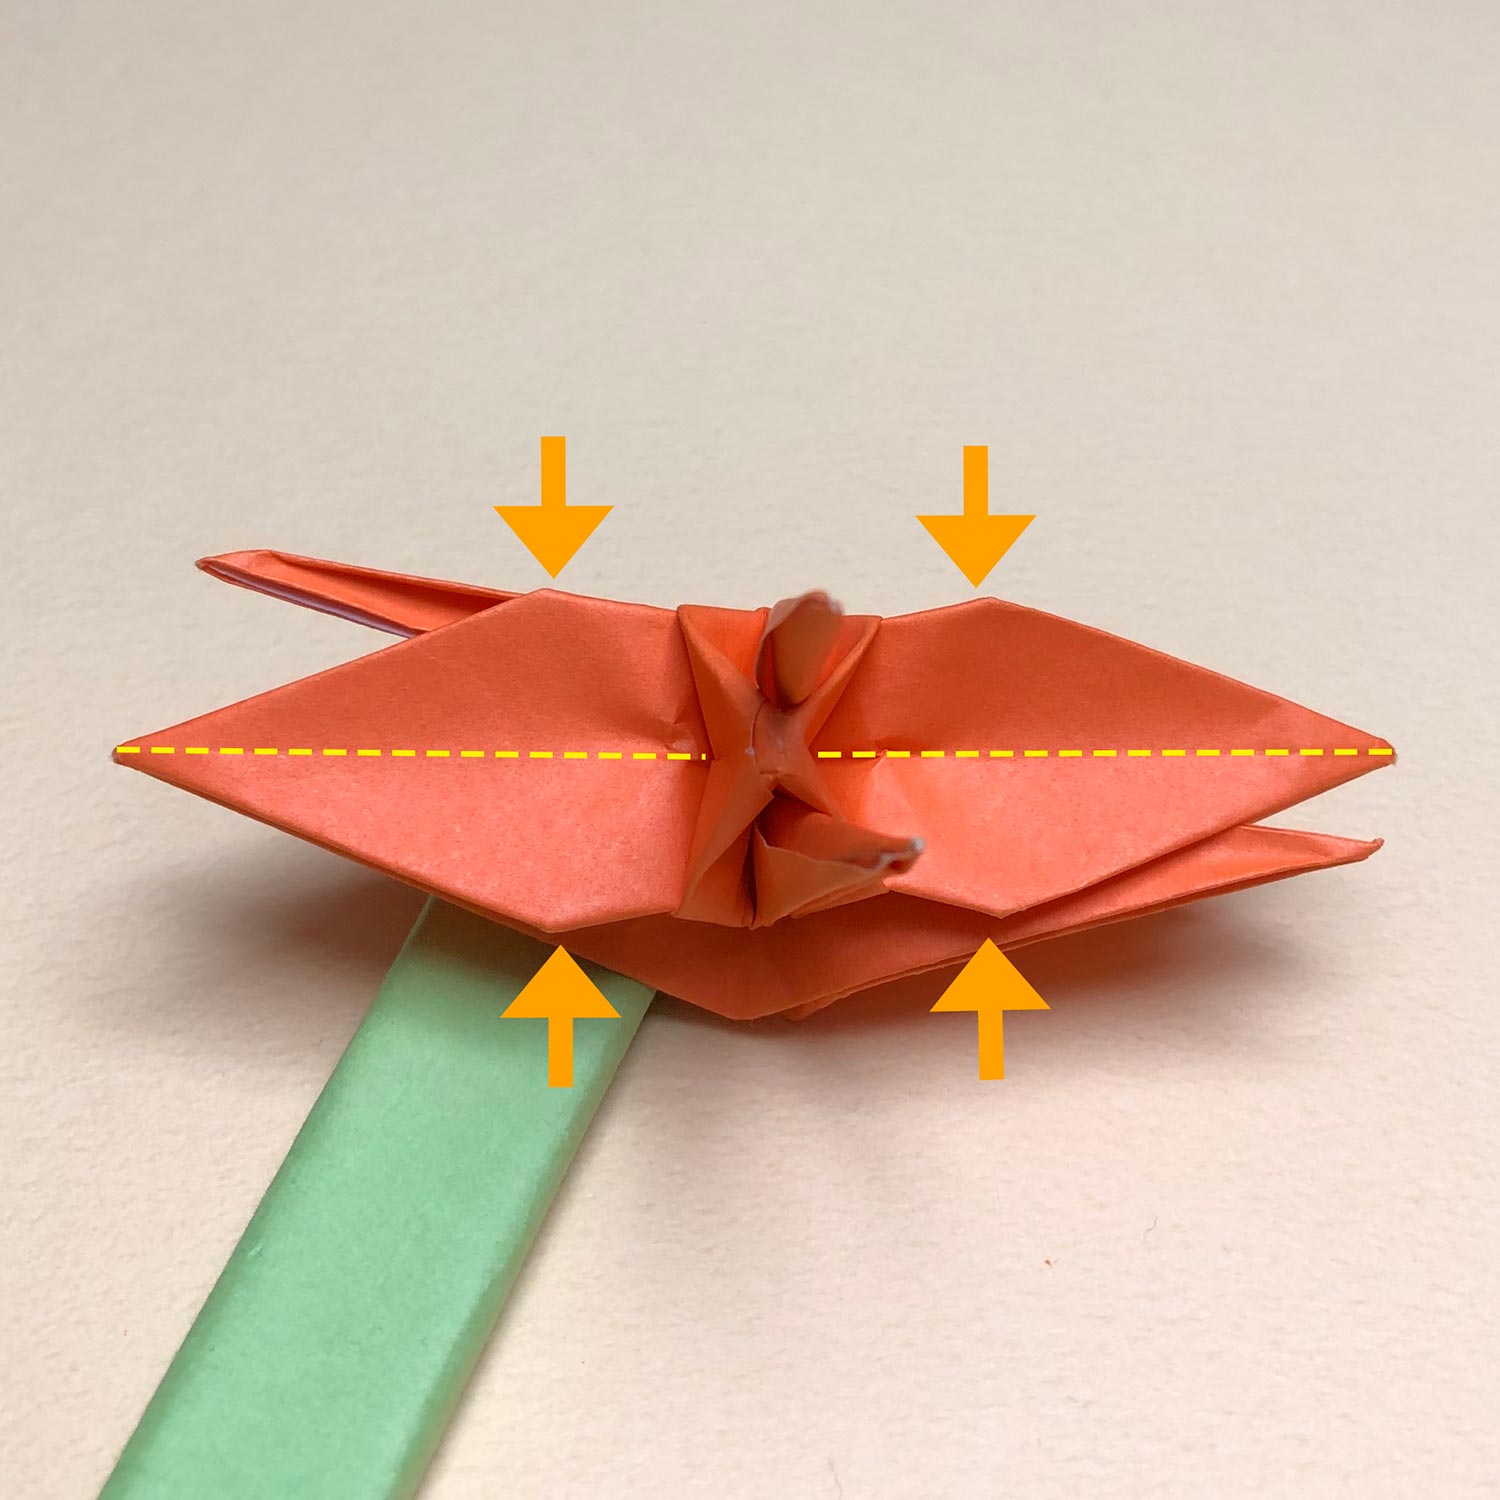
(135)
Then push the parts a little, which are shown by the arrows, to make valley-folds on the dotted lines.
(136)
Make valley-folds like this picture.
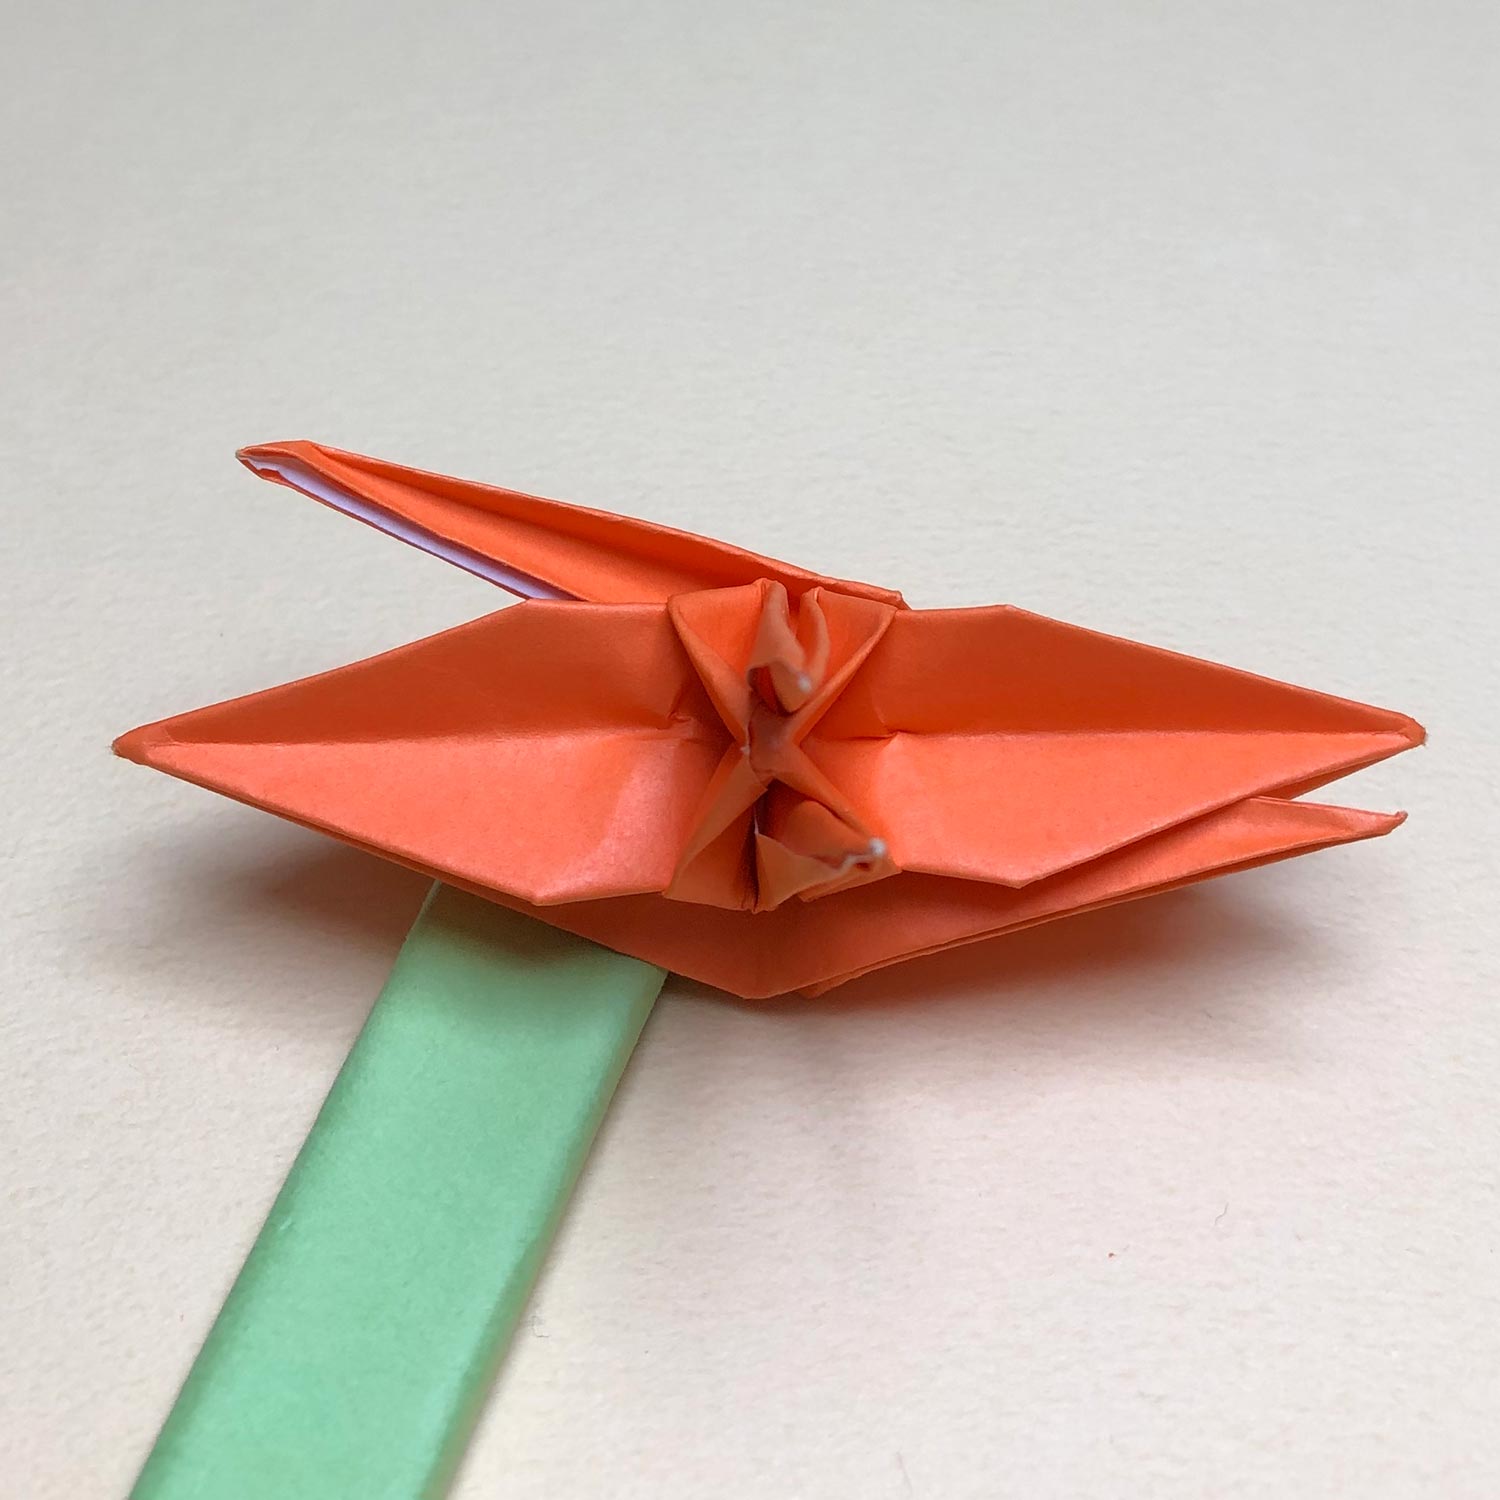
(137)
Then move the head/tail in the direction of the arrow.
(138)
Move the head/tail like this picture.
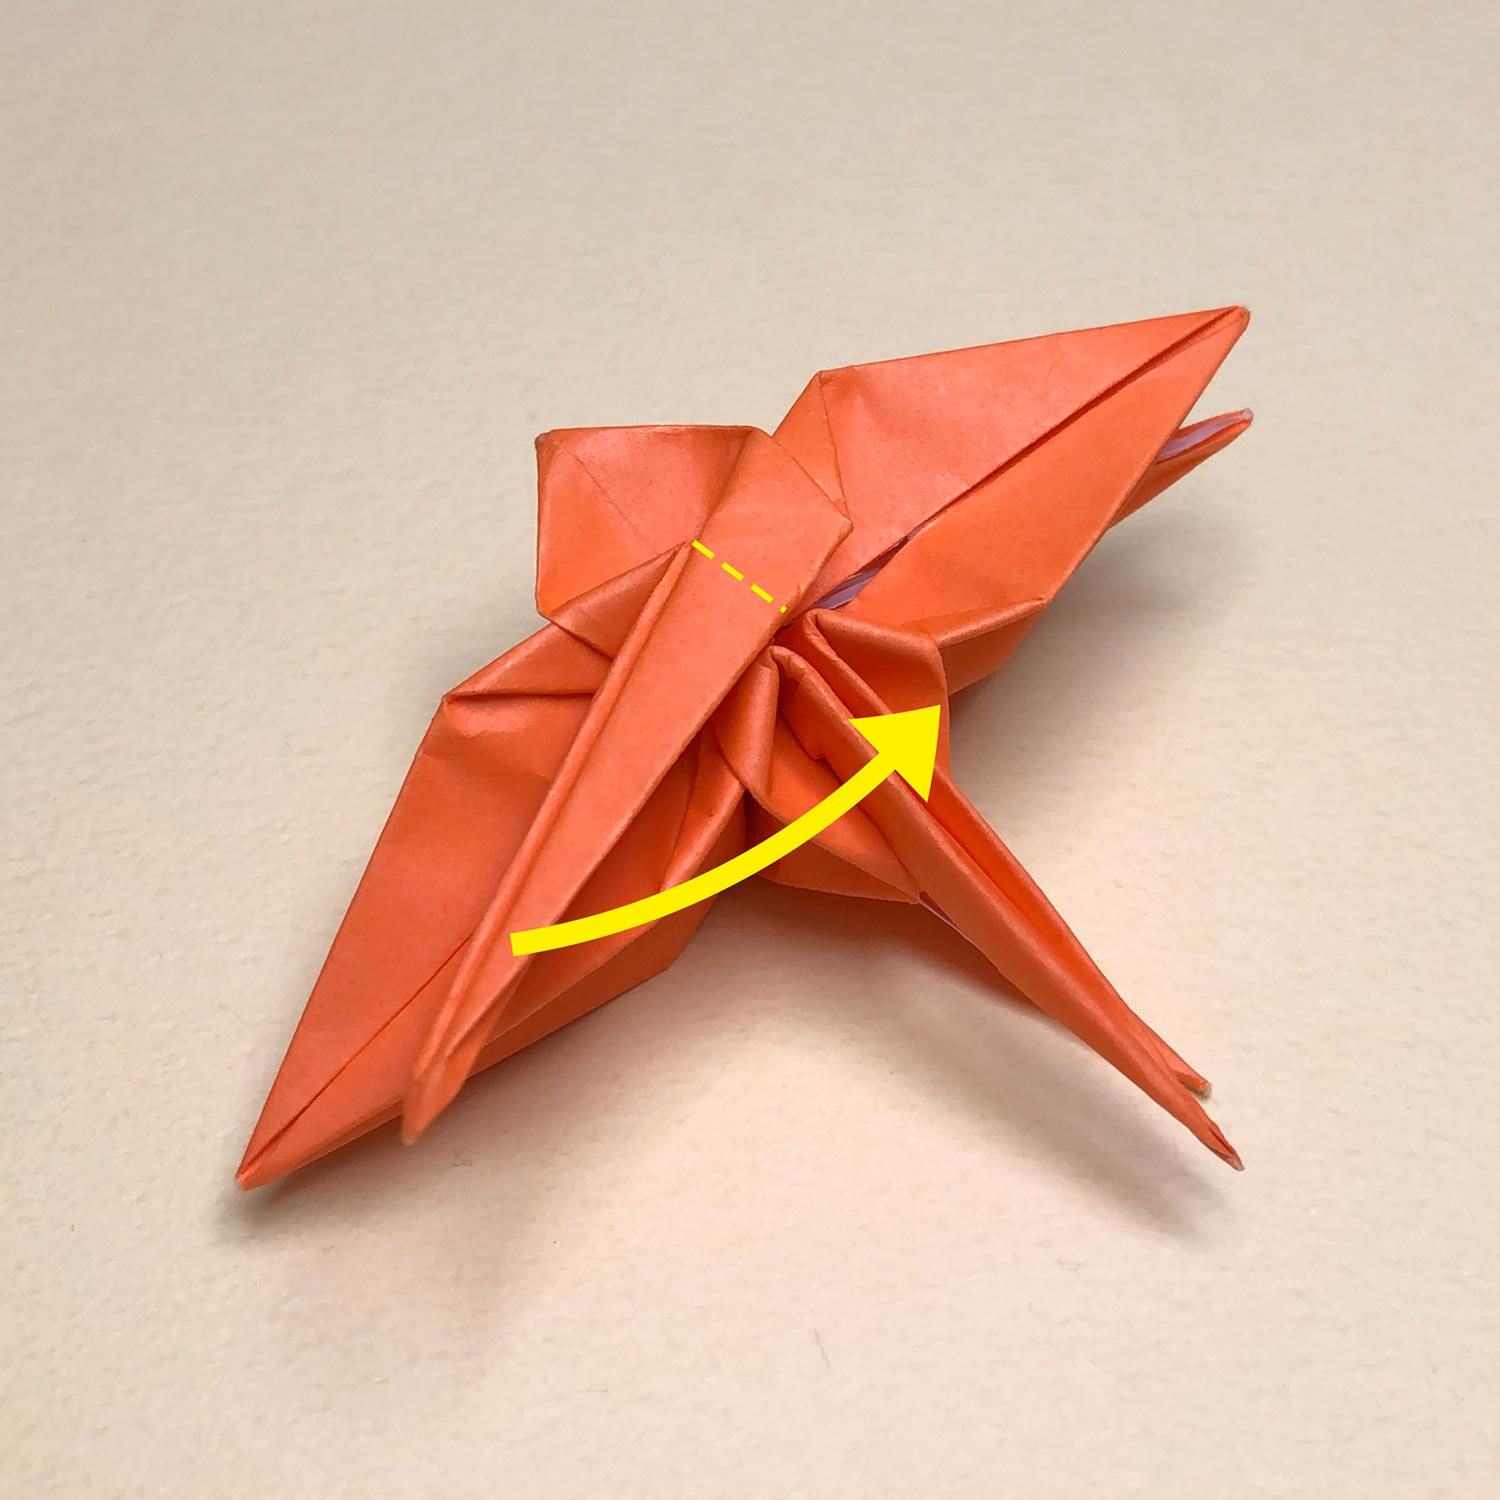
(139)
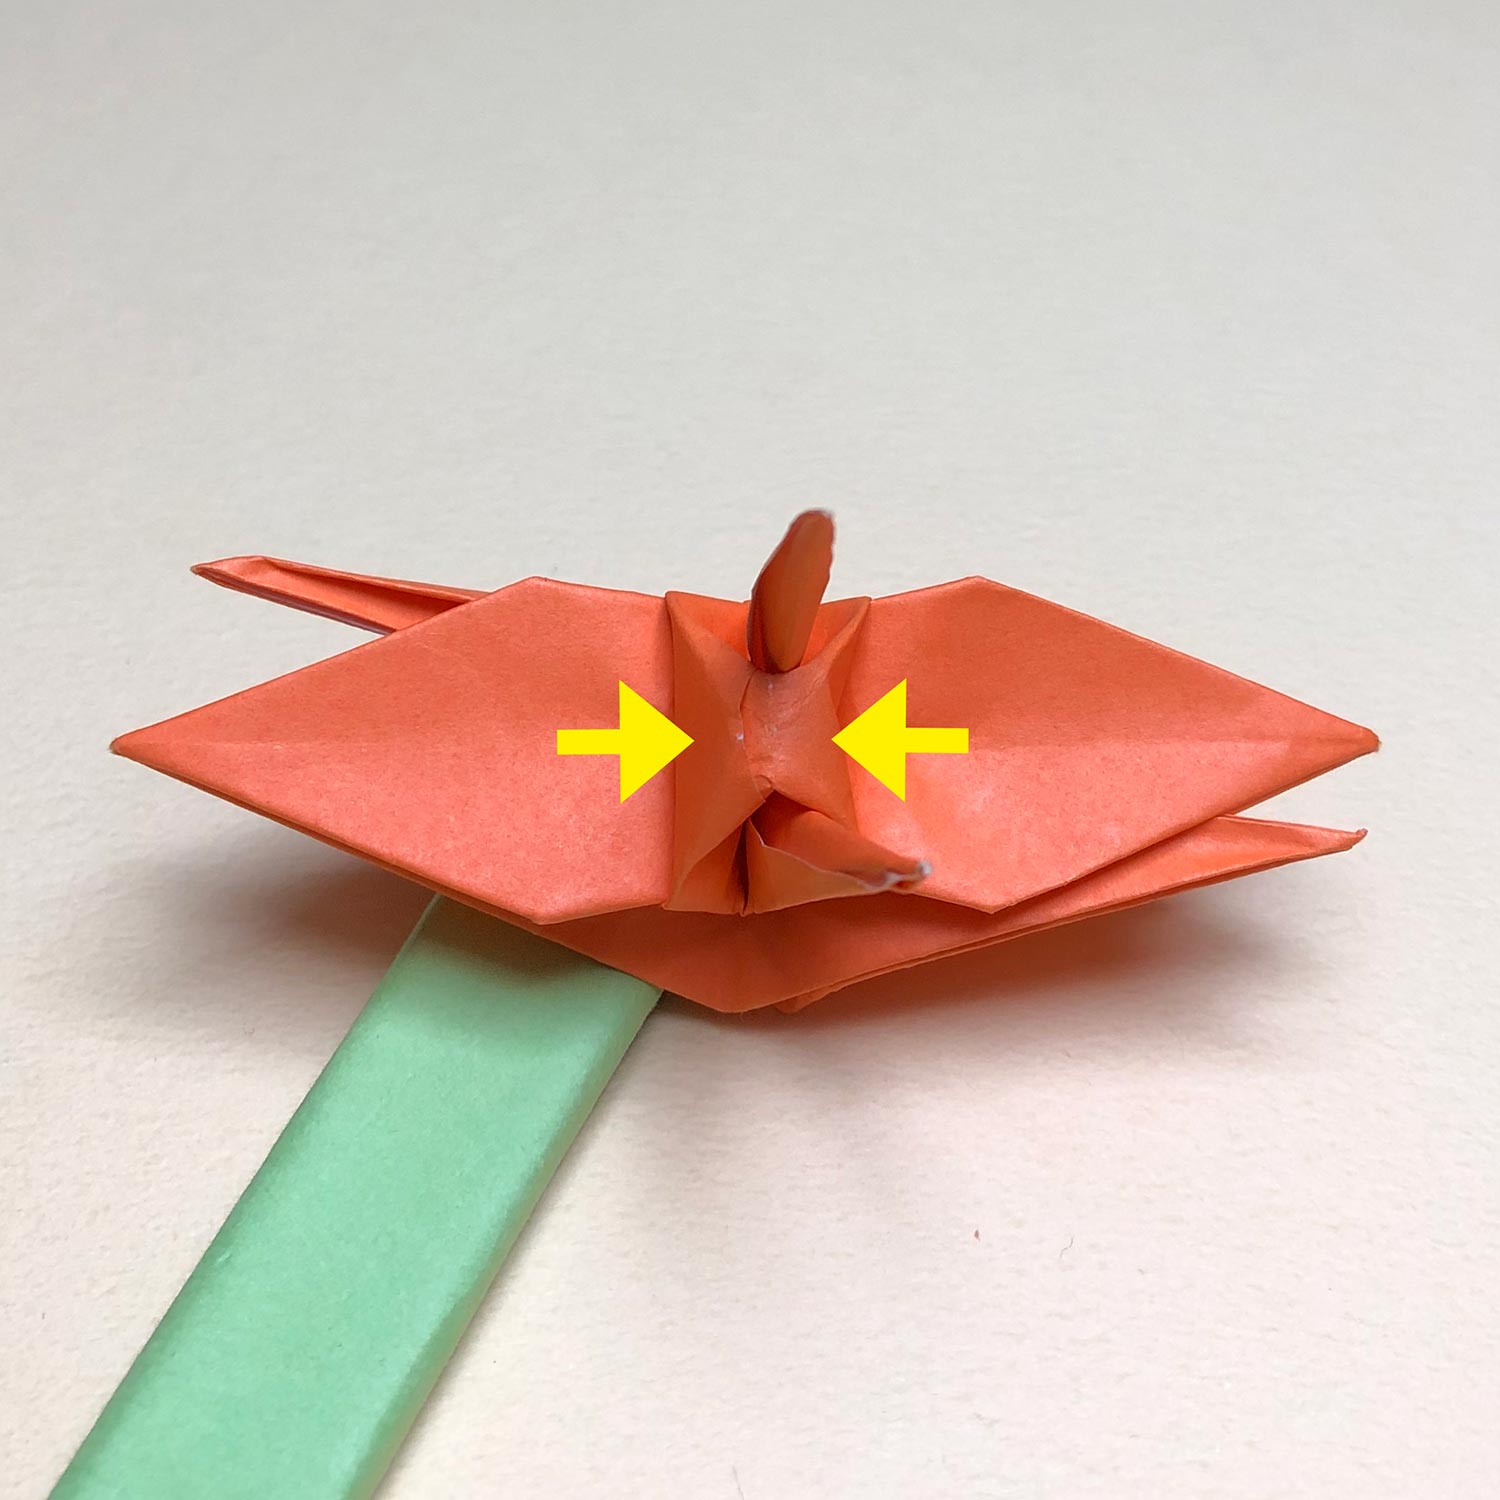
Then push the part, which is shown by the yellow arrow, to change shape while pinching both sides a little in the direction of the arrows.
(140)
Change shape like this picture.
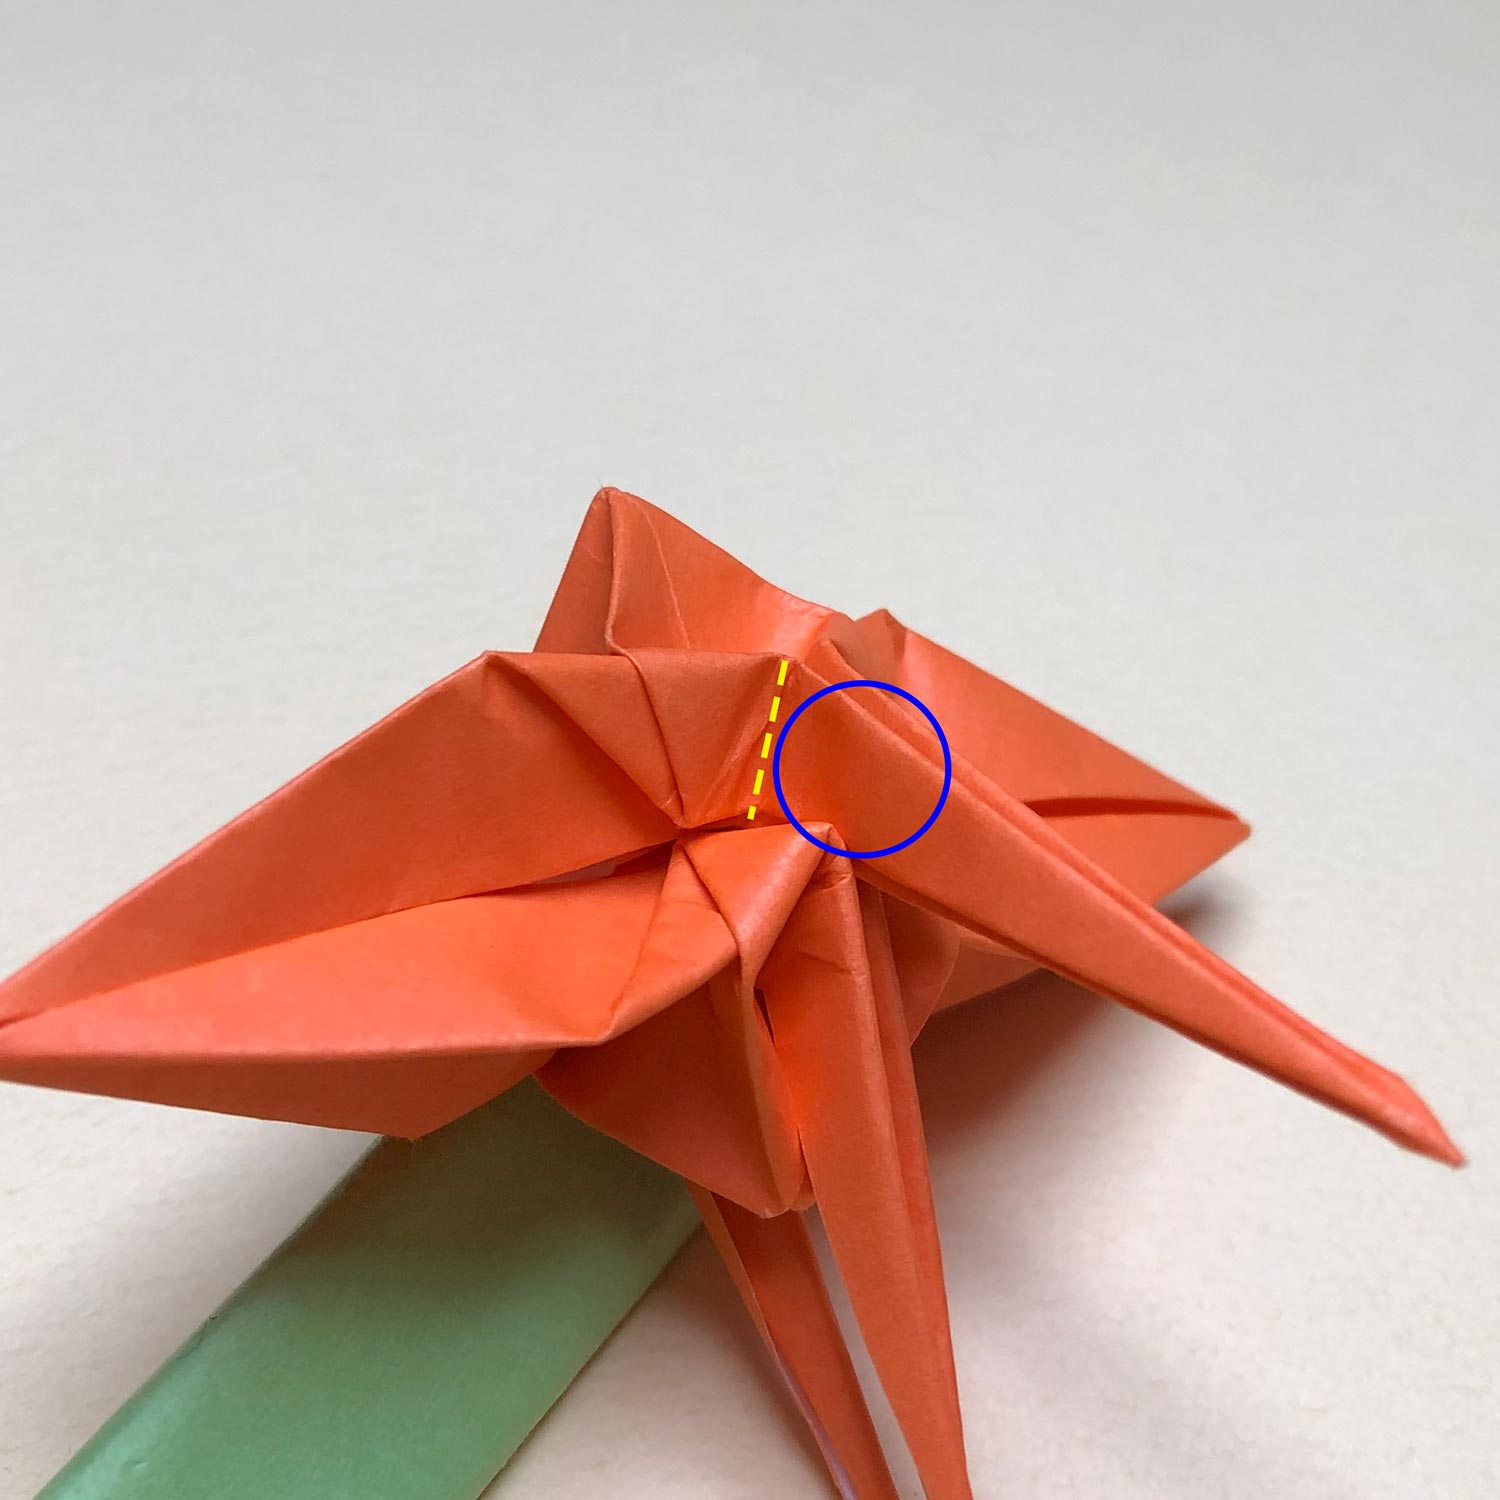
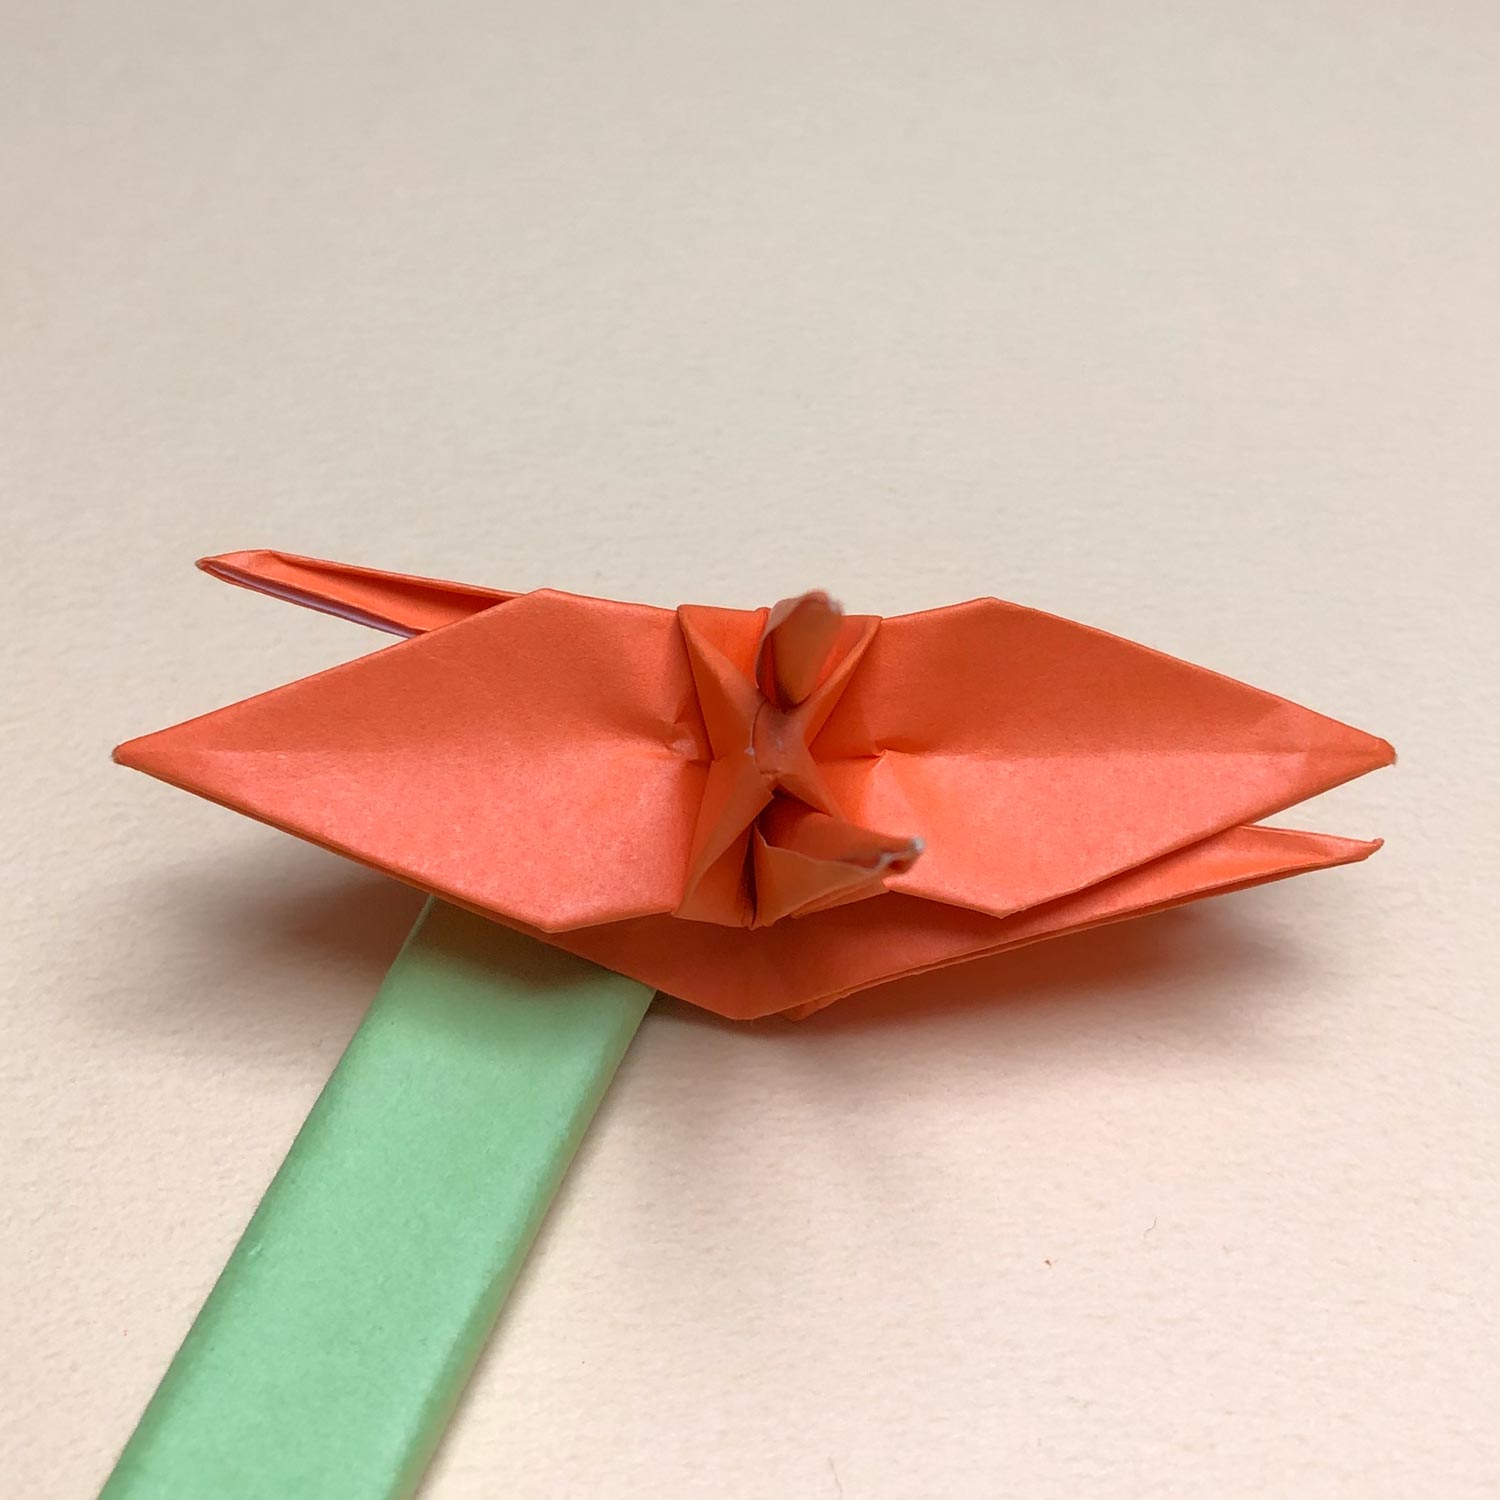
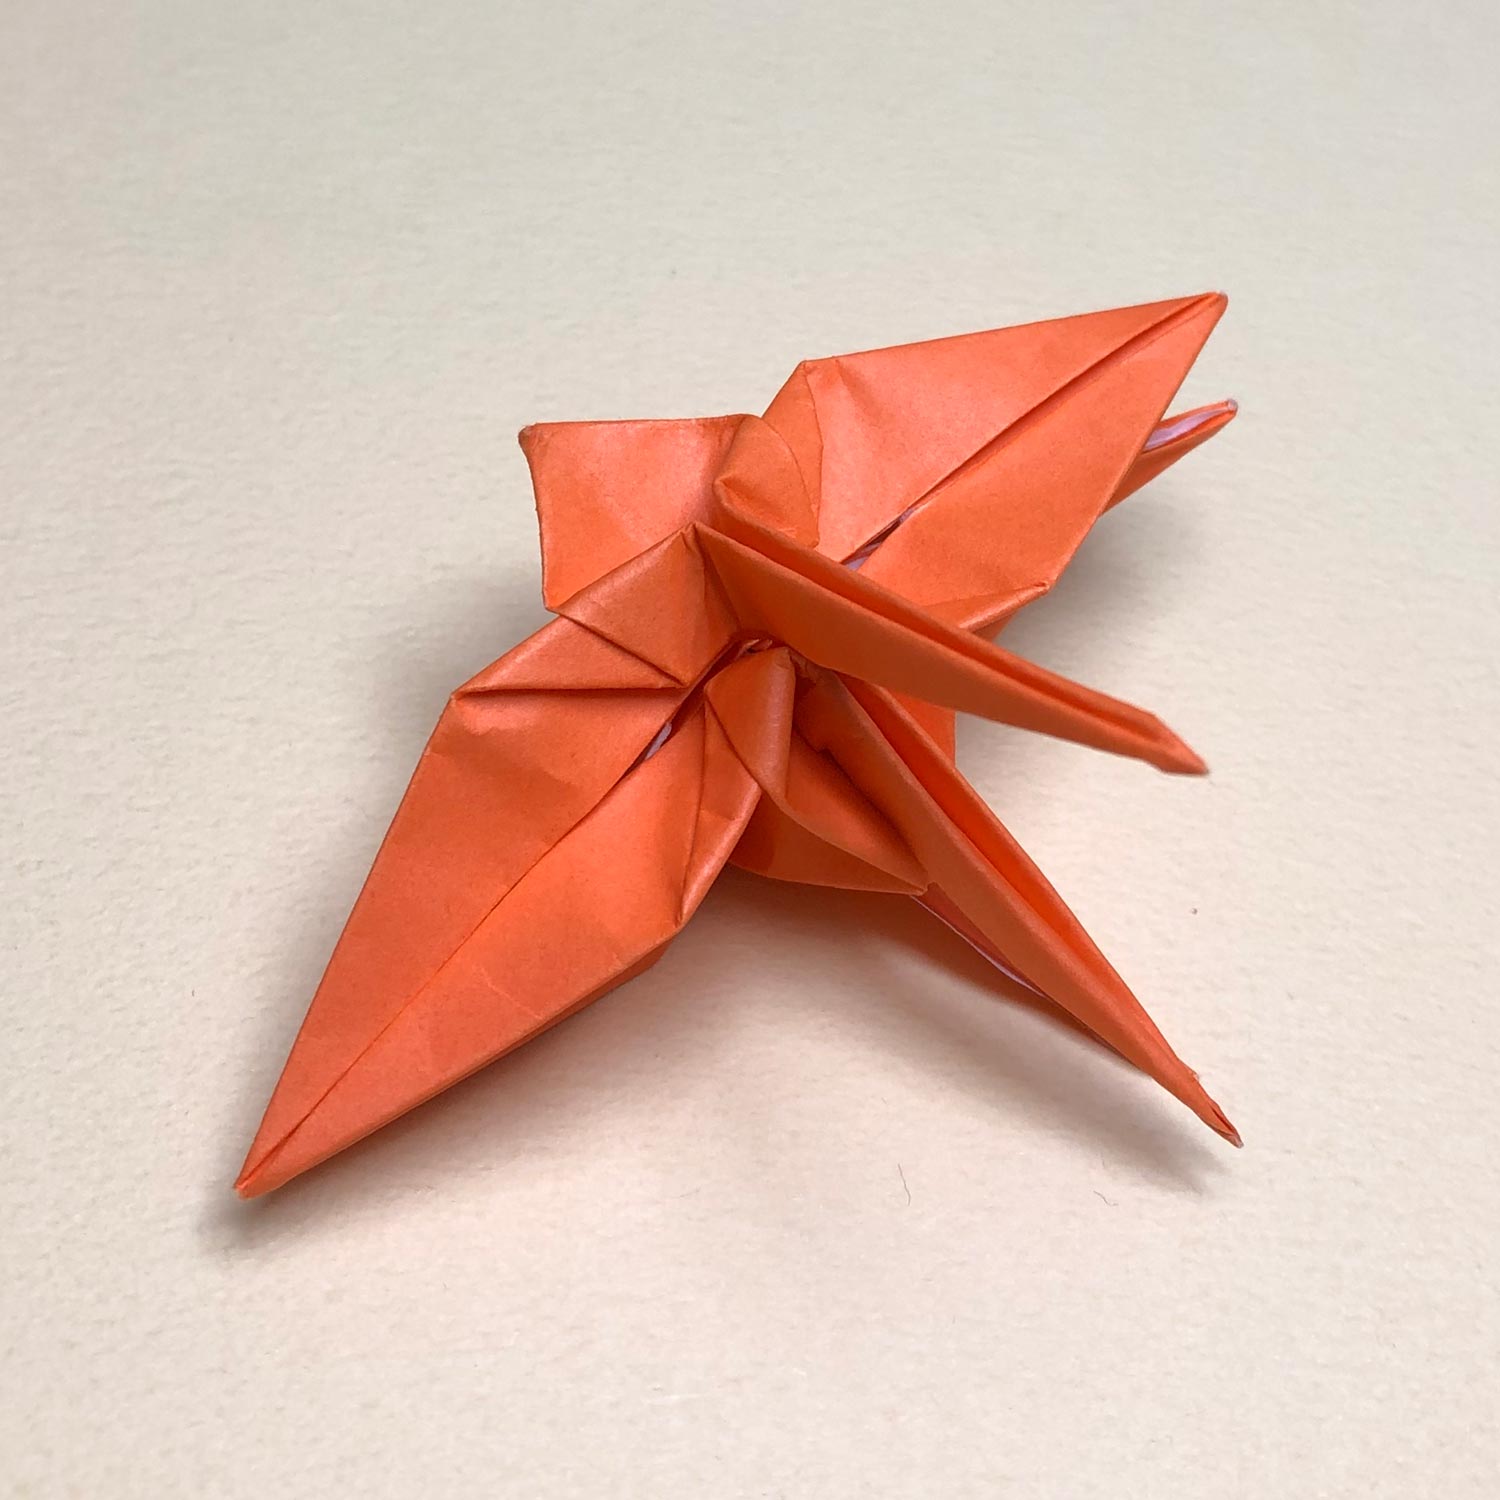
(141)
Then pinch the circled part to make creases on the dotted line again.
(142)
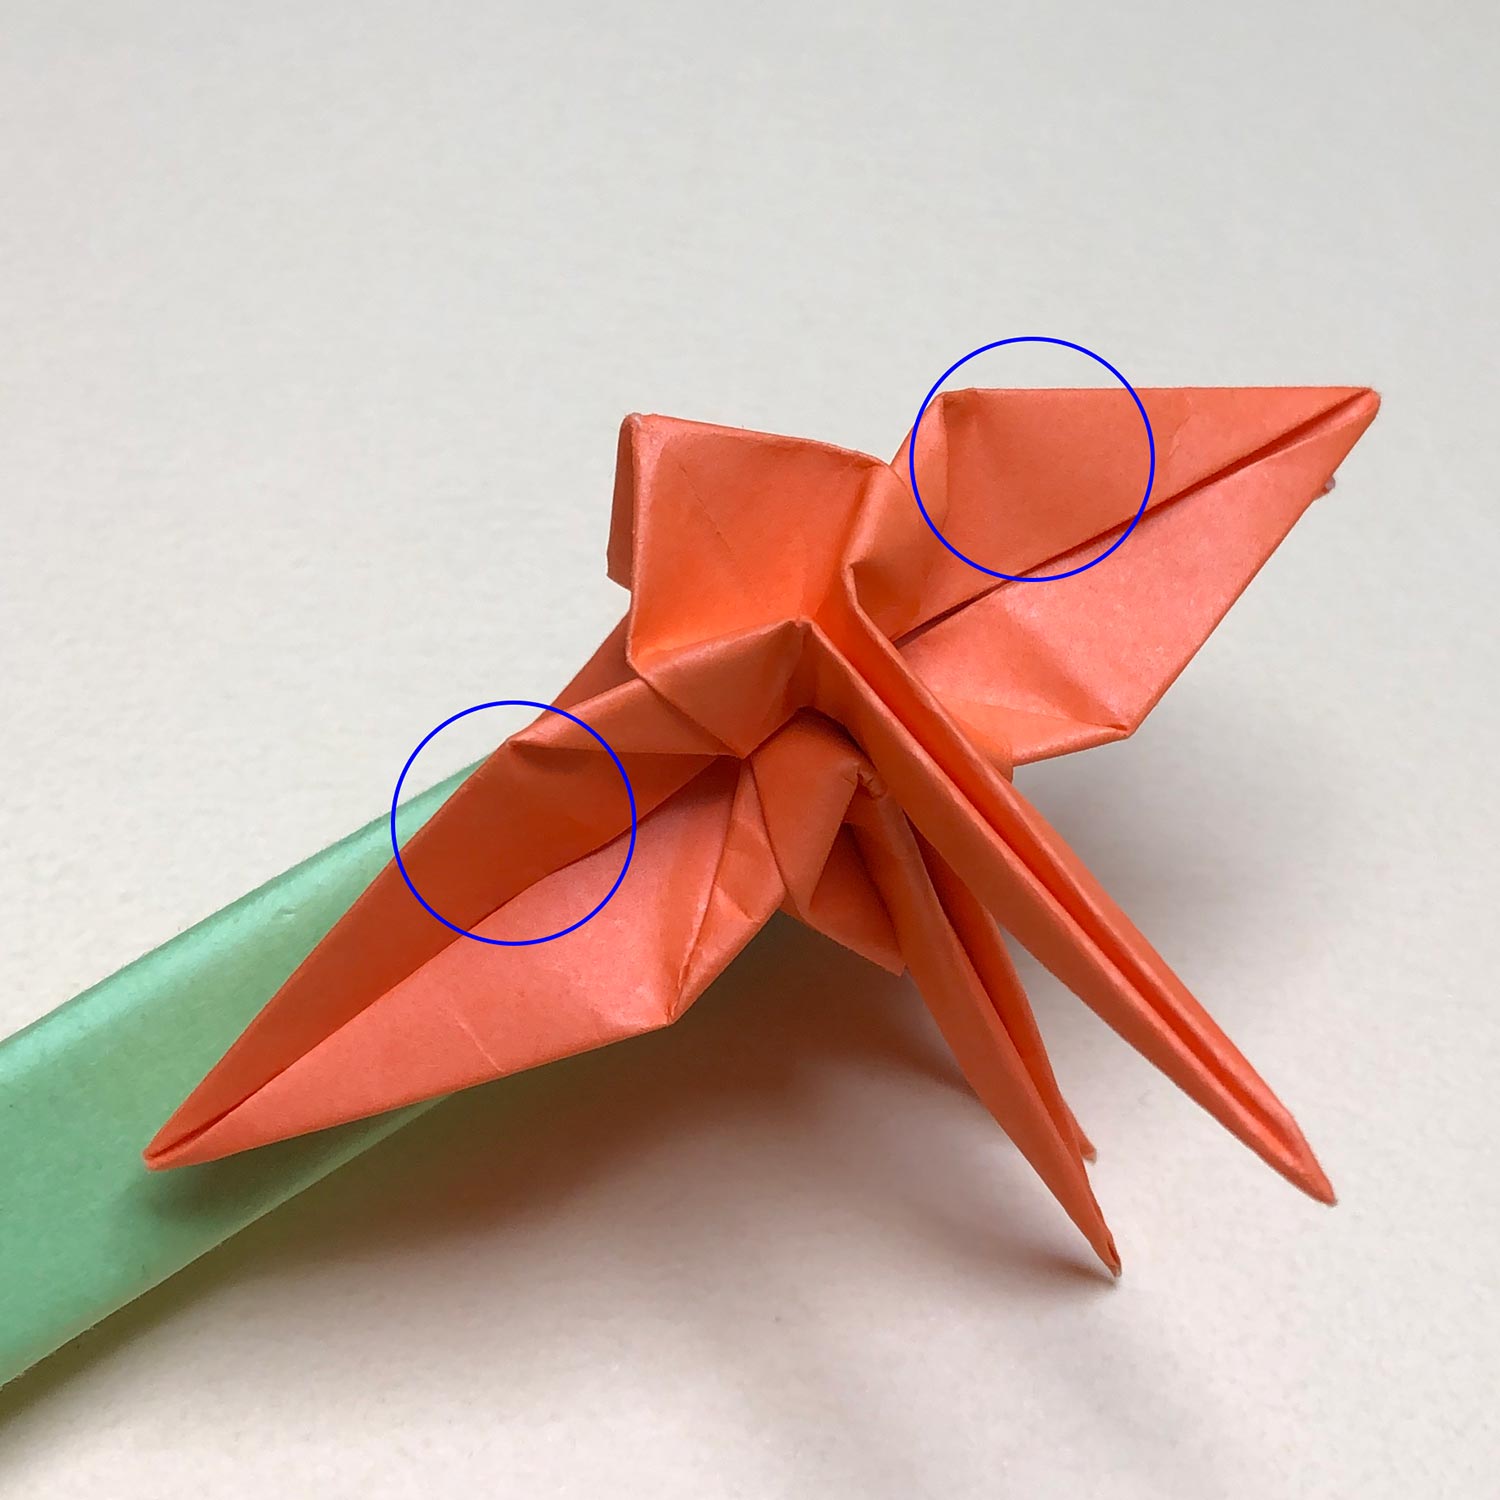
After making creases, raise the head/tail.
First, push the circled parts a little.
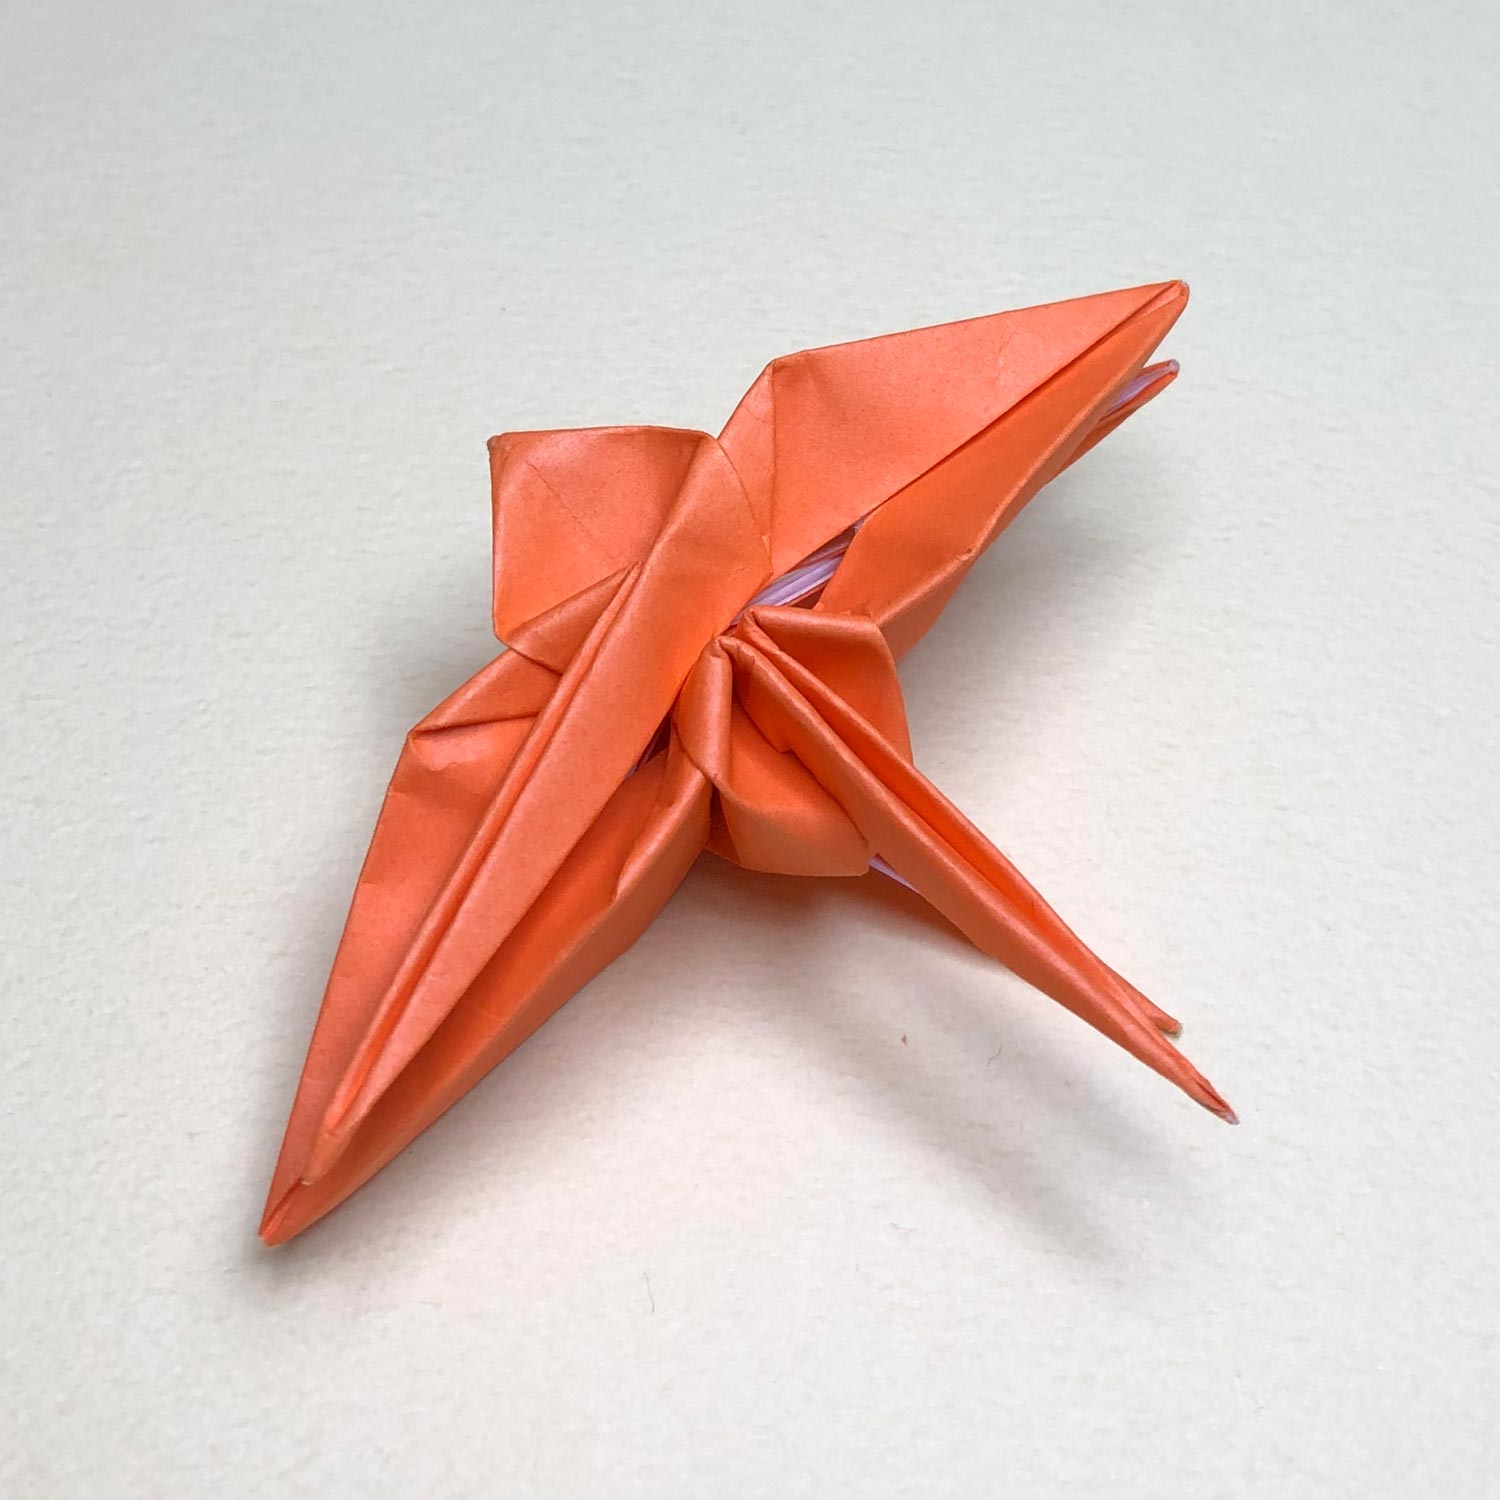
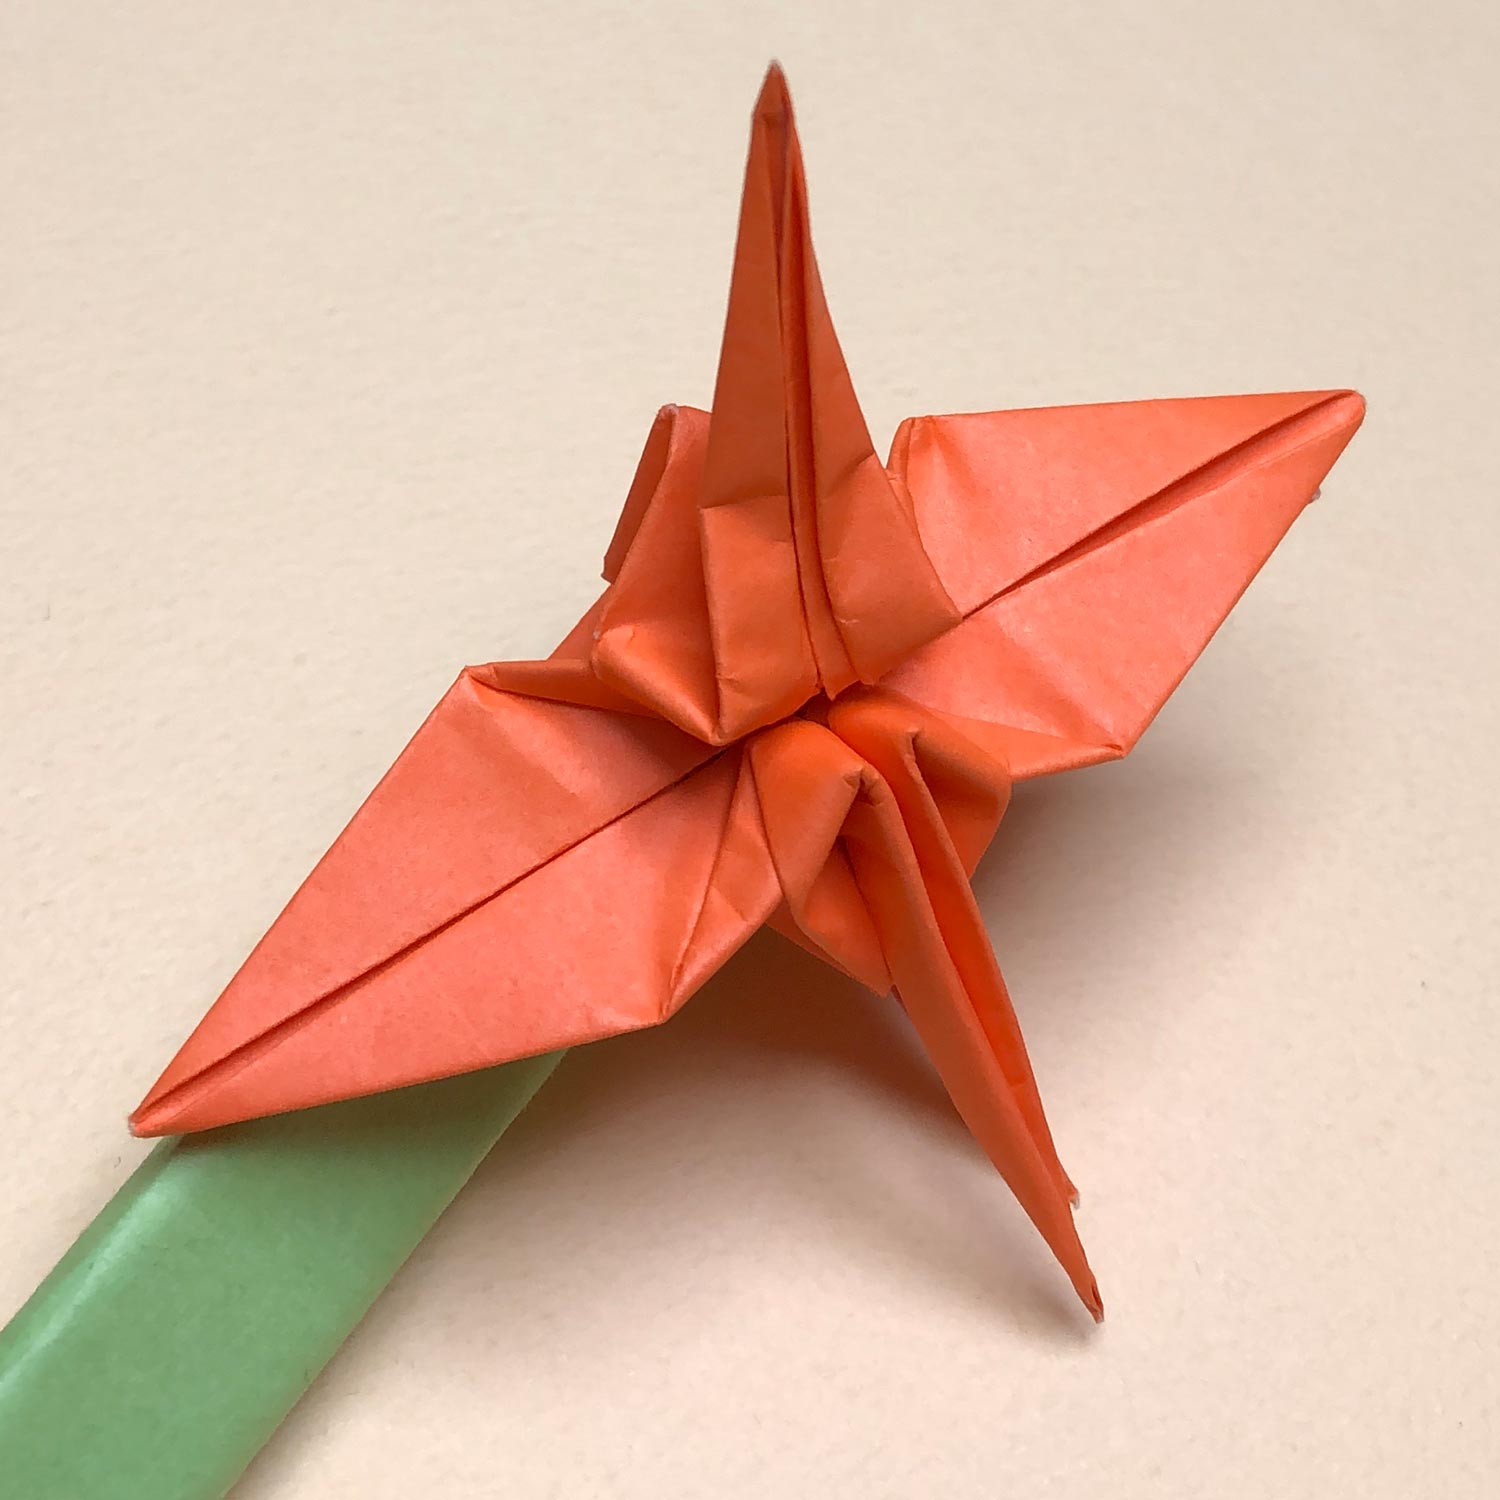
(143)
After pushing them, the head/tail is open a little like this picture.
Then raise the head/tail.
It is harder to raise a head/tail than the model – Omodaka.
Therefore, raise it carefully.
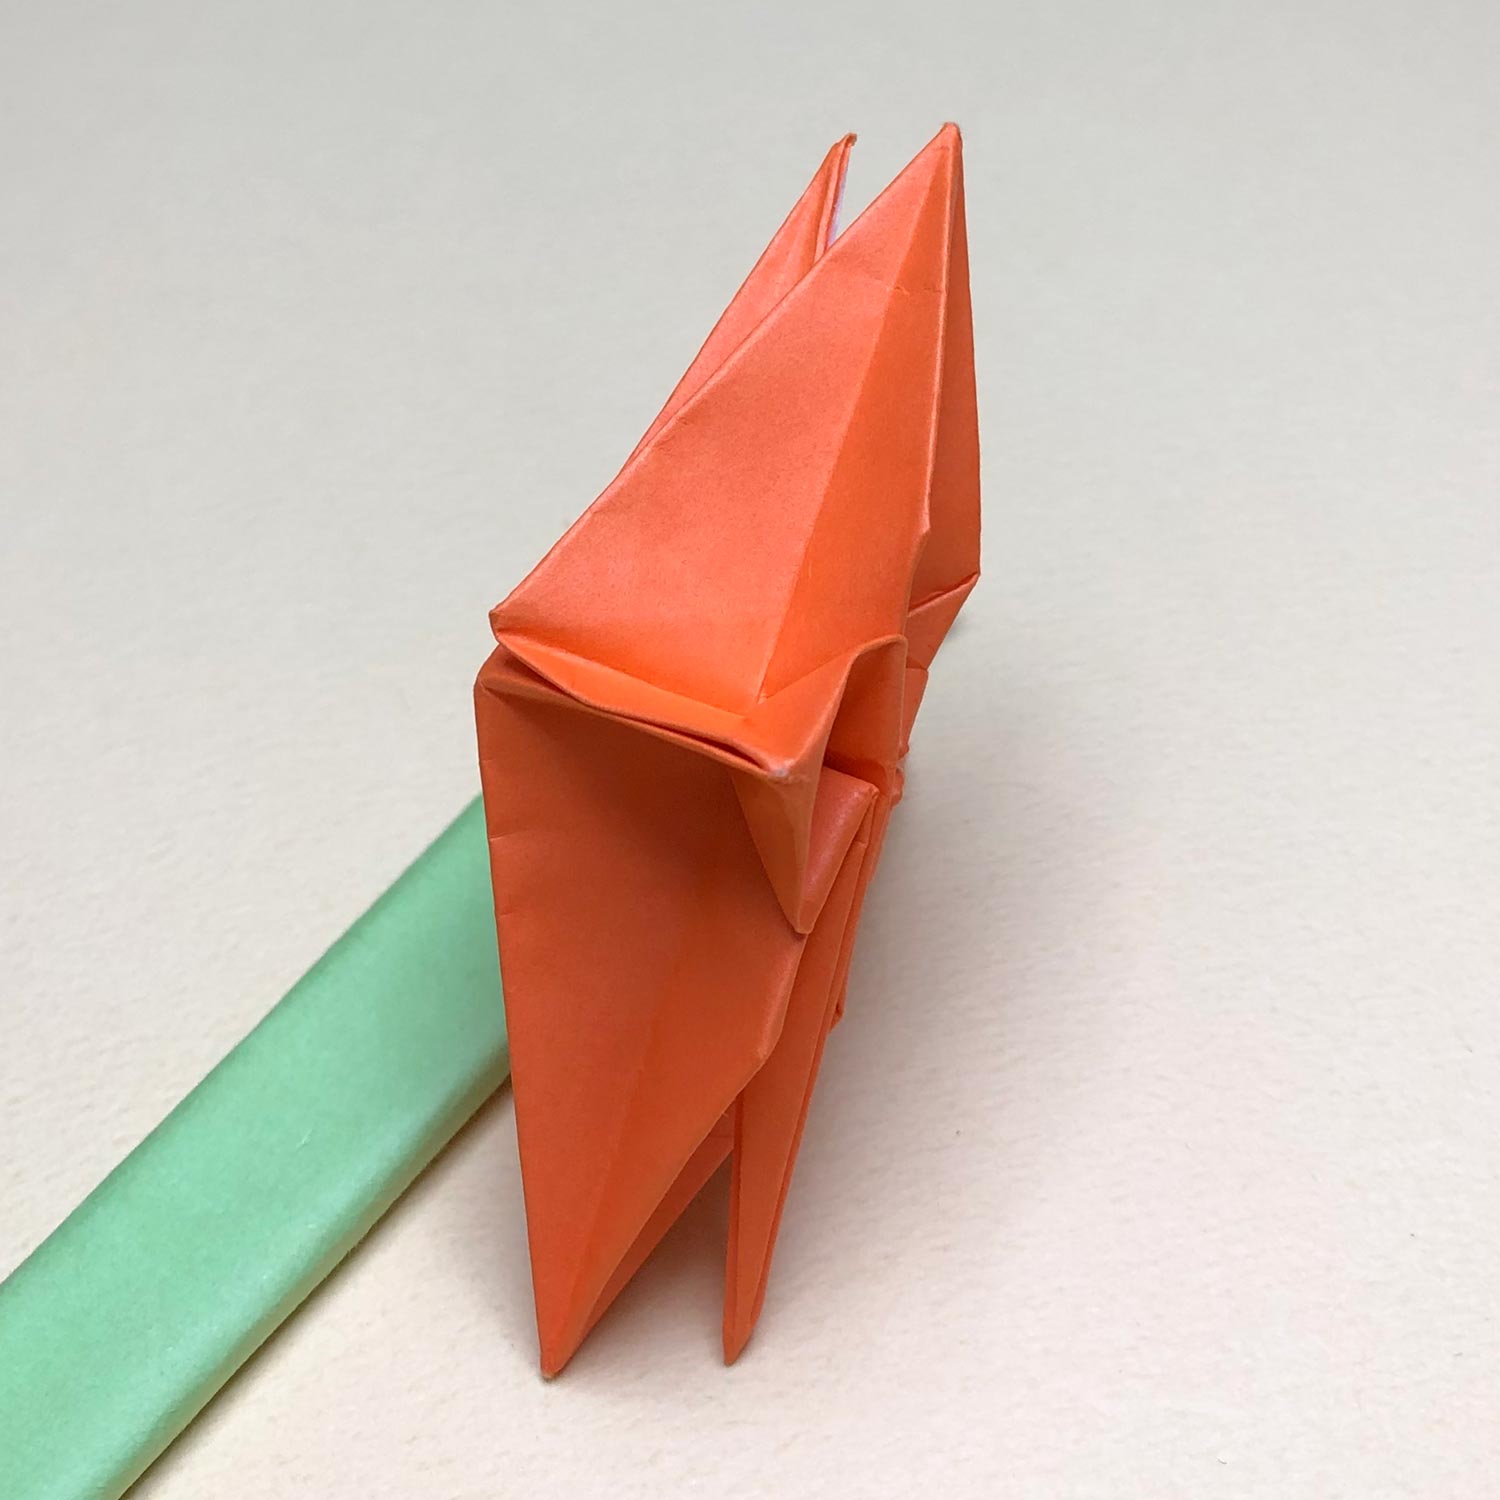
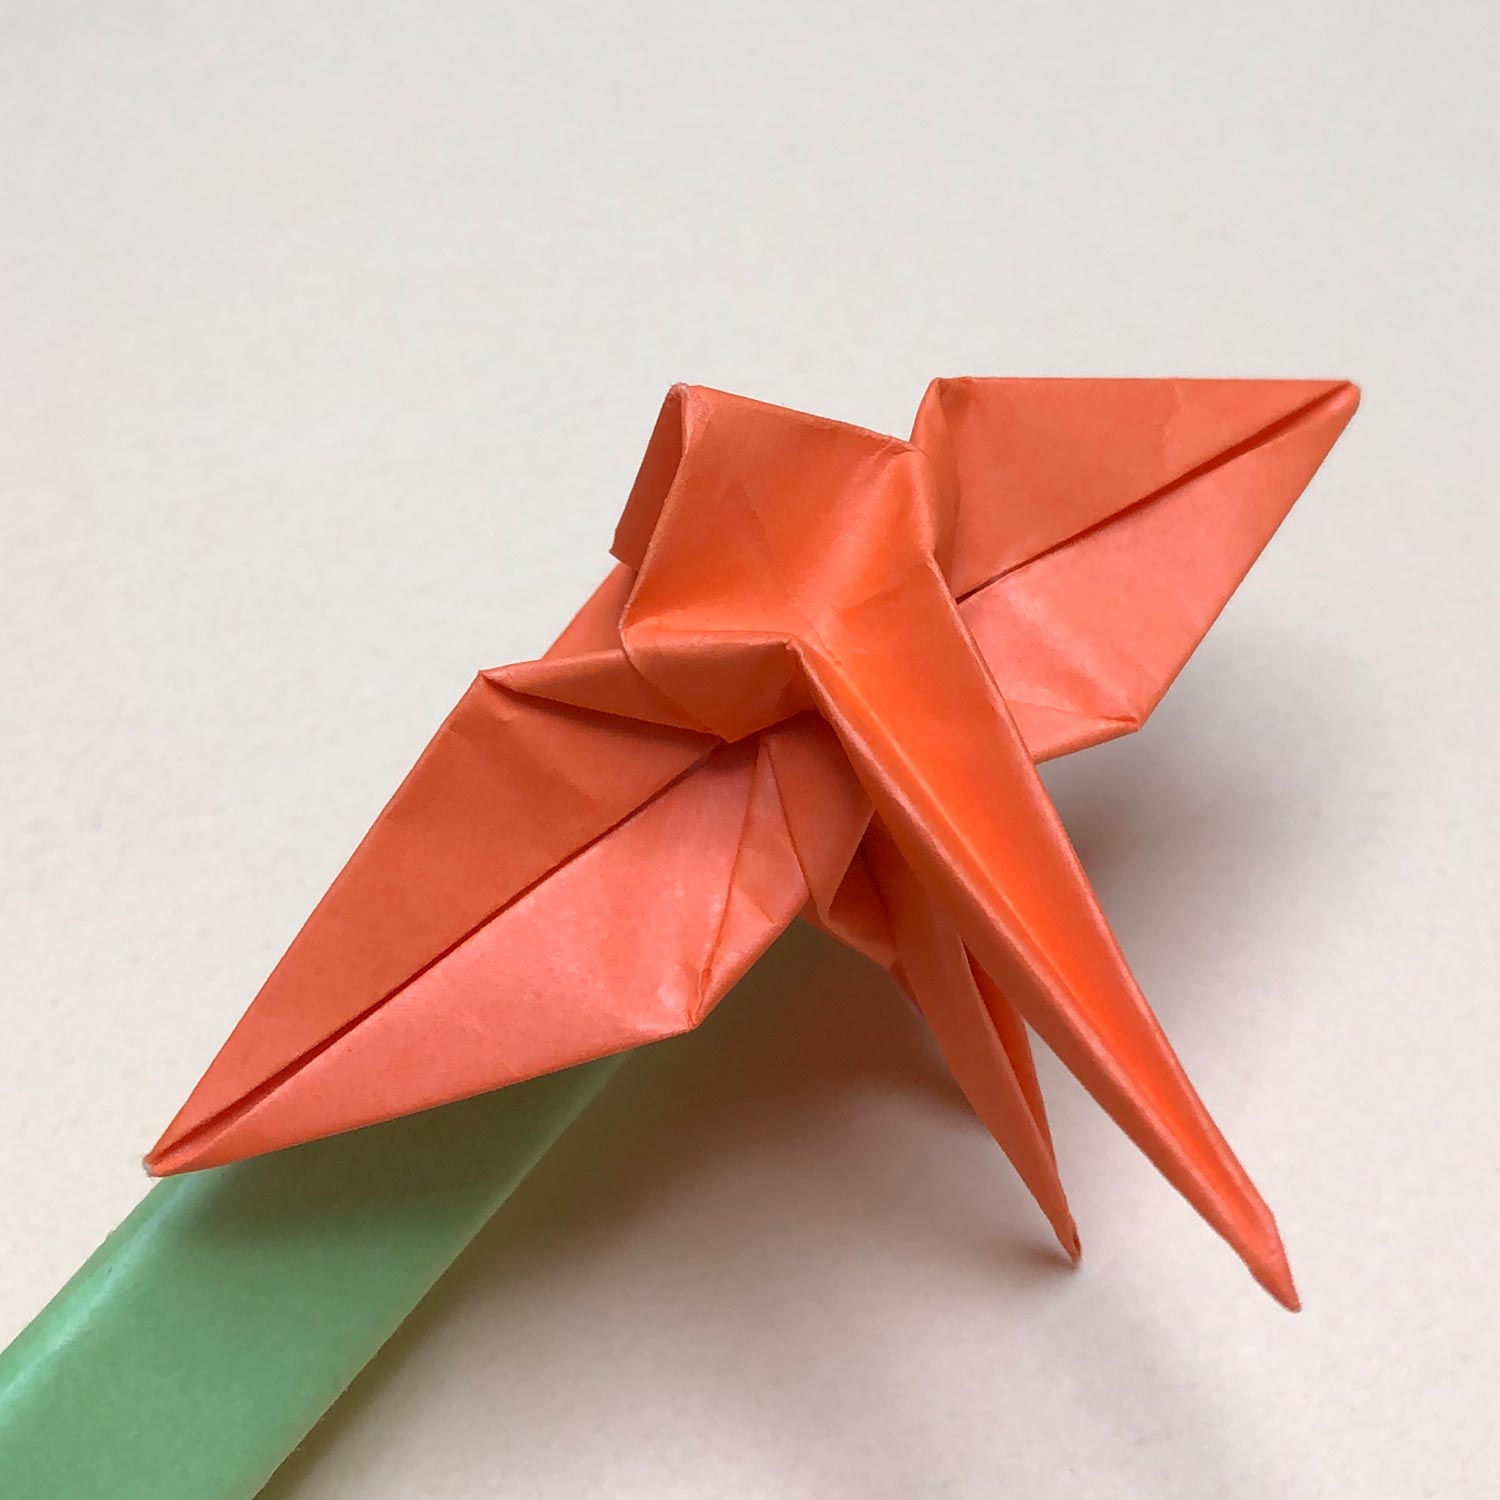
(144)
This picture is halfway through.
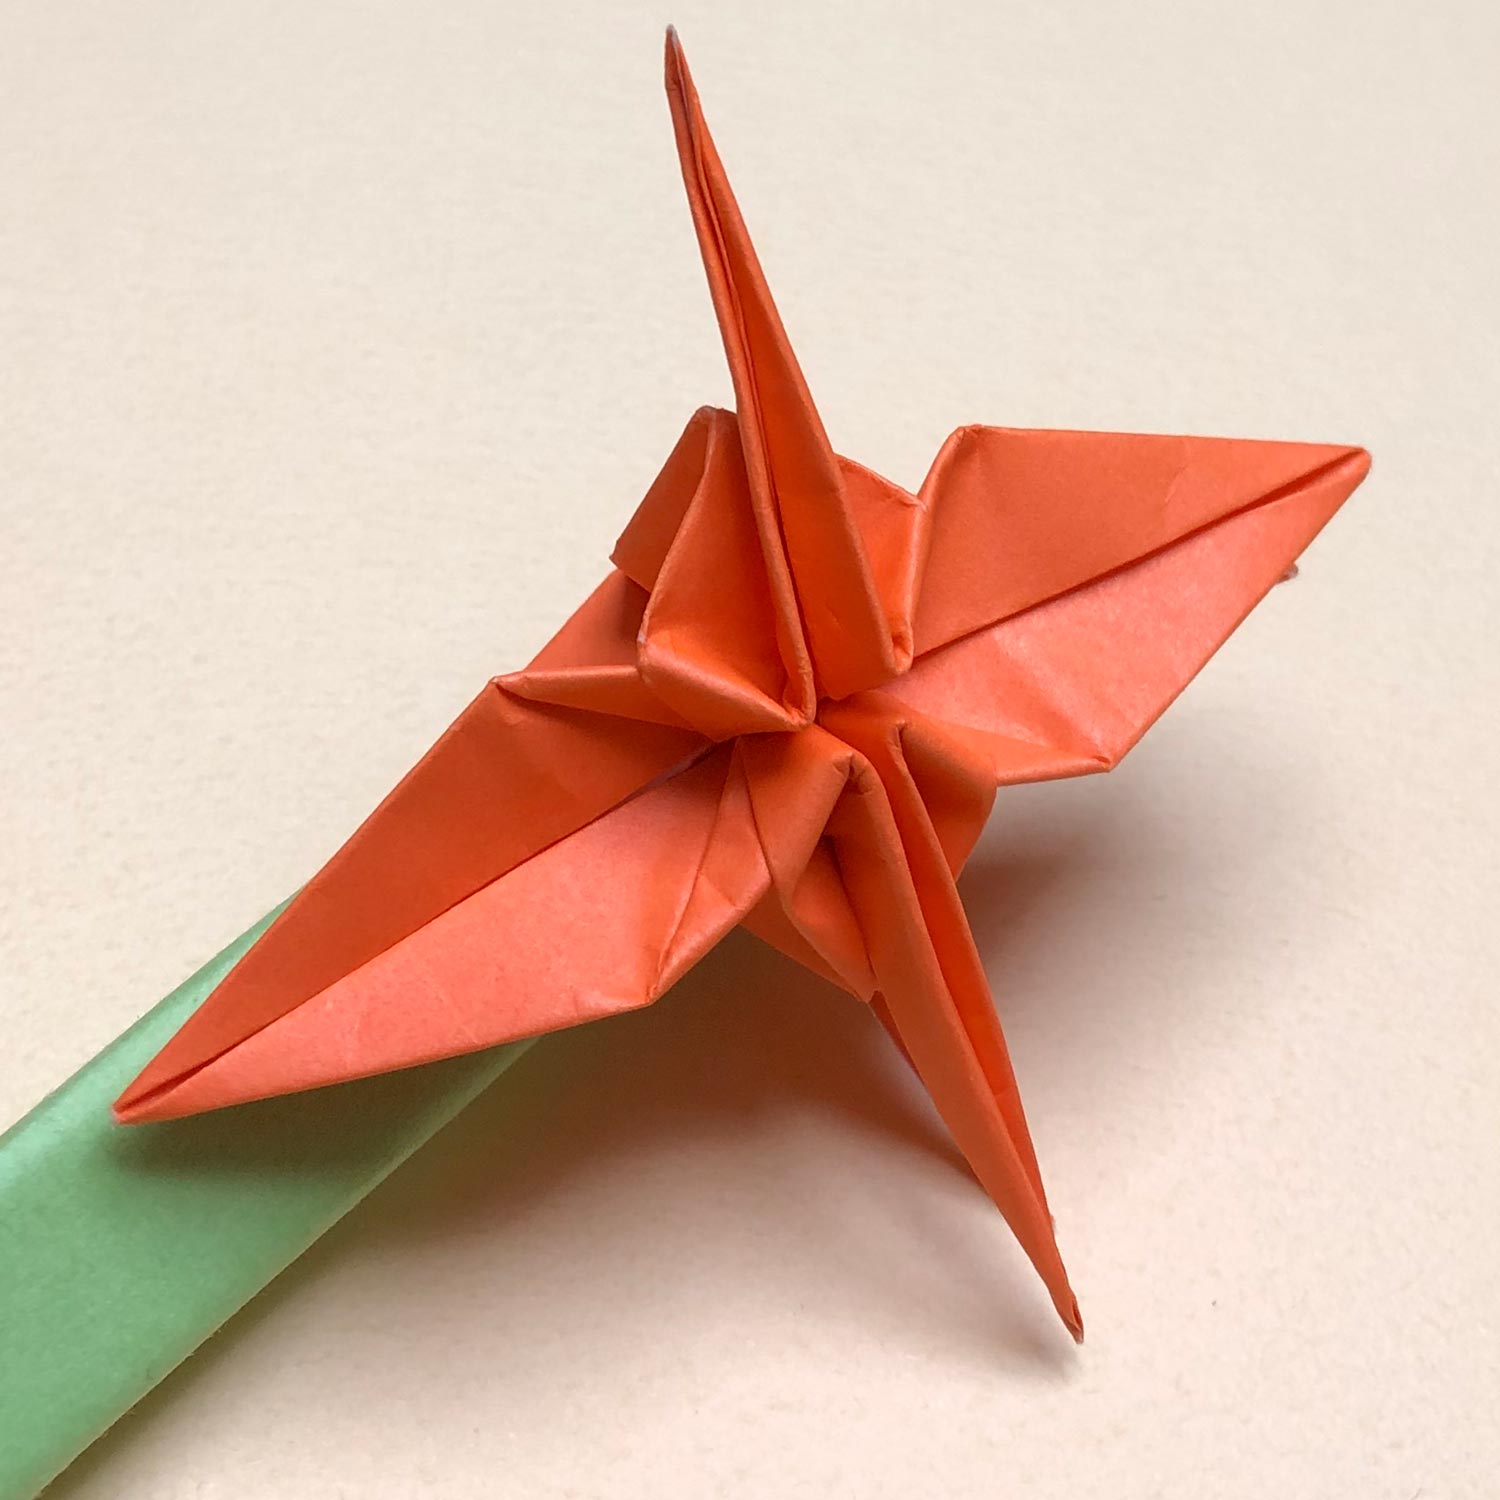
(145)
Raise the head/tail like this picture.
Then turn the paper over.