(67)
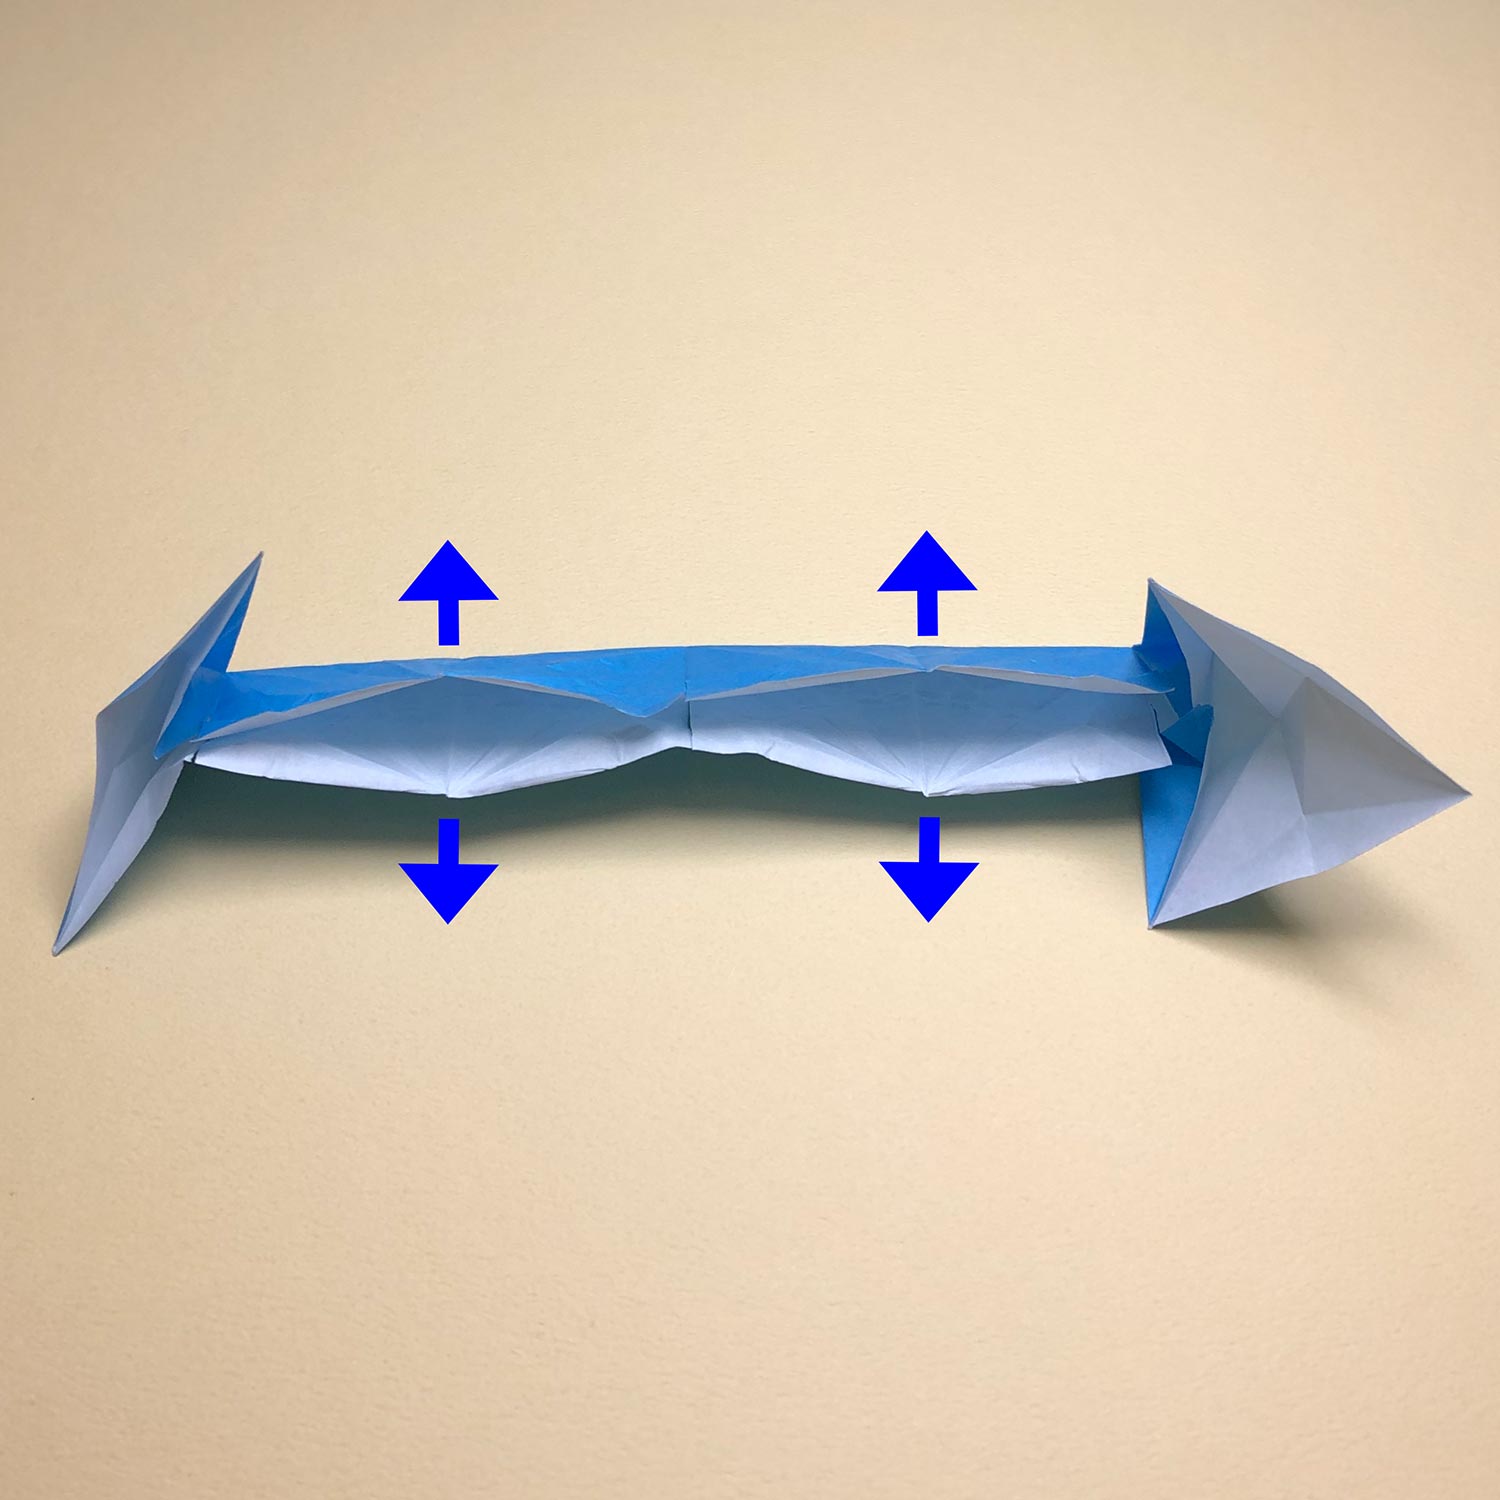
Then prepare to put the right part on the left part.
Open the center parts a little in the direction of the arrows.
(68)
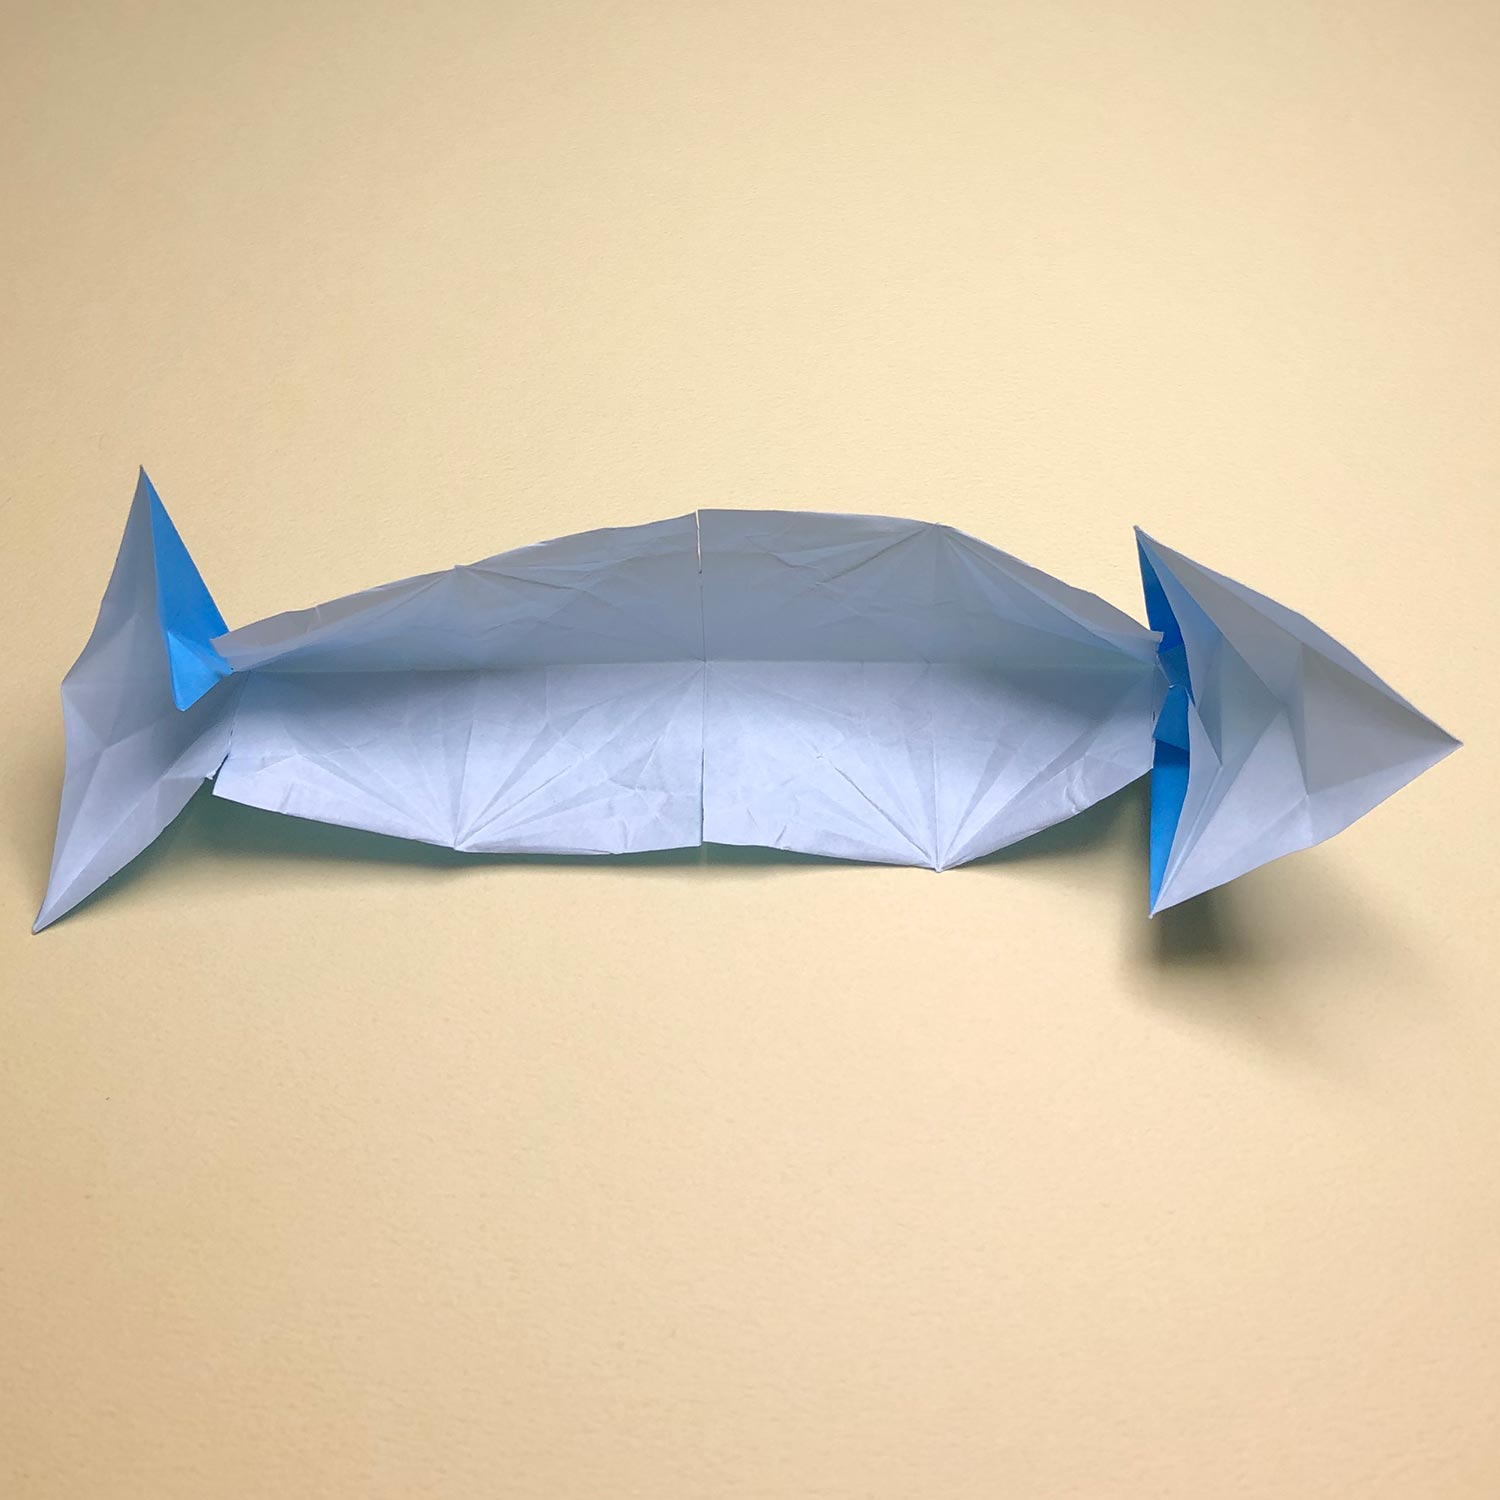
Open the center parts a little like this picture.

(69)
Then fold the parts which are shown by the arrows.

(70)
This picture is taken from the back side.
Make mountain-folds on the dotted lines.
(71)
Make mountain-folds like this picture.
(72)
On the other side, make mountain-folds on the dotted lines.
(73)
Make mountain-folds like this picture.

(74)
After making mountain-folds on the four lines, it looks like this picture.

(75)
Then put the paper like this picture.
Move the top part in the direction of the arrow.

(76)
Then insert the bottom part in the top part.
(77)
This picture is halfway through.
(78)
Insert the bottom part in the top part like this picture.
(79)
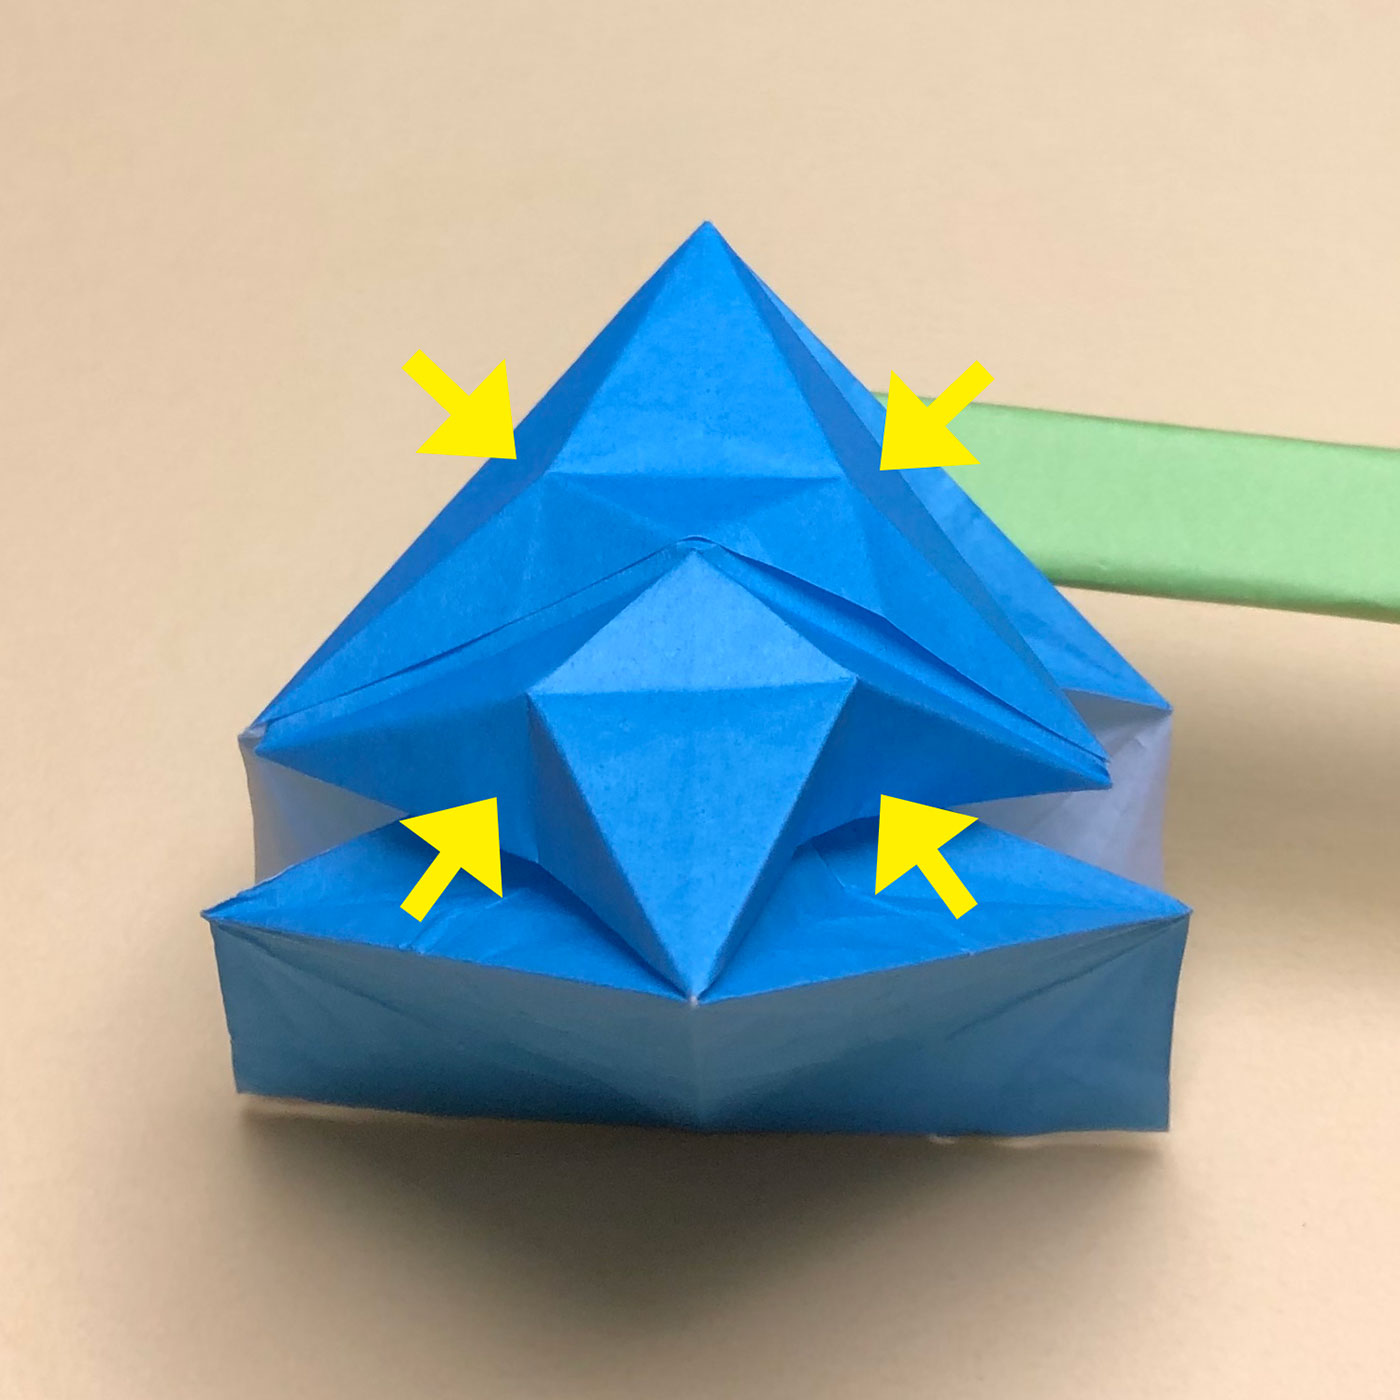
Then make a bird-base in the state of that the bottom part is inserted in the top part.
Push the parts which are shown by the arrows and make a star-shape like this picture.
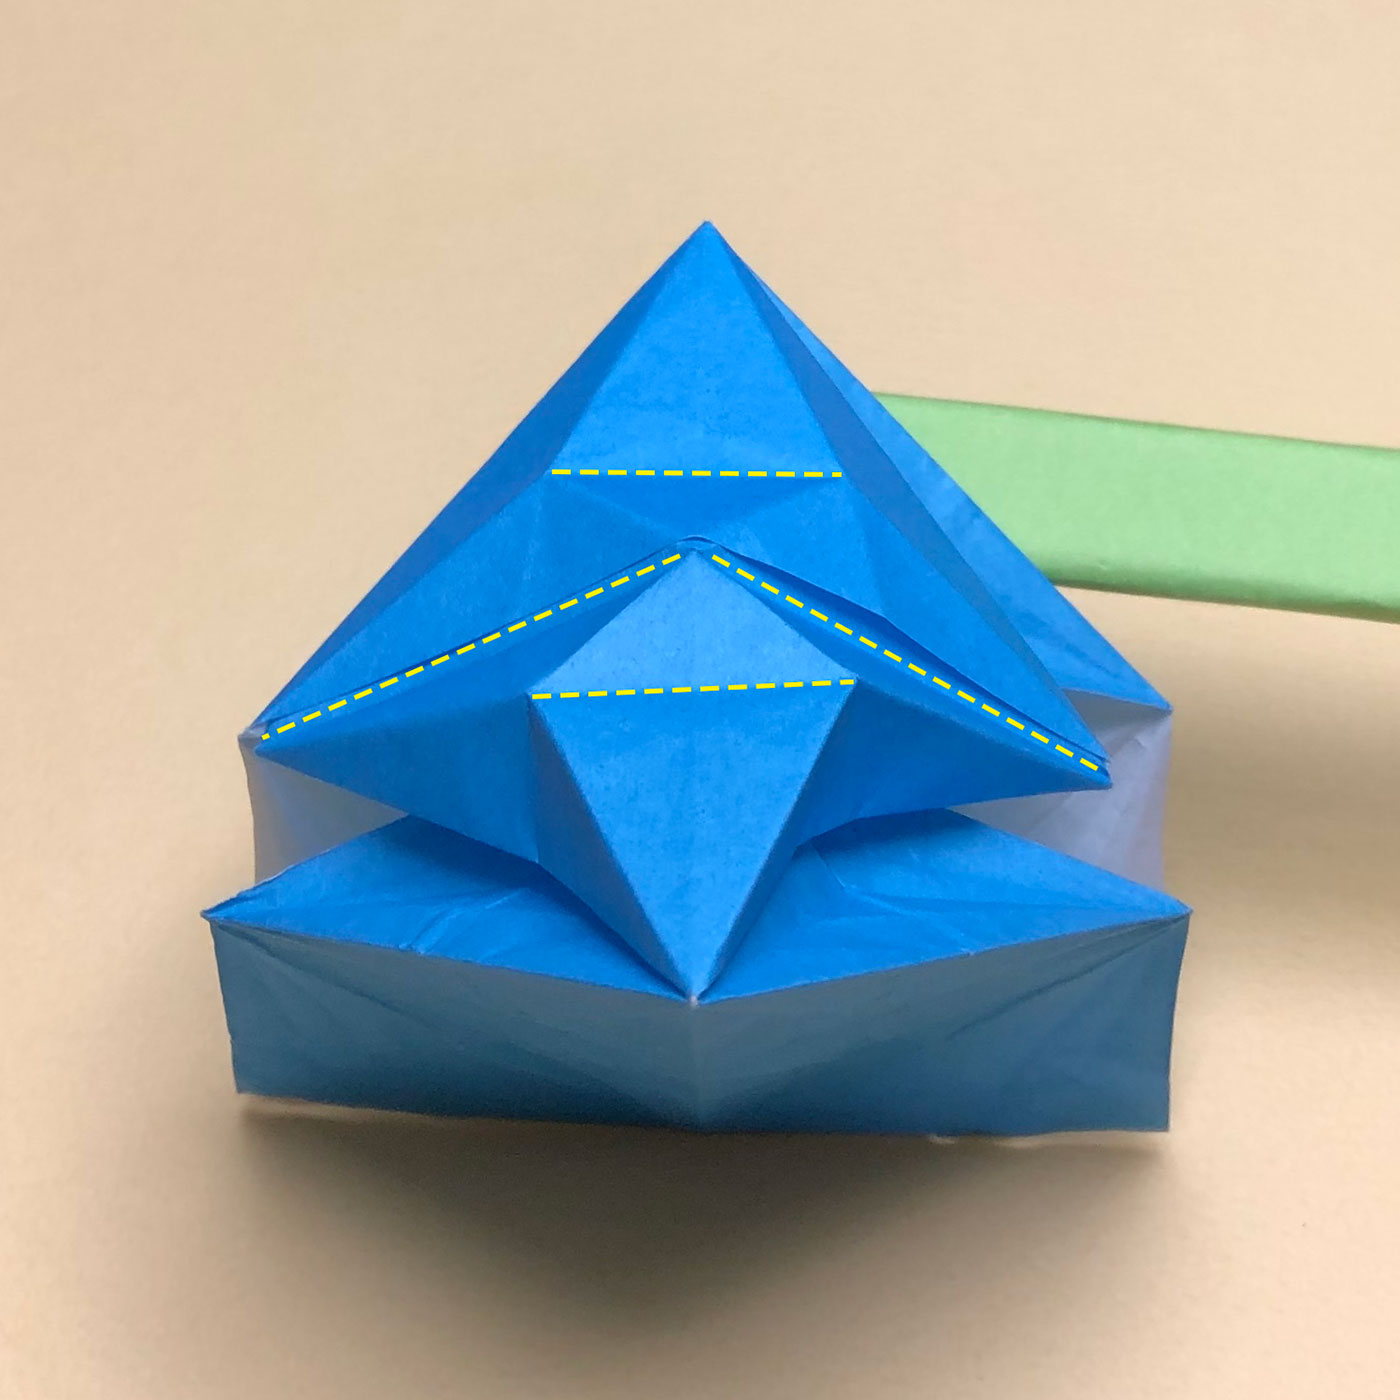
(80)
Then make valley-folds on the dotted lines.
(81)
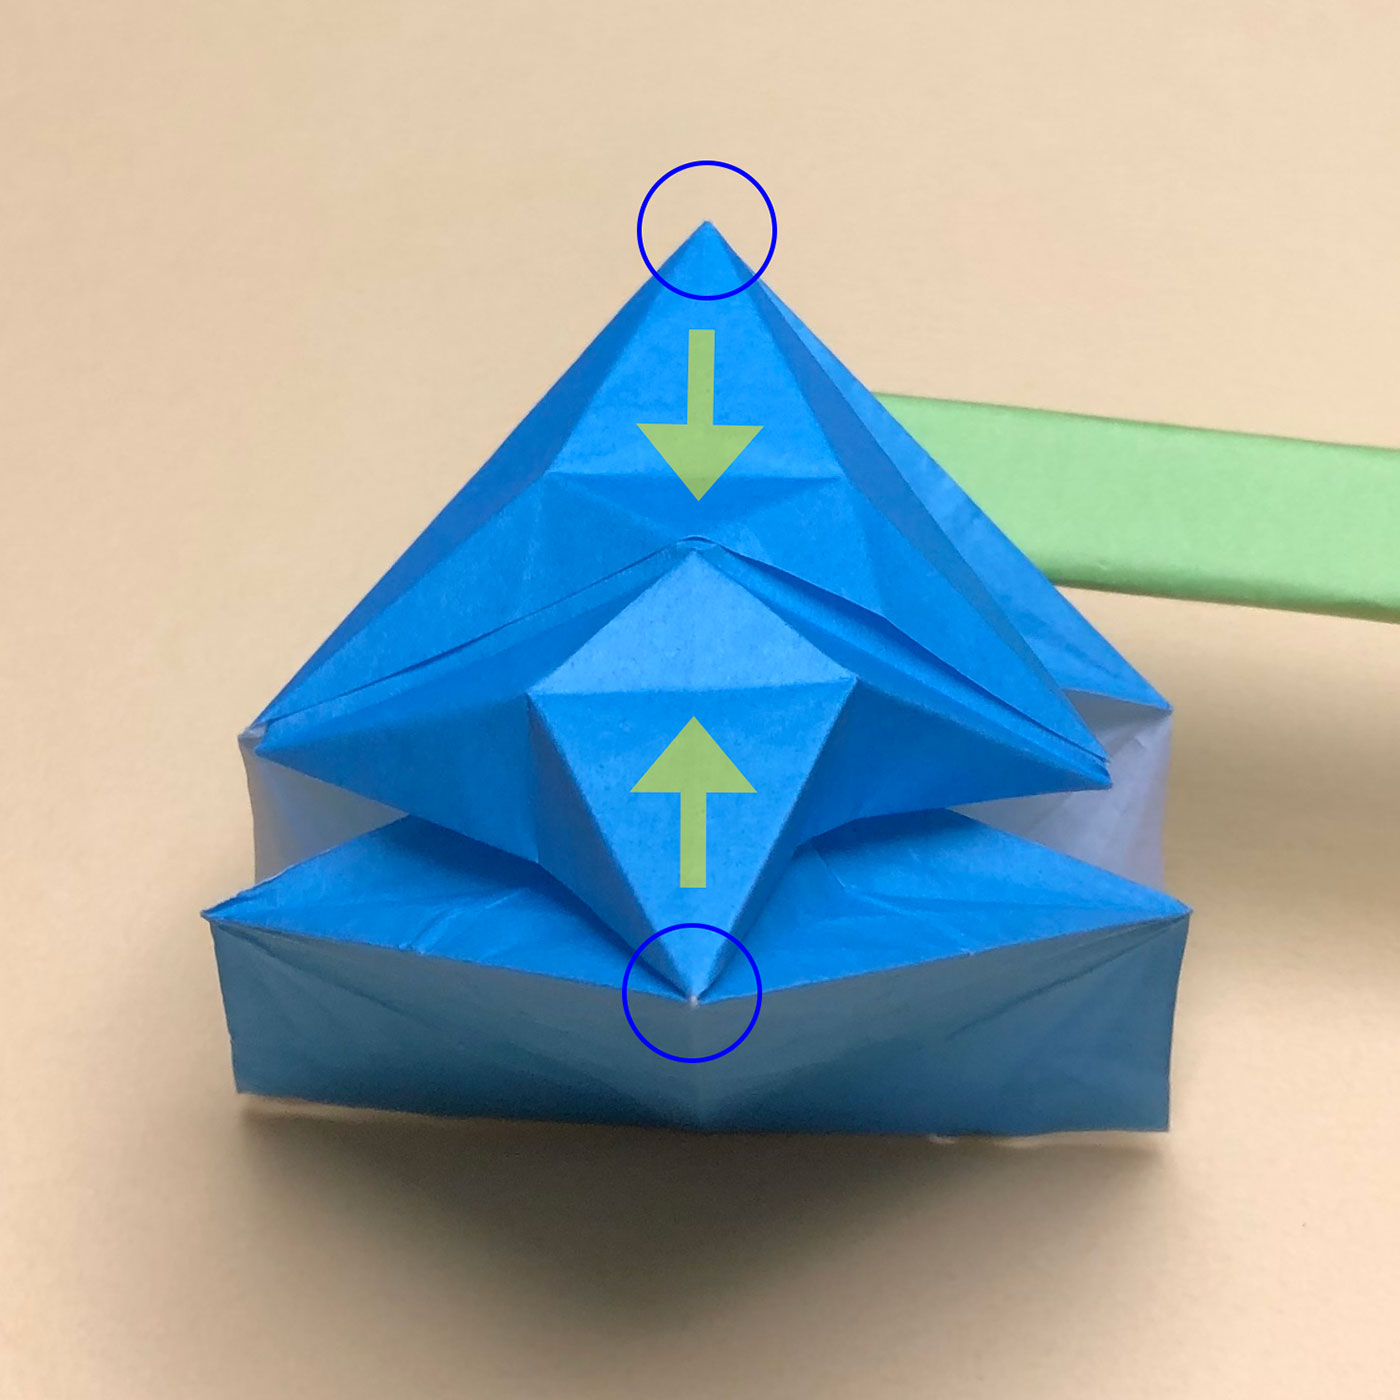
After that, put your fingers on the circled tips and move the tips in the direction of the arrows.
If you move them, it will automatically start to take shape of a bird-base.
Because you have made a bird-base and creases once in the former steps.

(82)
When making shape like this picture, the paper would start to get caught on each other.
Make creases so that the paper don’t get caught on each other.
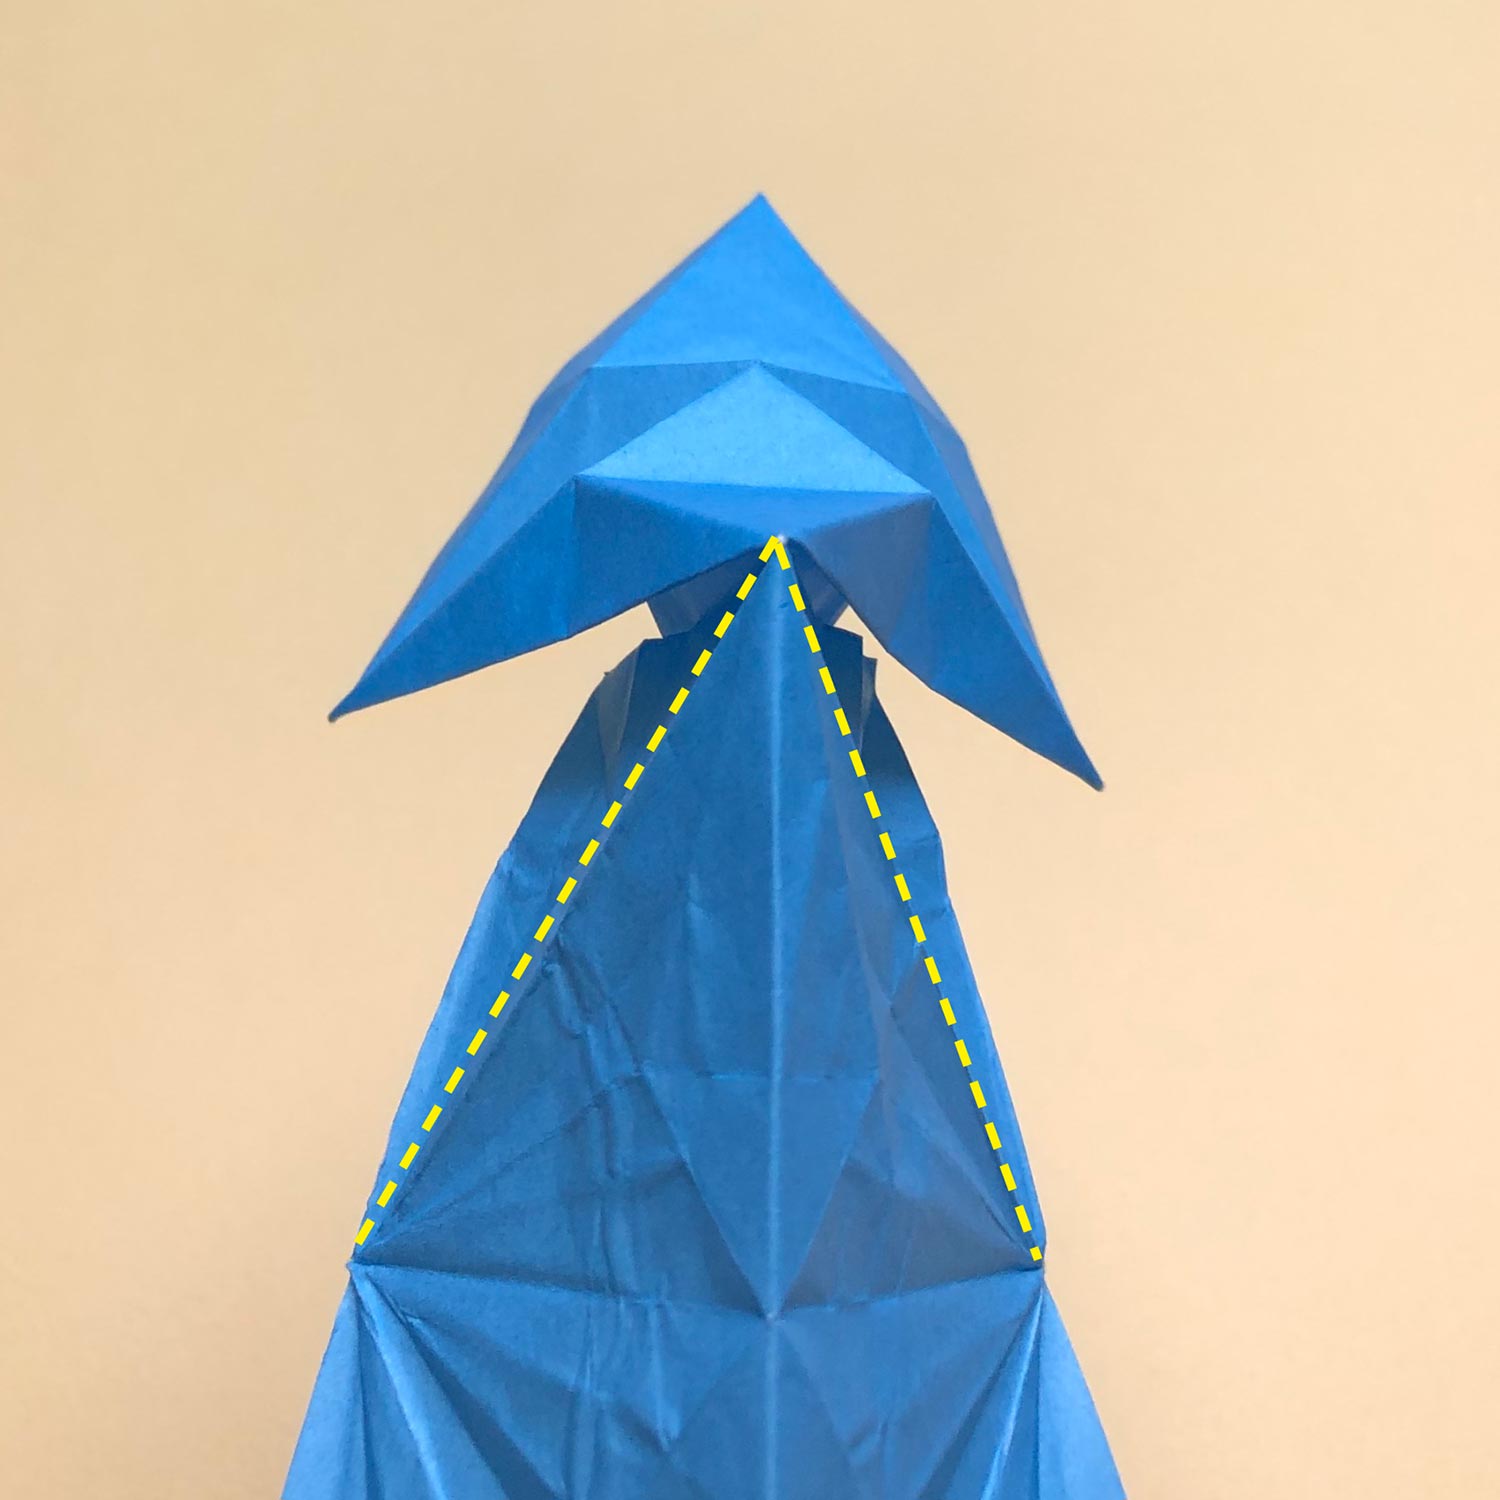
(83)
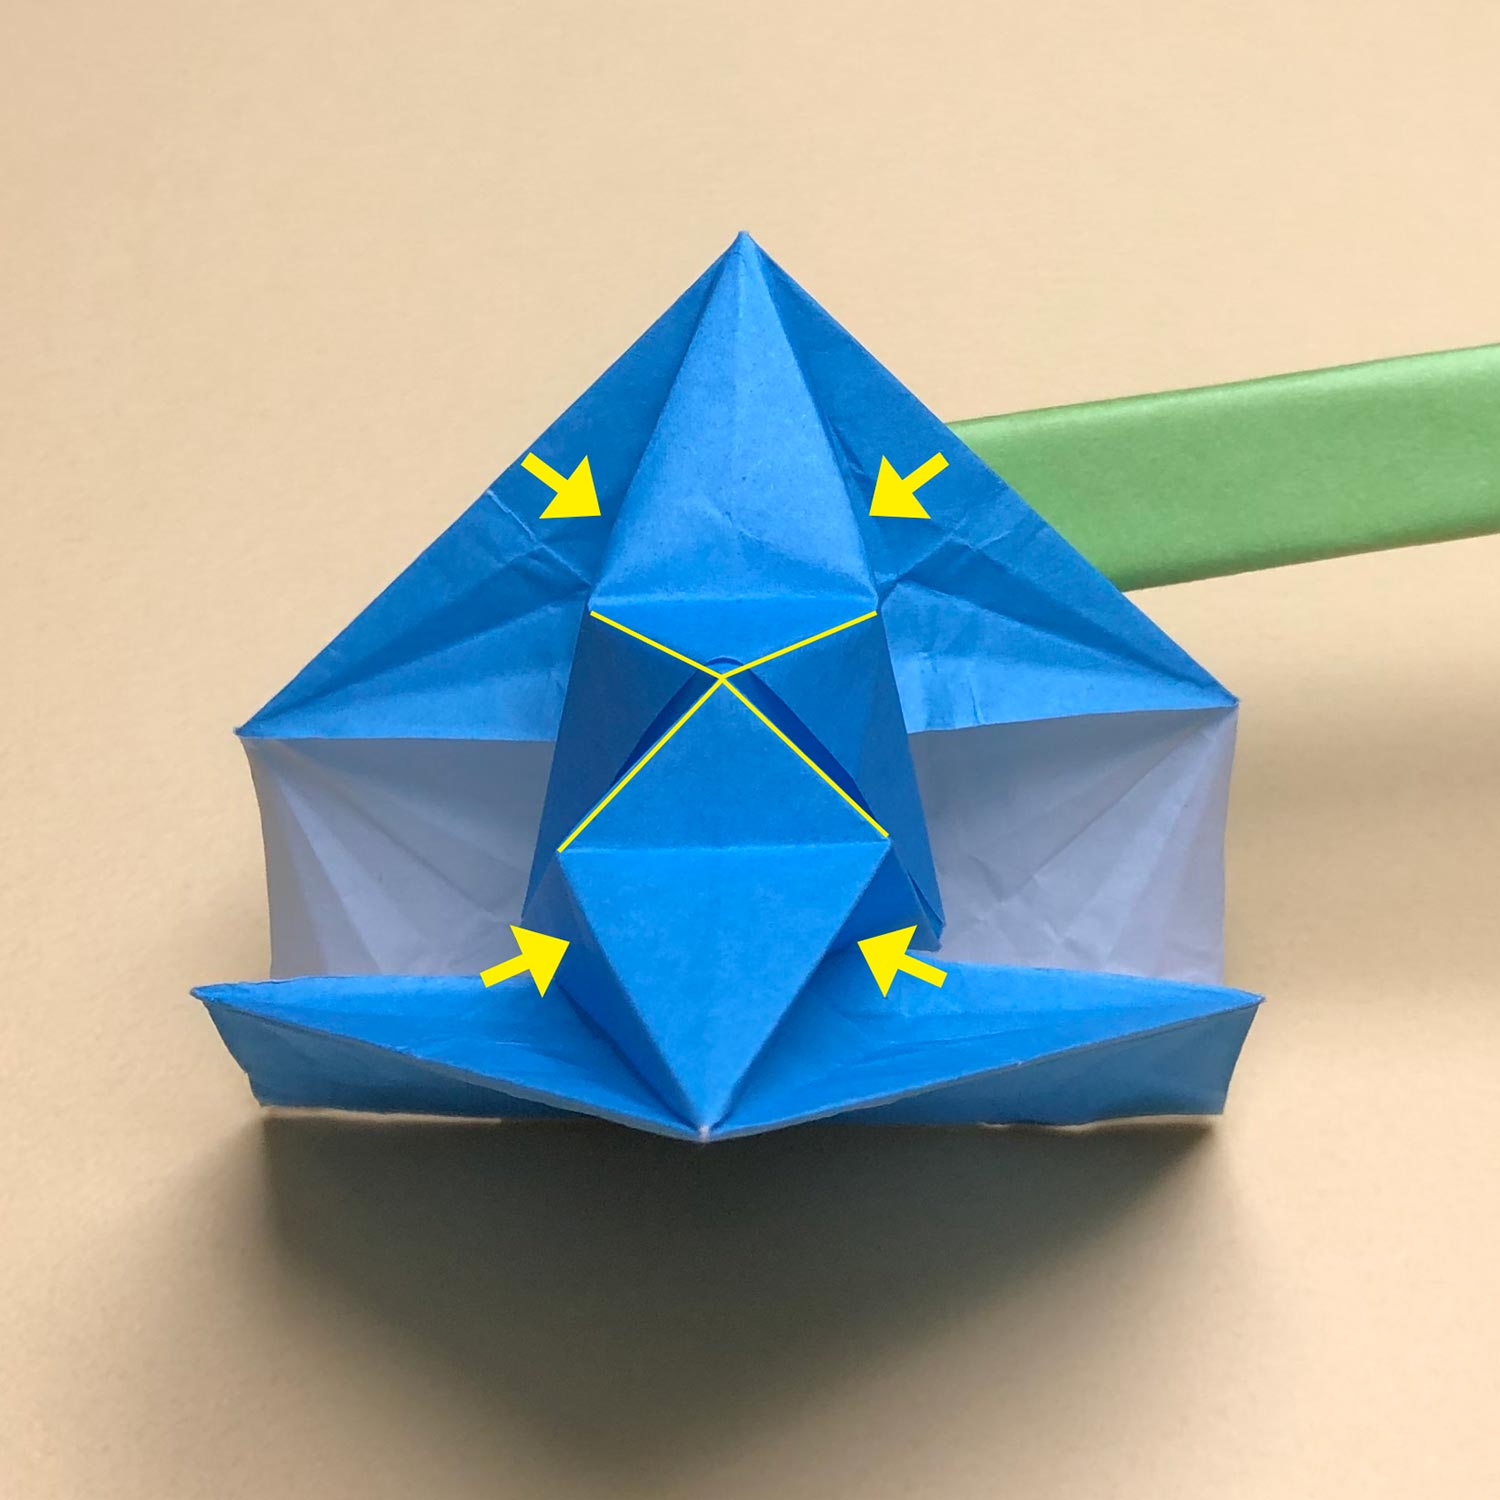
Push the parts which are shown by the arrows and fold them.
Also, make mountain-folds on the yellow lines.
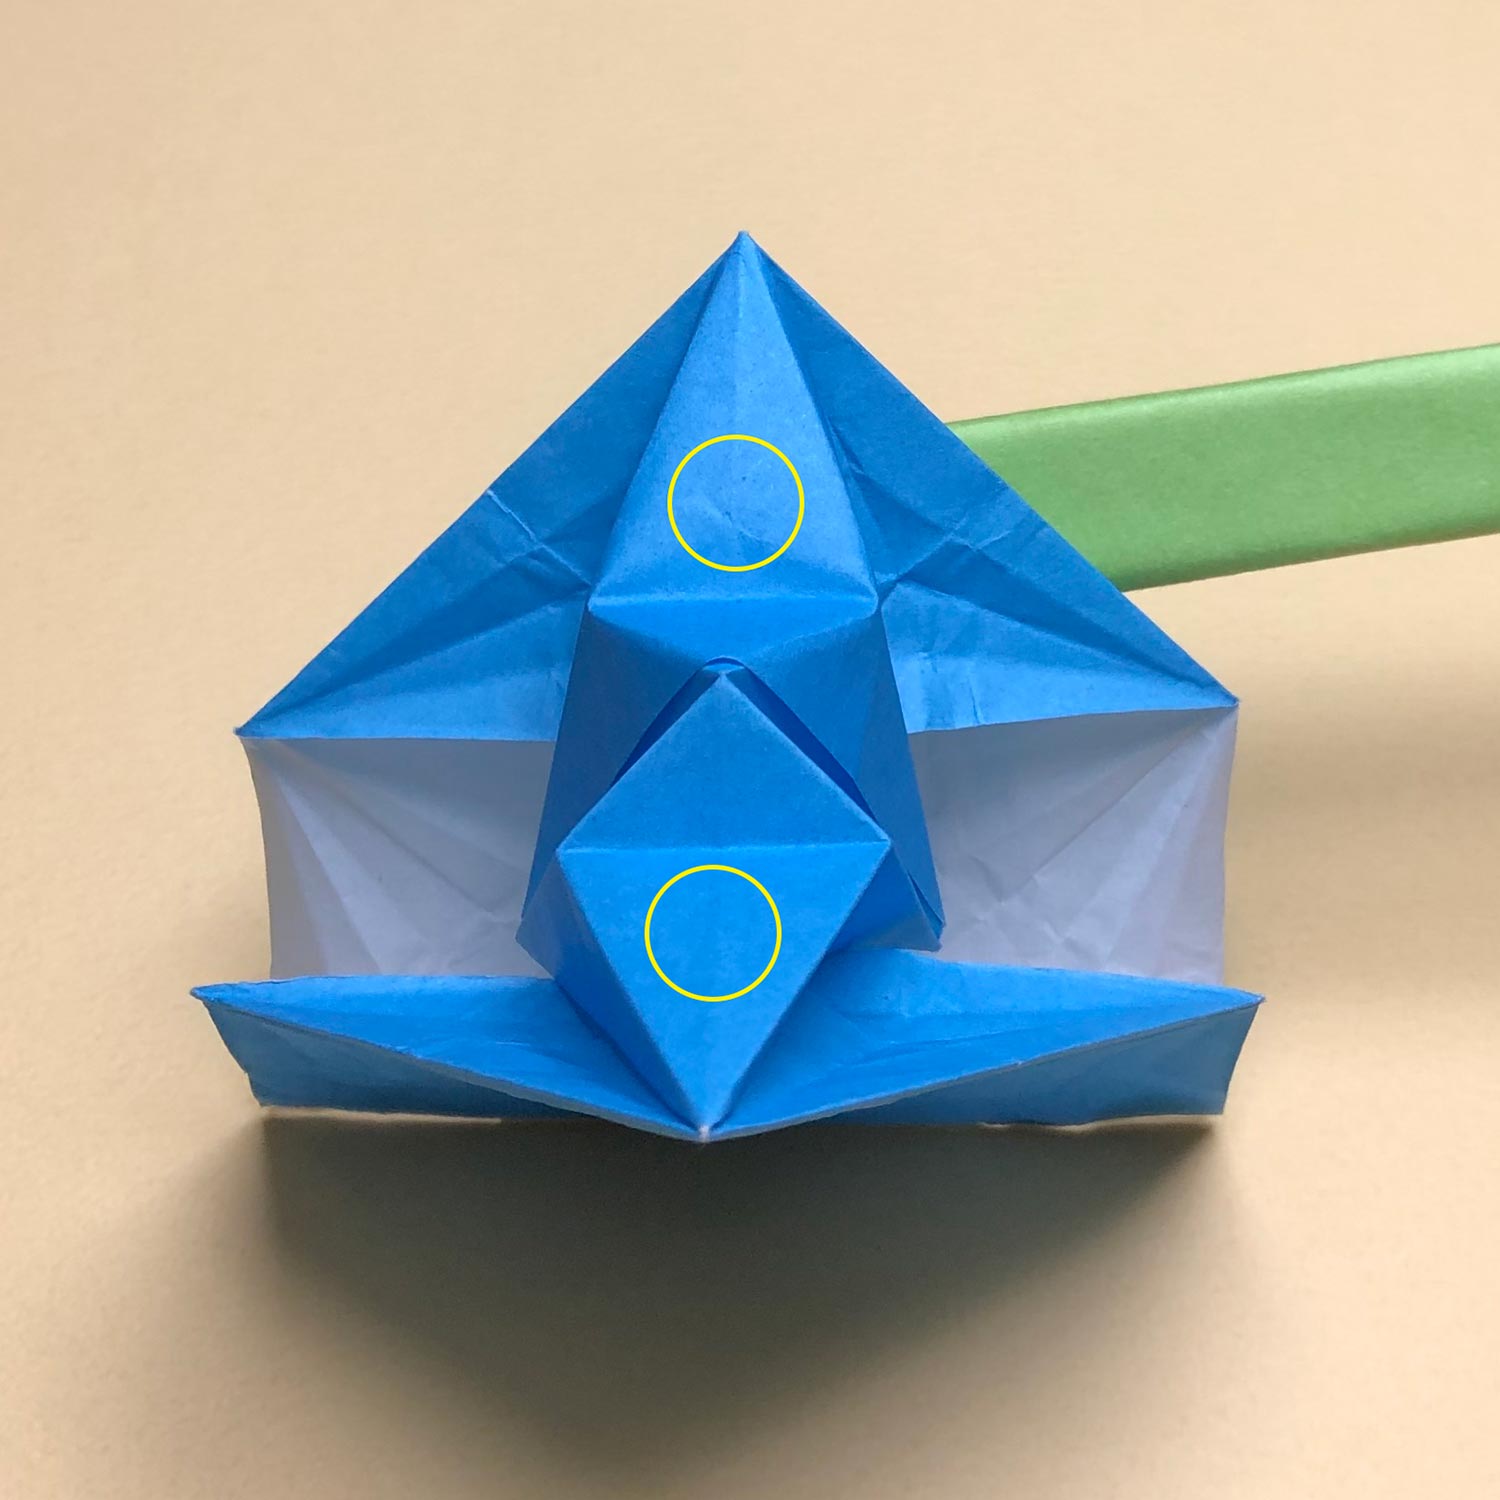
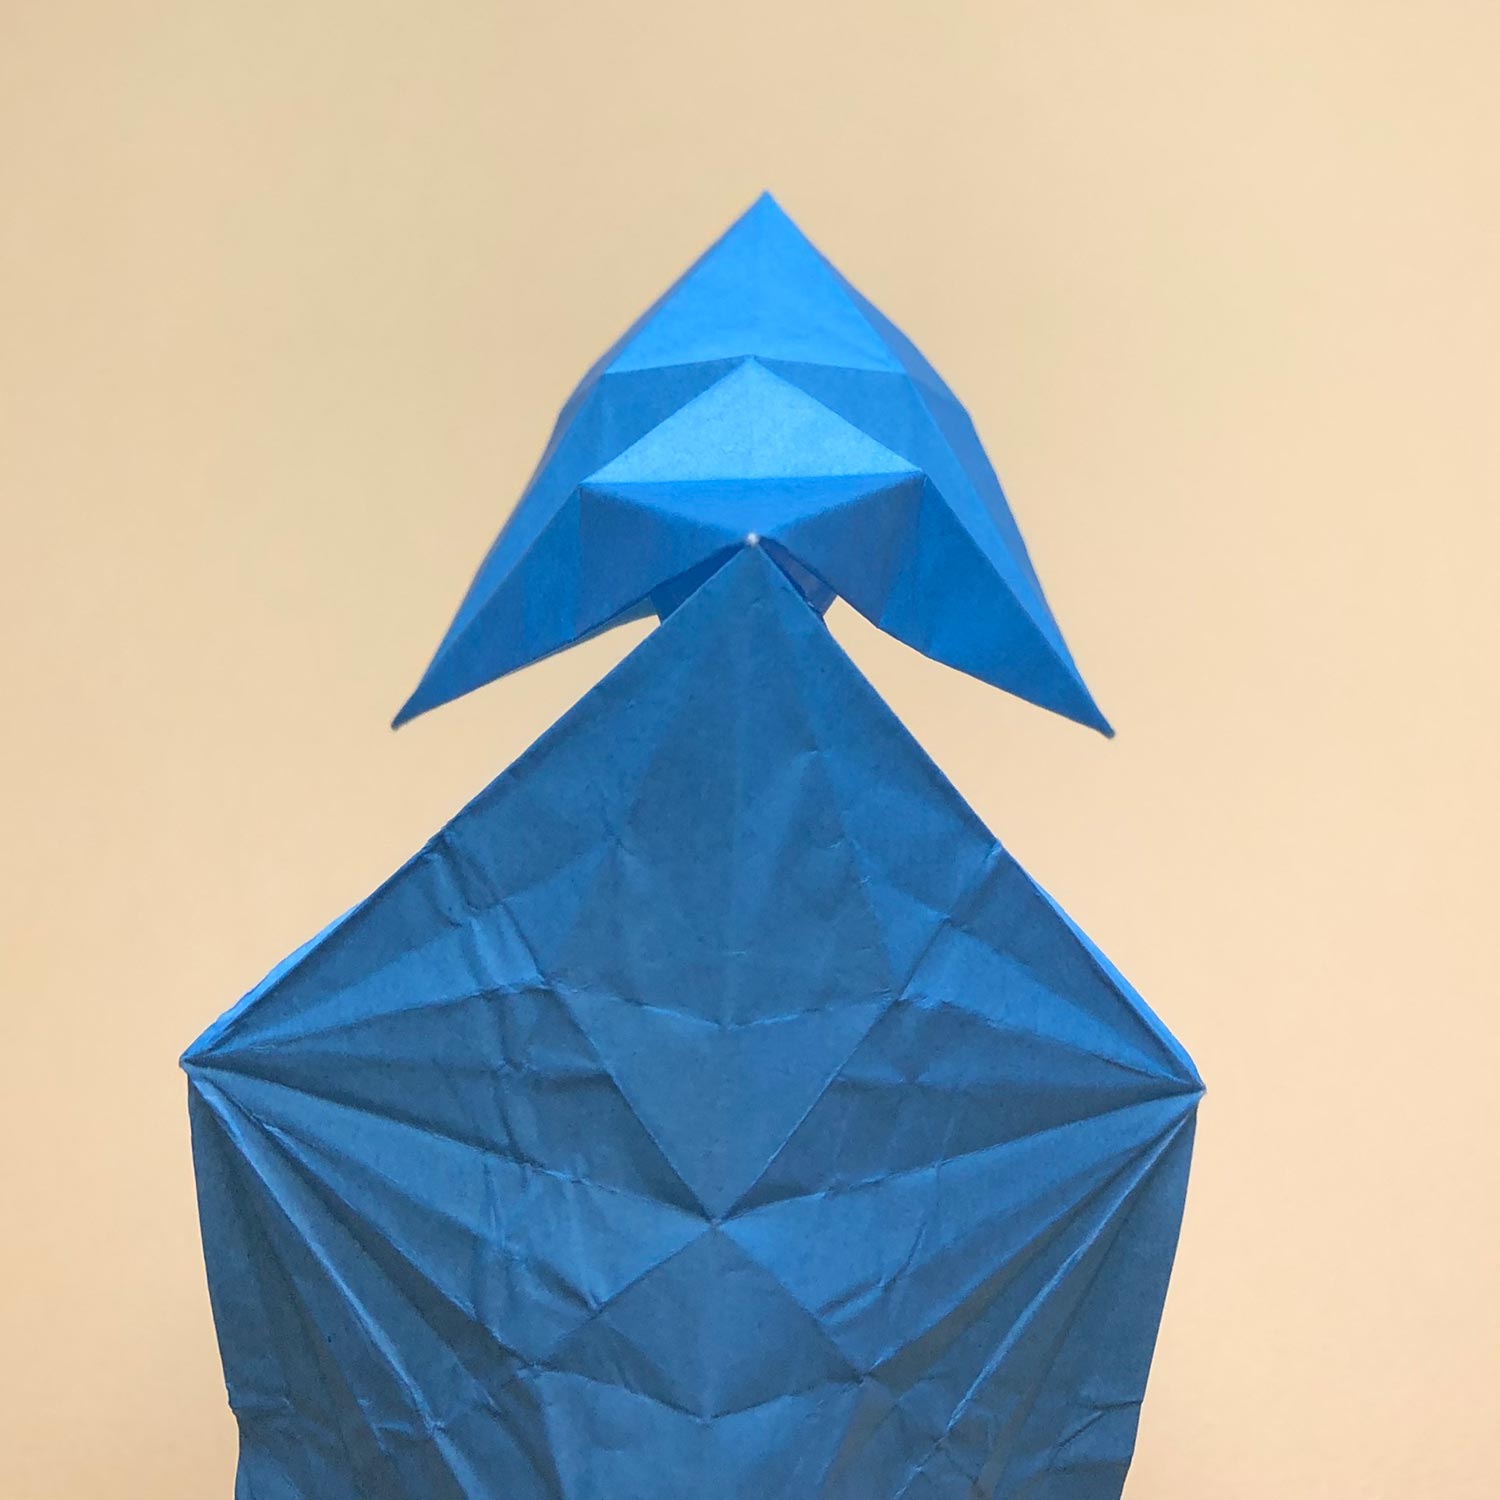
(84)
Then move the top and bottom to the center again to make a bird-base.
If you push the circled parts from the back side, it will get easier to make a bird-base.
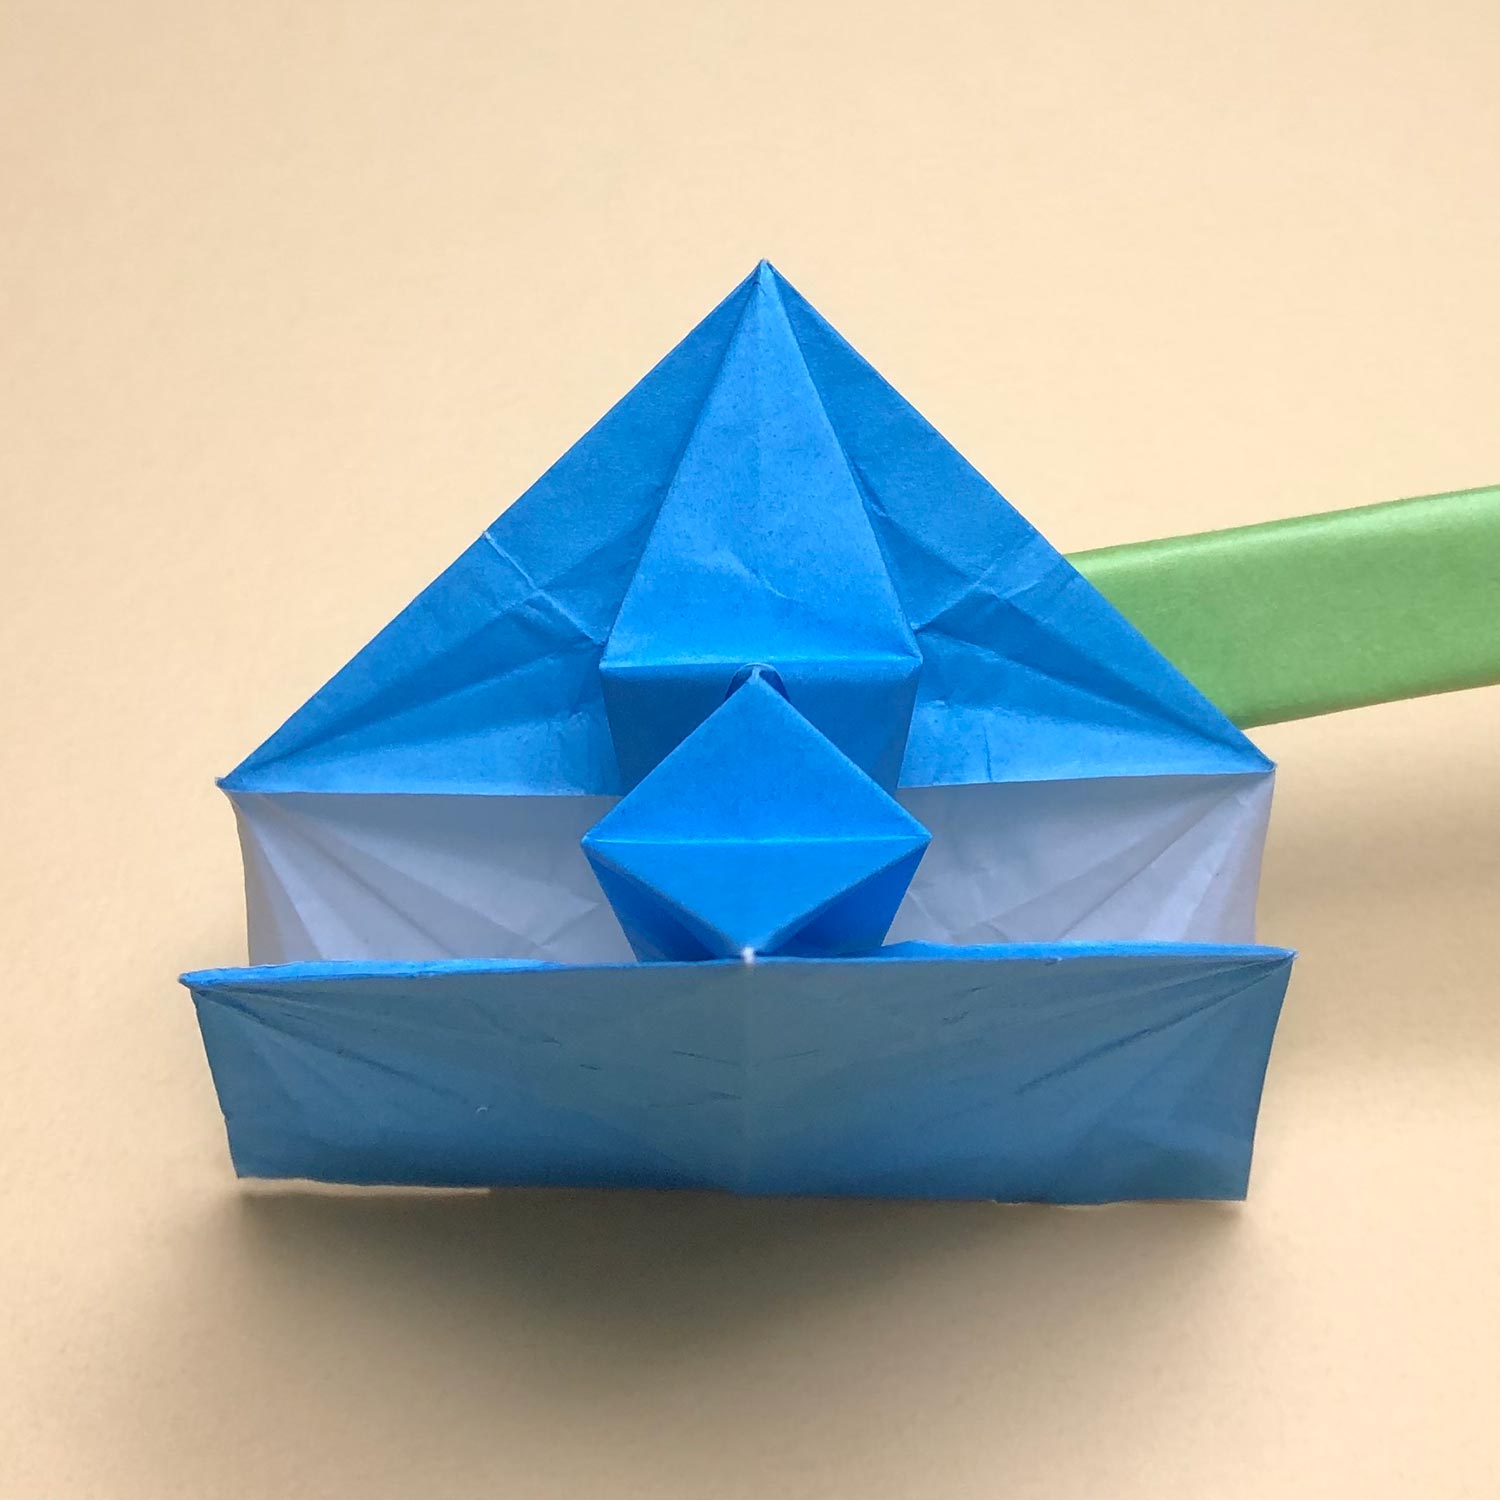
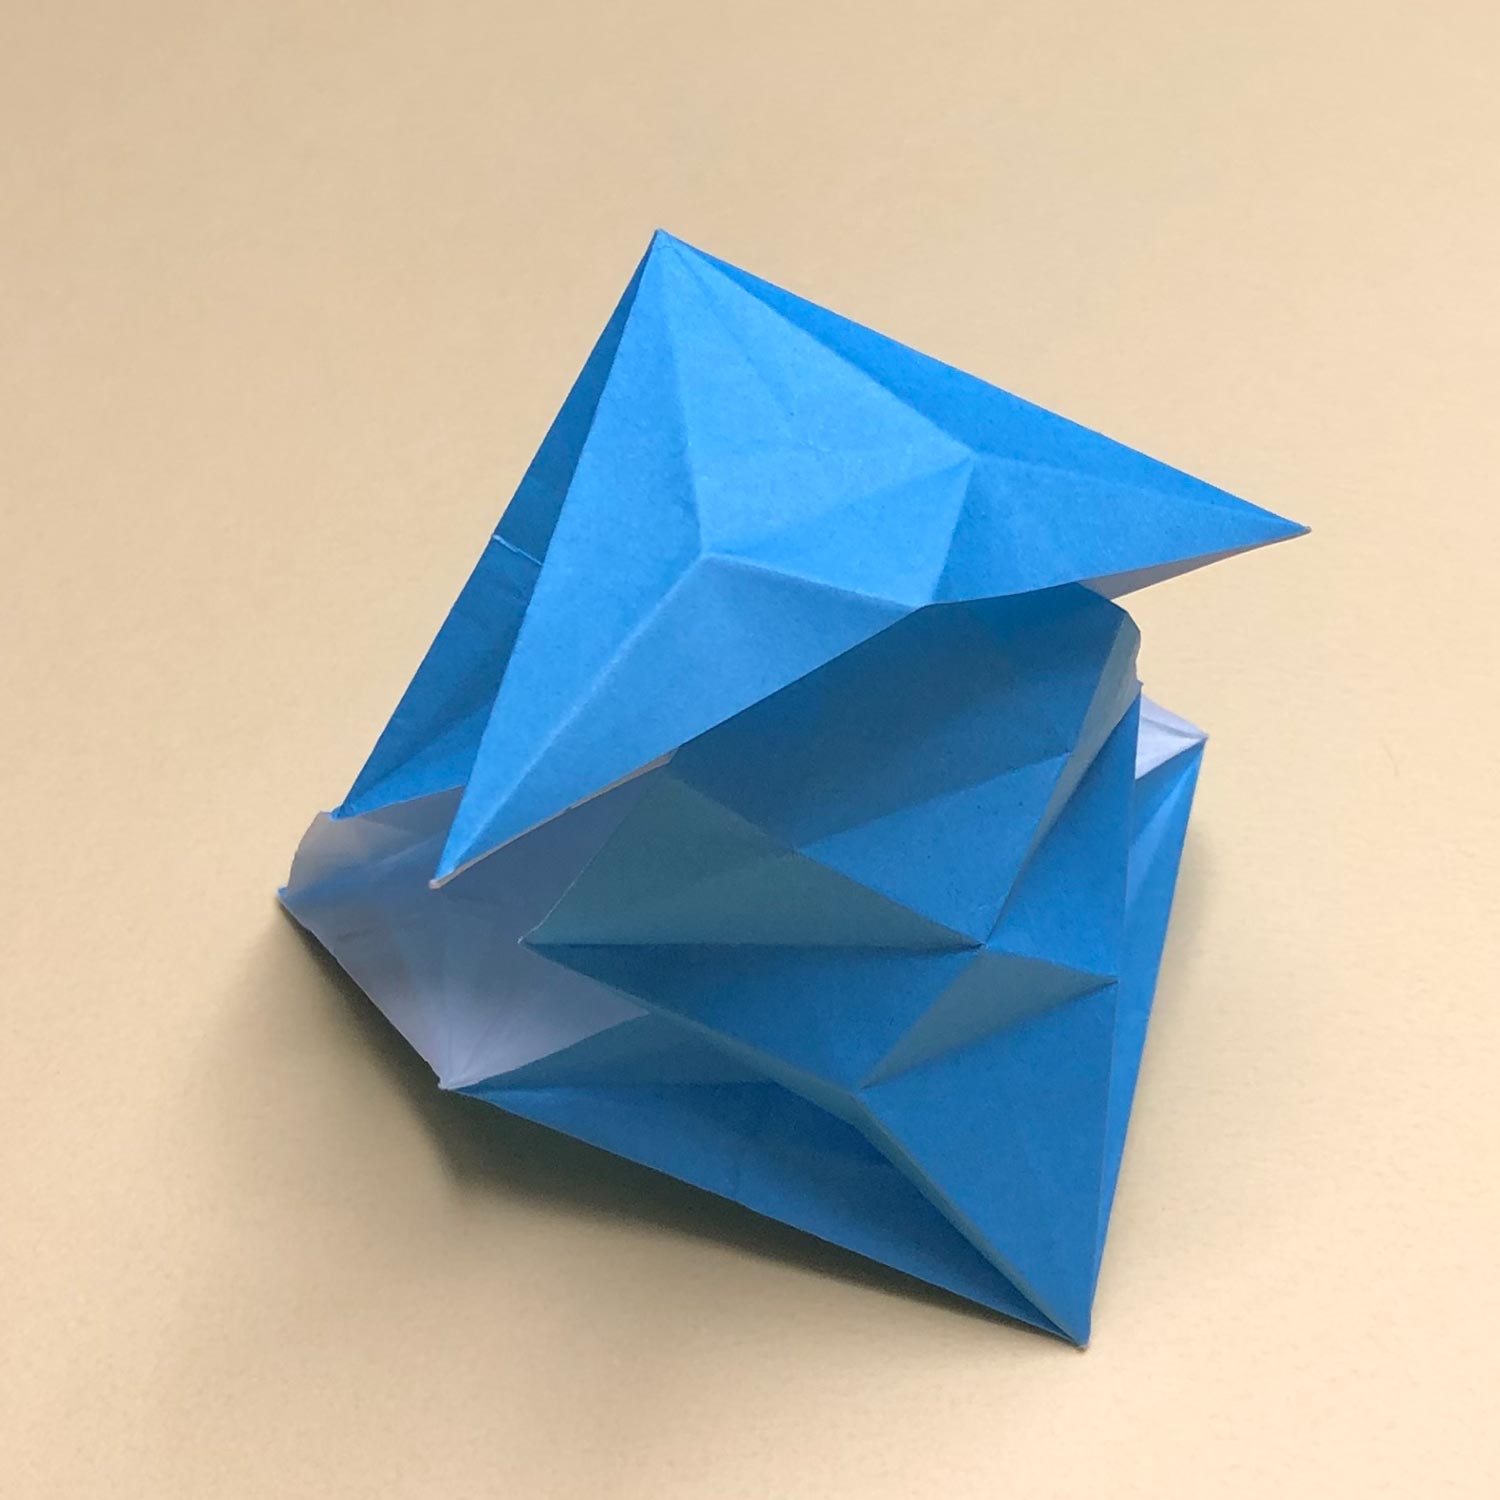
(85)
This picture is halfway through.
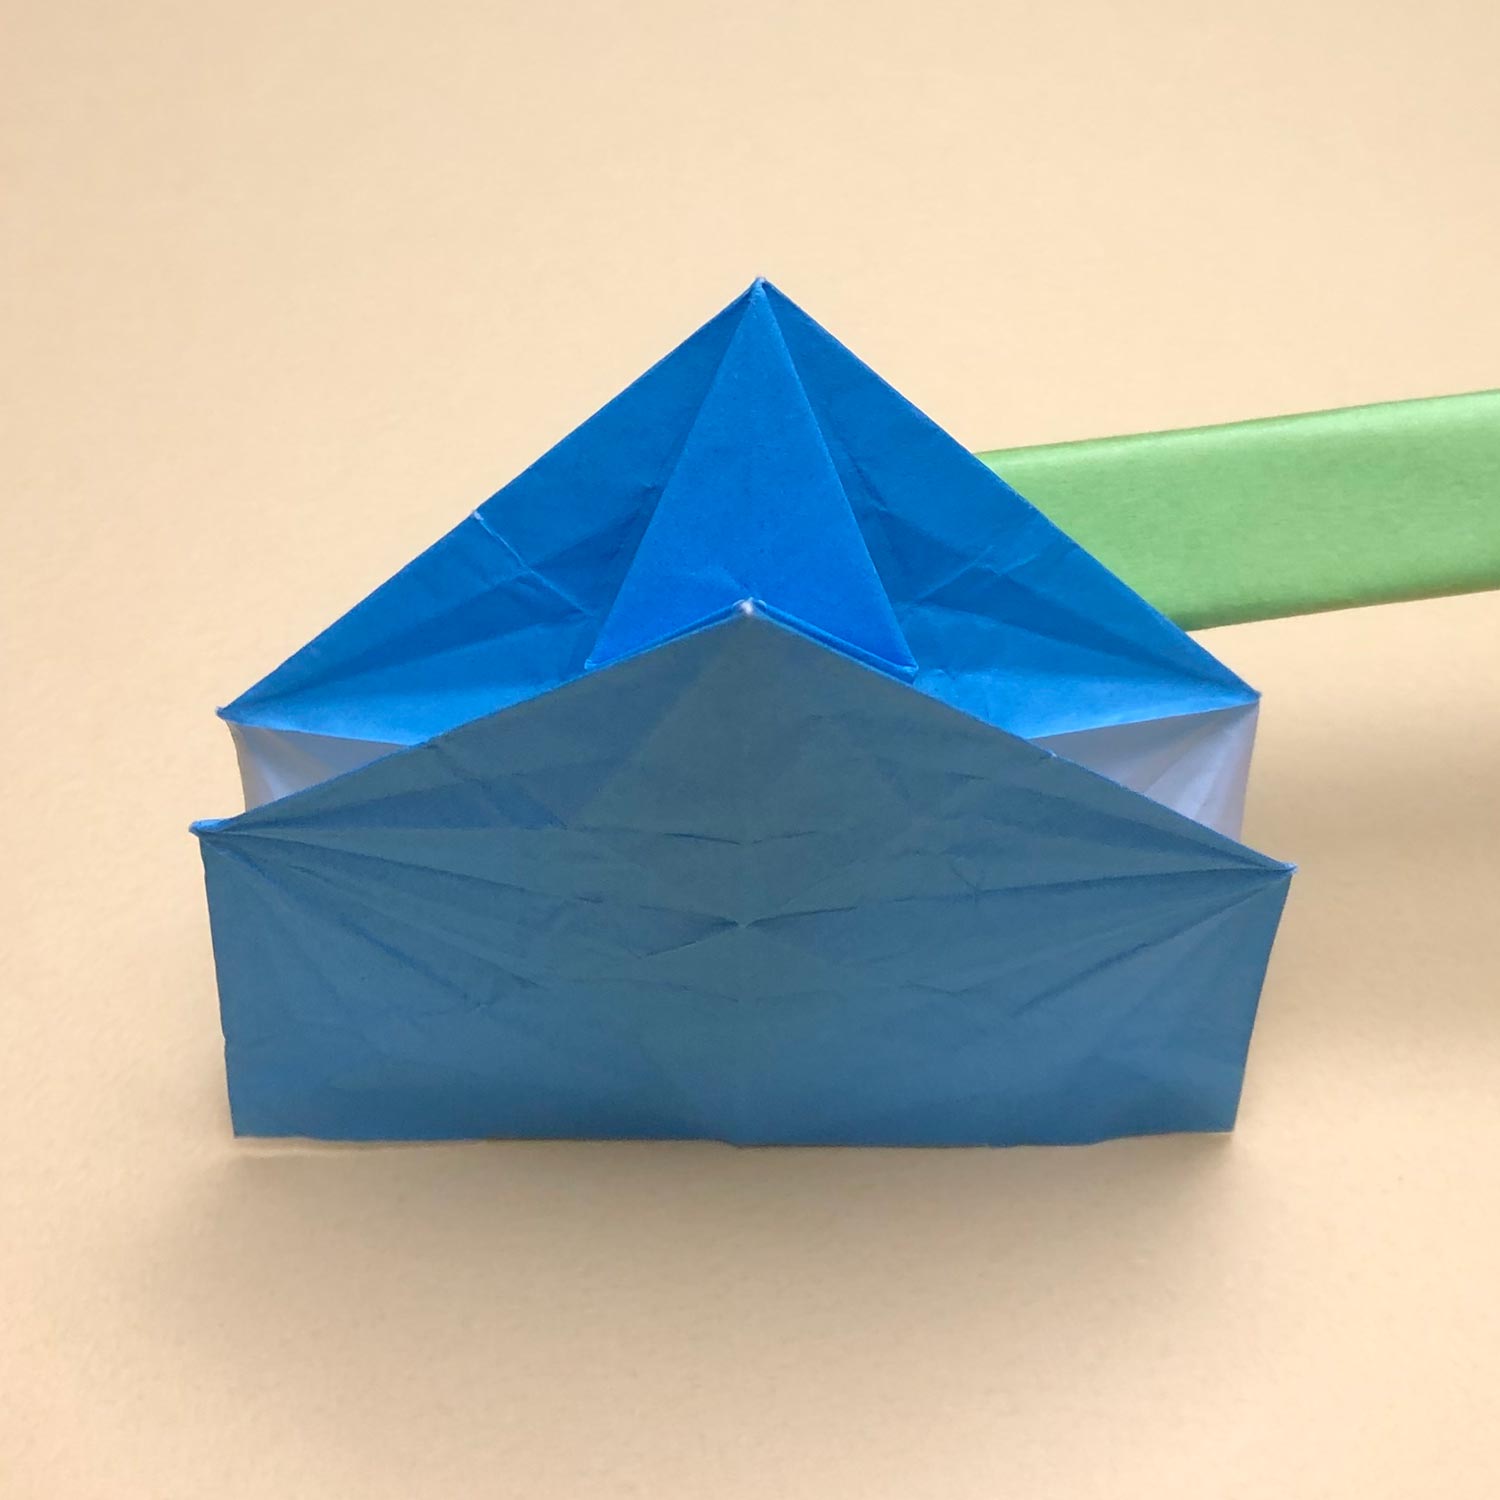
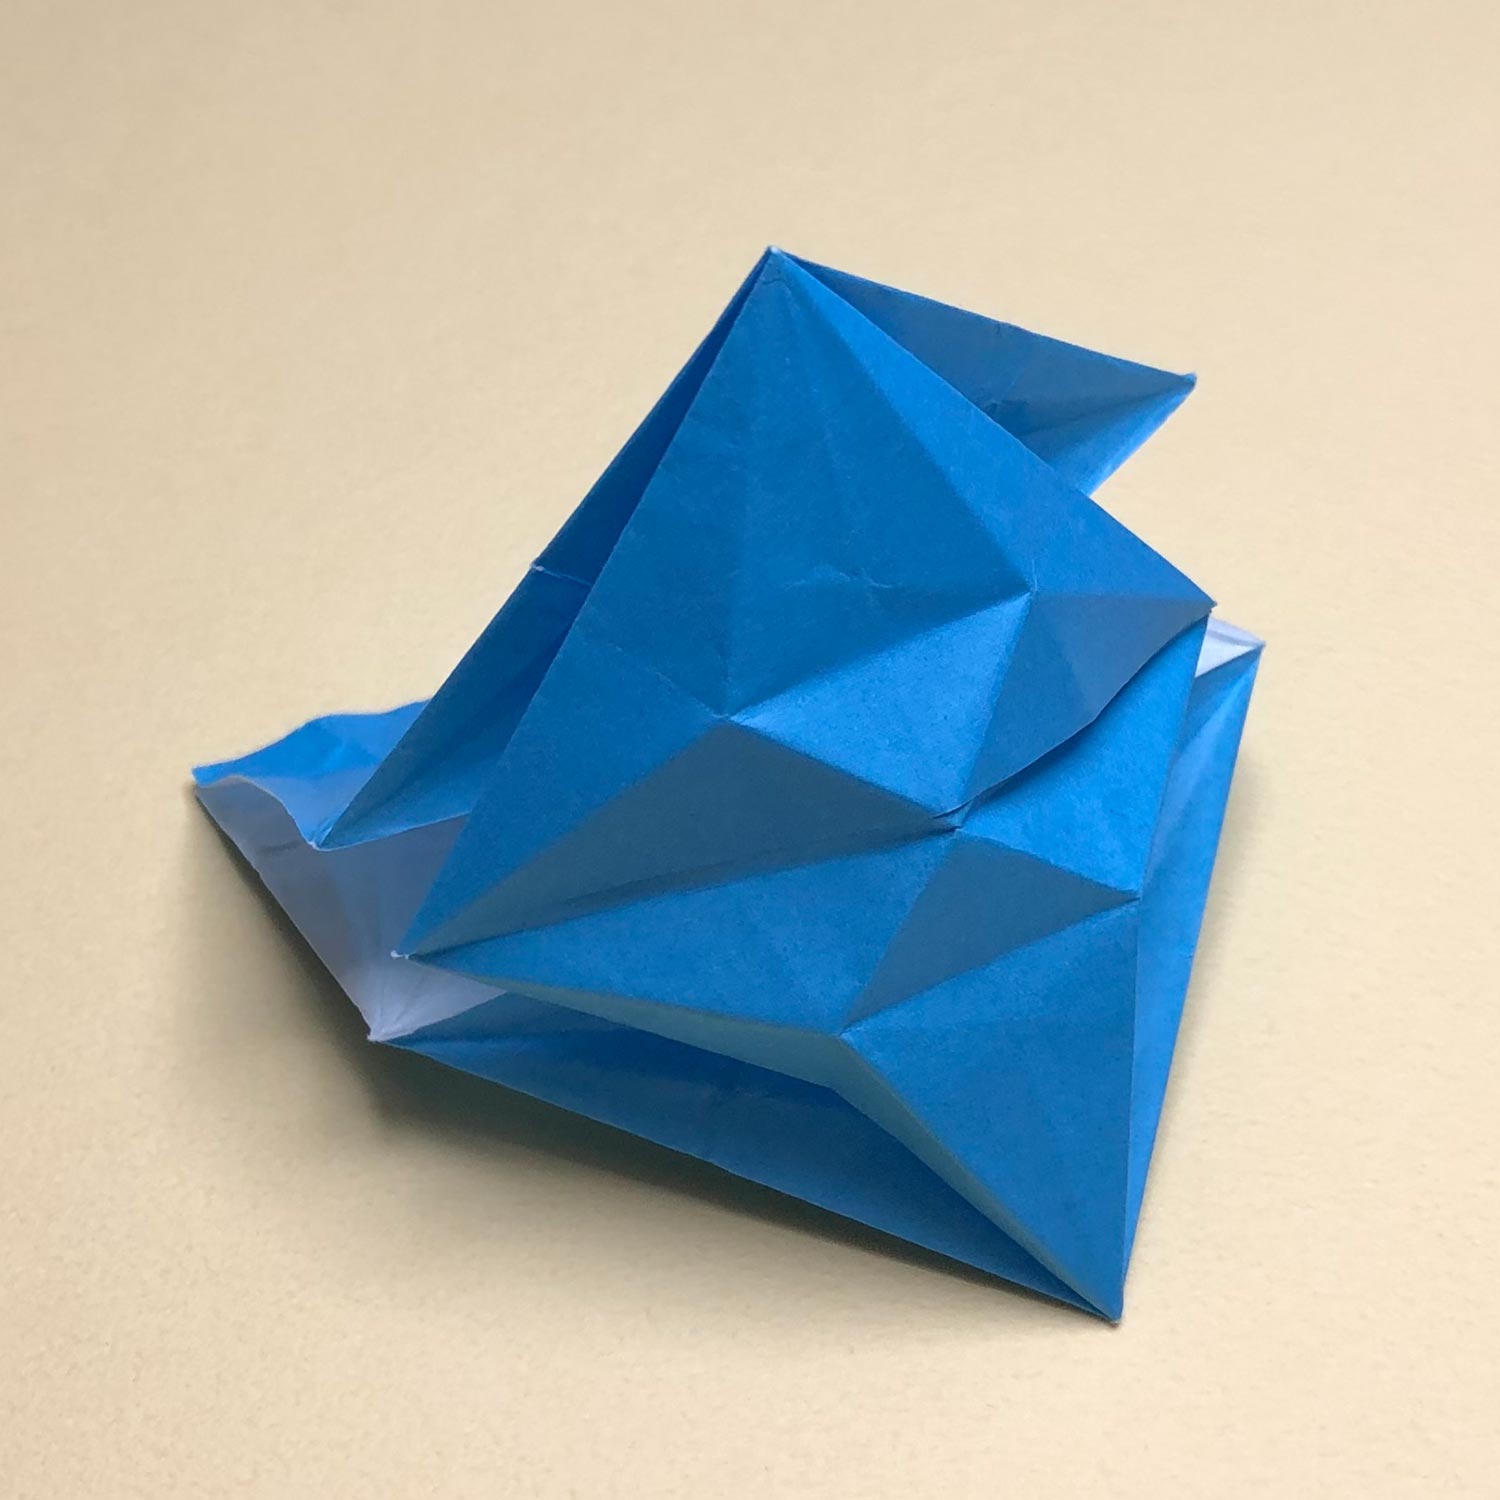
(86)
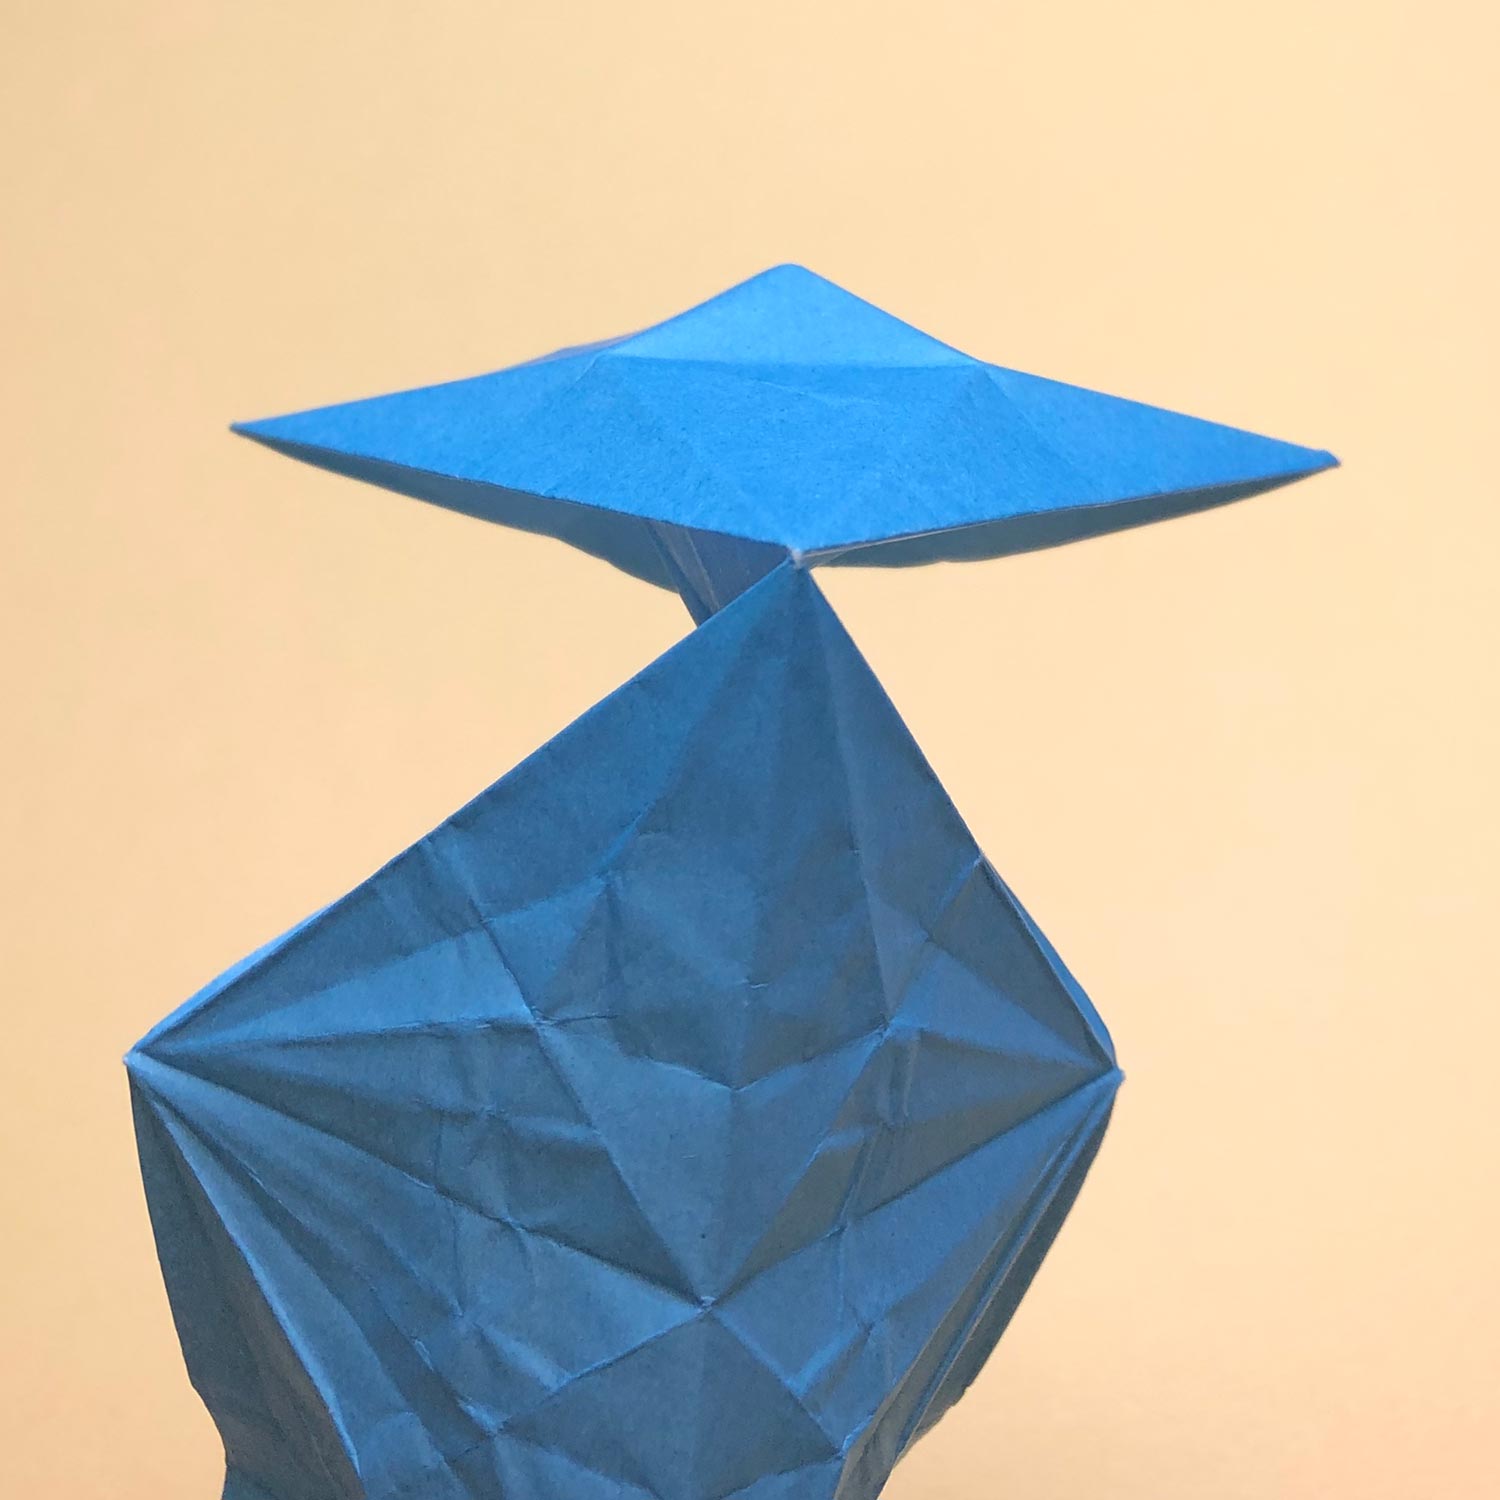
Move the top and bottom like this picture.
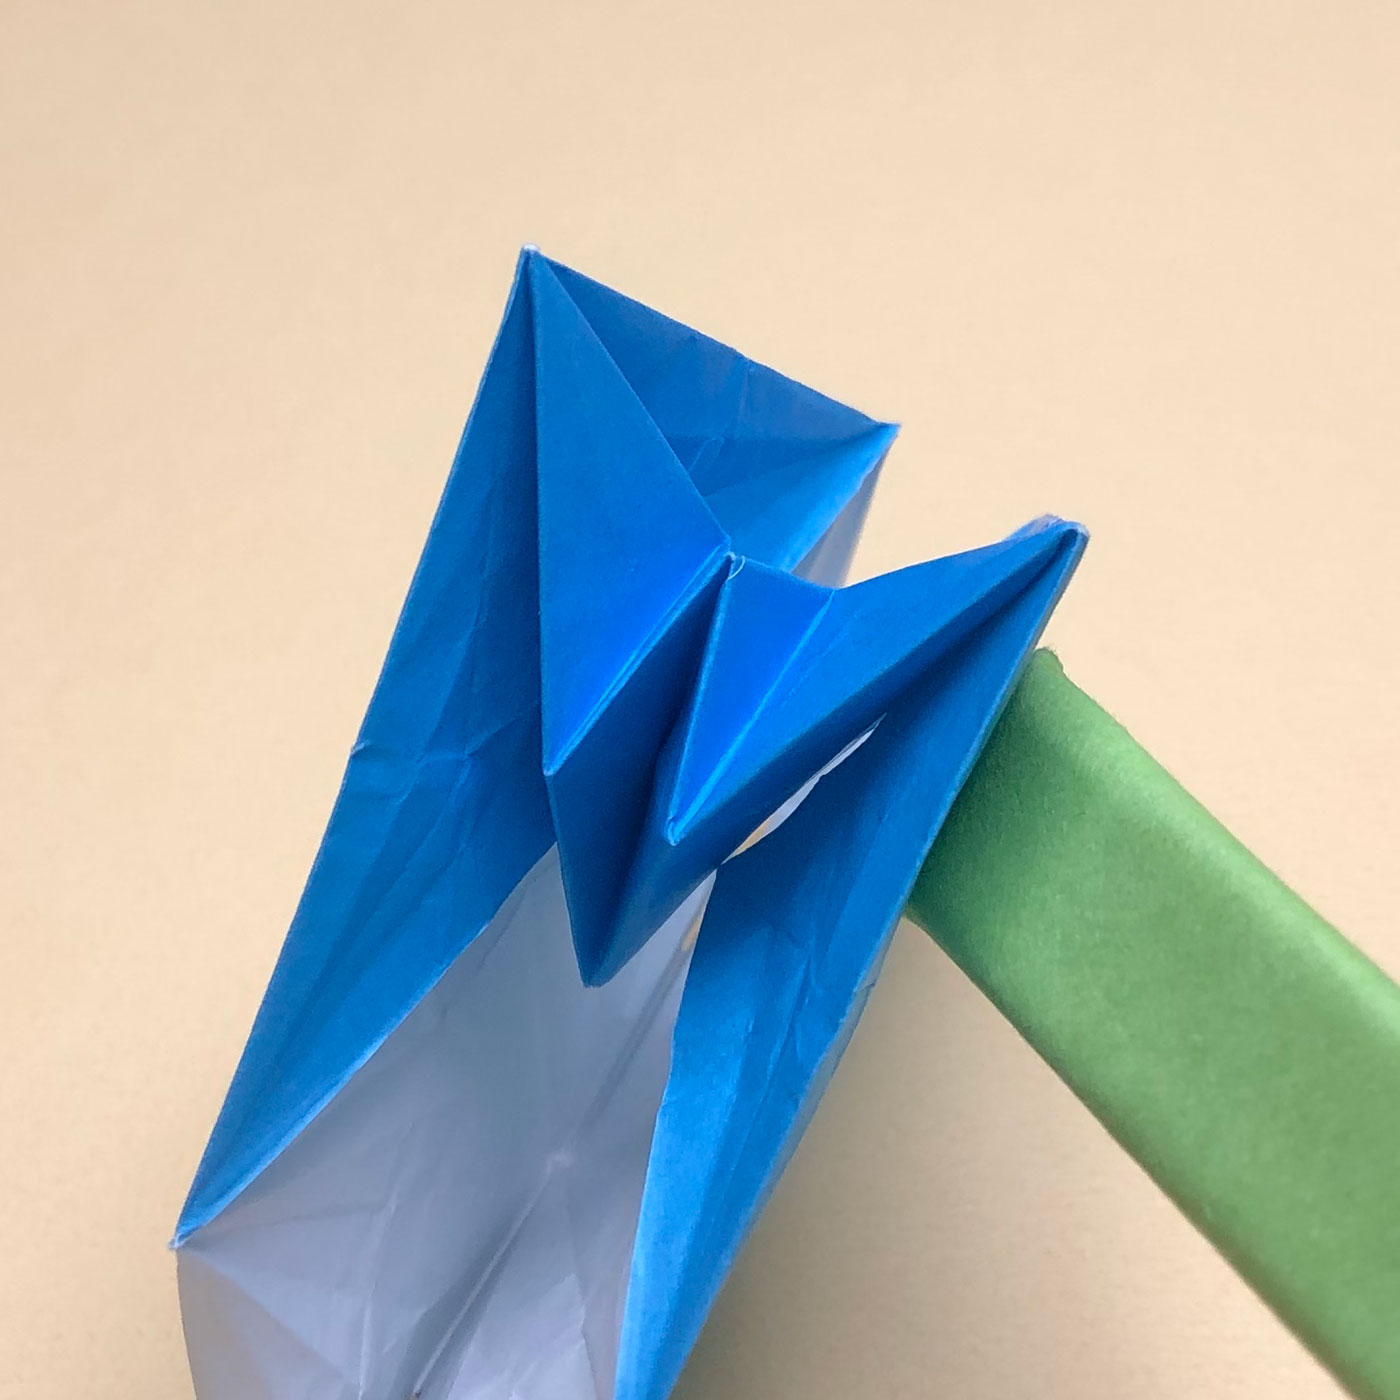
(87)
This picture is taken from the side.
The bird-base is finished.