(125)
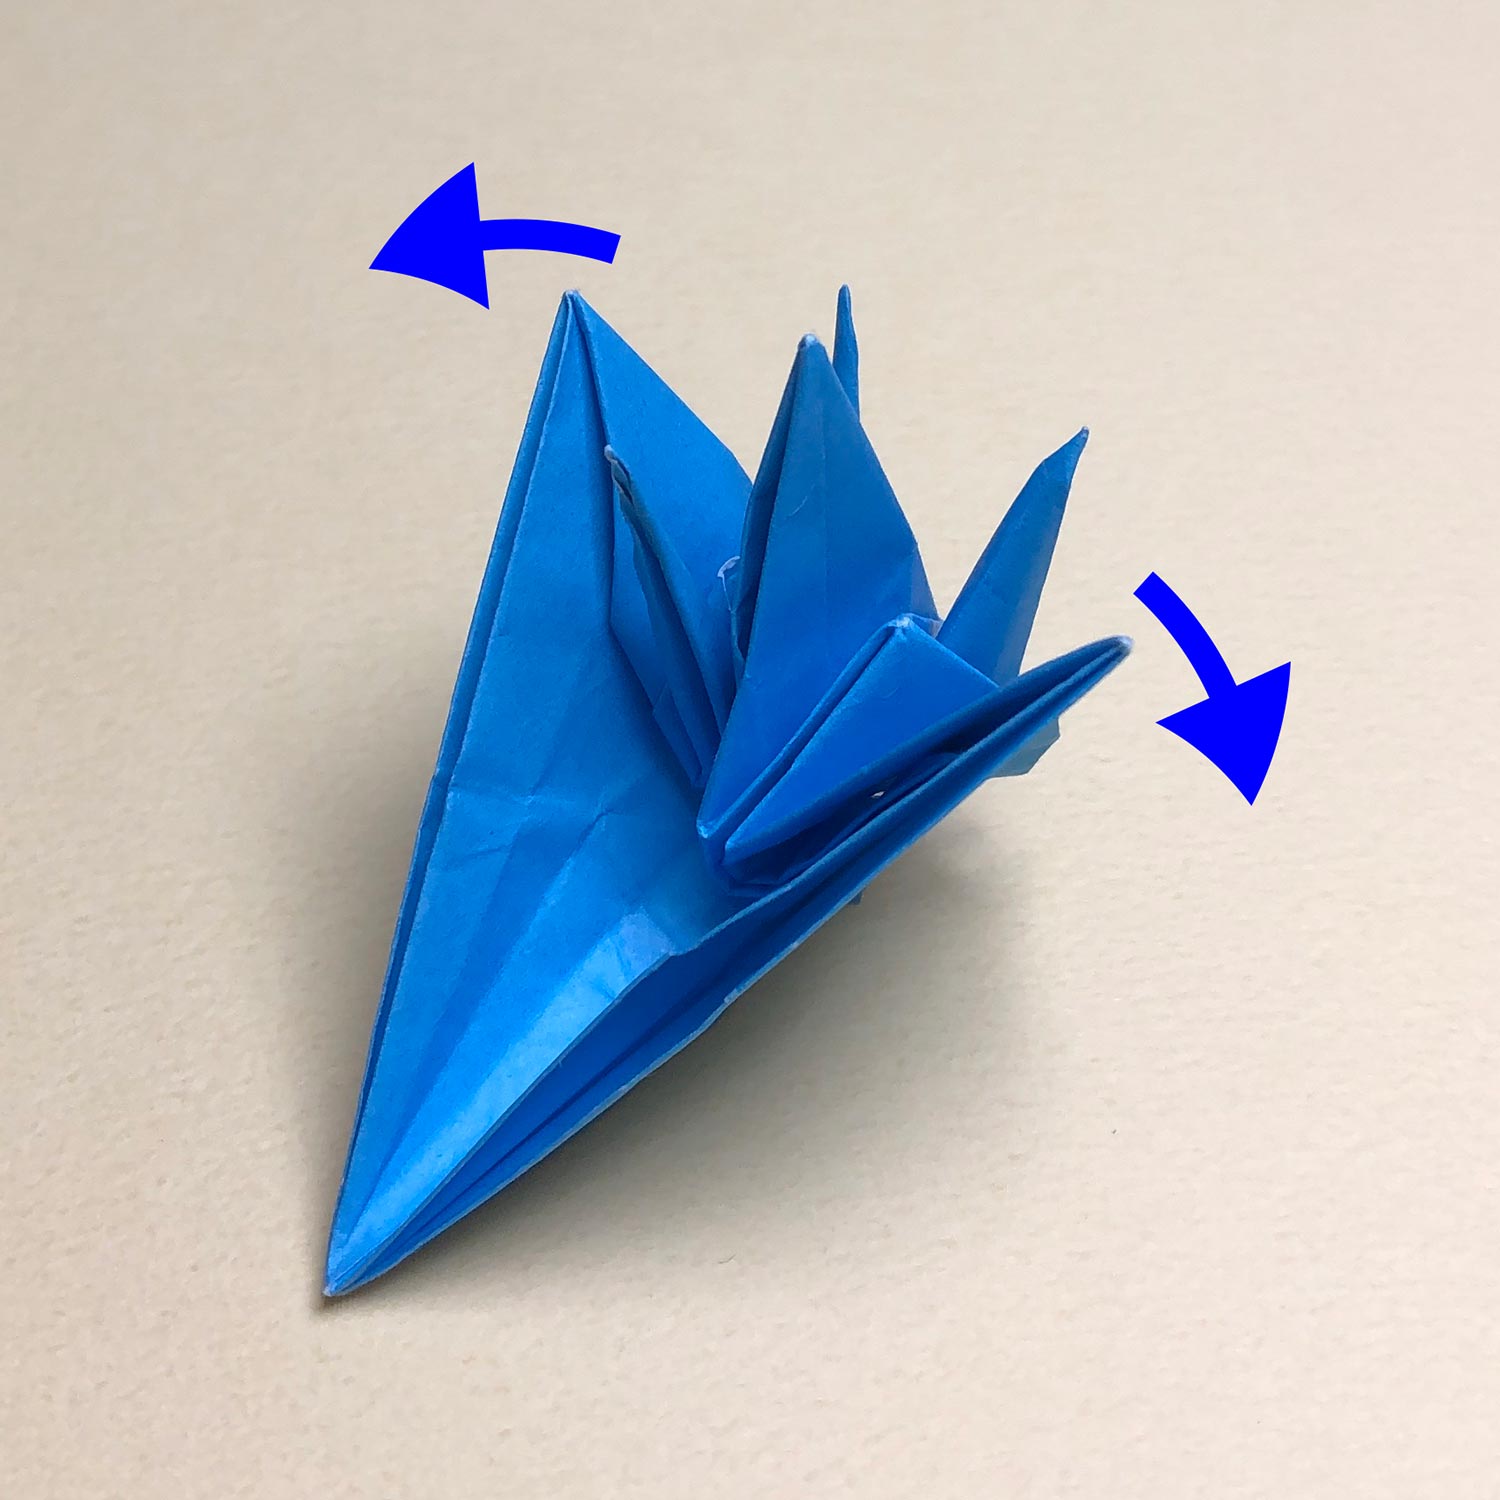
Open both sides in the direction of the arrows.
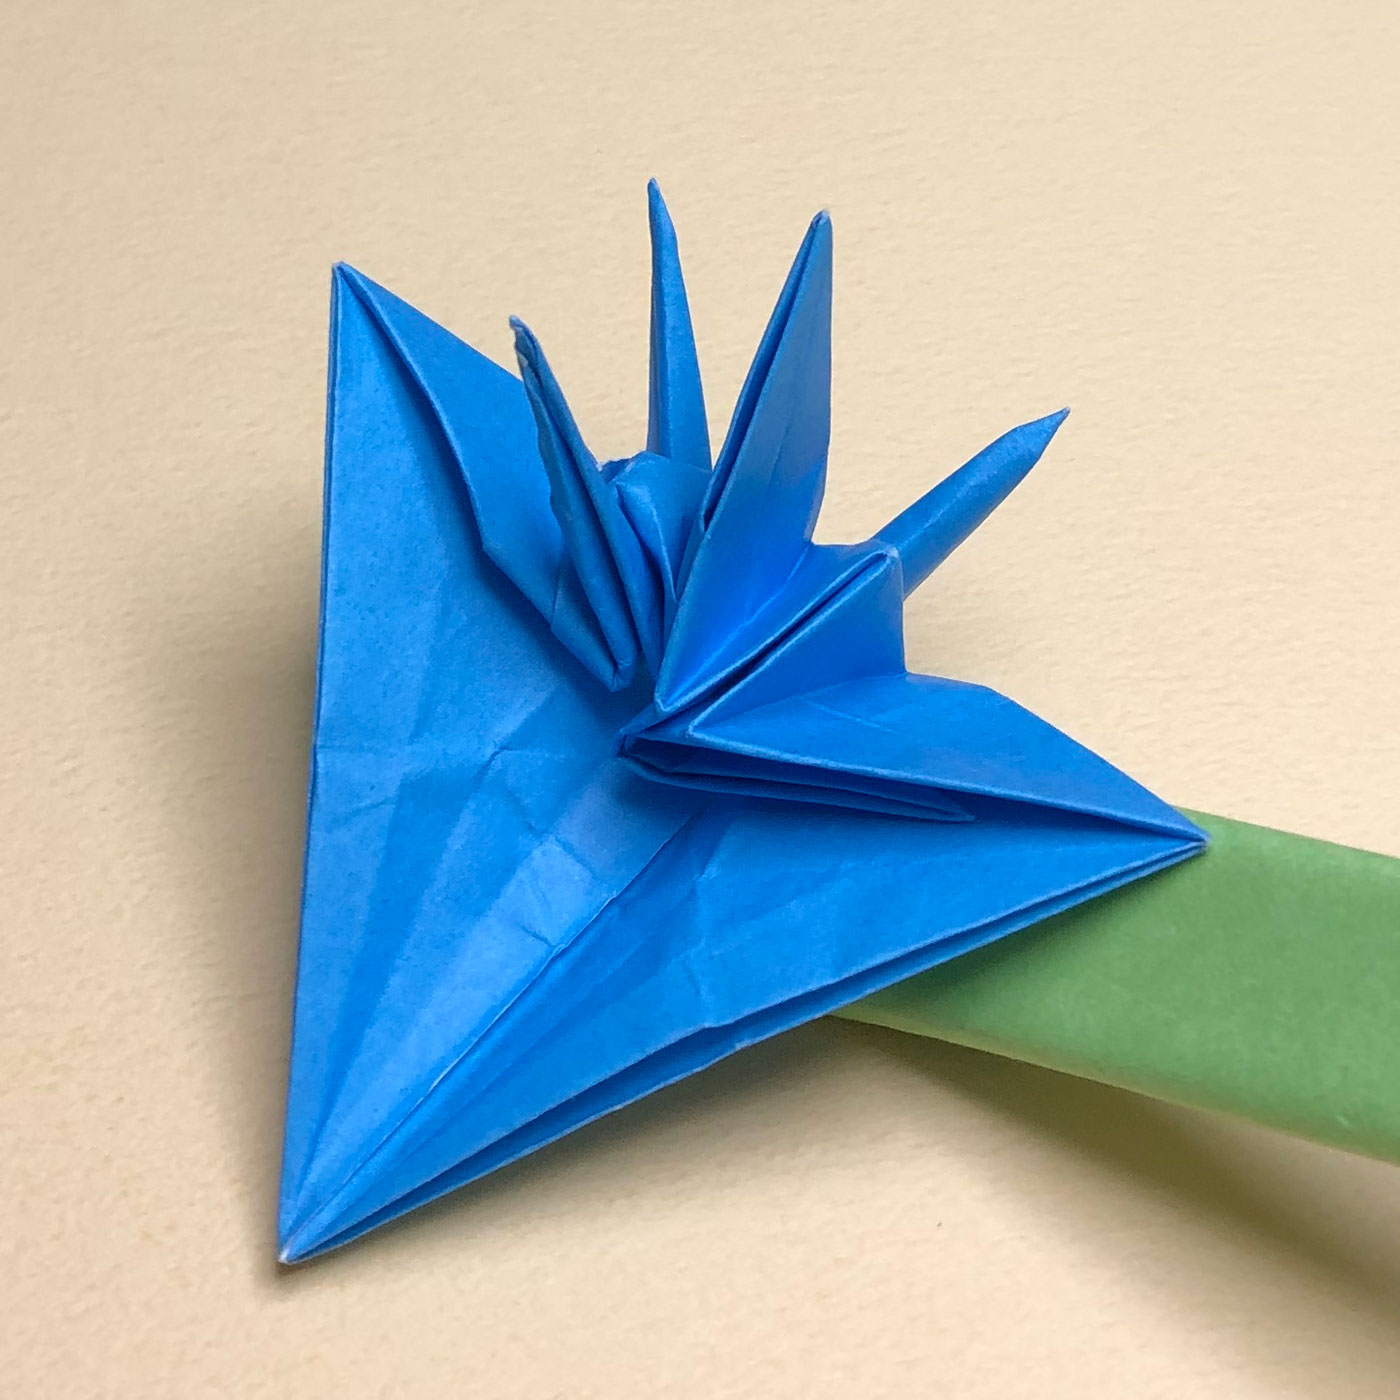
(126)
Open both sides like this picture.
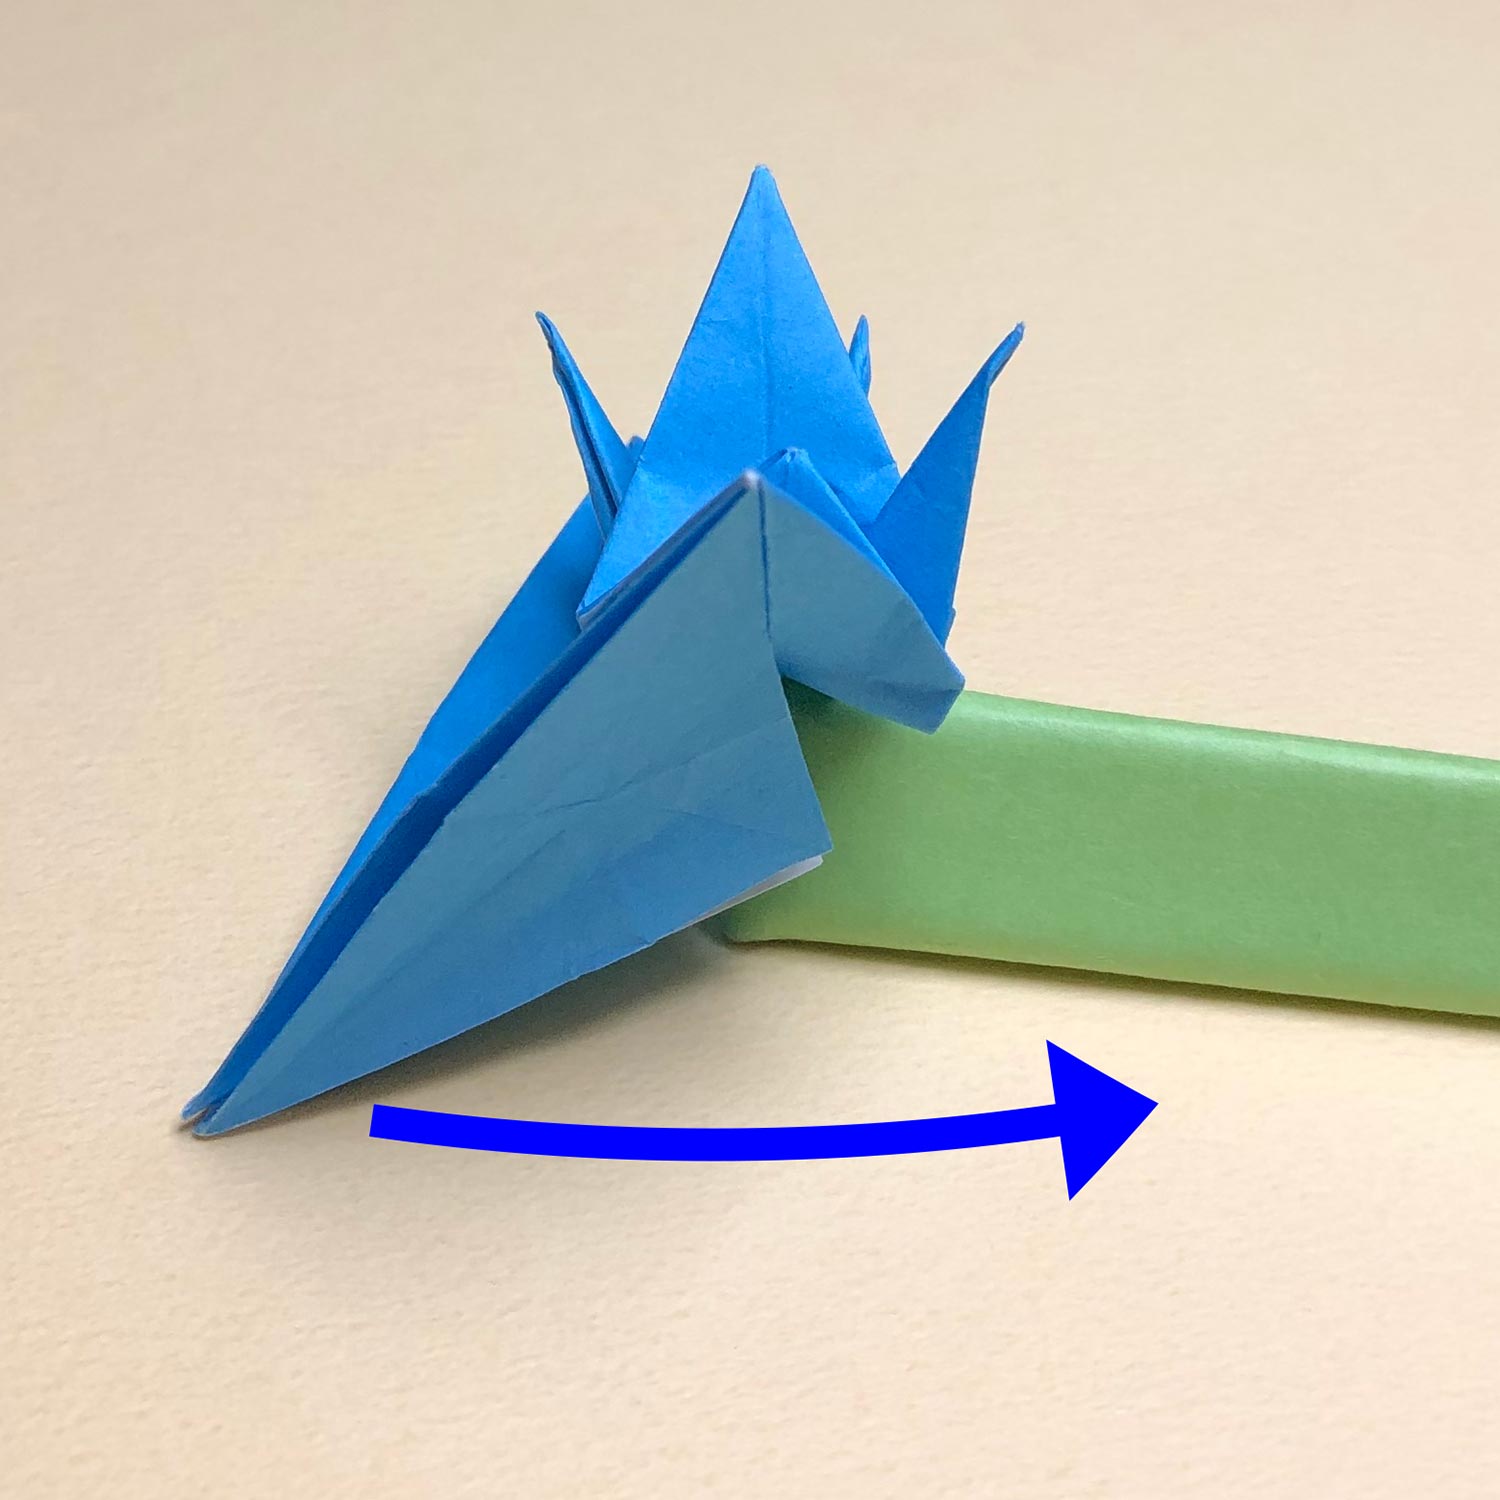
(127)
Then move the triangular part to the other side.
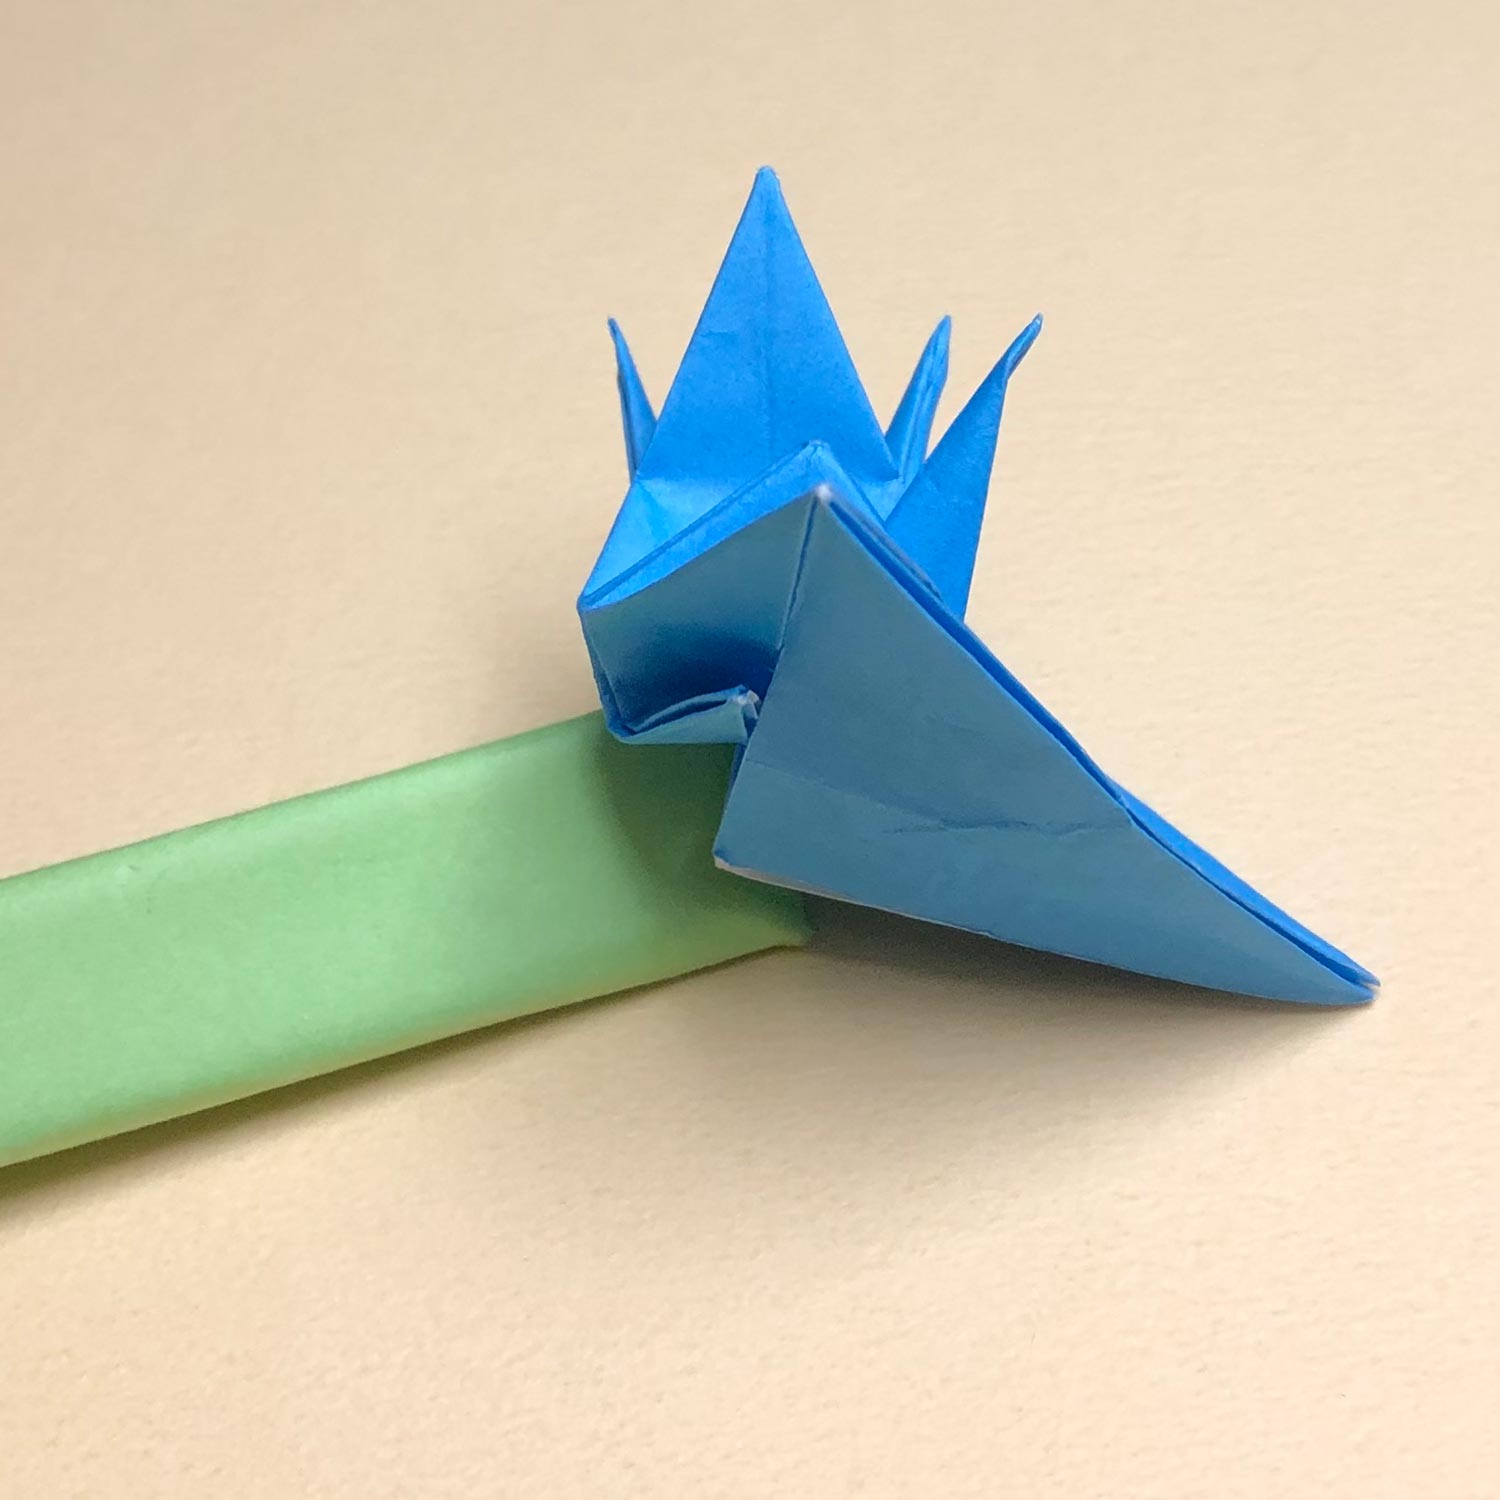
(128)
Move the part like this picture.
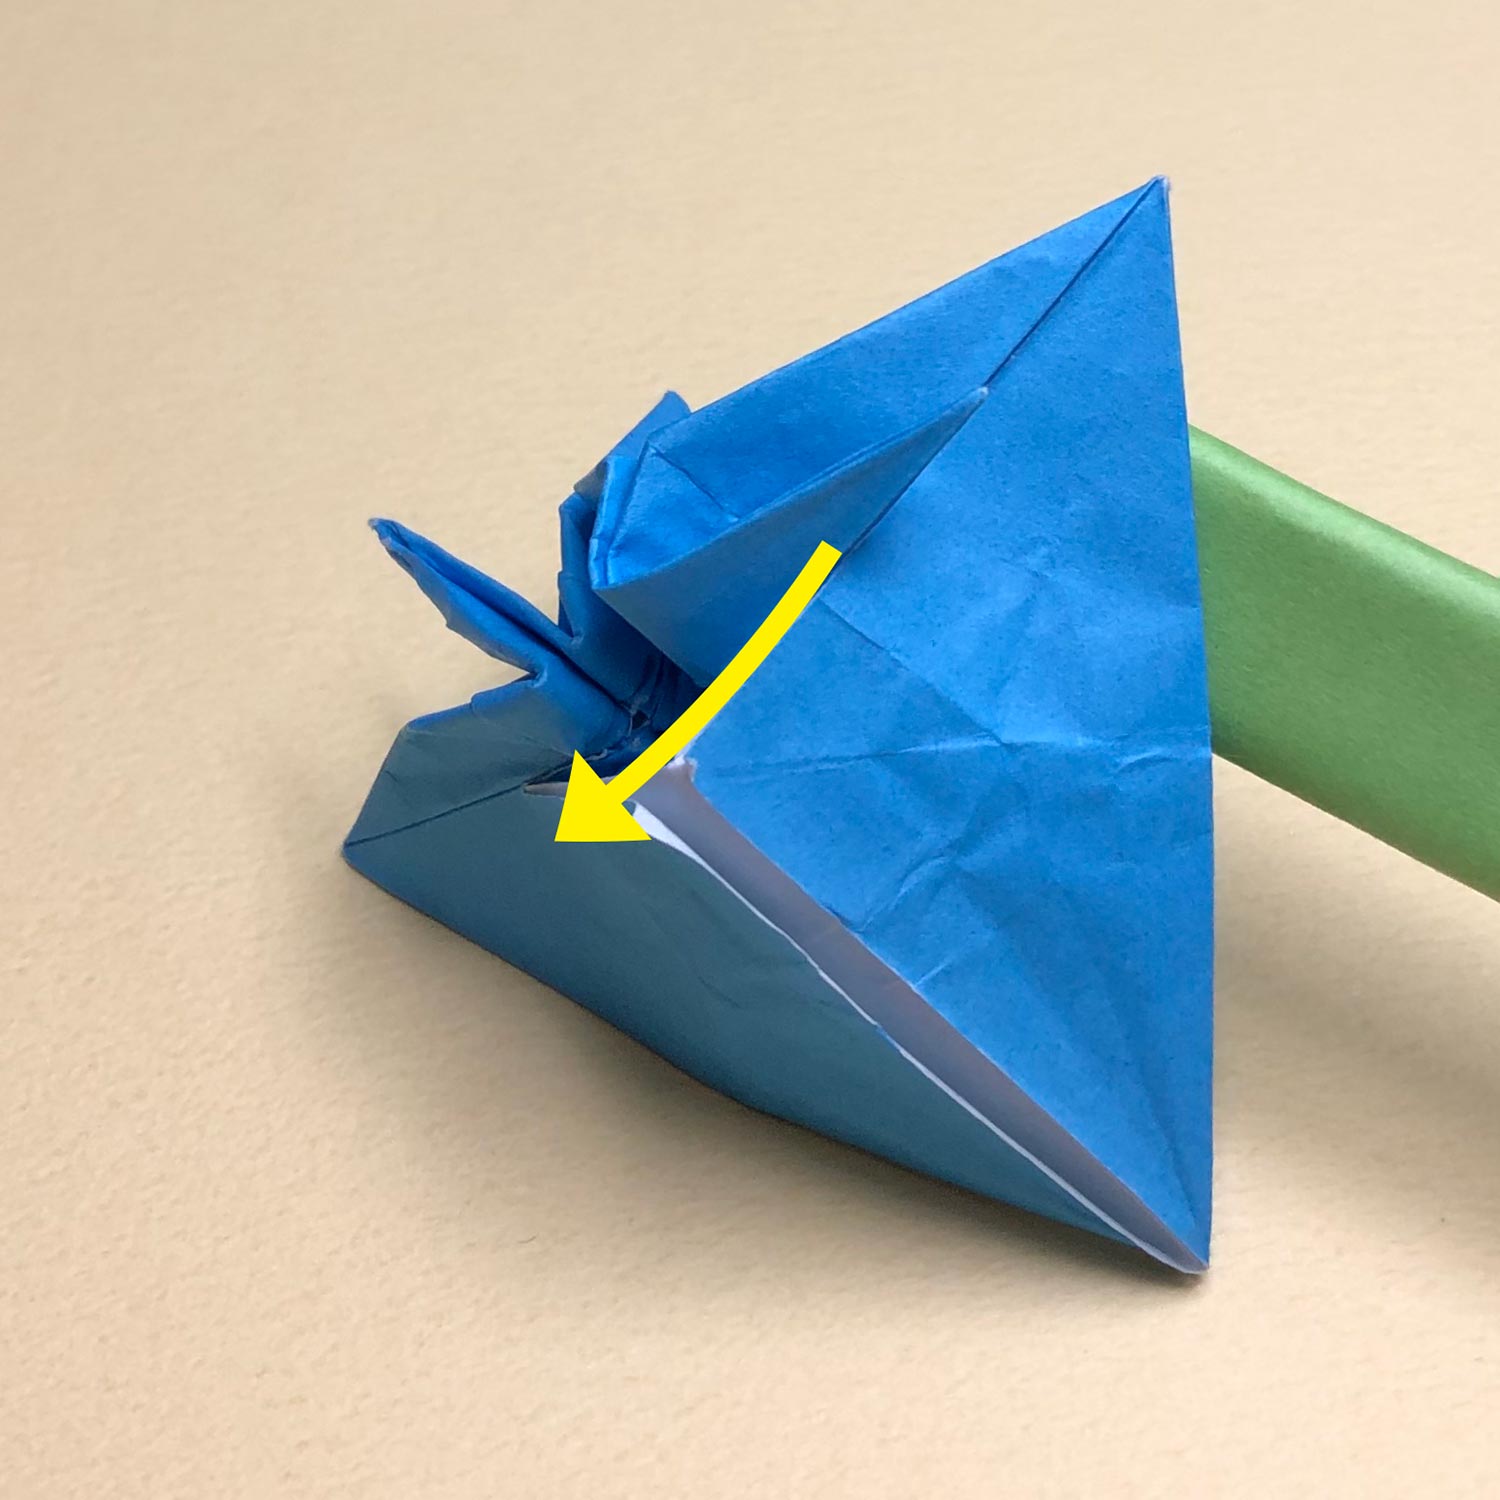
(129)
Then lower the head/tail, which you have folded to the side.
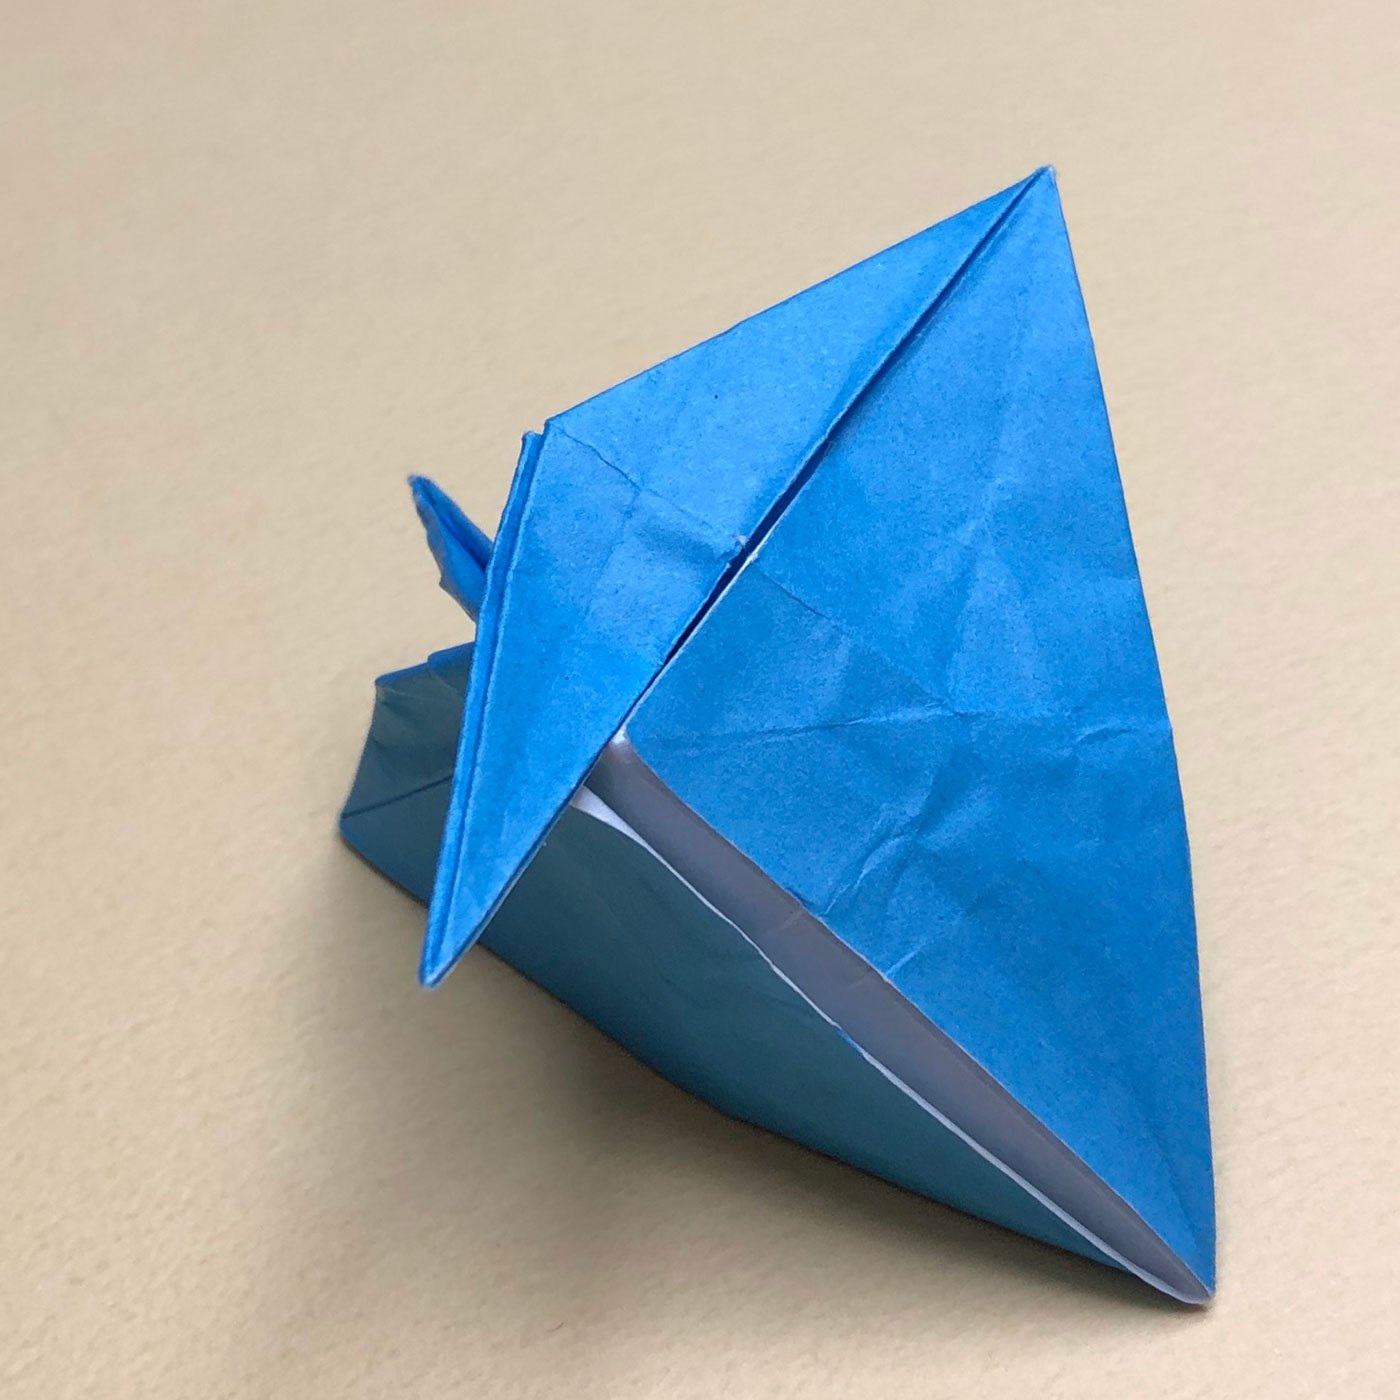
(130)
Lower the head/tail like this picture.
Then make creases neatly for one side of a bird-base.
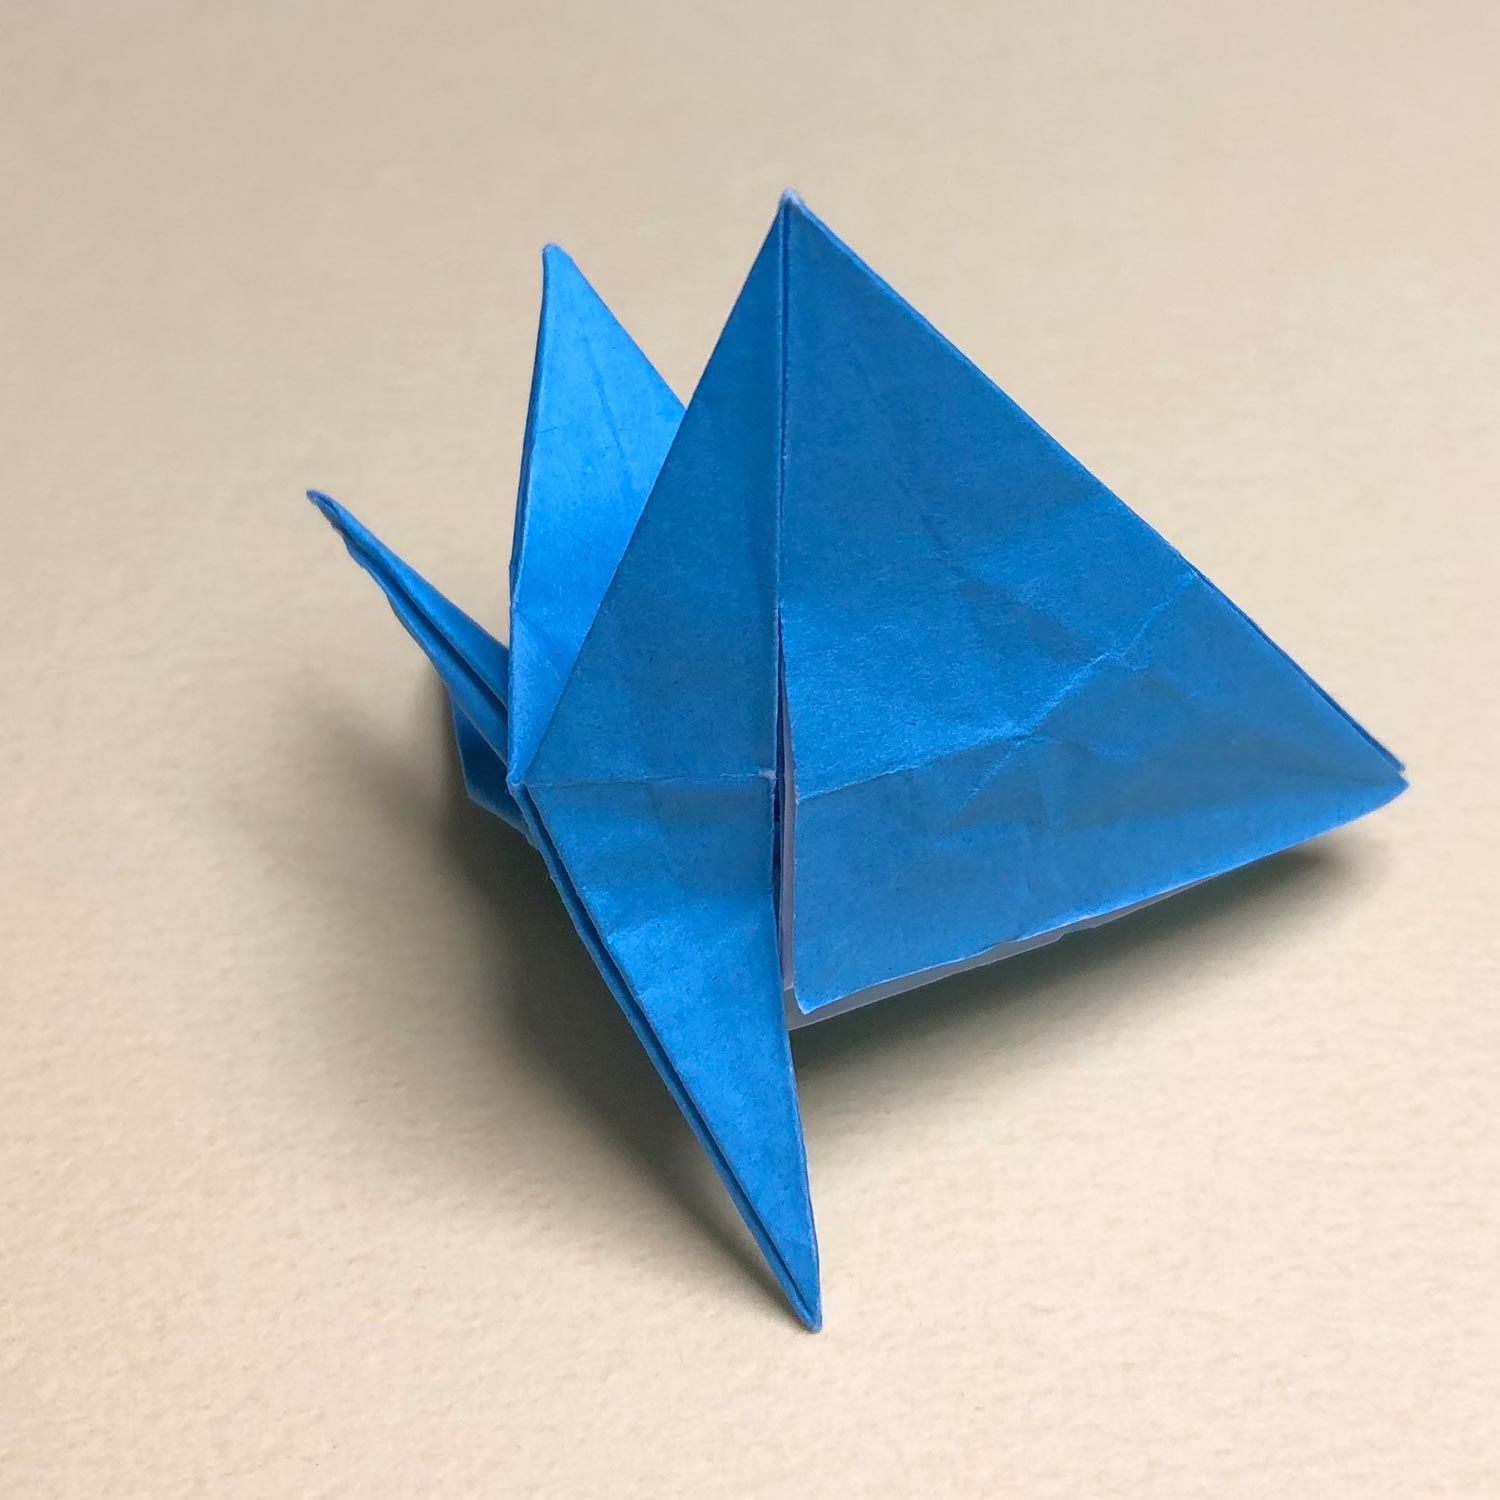
(131)
After making creases, raise the head/tail as it is without folding it to the center.
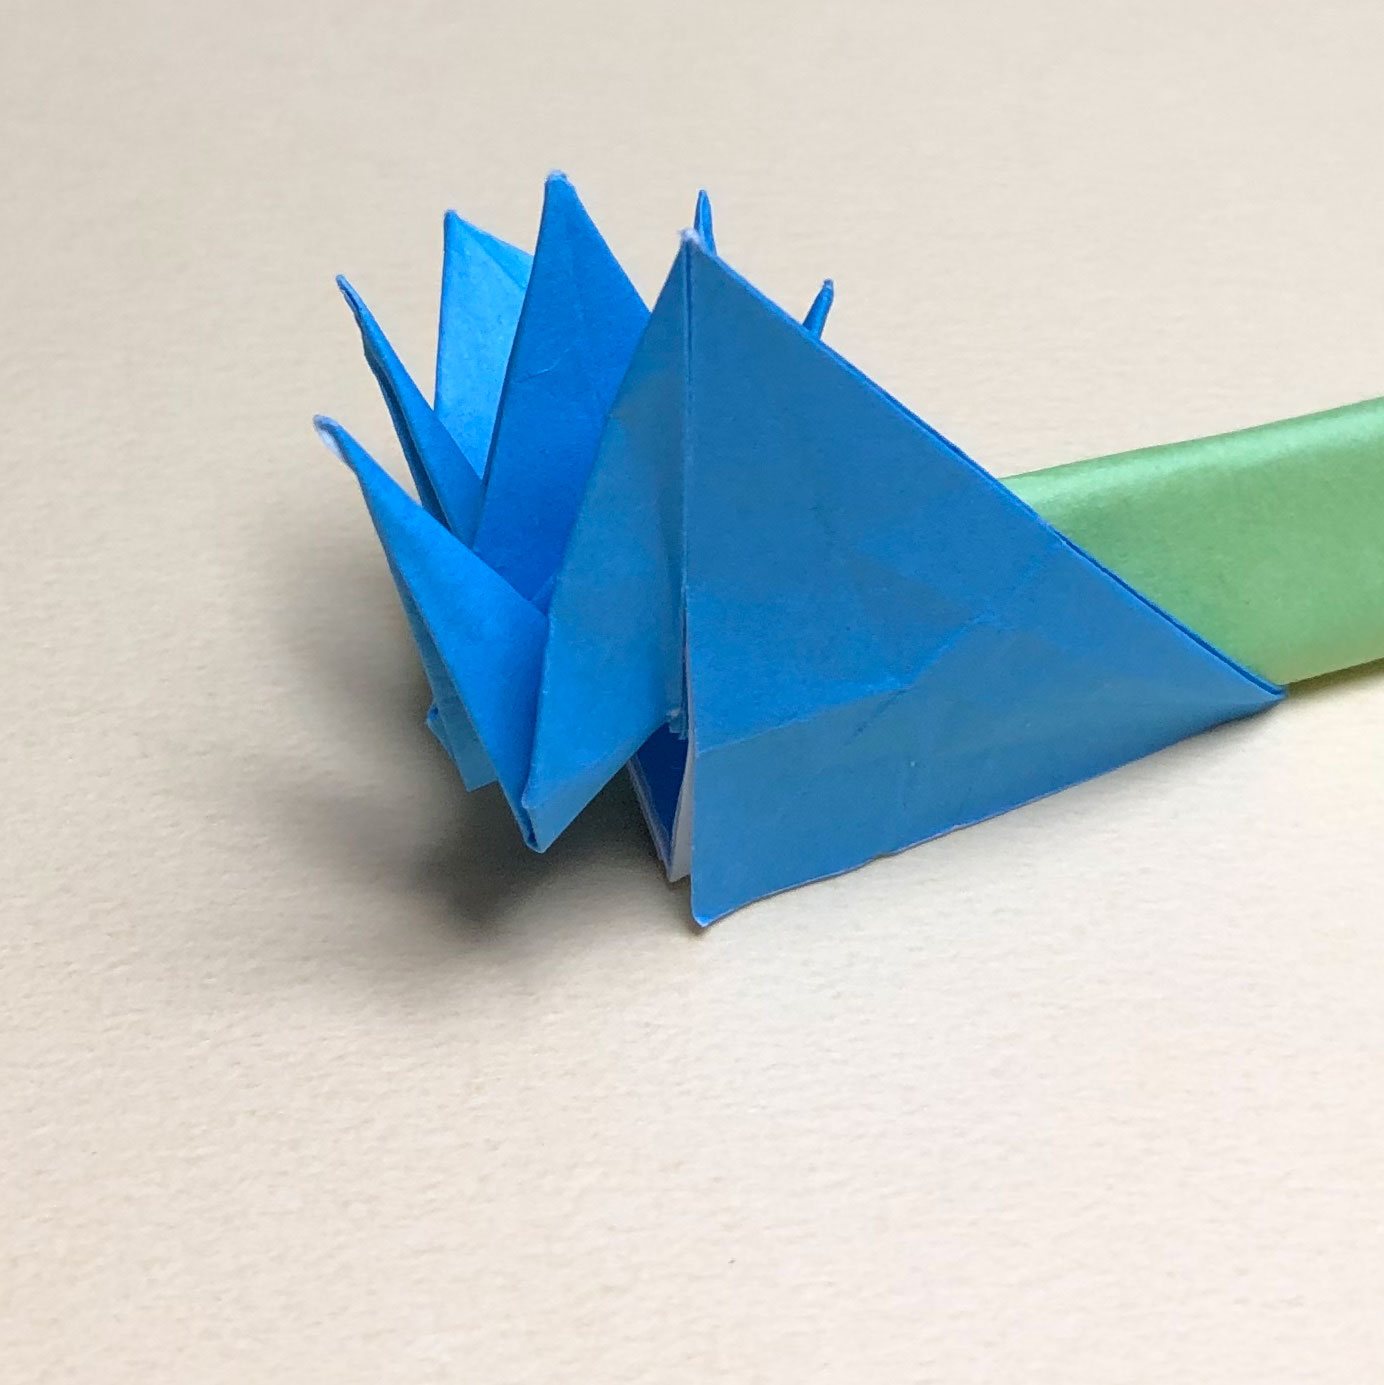
(132)
Raise the head/tail as it is like this picture.
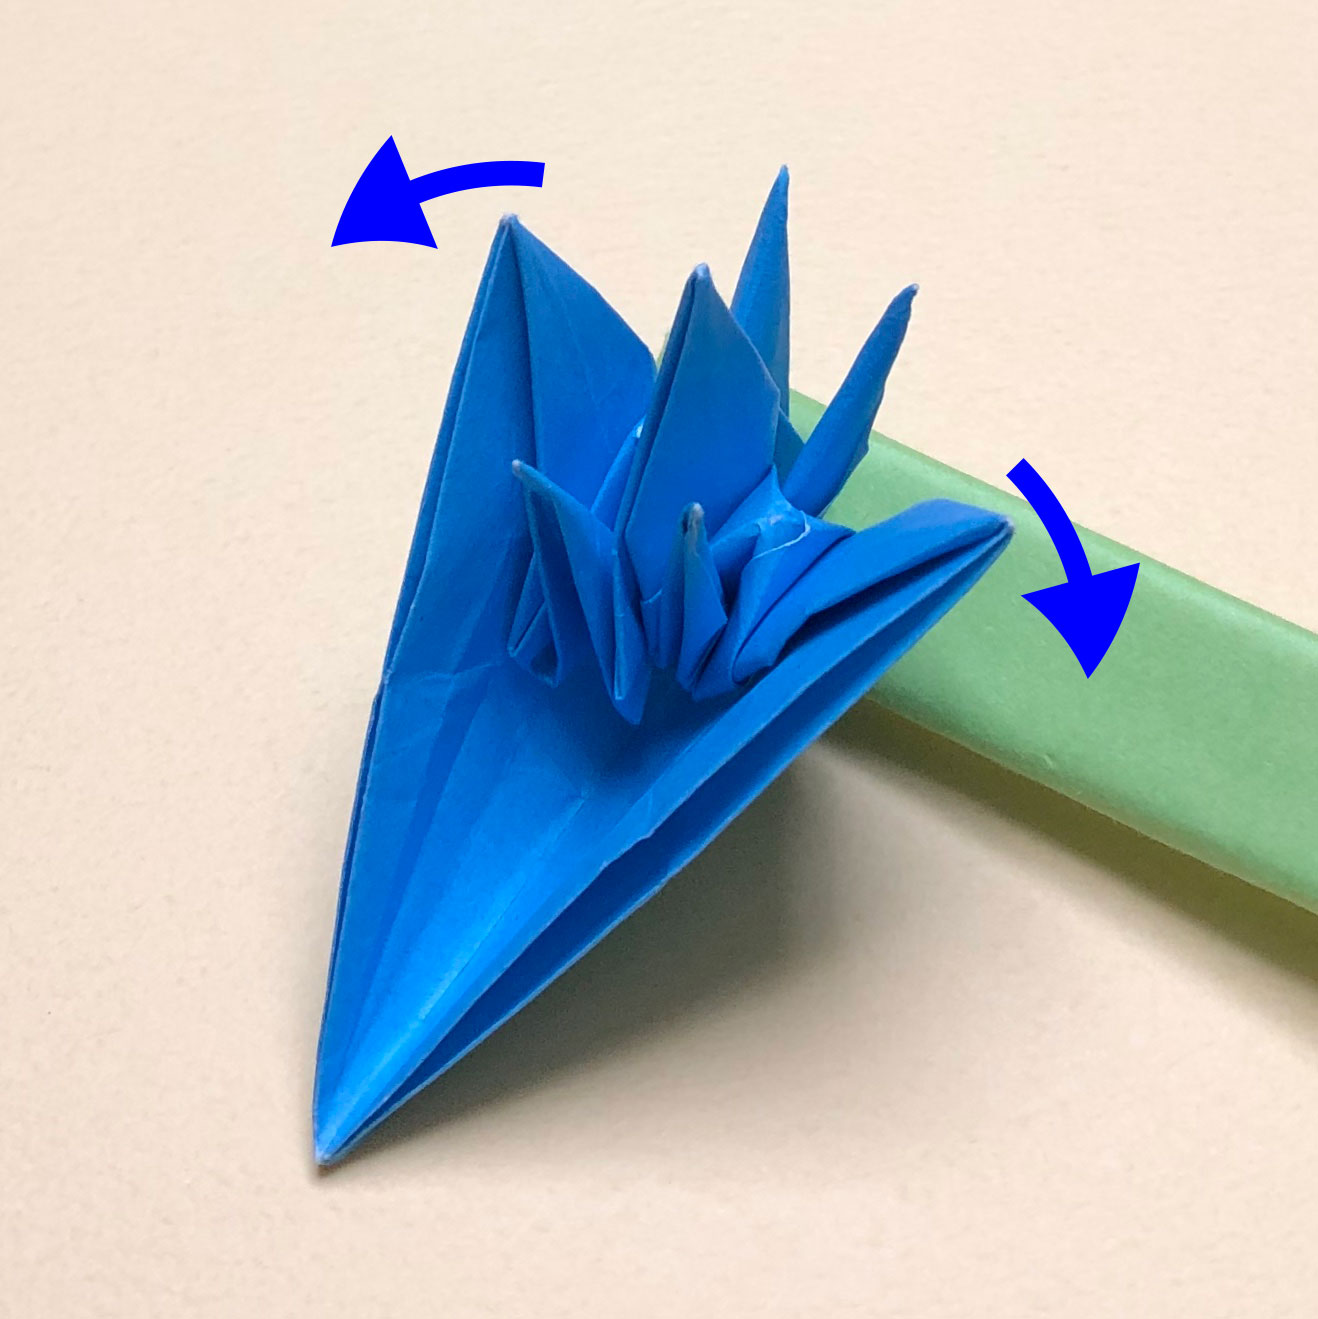
(133)
Then open both sides in the direction of the arrows.
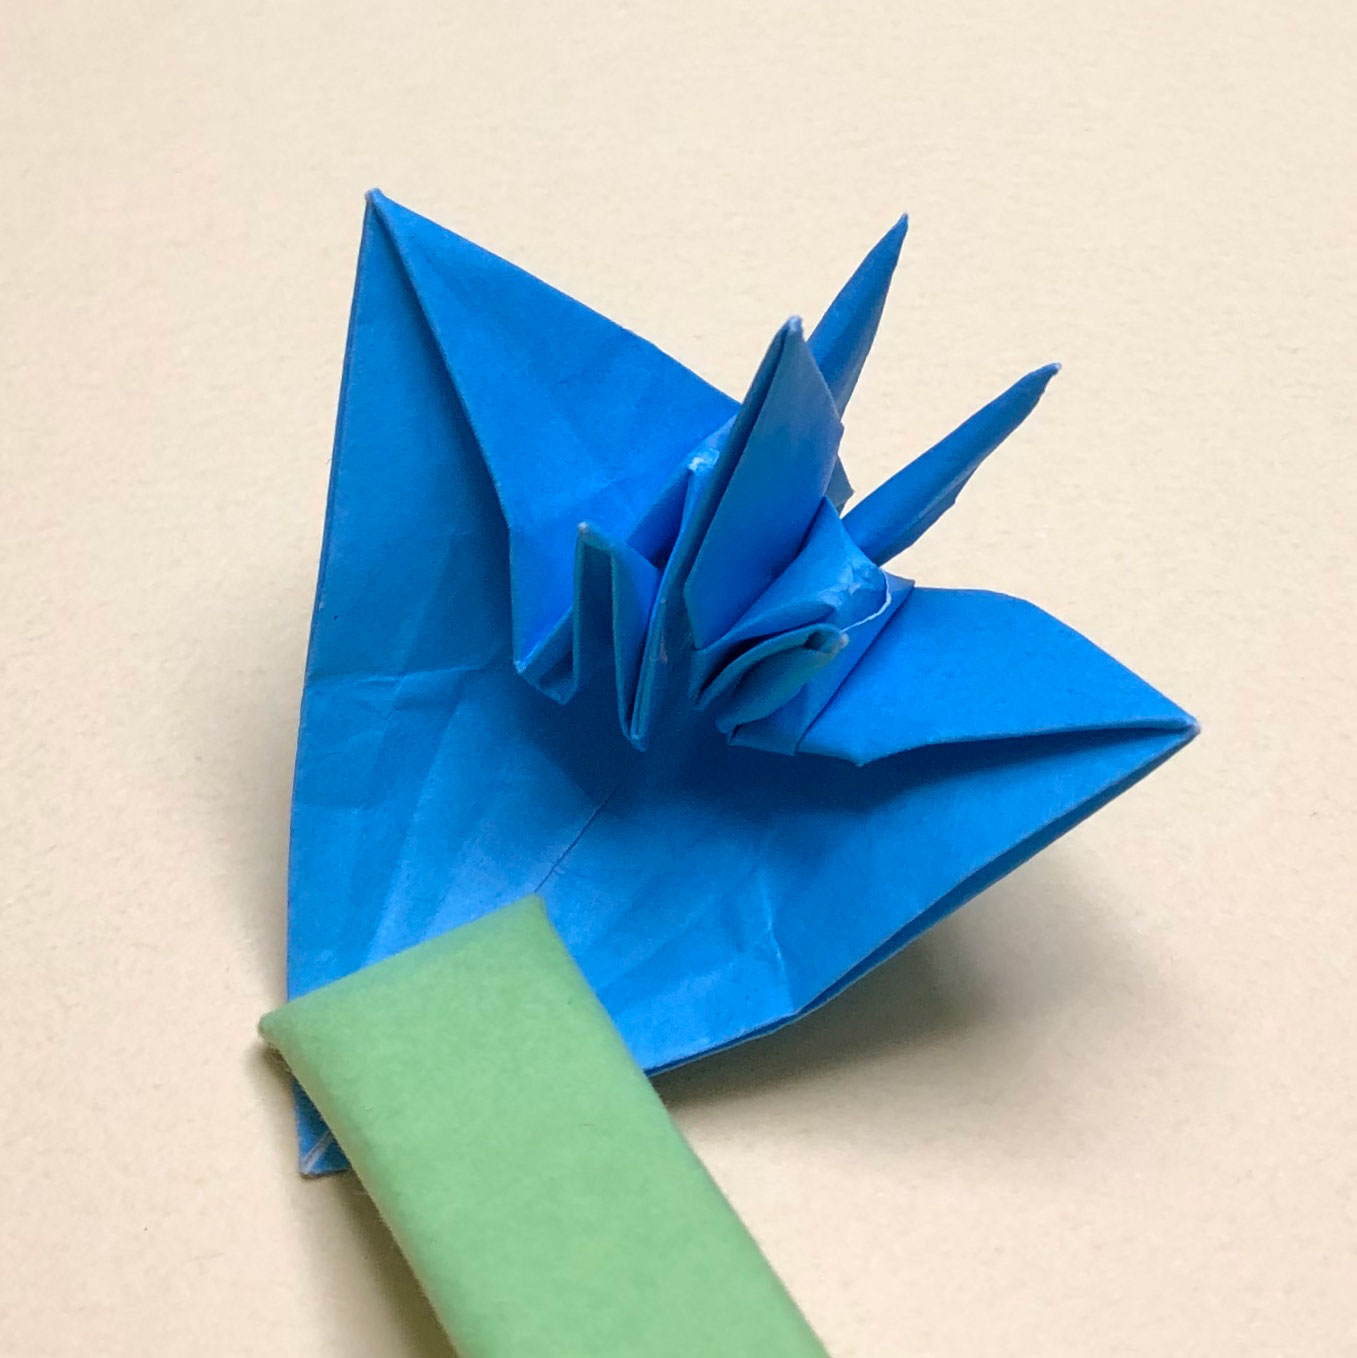
(134)
Open both sides like this picture.
Then turn the paper over as it is.
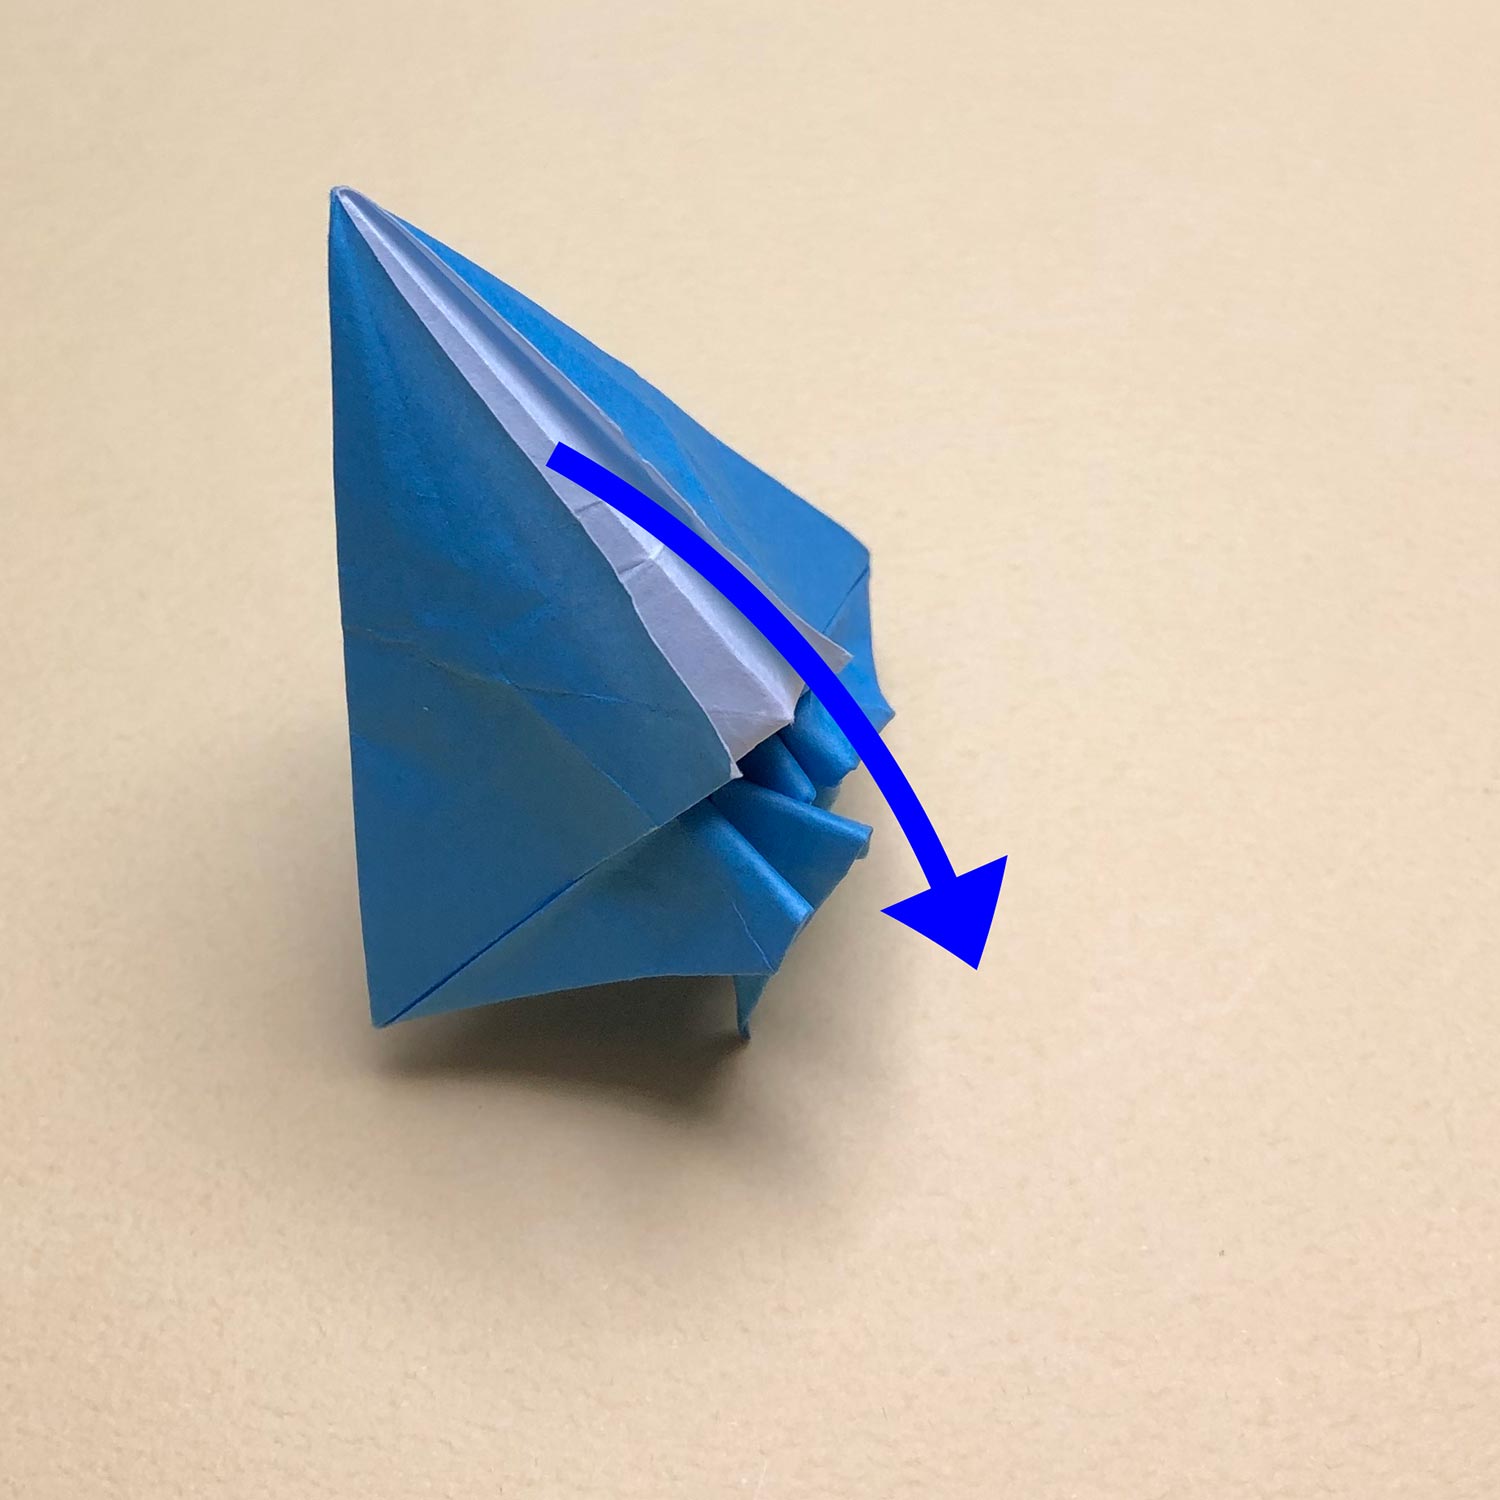
(135)
After turning the paper over, take only the flap in the front and move it in the direction of the arrow.
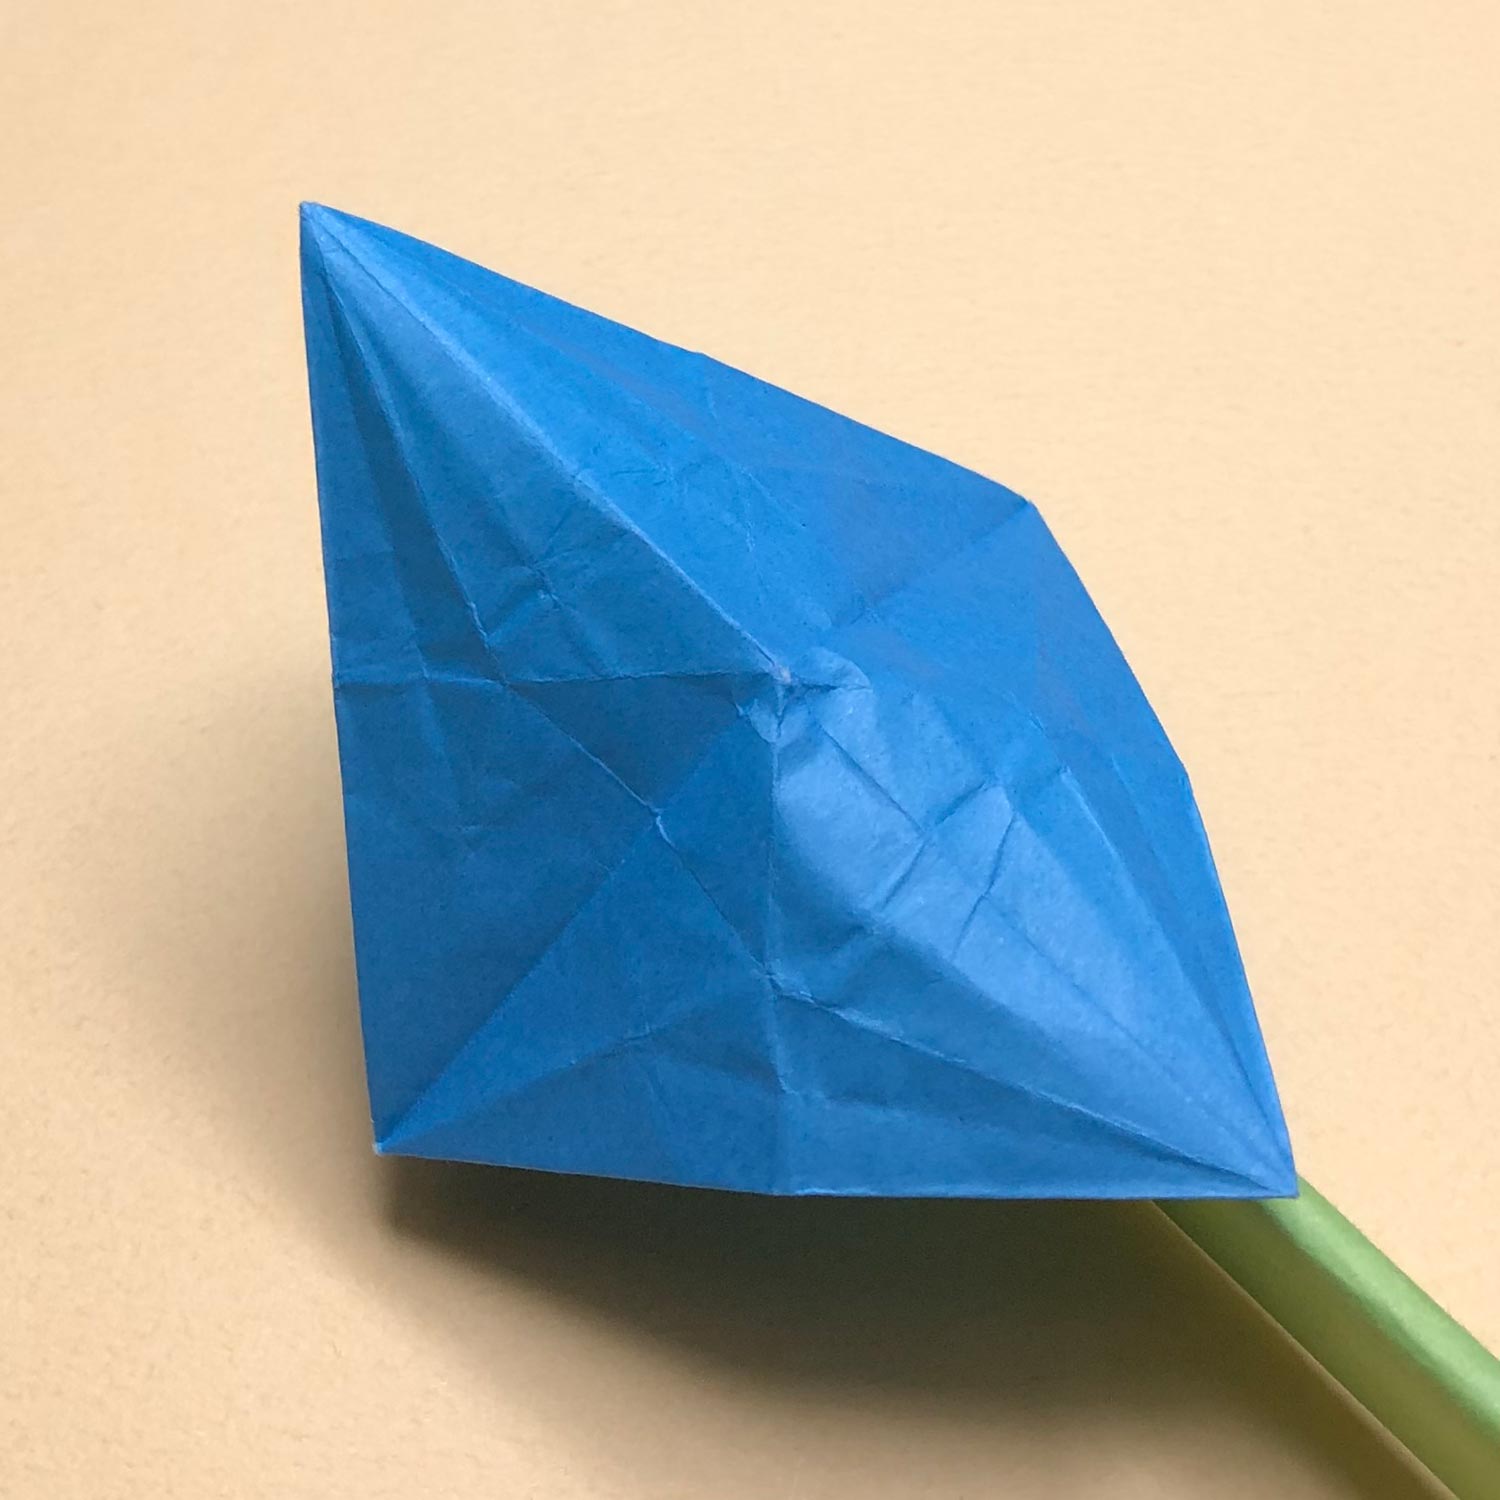
(136)
Move the flap like this picture.
Then make a star-shape.
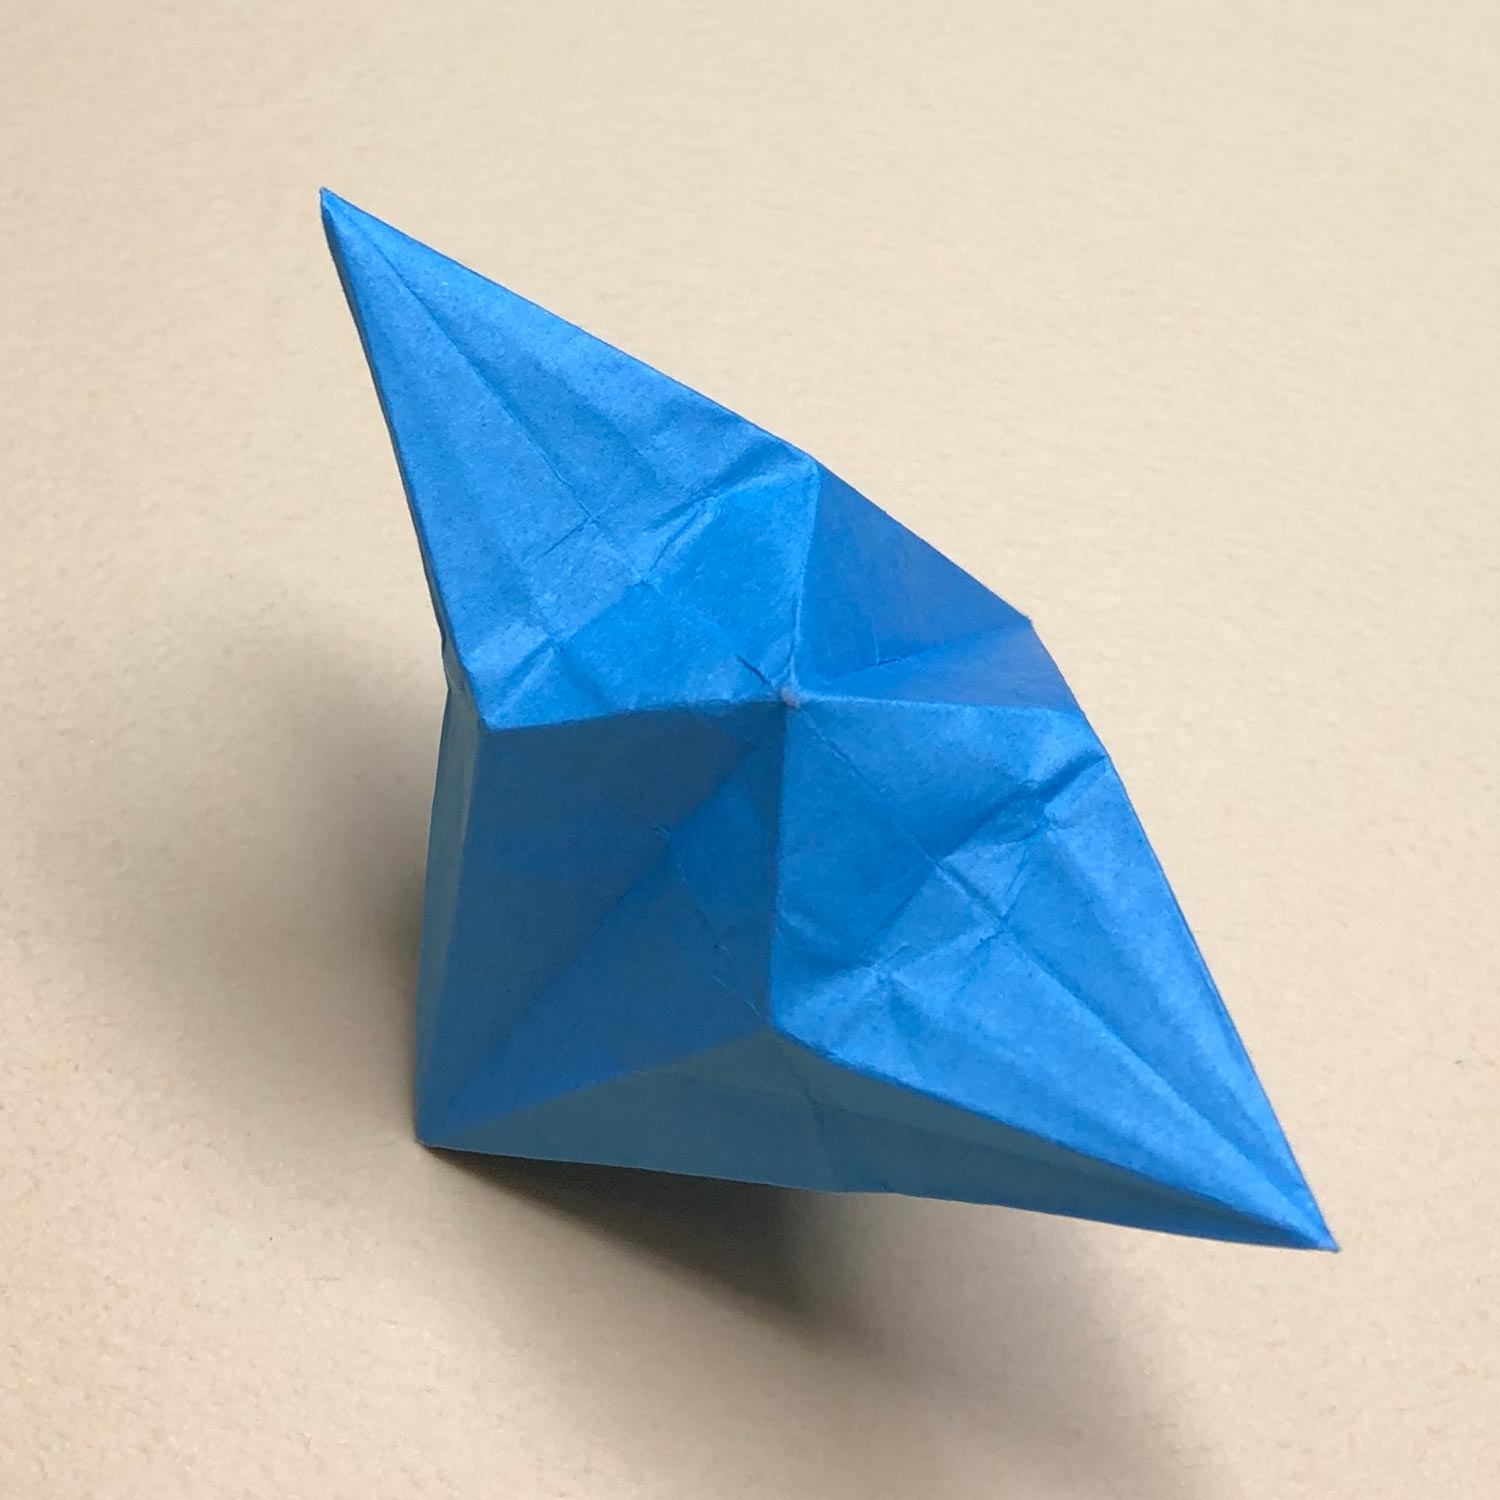
(137)
Make a star-shape like this picture.
(Also, make mountain-folds on four creases in the center.)
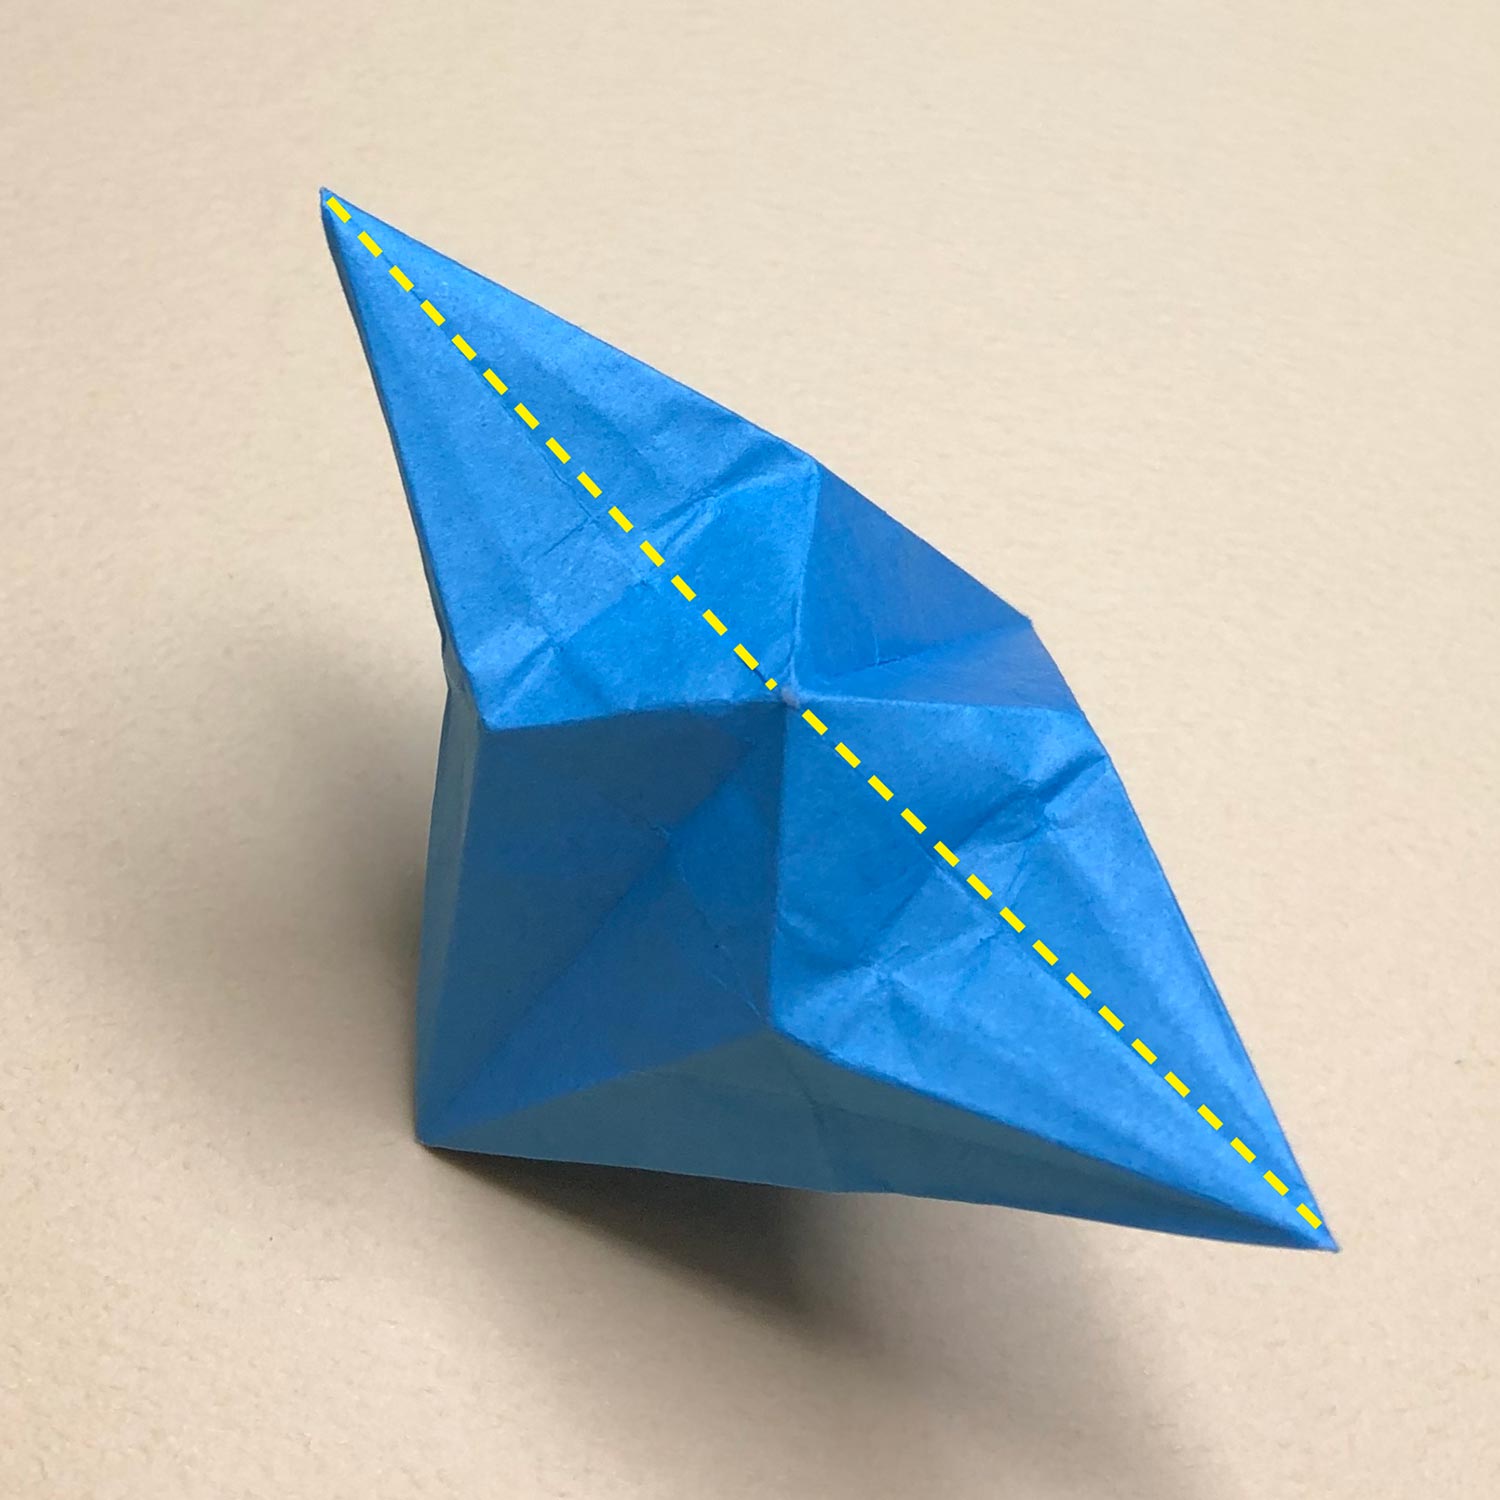
(138)
Then make valley-folds a little on the dotted lines.
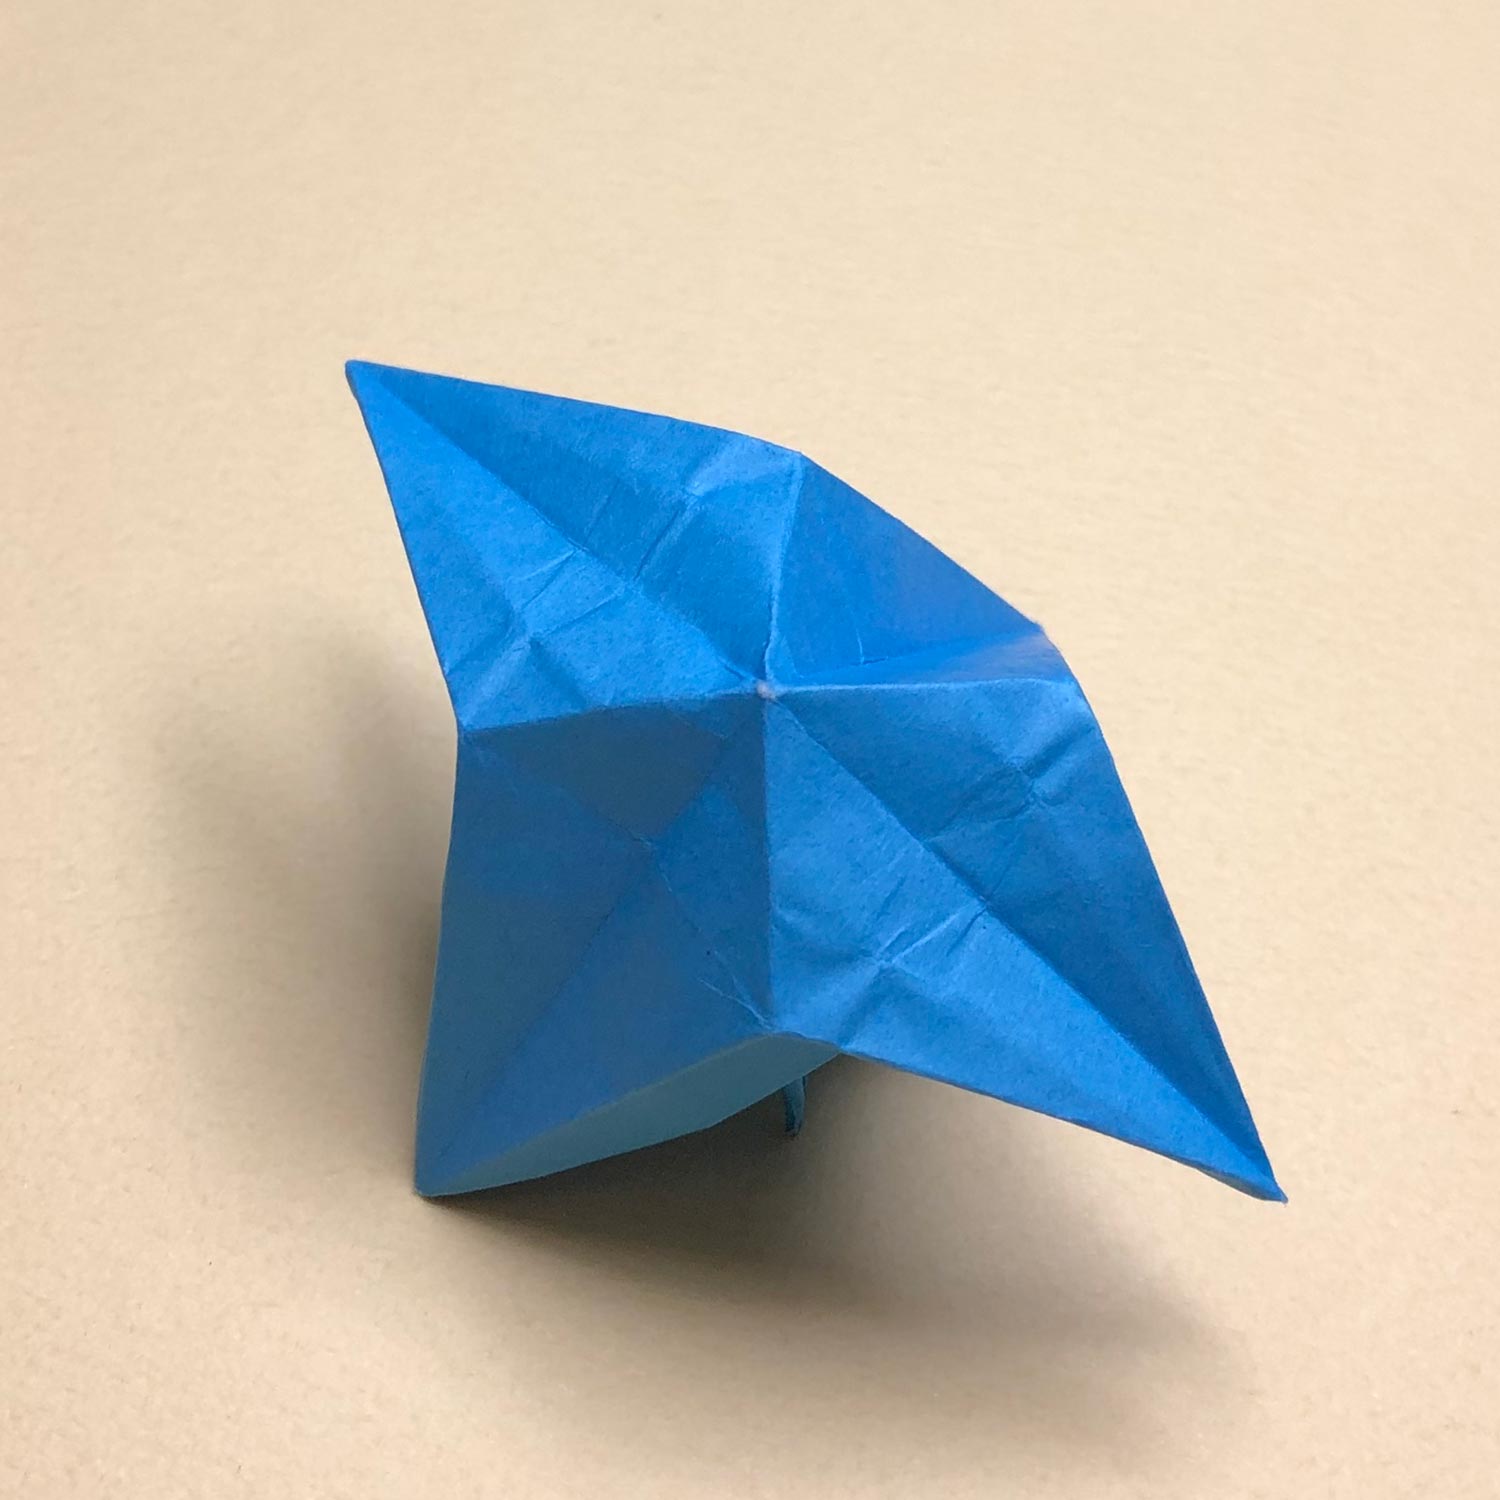
(139)
Make valley-folds a little like this picture.
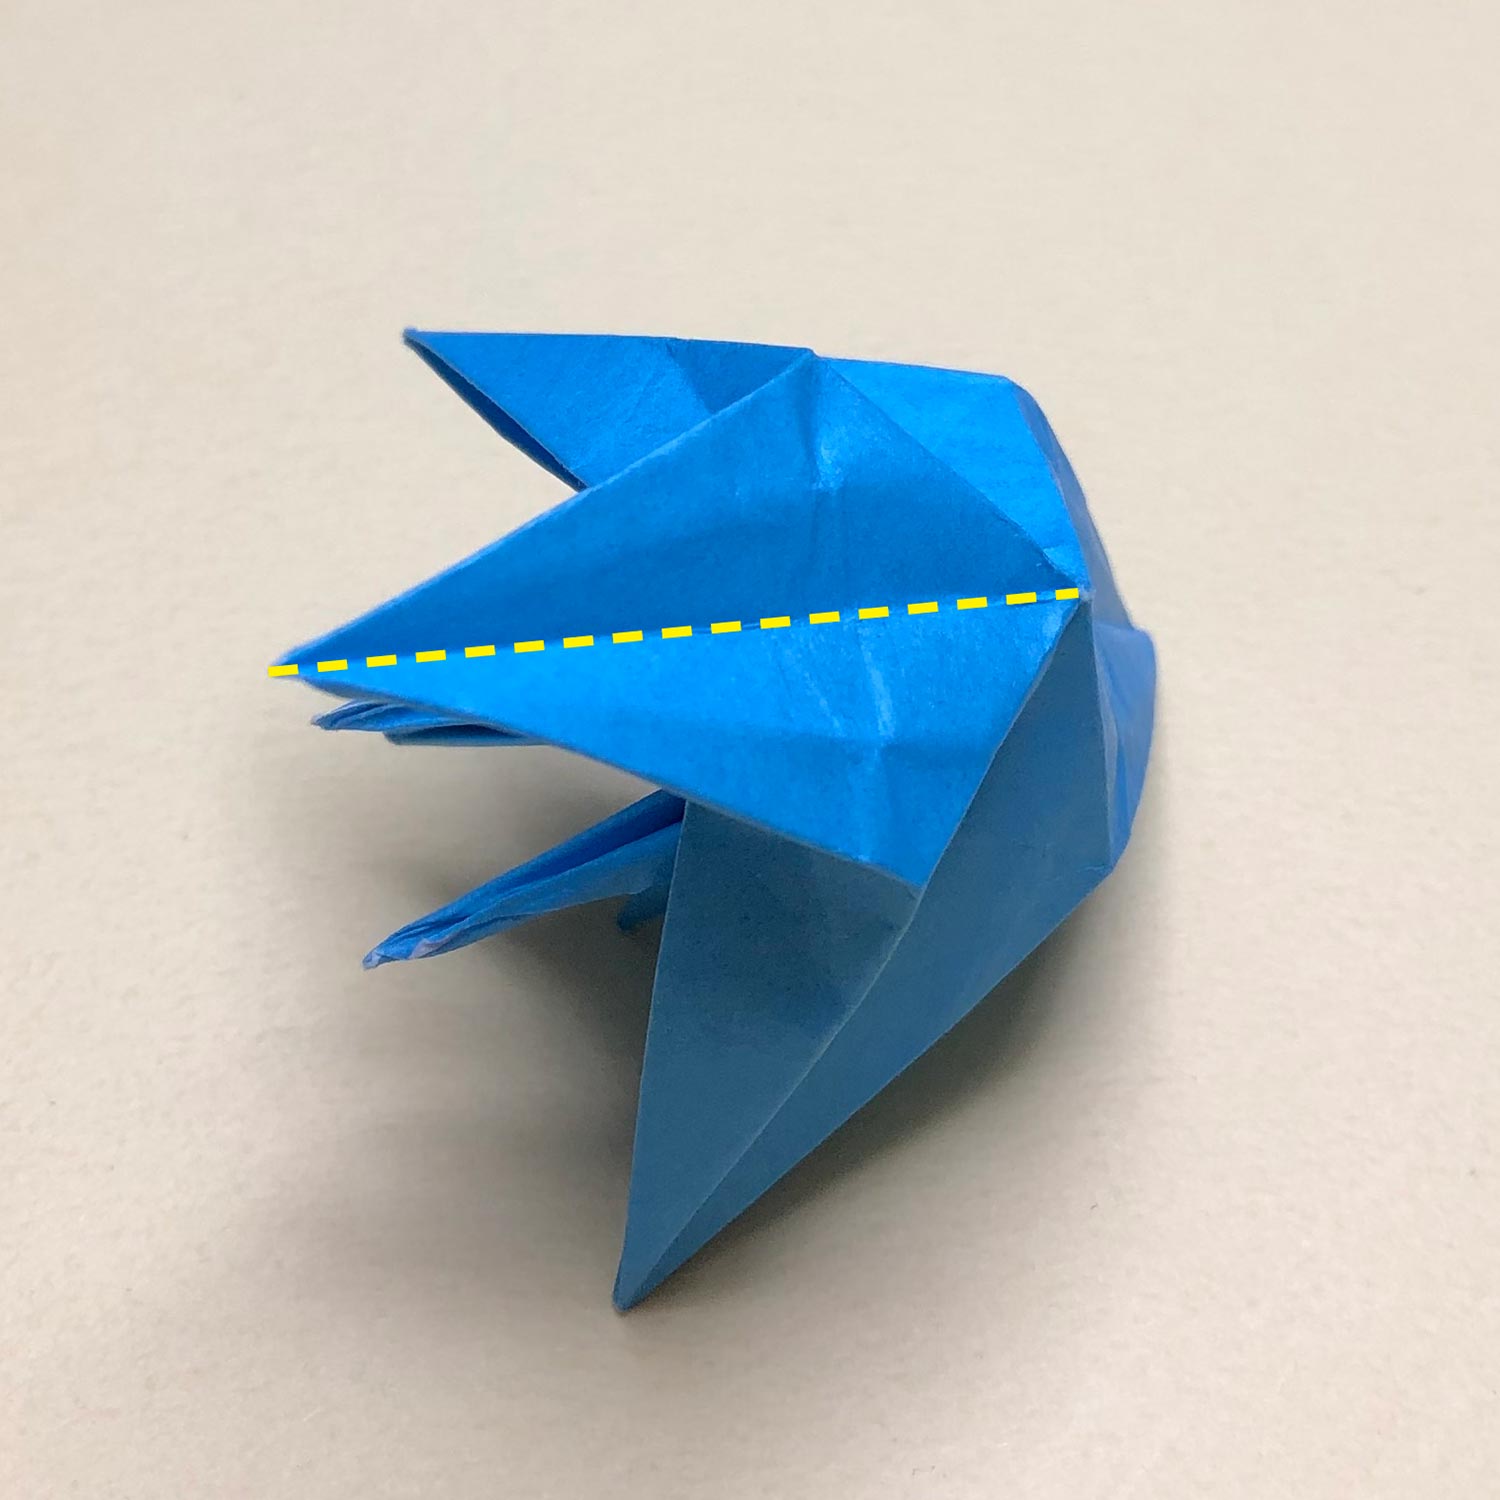
(140)
I rotated the paper.
Make a valley-fold again on the part which you have made a valley-fold.
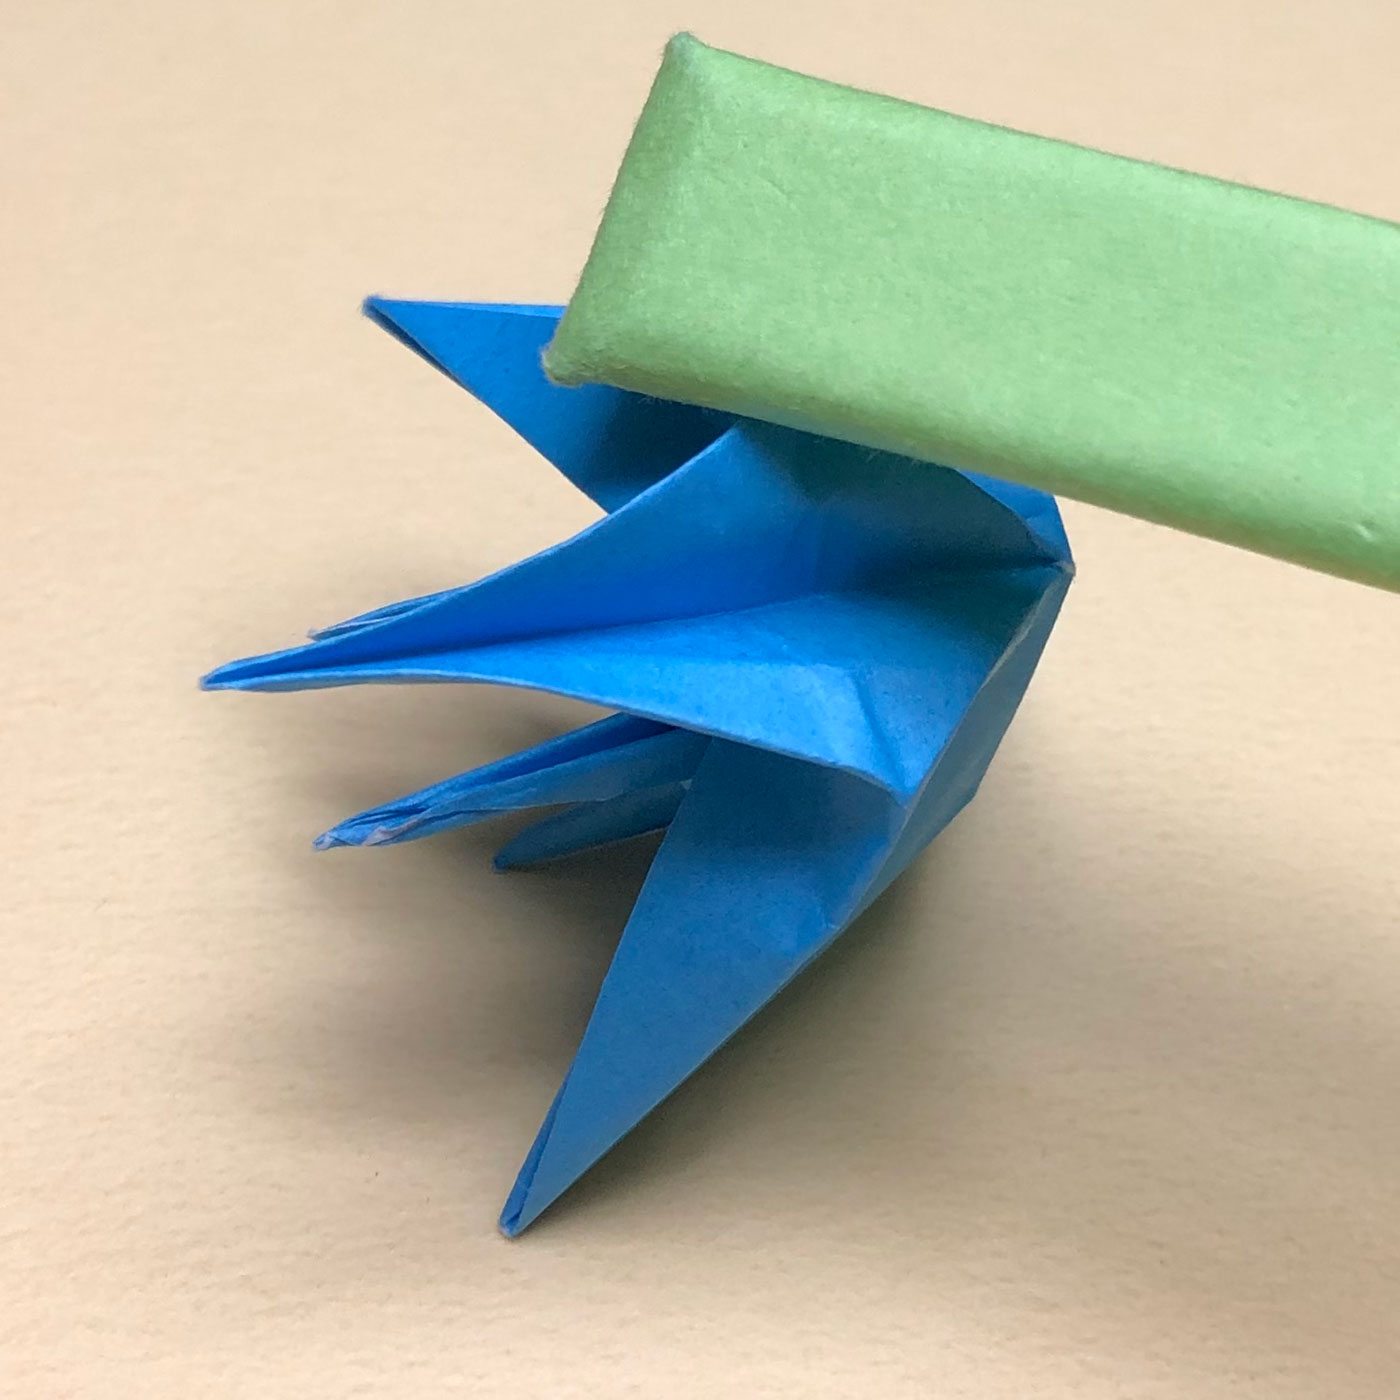
(141)
Make a valley-fold again like this picture.
Proceed with the next steps while making the valley-fold.
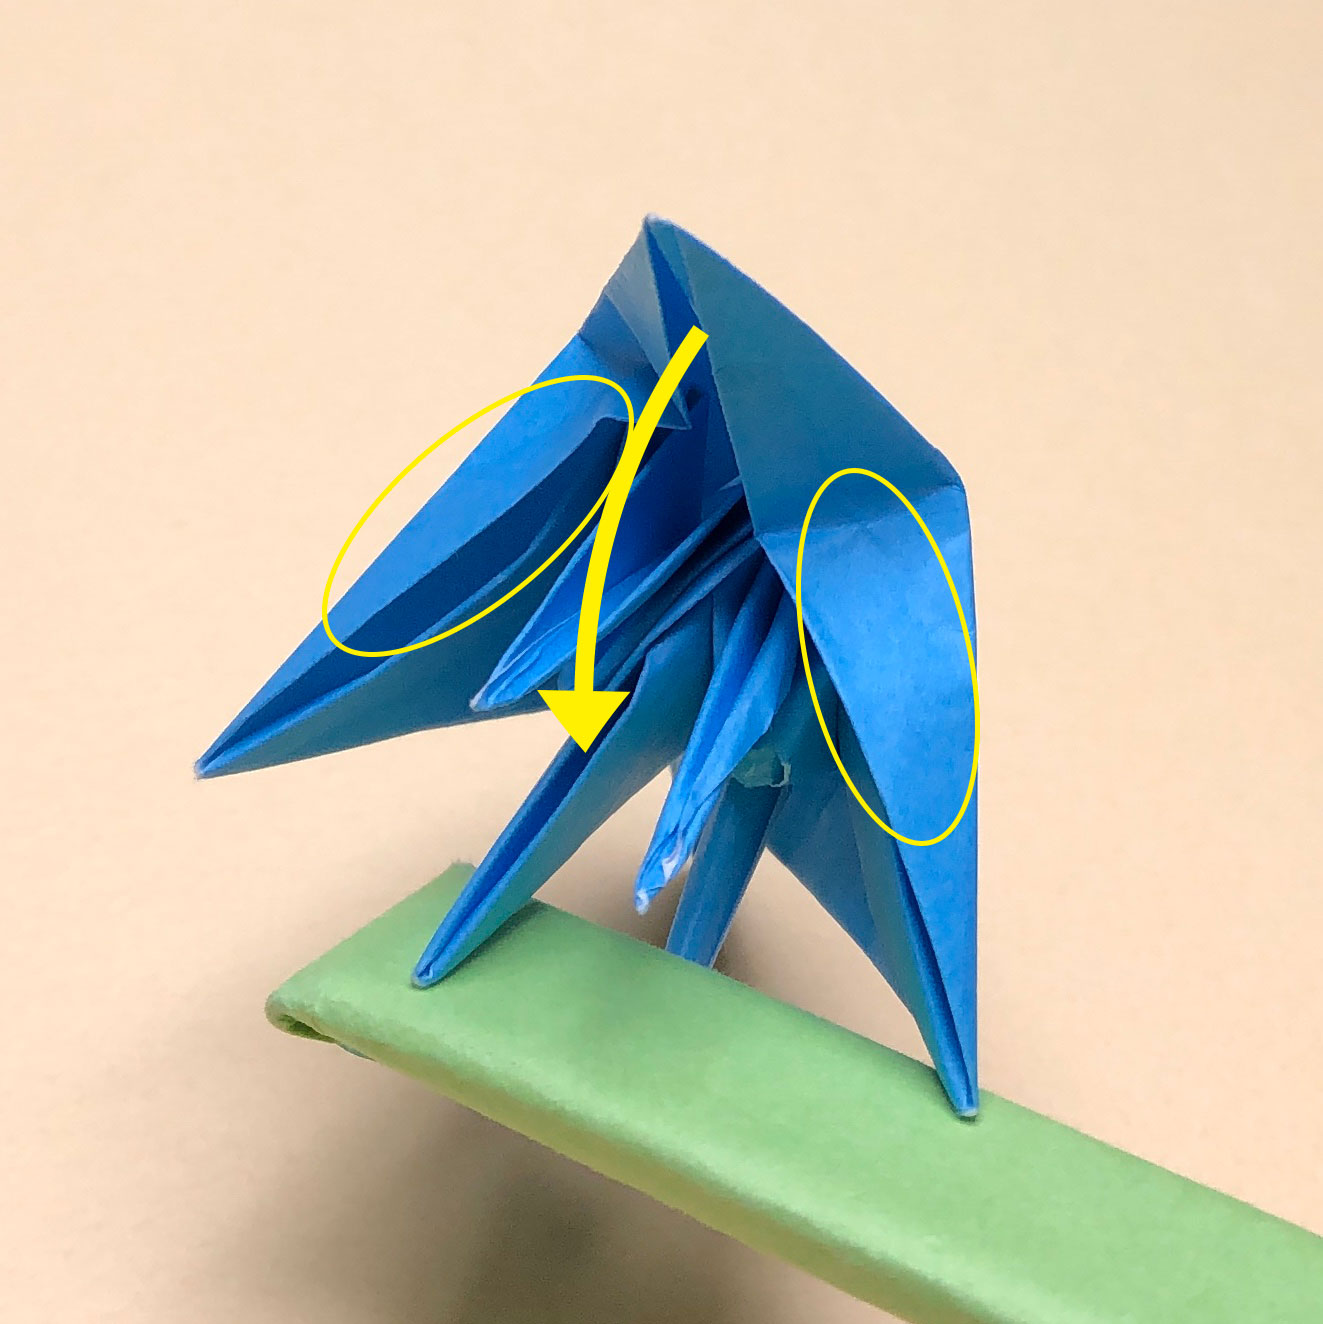
(142)
Put the part, which you have made the valley-fold, between a wing of the completed crane and a wing of the uncompleted crane.
At that time, move the circled edges under wings of the cranes.
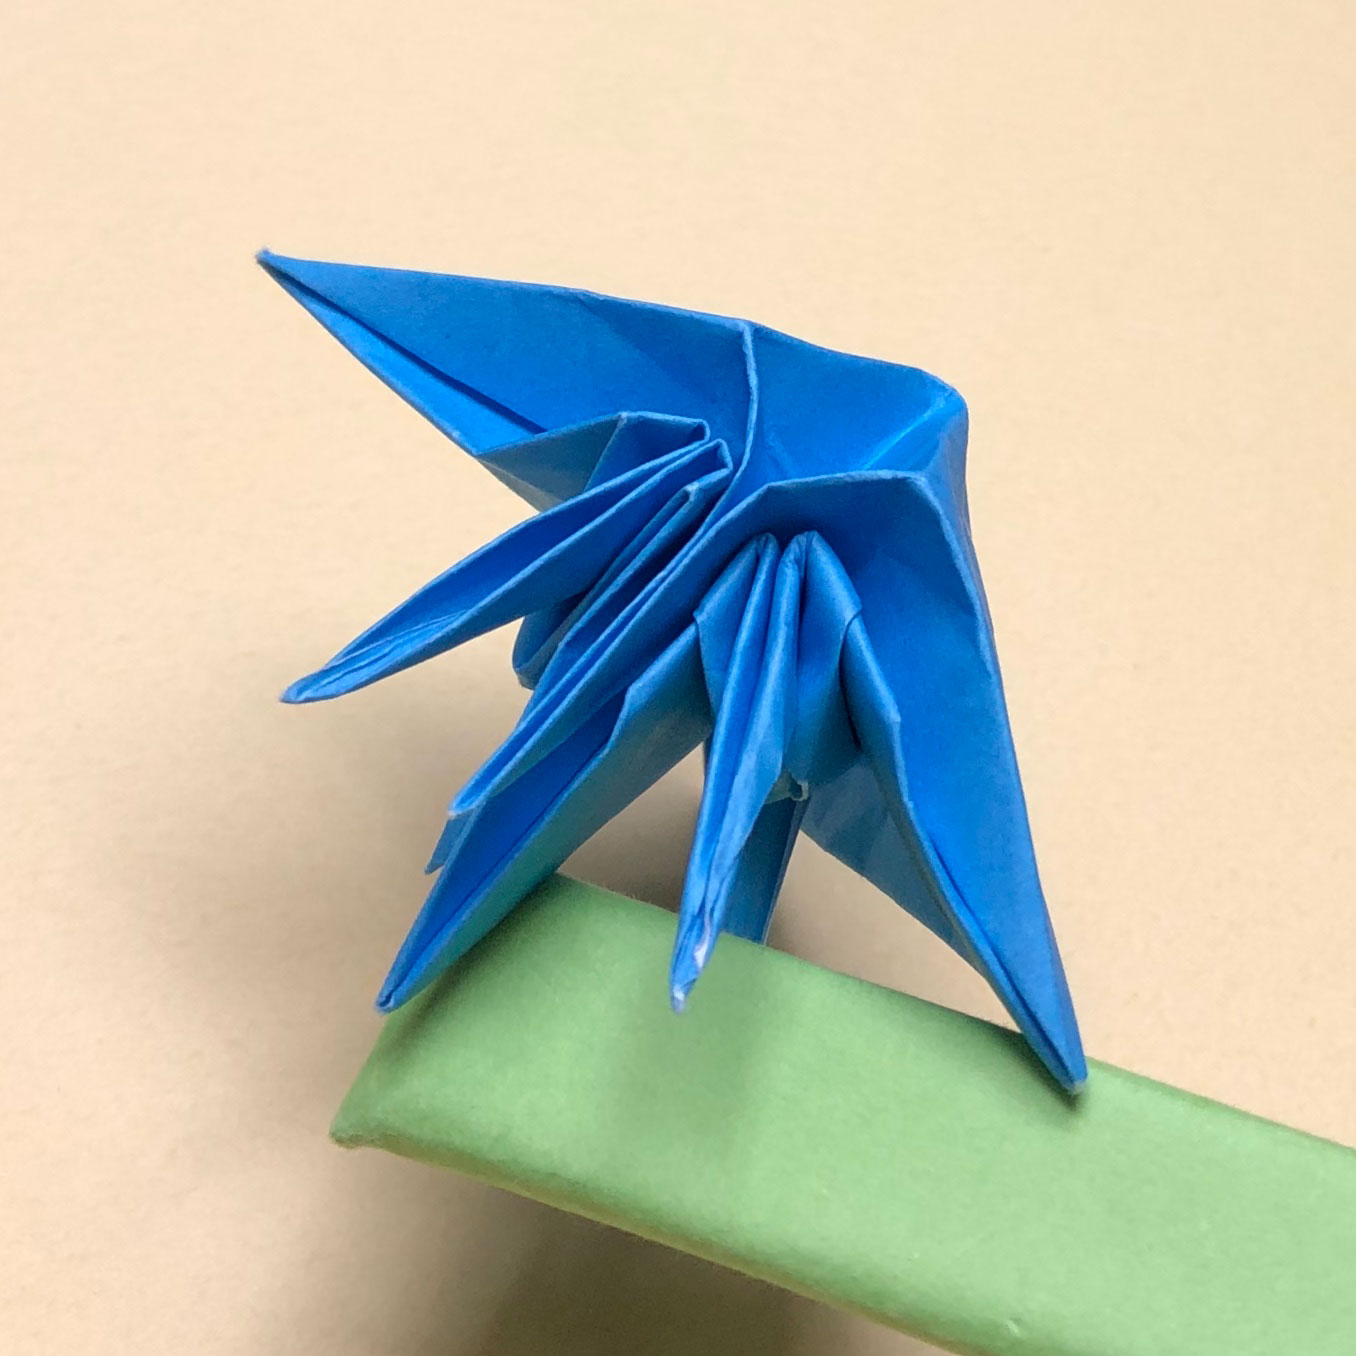
(143)
Put the part between wings and move the edges like this picture.
Then turn the paper over as it is.
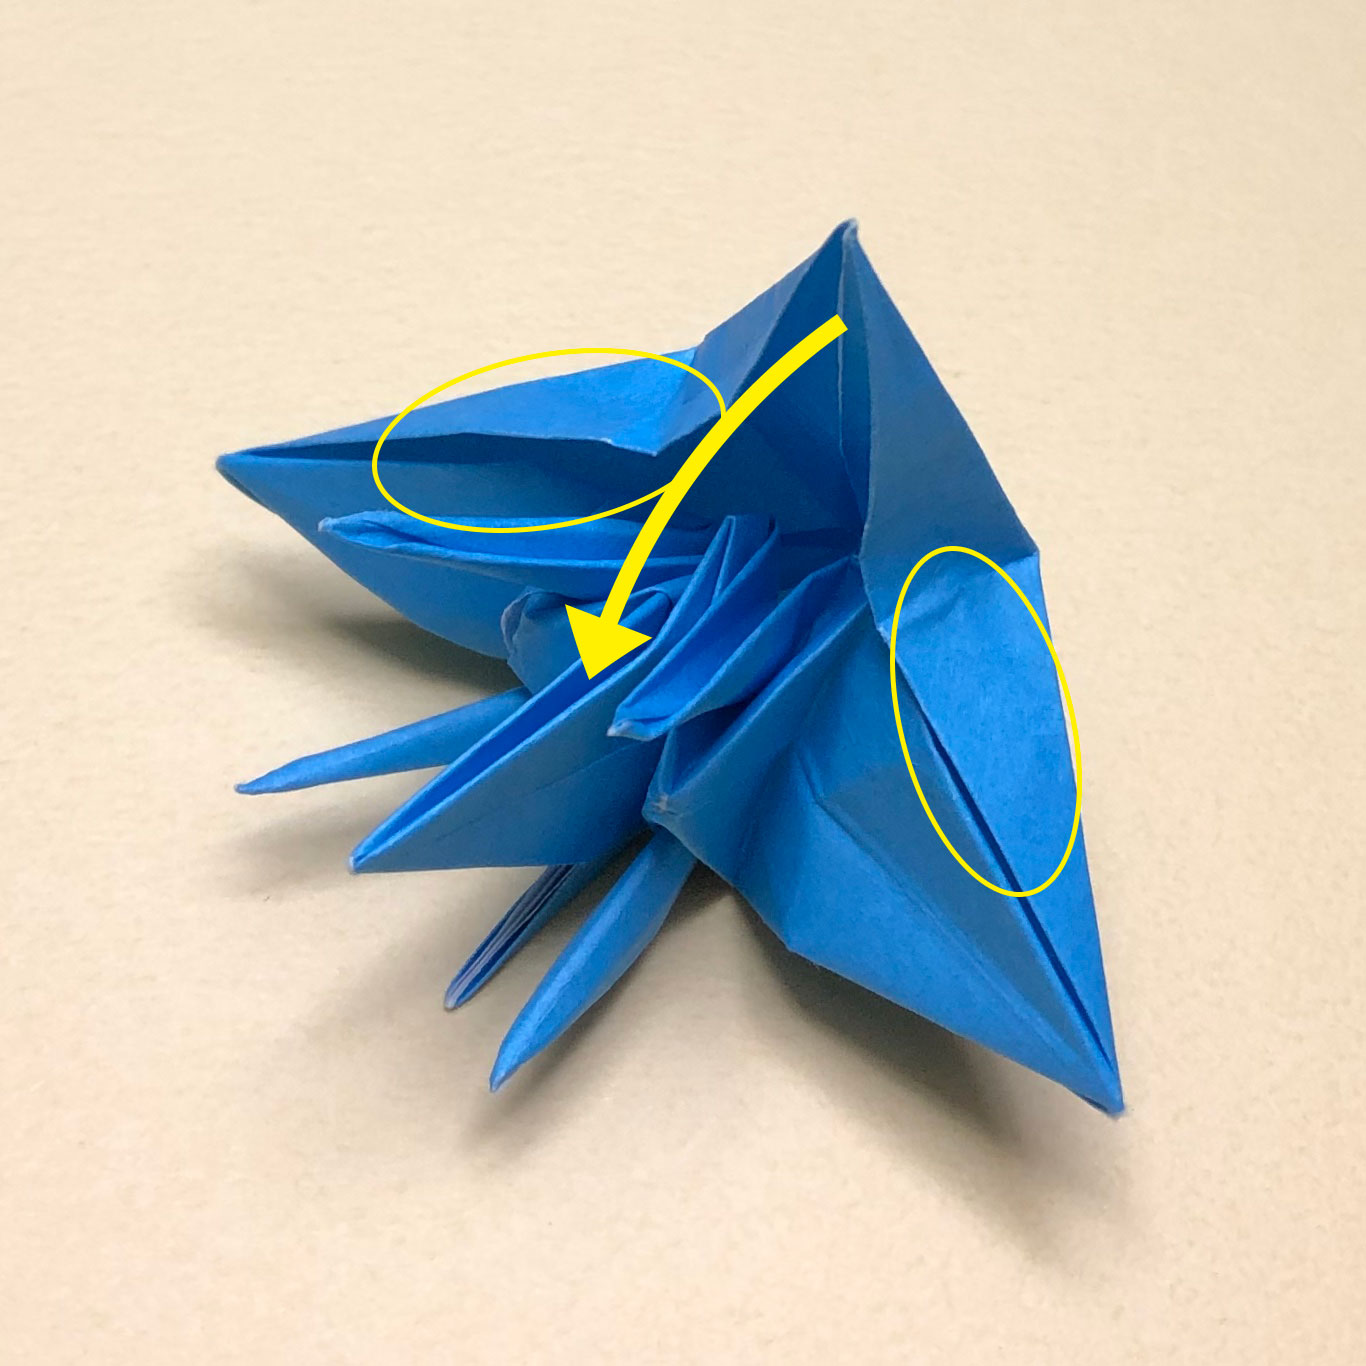
(144)
After turning the paper over, put the other part between a wing of the completed crane and a wing of the uncompleted crane in the same way.
(At that time, move the circled edges under wings of the cranes as well.)
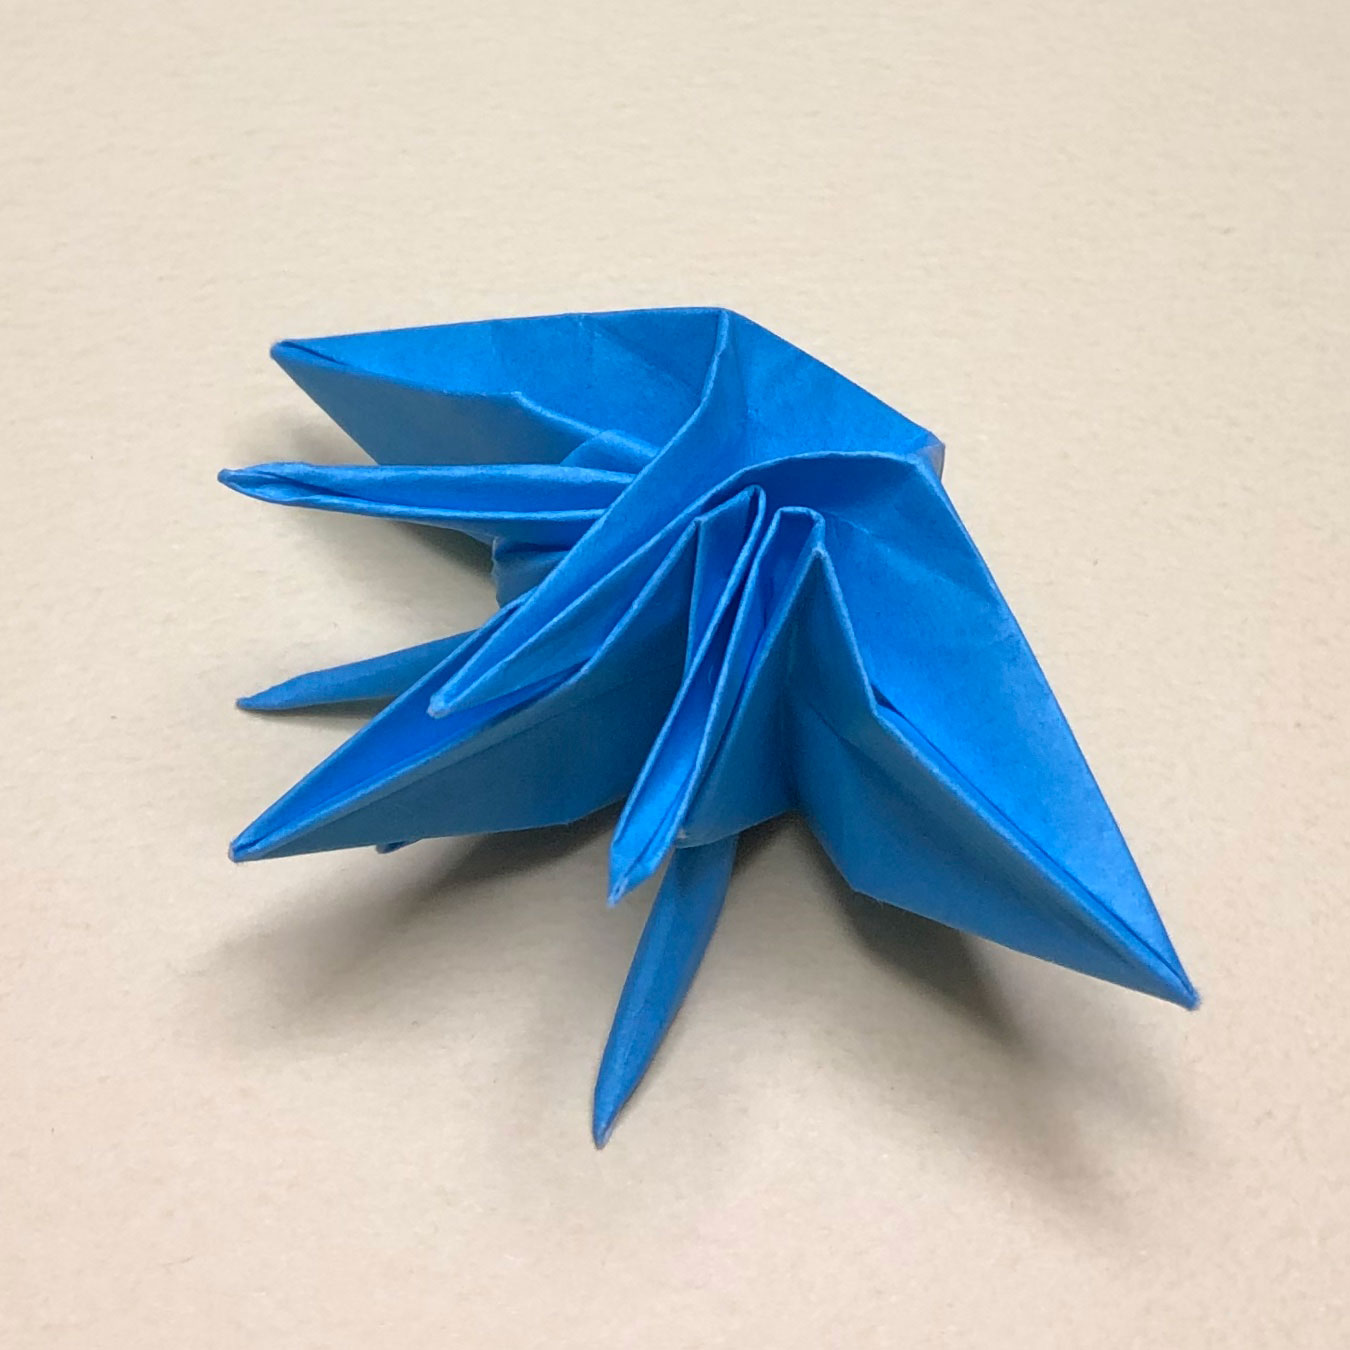
(145)
Put the other part between wings and move the edges like this picture.
