(88)
Then fold two corners inwards.
(make mountain-folds on the dotted lines.)
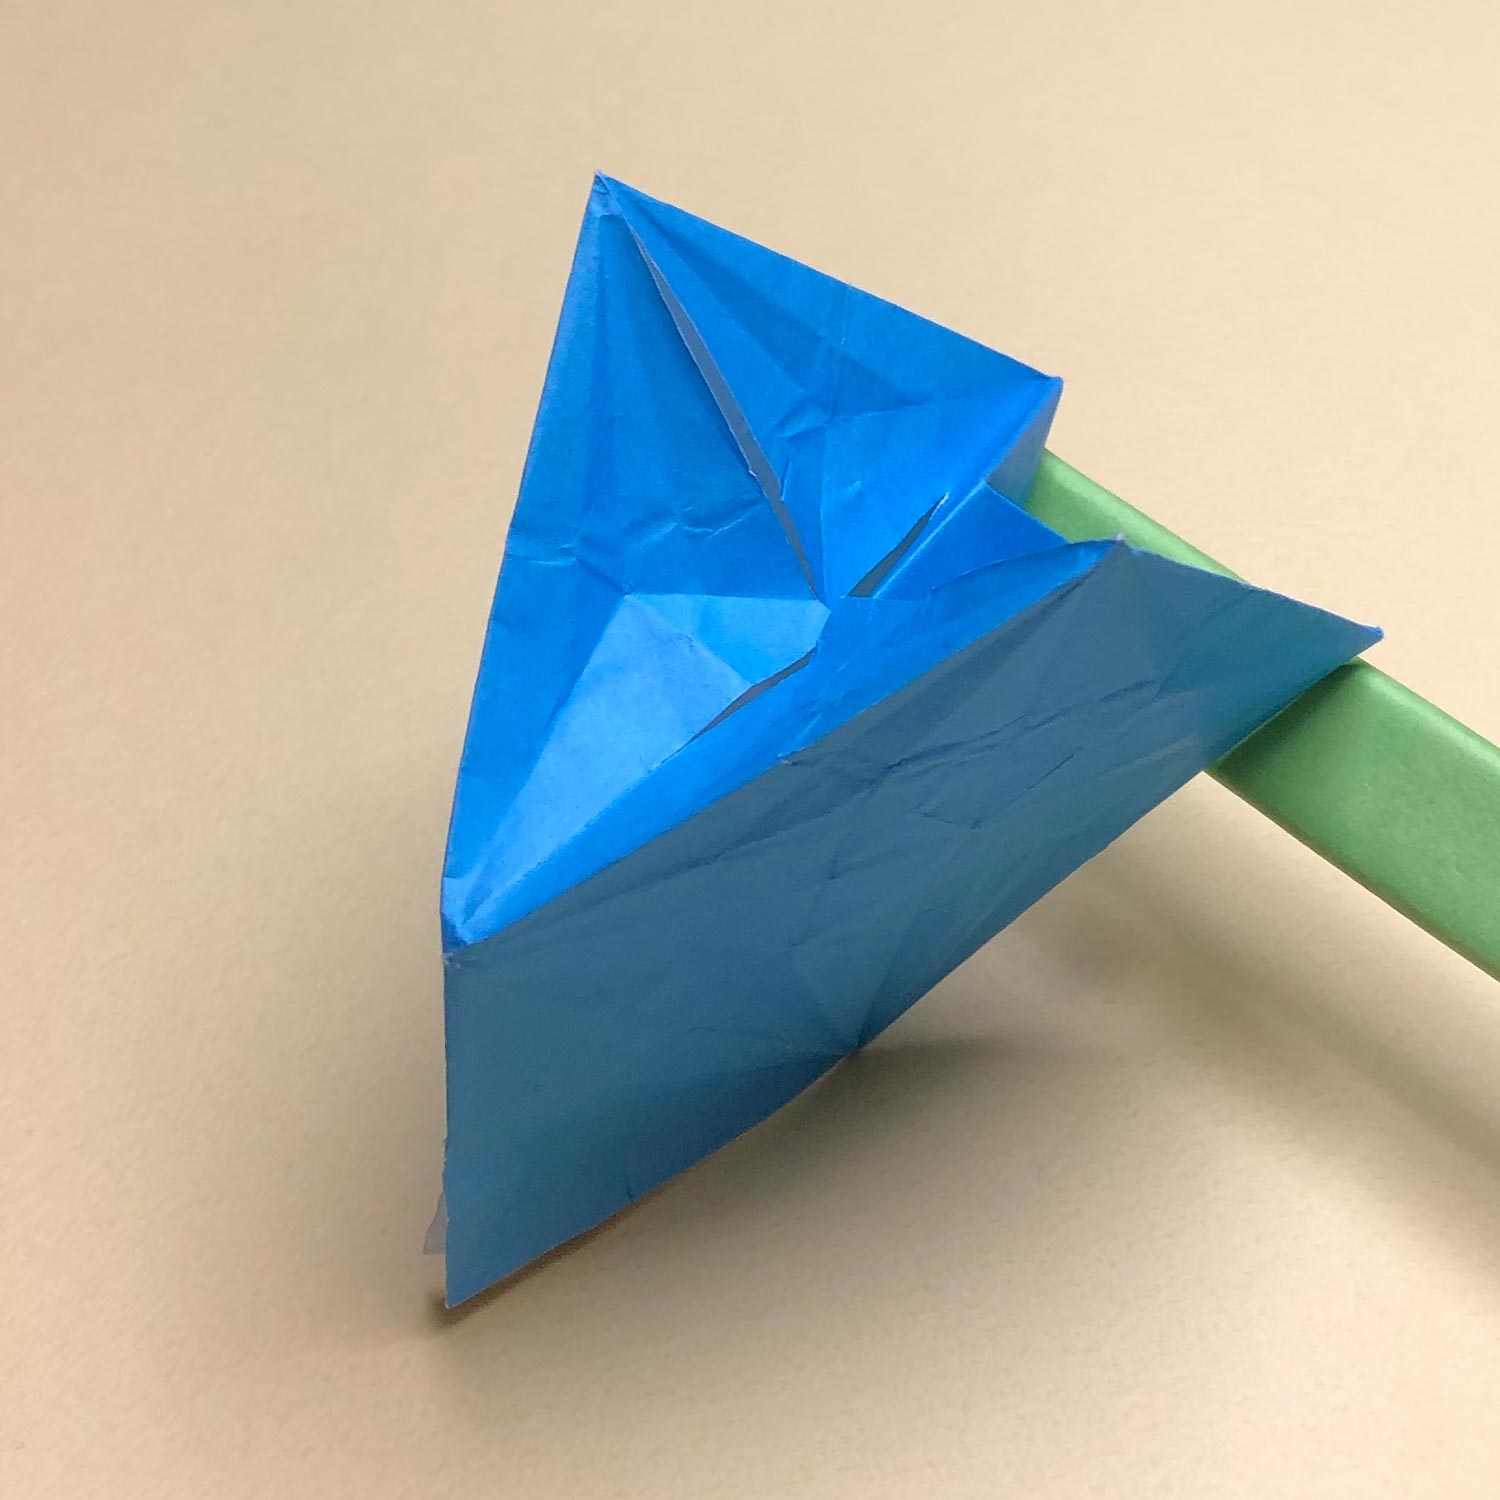
(89)
This picture is halfway through.
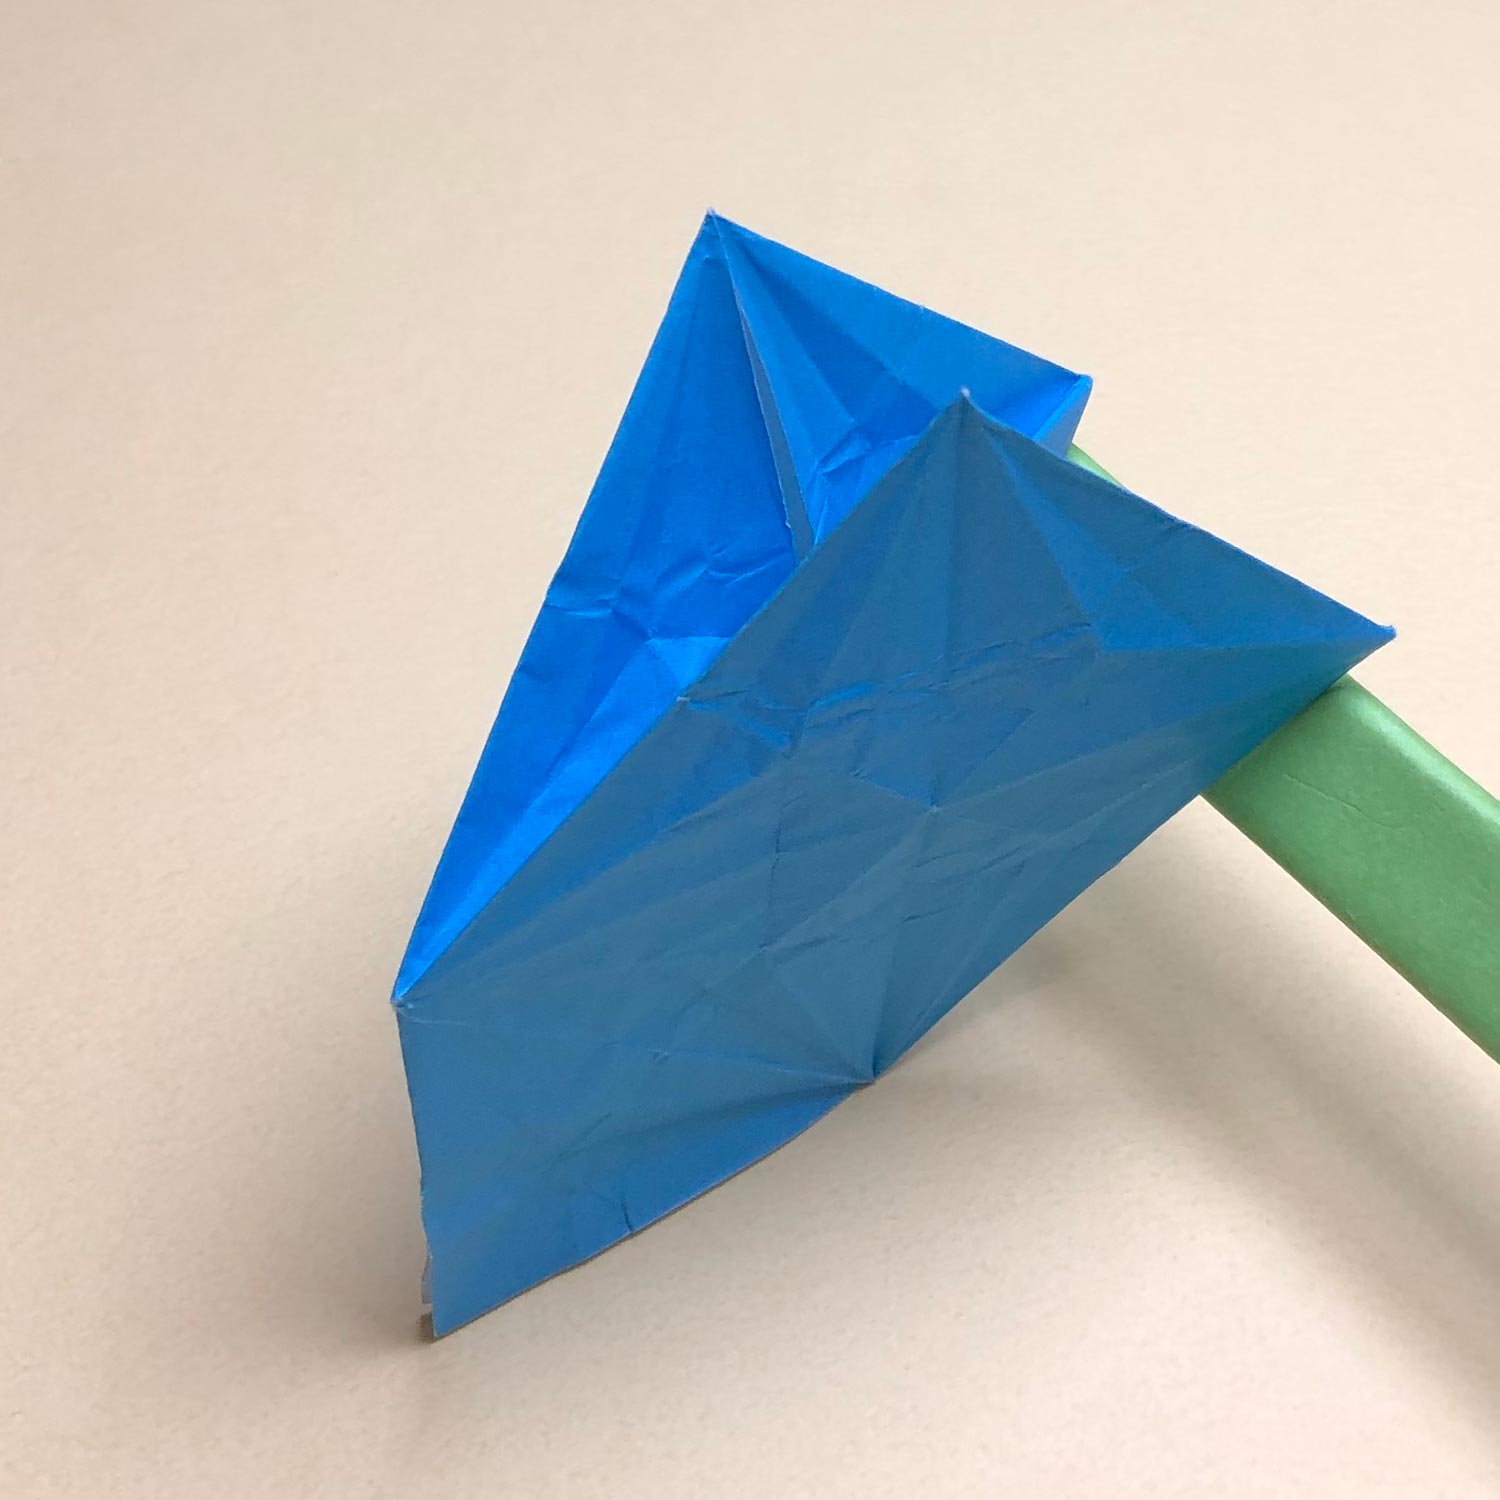
(90)
Fold the two corners like this picture.
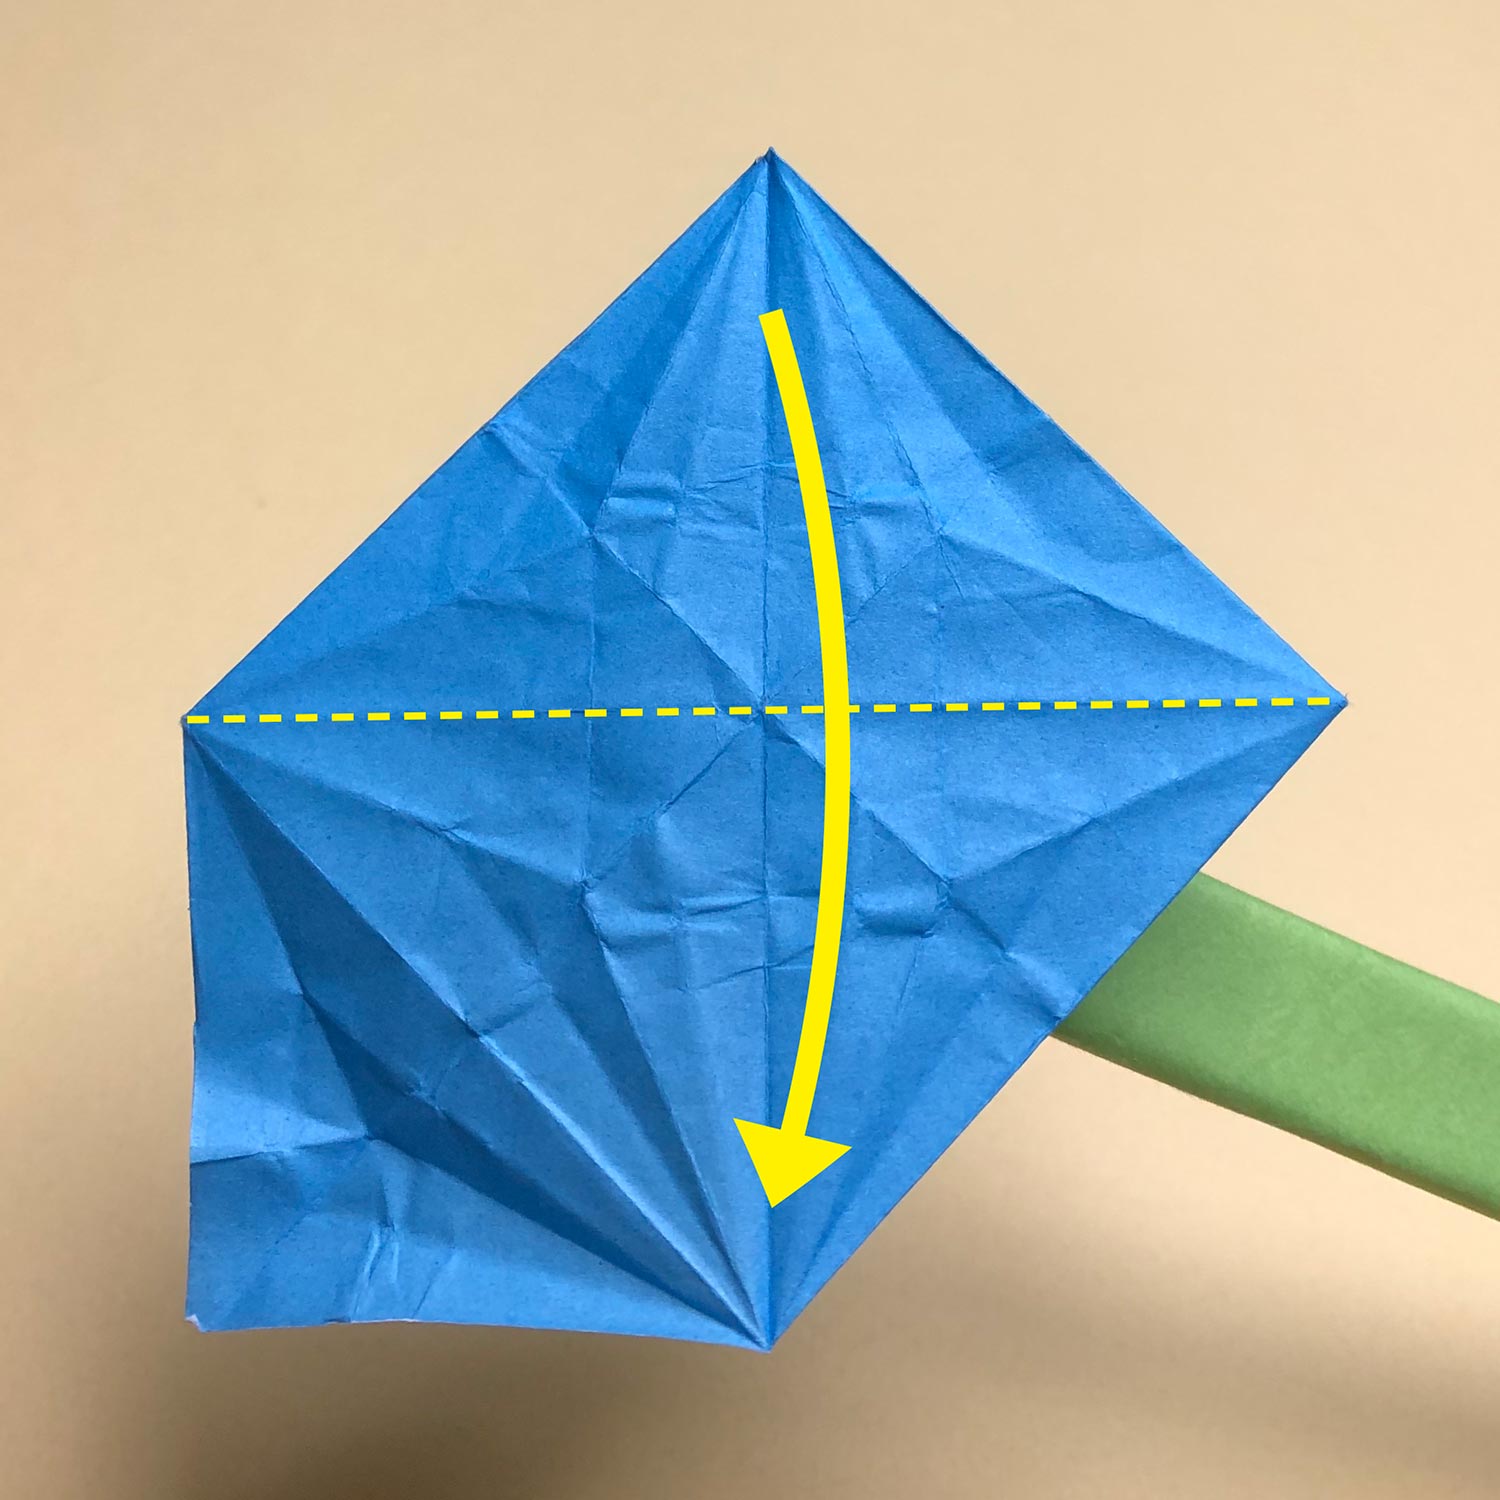
(91)
Take only the flap in the front and fold it on the dotted line.

(92)
Fold the flap like this picture.
Then fold the other flap backwards.
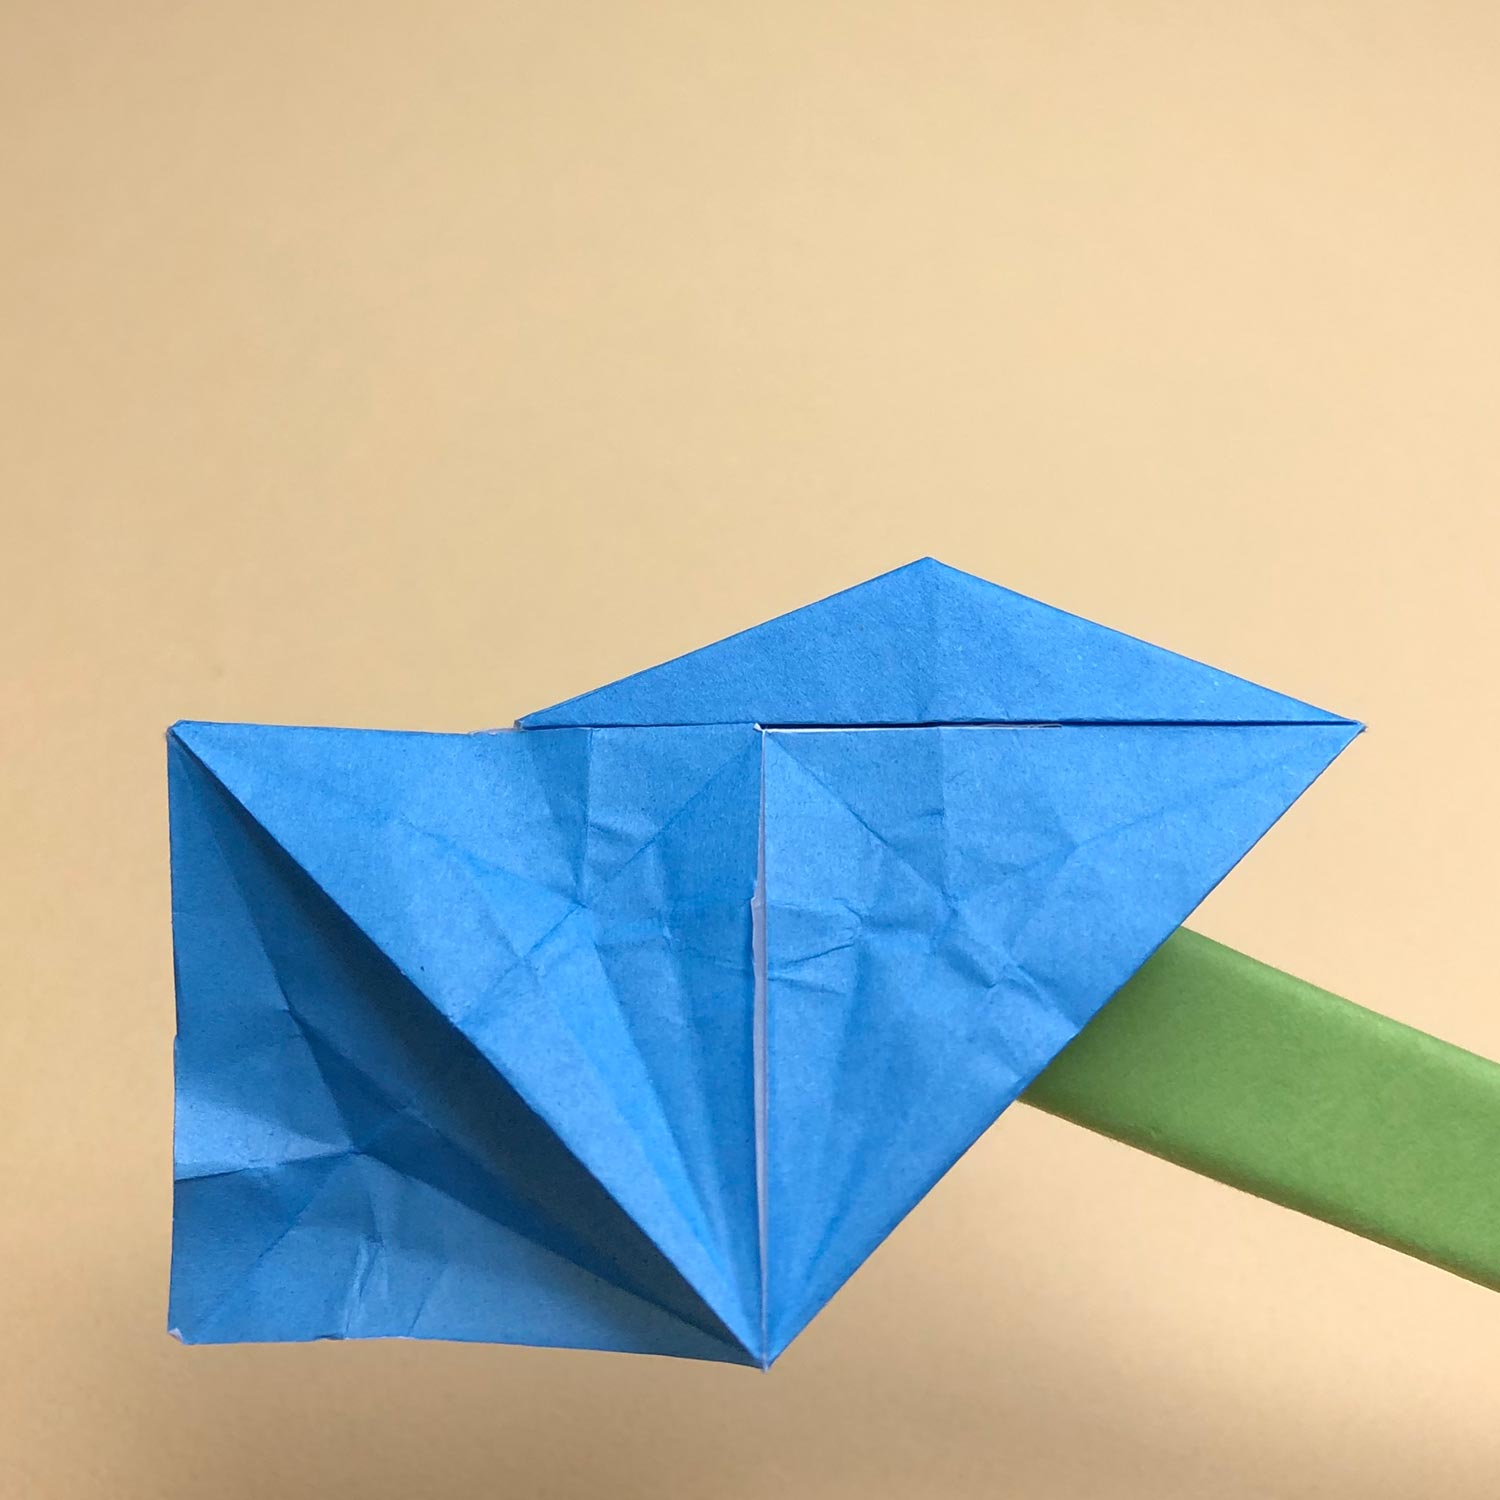
(93)
Fold the flap like this picture.

(94)
Fold the head/tail to the center and raise it.
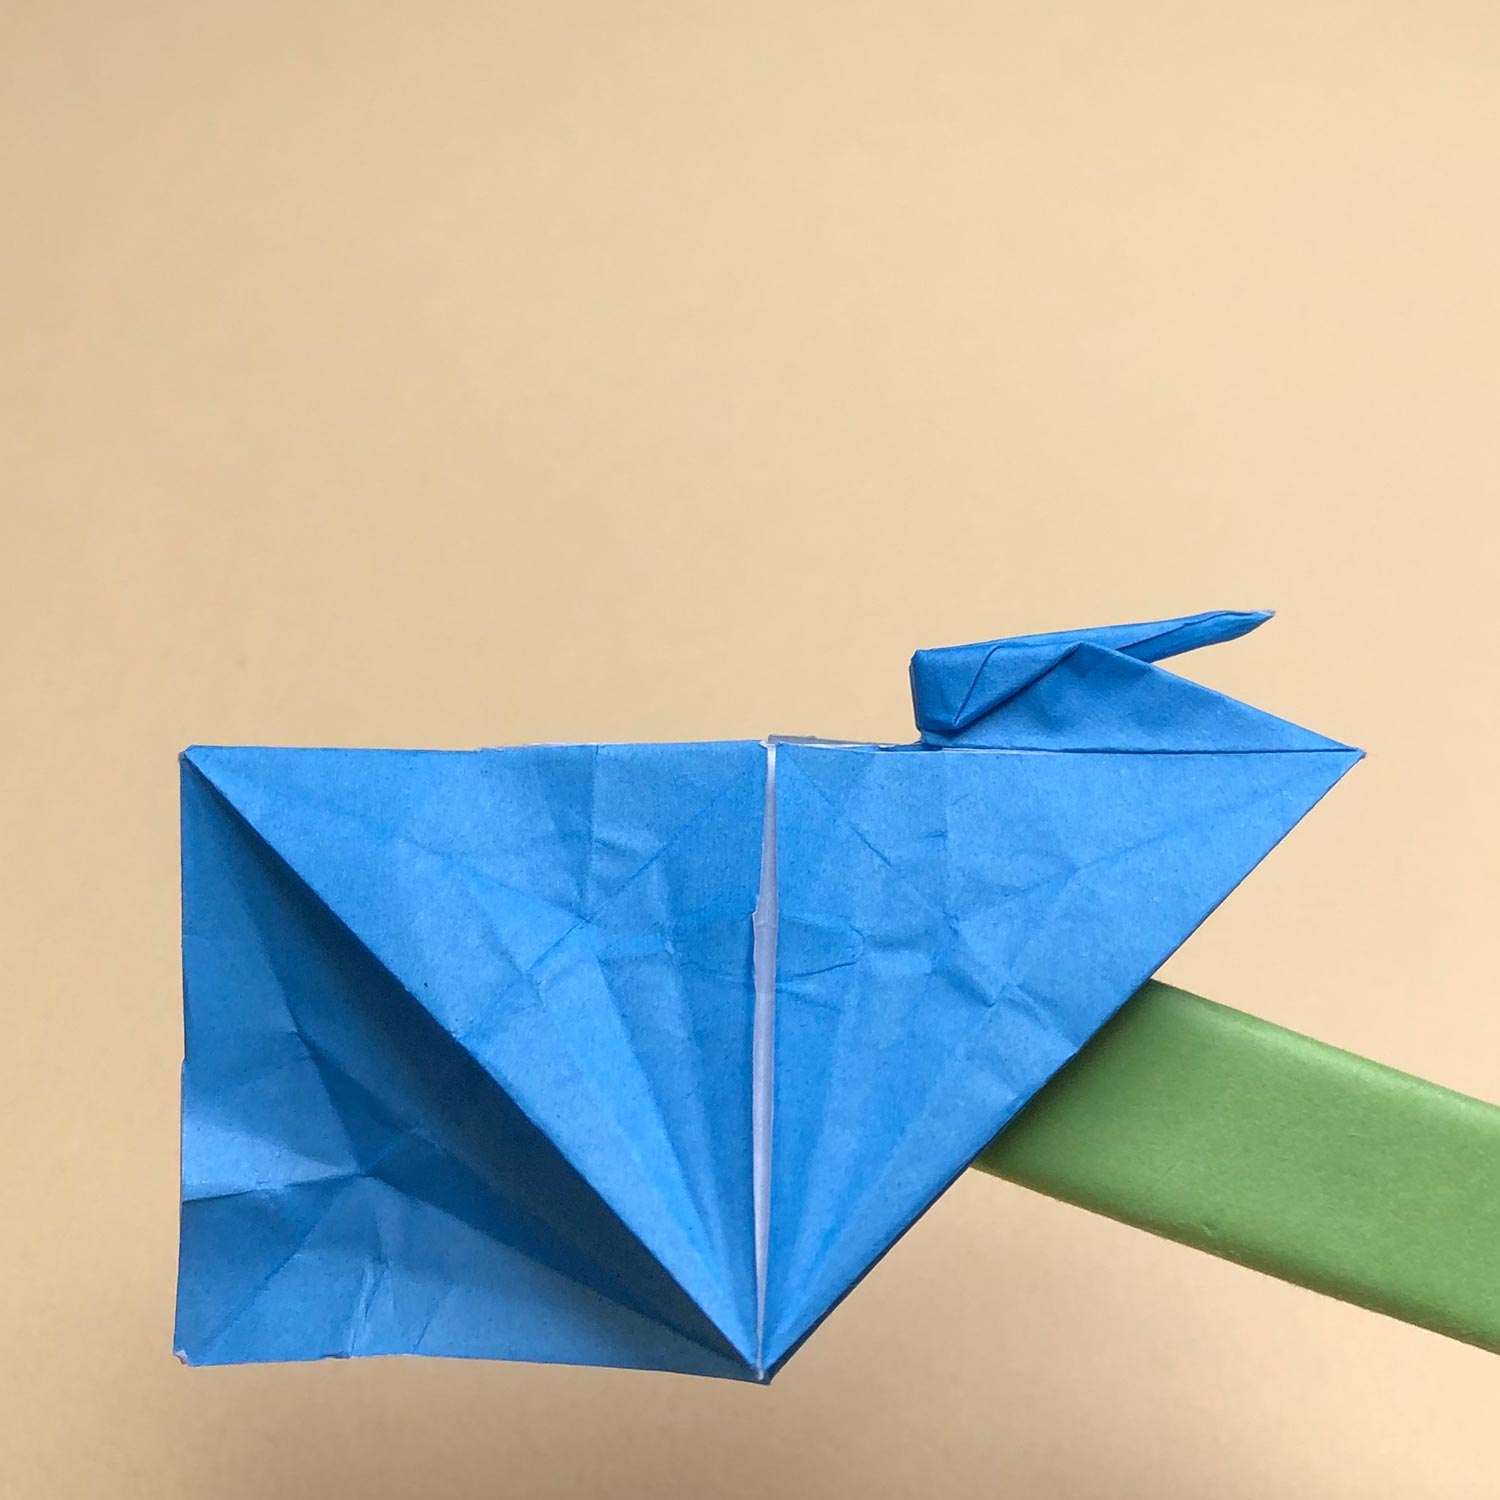
(95)
Raise it like this picture.
When raising a head/tail, sometimes an inside paper get caught on the head/tail.
In that case, you would not be able to raise the head/tail well.
If an inside paper get caught on a head/tail, revert it back to a bird-base and spread the paper once.
Then make creases one more time while referencing the items below.
In the case of that an inside paper get caught on a head/tail
In the case of that an inside paper get caught on a head/tail when raising the head/tail,
there is a high possibility that the inside paper isn’t folded neatly with creases, which you have made, in the 79th step to the 86 step.
Therefore, repeat the 44th step to the 63th step one more time to make creases again.
After that, repeat the 64th step to the 86th step to make a bird-base.
If the inside paper get caught on the head/tail again after repeating the steps above,
I recommend that you make this model with a new paper.
Because if other creases, which you don’t use, are made once, the creases are often preferentially folded when making a bird-base.
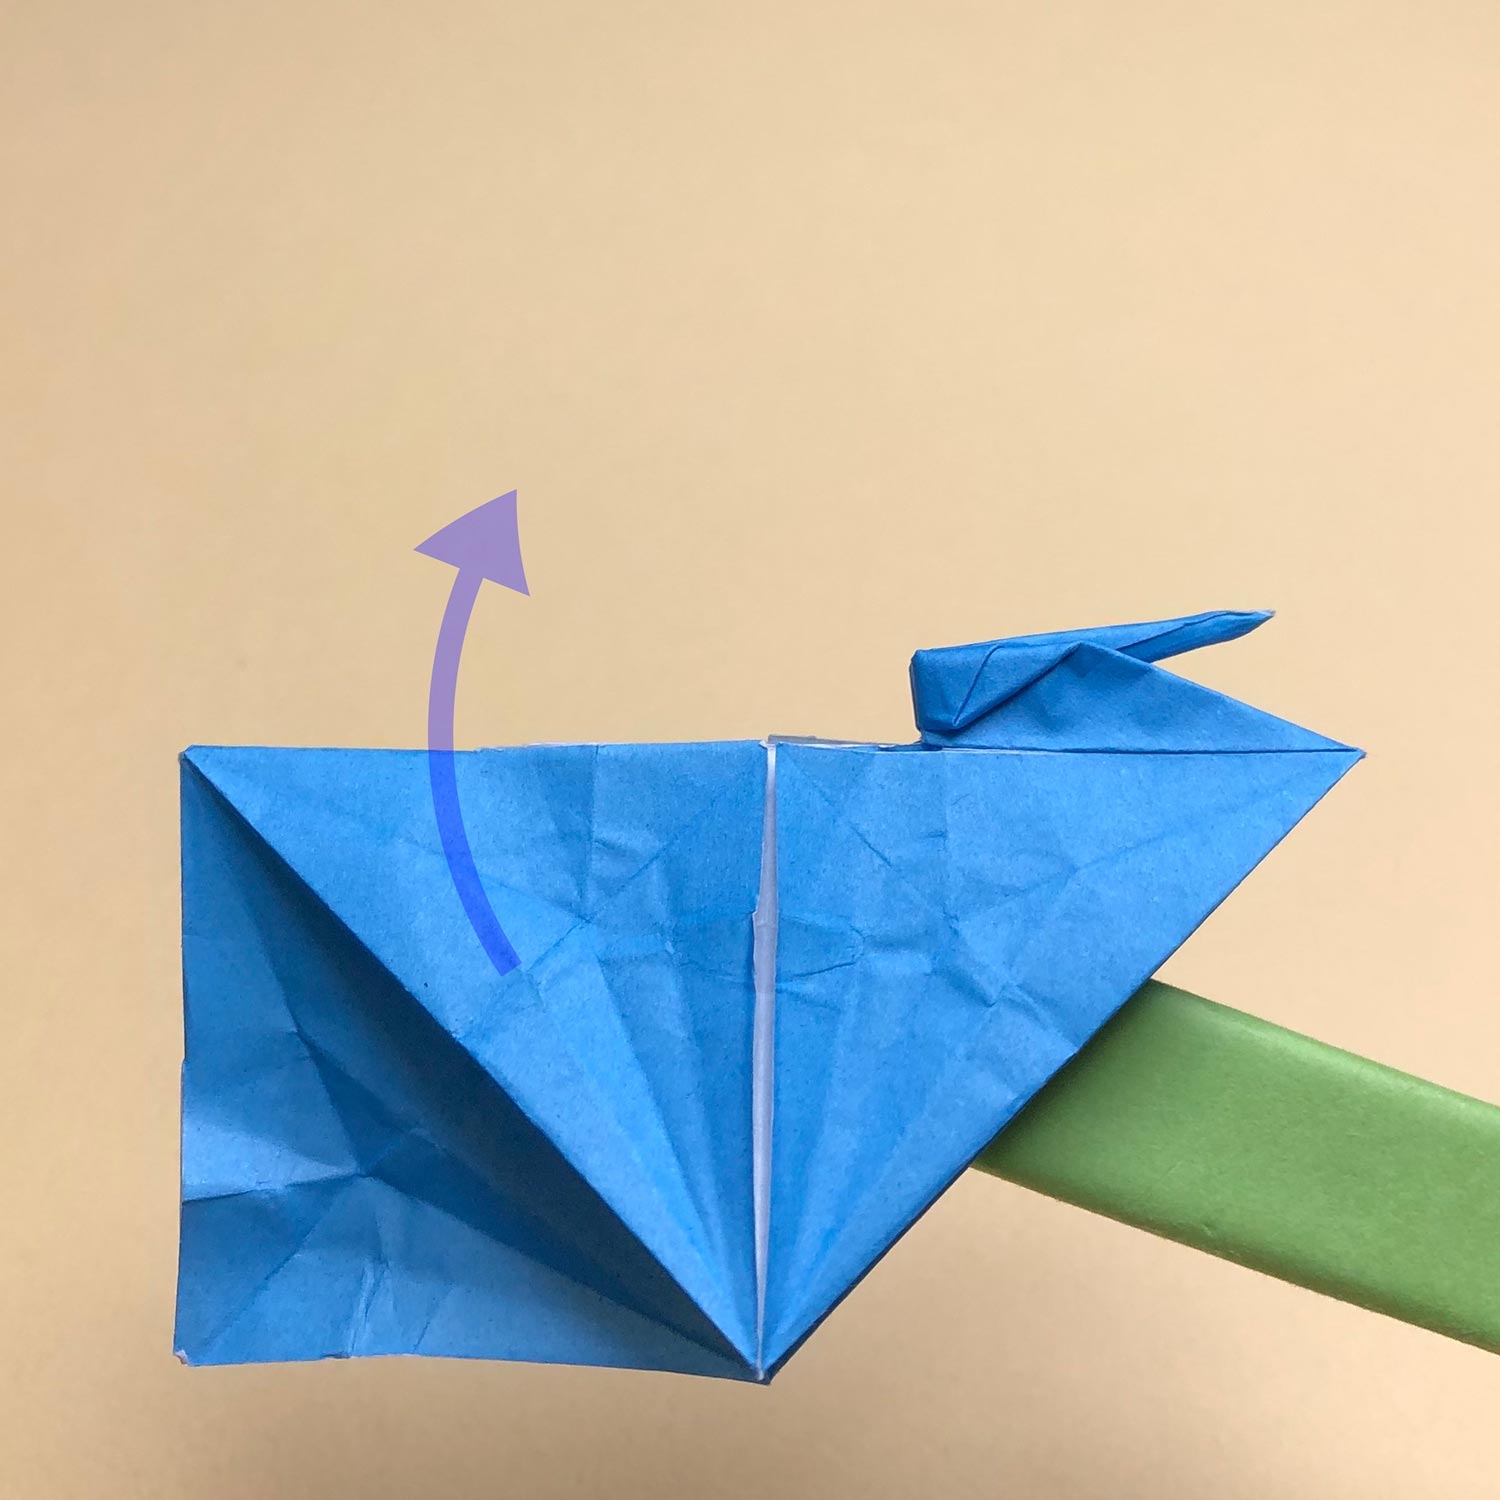
(96)
Then unfold the flap in the back.
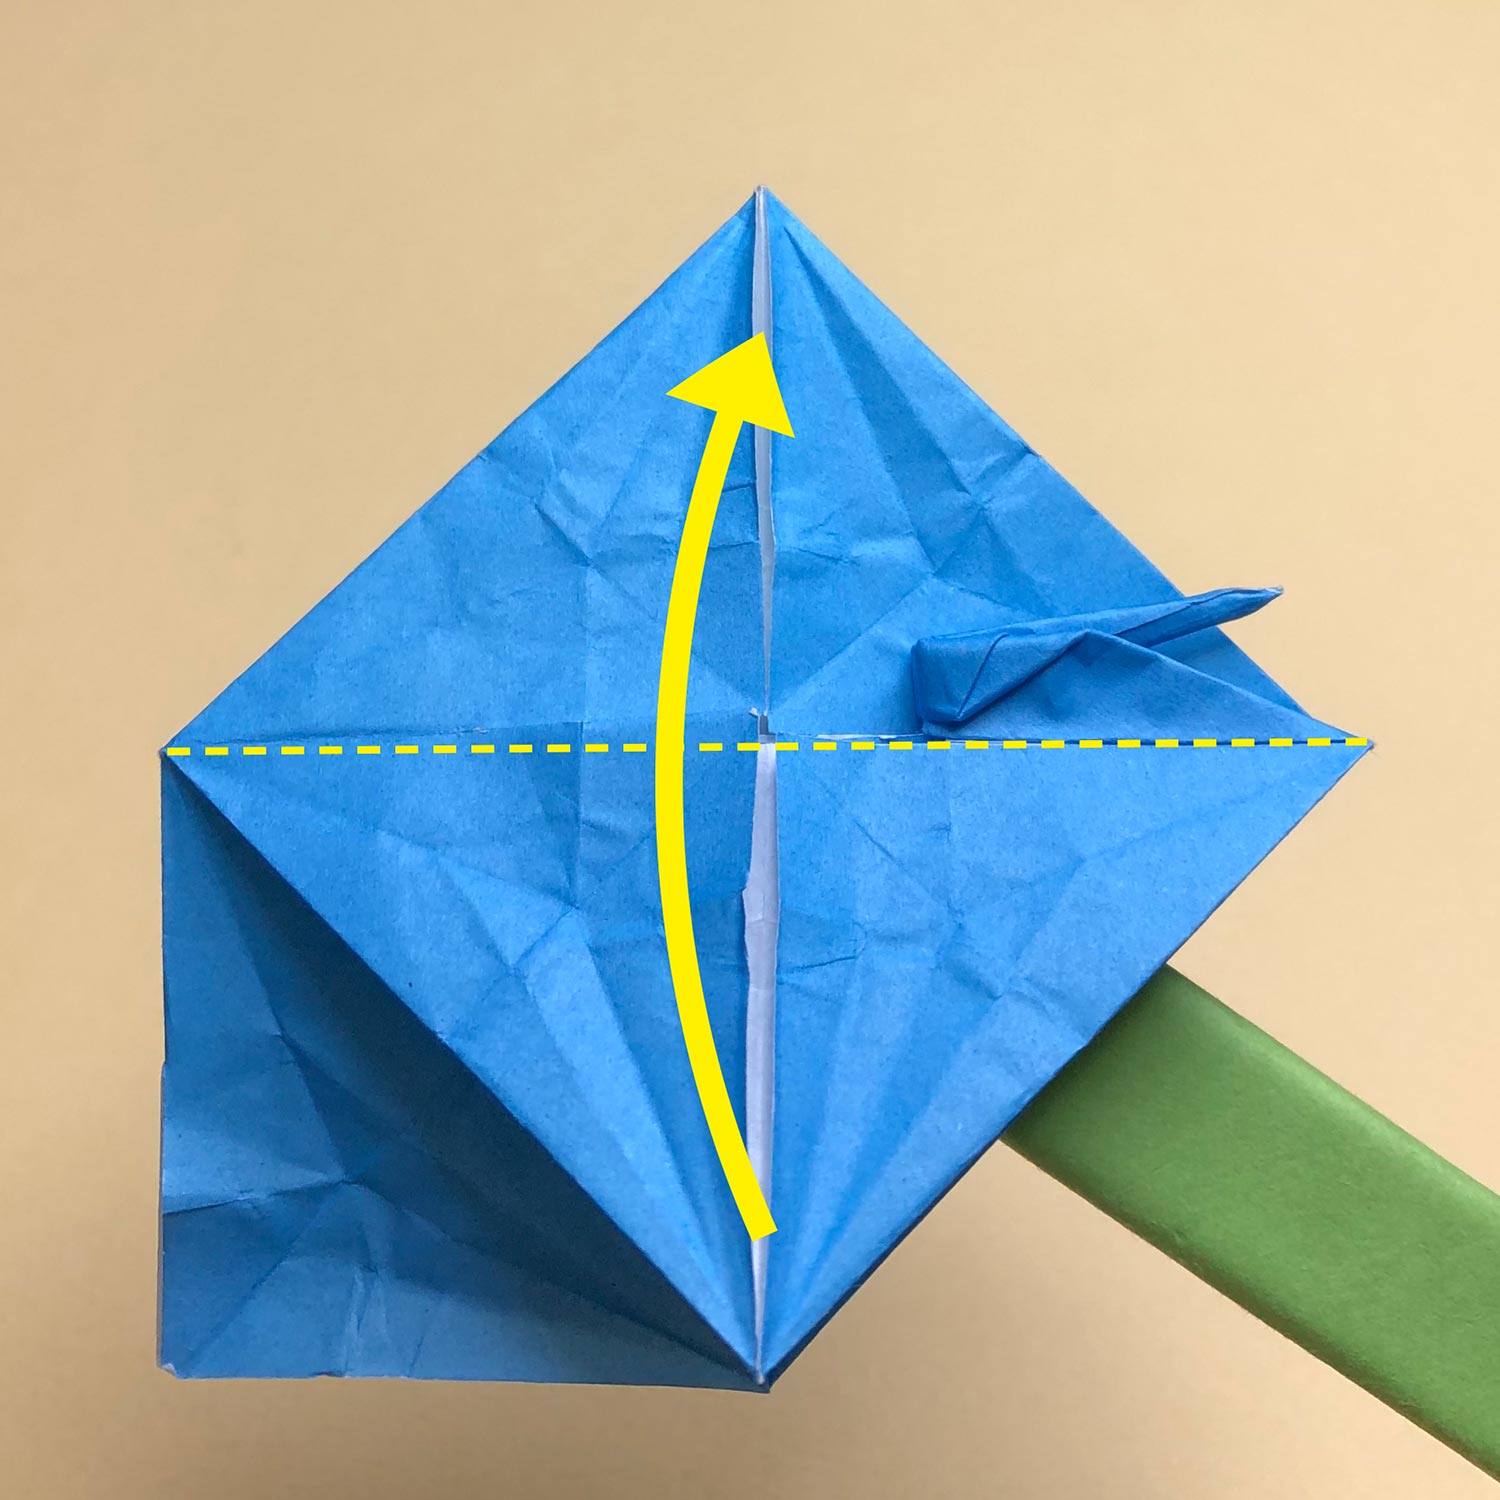
(97)
Unfold the flap like this picture.
Then unfold the flap in the front as well.
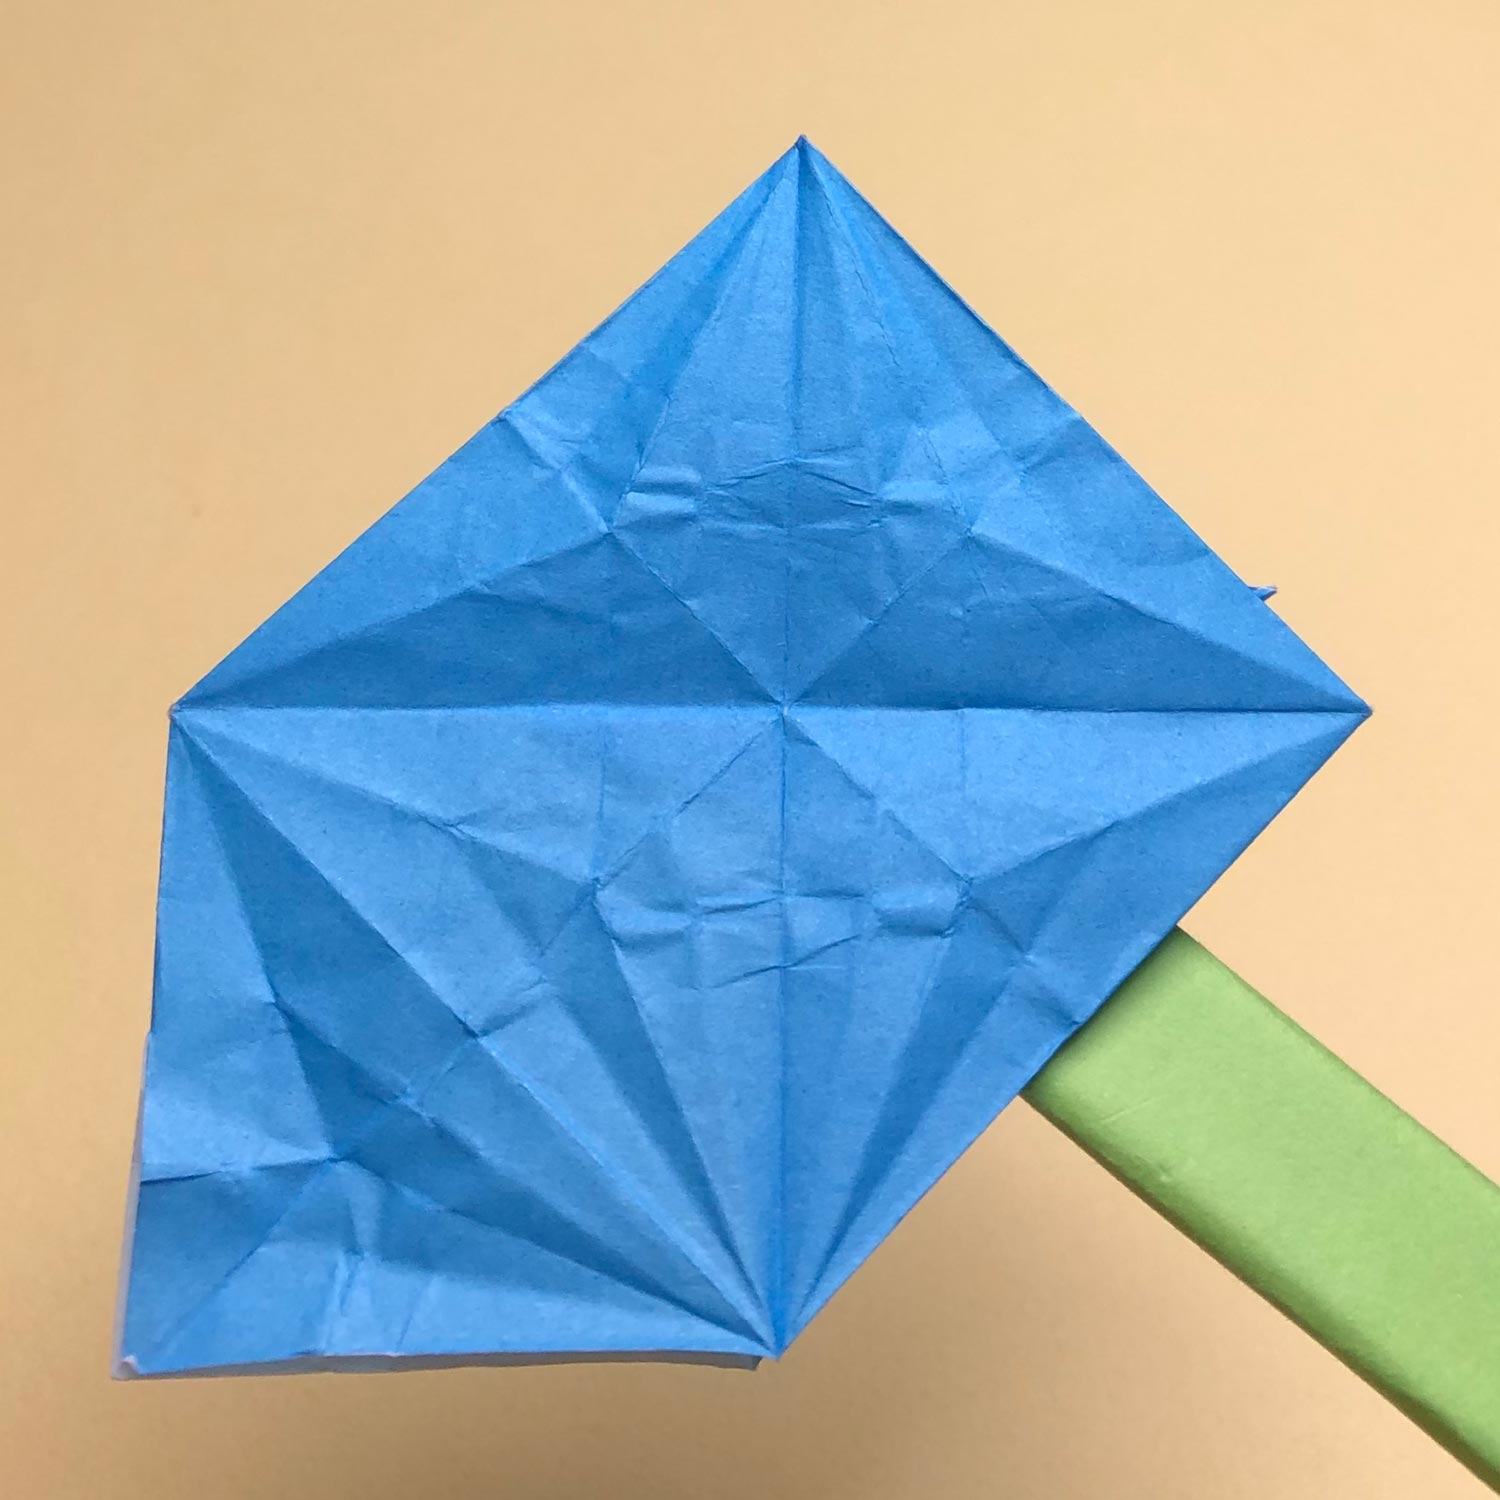
(98)
Unfold the flap like this picture.
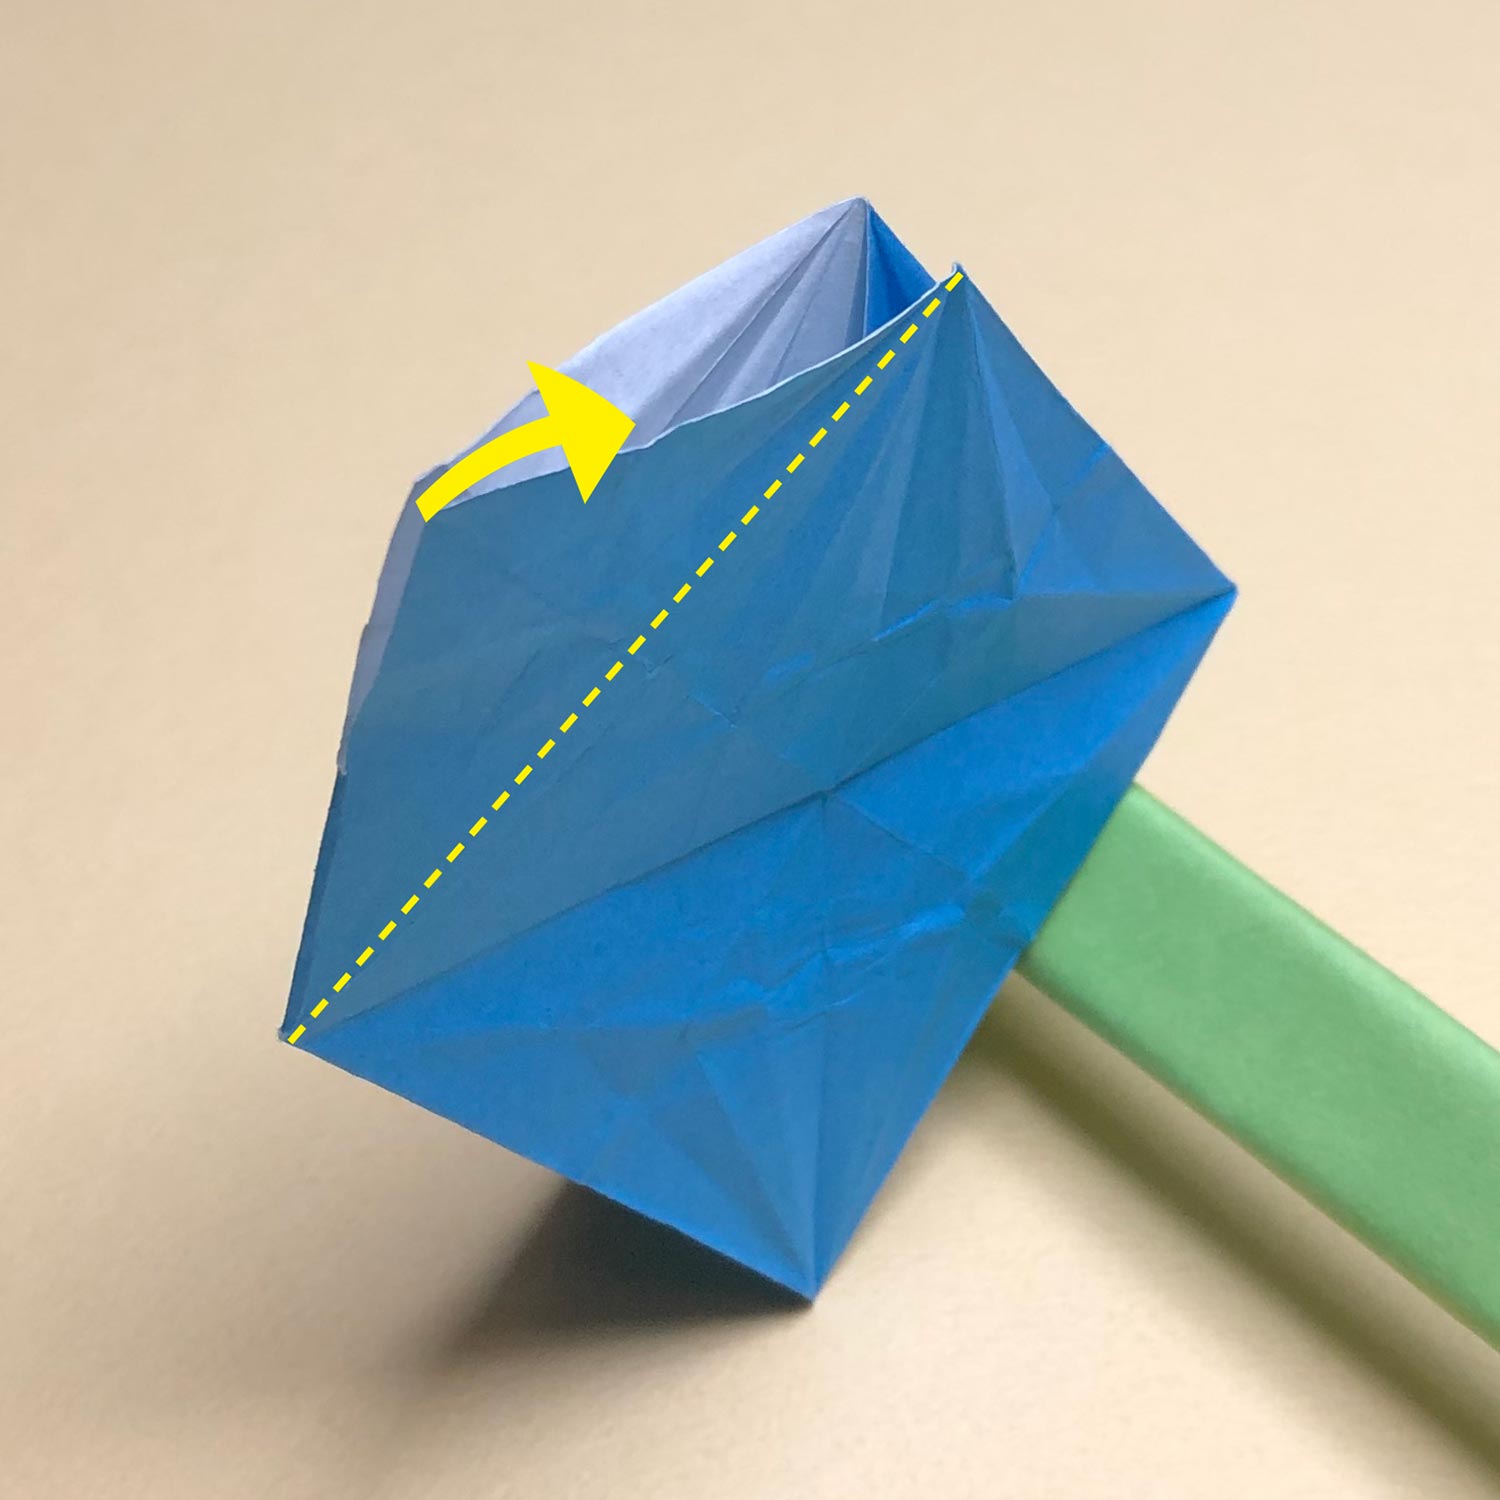
(99)
Then fold two corners inwards.
(make mountain-folds on the dotted lines.)
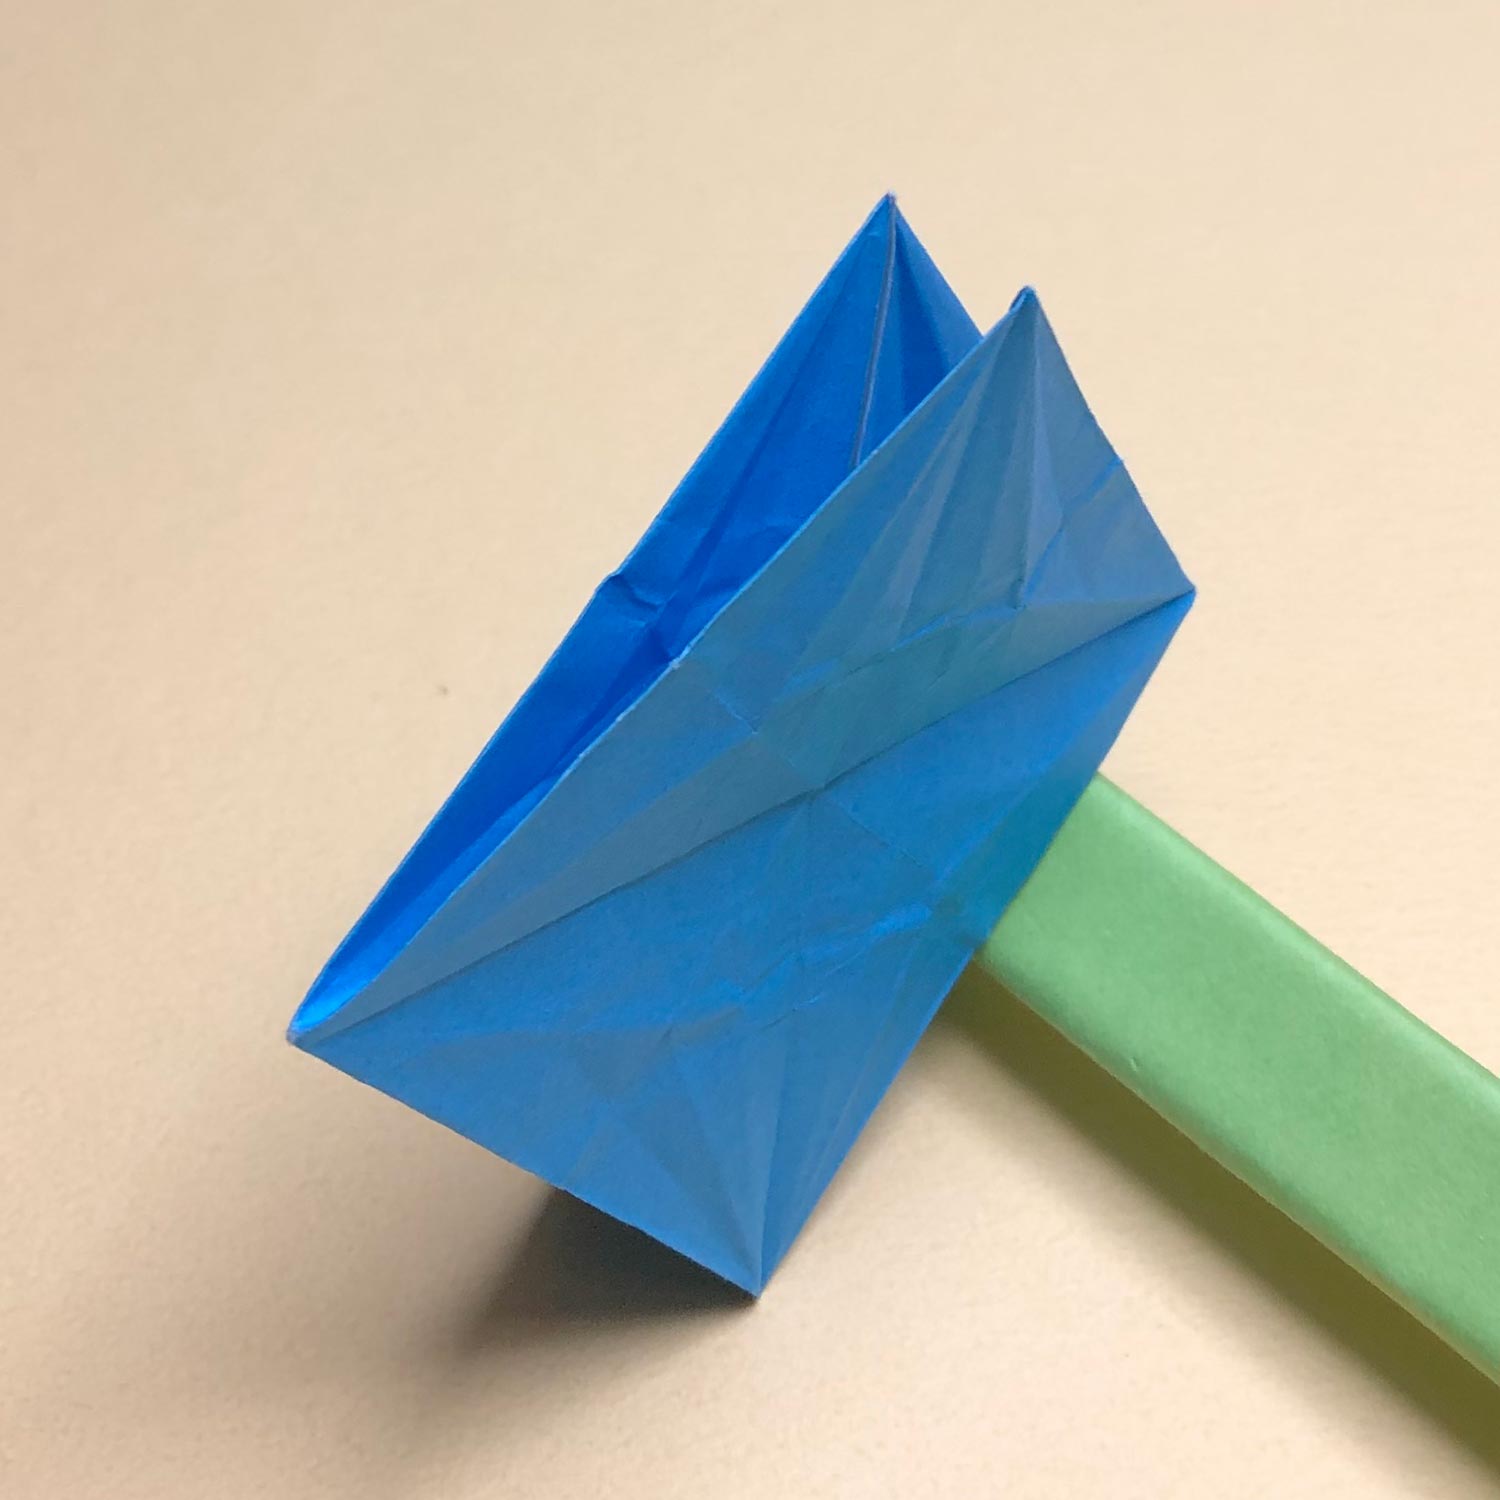
(100)
Fold the two corners like this picture.
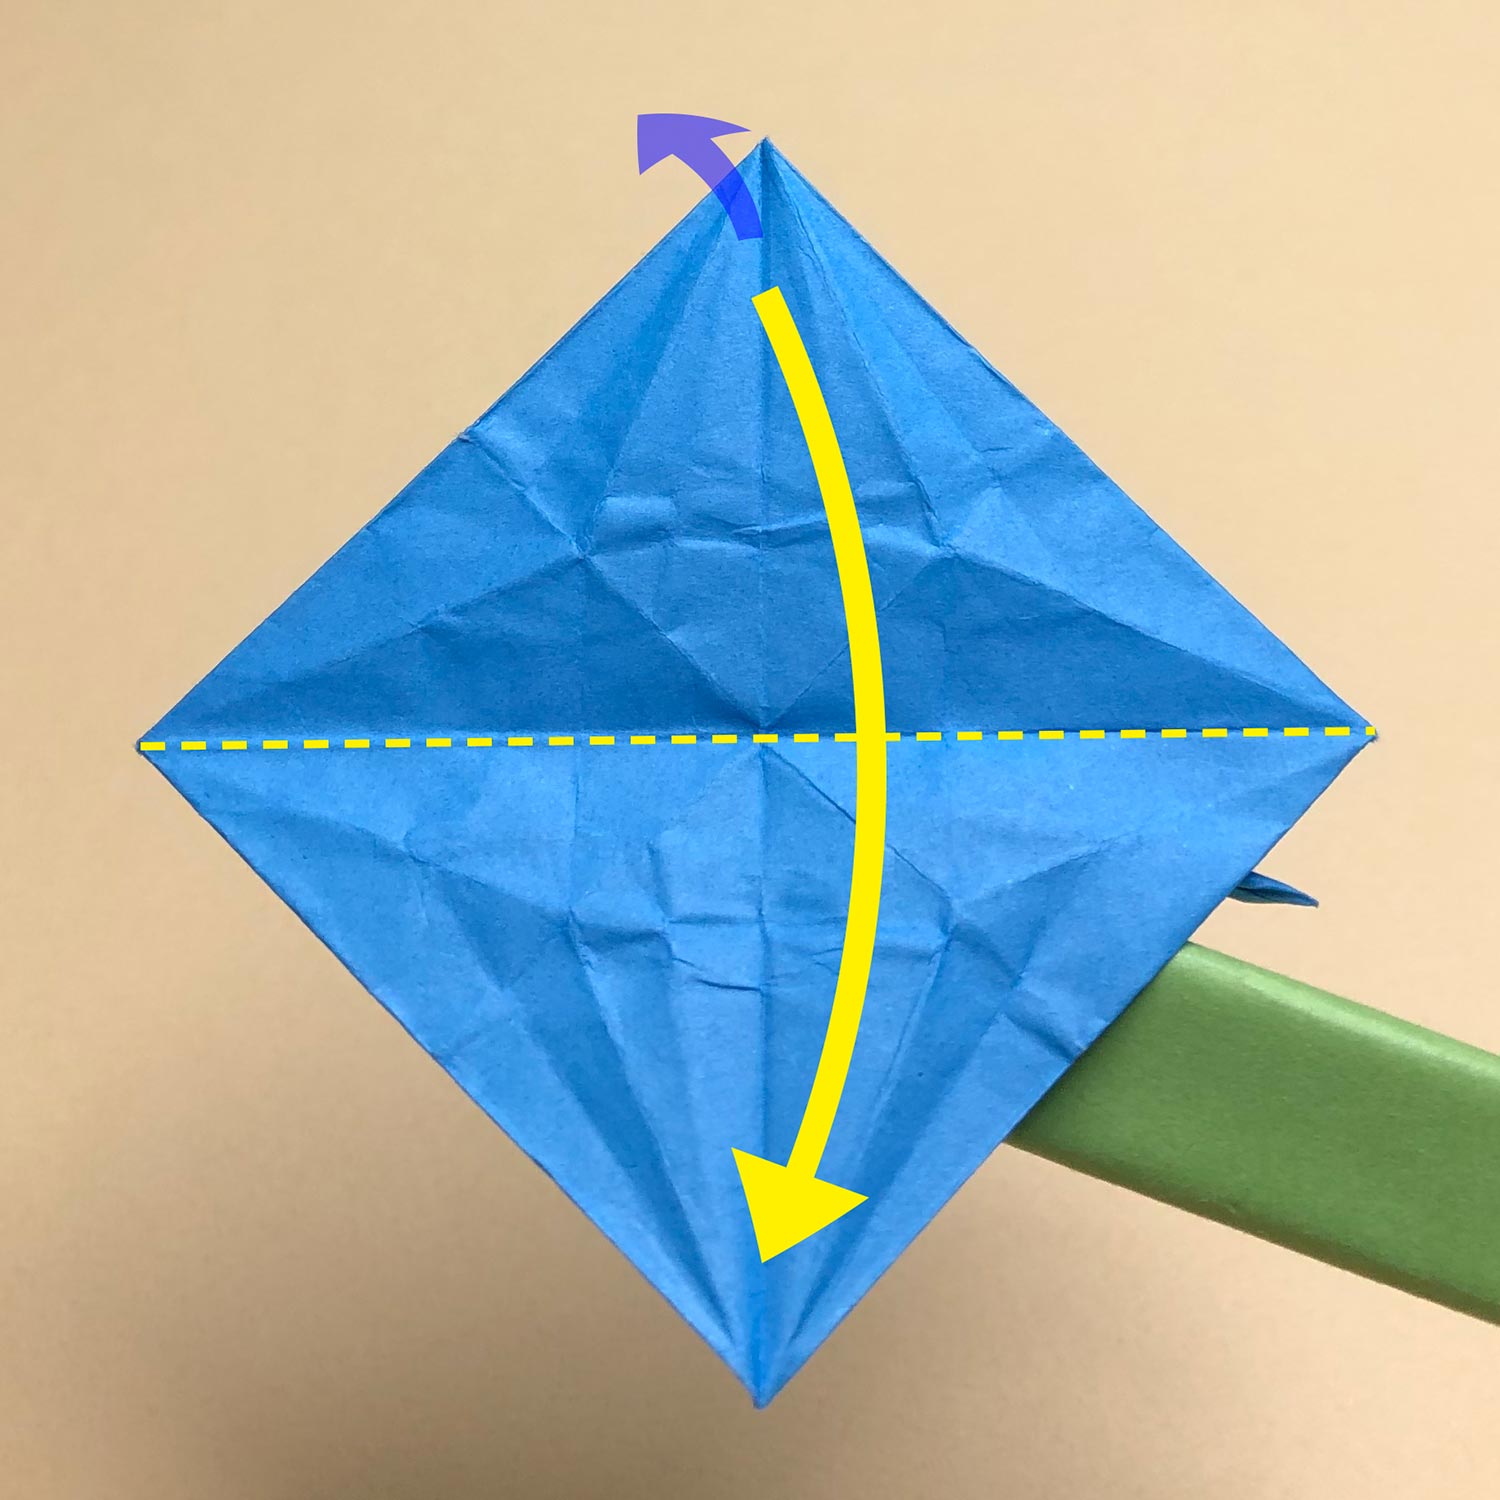
(101)
Then fold the flap in the front forwards and the flap in the back backwards.
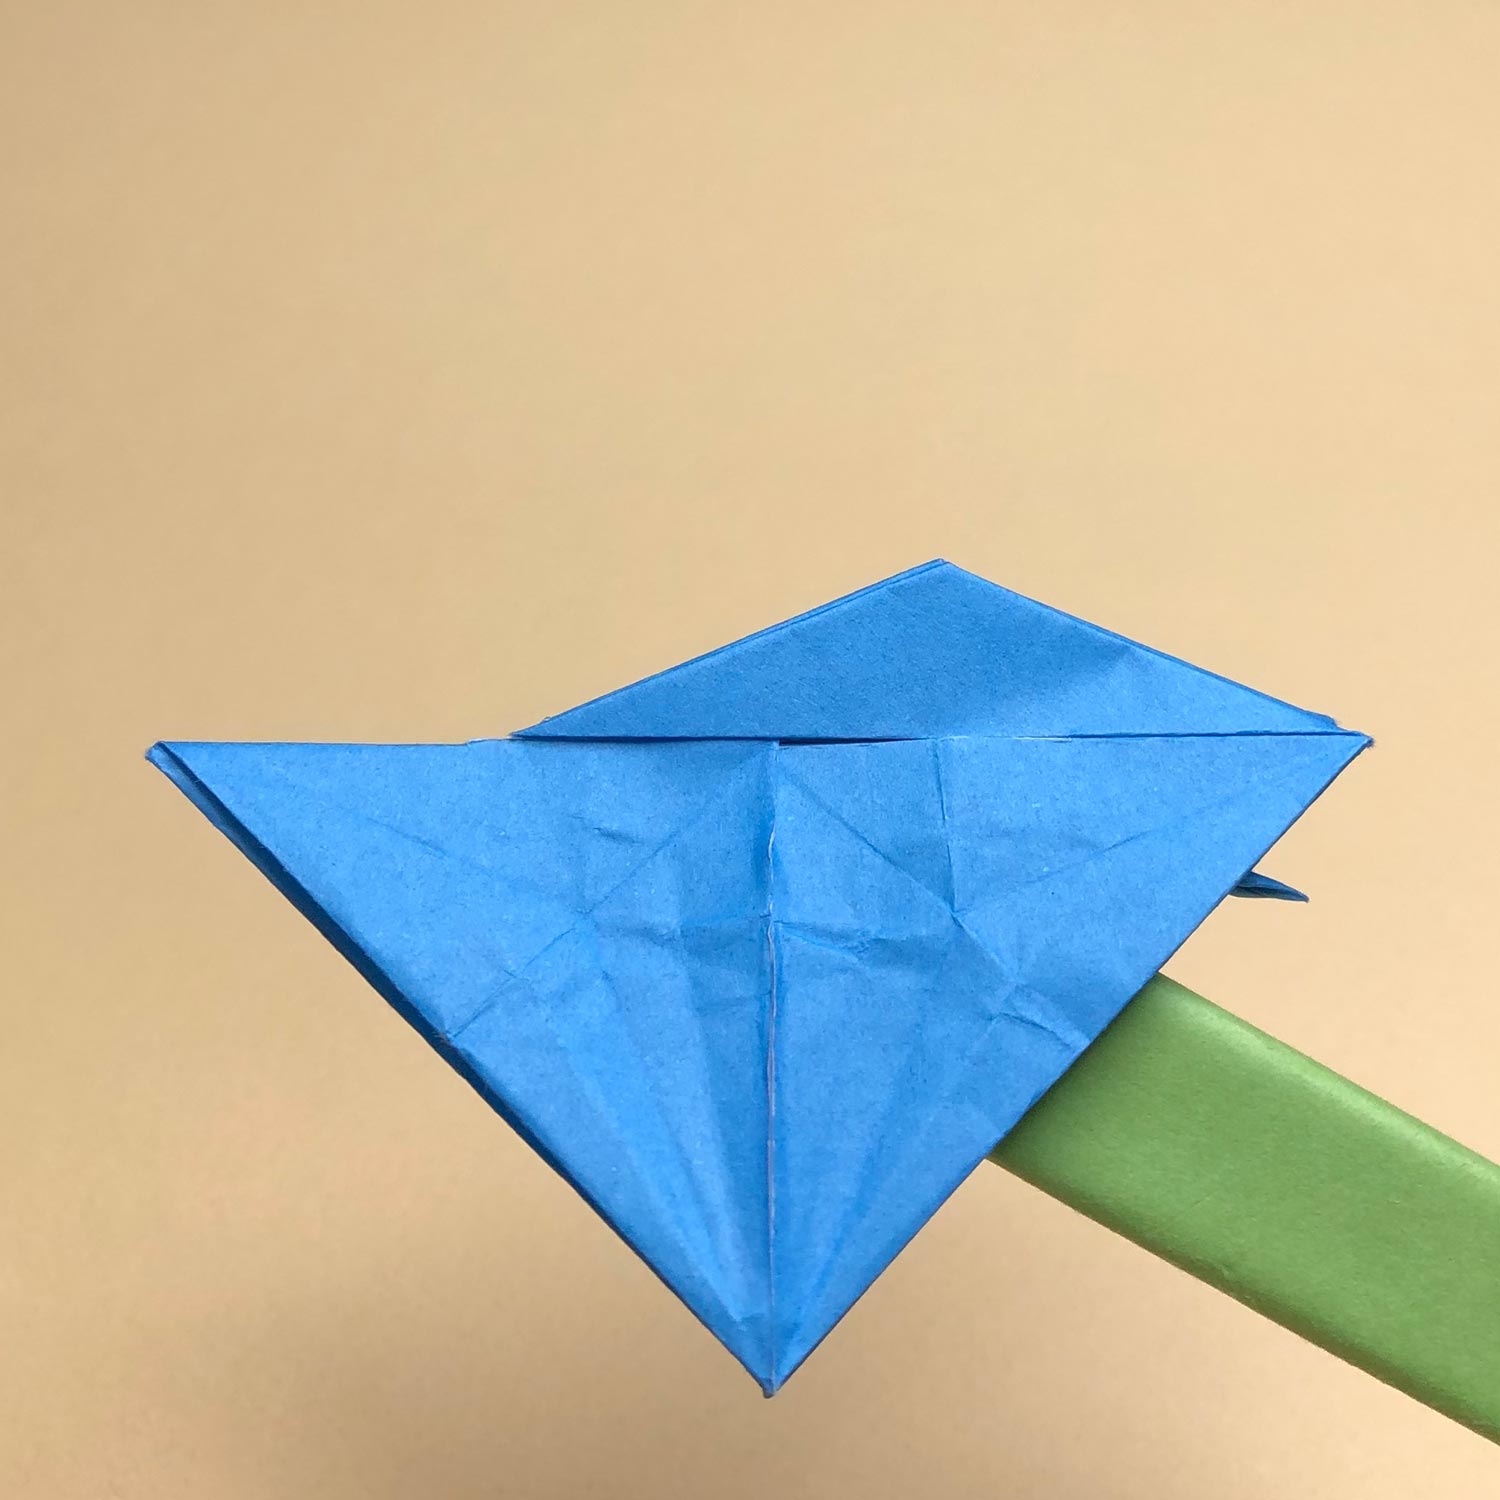
(102)
Fold the flaps like this picture.
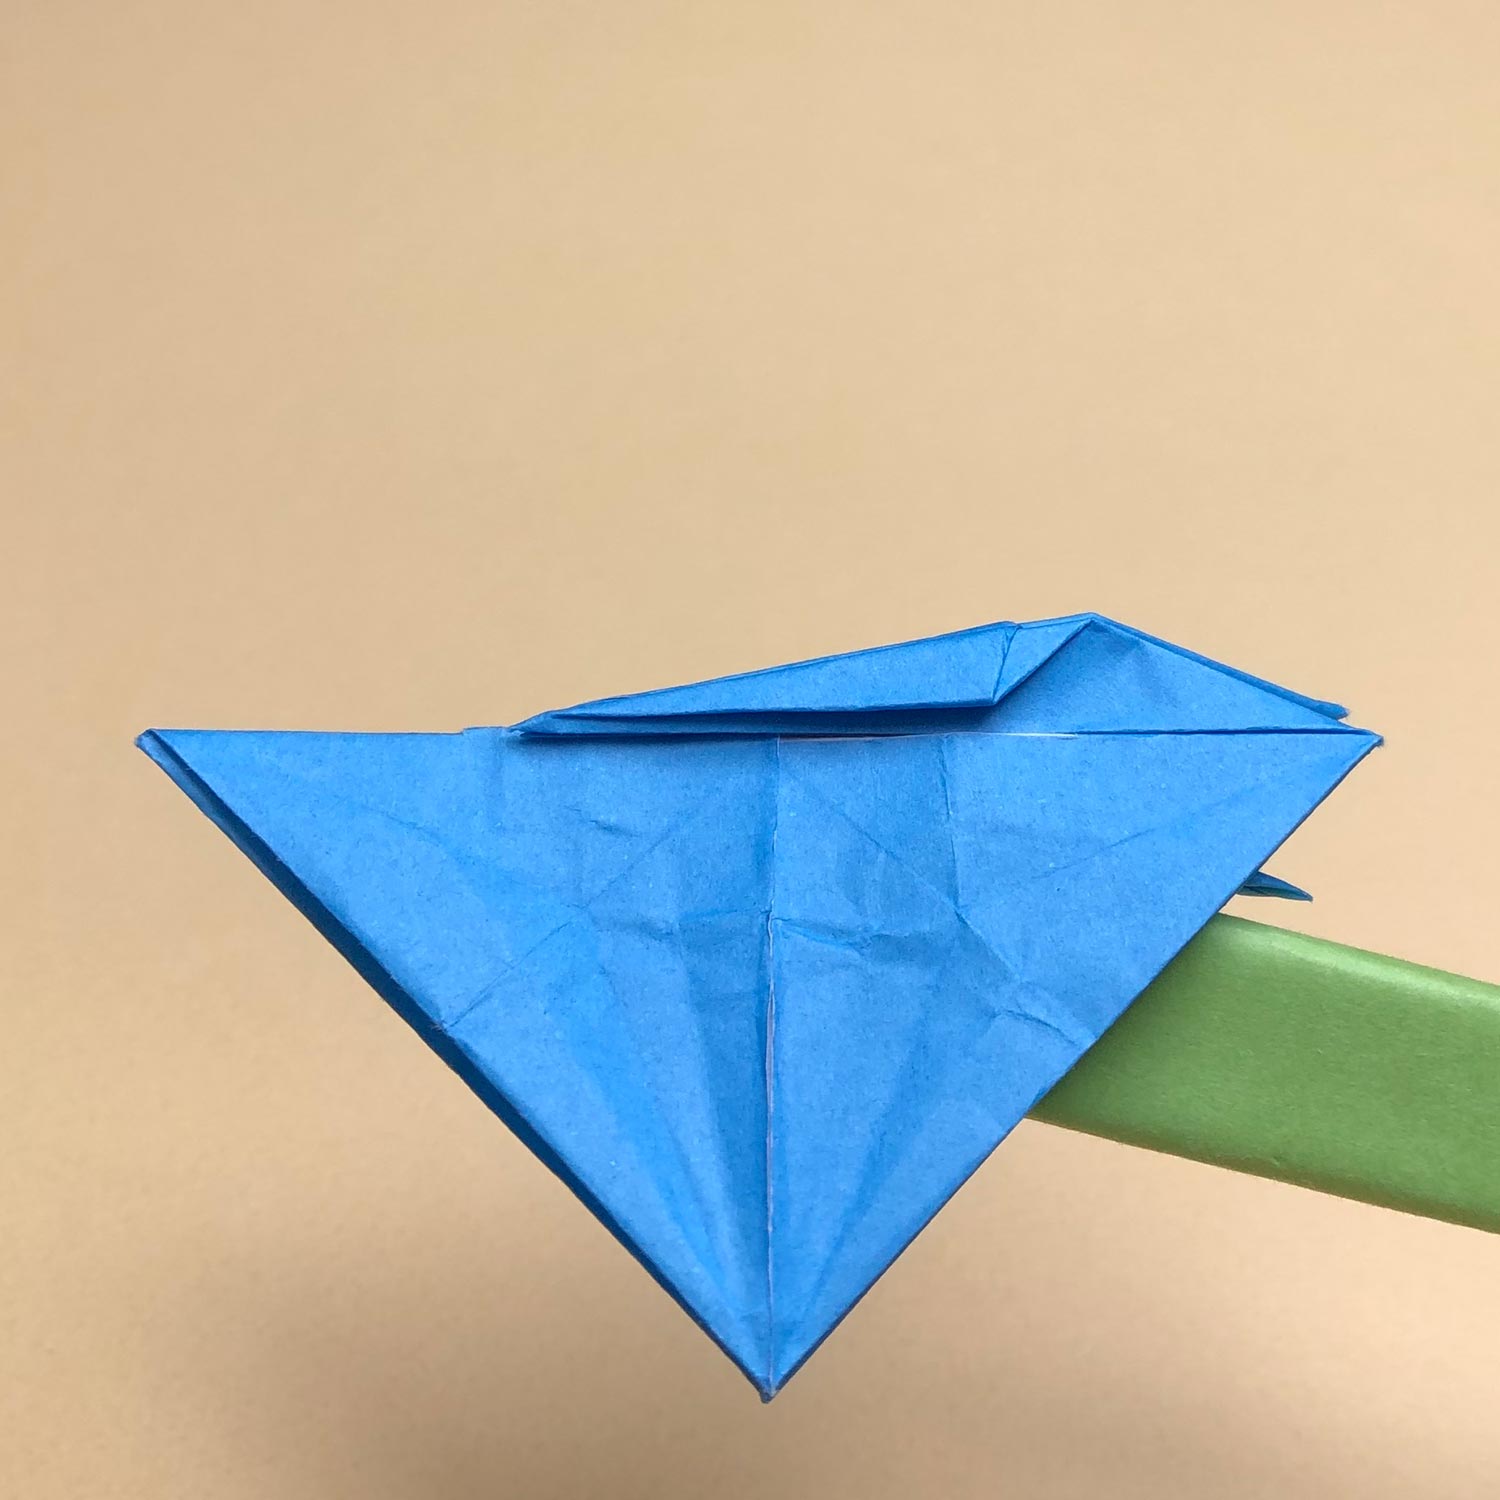
(103)
Then fold the head/tail to the center and raise it.
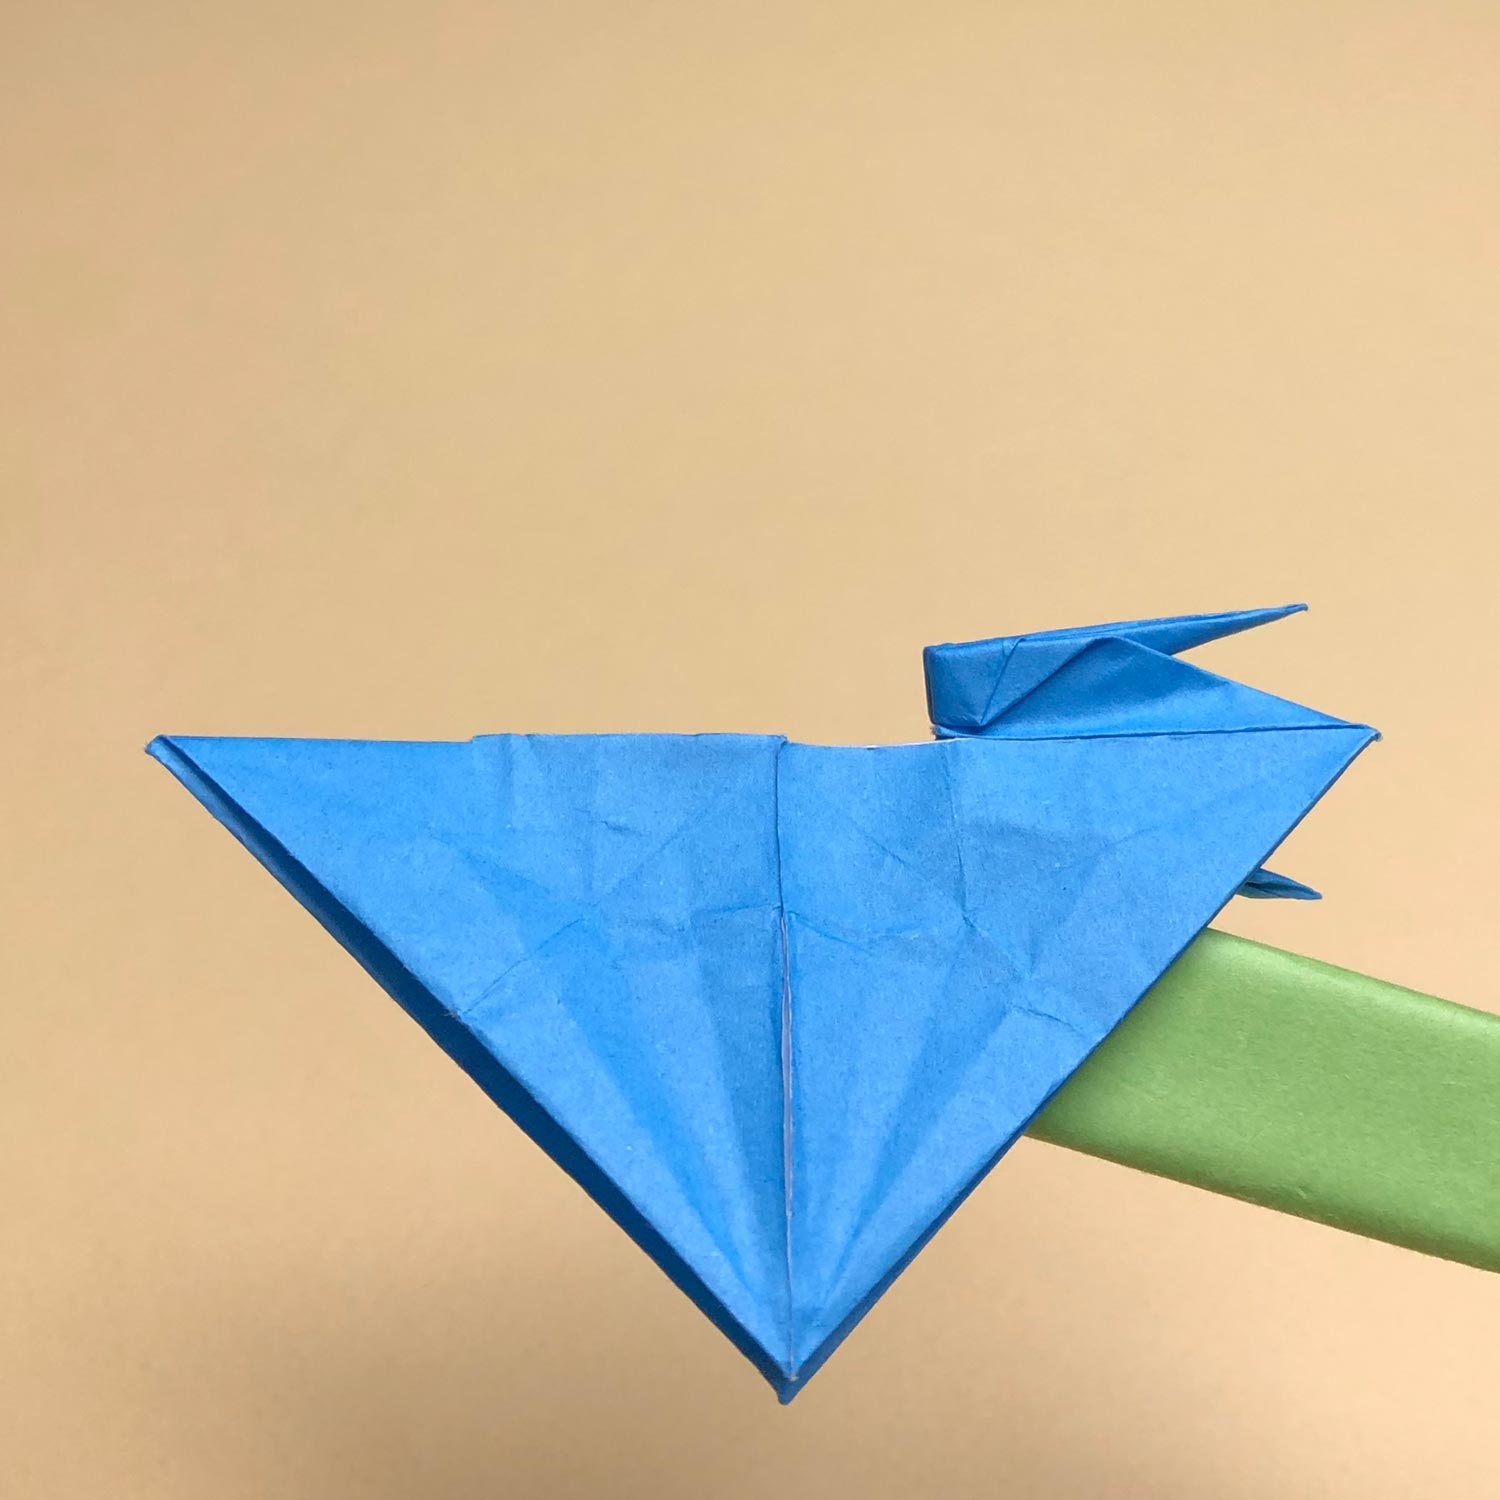
(104)
Raise it like this picture.
The first crane is finished.
